How to Clean White Grout in 13 Brightening Ways Fast
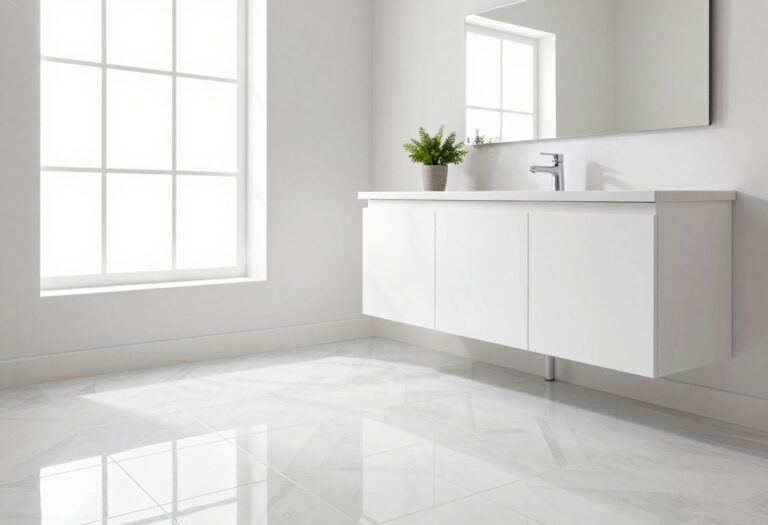
White grout looks amazing when it's clean, but it shows every speck of dirt and mildew. Those bright lines can turn dingy gray fast, making your whole floor or wall look tired.
You don't need to live with it or scrub for hours—the right method makes a huge difference. These 13 techniques use common household items and a few targeted products to lift stains quickly.
From gentle pastes to powerful soaks, there's a solution for every level of grime. Start with the simplest approach and watch your grout go from grimy to bright in no time.
1. Baking Soda and Vinegar Paste
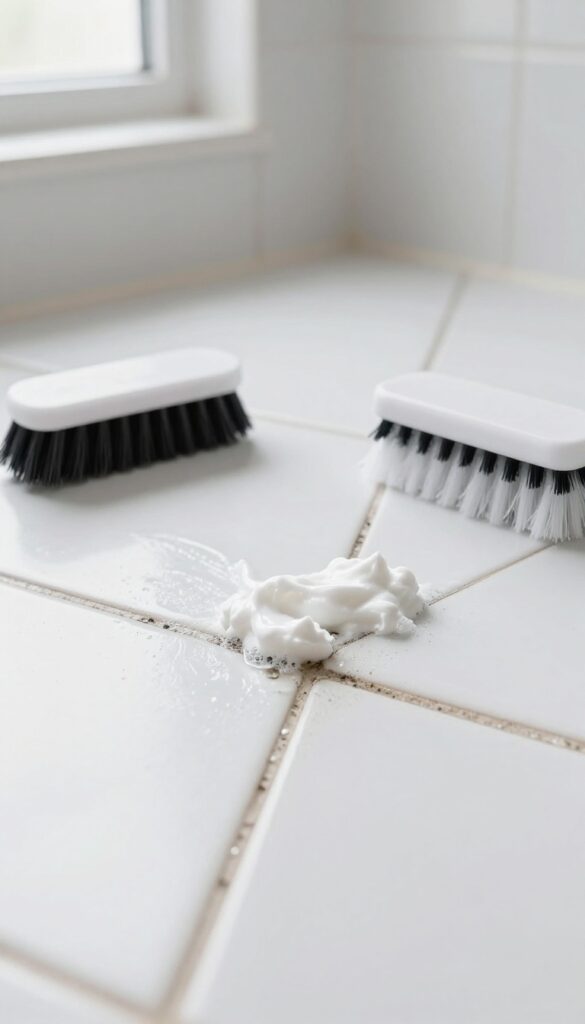
Baking soda and vinegar are a classic cleaning duo for a reason. When mixed into a paste, they create a gentle abrasive that lifts grime without scratching your tile. The fizzing action helps loosen dirt deep in the grout pores, making scrubbing much easier.
Start by combining equal parts baking soda and white vinegar in a small bowl. Stir until you get a thick, spreadable paste—like toothpaste. Apply it directly onto the grout lines using an old toothbrush or a small spatula.
Let it sit for about 10 minutes; you'll see it fizz as it works. Then, scrub firmly with a stiff-bristled brush, focusing on stained areas. Rinse with warm water and wipe away residue with a damp cloth.
For extra stubborn spots, repeat the process or let the paste sit longer.
Why This Paste Works So Well
The baking soda acts as a mild abrasive, physically scrubbing away dirt without damaging the grout. Vinegar's acidity dissolves mineral deposits and soap scum. Together, they create a chemical reaction that helps release embedded stains.
Tips For Best Results
Use a brush with stiff, nylon bristles—a grout brush or an old toothbrush works great. Work in small sections so the paste doesn't dry out before you scrub. Rinse thoroughly to avoid any vinegar smell lingering.
When To Skip This Method
Avoid vinegar on natural stone tiles like marble or travertine, as the acid can etch the surface. Also, if your grout is sealed, vinegar can break down the sealer over time. In those cases, use a pH-neutral cleaner instead.
2. Hydrogen Peroxide and Baking Soda
Hydrogen peroxide and baking soda work together to lift stains and kill bacteria without harsh fumes. The peroxide acts as a mild bleach, while the baking soda provides gentle abrasion to scrub away grime. This paste is especially effective on white grout that has yellowed or developed mildew spots.
Mix hydrogen peroxide and baking soda into a thick paste—about two parts baking soda to one part peroxide. Adjust the ratio until it spreads easily without dripping. Apply the paste to the grout lines with a small brush or your finger, making sure to work it into the grooves.
Let it sit for 5 to 10 minutes, then scrub with a stiff brush. Rinse with warm water and wipe dry. For stubborn stains, let the paste sit longer or add a few drops of dish soap.
Why This Combo Works So Well
Hydrogen peroxide is a natural disinfectant that breaks down organic matter, while baking soda is a mild alkali that helps dissolve dirt. Together, they create an oxygenating reaction that lifts stains from deep within the grout pores. Unlike chlorine bleach, hydrogen peroxide won't yellow white grout over time.
Best Practices For Application
Always test a small hidden area first to check for colorfastness. Use an old toothbrush or a grout brush to work the paste into the lines. For vertical surfaces, add a little more baking soda to thicken the paste so it doesn't drip.
Cover the paste with plastic wrap if you want to let it sit longer without drying out.
When To Use This Method
This method is ideal for moderate stains and general brightening. It's safe for most tile types, including ceramic and porcelain, but avoid it on natural stone like marble or travertine, as the peroxide can etch the surface. Use it in kitchens, bathrooms, and laundry rooms where grout sees regular moisture.
3. Lemon Juice and Cream of Tartar
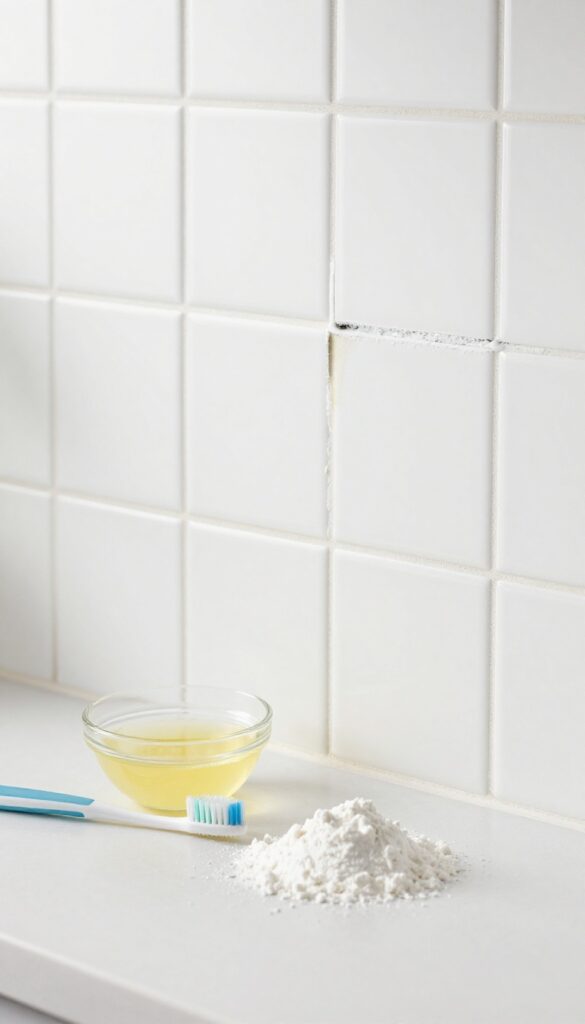
If you prefer a natural, food-based cleaner that still packs a punch, lemon juice and cream of tartar make a surprisingly effective team. The citric acid in lemon juice breaks down mineral deposits and soap scum, while cream of tartar adds gentle abrasion to lift embedded dirt. Together, they form a paste that tackles stubborn grout stains without harsh chemicals.
This method works best on light to moderate stains and is safe for most grout types. It's especially good for kitchen backsplashes or bathroom walls where you want a food-safe cleaner. The pleasant lemon scent is a bonus, and the ingredients are pantry staples.
Mixing The Paste
Combine two tablespoons of cream of tartar with enough lemon juice—about one to two tablespoons—to form a thick, spreadable paste. Stir until smooth. If the paste is too runny, add more cream of tartar; if too thick, add a few drops of lemon juice.
The consistency should be similar to toothpaste.
Application And Dwell Time
Apply the paste directly to the grout lines using an old toothbrush, a small brush, or your finger (wear gloves if you have sensitive skin). Spread it evenly, making sure to work it into the grooves. Let it sit for 10 minutes—this gives the acid time to dissolve stains.
Don't let it dry completely; if it starts to crack, mist it with a little water.
Scrubbing And Rinsing
After the dwell time, scrub the grout with a stiff brush or an old toothbrush using small circular motions. Focus on any remaining dark spots. Rinse thoroughly with warm water, wiping away all residue with a damp cloth or sponge.
Repeat on stubborn areas if needed. The grout should look visibly brighter after rinsing.
When To Use This Method
This paste is ideal for ceramic or porcelain tiles with unsealed grout. Avoid it on natural stone tiles like marble or limestone, as the acid can etch the surface. Also, test on an inconspicuous spot first to ensure the grout doesn't discolor.
For heavily soiled grout, you may need to repeat the process or try a stronger method.
4. Oxygen Bleach Soak
Oxygen bleach is a powerhouse for whitening grout without the harsh fumes of chlorine bleach. It works by releasing oxygen bubbles that lift dirt and stains from deep within the porous grout lines. This method is gentle enough for most grout types, including colored grout, and it's safe for tile surfaces.
To use oxygen bleach, mix the powder with warm water according to the package directions—usually about 1/4 cup per gallon. Apply the solution generously to the grout lines using a spray bottle or sponge, ensuring they're fully saturated. Let it sit for 15-20 minutes; you'll see bubbles forming as it works.
Scrub with a stiff brush, then rinse thoroughly with clean water. For stubborn stains, repeat or let the solution sit longer.
Why Oxygen Bleach Works
Unlike chlorine bleach, oxygen bleach doesn't produce harmful fumes or damage grout over time. It's also eco-friendly and safe for septic systems. The oxygen bubbles penetrate porous grout, breaking down organic stains like mildew, food spills, and dirt without scrubbing away the grout's surface.
Best Practices For Application
Always test on a small hidden area first, especially with colored grout. Use warm (not hot) water to activate the bleach. Apply in a well-ventilated area and wear gloves to protect your skin.
For vertical surfaces, use a thick paste (less water) so it stays in place. Rinse well to avoid residue that can attract dirt.
When To Use This Method
The oxygen bleach soak is ideal for regularly maintained grout that's looking dull or has light mildew. It's less effective on heavy, set-in stains or grout that's been sealed with a wax-based sealer. For deep stains, combine with a baking soda scrub after the soak.
5. Steam Cleaning
When plain scrubbing isn't cutting it, steam can do the heavy lifting for you. A handheld steamer or steam mop blasts hot vapor into grout lines, loosening embedded dirt and killing mold spores without any chemicals. It's fast, effective, and leaves your grout looking refreshed.
Steam cleaning is a game-changer for white grout because it uses heat and pressure to dislodge grime that's settled deep into the porous surface. The high temperature also sanitizes the area, tackling mildew and bacteria that cause discoloration and odors. Best of all, you don't need to rinse or worry about residue—just steam and wipe away the loosened dirt.
Choosing The Right Steamer
For grout cleaning, a handheld steamer with a small brush attachment works best because it concentrates the steam on narrow lines. Steam mops can work on large floor areas but may not direct enough pressure into the grout. Look for a model that heats up quickly and has a continuous steam function so you don't have to pause between passes.
Steam Cleaning Technique
Hold the steamer nozzle about an inch from the grout and move slowly along the line. Let the steam sit for a few seconds to soften the dirt, then wipe with a microfiber cloth. For stubborn spots, go over the area a second time.
Work in small sections so the steam stays hot and effective.
Safety And Aftercare
Steam can get very hot, so wear gloves and avoid direct contact with skin. Make sure the room is well-ventilated to let moisture escape. After steaming, allow the grout to dry completely—this prevents new mold from forming.
If you notice any remaining haze, a quick wipe with a dry cloth will restore the matte finish.
6. Toothbrush and Dish Soap
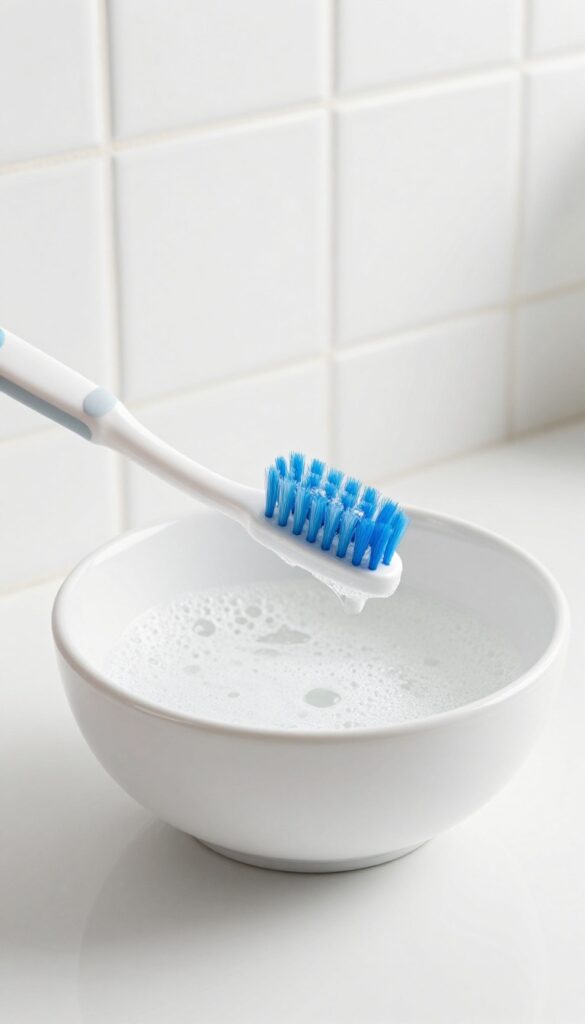
Sometimes the simplest tools are all you need. A toothbrush and a little dish soap can handle light grout stains without any harsh chemicals. It's gentle enough for frequent use and works best on grime that hasn't had time to set in deep.
This method is perfect for maintenance cleaning or when you notice discoloration early. The soft bristles of a toothbrush reach into grout lines without scratching tiles, while dish soap cuts through grease and everyday dirt. It's a low-effort way to keep grout looking fresh between deeper cleans.
How To Do It
Mix a few drops of liquid dish soap into a cup of warm water. Dip an old toothbrush into the solution and scrub the grout lines in a circular motion. Focus on one small area at a time.
Rinse the area with a damp cloth or sponge, then wipe dry. For extra stubborn spots, let the soapy mixture sit for a minute before scrubbing.
When To Use This Method
This technique works best on light to moderate stains, like dirt tracked in from shoes or minor food splatters. It's ideal for kitchen backsplashes, bathroom walls, and entryway floors. If the grout is heavily stained or has mildew, you'll need a stronger cleaner, but this is a great starting point.
Pro Tips
Use a toothbrush with stiff bristles for better scrubbing power. If you're cleaning a large area, a grout brush with a handle will save your hands. Always rinse thoroughly after scrubbing—soap residue can attract more dirt.
For an extra boost, add a tablespoon of baking soda to the soapy water to make a gentle paste.
7. Magic Eraser
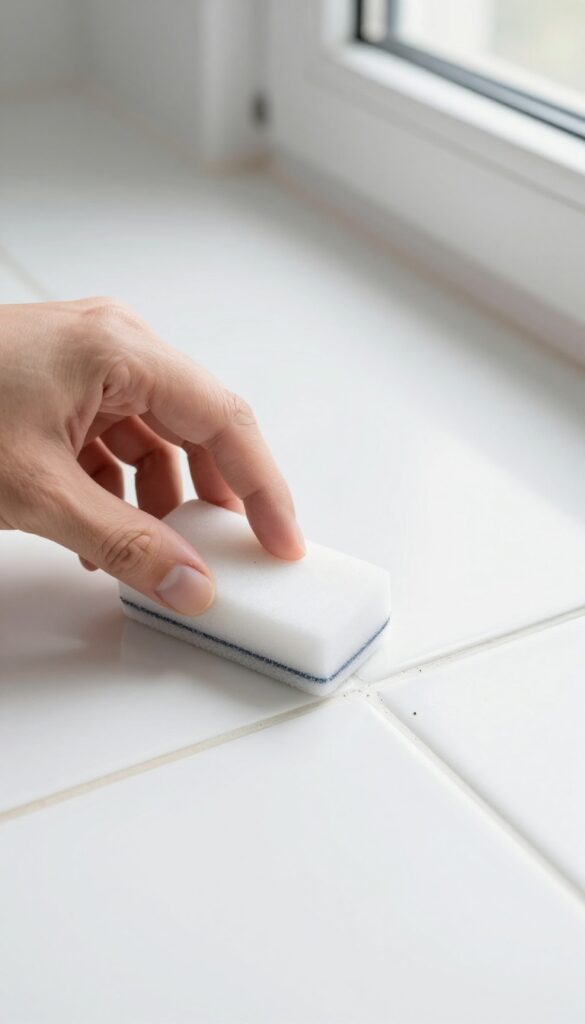
A melamine foam eraser—often sold as a Magic Eraser—is a surprisingly effective tool for cleaning white grout. The micro-abrasive foam lifts surface stains without requiring harsh chemicals. It's especially good for tackling everyday dirt and scuffs on well-sealed grout.
Wet the eraser and squeeze out excess water, then gently rub it along the grout lines. The foam wears down as you work, so use light pressure and replace the eraser when it gets dirty or crumbles. This method works best on smooth, sealed grout; avoid over-scrubbing on unsealed or delicate grout to prevent damage.
Rinse the area with water afterward to remove any residue.
How To Use A Magic Eraser On Grout
Cut the eraser into smaller pieces to make it last longer. Dampen one piece, wring it out, and lightly rub it along the grout lines. You'll see the dirt transfer to the foam.
Rinse the eraser frequently or switch to a fresh piece for best results. Once done, wipe the grout with a damp cloth to remove any foam particles.
When To Skip This Method
Avoid using a Magic Eraser on unsealed or porous grout—the abrasion can wear away the surface and make it more prone to staining. Also, test on a small hidden area first, especially if your grout is colored or has a special finish. If you notice any color transfer or roughening, stop immediately.
Pro Tip For Stubborn Spots
For extra stubborn stains, dip the damp eraser in a small amount of baking soda before scrubbing. This creates a mild abrasive paste that boosts cleaning power without being too harsh. Always rinse thoroughly afterward.
8. Bleach Pen Application
A bleach pen gives you pinpoint control, so you can treat only the grout lines without bleaching your tiles. It's a fast, targeted method that works best on white grout because chlorine bleach can yellow other colors. The gel clings to vertical surfaces too, making it great for backsplashes or shower walls.
Bleach pens are designed for exactly this job. The thick gel stays put instead of running, so you can draw along each grout line precisely. This method is especially useful for spot-treating stubborn stains or mildew spots without having to mix a solution or tape off tiles.
How To Apply
Squeeze a thin line of bleach gel directly onto the grout line. Use the pen's tip to spread it evenly, covering the stain completely. Let it sit for 5–10 minutes—don't let it dry out, or it won't work as well.
Rinse thoroughly with water and wipe away any residue.
Safety First
Work in a well-ventilated area and wear gloves to protect your skin. Bleach can damage certain tile surfaces, so test on an inconspicuous spot first. Avoid contact with colored grout or natural stone tiles.
When To Use This Method
Reach for a bleach pen when you have isolated stains or mildew spots rather than overall grime. It's perfect for quick touch-ups between deep cleans. For large areas, a bleach soak or oxygen bleach might be more efficient.
9. Peroxide and Flour Paste
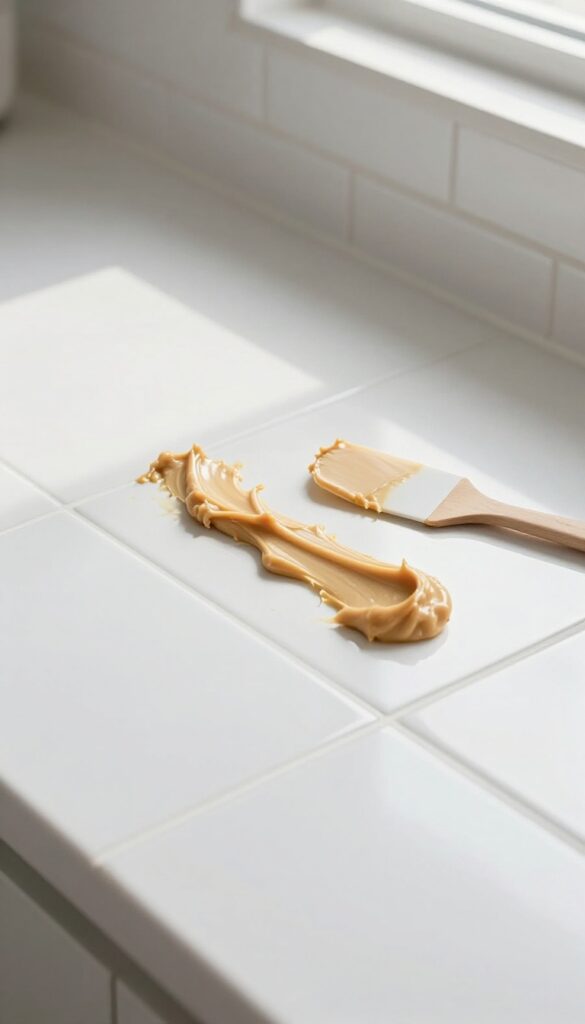
Hydrogen peroxide is a natural bleaching agent that works wonders on stained grout, but it can be runny and hard to keep in place. Mixing it with flour turns it into a thick, spreadable paste that clings to vertical surfaces and stays put. This method is gentle enough for regular use but strong enough to lift stubborn yellowing and mildew stains.
The paste is simple to make: combine hydrogen peroxide (3% strength is fine) with enough all-purpose flour to form a thick, peanut-butter-like consistency. Apply it generously over the grout lines, then cover the area with plastic wrap to keep the paste from drying out too quickly. Let it sit for several hours—overnight is even better for tough stains.
When you peel off the wrap, the paste should have dried into a crust. Rinse with warm water and scrub lightly with a soft brush to reveal brighter grout.
Why This Paste Works So Well
Hydrogen peroxide breaks down into water and oxygen, releasing tiny bubbles that lift dirt and organic stains from the porous grout surface. The flour acts as a thickener, keeping the peroxide in contact with the grout long enough to work. Unlike liquid peroxide that drips away, this paste stays exactly where you put it, maximizing its whitening power.
Tips For Best Results
Make sure the grout is clean of loose dust before applying the paste. Use a small spatula or an old toothbrush to push the paste deep into the grout lines. If the paste starts to dry out during the wait, mist it lightly with water.
For extra stubborn stains, add a teaspoon of baking soda to the mix—but test on a hidden spot first, as baking soda can be slightly abrasive.
Safety And Precautions
Hydrogen peroxide can lighten some colored tiles or fabrics, so protect surrounding surfaces with painter's tape or a damp cloth. Wear gloves to avoid skin irritation. Keep the area well-ventilated.
This method is safe for most grout types, but avoid it on unsealed or very old, crumbling grout, as the moisture could cause damage.
10. Commercial Grout Cleaner
When home remedies aren't cutting it, a dedicated commercial grout cleaner can tackle stubborn stains and deep-set grime. These products are formulated specifically for porous grout, so they often work faster and more effectively than generic cleaners. The key is picking the right one and using it correctly.
Commercial grout cleaners come in sprays, gels, and foams. Look for a pH-neutral formula to avoid damaging your grout or tiles. Always test in an inconspicuous spot first, and follow the label directions precisely—most require you to apply, let it sit for a few minutes, scrub with a stiff brush, then rinse thoroughly.
Wear gloves and ensure good ventilation, as some cleaners have strong fumes.
Choosing The Right Cleaner
Not all grout cleaners are created equal. For white grout, avoid bleach-heavy products that can yellow over time. Instead, opt for oxygen-based or enzyme cleaners that lift stains without harsh residues.
Check reviews for your specific tile type—some cleaners are safe for natural stone, others are not.
Application Tips For Best Results
Apply the cleaner directly to the grout lines, not the tile surface. Use a grout brush or an old toothbrush to work it into the pores. Let it dwell for the recommended time—usually 5–10 minutes—but don't let it dry completely.
Scrub in a circular motion, then rinse with clean water and wipe away excess moisture with a microfiber cloth.
Safety First
Always wear rubber gloves and eye protection. Open windows or use a fan to keep air moving. Keep children and pets away until the area is dry.
If you have sensitive skin or respiratory issues, consider wearing a mask. Store cleaners out of reach after use.
11. Vinegar and Water Spray
A simple vinegar and water spray is a go-to for regular grout maintenance. It's gentle enough for frequent use but effective enough to keep light stains at bay. This method works best when your grout isn't heavily soiled—think weekly touch-ups rather than deep cleaning.
Mix equal parts white vinegar and water in a spray bottle. Spray the solution directly onto the grout lines, making sure they're thoroughly wet. Let it sit for about 5 minutes to break down dirt and mild mildew.
Then scrub with a stiff brush or an old toothbrush. Rinse with clean water and wipe dry with a cloth.
Why It Works
Vinegar is mildly acidic, which helps dissolve mineral deposits, soap scum, and light grime without harsh chemicals. It's safe for most tile types, but avoid it on natural stone like marble or travertine—the acid can etch the surface.
Best Use Case
This spray is perfect for maintenance cleaning between deeper scrubs. Use it weekly to prevent buildup and keep your white grout looking fresh. If your grout is heavily stained or has dark mold, you'll need a stronger treatment first.
Pro Tip
Add a few drops of dish soap to the mixture for extra grease-cutting power. Just don't use too much or you'll have to rinse more thoroughly to avoid residue.
12. Baking Soda and Water Scrub
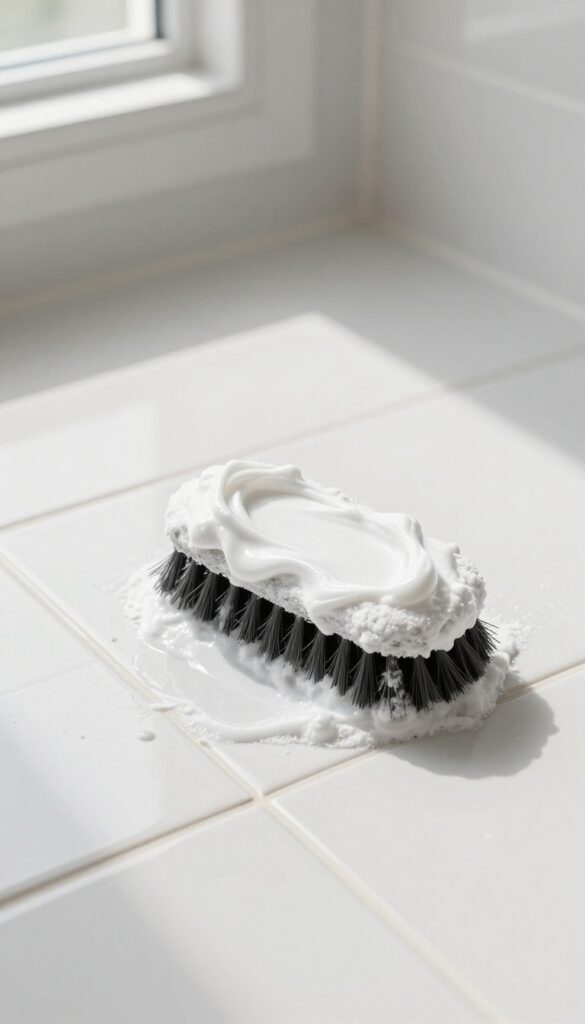
Sometimes the simplest solutions work best. Baking soda is a mild abrasive that gently scrubs away grime without scratching your tiles or damaging the grout. Mixed with water, it forms a paste that clings to vertical surfaces and stays put while you work.
This method is non-toxic and safe for homes with kids or pets. It won't release harsh fumes, and you probably already have both ingredients in your kitchen. It's a great first step before trying stronger cleaners.
Why Baking Soda Works So Well
Baking soda is alkaline, which helps break down acidic dirt and grease. Its fine crystals provide just enough friction to lift surface stains without being too harsh. When mixed into a paste, it stays where you apply it, so you can focus on one section at a time.
It's also odorless and rinses away cleanly.
How To Make And Apply The Paste
Mix 3 parts baking soda with 1 part water in a small bowl. Stir until it forms a thick, spreadable paste—like toothpaste. Dip an old toothbrush or a grout brush into the paste and scrub it into the grout lines.
Work in small sections (about 2×2 feet) so the paste doesn't dry out. Let it sit for 5–10 minutes to loosen the dirt.
Rinsing And Repeating For Best Results
After the paste has sat, scrub again with a damp brush, then wipe away the residue with a wet cloth or sponge. Rinse the area thoroughly with clean water to remove any baking soda film. If the grout is still dingy, repeat the process.
For extra stubborn stains, add a few drops of dish soap to the paste.
13. Sealing After Cleaning
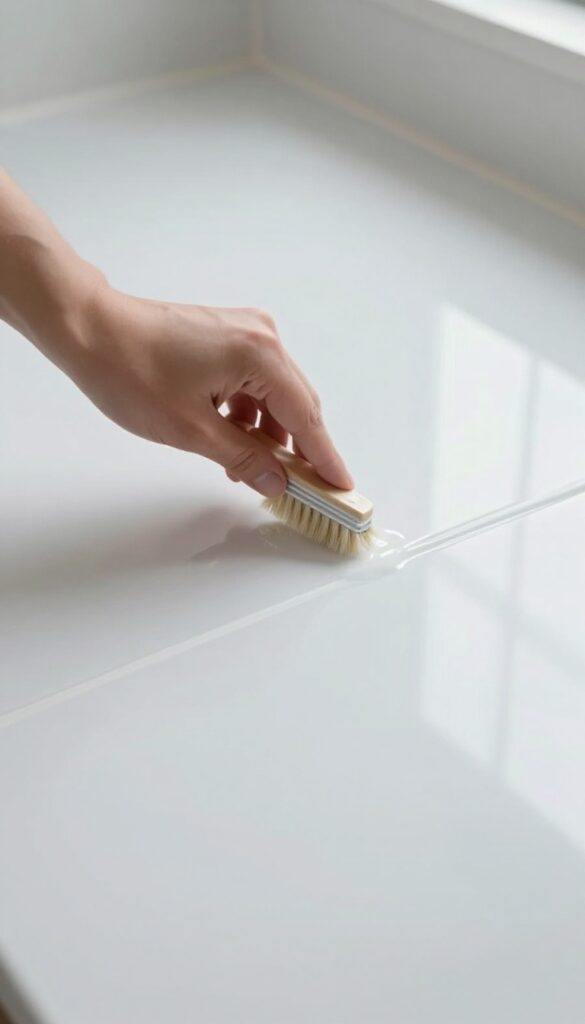
Once your grout is clean and dry, sealing it locks in that fresh look and makes future cleaning much easier. A good sealer acts like a shield, repelling spills and dirt so stains don't set in. It's a simple step that saves you hours of scrubbing down the road.
Sealing is the final, crucial step after you've put in the work to brighten your grout. Without a sealer, all that effort can fade quickly as new stains penetrate the porous surface. Applying a sealer creates a protective barrier that keeps grout looking cleaner longer and makes routine cleaning more effective.
Most sealers are easy to apply with a small brush or applicator, and you'll want to reapply annually to maintain protection.
Choosing The Right Sealer
Not all sealers are the same. Penetrating sealers soak into the grout and protect from within, while membrane-forming sealers create a surface layer. For most white grout, a penetrating sealer is a good choice because it doesn't alter the look or feel.
Look for a sealer that's specifically labeled for grout and offers stain resistance.
How To Apply Grout Sealer
Start with completely clean, dry grout—wait at least 24 hours after cleaning. Apply the sealer using a small brush or foam applicator, working it into the grout lines. Wipe off any excess from the tile surface immediately to avoid haze.
Let it cure according to the manufacturer's instructions before exposing the grout to water.
When To Reapply
Sealer doesn't last forever. In high-traffic areas like kitchen floors or shower walls, reapply every 6 to 12 months. A simple water test can tell you if it's time: sprinkle a few drops on the grout; if they bead up, the sealer is still working.
If they soak in, it's time to reseal.
FAQ
How often should I clean white grout?
For maintenance, clean grout every 2-4 weeks. Deep clean every 3-6 months depending on traffic and moisture.
Can I use bleach on colored grout?
No, bleach can discolor colored grout. Use a pH-neutral cleaner or a mild peroxide solution instead.
What is the fastest way to whiten grout?
A hydrogen peroxide and baking soda paste works quickly. Let it sit for 5-10 minutes, scrub, and rinse.
Will vinegar damage my grout?
Vinegar is acidic and can etch unsealed grout over time. Use it sparingly and rinse thoroughly. Sealed grout is more resistant.
How do I prevent grout from getting dirty?
Seal grout after cleaning, wipe up spills promptly, use a squeegee in showers, and clean regularly with a mild cleaner.
Conclusion
Your grout doesn't have to stay dingy. With these 13 methods, you can brighten even the most neglected lines using everyday supplies. Start with the gentlest approach and escalate only if needed.
The payoff is immediate—cleaner, whiter grout that transforms your whole tile surface.
Consistency is what keeps it that way. A quick wipe after showers and a monthly baking soda scrub will prevent stains from setting in. Pick the technique that fits your routine and enjoy your fresher-looking tiles for months to come.