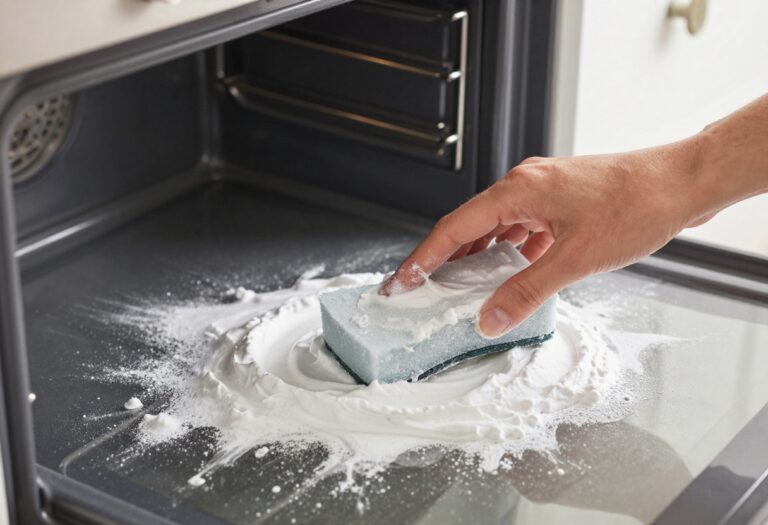
10 How to Clean a Coffee Pot and Remove Bitter Buildup
You pour your morning cup, take a sip, and something's off. That bitter, burnt taste isn't from the beans—it's from your coffee pot. Over time, oils and minerals cling to the glass and internal parts, turning your brew sour.
Cleaning a coffee pot isn't complicated, but it does require the right approach. A simple rinse won't cut it. You need to break down the residue that builds up after dozens of batches.
In this guide, we'll walk through ten practical methods to restore your coffee maker. Whether you use a drip machine, French press, or percolator, these tips will help you enjoy a cleaner, better-tasting cup.
1. Vinegar and Water Deep Clean
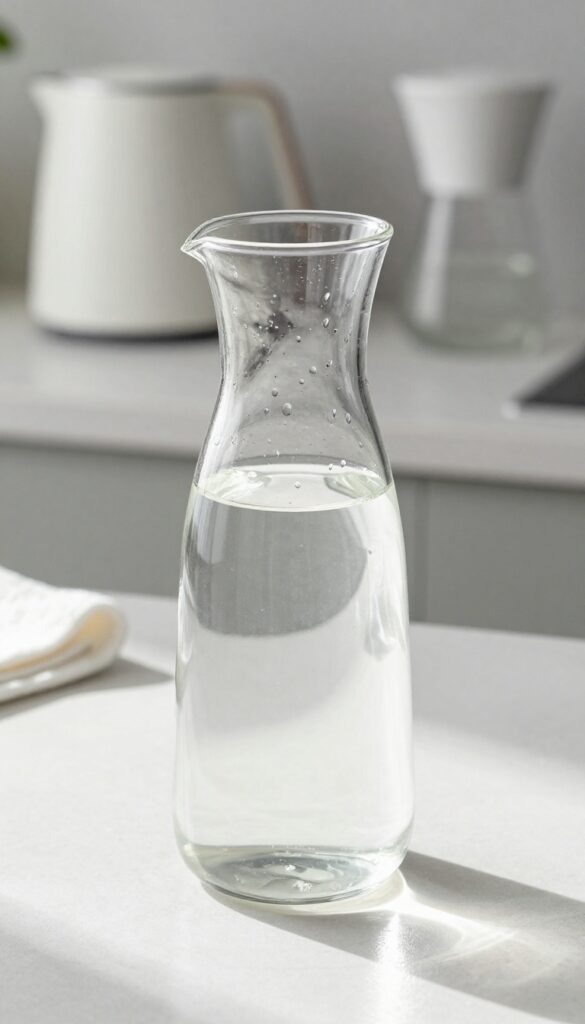
If your coffee tastes off, mineral scale and old oil buildup are likely the culprits. White vinegar is a kitchen MVP for cutting through that gunk without harsh chemicals. This classic method is cheap, effective, and works on most drip coffee makers.
Start by filling the water reservoir with equal parts white vinegar and water. Run a full brew cycle—no coffee grounds. Let the mixture sit in the carafe for 15 minutes, then pour it out.
Run two more cycles with fresh water to rinse away any vinegar smell. That's it. Your coffee pot will look and taste like new.
Why Vinegar Works
Vinegar is acidic enough to dissolve calcium and lime deposits that water leaves behind. It also breaks down the oily residue from coffee beans that causes bitterness. Unlike bleach or soap, it rinses clean and won't leave a chemical aftertaste.
How Often To Do This
For most households, once a month is plenty. If you have hard water, bump it up to every two weeks. Your coffee will taste noticeably brighter, and your machine will last longer.
A Note On Smell
The vinegar scent disappears completely after the water rinse cycles. If you're sensitive to it, add a slice of lemon to the first water rinse. It neutralizes any remaining odor and leaves a fresh citrus note.
2. Baking Soda Scrub for Glass Carafes
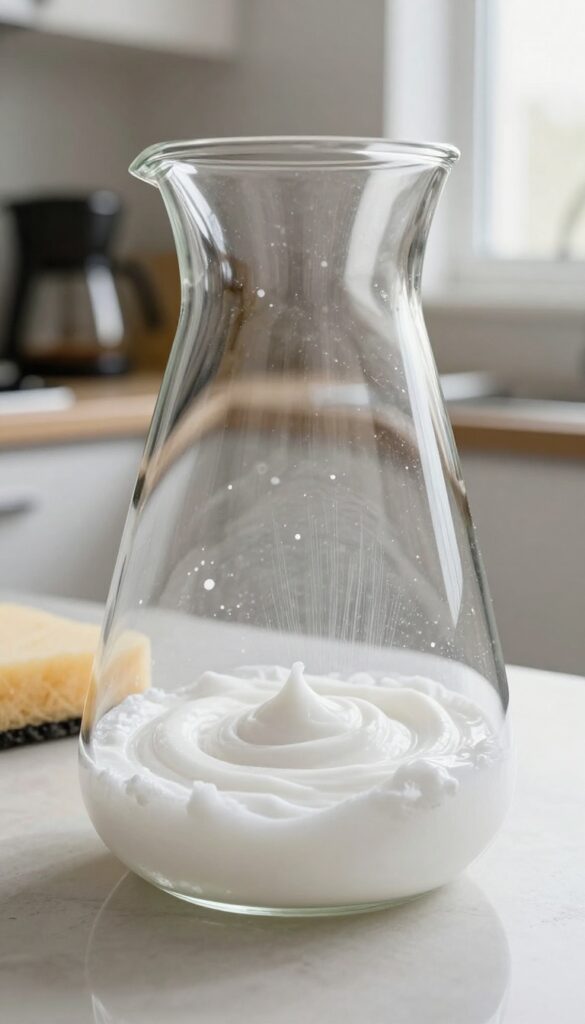
Glass carafes are prone to cloudy stains and lingering odors from coffee oils. A baking soda scrub is a gentle yet effective way to restore clarity and freshness without harsh chemicals. This method works best for visible buildup on the interior surface.
Baking soda is a mild abrasive that lifts stains and neutralizes odors without scratching glass. To use it, empty the carafe and rinse with warm water. Sprinkle about two tablespoons of baking soda inside, add a splash of water to form a thick paste, then scrub with a soft sponge or bottle brush.
Focus on the bottom and sides where residue collects. Rinse thoroughly with warm water until no baking soda remains. For stubborn stains, let the paste sit for 15 minutes before scrubbing.
This method is safe for daily use and costs pennies per clean.
Why Baking Soda Works
Baking soda's fine granules gently abrade coffee oils and mineral deposits without scratching glass. Its alkaline nature helps neutralize acidic coffee residues that cause bitter flavors and odors. Unlike harsh detergents, it rinses clean without leaving chemical traces that could affect future brews.
Step-by-step Scrub
Start by rinsing the carafe with warm water to loosen loose debris. Sprinkle 2 tablespoons of baking soda into the carafe. Add just enough water to create a thick paste (about 1 tablespoon).
Use a soft sponge or non-abrasive bottle brush to scrub the entire interior, paying extra attention to the bottom and neck. Rinse thoroughly with warm water until the water runs clear. For extra cleaning power, add a few drops of dish soap to the paste.
When To Use This Method
This scrub is ideal for weekly maintenance or when you notice visible stains or a stale smell. It's safe for all glass carafes, including those with thermal coatings, as long as you avoid abrasive pads. If you have heavy mineral scale, pair this with a vinegar soak first, then follow up with baking soda to remove any remaining residue.
3. Lemon Juice Descaler

Lemon juice isn't just for lemonade—it's a powerful natural descaler. The citric acid in lemons breaks down limescale and mineral deposits without harsh chemicals. Plus, it leaves your coffee maker smelling fresh and clean.
This method works especially well if you prefer a non-toxic approach to cleaning.
Using lemon juice to descale your coffee pot is simple and effective. The citric acid dissolves calcium and mineral buildup, restoring your machine's performance and improving the taste of your coffee. It's a great alternative to vinegar if you dislike the smell.
How To Descale With Lemon Juice
Mix equal parts lemon juice and water—about one cup each for a standard 12-cup machine. Pour the solution into the water reservoir, then run a full brew cycle. Let it sit in the carafe for 15 minutes, then discard.
Follow with two cycles of plain water to rinse thoroughly. Your coffee pot will be spotless and smell like citrus.
Why It Works So Well
Citric acid is a chelating agent, meaning it binds to minerals like calcium and magnesium, making them soluble in water. This lifts scale away from surfaces without scrubbing. Lemon juice is also gentle on plastic and rubber parts, so it won't damage seals or gaskets over time.
When To Use This Method
Lemon juice descaling is perfect for monthly maintenance or whenever you notice a drop in brewing temperature or a slower flow. It's also a good choice if you're sensitive to the smell of vinegar or prefer natural cleaning products. Just be sure to rinse well to avoid any lemony aftertaste in your coffee.
4. Dishwasher Pod Trick for Stubborn Stains
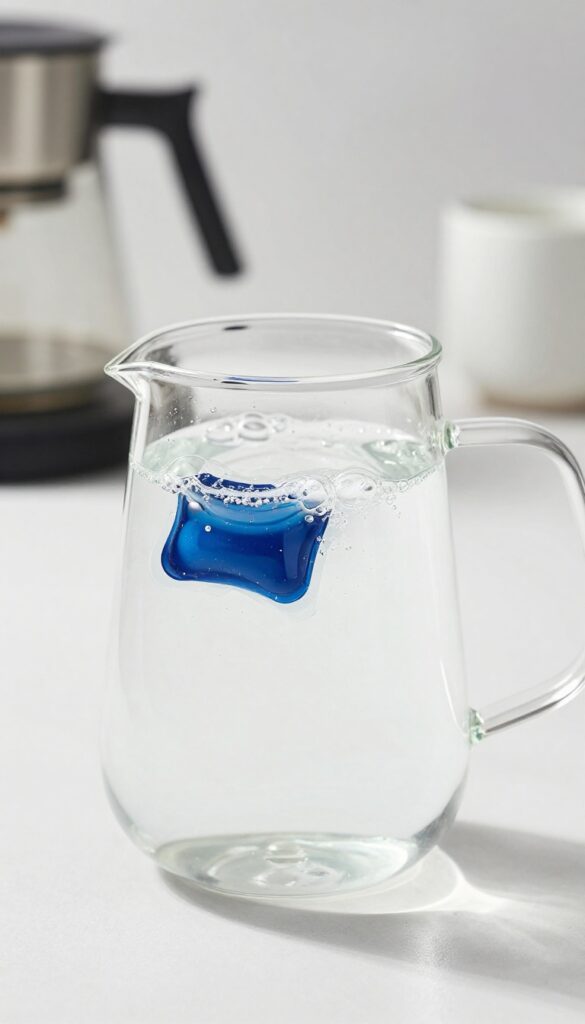
Yellowed glass carafes can be tough to restore, but a dishwasher pod might be your secret weapon. The powerful detergent cuts through coffee oils and mineral deposits that regular scrubbing misses. This method is especially handy when you need a deep clean without much elbow grease.
Fill the carafe with hot water and drop in a single dishwasher pod. Let it sit for an hour—the enzymes and surfactants work to break down stubborn stains. After soaking, scrub with a bottle brush or sponge, then rinse thoroughly.
The result is sparkling glass with no lingering odors.
Why Dishwasher Pods Work
Dishwasher pods contain strong alkaline agents and enzymes designed to dissolve grease and baked-on food. Coffee oils and tannins are similar to food residue, so the pods tackle them effectively. The hot water activates the cleaning agents, making them more potent than typical dish soap.
Best Practices For Best Results
Use only one pod per carafe—more won't speed things up and may create excess suds. Let the solution sit for a full hour, but check after 30 minutes if stains are light. For extra stubborn spots, scrub with a non-abrasive pad before rinsing.
Always rinse multiple times to remove any soap residue.
What To Avoid
Never use dishwasher pods on aluminum or copper carafes, as the chemicals can damage the metal. Also, avoid this method on thermal carafes with plastic or rubber seals—prolonged exposure to strong detergents may degrade them. Stick to glass carafes for best results.
5. Denture Tablet Soak
Effervescent denture tablets aren't just for cleaning false teeth—they work wonders on coffee-stained carafes. The fizzing action helps lift stubborn residue without harsh scrubbing.
Drop two denture tablets into the carafe filled with warm water. Let them fizz for about 30 minutes, then rinse thoroughly. The tablets break down coffee oils and mineral deposits, leaving the glass sparkling.
This method is especially effective for removing brown stains that other cleaners miss.
Why It Works
Denture tablets contain sodium bicarbonate, citric acid, and other cleaning agents that create carbon dioxide bubbles. These bubbles help dislodge particles stuck to the glass surface. The mild abrasives polish away stains without scratching.
Best Practices
Use warm (not hot) water to avoid damaging the carafe. For heavy buildup, let the tablets fizz overnight. Always rinse the carafe thoroughly after soaking to remove any chemical residue.
This method is safe for glass and stainless steel but avoid using it on aluminum or plastic parts.
6. Rinse the Reservoir After Each Use
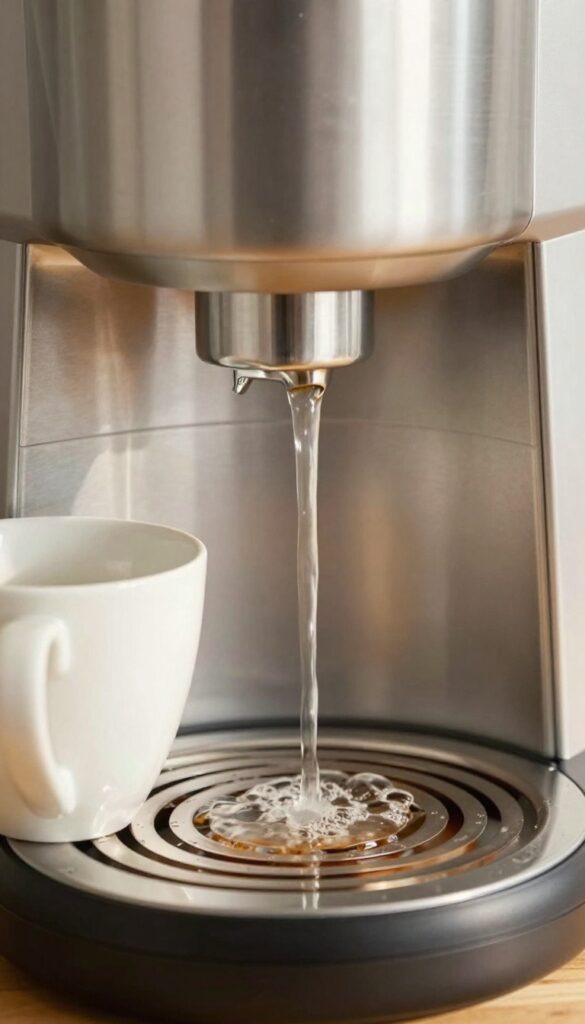
The water reservoir is often overlooked, but it's a prime spot for mineral deposits and stale water to linger. A quick rinse after each brew keeps things fresh and reduces the frequency of deep cleans. It's the easiest habit to adopt for a cleaner coffee pot.
Make it a routine: after you pour your coffee, empty any leftover water from the reservoir and swish warm water around. Dump it out and let the lid stay open to air dry. This simple step prevents old water from sitting and mineral scale from forming.
Over time, you'll notice less buildup and a cleaner taste.
Why It Matters
Leftover water in the reservoir can grow bacteria and mineral deposits, especially if you have hard water. Rinsing removes the immediate residue and keeps the internal components cleaner between deep cleans.
How To Do It Right
After brewing, unplug the machine and let it cool slightly. Remove the water reservoir if it's detachable, or tilt the machine to empty it. Rinse with warm tap water for about 15 seconds, then let it air dry.
Avoid soap unless you rinse thoroughly—soap residue can affect taste.
When To Deep Clean Instead
Rinsing is a daily habit, but it doesn't replace monthly descaling. If you notice slow brewing or a mineral smell, it's time for a vinegar or citric acid cycle. Rinsing just extends the time between those deeper cleans.
7. Clean the Filter Basket and Carafe Lid
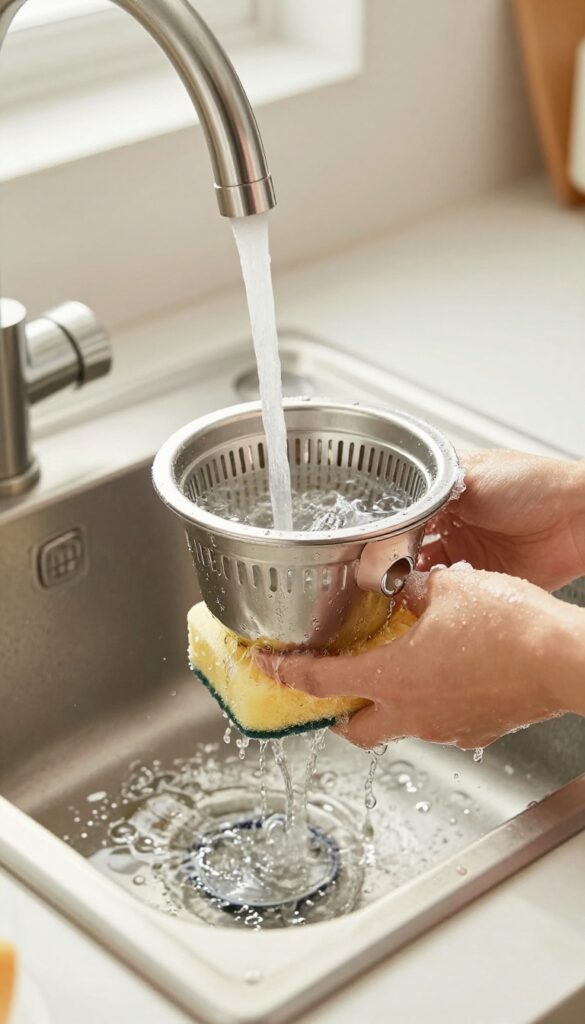
The filter basket and carafe lid are two of the most overlooked parts of a coffee maker. They trap coffee oils, grounds, and mineral deposits that can turn your brew bitter. A quick rinse isn't enough—you need to give them a proper scrub.
Remove the filter basket and carafe lid from the machine. Wash them in warm, soapy water using a soft sponge or brush. Pay special attention to the crevices and the underside of the lid where residue hides.
Rinse thoroughly and let them air dry completely before reassembling. This simple step removes the oily film that can ruin the taste of your coffee.
Why These Parts Matter
Coffee oils cling to plastic and metal surfaces. Over time, they turn rancid and impart a bitter, stale flavor to your brew. The filter basket holds wet grounds, and the lid traps steam and splashes, making them prime spots for buildup.
How To Clean Effectively
Use a mild dish soap and warm water. For stubborn residue, soak the parts in a vinegar solution (1 part white vinegar to 2 parts water) for 15 minutes, then scrub. Avoid abrasive pads that can scratch plastic.
Rinse well to remove any soap or vinegar taste.
Drying Is Crucial
Moisture encourages mold and bacteria growth. After washing, let the parts dry completely on a dish rack or with a clean towel. Never reassemble them while damp, as this can lead to musty odors and affect your coffee's freshness.
8. Use a Commercial Coffee Maker Cleaner
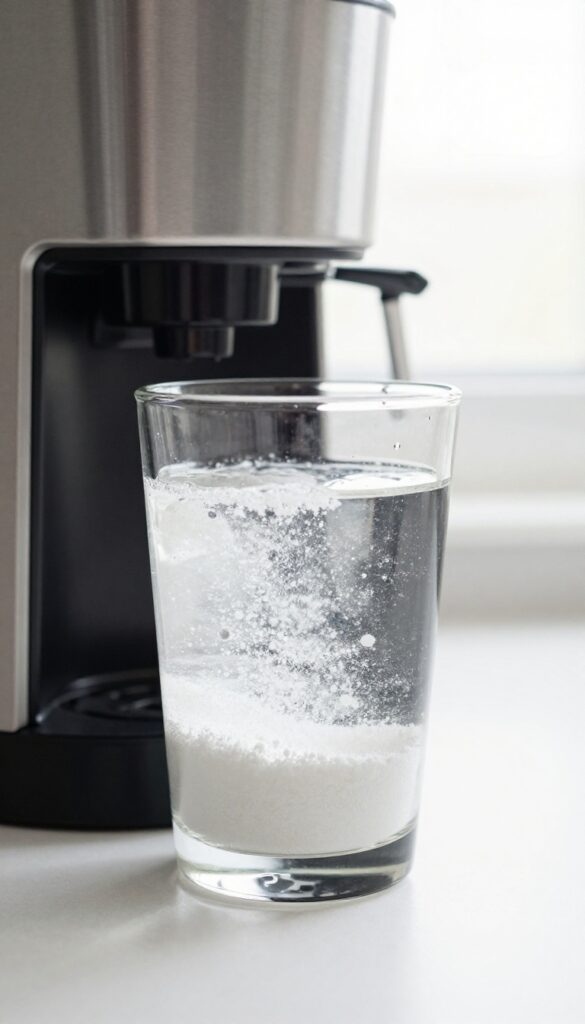
Sometimes natural remedies aren't enough, especially if you've let buildup go for months. That's when you bring in the big guns: commercial coffee maker cleaners. Products like Urnex or Dezcal are specifically formulated to dissolve mineral scale and coffee oils without damaging your machine.
They're fast, effective, and take the guesswork out of deep cleaning.
Commercial cleaners are designed for coffee equipment, so they work faster and more thoroughly than DIY solutions. Most come in powder or tablet form and require a simple descaling cycle. They're especially useful for removing stubborn limescale in hard water areas, which can clog internal tubes and affect brewing temperature.
Using one every few months keeps your coffee tasting fresh and your machine running smoothly.
How They Work
These cleaners contain descaling agents like citric acid or sulfamic acid that break down mineral deposits. Unlike vinegar, they're odorless and won't leave a lingering taste. Simply fill the reservoir with water, add the recommended amount of cleaner, and run a brew cycle.
Then run two or three cycles with fresh water to rinse.
Choosing The Right Product
Look for a cleaner that's compatible with your coffee maker brand. Urnex is a popular choice for drip machines and espresso machines, while Dezcal is great for single-serve pod brewers. Always check the label to ensure it's safe for your specific model.
Some cleaners are also formulated for commercial machines, so pick one that matches your home setup.
Safety And Frequency
Follow the package directions precisely—using too much can damage seals, and too little won't clean effectively. Wear gloves if you have sensitive skin, and keep the solution away from children. For most households, descaling every three months is sufficient, but if you have very hard water, you might need to do it monthly.
9. Ice and Salt for Thermal Carafes
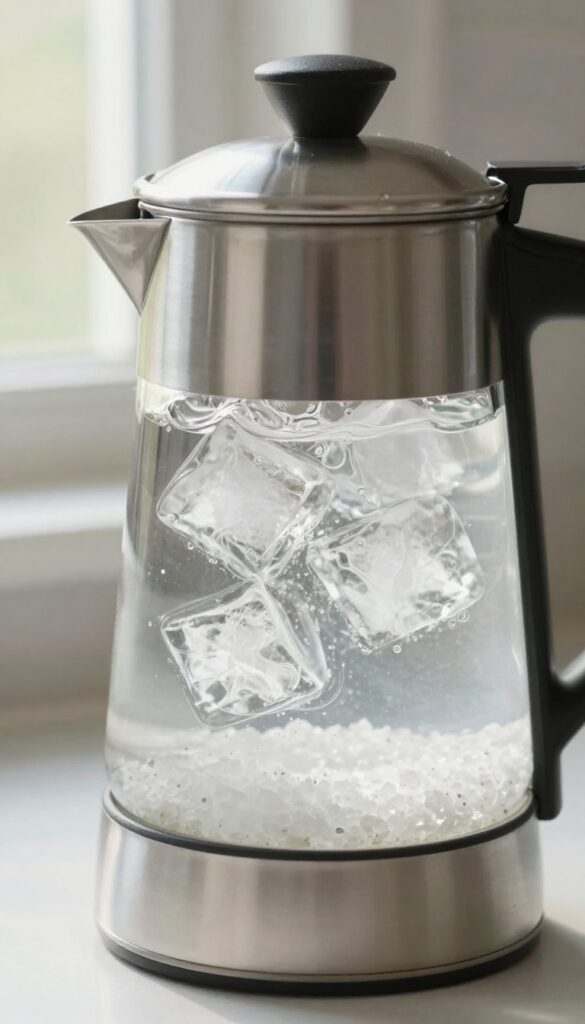
Thermal carafes are great at keeping coffee hot, but their narrow openings and insulation make scrubbing a chore. You can't just toss them in the dishwasher or use harsh chemicals without risking damage. That's where a simple combination of ice and coarse salt comes in as a gentle yet effective cleaning method.
The abrasion from the salt crystals, combined with the weight and motion of the ice, scours away coffee oils and residue without scratching the interior. This technique is especially useful for stainless steel or double-walled carafes that need a delicate touch.
To use this method, fill the thermal carafe about halfway with ice cubes. Add one tablespoon of coarse salt—kosher or sea salt works well. Secure the lid tightly and swirl the carafe vigorously for one to two minutes.
The ice and salt act as a physical scrubber, dislodging stubborn buildup from the walls and bottom. Pour out the mixture and rinse thoroughly with warm water. Repeat if necessary, then air dry with the lid off to prevent odors.
This approach avoids the need for chemical cleaners or abrasive sponges that could damage the carafe's inner coating. It's quick, uses common kitchen ingredients, and leaves the carafe fresh and ready for your next brew.
Why Ice And Salt Work
The science is straightforward: ice provides a solid, non-abrasive scrubbing surface, while salt adds grit to break down oily residue. As you swirl, the ice cubes tumble and scrape against the interior, and the salt crystals grind away stubborn stains. Unlike baking soda or vinegar, this method won't leave behind a taste or smell, and it's safe for all thermal carafe materials.
Tips For Best Results
Use coarse salt rather than table salt—the larger crystals provide better abrasion. If your carafe is heavily stained, let the ice-salt mixture sit for a few minutes before swirling. For extra cleaning power, add a splash of white vinegar or lemon juice after the initial swirl, then rinse thoroughly.
Always dry the carafe with the lid off to prevent moisture buildup and mold.
10. Monthly Maintenance Schedule
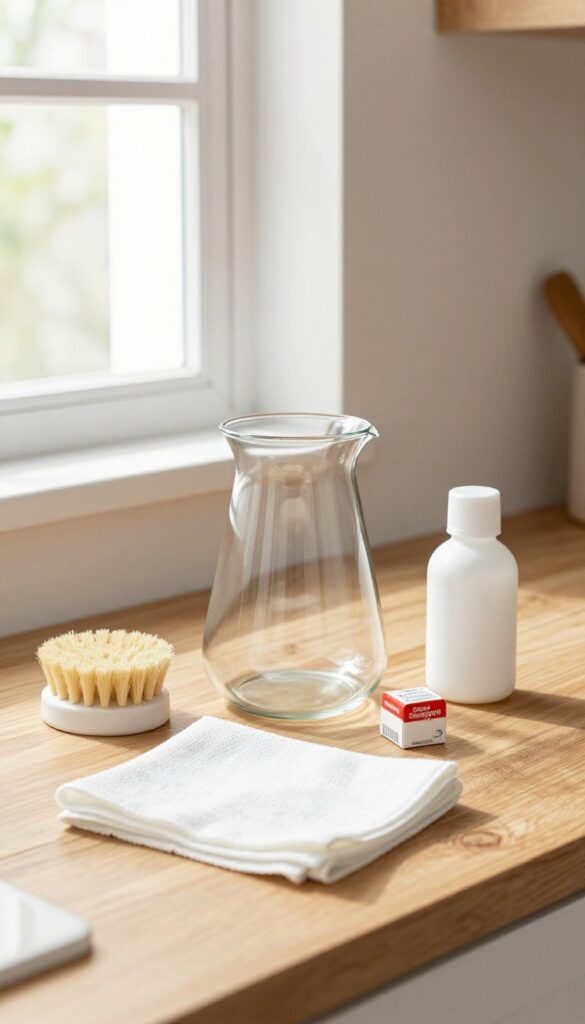
A clean coffee maker isn't a one-time project. It's an ongoing habit that keeps bitter buildup from ever taking hold. Setting a monthly maintenance schedule ensures your machine stays fresh and your coffee tastes great cup after cup.
This simple routine takes just a few minutes but pays off in better flavor and a longer-lasting appliance.
Monthly deep cleaning prevents the accumulation of coffee oils, mineral deposits, and stale water that cause bitter flavors. Regular care also reduces the need for harsh chemical descalers and keeps your machine running efficiently. By making this a habit, you'll always have a clean pot ready for your morning brew.
Pick A Date And Stick To It
Choose a day that's easy to remember, like the first Sunday of the month or the day you pay bills. Write it on your calendar or set a phone reminder. Consistency is key—once it becomes automatic, you won't have to think about it.
Gather Your Supplies Ahead Of Time
Keep a small cleaning kit near your coffee maker. Include white vinegar, baking soda, a soft brush, and a microfiber cloth. Having everything at hand makes the process quick and painless.
You're more likely to follow through if you don't have to hunt for supplies.
Follow A Simple 3-step Routine
First, run a cycle with equal parts water and vinegar. Second, run two cycles of plain water to rinse. Third, wipe down the carafe, lid, and exterior.
That's it. The whole thing takes about 20 minutes, and your coffee maker will thank you.
FAQ
How often should I clean my coffee pot?
For best taste, rinse after each use and deep clean once a month. If you use hard water, consider cleaning every two weeks.
Can I use bleach to clean my coffee pot?
No, bleach is too harsh and can leave harmful residues. Stick to vinegar, baking soda, or commercial cleaners.
Why does my coffee taste bitter even after cleaning?
Bitter taste can also come from over-extraction, stale beans, or water temperature. Ensure you're using fresh coffee and proper grind size.
Is it safe to run vinegar through my coffee maker?
Yes, vinegar is safe and effective. Just be sure to run several cycles of plain water afterward to remove any vinegar taste.
How do I clean a stainless steel thermal carafe?
Use the ice and salt method or a mixture of baking soda and water. Avoid abrasive pads that can scratch the interior.
Conclusion
A clean coffee pot makes a noticeable difference in how your morning brew tastes. By tackling mineral buildup and old coffee oils regularly, you'll avoid that bitter, stale flavor that ruins a good cup.
Pick one or two of these cleaning methods that fit your schedule and stick with them. Your coffee maker will last longer, and every cup will taste as fresh as the first one of the day.