How to Clean Jets in Bathtub in 10 Fresh Steps Fast
Bathtub jets can turn a relaxing soak into a germy mess when gunk builds up inside. You don't need a plumber or expensive cleaners to get them spraying clean again—just hot water, vinegar, and a few household tools.
Follow this 10-step routine to flush out residue and keep your jets running fresh. Each step targets a specific part of the cleaning process, from deep circulation to nozzle scrubbing.
By the end, you'll have a tub that looks and smells like new, without harsh chemicals or hours of effort.
1. Fill the Tub with Hot Water
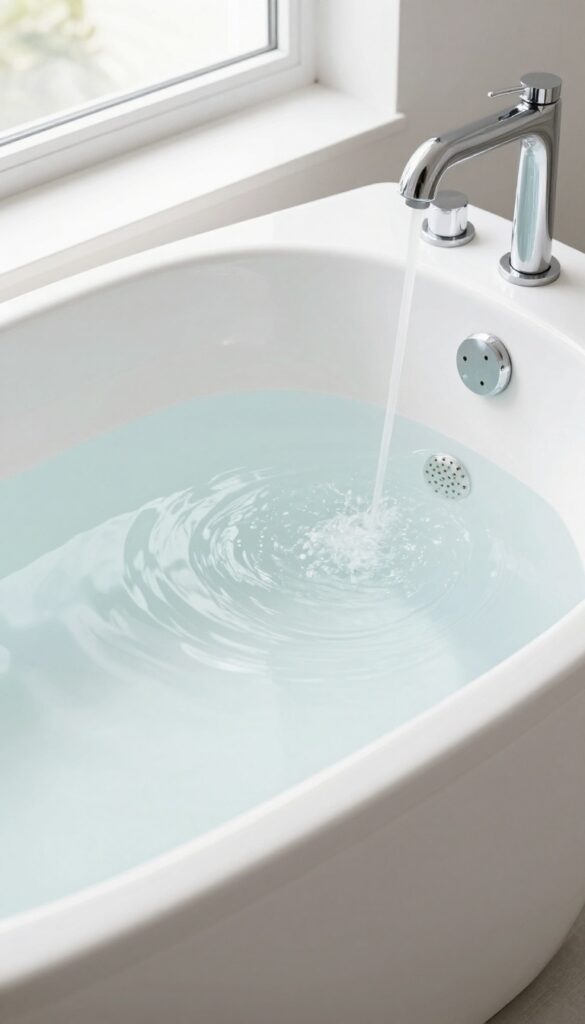
Before you add any cleaners, you need a full tub of hot water. The heat is key—it softens stubborn debris and opens up the jet pathways so the cleaning solution can circulate freely. Make sure the water level covers the jets by at least two to three inches; otherwise, the pump might suck in air instead of water.
This step sets the stage for everything that follows. Hot water alone won't clean the jets, but it primes the system for the vinegar or cleaner you'll add next. Don't skimp on temperature—the hotter the better, as long as it's safe for your tub's finish.
Let the water run until it's steaming, then turn off the tap.
Why Hot Water Matters
Heat helps dissolve soap scum, mineral deposits, and biofilm that cling to the inside of jet tubing. Cold or lukewarm water won't break down these residues as effectively, so you'd just be moving gunk around instead of flushing it out.
Getting The Level Right
If your jets are positioned high on the tub wall, you may need to fill the tub more than usual. Check that every jet is submerged. If some are above the waterline, they won't get cleaned, and the pump could be damaged by running dry.
A Quick Safety Check
Make sure your tub's pump system is designed for hot water. Most are, but if you have an older or delicate unit, consult the manual. Also, avoid boiling water—tap-hot is plenty.
Once filled, you're ready to add the cleaning agent.
2. Add Vinegar and Dish Soap
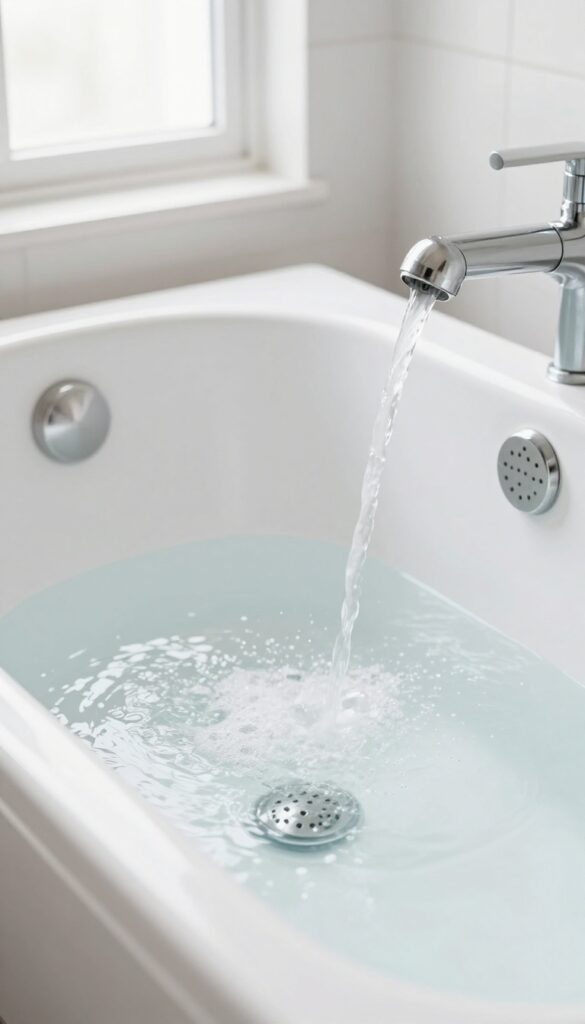
Once your tub is filled with hot water, it's time to bring in the cleaning power. Vinegar and dish soap are a classic duo that tackle the two main problems in jet systems: mineral buildup and greasy grime. You don't need anything fancy—just basic white vinegar and your regular liquid dish soap.
Pour in 2 cups of white vinegar and 1/2 cup of liquid dish soap directly into the water near the jets. The vinegar works to dissolve hard water deposits and soap scum that accumulate inside the pipes, while the dish soap breaks down body oils, lotions, and other greasy residues. Give the water a gentle stir to combine the ingredients before moving on.
Why Vinegar Works Best
White vinegar is mildly acidic, which makes it perfect for eating away at calcium and lime scale without damaging your tub's finish. Unlike harsh chemical descalers, it's safe for acrylic, fiberglass, and porcelain surfaces. Plus, it's cheap and you probably already have it in your pantry.
Choosing The Right Dish Soap
Any liquid dish soap will work, but avoid formulas that contain bleach or antibacterial agents—they can create harmful fumes when mixed with vinegar. Stick with a basic grease-cutting variety. A squirt of about half a cup is enough to create suds that help lift grime from the jet interiors.
Let The Mixture Circulate
After adding both ingredients, run the jets on the highest setting for 10 to 15 minutes. This forces the vinegar-soap solution through every inch of the plumbing, loosening buildup from the inside out. You'll start to see debris and discolored water coming out of the jets—that's a good sign the cleaning is working.
3. Run the Jets for 15 Minutes
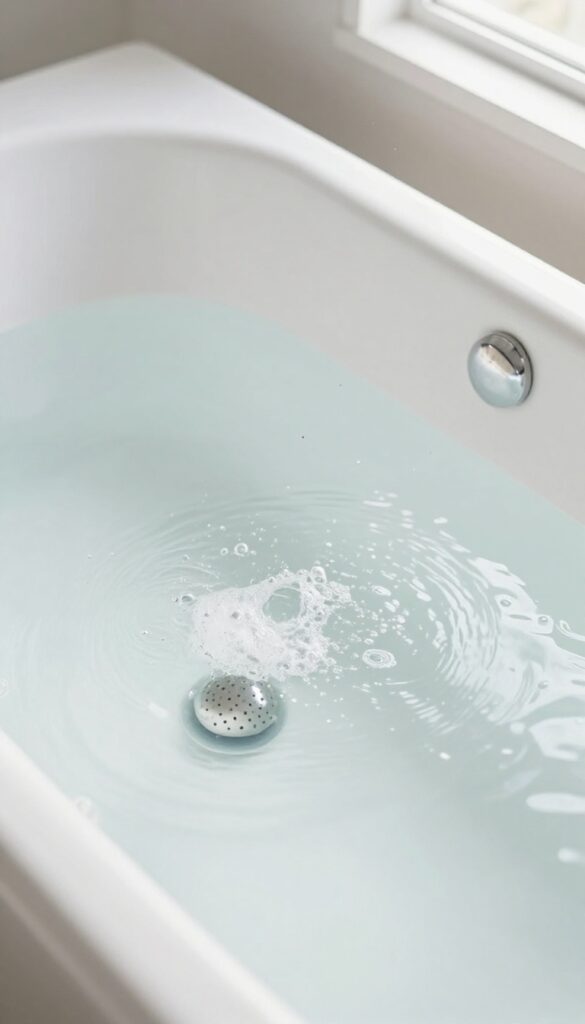
Now that your tub is filled with hot, soapy water, it's time to put the jets to work. Let them run for a full 15 minutes to force the cleaning solution through every inch of the plumbing. This step is where the magic happens—you'll actually see gunk and grime start to surface as the system flushes itself out.
Turn on the jets and let them run for 15 minutes. The hot water and vinegar solution will circulate through the pipes, loosening biofilm, soap scum, and any other debris that's built up over time. You might notice cloudy water or small particles floating to the surface—that's all the gunk being dislodged.
If your tub has different jet settings, cycle through them to ensure all nozzles get cleaned.
Watch For The Gunk
As the jets run, keep an eye on the water. You'll likely see bits of grime, black specks, or a scummy film rising to the surface. This is a good sign—it means the cleaning solution is working.
If the water gets really murky, you can skim off the debris with a small net or strainer to prevent it from settling back.
Cycle Through Jet Settings
Most bathtubs have multiple jet settings, like high-pressure, low-pressure, or massage modes. Run each setting for a few minutes to ensure every part of the system gets flushed. This is especially important for jets that aren't used often, as they tend to accumulate more residue.
Don't Skip The Timer
Fifteen minutes might seem like a long time, but it's necessary for a thorough clean. Set a timer so you don't cut the process short. If you stop too early, some gunk might remain lodged in the pipes, and you'll have to repeat the step later.
Let the solution do its job.
4. Drain and Refill with Cold Water
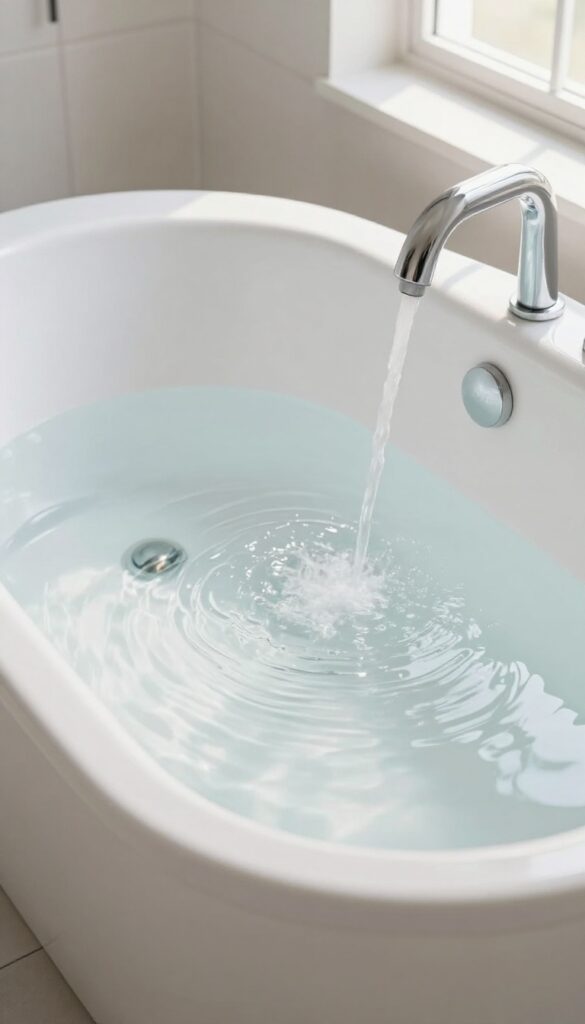
After the vinegar soak and jet circulation, the tub is full of murky, loosened gunk. It's time to let that dirty water go. Draining completely prevents any debris from settling back into the pipes.
Once the water is fully drained, refill the tub with cold water. Cold water helps flush out any remaining residue and prepares the system for a final rinse.
Why Cold Water Works Best
Cold water is denser than warm water, so it creates more turbulence as it fills. This helps dislodge any stubborn particles clinging to the jet interiors. Plus, cold water won't reactivate any leftover vinegar smell.
How To Drain Properly
Open the drain fully and let the water run out completely. You may notice some floating debris—that's normal. If your tub has a slow drain, use a plunger or a drain snake to clear any clogs before refilling.
Refill To Cover The Jets
Fill the tub until the water level is at least 2 inches above the highest jet. This ensures all jets are submerged for the next step. Use cold water only, and avoid adding any cleaners at this stage.
5. Run Jets Again for 10 Minutes
After you've drained the dirty vinegar water, it's time for a final rinse. This step flushes out any lingering cleaner and debris that might be hiding in the jet lines. Cold water works best here because it doesn't react with leftover vinegar or soap, and it helps clear the pipes without creating suds.
Why Cold Water
Hot water can cause leftover vinegar to become more reactive, potentially leaving a faint smell or residue. Cold water is neutral and simply pushes everything out. It also helps prevent any mineral deposits from settling as the system drains.
How To Do It Right
Refill the tub with cold water just above the highest jet. Turn the jets on high for a full 10 minutes. You might see a few last bits of gunk float up—that's normal.
After 10 minutes, drain the tub and wipe any remaining residue from the surface.
Check The Water Clarity
When the water runs clear during this final cycle, you know the jets are clean. If it's still cloudy, repeat the vinegar soak step. Most tubs only need one rinse cycle, but heavy buildup may require an extra round.
6. Clean Jet Nozzles with a Toothbrush
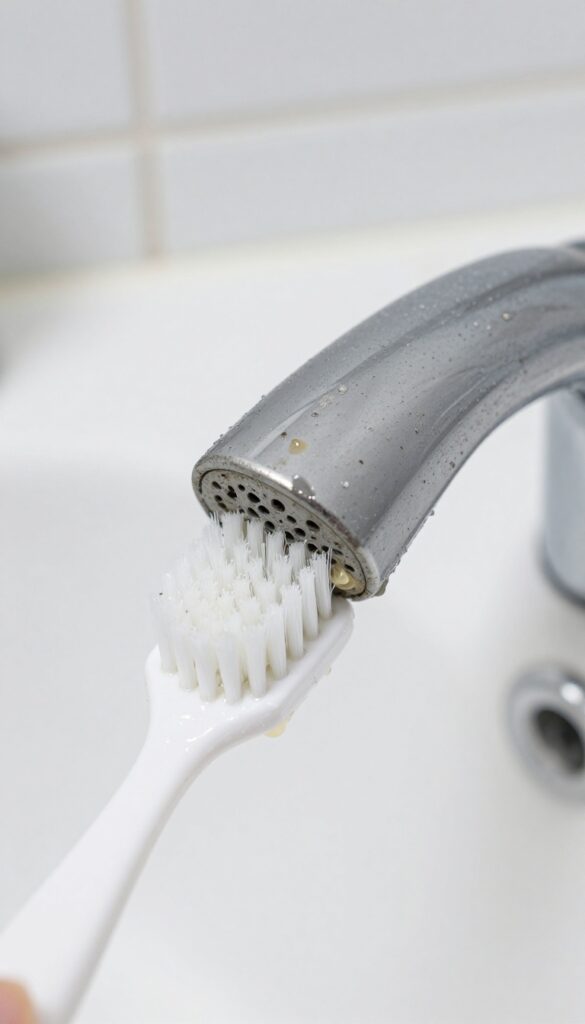
After the vinegar soak and jet circulation, the tub is full of murky, loosened gunk. But some stubborn deposits cling right to the nozzle openings. That's where a simple toothbrush comes in handy.
Why A Toothbrush Works Best
The bristles of an old toothbrush are just the right stiffness to scrub away mineral deposits and biofilm without scratching the jet surface. Dipping it in vinegar adds a mild acidic boost to dissolve remaining scale. Work the brush in a circular motion around each nozzle, focusing on any visible discoloration or rough spots.
Step-by-step Nozzle Scrubbing
Start with the jets closest to the drain and work your way around the tub. For each nozzle, dip the brush in vinegar, scrub the opening and the surrounding rim for about 10 seconds, then rinse with a cup of clean water. Don't forget the jets that face the wall or are partially hidden—they collect just as much gunk.
Tackling Stubborn Buildup
If you see white or greenish crust that won't budge, let the vinegar-soaked brush sit on the nozzle for a minute before scrubbing again. For really tough deposits, you can use a toothpick or a small pin to gently dislodge debris from the hole, then follow up with the brush. Avoid metal tools that could scratch the surface.
7. Use a Pin or Paperclip for Stubborn Clogs
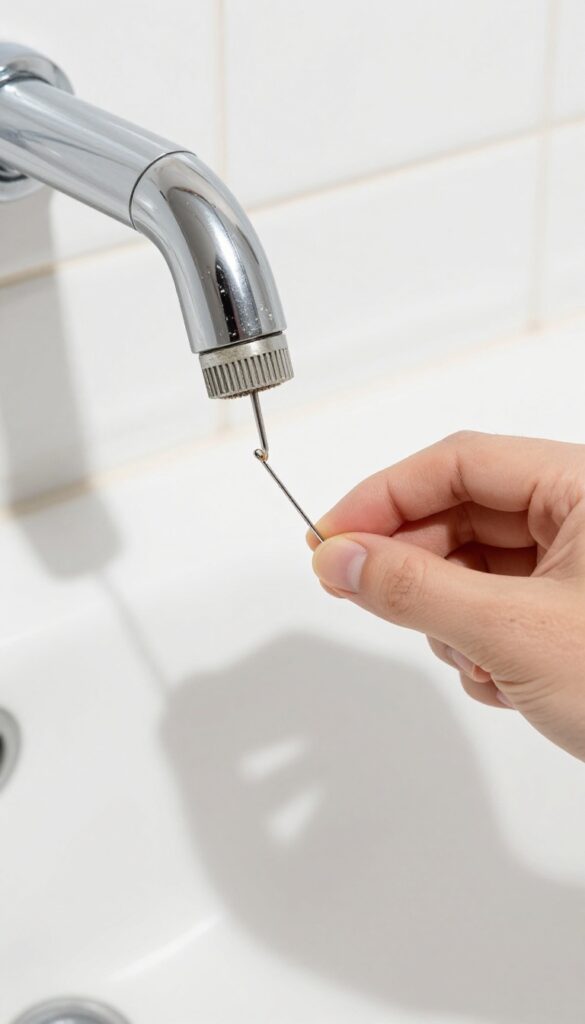
Even after a deep vinegar flush, some jets might still sputter or have blocked holes. This usually means a tiny piece of debris is lodged right in the nozzle. A quick manual nudge is all it takes to clear the path.
Grab a straight pin, sewing needle, or unfolded paperclip. With the water off and the jets dry, gently insert the tip into each blocked hole. Wiggle it slightly to break up any crust or dislodge grit.
Work slowly to avoid scratching the finish or bending the nozzle. After clearing all visible clogs, run the jets with hot water for a minute to flush out the loosened particles. This step is especially helpful for jets that haven't been cleaned in months.
Which Tool Works Best
A sewing pin or a thin paperclip is ideal because they're narrow enough to fit without forcing. Avoid thicker objects like toothpicks, which can snap and leave wood fibers inside. If you have a jet with a very small opening, a needle from a sewing kit is your best bet.
How To Avoid Damaging The Jets
Always insert the pin straight in—don't angle it sideways. The nozzle is usually plastic or metal, and scraping it can create rough spots where more gunk sticks. If you meet resistance, don't push harder.
Instead, try a short burst of compressed air or re-soak with vinegar.
8. Wipe Down the Tub Surface
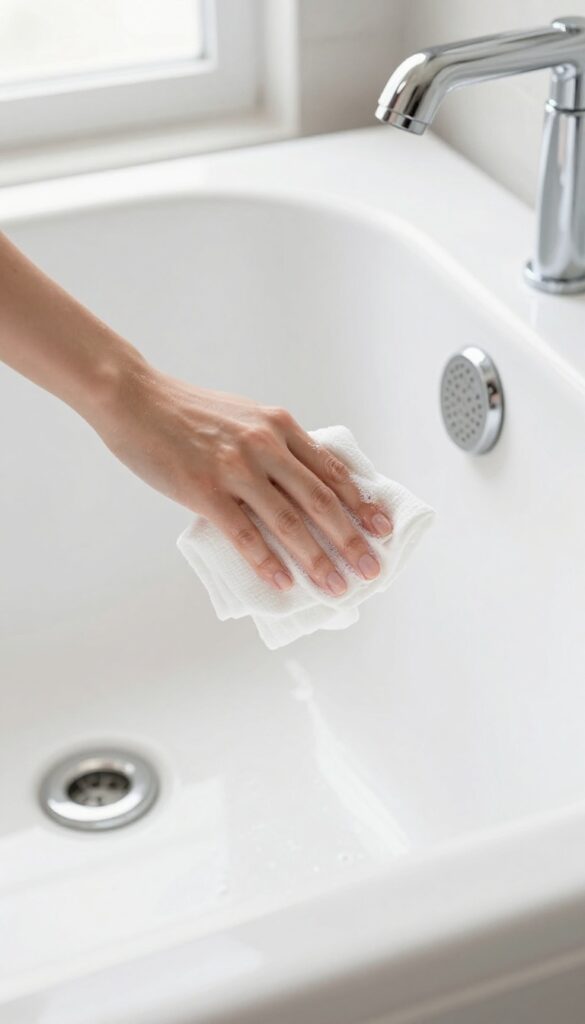
Once the jets are clean and the water is drained, the tub surface itself needs attention. Residue from the vinegar soak and loosened grime can settle on the porcelain or acrylic, leaving a dull film. A quick wipe-down restores shine and ensures no lingering particles redeposit on the jets next time.
Grab a soft microfiber cloth and a mild, non-abrasive cleaner—dish soap and warm water work great. Spray or apply the cleaner to the cloth, not directly on the tub, to avoid overspray onto the now-clean jets. Wipe the entire surface in overlapping strokes, paying extra attention to the rim and corners where residue tends to collect.
Rinse the cloth frequently in clean water to avoid spreading dirt. For stubborn spots, a paste of baking soda and water can gently buff them away without scratching. Finish by drying the tub with a separate dry microfiber cloth to prevent water spots and leave a streak-free shine.
Why Wiping Matters After Jet Cleaning
You might think draining the dirty water is enough, but dissolved gunk can settle on the tub surface as the water level drops. If left, it can dry into a hazy film that traps new dirt. Wiping immediately after draining ensures the tub is truly clean from top to bottom.
Best Cleaners For Tub Surfaces
Stick with gentle, non-abrasive options like dish soap, white vinegar diluted with water, or a dedicated acrylic-safe cleaner. Avoid bleach or harsh scrubbing powders that can damage the finish. For extra shine, a drop of baby oil on a cloth can polish the surface after cleaning.
Don't Forget The Jets Themselves
While wiping the tub, lightly run the cloth over the jet nozzles and trim rings. This removes any last bits of residue that the flush might have missed. A quick once-over keeps the nozzles looking clean and prevents buildup around the openings.
9. Flush with Bleach (Optional Monthly Deep Clean)
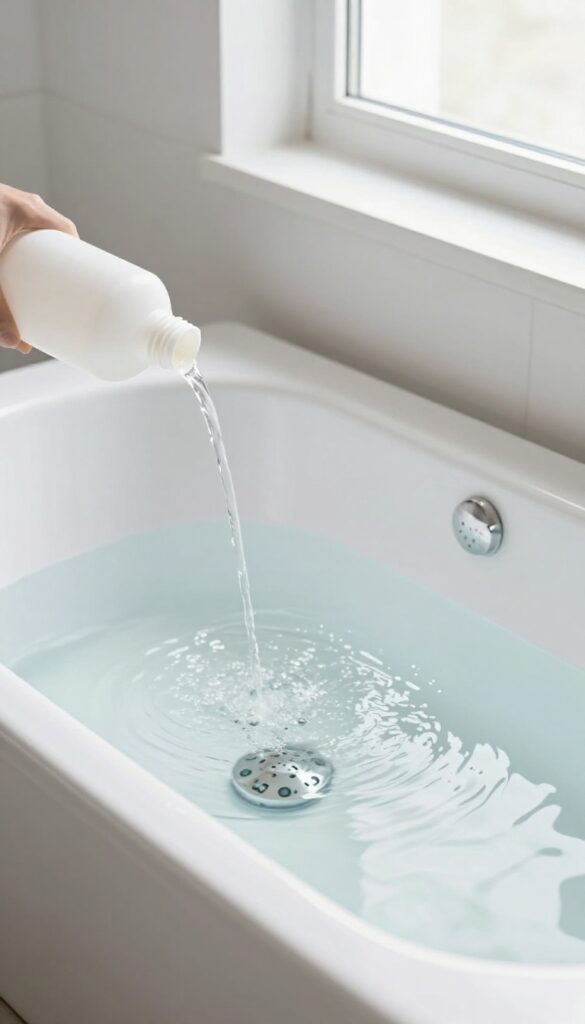
If you want to go beyond vinegar and really nuke any lingering mold or bacteria, bleach is your friend. This step is optional—save it for once a month, or whenever you notice a musty smell after cleaning. Bleach is powerful, so using it too often can wear down rubber seals and gaskets over time.
Repeat the same process you used for the vinegar soak, but swap in 1/2 cup of bleach. Fill the tub with hot water above the jets, add the bleach, and run the jets for 10–15 minutes. Drain, then refill and run again with plain cold water for 5 minutes to flush out any bleach residue.
This deep sanitization kills mold spores and bacteria hiding inside the plumbing.
Why Bleach Works Better For Deep Sanitization
Bleach is a strong oxidizer that destroys the cell walls of mold and bacteria, effectively killing them on contact. Vinegar is great for dissolving grime and mineral deposits, but bleach provides a higher level of disinfection. If anyone in your household has allergies or a compromised immune system, this monthly bleach flush can make a real difference in air quality and hygiene.
Safety Precautions For Bleach Use
Never mix bleach with vinegar or any acidic cleaner—it creates toxic chlorine gas. Always use bleach in a well-ventilated bathroom, and wear gloves to protect your skin. After the bleach flush, run an extra rinse cycle with plain water to ensure no chemical residue remains.
If your tub has metal parts or older seals, consider skipping this step or using a hydrogen peroxide cleaner instead.
10. Prevent Future Buildup with Regular Maintenance
You've scrubbed, flushed, and polished—now keep that clean momentum going. A little regular maintenance stops gunk from taking hold again, so your next soak stays fresh. No need for heavy lifting; just simple habits that pay off.
Run A Monthly Vinegar Cycle
Once a month, fill the tub with hot water above the jets, add 2 cups of white vinegar, and run the jets for 15 minutes. Drain and rinse. This prevents mineral scale and biofilm from building up inside the pipes.
Always Drain After Use
Standing water in the jets is a breeding ground for mold. After every bath, drain the tub completely and run the jets for a few seconds to expel any leftover water from the lines.
Wipe Down Jets And Seals
After each use, wipe the jet nozzles and rubber seals with a dry cloth. This removes moisture and soap residue that can attract grime. A quick dry keeps mildew at bay.
FAQ
How often should I clean my bathtub jets?
For regular use, clean jets every 1-2 months with vinegar. If you use the tub daily or notice buildup, do a monthly deep clean.
Can I use bleach to clean bathtub jets?
Yes, but sparingly. Bleach is effective for sanitizing, but overuse can damage rubber seals and gaskets. Limit bleach flushes to once a month.
Why is black gunk coming out of my jets?
Black gunk is usually a mix of mold, mildew, and biofilm that builds up inside the pipes. A vinegar soak followed by scrubbing should remove it.
Is it safe to use vinegar on all jet types?
Vinegar is safe for most acrylic and fiberglass tubs, but check your manufacturer's guidelines. Avoid vinegar on metal jets or if you have sensitive seals.
What if my jets still smell after cleaning?
A lingering smell often means biofilm remains. Try a bleach flush or a commercial jet cleaner. Also, ensure you dry the pipes after each use by running the jets for a minute after draining.
Conclusion
Cleaning your bathtub jets doesn't have to be a hassle once you know the right steps. By sticking with this routine every few months, you'll keep the water flowing strong and free of gunk. Pick the methods that fit your schedule and supplies, and make them a habit.
Your tub will stay fresh, and you'll avoid costly repairs down the line. Now go enjoy that sparkling clean soak.