How to Clean a Toilet Bowl in 13 Stain Lifting Steps
You flush and the water clears, but those rings and stains stay put. A dirty toilet bowl is one of the most noticeable eyesores in any bathroom. The good news is you don't need a plumber or harsh chemicals to make it gleam.
These 13 steps target every type of stain, from mineral deposits to rust and mold. Each method is tested, practical, and designed to save you elbow grease. You'll see results after the first step.
No more holding your breath while scrubbing. Just a clean, fresh toilet bowl that looks like new. Let's get started.
1. Flush and Drain the Bowl
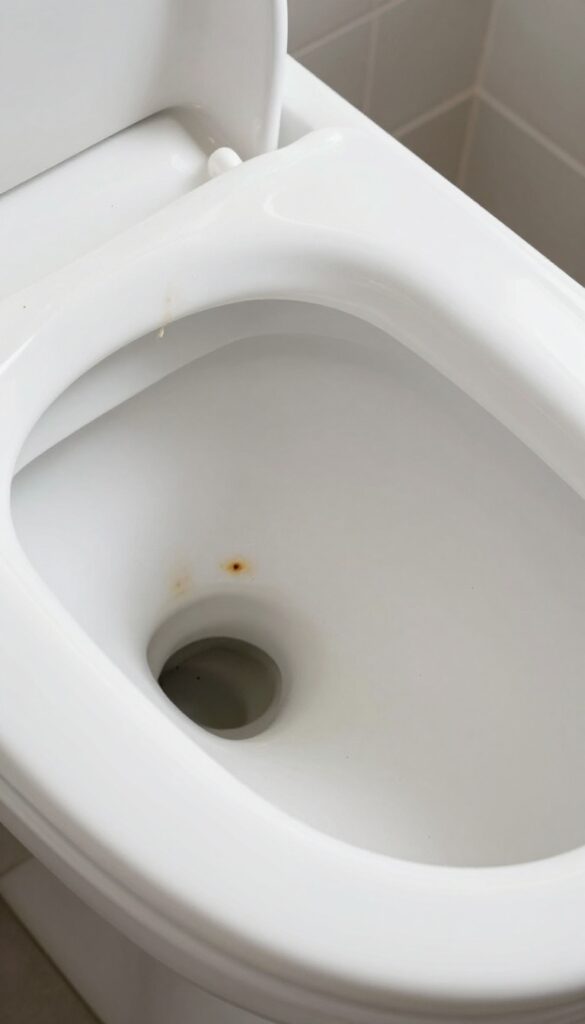
Before you can tackle stains, you need to expose them. Flushing wets the surface, making it easier to see what you're dealing with. Then, use your toilet brush to push the remaining water out of the bowl, revealing stains above the waterline that are usually hidden.
This first step is about preparation. A dry bowl lets cleaning solutions cling to stains instead of being diluted by water. It also prevents splashing when you apply your cleaner.
Don't skip this—it makes every following step more effective.
Why Draining Matters
Stains above the waterline are often the toughest. Mineral rings, rust, and mold thrive there because they're exposed to air. By draining the bowl, you give your cleaner direct contact with these stains, which means less scrubbing and better results.
How To Drain Properly
Start with a fresh flush. While the bowl refills, use your toilet brush to vigorously swirl the water, forcing it down the drain. You can also use a plunger to push water out, but a brush works fine.
The goal is to leave just enough water to cover the drain hole—about an inch.
What To Avoid
Don't pour bleach or harsh chemicals into a completely dry bowl—they can release fumes. Always ensure some water remains. Also, avoid using metal tools that could scratch the porcelain.
Stick with a standard toilet brush or a soft sponge.
2. Apply a Baking Soda Paste
Baking soda is a gentle abrasive that lifts stains without scratching porcelain. When mixed into a thick paste, it clings to the bowl's surface and breaks down grime on contact. This step is especially effective for stubborn rings and hard-water deposits.
Start by sprinkling about half a cup of baking soda into a small bowl. Add water one tablespoon at a time, stirring until you get a spreadable paste—think toothpaste consistency. Using a toilet brush or a gloved hand, apply the paste evenly over the entire bowl, paying extra attention to the waterline and any visible stains.
Let it sit for 10 minutes; this gives the baking soda time to react with acids and loosen dirt. After the wait, scrub gently with your brush, then flush. The paste will rinse away, taking stains with it.
Why Baking Soda Works
Baking soda is mildly alkaline, which helps neutralize acidic stains like urine scale and hard-water rings. Its fine crystals provide gentle friction that lifts grime without scratching the porcelain finish. Plus, it's odorless and safe for septic systems.
How To Make The Perfect Paste
Mix ½ cup baking soda with 2–3 tablespoons of water. Adjust the water amount until the paste is thick but spreadable. For extra stain-fighting power, add a tablespoon of white vinegar after applying the paste—it will fizz and boost cleaning action.
Application Tips For Best Results
Use a dedicated toilet brush or a sponge to spread the paste. Focus on the rim and under the rim where stains hide. For tough rings, let the paste sit for 15 minutes instead of 10.
Always flush thoroughly after scrubbing to remove all residue.
3. Scrub with a Pumice Stone
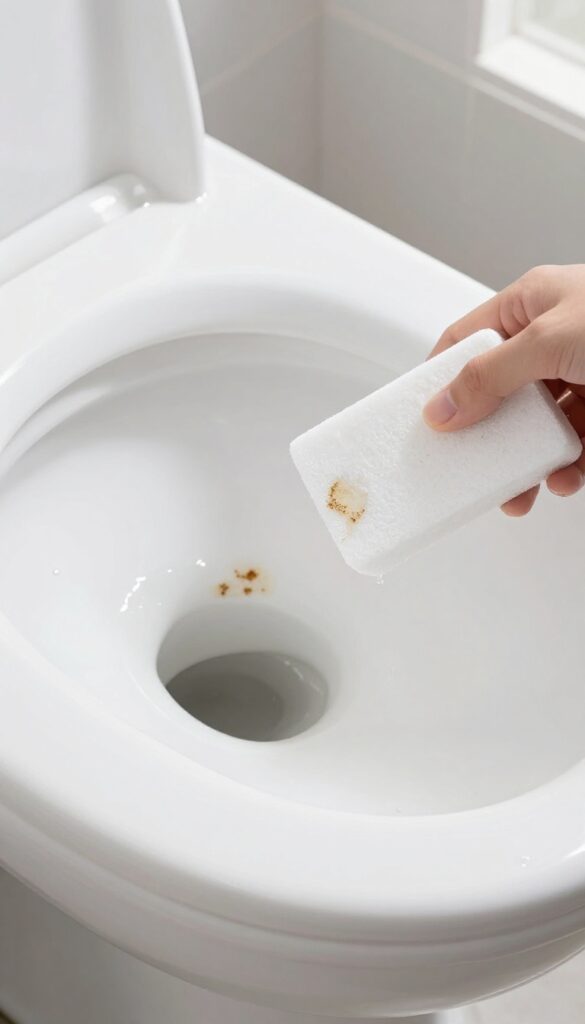
Hard water rings and mineral deposits can feel impossible to remove with a regular brush. A pumice stone is the secret weapon you didn't know you needed. When wet, it gently abrades stains without scratching the porcelain surface.
Why Pumice Works On Tough Stains
Pumice is a volcanic rock that's porous and mildly abrasive. When you wet it, the stone becomes soft enough to lift mineral buildup without damaging the toilet bowl's glaze. It's especially effective on calcium and lime rings that resist bleach and scrubbing.
How To Use It Safely
First, lower the water level in the bowl by turning off the water supply and flushing. Then, dip the pumice stone in water to saturate it. Gently rub the stained area in a circular motion, letting the stone do the work.
Rinse the stone frequently and keep it wet to avoid scratching.
Tips For Best Results
Never use a dry pumice stone — it will scratch the porcelain. After scrubbing, flush to rinse away residue. For stubborn rings, repeat the process.
A pumice stone can last for many cleanings if you store it dry between uses.
4. Use White Vinegar for Hard Water Stains
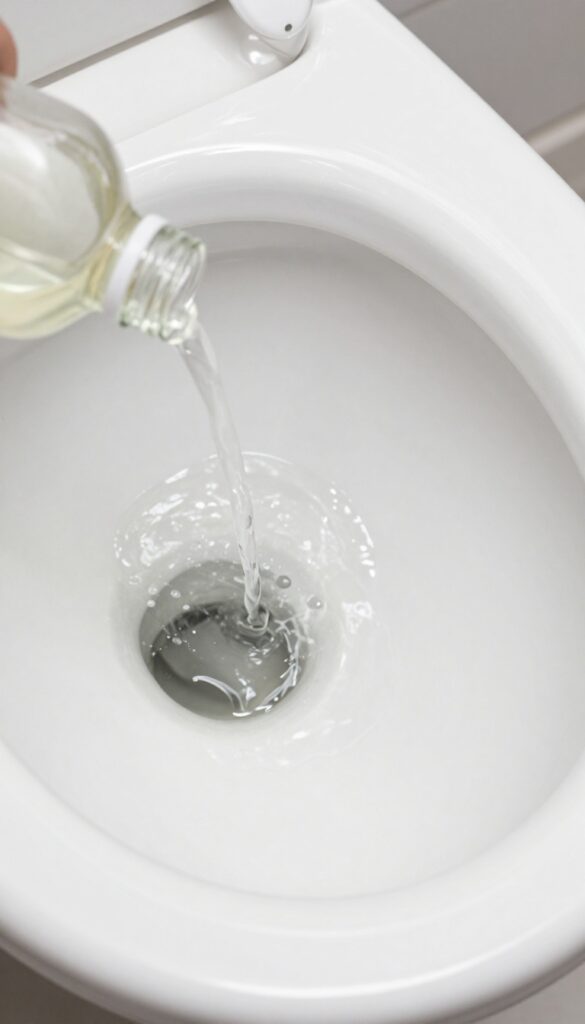
Hard water stains are stubborn, but white vinegar is a natural acid that breaks down calcium and lime deposits. It's cheap, non-toxic, and already in your pantry. Just pour, wait, and scrub.
Why Vinegar Works
White vinegar contains acetic acid, which dissolves the alkaline minerals in hard water stains. It's safe for porcelain and won't damage your toilet's finish. Plus, it deodorizes as it cleans.
How To Apply It
Pour about 2 cups of white vinegar directly into the toilet bowl, making sure to coat the stained areas. Let it sit for 15 minutes—longer for heavy buildup. The acid needs time to work.
Then scrub with a toilet brush and flush.
Boosting The Power
For extra tough stains, add a tablespoon of baking soda after the vinegar. It will fizz, which helps lift grime. Let the mixture sit for another 10 minutes before scrubbing.
This combo is gentle yet effective.
5. Tackle Rust with Lemon Juice
Rust stains in the toilet bowl often come from old pipes or well water. They look worse than they are, and lemon juice can handle them without harsh chemicals. The citric acid in lemons breaks down rust particles, making them easy to scrub away.
For light rust stains, squeeze fresh lemon juice directly onto the affected area and let it sit for 20 minutes. For tougher stains, mix lemon juice with salt to form a paste, apply it to the rust, and let it sit before scrubbing with a toilet brush. The salt adds gentle abrasion while the acid lifts the stain.
Rinse and flush to reveal a clean bowl.
Why Lemon Juice Works On Rust
Rust is iron oxide, and citric acid reacts with it to form a soluble compound that rinses away. This natural reaction is why lemon juice is a go-to for rust removal in many cleaning contexts. It's safe for porcelain and doesn't produce toxic fumes.
How To Apply Lemon Juice For Best Results
Start by flushing the toilet to lower the water level. Squeeze fresh lemon juice directly onto the rust stains or apply your lemon-salt paste. Let it sit for 20 minutes—don't rush this step.
Then scrub with a toilet brush or a pumice stone if needed, and flush.
When To Use A Paste Vs. Straight Juice
Use straight lemon juice for light, surface-level rust. For deep or set-in stains, the paste works better because the salt keeps the juice in contact with the stain longer. You can also add a little cream of tartar to the paste for extra stain-fighting power.
6. Remove Mold with Bleach Gel
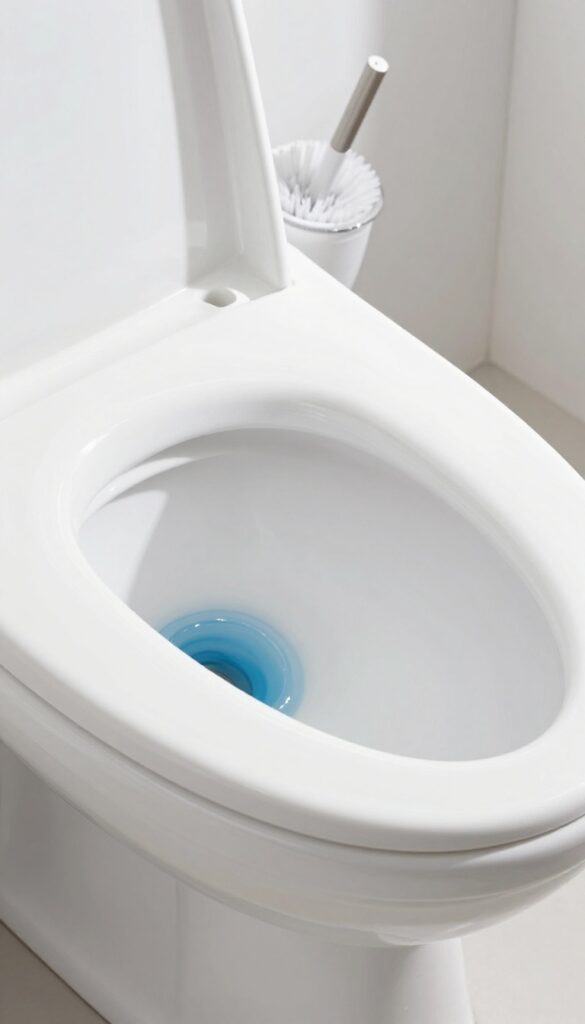
Mold and mildew love the damp, dark spots under the toilet rim and around the waterline. A bleach gel is your best weapon because it stays put and doesn't drip away. This method kills mold at the root and leaves the bowl sparkling.
Bleach gel is thicker than liquid bleach, so it clings to vertical surfaces and under the rim where mold hides. Apply a generous ring of gel under the rim, then squeeze more around the bowl's interior. Let it sit for 10 minutes—longer if the mold is heavy.
The bleach penetrates and kills mold spores, and it whitens the porcelain. After the wait, scrub with a toilet brush, focusing on the rim holes and any dark spots. Flush to rinse.
For stubborn mold, repeat or use a gel with a higher bleach concentration. Always ensure good ventilation and avoid mixing with other cleaners.
Why Bleach Gel Works Best
Liquid bleach runs off too quickly to kill deep mold. Bleach gel stays in place, giving the active ingredients time to work. It also coats the entire area, so you don't miss spots under the rim.
Application Tips For Maximum Effect
Squeeze the gel directly under the rim, rotating the bottle to get full coverage. Then squirt a ring around the bowl just above the waterline. Let it sit for a full 10 minutes—don't rush.
For heavy mold, apply a thicker layer or let it sit up to 20 minutes.
Aftercare And Prevention
After scrubbing and flushing, wipe the rim dry to remove residual moisture. To prevent mold from returning, flush with the lid down and keep the bathroom ventilated. A weekly bleach gel treatment keeps mold from coming back.
7. Clean Under the Rim with a Brush
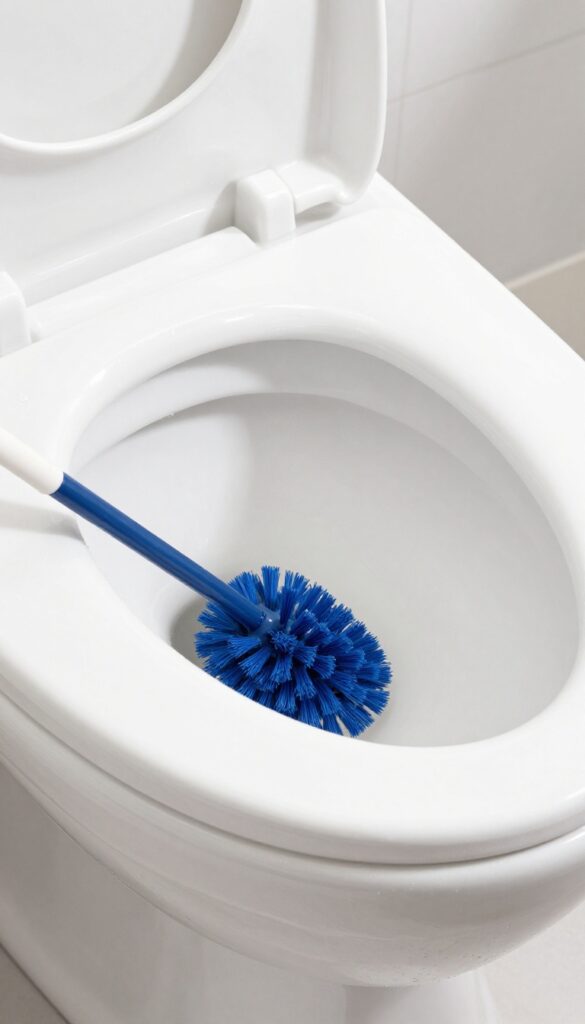
The rim of your toilet bowl is a prime hiding spot for grime and bacteria. A regular brushing often misses this area, leaving behind a ring of buildup that can cause odors and stains. Using a curved toilet brush, you can effectively reach and scrub under the rim.
To clean under the rim, start by lifting the toilet seat and lid. Use a curved toilet brush designed to reach the underside of the rim. Dip the brush in a mixture of water and your chosen cleaner (like baking soda and vinegar or a commercial toilet cleaner).
Scrub vigorously in a circular motion along the entire rim, focusing on areas where buildup is visible. The brush's bristles should dislodge hidden grime and mineral deposits. For stubborn spots, let the cleaner sit for a few minutes before scrubbing again.
Flush to rinse, and repeat if necessary.
Why The Rim Gets Dirty
Under the rim, water jets and gravity create a damp environment where bacteria, mold, and mineral deposits thrive. Flushing can splash debris up into this area, and regular cleaning often neglects it. Over time, this buildup can lead to stains and unpleasant smells.
Choosing The Right Brush
A standard toilet brush may not have the right shape to clean under the rim effectively. Look for a brush with a curved neck or angled bristles that can reach the underside. Silicone or stiff nylon bristles work well for scrubbing without scratching the porcelain.
Technique For Best Results
For a thorough clean, tilt the brush upward as you scrub to maximize contact with the rim. Use a back-and-forth or circular motion. If you notice persistent buildup, apply a paste of baking soda and vinegar directly to the rim and let it sit for 10 minutes before scrubbing.
8. Use a Toilet Cleaning Tablet for Maintenance
Deep cleaning is great, but what about the days in between? Dropping a cleaning tablet into your toilet tank is a simple way to keep the bowl fresh without extra effort. These tablets dissolve slowly, releasing cleaning agents with every flush to prevent stains and reduce buildup.
Toilet cleaning tablets are a low-maintenance solution for ongoing freshness. They work best when you choose a tablet that's compatible with your toilet to avoid damaging internal parts. Drop one in the tank, and it will automatically clean the bowl with each flush, cutting down on manual scrubbing.
This step is ideal for busy households or anyone who wants to extend the time between deep cleans.
Choosing The Right Tablet
Not all tablets are created equal. Look for ones that are septic-safe and free from harsh bleach if you have a sensitive system. Some tablets are designed to target hard water stains, while others focus on deodorizing.
Read the label to ensure it won't harm your toilet's flapper or fill valve.
How To Use Them Correctly
Simply drop the tablet into the toilet tank, away from the fill tube and flapper. Avoid placing it near moving parts to prevent premature wear. Replace the tablet every one to three months, depending on usage and the product's instructions.
You'll notice a fresher bowl and fewer stains with minimal effort.
9. Try Coca-Cola for Stubborn Stains
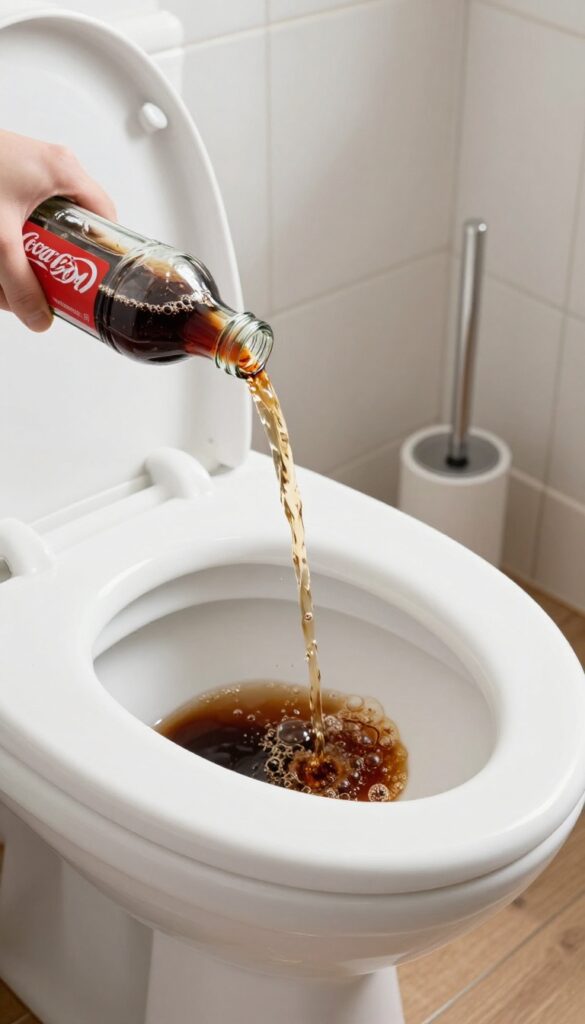
If you've tried vinegar, baking soda, and commercial cleaners but those dark rings still won't budge, it's time for a surprising trick from the pantry. Coca-Cola isn't just a drink—its phosphoric acid makes it a gentle but effective stain remover for tough toilet bowl deposits. This method is especially handy for rust and hard water stains that laugh at regular scrubbing.
Why It Works
The phosphoric acid in cola breaks down calcium, lime, and rust compounds. It's the same acid found in many commercial toilet cleaners, but milder. The carbonation also helps lift grime from the surface.
How To Do It
Pour a full can of Coca-Cola slowly around the rim so it coats the entire bowl. Let it sit for at least an hour—overnight for heavy stains. Then scrub with your toilet brush and flush.
For extra stubborn spots, use a pumice stone after the soak.
Pro Tips
Use regular Coke, not diet—the sugar helps the acid cling to stains. If the water level is high, scoop some out first so the cola isn't diluted. This method is safe for porcelain and septic systems.
10. Use a Magic Eraser for Scuff Marks
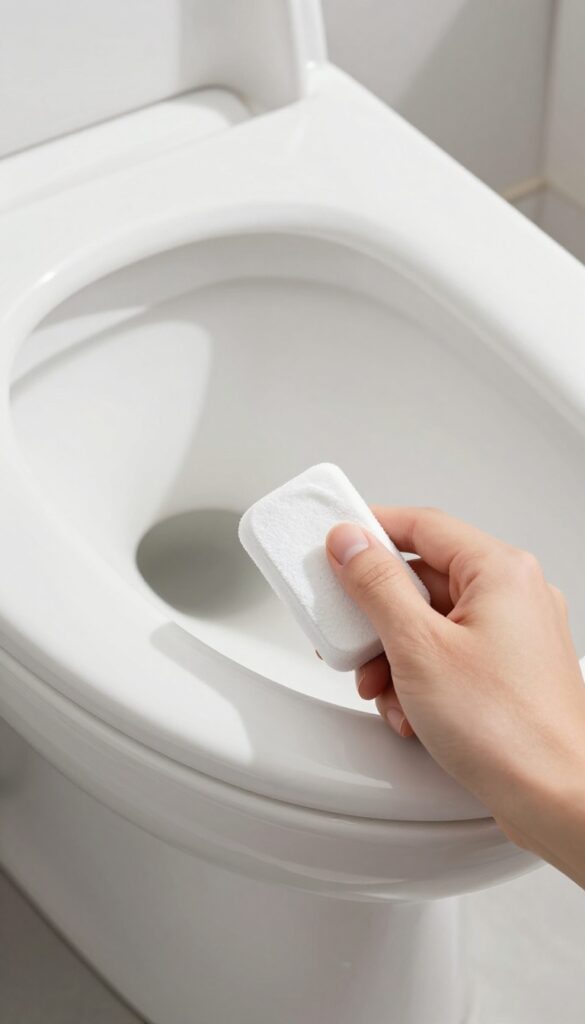
Scuff marks on a toilet bowl can be stubborn. They often come from shoes, brushes, or even cleaning tools. A magic eraser is a simple, non-abrasive solution that lifts these marks without scratching the porcelain.
It works like a pencil eraser for your toilet.
Dampen a magic eraser slightly—too much water can make it crumble. Gently rub the scuff mark or light stain in a circular motion. The eraser's micro-abrasive foam breaks down the mark without harsh scrubbing.
Rinse the area with water afterward to remove any residue. This method is especially effective for marks above the waterline.
When To Use A Magic Eraser
Use it for scuff marks, light stains, or residue that won't come off with regular cleaners. It's not for deep-set stains or mineral rings—those need stronger methods. Also avoid using it on colored or delicate toilet seats, as it can remove paint or finish.
How To Avoid Damage
Always test a small, hidden spot first. Use gentle pressure—the eraser does the work, not your muscle. Rinse thoroughly after use to prevent any chemical residue from sitting on the porcelain.
Don't use it on the inside of the rim or near the wax seal.
Alternative: Diy Magic Eraser
You can make your own by cutting a melamine sponge (the same material) into smaller pieces. Wet it, squeeze out excess water, and use it the same way. Store unused pieces in a dry place.
They're cheap and effective for spot cleaning.
11. Polish with Cream of Tartar
When store-bought cleaners fail, cream of tartar steps in. This pantry staple, when mixed with hydrogen peroxide, creates a gentle abrasive paste that lifts stains without scratching porcelain. It's especially effective on rust rings and hard water deposits that have built up over time.
Cream of tartar is a fine, acidic powder that works as a mild abrasive. Combined with hydrogen peroxide, it forms a fizzing paste that breaks down mineral deposits and brightens the porcelain. This method is safe for regular use and doesn't release harsh fumes.
Making The Paste
Mix equal parts cream of tartar and hydrogen peroxide in a small bowl until you get a thick, spreadable paste. Adjust the ratio if needed—add more powder for thicker consistency or more peroxide for a thinner one.
Application And Wait Time
Apply the paste directly onto stubborn stains using a sponge or brush. Spread it evenly and let it sit for 30 minutes. The longer contact time allows the mixture to penetrate and loosen the stain.
Scrubbing And Rinsing
After 30 minutes, scrub the area with a toilet brush or sponge. The paste will have softened the stain, so light scrubbing should lift it away. Flush the toilet or rinse thoroughly with water to remove all residue.
12. Rinse and Flush Thoroughly
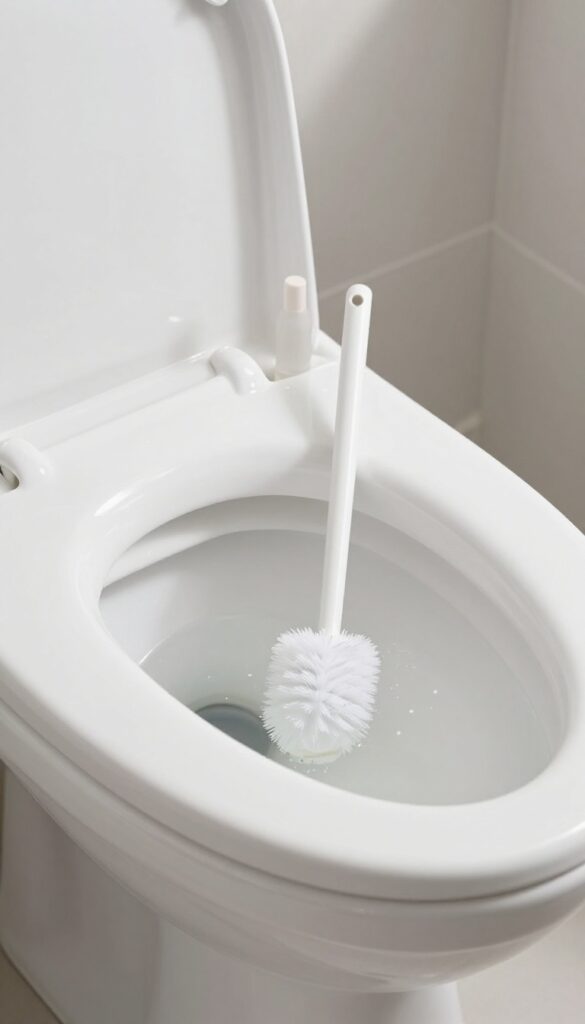
After all that scrubbing and soaking, the final step is just as important as the first. Leftover cleaner residue can attract dirt and cause new stains faster than you'd think. A thorough rinse and flush ensures your toilet bowl stays fresh and stain-free longer.
Don't rush the rinse. Even natural cleaners like vinegar or baking soda can leave a film if not fully removed. Give the bowl a good scrub with clean water using your toilet brush, then flush.
Check under the rim and around the waterline for any lingering suds or residue. If you see any, scrub again with just water and flush once more. Repeat until the water in the bowl runs completely clear.
This extra minute of effort pays off in a bowl that stays clean for weeks.
Why Residue Matters
Cleaner residue isn't just unsightly—it can actually promote bacterial growth and mineral buildup. Many commercial cleaners contain surfactants that cling to porcelain. When you flush, some of that residue remains and traps new debris.
A thorough rinse breaks this cycle and keeps your toilet bowl looking pristine.
The Two-flush Rule
For best results, flush at least twice after your final scrub. The first flush removes the bulk of the cleaner and loosened grime. The second flush clears any remaining particles and ensures the water in the bowl is fresh.
If you used a heavy-duty cleaner or bleach, a third flush might be wise to protect your septic system or plumbing.
Check The Waterline
After flushing, inspect the waterline closely. Any rainbow sheen or suds indicate leftover cleaner. Use a clean toilet brush to agitate the water along the rim and sides, then flush again.
A clean waterline should be crystal clear with no film or bubbles.
13. Prevent Future Stains with Regular Cleaning
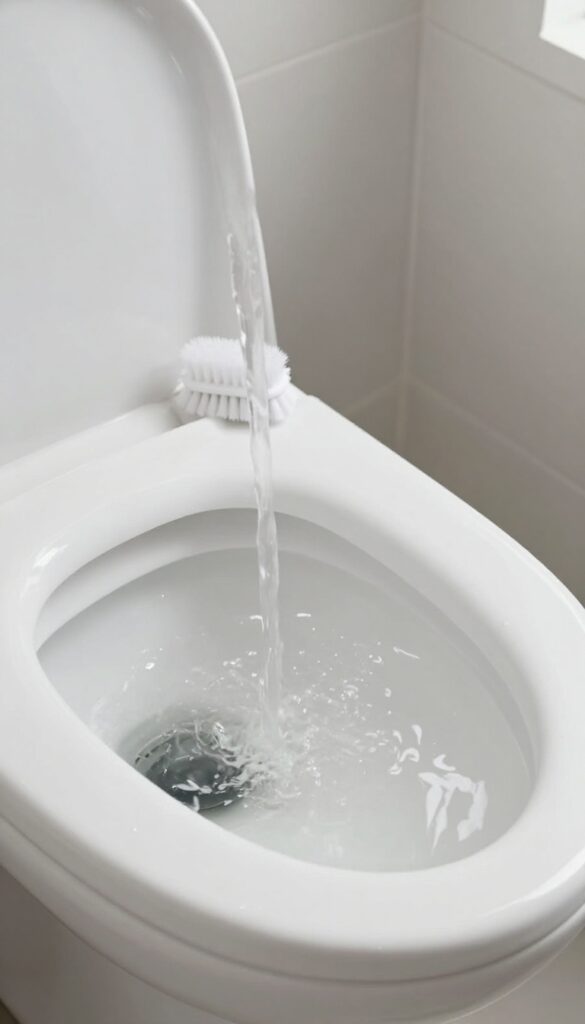
You've tackled every stain and made your toilet bowl sparkle. Now the trick is keeping it that way without another marathon scrubbing session. A simple weekly routine can stop buildup before it starts, saving you time and effort down the road.
Consistency beats intensity when it comes to toilet cleaning. A few minutes each week with a mild cleaner and a good brush will prevent mineral deposits, mold, and rust from taking hold. No need for harsh chemicals—just a gentle but thorough once-over keeps the bowl fresh and stain-free.
Choose The Right Cleaner
You don't need a heavy-duty acid or bleach for weekly maintenance. A mild bathroom cleaner or even dish soap works well. The key is to avoid anything that could damage the porcelain or harm septic systems over time.
Look for a pH-neutral option that's tough on grime but gentle on your toilet.
Make It A Habit
Pick a day each week—maybe Sunday morning or after your evening wind-down—and stick to it. Set a reminder on your phone if needed. Once it becomes routine, it takes less than five minutes.
You'll notice the bowl stays cleaner longer, and deep cleans become rare events.
Don't Forget The Brush
Your toilet brush is your best ally. After each use, rinse it well and let it dry in its holder. Replace it every few months to keep bristles effective and bacteria at bay.
A fresh brush makes a noticeable difference in how well you can scrub away early stains.
FAQ
How often should I deep clean my toilet bowl?
Deep clean your toilet bowl at least once a month. For households with hard water or heavy use, every two weeks is better.
Can I use bleach and vinegar together?
No, never mix bleach and vinegar. The combination creates toxic chlorine gas. Use them separately, and rinse thoroughly between applications.
Will a pumice stone scratch my toilet?
A pumice stone is safe when used wet. Always wet the stone and the porcelain before scrubbing. Dry scrubbing can cause scratches.
Why does my toilet bowl get stains so quickly?
Hard water, high mineral content, and infrequent cleaning cause rapid stain buildup. Using a toilet tablet in the tank can help slow it down.
Is Coca-Cola safe for toilet bowls?
Yes, Coca-Cola is safe for porcelain. The phosphoric acid helps dissolve stains, but rinse thoroughly afterward to avoid sticky residue.
Conclusion
You don't need to dread toilet cleaning anymore. With these 13 stain-lifting steps, you can tackle even the toughest rings and leave your bowl sparkling. The key is letting your cleaner sit and using the right tool for each job.
Once you see how bright your toilet can be, you'll want to keep it that way. So grab your supplies, pick a method that fits your routine, and give your toilet the attention it deserves. A fresh, clean bowl makes the whole bathroom feel better.