20 Cleaning Microwave Vinegar Tips for Odor and Splatter
Your microwave works hard, but over time, food splatters and lingering smells can make it feel less than fresh. A quick wipe with water often isn't enough to tackle stubborn stains or odors that seem to stick around.
That's where vinegar comes in—a simple, natural solution that cuts through grease and neutralizes smells without harsh chemicals. These 20 tips will help you turn your microwave into a clean, odor-free zone with minimal effort.
From daily maintenance to deep cleaning, you'll find a vinegar trick for every situation. Say goodbye to scrubbing and hello to a sparkling microwave.
1. The Classic Vinegar Steam Clean
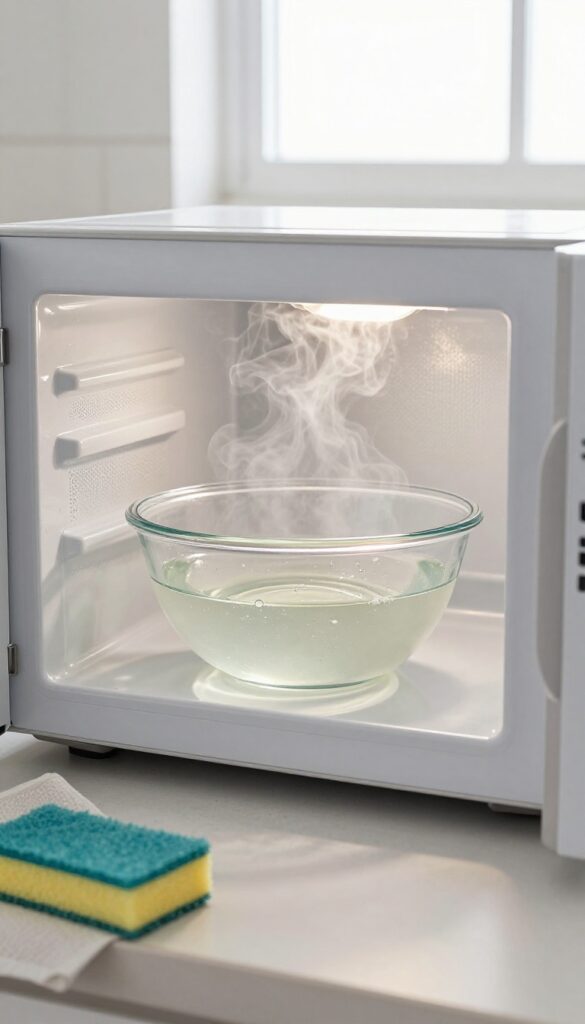
This method is the foundation of all vinegar-based microwave cleaning. It's simple, effective, and works for both light and heavy messes. The steam loosens dried-on food and softens grease, making it easy to wipe away.
Fill a microwave-safe bowl with equal parts water and white vinegar—about half a cup each. Place the bowl in the microwave and heat on high for 5 minutes. Let it sit for 2 minutes after the timer goes off so the steam can continue working.
Carefully remove the bowl (it will be hot) and wipe down the interior with a damp cloth or sponge. The grime should come off effortlessly. For stubborn spots, dip your sponge in the leftover vinegar water and scrub gently.
Why It Works So Well
Vinegar is acidic, which breaks down alkaline residues like grease and mineral deposits. The steam adds heat and moisture, softening caked-on food without scrubbing. This combo is safe, non-toxic, and leaves your microwave smelling fresh.
Tips For Best Results
Use a wide, shallow bowl to maximize steam surface area. If your microwave has a turntable, remove it and clean it separately. For extra odor removal, add a few drops of lemon juice or a cinnamon stick to the bowl before heating.
2. Lemon-Vinegar Boost for Freshness
Plain vinegar works wonders, but adding lemon takes it to another level. The citrus cuts through grease more effectively while leaving a bright, clean scent that lingers. This simple upgrade makes the whole process feel less like a chore and more like a quick refresh.
This combo is perfect for when your microwave smells like last night's fish or popcorn. The lemon oils help break down stubborn residue, and the vinegar neutralizes odors. Together, they create a powerful, all-natural cleaner that's gentle on surfaces but tough on grime.
How To Make The Mix
Fill a microwave-safe bowl with 1 cup of water and add 2 tablespoons of white vinegar. Slice one lemon into rounds and drop them into the liquid. Microwave on high for 3 to 5 minutes until the mixture is steaming and the window fogs up.
Let it sit for 2 minutes before opening.
Wipe Down Like A Pro
Carefully remove the bowl—it will be hot. Use the hot lemony-vinegar water to dip a sponge or cloth, then wipe down the interior. The steam loosens stuck-on food, so you barely need to scrub.
Pay extra attention to the turntable and ceiling.
Extra Tips For Stubborn Spots
For baked-on splatters, dip a lemon half directly into the leftover liquid and scrub the area. The natural acidity works as a gentle abrasive. Rinse with a damp cloth and dry.
Your microwave will look and smell like new.
3. Vinegar and Baking Soda Paste for Stubborn Stains
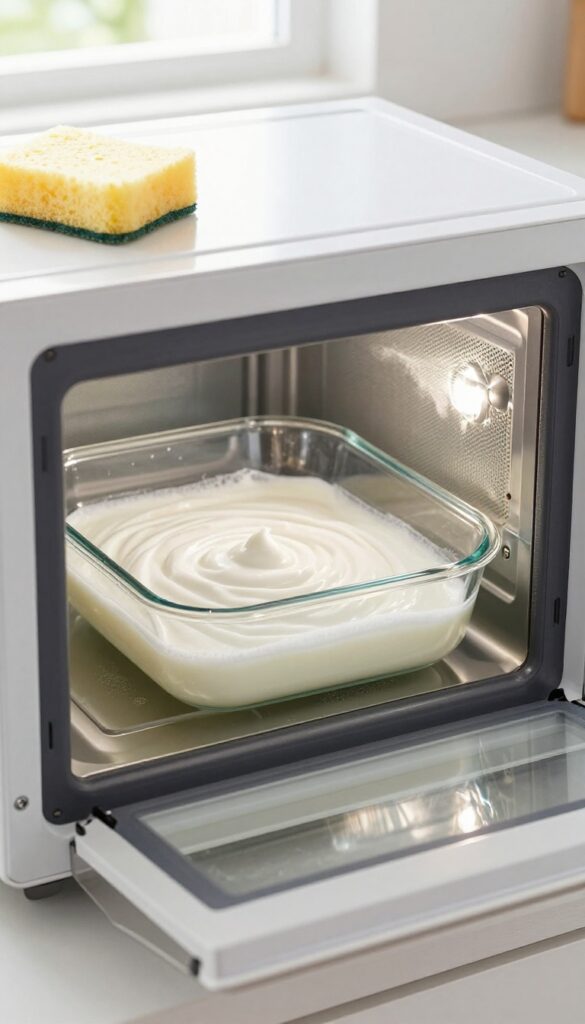
Some stains just won't budge with a simple spray and wipe. Dried-on sauce or burnt-on cheese can feel impossible to remove without heavy scrubbing. That's when a paste made from vinegar and baking soda becomes your best friend.
The combination creates a gentle abrasive that lifts tough spots without scratching your microwave's interior. Baking soda also helps neutralize odors while the vinegar cuts through grease. Together, they tackle the messes that plain vinegar leaves behind.
When you mix vinegar and baking soda, you get a fizzy reaction that helps loosen grime. Once the fizz settles, you're left with a thick paste that clings to vertical surfaces and stubborn spots. This paste is perfect for areas that need extra attention without resorting to harsh chemicals or steel wool.
How To Make The Paste
Start with about two tablespoons of baking soda in a small bowl. Add white vinegar one teaspoon at a time, stirring until you get a spreadable paste. It should be thick enough to stay put but not too runny.
Let the fizz die down before applying.
Application And Wait Time
Use a spatula or your fingers (with gloves) to spread the paste over the stained areas. Focus on spots that look baked on or extra grimy. Let the paste sit for 10 to 15 minutes so it can break down the residue.
Don't let it dry completely—if it starts to harden, spritz a little vinegar on top.
Gentle Scrubbing And Rinsing
After the wait, take a damp sponge or soft cloth and scrub in circular motions. The paste acts as a mild abrasive, so you don't need to press hard. Rinse the sponge frequently and wipe away all residue.
Finish with a clean damp cloth to remove any remaining paste.
4. Daily Wipe with Diluted Vinegar
A little prevention goes a long way. Instead of waiting for splatters to bake on, make it a habit to give the interior a quick wipe after each use. A spray bottle of diluted vinegar (1 part vinegar to 3 parts water) is all you need.
It's gentle enough for daily use but strong enough to keep grease and odors from building up.
This simple routine keeps your microwave fresh and reduces the need for deep cleaning. The vinegar smell fades quickly, leaving behind a clean, neutral scent. Just spray, wipe with a soft cloth or sponge, and you're done in under a minute.
Why Diluted Works Best
Full-strength vinegar can be too harsh for daily use and may damage the microwave's interior coating over time. A 1: 3 ratio is effective enough to cut through fresh splatters and neutralize odors without being aggressive. It's also more economical—you'll go through less vinegar.
The Right Tools For The Job
Use a clean, lint-free microfiber cloth for wiping. Avoid abrasive sponges or scrub pads that can scratch the surface. Keep the spray bottle near the microwave so it's convenient to grab.
Label it clearly so everyone in the household knows what it is.
Make It A Habit
The best way to remember is to tie it to an existing habit. For example, wipe the microwave while waiting for your coffee to brew or right after you take out your food. After a few days, it'll feel automatic.
5. Vinegar Ice Cubes for Odor Removal
Sometimes a quick spray just doesn't cut it when your microwave smells like last night's fish or popcorn. Vinegar ice cubes offer a clever, hands-off way to tackle stubborn odors. By freezing vinegar into cubes, you can release its deodorizing power slowly and evenly as they melt.
This method is perfect for when you need a deep odor reset without scrubbing. The ice cubes melt gradually, giving the vinegar time to work on absorbing smells. Plus, the steam helps loosen any dried-on gunk, making future cleaning easier.
How To Make And Use Vinegar Ice Cubes
Fill an ice cube tray with white vinegar and freeze until solid. Pop out a few cubes (2-3 should do) and place them in a microwave-safe bowl. Microwave on high for 2-3 minutes, or until the cubes have melted and the bowl is steaming.
Leave the door closed for another 5 minutes to let the steam circulate. Then remove the bowl and wipe down the interior with a damp cloth.
Why This Works Better Than Spraying
Spraying vinegar directly can create puddles that evaporate too fast. Ice cubes release moisture gradually, producing a steady stream of steam that penetrates every corner. The extended exposure time means odors get neutralized more effectively, especially in tight spots like the turntable grooves.
Tips For Best Results
Use distilled white vinegar for maximum odor-fighting power. Don't overcrowd the bowl—too many cubes can cause the liquid to boil over. If your microwave has a strong smell, repeat the process with fresh cubes.
You can also add a few drops of lemon juice to the vinegar before freezing for a fresher scent.
6. Deep Clean with Vinegar and Dish Soap
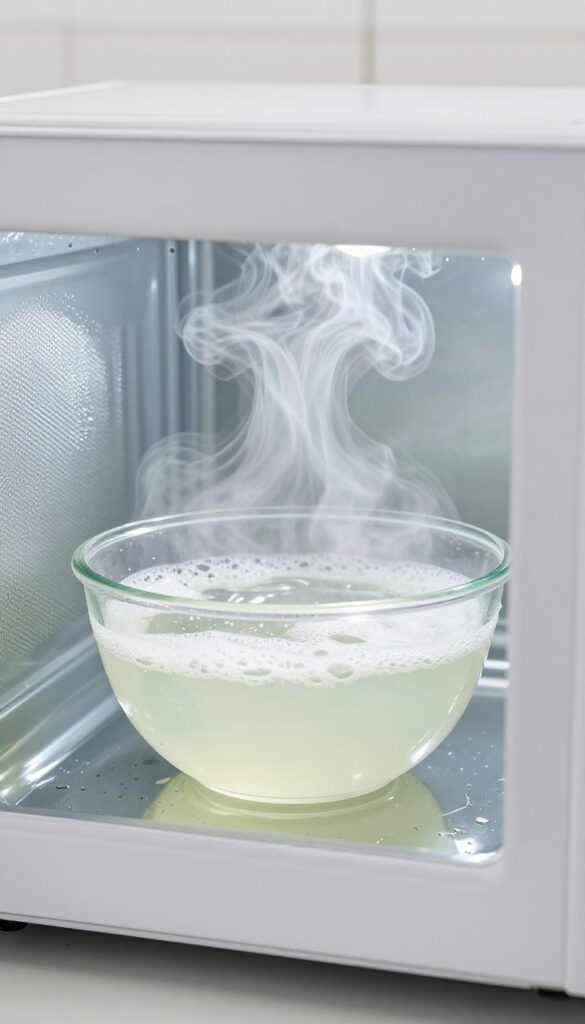
When your microwave has layers of baked-on grease and stubborn residue, plain vinegar might need a little backup. Adding a drop of dish soap to your vinegar-water solution boosts its grease-cutting power, making it easier to dissolve tough splatters without heavy scrubbing. This simple upgrade turns a routine clean into a deep clean that leaves surfaces sparkling.
Mix one cup of water with one tablespoon of white vinegar and a single drop of liquid dish soap in a microwave-safe bowl. Microwave on high for 3 to 5 minutes until the mixture boils and steams up the interior. Let it sit for 2 minutes so the steam loosens grime, then carefully remove the bowl.
Wipe down all surfaces with a damp cloth or sponge—the soap helps break down oily residues while the vinegar deodorizes. Rinse with a clean wet cloth to remove any soapy film.
Why Dish Soap Works
Dish soap is designed to cut through grease, and when combined with vinegar's acidity, it creates a powerful cleaning duo. The soap lowers the surface tension of the water, allowing the solution to penetrate and lift baked-on food particles more effectively. This means less elbow grease and a cleaner microwave in less time.
Best Practices For Use
Use only a tiny drop of dish soap—too much can create excessive suds that might overflow during heating. Stick to mild, grease-cutting liquid soaps without bleach or harsh chemicals. After cleaning, open the microwave door and let it air dry completely to prevent any lingering soapy residue.
When To Skip The Soap
If your microwave only needs a light refresh or odor removal, skip the soap and stick to plain vinegar and water. Dish soap is best reserved for deep cleans when you can see visible grease or stuck-on food. Overusing soap can leave a film that attracts more dirt over time.
7. Vinegar Soak for the Turntable
The glass turntable often gets overlooked during a quick wipe-down, but it can harbor baked-on food and greasy residue. A dedicated soak in vinegar water loosens that crusty buildup without any scrubbing.
Start by removing the turntable and any support rings. Fill your sink or a large bowl with equal parts white vinegar and warm water. Submerge the turntable completely and let it soak for 15 to 30 minutes.
The acidity breaks down stuck-on food and cuts through grease. After soaking, rinse with warm water and dry with a soft cloth. For stubborn spots, use a non-abrasive sponge before rinsing.
Why The Turntable Needs Its Own Soak
The turntable sits in the path of every spill and splatter. Over time, food bakes onto the glass, creating a layer that regular wiping can't remove. A dedicated soak ensures every nook and cranny gets clean.
How Long To Soak For Best Results
Fifteen minutes is usually enough for light residue. For heavy buildup, extend the soak to 30 minutes. If you still see spots after rinsing, a quick scrub with a paste of baking soda and vinegar will finish the job.
Drying And Reassembling
After rinsing, dry the turntable thoroughly with a lint-free cloth. Any moisture left can cause streaks or promote mold. Once dry, place it back in the microwave along with the support ring.
Run the microwave empty for 30 seconds to ensure everything is seated properly.
8. Vinegar Wipe for the Door Seal
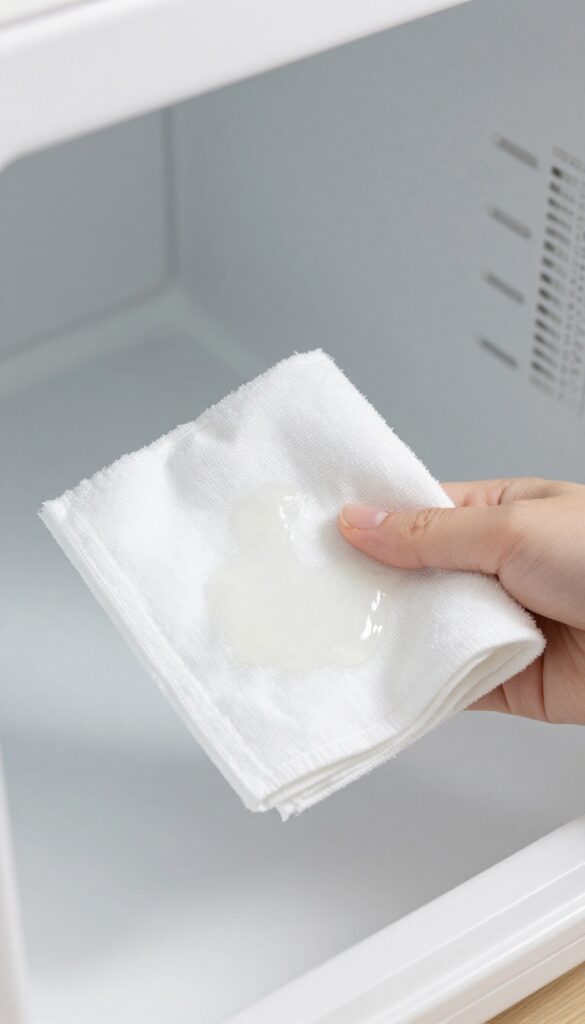
The rubber seal around your microwave door is a prime spot for mold, grime, and sticky residue. It's easy to overlook, but a dirty seal can trap odors and prevent the door from closing properly. A quick vinegar wipe keeps it clean and odor-free.
Why The Seal Gets So Grimy
Every time you open the microwave, steam and food particles condense on the seal. Over time, this creates a breeding ground for mold and bacteria. The rubber material can also absorb odors, making your microwave smell even after a thorough cleaning.
How To Clean It Right
Dip a soft cloth or cotton swab in undiluted white vinegar. Gently wipe along the entire rubber seal, paying extra attention to crevices. For stubborn grime, let the vinegar sit for a minute before wiping.
Finish with a dry cloth to prevent moisture buildup.
Preventive Maintenance
Make it a habit to wipe the seal once a week. A quick vinegar pass after cooking prevents buildup and keeps odors at bay. If you notice the seal drying out or cracking, apply a tiny drop of vegetable oil after cleaning to keep it supple.
9. Steam and Scrub with Vinegar and Sponge
Steaming with vinegar loosens stuck-on food and grease, making the wipe-down phase effortless. Instead of scrubbing hard, let the steam do the heavy lifting first.
Why Steaming First Works
The vinegar steam penetrates dried splatters and softens them. This means you can wipe away grime with a gentle sponge, no elbow grease required. The acidity also helps break down grease molecules, so they release from surfaces more easily.
Choosing The Right Sponge
Always use a non-scratch sponge or microfiber cloth to avoid damaging the microwave interior. Avoid abrasive pads or steel wool, which can scratch the coating and create hiding spots for bacteria.
Step-by-step Steaming And Wiping
Place a bowl with 1 cup water and 2 tablespoons vinegar in the microwave. Run on high for 5 minutes. Let it sit for 2 more minutes without opening the door.
Then remove the bowl carefully, dip your sponge in the leftover warm vinegar water, and wipe down all interior surfaces. The loosened debris comes off with little effort.
Tackling Stubborn Spots
For areas that need extra attention, let the sponge sit on the spot for a few seconds before wiping. You can also re-dip in the vinegar water for added cleaning power. This method works especially well on dried cheese or sauce splatters.
10. Vinegar and Essential Oils for a Spa-Like Scent
Plain vinegar works wonders for cleaning, but the smell can be a bit strong. By adding a few drops of essential oil, you transform that sharp vinegar scent into something fresh and spa-like. Lavender or tea tree oil not only smell great but also add antibacterial properties to your cleaning routine.
Combining vinegar with essential oils is a simple way to elevate your microwave cleaning experience. The oils help mask the vinegar odor while boosting the cleaning power. Just mix 1/2 cup of water with 1/2 cup of vinegar and 5-10 drops of your favorite essential oil in a microwave-safe bowl.
Heat for 2-3 minutes, then let it sit for 5 minutes before wiping. The steam carries the pleasant scent throughout the microwave, leaving it fresh and clean.
Best Essential Oils For Microwave Cleaning
Lavender oil is a top choice for its calming aroma and natural antiseptic qualities. Tea tree oil is excellent for its strong antibacterial and antifungal properties, making it ideal for deep cleaning. Lemon or orange oils add a bright, citrusy freshness that cuts through grease.
Peppermint oil leaves a crisp, invigorating scent and also helps repel pests. Choose oils that are 100% pure and avoid synthetic fragrances for the best results.
How To Use The Vinegar And Oil Mix
Start by mixing equal parts water and white vinegar in a microwave-safe bowl. Add 5-10 drops of essential oil per cup of liquid. Place the bowl in the microwave and heat on high for 2-3 minutes until the mixture boils and steams.
Let it sit for 5 minutes with the door closed to allow the steam to loosen grime. Then, carefully remove the bowl (it will be hot) and wipe down the interior with a soft cloth. The result is a clean, fresh-smelling microwave without harsh chemical residues.
Tips For A Longer-lasting Fresh Scent
After cleaning, leave a small bowl of baking soda mixed with a few drops of essential oil inside the microwave when not in use. This absorbs odors and releases a subtle fragrance. You can also dip a cotton ball in the oil-vinegar mixture and place it in a corner of the microwave overnight.
For a quick refresh, simply spray a diluted vinegar-oil solution inside and wipe. Avoid using too much oil, as it can leave a residue.
11. Overnight Vinegar Soak for Tough Odors
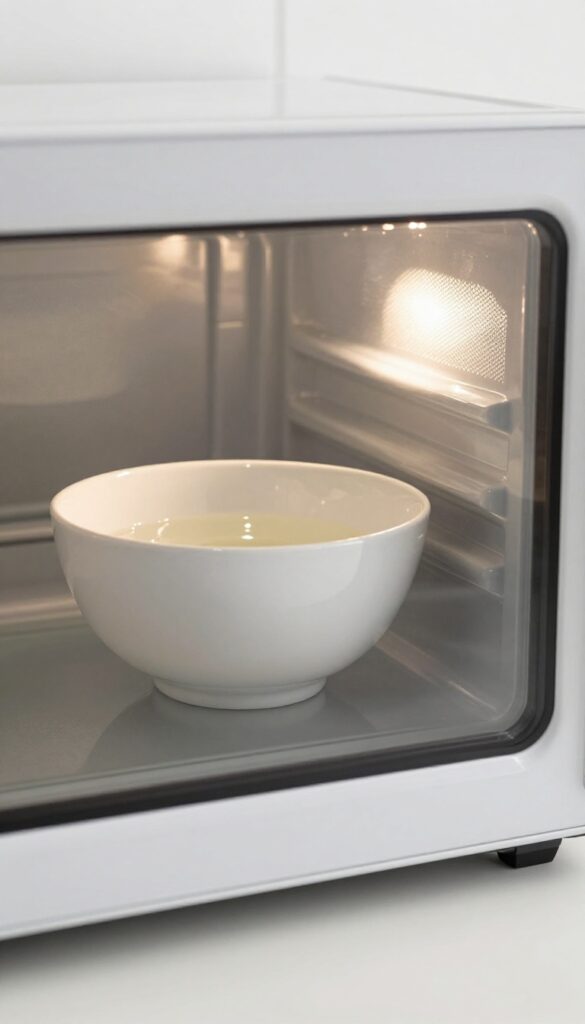
Some smells just don't quit. Fish, burnt popcorn, or leftover curry can linger in your microwave for days, no matter how many times you wipe it down. That's where the overnight vinegar soak comes in—a passive, no-scrub method that lets time do the work.
Instead of scrubbing or steaming, you simply place a bowl of vinegar inside and leave it overnight. The vinegar slowly releases its molecules into the air, neutralizing odor particles and leaving your microwave smelling fresh by morning. It's effortless and surprisingly effective.
How To Set Up The Overnight Soak
Fill a microwave-safe bowl with one cup of white vinegar. Place it in the center of the microwave and close the door. Let it sit for 8 to 12 hours—overnight is ideal.
In the morning, remove the bowl and wipe down the interior with a damp cloth. The smell should be gone.
Why It Works So Well
Vinegar contains acetic acid, which bonds with odor molecules and neutralizes them rather than just masking them. The long exposure time allows the vinegar to penetrate porous surfaces and hidden crevices where smells hide, like the vent or door seal.
When To Use This Method
This technique is perfect for stubborn odors that survive regular cleaning. Use it after cooking fish, popcorn, or spicy dishes. It's also great for microwaves that haven't been cleaned in a while and have a musty or stale smell.
12. Vinegar Spray for the Exterior
The outside of your microwave gets just as grimy as the inside, with fingerprints, grease splatters, and dust collecting on the control panel and handle. A vinegar-based spray is a quick, effective way to keep the exterior looking spotless without damaging the surface.
Mix equal parts white vinegar and water in a spray bottle. Lightly mist the exterior surfaces—avoid oversaturating the control panel to prevent liquid from seeping into the buttons. Wipe with a soft microfiber cloth, using gentle pressure on the display and keypad.
For stubborn spots, let the spray sit for a minute before wiping. This method works on stainless steel, plastic, and painted finishes, but always test on an inconspicuous area first. The vinegar smell evaporates quickly, leaving a clean, streak-free shine.
Safe Cleaning For Control Panels
Control panels are sensitive to moisture and harsh chemicals. A 50/50 vinegar-water solution is gentle enough for regular use. Spray the cloth, not the panel, to avoid drips.
Wipe with a damp (not wet) cloth, then dry immediately with a clean section. This prevents damage and keeps buttons responsive.
Handle And Door Front
The handle and door front collect the most fingerprints and grease. Spray the vinegar solution directly onto a microfiber cloth and wipe these areas thoroughly. For textured handles, use a soft brush or an old toothbrush dipped in the solution to clean crevices.
Rinse with a damp cloth and dry.
Stainless Steel Streak-free Finish
Vinegar is excellent for stainless steel because it cuts grease without leaving streaks. After cleaning with the vinegar spray, buff the surface with a dry microfiber cloth in the direction of the grain. For extra shine, add a drop of olive oil to the cloth after cleaning—but only a tiny amount to avoid attracting dust.
13. Microwave Vinegar Steam with a Toothpick
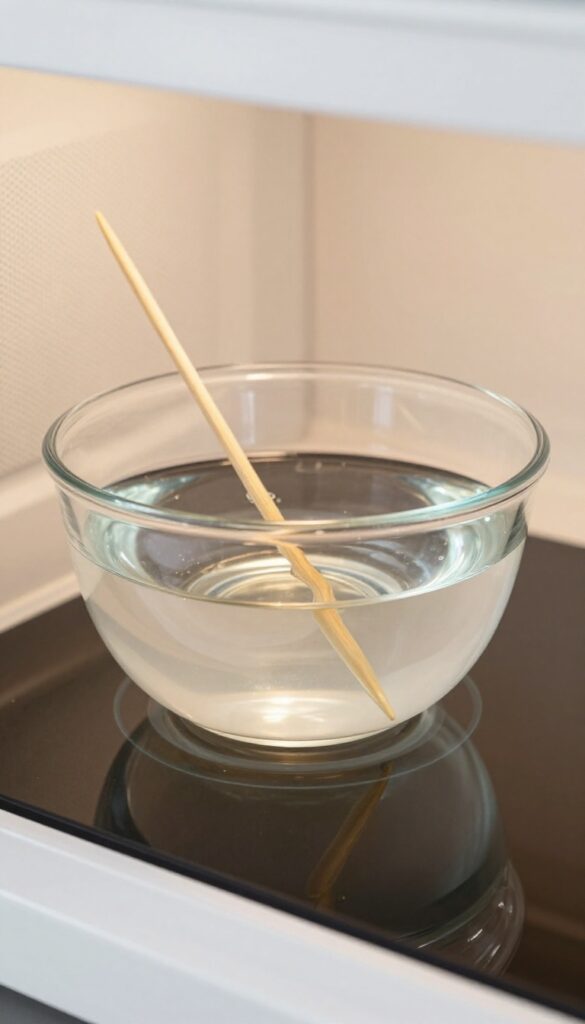
Steaming vinegar in the microwave is a classic trick, but there's a hidden risk: superheating. When water heats beyond its boiling point without actually bubbling, a sudden disturbance can cause it to erupt violently. That's where a simple toothpick comes in handy.
By placing a wooden toothpick in the bowl of vinegar and water, you create a nucleation point for bubbles to form. This prevents superheating and ensures a safe, controlled steam that loosens grime without surprises. It's a small addition that makes a big difference in safety.
Why Superheating Happens
Superheating occurs when liquid is heated in a smooth container without rough surfaces for bubbles to form. Microwaves can heat water past its boiling point, and when you add a spoon or move the bowl, it can suddenly boil over, causing burns. A toothpick breaks the surface tension and allows bubbles to form early.
How To Do It Right
Fill a microwave-safe bowl with 1 cup of water and 2 tablespoons of vinegar. Place a clean wooden toothpick upright in the liquid. Microwave on high for 3–5 minutes.
The toothpick will encourage gentle bubbling, and the steam will soften splatters. Let it sit for 2 minutes before wiping.
Extra Safety Tips
Always use a bowl with a wide mouth to allow steam to escape. Let the bowl cool for a minute before removing it. Use oven mitts, as the bowl will be hot.
Never microwave metal or plastic toothpicks—only plain wood.
14. Vinegar and Salt Scrub for Burnt-On Food
Sometimes, a simple steam just won't cut it. You're left with those dark, crusty spots where food has baked onto the microwave floor or walls. That's when you need a little elbow grease—but the right kind.
A paste made from vinegar and salt creates a gentle abrasive scrub that tackles burnt-on messes without scratching the surface. Salt provides the grit, while vinegar works to dissolve the residue. Together, they make short work of even the most stubborn spots.
To make the scrub, mix equal parts white vinegar and table salt until you get a thick paste. Apply it directly to the burnt areas using a sponge or your fingers (gloves optional). Let it sit for 5 to 10 minutes to soften the gunk.
Then, scrub gently in circular motions. The salt will lift the charred bits without damaging the microwave's interior. Wipe away the paste with a damp cloth, then do a final rinse with water to remove any salty residue.
Your microwave will look spotless.
Why Salt Works With Vinegar
Salt is a natural abrasive, but it's much gentler than scouring powders or steel wool. When combined with vinegar's acidity, it creates a powerful cleaning duo. The vinegar breaks down the grease and carbonized food, while the salt provides the friction needed to lift it away.
This combination is safe for glass, ceramic, and most microwave-safe surfaces.
Best Ratio For The Paste
You want a consistency that's thick enough to stay put on vertical surfaces but not so dry that it crumbles. Start with 1 tablespoon of salt and 2 tablespoons of vinegar. Stir until it forms a spreadable paste.
If it's too runny, add more salt. If it's too thick, add a few more drops of vinegar. Adjust as needed.
How To Apply For Best Results
For burnt-on food, apply the paste generously over the affected area. Let it sit for at least 5 minutes—longer if the spot is really stubborn. Then, scrub with a non-abrasive sponge or a soft brush.
Rinse thoroughly with water to remove all salt traces. For extra tough spots, repeat the process or let the paste sit for up to 15 minutes.
What To Avoid
Don't use this scrub on aluminum or any metal surfaces inside the microwave, as vinegar can react with the metal. Also, avoid using it on the microwave's door seal or any rubber parts, as the salt could cause wear over time. Stick to the interior walls, floor, and turntable.
15. Vinegar Steam for the Vent
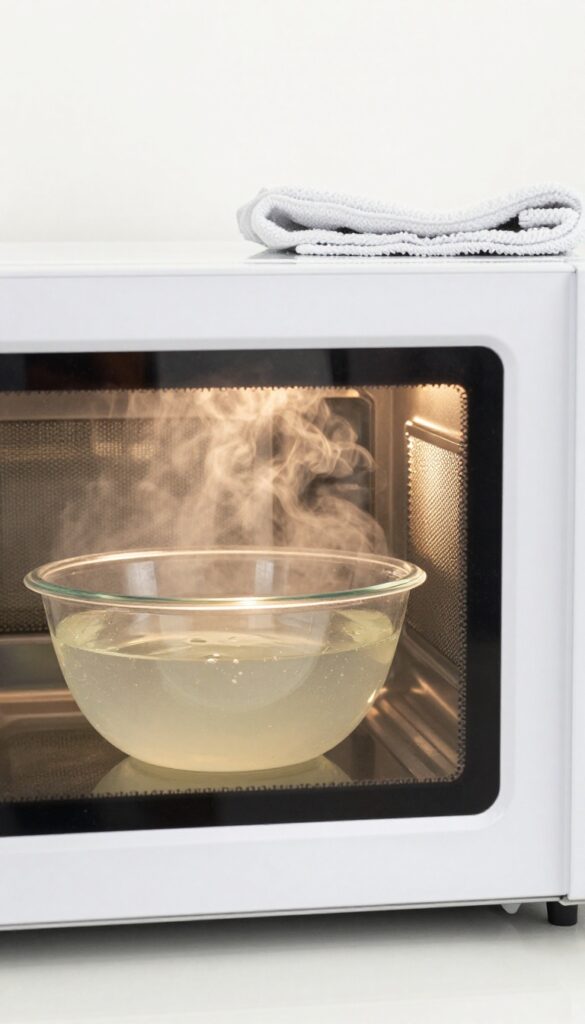
The microwave vent is often overlooked, but it's a magnet for grease and odors. Steam from cooking gets sucked up there, leaving a sticky film that can trap smells. A targeted vinegar steam can loosen that grime without you having to disassemble anything.
Fill a microwave-safe bowl with 1 cup of water and 2 tablespoons of vinegar. Microwave on high for 3-5 minutes until the mixture is steaming heavily. Let it sit inside with the door closed for another 5 minutes to let the steam work into the vent.
Then, open the door and wipe down the vent area with a damp cloth or sponge. For stubborn spots, dip a toothbrush in the leftover vinegar solution and scrub gently.
Why The Vent Needs Attention
The vent recirculates air during cooking, so any grease or food particles that fly up get deposited there. Over time, this buildup can harbor bacteria and cause unpleasant smells. Regular steaming prevents that accumulation and keeps the vent working efficiently.
How To Reach The Vent Safely
Use a step stool if needed, and make sure the microwave is unplugged before you start wiping. A microfiber cloth or a soft sponge works best—avoid abrasive scrubbers that could scratch the surface. For tight crevices, a cotton swab or an old toothbrush can get into the gaps.
Preventive Maintenance
Do this vinegar steam once a month to prevent heavy buildup. If you cook greasy foods often, increase the frequency to every two weeks. It only takes a few minutes and saves you from a deep scrub later.
16. Vinegar and Water Rinse for Residue
Even after a thorough vinegar cleaning, you might notice a faint sour smell lingering inside your microwave. That's perfectly normal—vinegar is acidic and can leave behind a trace odor, especially if you used it full strength. The fix is simple: a quick rinse with plain water removes any leftover vinegar residue and neutralizes the smell.
Why A Water Rinse Matters
Vinegar is great at cutting grease and deodorizing, but if you don't rinse it off, the acidity can leave a slight tang. A water wipe ensures no residue remains, so your microwave smells neutral and fresh. It also prevents any potential taste transfer to the next dish you heat.
How To Do It Right
After your final vinegar wipe, dampen a clean microfiber cloth with plain water—not soaking wet, just lightly moist. Wipe down all interior surfaces, including the ceiling, walls, floor, and door. Pay extra attention to corners and the rubber seal where residue can hide.
When To Skip The Rinse
If you used a diluted vinegar solution (like 1: 1 with water) and the smell is already faint, you might not need a separate rinse. But for strong odors or heavy grease, a water rinse is a sure way to leave your microwave truly clean and odor-free.
17. Vinegar and Cornstarch for Grease
Greasy splatters inside your microwave can be stubborn, but you don't need harsh chemicals or abrasive scrubbers. A simple paste made from vinegar and cornstarch lifts grease without scratching the interior. This gentle yet effective combo is perfect for those baked-on spots that steam alone can't remove.
Mix equal parts vinegar and cornstarch to form a thick paste. Apply it to greasy areas using a soft cloth or sponge, let it sit for a few minutes, then wipe away. The cornstarch absorbs grease while the vinegar breaks it down, leaving a clean, streak-free surface.
Rinse with a damp cloth afterward to remove any residue.
How To Make The Paste
In a small bowl, combine 2 tablespoons of cornstarch with 2 tablespoons of vinegar. Stir until it forms a smooth, spreadable paste. Adjust the ratio if needed—add more cornstarch for thickness or more vinegar for a thinner consistency.
Use it immediately for best results.
Application Tips
Focus on greasy spots like the turntable, walls, and ceiling. Avoid the microwave's vent openings and electrical components. Let the paste sit for 3–5 minutes to loosen grime, then wipe with a damp microfiber cloth.
For tough buildup, gently scrub with a soft sponge.
Why It Works
Vinegar's acidity cuts through grease, while cornstarch acts as a mild abrasive that absorbs oils without scratching. This combination is safe for all microwave interiors, including stainless steel and glass. It's also non-toxic and leaves no chemical residue.
18. Vinegar Steam with Cinnamon Stick
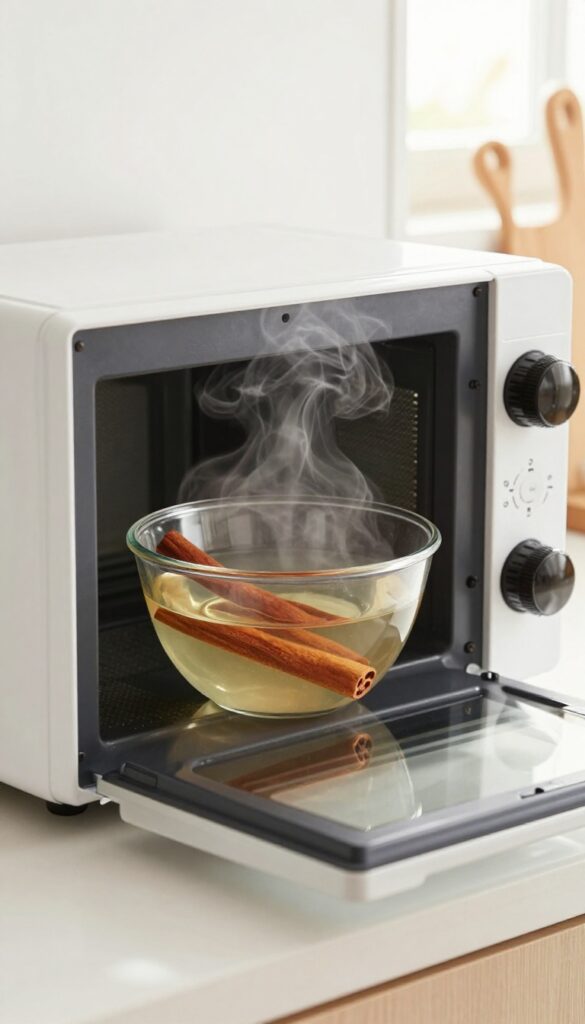
A plain vinegar steam works wonders for odors, but it can leave a sharp, acidic smell while the microwave is still warm. Adding a cinnamon stick transforms the experience, filling your kitchen with a cozy, spiced aroma that lingers long after the cleaning is done.
This simple tweak turns a functional chore into a sensory treat. The cinnamon not only masks any vinegar scent but also helps neutralize stubborn food odors like fish, garlic, or burnt popcorn. Plus, the steam loosens dried-on splatters, so wiping is effortless.
How To Make A Cinnamon-vinegar Steam
Fill a microwave-safe bowl with 1 cup of water and 2 tablespoons of white vinegar. Drop in a whole cinnamon stick (or two, for a stronger scent). Microwave on high for 3–5 minutes, until the mixture is steaming and the window fogs up.
Let it sit for 2 minutes without opening the door, then carefully remove the bowl.
Why Cinnamon Works So Well
Cinnamon's essential oils have natural antimicrobial properties that help break down odor-causing bacteria. The warm, sweet scent also overpowers any lingering vinegar smell, leaving your microwave smelling like a bakery instead of a cleaning closet.
Tips For Best Results
Use whole cinnamon sticks instead of ground cinnamon to avoid a gritty mess. If you don't have a cinnamon stick, add a few drops of cinnamon essential oil or a teaspoon of ground cinnamon in a tea infuser. For extra freshness, toss in a slice of lemon or a few cloves.
19. Vinegar Wipe for the Microwave Ceiling
The ceiling of your microwave is a prime spot for dried-on splatters that steam alone can't reach. Because heat rises, food particles often cling to the top interior, creating stubborn crusts. A vinegar-dampened cloth lets you target that area directly, breaking down grease and neutralizing odors without scrubbing.
For a thorough ceiling clean, fold a microfiber cloth and saturate it with undiluted white vinegar. Wring it out so it's damp, not dripping, then reach up and wipe the entire ceiling surface. The vinegar cuts through baked-on residue almost instantly.
Let it sit for a minute, then follow with a damp water cloth to remove any vinegar smell. This method works best when done weekly to prevent buildup.
Why The Ceiling Needs Special Attention
Most people wipe the microwave walls and floor but forget the ceiling. Over time, splatters from soups, sauces, and reheated leftovers accumulate overhead. These spots can become hard, crusty, and even start to smell if left too long.
Vinegar's acidity breaks down the bonds in dried food, making it easy to wipe away without elbow grease.
Best Cloth And Technique
Use a lint-free microfiber cloth to avoid leaving fibers behind. Fold it into a pad that fits comfortably in your hand. After dampening with vinegar, start from the back of the ceiling and work forward in overlapping strokes.
For extra stubborn spots, press the cloth against the area for a few seconds to soften the gunk before wiping. Rinse the cloth frequently to avoid redepositing residue.
Combining With Steam For Better Results
For a deeper clean, first run a vinegar steam cycle (1 cup water + 1 tbsp vinegar for 5 minutes) to loosen ceiling splatters. Then use the damp cloth wipe. The steam softens the grime, and the direct vinegar wipe finishes the job.
This combo is especially effective for ceilings that haven't been cleaned in a while.
20. Regular Vinegar Maintenance Schedule
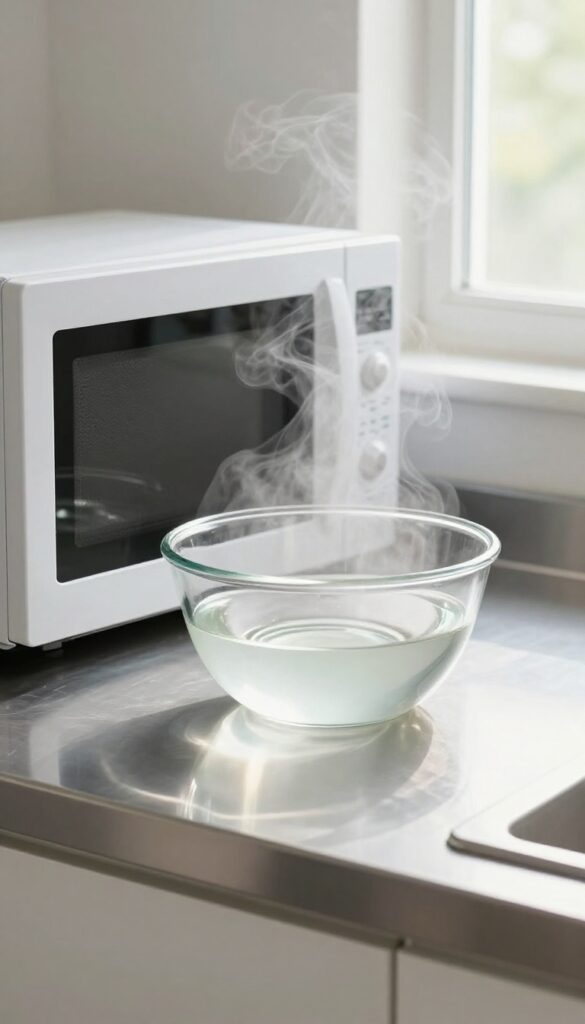
Consistency is the secret to a microwave that always looks and smells fresh. Instead of waiting for splatters to harden or odors to set in, a simple weekly vinegar steam can prevent buildup before it starts. This habit takes just a few minutes and saves you from heavy scrubbing later.
Set A Weekly Reminder
Pick one day a week—maybe Sunday evening or midweek—to give your microwave a quick vinegar steam. A calendar alert or phone reminder helps you stay on track. After a couple of weeks, it becomes second nature.
Quick Steam Routine
Fill a microwave-safe bowl with 1 cup of water and 2 tablespoons of white vinegar. Microwave on high for 5 minutes, then let it sit for 2 more minutes without opening the door. The steam loosens grime and neutralizes odors.
Wipe down the interior with a damp cloth.
Benefits Of Regular Maintenance
Weekly steaming keeps grease from building up on the ceiling and walls, prevents stubborn stains, and stops lingering smells from forming. It also reduces the need for deep cleaning, making your microwave last longer and perform better.
FAQ
Is it safe to use vinegar in the microwave?
Yes, vinegar is safe for microwave use. Just avoid heating pure vinegar for too long—always dilute with water to prevent damage.
Will vinegar leave a strong smell in my microwave?
The vinegar smell dissipates quickly after cleaning. Rinsing with water or adding lemon helps eliminate any lingering odor.
Can I use apple cider vinegar instead of white vinegar?
White vinegar is preferred because it's clear and has a milder smell, but apple cider vinegar works too—just be aware it may leave a slight tint.
How often should I clean my microwave with vinegar?
For best results, do a quick wipe daily and a steam clean once a week. Adjust based on usage.
Will vinegar damage the microwave's interior?
No, vinegar is gentle on microwave interiors. Avoid abrasive scrubbers that could scratch surfaces.
Conclusion
Vinegar is a powerhouse for keeping your microwave clean and odor-free without harsh chemicals. These 20 tips give you plenty of options to tackle any mess, from light splatters to stubborn smells. Pick a few that fit your routine and watch your microwave stay fresh.
A little vinegar goes a long way in making your kitchen feel cleaner and more inviting. Try one of these methods today and enjoy a sparkling microwave tomorrow.