25 Cleaning Glass Stove Top Tips for a Smooth Shine
A glass stove top can transform your kitchen into a sleek, modern space. But let's be honest—keeping it spotless often feels like a battle. Burnt-on spills, greasy smudges, and those mysterious white stains seem to appear out of nowhere.
The good news? You don't need harsh chemicals or expensive products to get that mirror-like finish. With the right techniques and a few household staples, you can tackle even the toughest messes.
This guide covers 25 practical tips that actually work. Whether you're dealing with daily grime or a crusted-over disaster, you'll find a solution that leaves your cooktop looking brand new.
1. Wipe After Every Use
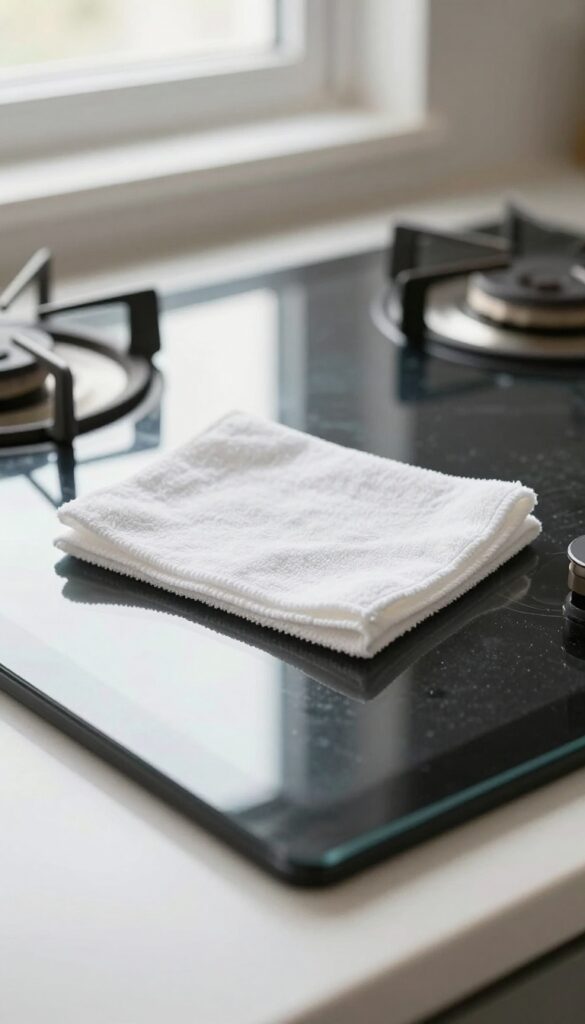
The simplest habit can save you the most scrubbing. Once your cooktop cools down—but before food has a chance to bake on—grab a damp microfiber cloth and give it a quick once-over. This single step cuts down on buildup dramatically and keeps your stove looking clean with minimal effort.
Think of it as the equivalent of rinsing a dish right after you use it. A thirty-second wipe after each meal prevents grease and spills from turning into stubborn stains. Plus, it means you won't have to break out the heavy-duty cleaners as often.
Why Microfiber Works Best
Microfiber cloths trap dust and grease in their fibers instead of pushing them around. They're also gentle enough not to scratch the glass. Use a clean, damp cloth—no soap needed for daily wipes.
Rinse it out and let it air dry between uses.
What To Do If You Forget
If a spill sits overnight, don't panic. Spray a little white vinegar or glass cleaner on the spot, let it sit for a minute, then wipe. For tougher spots, a razor scraper held flat can lift burnt-on food without scratching.
Make It A Family Habit
Encourage everyone in the household to wipe the stove after cooking. Keep a microfiber cloth within arm's reach of the cooktop so it's easy to grab. Over time, it becomes second nature and your stove will thank you.
2. Use a Dedicated Glass Cooktop Cleaner
Not all cleaners are created equal, especially when it comes to glass stove tops. While it might be tempting to grab whatever all-purpose spray is under the sink, those products often leave behind a film or cause micro-scratches over time. A dedicated glass cooktop cleaner is formulated to cut through burnt-on grease without damaging the surface.
It’s a small investment that pays off with a flawless, streak-free shine every time.
When you use a cleaner made specifically for glass cooktops, you're getting a formula that balances cleaning power with surface safety. These cleaners typically contain mild abrasives that gently lift baked-on residue without scratching the glass. They also evaporate quickly, leaving no sticky film behind.
Many brands offer spray bottles or cream-based formulas—choose whichever feels easier for your routine. Just spray or apply a small amount, let it sit for a moment, then wipe with a soft cloth or paper towel. For stubborn spots, a non-scratch pad can help, but always check the manufacturer's instructions first.
Why General Cleaners Fall Short
Standard kitchen sprays often contain ammonia, bleach, or harsh degreasers. These can dull the glass over time or leave a residue that attracts more dust and grime. Glass cooktop cleaners are pH-balanced and free of ingredients that cause etching or cloudiness.
They're designed to work with the smooth surface, not against it.
How To Apply For Best Results
Start with a cool stove top to avoid spreading cleaner into a steam mess. Squirt a small amount directly on the glass or onto a microfiber cloth. Wipe in a circular motion, focusing on any stuck-on spots.
Let the cleaner sit for 30 seconds to break down grease, then buff dry with a clean section of the cloth. You'll see the shine come back immediately.
Top Brands To Look For
Weiman, Cerama Bryte, and Affresh are trusted names that consistently deliver. They're available at most grocery stores or online. Some come with a non-scratch scrubbing pad included, which is handy for tougher messes.
Stick with one brand you like and keep it handy—it makes daily wipe-downs much faster.
3. Try a Vinegar and Water Solution
If you prefer a natural, chemical-free approach, a simple vinegar and water solution can work wonders on your glass stove top. White vinegar is a mild acid that cuts through grease and dissolves mineral deposits without scratching the surface. Mixed with distilled water, it leaves a streak-free shine that rivals any store-bought cleaner.
This budget-friendly solution is perfect for everyday cleaning and light buildup. It's safe, non-toxic, and you probably already have the ingredients in your pantry.
How To Mix And Apply
Combine equal parts white vinegar and distilled water in a spray bottle. Shake gently to mix. Spray the solution onto the cool stove top, covering the entire surface.
Let it sit for 30 seconds to loosen grime, then wipe with a soft microfiber cloth. For stubborn spots, spray directly and let it soak a bit longer.
Why It Works So Well
Vinegar's acetic acid breaks down grease and baked-on food particles, while distilled water prevents mineral deposits that can cause streaks. Unlike some commercial cleaners, vinegar doesn't leave a residue that attracts dust or creates a hazy film. Plus, it's gentle enough for daily use without damaging the glass.
When To Avoid This Method
Don't use vinegar on a hot stove top—it can evaporate too quickly and create fumes. Also, avoid using it on cracked or damaged glass, as the acidity might seep into cracks. For heavy burnt-on messes, you may need a stronger cleaner or a razor scraper first.
4. Baking Soda Paste for Stubborn Stains
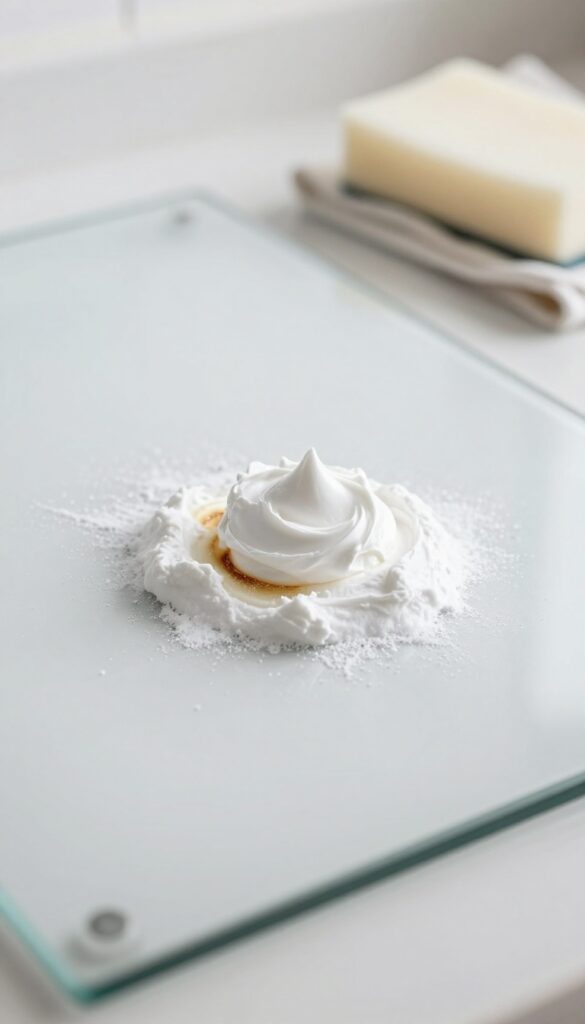
Burnt-on spills and stubborn stains can make your glass stove top look older than it is. Instead of reaching for harsh chemicals, a simple paste of baking soda and water can lift even the toughest grime. It's gentle enough for regular use but tough on crusted-on messes.
Baking soda is a mild abrasive that won't scratch your glass cooktop. When mixed with water, it forms a paste that clings to burnt-on spots and breaks down residue. Let it sit for 15 minutes to soften the stain, then gently scrub with a soft cloth or sponge.
Rinse thoroughly and buff dry for a streak-free finish.
Making The Paste
In a small bowl, mix three parts baking soda with one part water. Stir until it forms a thick, spreadable paste. If it's too runny, add more baking soda; if too dry, add a few drops of water.
The consistency should be like toothpaste.
Application And Waiting Time
Apply the paste directly to the stain using a soft cloth or your fingers (with gloves). Spread it evenly, covering the entire spot. Let it sit for at least 15 minutes—longer for really stubborn, burnt-on food.
The baking soda will work to loosen the debris.
Gentle Scrubbing And Rinsing
After the wait, dampen a soft sponge or microfiber cloth and gently scrub in a circular motion. Avoid using abrasive pads or steel wool, which can scratch the glass. Rinse the area with a clean, damp cloth to remove all residue, then dry with a soft towel.
Final Buff For Shine
Once the paste is removed, buff the surface with a dry microfiber cloth to restore the shine. This step also removes any remaining streaks. Your stove top should look clean and smooth, with no trace of the stubborn stain.
5. Use a Razor Scraper Correctly
A razor scraper can be your best friend when food gets baked onto the glass. But if you use it wrong, you'll end up with scratches that ruin the smooth finish. The trick is all in the angle and the surface prep.
When you have a crusted-on spill that won't budge with a sponge, a razor scraper is the right tool. But you have to use it carefully to avoid damaging the glass.
Keep The Glass Wet
Always wet the surface before scraping. The water acts as a lubricant, reducing friction and preventing scratches. Spray a little cleaner or water on the spot before you start.
Hold At A 45-degree Angle
Hold the scraper at a 45-degree angle to the glass. This lets the blade lift the gunk without digging into the surface. Use short, gentle strokes and never press too hard.
Use A Fresh Blade Every Time
A dull or nicked blade can scratch the glass. Replace the blade often, and always use a new one for each deep clean session. It's cheap insurance for a pristine cooktop.
6. Avoid Abrasive Sponges
Steel wool and scouring pads might seem like a quick fix for tough grime, but they're actually a fast track to a scratched-up stove top. Glass cooktops are surprisingly delicate, and once those micro-scratches appear, they trap dirt and make future cleaning even harder. Stick to soft sponges, microfiber cloths, or non-abrasive pads to keep your surface smooth and shiny.
Abrasive sponges can leave permanent scratches that dull the glass and collect grime. Even a single pass with a steel wool pad can ruin the finish. Instead, use a soft sponge or microfiber cloth for everyday cleaning.
For stubborn spots, let a cleaner sit for a few minutes before gently wiping.
What Counts As Abrasive?
Steel wool, green scouring pads, and rough scrub brushes are all too harsh. Even some “non-scratch” pads can be abrasive if they contain embedded grit. Check the label—if it says “scrubbing” or “heavy duty, ” it's probably not safe for glass.
Safe Alternatives That Work
Microfiber cloths are your best friend: they trap dirt without scratching. Soft cellulose sponges and non-abrasive melamine foam (like a generic magic eraser) are also safe. For baked-on messes, try a plastic scraper or a paste of baking soda and water applied with a soft cloth.
How To Test A Sponge
If you're unsure whether a sponge is safe, run it across a mirror or a glass pane. If it leaves any visible marks, don't use it on your stove top. Also, avoid sponges with rough surfaces or embedded scrubbers—they're designed for pots and pans, not glass.
7. Clean Spills Immediately (When Cool)
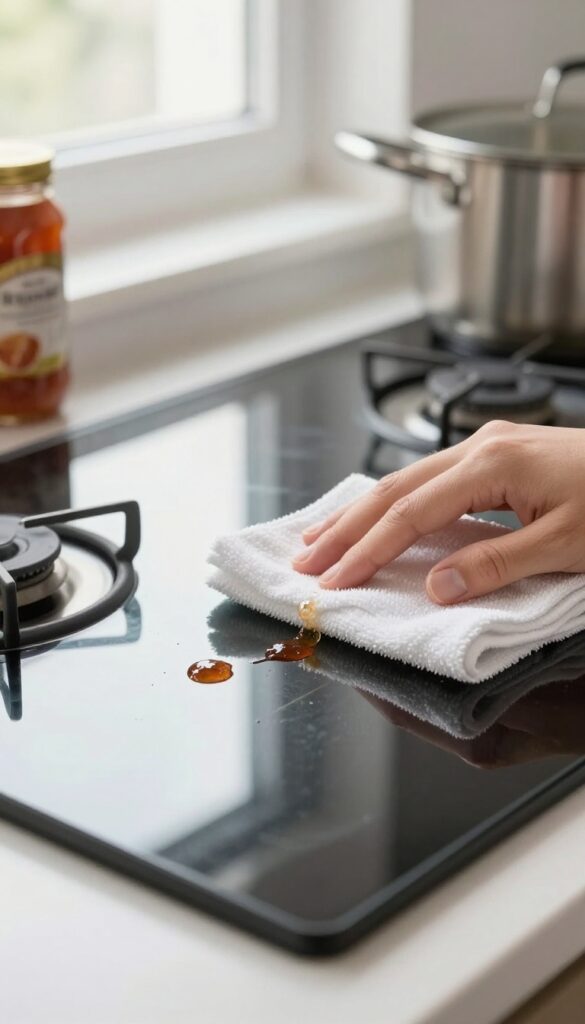
Spills happen. The key to keeping your glass stove top pristine is how quickly you deal with them. Letting sugary or acidic spills sit can cause permanent etching or stubborn burnt-on stains.
But you don't have to drop everything mid-cooking—just wait until the surface is cool enough to touch, then wipe them away.
The moment a spill cools, it becomes your window of opportunity. Sugary substances like jam, syrup, or fruit juice are especially dangerous—they can harden into a glass-like layer that bonds with the cooktop. Once that happens, even scraping won't fully restore the shine.
Keep a soft cloth or paper towel nearby while cooking. As soon as the burner cools down, gently wipe the spill. If it's already dried, a damp cloth with a drop of dish soap usually does the trick.
For sticky residues, a mixture of baking soda and water can help lift them without scratching.
Why Sugary Spills Are The Worst
Sugar doesn't just burn—it caramelizes and then hardens into a tough, sticky crust. If left on a hot surface, it can actually etch the glass, leaving a permanent dull spot. That's why it's crucial to clean these spills as soon as the cooktop is safe to touch.
The Right Way To Wipe
Use a soft sponge or microfiber cloth—never abrasive scrubbers. A gentle circular motion with warm, soapy water is all you need. For dried spills, let the damp cloth sit on the spot for a minute to soften the residue before wiping.
A Quick Routine For Busy Cooks
Get in the habit of doing a quick wipe-down after every meal. Keep a spray bottle of diluted dish soap near the stove. As soon as the burners are cool, spritz and wipe.
This takes 30 seconds and prevents buildup that turns into a scrubbing session later.
8. Use a Squeegee for Streak-Free Finish
You’ve scrubbed, polished, and buffed, but those annoying streaks still show up when the light hits just right. A squeegee—the same tool you use on windows—can be your secret weapon for a flawless glass stove top. It whisks away leftover moisture and cleaning residue, leaving a surface so clear it almost looks invisible.
After you’ve cleaned and rinsed the stove top, grab a clean rubber squeegee. Start at one edge and pull it across the glass in a single, steady motion, wiping the blade with a dry cloth after each pass. This removes the thin film of water that causes spots and streaks.
For best results, use a squeegee with a soft rubber blade to avoid scratching the glass. Finish by wiping any remaining moisture from the edges with a microfiber cloth.
Why A Squeegee Beats A Cloth
Cloths can leave lint or redistribute grime, especially if they’re not perfectly clean. A squeegee glides over the glass without dragging debris, and its rigid edge pushes water and cleaner into a single line that you can easily wipe away. The result is a streak-free shine that lasts longer because there’s no residue left to attract dust.
The Right Technique Matters
Always use a dry, clean squeegee—any dirt on the blade will scratch the glass. Start at the top or a corner and pull horizontally across the surface, overlapping each stroke slightly. After each pull, wipe the blade with a dry cloth to remove collected moisture.
Work quickly before the water evaporates and leaves spots.
When To Use A Squeegee
A squeegee is ideal after a deep clean or a final rinse. It’s not meant for scrubbing off burnt-on food—save that for earlier steps. Use it as the finishing touch to remove all traces of water and cleaner.
For daily maintenance, a quick squeegee after wiping down the stove can keep it looking pristine.
9. Polish with Rubbing Alcohol
After all that scrubbing and cleaning, the final step is what gives your stove top that showroom shine. Rubbing alcohol is a simple, effective way to remove any remaining residue and leave the glass sparkling. It evaporates quickly, so you won't be left with streaks or a sticky film.
Once you've cleaned your stove top with your preferred method, give it a final polish with rubbing alcohol. Dampen a soft, lint-free cloth with isopropyl alcohol (70% or higher works well) and wipe the entire surface. The alcohol cuts through any leftover grease or cleaner residue and dries almost instantly, leaving a brilliant, streak-free shine.
It's also a great way to sanitize the surface after cooking.
Why Rubbing Alcohol Works So Well
Rubbing alcohol is a powerful solvent that dissolves grease and grime without damaging the glass. Unlike water, it evaporates rapidly, which means no standing liquid that can leave mineral deposits or streaks. It's also safe for glass stove tops and won't harm the surface when used properly.
How To Apply It Right
Use a microfiber cloth or a soft cotton rag—avoid paper towels, as they can leave lint. Lightly dampen the cloth with alcohol, then wipe the stove top in a consistent direction, such as from left to right. For extra shine, follow up with a dry part of the cloth to buff the surface.
Make sure the stove is completely cool before you start.
When To Skip This Step
If your stove top has a special coating or if the manufacturer's instructions advise against alcohol, skip this tip. Some high-end glass cooktops may be sensitive to certain chemicals. Always check your owner's manual first.
But for most standard glass stove tops, rubbing alcohol is a safe and effective final polish.
10. Remove Burnt-On Sugar with a Damp Towel
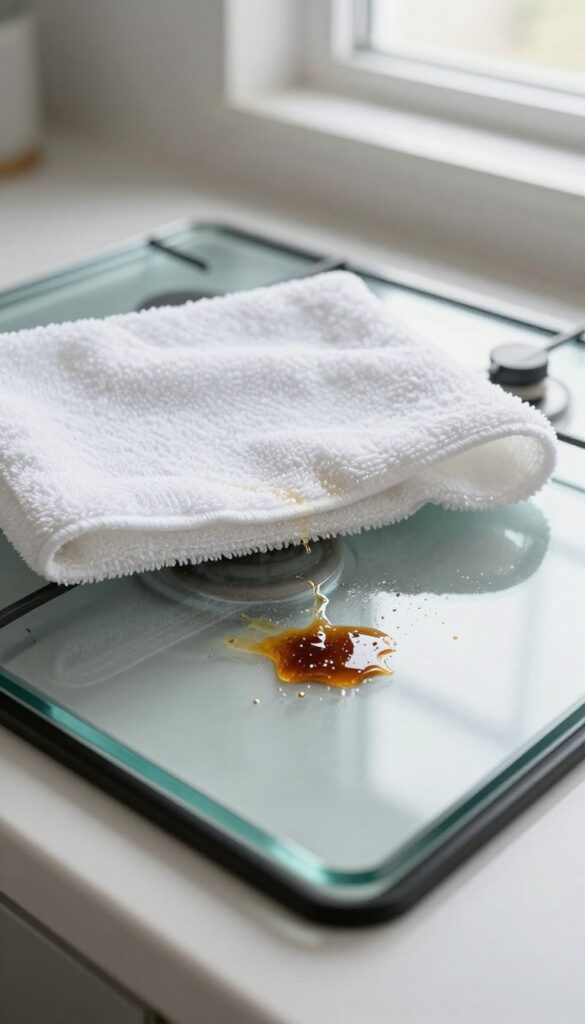
Sugar spills are some of the trickiest messes on a glass stove top. They caramelize quickly, bonding to the surface and turning into a dark, sticky crust. Scrubbing at it dry only smears the mess and risks scratching the glass.
A simple damp towel does the job without any elbow grease or harsh chemicals.
Lay a clean, damp kitchen towel directly over the burnt sugar spill. Let it sit for about 15 minutes. The moisture seeps into the residue, softening it until it lifts away easily.
After the wait, remove the towel and wipe the area with a soft cloth or sponge. For stubborn spots, a gentle scrape with a razor blade at a 45-degree angle finishes the job.
Why This Works
Sugar is water-soluble, but when it burns, it forms a hard, glassy layer. The damp towel creates a slow, gentle rehydration process. Heat from the still-warm cooktop (if you just used it) speeds things up, but even a cold towel works with a little extra time.
Best Towel To Use
A plain cotton dish towel or a microfiber cloth works best. Avoid anything with a rough texture or loose fibers that could leave lint. Make sure the towel is just damp—not soaking wet—to prevent water from seeping into the stove's seams.
When To Avoid This Method
If the spill is still fresh and wet, skip the towel and wipe it up immediately. This method is only for dried, burnt-on sugar. Also, never use this on a hot cooktop—wait until it's warm but not scorching to avoid steam burns.
11. Use a Ceramic Cooktop Cleaning Kit
Sometimes, the best solution is the one designed specifically for the job. Ceramic cooktop cleaning kits take the guesswork out of restoring your stove top's shine. They come with a specialized cleaner and a non-scratch pad that work together to lift stubborn residue and even buff out light scratches.
These kits are a game-changer when you're dealing with baked-on spills or dullness that regular cleaners won't touch. The cleaner is formulated to break down burnt food without harming the glass, while the pad provides just enough abrasion to polish the surface. You'll see results in minutes, and your cooktop will look like it just came out of the box.
What's In The Kit?
Most ceramic cooktop cleaning kits include a bottle of cleaner and a special scrubbing pad. The cleaner is usually a creamy paste that works by gently dissolving burnt-on residue. The pad is made from a non-scratch material—often a fine mesh or felt—that won't leave swirl marks or micro-scratches.
Some kits also come with a scraper for heavy-duty messes.
How To Use It Right
Start by making sure the cooktop is cool to the touch. Squirt a small amount of cleaner directly onto the stained area. Use the included pad to work the cleaner into the residue in a circular motion.
You'll feel the gunk start to loosen up. Wipe away the excess with a clean, damp cloth, then buff dry with a microfiber towel. For extra shine, follow up with a glass polish.
When To Reach For A Kit
These kits are ideal for weekly maintenance or when you notice your cooktop losing its luster. They're especially effective on light scratches and hazy patches caused by mineral deposits. If you've tried vinegar or baking soda without success, a ceramic cooktop cleaner is your next best bet.
Just avoid using it on a hot surface, as the chemicals can fume or stain.
12. Try a Magic Eraser for Tough Marks
Some stains just won't budge no matter how much you scrub. That's when a melamine foam eraser—often sold as Magic Eraser—comes to the rescue. It's like a super-fine sandpaper that gently lifts burnt-on gunk without scratching the glass.
How It Works
Melamine foam is made of incredibly hard microfibers that act like ultra-fine sandpaper. When dampened, it creates a mild abrasive action that breaks down stubborn residues. Unlike steel wool or harsh scrubbers, it's gentle enough for glass cooktops.
Step-by-step Usage
First, make sure the stove top is cool. Dampen the Magic Eraser with water and wring out excess so it's just moist. Rub the stained area gently in small circular motions.
You'll see the mark lift away. Wipe the area with a clean damp cloth afterward to remove any foam residue.
When To Avoid
Don't use a Magic Eraser on decorative logos, painted markings, or the edges of the cooktop where the glass meets the frame. The abrasiveness can wear away those details over time. Stick to the flat, clear glass surface only.
13. Prevent Scratches with Proper Cookware
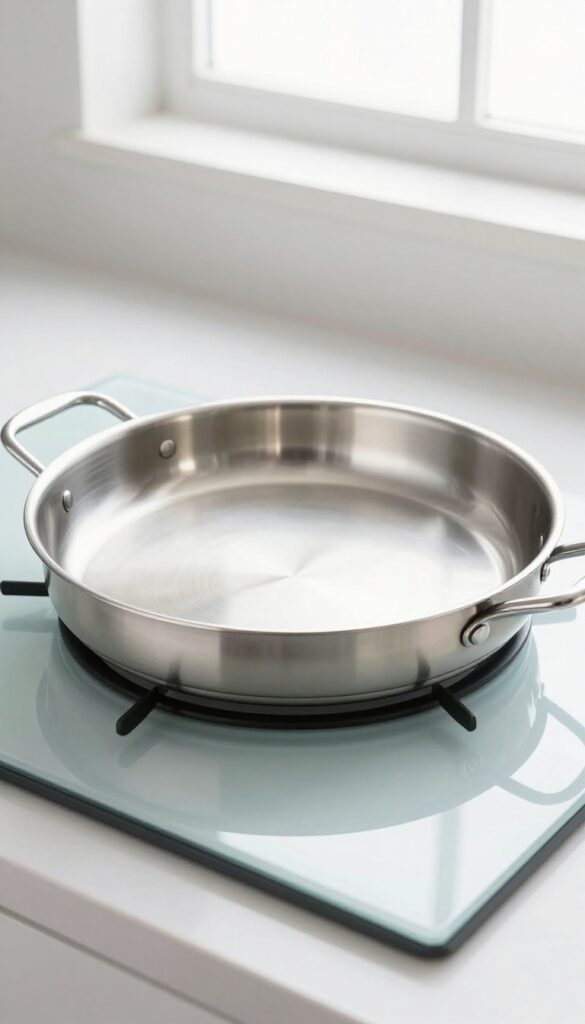
You might not think about your pots and pans when cleaning the stove top, but they play a big role in keeping it scratch-free. Rough or warped bottoms can act like sandpaper, dragging tiny debris across the glass and leaving permanent marks. The fix is simpler than you'd expect.
Choose Flat-bottomed Cookware
Flat-bottomed pans sit flush against the glass, distributing heat evenly and reducing the chance of scratching. Avoid pans with ridged or uneven bases—they concentrate pressure on small points and can gouge the surface. Test your cookware by placing it on a flat counter: if it rocks or wobbles, it's not ideal for glass.
Lift, Don't Slide
Sliding pots across the stove top is one of the fastest ways to create scratches. Always lift cookware straight up when moving it, even if you're just shifting it to another burner. This simple habit prevents debris trapped under the pan from grinding into the glass.
Inspect For Debris Before Cooking
Before placing a pan on the burner, quickly check the bottom for any stuck-on food or grit. A single grain of salt or a crumb can act like a miniature chisel under the weight of a heavy pot. A quick wipe with a dry cloth is all it takes to avoid a scratch.
14. Use a Stove Top Cover for Protection
Once you’ve got your glass stove top sparkling, the last thing you want is to see it get dirty again before your next meal. A simple cover can make all the difference. It’s a low-effort habit that keeps your cooktop looking great between uses.
A silicone or glass cover acts like a shield. It protects the surface from dust, grease splatters, and accidental spills. Plus, it adds an extra layer of defense against scratches from pots, pans, or even curious pets.
When you’re ready to cook, just lift it off and set it aside.
Choose The Right Material
Silicone covers are flexible, heat-resistant, and easy to store. Glass covers offer a sleek look and can double as extra counter space. Pick one that fits your stove top size and matches your kitchen style.
Make It A Daily Habit
Get in the routine of putting the cover on after each cleaning. It takes two seconds and prevents dust and cooking residue from settling. You’ll notice your stove top stays cleaner longer, meaning less scrubbing later.
Keep It Clean Too
Don’t forget to wipe down the cover regularly. A quick rinse or wipe with a damp cloth keeps it from transferring dirt back onto the stove top. If it’s silicone, you can even toss it in the dishwasher.
15. Clean with Dish Soap and Warm Water
Sometimes the simplest solution is the best. A drop of mild dish soap in warm water can handle everyday smudges, fingerprints, and light spills without any harsh chemicals. This method is gentle on the glass and safe to use as often as you like.
Just be sure to rinse thoroughly so no soapy residue is left behind.
Dish soap is a degreaser, so it cuts through the oily film that often builds up from cooking. It's also cheap and always on hand. The key is using a soft cloth or sponge—never abrasive pads—and drying the surface afterward to prevent water spots.
Why Dish Soap Works
Mild dish soap breaks down grease without damaging the glass. It's pH-neutral and won't etch or dull the surface like some all-purpose cleaners can. Plus, it's gentle enough for daily use.
How To Do It Right
Fill a spray bottle with warm water and add just a drop of dish soap. Spray lightly onto the cool stove top, then wipe with a soft microfiber cloth. For stuck-on bits, let the solution sit for a minute before wiping.
Rinse with a damp cloth and dry with a clean towel.
16. Remove Hard Water Stains with Lemon Juice
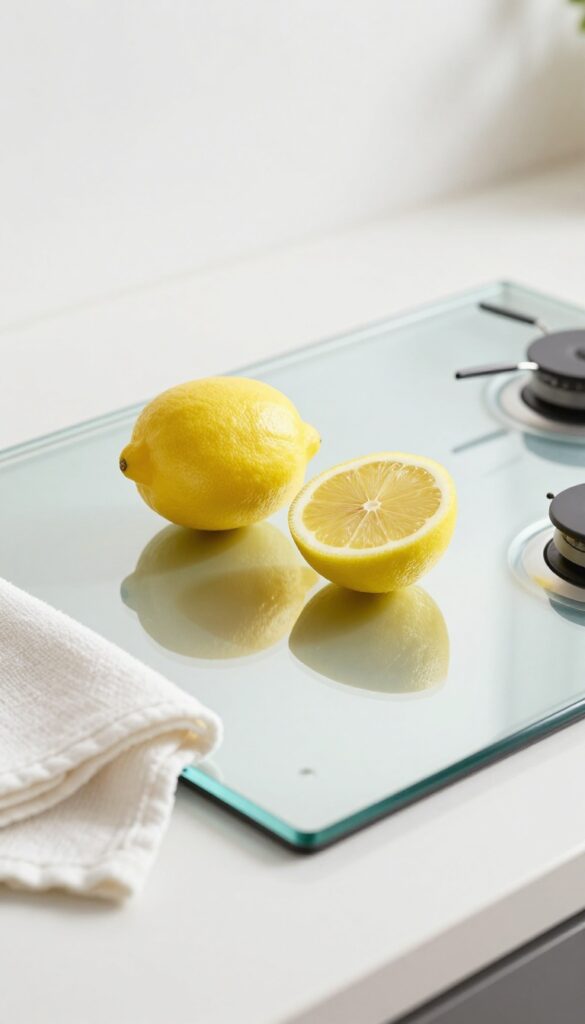
Hard water stains can leave your glass stove top looking cloudy and neglected. Those white mineral deposits build up from water droplets that dry on the surface, and they often resist regular cleaning. But you don't need a special product—lemon juice works wonders.
The citric acid in lemon juice breaks down the calcium and lime deposits without any harsh scrubbing. It's a natural, gentle solution that restores shine without scratching the glass. Plus, it leaves your kitchen smelling fresh.
Why Lemon Juice Works
Lemon juice is acidic enough to dissolve mineral buildup but mild enough not to damage the glass. The acid reacts with the alkaline hard water stains, turning them into soluble compounds that wipe away easily. No elbow grease required.
How To Apply It
Cut a fresh lemon in half and squeeze the juice onto a soft cloth or directly onto the stains. Let it sit for a few minutes to work its magic. Then wipe the area with a damp cloth and dry it with a microfiber towel for a streak-free finish.
For Stubborn Spots
If the stains are thick or layered, make a paste with lemon juice and baking soda. Apply it to the spots, let it sit for 5–10 minutes, then gently wipe away. Rinse thoroughly to avoid any residue.
This combo tackles even the toughest hard water rings.
17. Use a Glass Stove Top Scraper Kit
A glass stove top scraper kit is one of those tools you didn't know you needed until you try it. These kits come with a sturdy holder and a pack of replacement blades, making them safer and more effective than grabbing a random razor blade from the toolbox. The angled handle gives you better control, and the blades are designed to glide without scratching the surface.
Scraper kits are perfect for removing burnt-on food, caramelized sugar, and other stubborn residue that regular sponges can't touch. The key is to use them correctly: always wet the stove top first with a glass cleaner or a vinegar-water solution, then hold the scraper at a 45-degree angle and gently push the blade across the stain. Never scrape dry glass, as that can cause scratches.
Replace blades frequently to keep the edge sharp and effective.
Why A Kit Beats A Loose Blade
A loose razor blade is dangerous—it can slip, cut your fingers, or scratch the glass if you're not careful. A scraper kit includes a plastic or metal holder that keeps the blade secure and your hand safe. The ergonomic handle also makes it easier to apply even pressure, so you're less likely to gouge the surface.
Plus, having spare blades on hand means you're always ready for tough jobs.
When To Reach For The Scraper
Use the scraper for dried-on spills that resist scrubbing, like melted cheese, syrup, or oil splatters that have baked on. It's also great for removing the residue left by abrasive cleaners. However, avoid using it on decorative glass or surfaces with painted markings, as it may damage them.
Stick to the plain glass area of your cooktop.
Pro Tips For Flawless Results
Always lubricate the glass before scraping—spray a generous amount of cleaner or soapy water. Work in one direction, and wipe away the loosened debris with a damp cloth immediately. If the blade feels rough or skips, replace it.
After scraping, follow up with a glass cleaner and a microfiber cloth to polish away any streaks.
18. Apply a Protective Sealant
You've polished your glass stove top to perfection—now let's keep it that way. A protective sealant creates an invisible barrier that repels spills, grease, and grime, making future cleanups a breeze. Think of it as a shield that buys you time between deep cleans.
Reapplying monthly keeps the protection effective.
Protective sealants are specially formulated to bond with the glass surface, filling microscopic pores that trap dirt. Once applied, liquids bead up instead of spreading, and burnt-on residue lifts off more easily. Many products also add a streak-free shine that lasts.
The key is choosing a sealant designed for glass cooktops—avoid generic glass coatings that may not withstand high heat. Reapply after every deep cleaning or at least once a month for best results.
How To Apply
Start with a completely clean and dry stove top. Spray or wipe the sealant evenly across the surface, following the product's instructions. Use a microfiber cloth to buff it in gentle circular motions.
Let it cure for the recommended time—usually a few minutes—before using the cooktop. Avoid applying near hot burners; wait until the stove is cool.
What To Look For
Look for sealants labeled as 'glass cooktop protector' or 'ceramic stove top sealant. ' They often come as sprays or wipes. Check reviews for durability and ease of application. Some products double as cleaners, but dedicated sealants tend to last longer.
Avoid wax-based products that can leave a hazy residue under heat.
When To Reapply
Reapply sealant after each thorough cleaning, or at least once a month. If you notice spills starting to stick again or the shine fading, it's time for a fresh coat. Heavy daily use may require more frequent application.
Keep an eye on high-spill zones like the front burners.
19. Clean the Burner Rings and Knobs
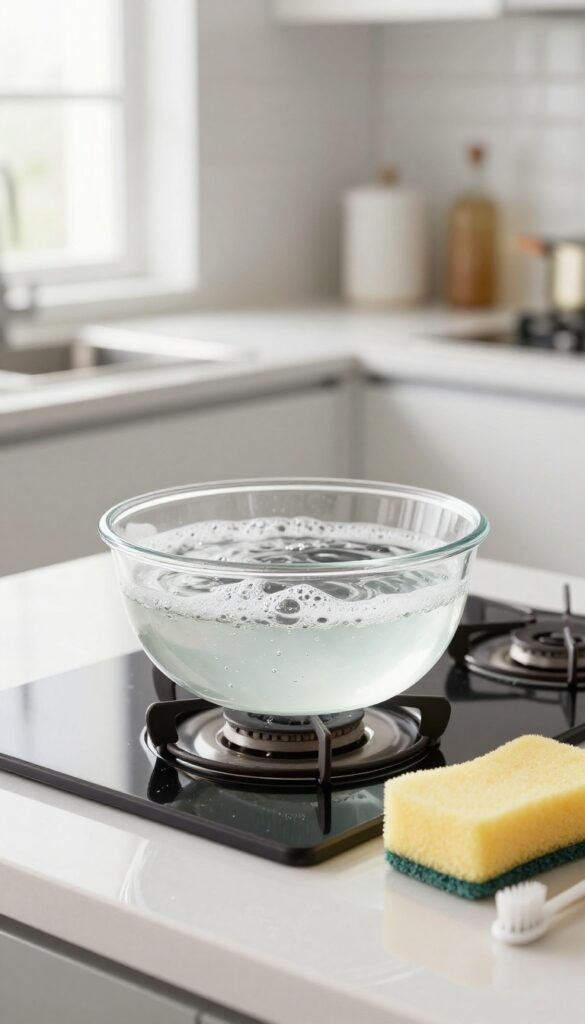
It's easy to focus all your energy on the glass surface and forget the parts that actually get touched the most. The burner rings and knobs collect grease, food splatters, and dust over time. When they're grimy, they can make even a spotless cooktop look dirty.
Giving them a proper clean not only improves the look but also keeps them working smoothly.
Remove And Soak
Start by lifting off the burner rings and pulling off the knobs. Most knobs pop straight off, but check your manual if they're stubborn. Fill your sink or a bowl with warm water and a few drops of dish soap.
Drop the rings and knobs in and let them soak for 10 to 15 minutes. This loosens baked-on grease so you don't have to scrub hard.
Scrub Gently
After soaking, use a soft sponge or a non-abrasive scrubber to wipe away grime. For sticky spots, a soft toothbrush works wonders around the edges and crevices. Avoid steel wool or harsh pads—they'll scratch the finish.
Rinse everything under clean water and dry with a soft cloth before putting them back.
Don't Forget The Base
While the rings and knobs are off, take a moment to wipe down the exposed area around the burners. Use a damp microfiber cloth to catch any crumbs or spills that have collected underneath. This hidden spot can harbor odors and attract pests if ignored.
A quick wipe keeps everything fresh.
20. Use a Toothbrush for Crevices
The flat surface of your glass stove top might look clean, but grime loves to hide in the tiny crevices around the burners and along the edges. A soft toothbrush is the perfect tool to reach those tight spots without scratching the glass. It's a simple trick that makes a big difference in the overall look of your cooktop.
Why A Toothbrush Works
The bristles of a soft toothbrush are flexible enough to get into narrow gaps where a sponge or cloth can't reach. They can dislodge baked-on food particles and grease that accumulate over time. Plus, the small head gives you precise control, so you can target specific areas without spreading grime around.
How To Do It Right
Dip the toothbrush in your preferred glass stove top cleaner or a mixture of baking soda and water. Gently scrub the crevices in a circular motion, focusing on the seams around the burners and the edges of the cooktop. Avoid using too much pressure to prevent scratching.
After scrubbing, wipe away the loosened debris with a damp microfiber cloth.
Pro Tips For Best Results
Keep a dedicated toothbrush just for this task—don't use one that's been in your mouth. For stubborn buildup, let the cleaner sit for a few minutes before scrubbing. You can also use a toothbrush to apply a paste of baking soda and vinegar to really tough spots.
Rinse thoroughly and dry with a clean cloth to avoid streaks.
21. Avoid Using Oven Cleaner
Oven cleaner might seem like a quick fix for tough, burnt-on messes on your glass stove top. But resist the urge—it's one of the worst things you can reach for. Standard oven cleaners contain harsh chemicals like sodium hydroxide that are far too aggressive for the delicate ceramic glass surface.
Using oven cleaner on your glass stove top can cause permanent damage. The chemicals can etch the glass, leaving it cloudy or discolored. They can also strip away the protective coating, making the surface more prone to scratches and stains.
Even if you rinse thoroughly, residue can linger and create a hazy film that's nearly impossible to remove. Stick to cleaners specifically designed for glass cooktops or gentle homemade solutions.
Why Oven Cleaner Is Too Harsh
Oven cleaners are formulated to break down baked-on grease in a sealed, high-heat environment. On an open glass surface, they react differently. The caustic ingredients can eat away at the glass's finish, leading to irreversible etching.
You might not notice right away, but over time, the surface will lose its smooth shine and become dull.
Safe Alternatives That Work
Instead of oven cleaner, reach for a dedicated glass cooktop cleaner or a simple mix of baking soda and water. For stubborn burnt-on spots, a razor scraper (used at the correct angle) can gently lift residue without chemicals. These methods are effective and won't compromise the integrity of your stove top.
22. Try a Paste of Cream of Tartar and Hydrogen Peroxide
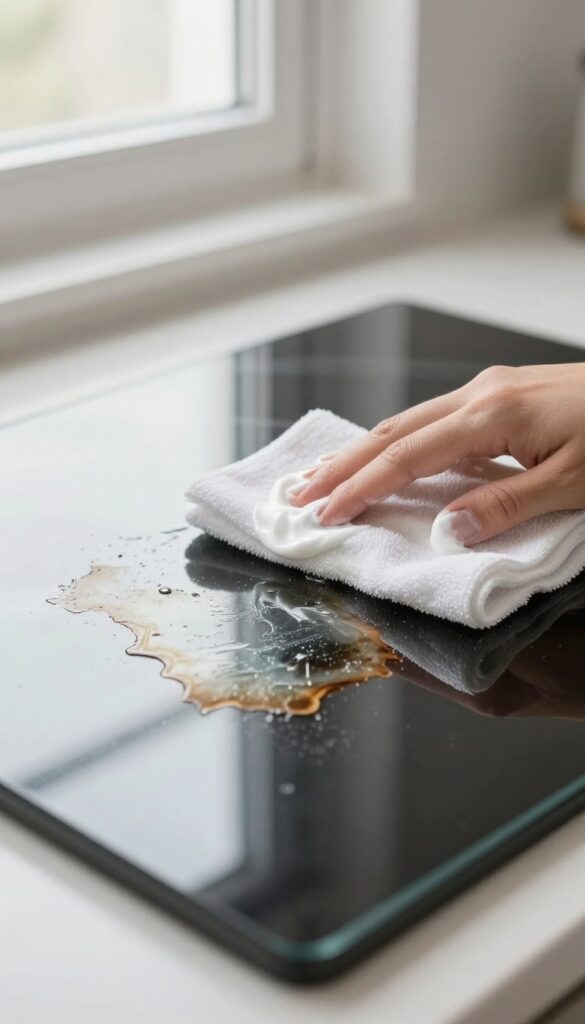
When burnt-on stains laugh at your usual cleaners, it's time to bring out a homemade paste that packs a punch. Cream of tartar is a mild acid that breaks down stubborn residue, while hydrogen peroxide adds gentle bleaching power. Together, they form a non-toxic scrub that's safe for your glass cooktop.
How To Make The Paste
In a small bowl, mix two parts cream of tartar with one part hydrogen peroxide. Stir until it forms a thick, spreadable paste. If it's too runny, add more cream of tartar; if too thick, add a few more drops of peroxide.
The consistency should be similar to toothpaste.
Application And Wait Time
Scoop a small amount onto a soft cloth or sponge and apply it directly to the burnt-on spots. Spread it evenly, covering the stain completely. Let the paste sit for 10 to 15 minutes.
This gives the acids time to loosen the grime. For extra tough stains, you can leave it on for up to 30 minutes, but don't let it dry completely.
Wiping Off And Final Buff
After the wait, dampen a clean microfiber cloth with water and gently wipe away the paste. You'll likely see the stain lift off with it. Rinse the area with a damp cloth to remove any residue, then dry with a separate soft cloth.
Buff in circular motions for a streak-free shine.
23. Use a Microfiber Cloth for Final Buff
You've scrubbed, wiped, and polished—but that last step can make or break your shine. A dry microfiber cloth is the secret weapon for a streak-free, mirror-like finish. Unlike paper towels or old rags, microfiber lifts leftover residue without scratching.
After you've cleaned and dried your stove top, grab a fresh, dry microfiber cloth. Buff the surface in small circular motions, working from one corner to the other. This final pass removes any invisible film or smudges left by cleaners or water.
The result? A glossy, smooth shine that looks brand new.
Why Microfiber Works Best
Microfiber cloths have split fibers that create a large surface area, trapping dust and residue instead of pushing them around. They're also non-abrasive, so they won't scratch glass. Avoid using fabric softener when washing microfiber—it clogs the fibers and reduces effectiveness.
Buffing Technique For Maximum Shine
Use a light touch and moderate speed. Too much pressure can cause friction, leaving streaks. Work in sections if your stove top is large, and flip the cloth frequently to use a clean side.
A final buff with a second dry cloth can add extra gloss.
When To Replace Your Cloth
Microfiber cloths lose their magic after many washes. If you notice streaking or the cloth feels rough, it's time for a new one. Keep a dedicated set just for your glass stove top to avoid cross-contamination with greasy kitchen rags.
24. Deep Clean Weekly with a Cooktop Cleaner
Daily wiping is great, but a deep weekly session is what keeps your glass stove top looking like new. A dedicated cooktop cleaner is formulated to cut through the baked-on grease and residue that regular sprays leave behind. Set aside 10 minutes once a week to give your stove the attention it deserves.
Start by scraping off any loose debris with a razor scraper held at a 45-degree angle. Then apply a quarter-sized amount of cooktop cleaner (like Weiman or Cerama Bryte) directly onto the cool surface. Spread it evenly with a damp sponge or a microfiber cloth, focusing on stained areas.
Let it sit for 2-3 minutes to break down the grime. Finally, scrub gently in circular motions, then buff with a clean dry cloth until the haze disappears. Your stove will look like it just came out of the box.
Why A Dedicated Cleaner Works Better
General kitchen sprays often contain ammonia or bleach that can damage the ceramic glass over time. Cooktop cleaners are pH-balanced and contain mild abrasives that polish without scratching. They also leave a protective barrier that makes future cleaning easier.
The Right Tools For The Job
Use a non-abrasive sponge or a microfiber cloth—never scrub pads or steel wool. A razor scraper is essential for burned-on food, but always use it on a wet surface to avoid scratches. Keep a separate cloth for buffing to avoid spreading residue.
How Often Is Weekly Enough?
For most households, once a week is sufficient. If you cook heavily or frequently use high heat, you might need to do it twice. But over-cleaning can wear down the protective coating, so stick to a weekly rhythm unless you see visible buildup.
25. Know When to Call a Professional
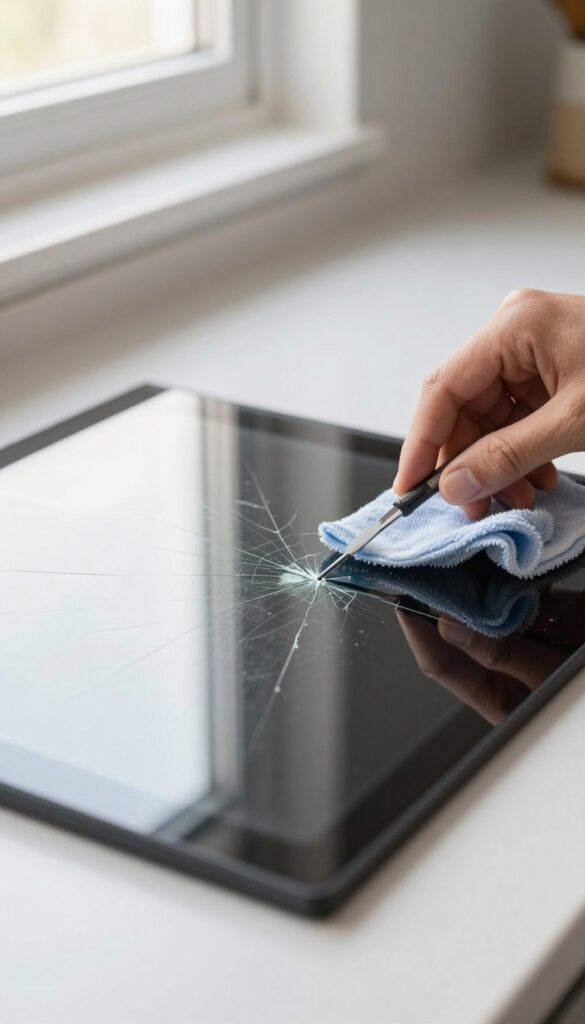
No matter how careful you are, sometimes a glass stove top takes a hit that's beyond a DIY fix. Deep scratches, stubborn etching, or a crack from a dropped pan can leave you frustrated. That's when it's smart to step back and call in someone with the right tools and experience.
A professional can assess the damage and often polish out light scratches or recommend a replacement if the surface is compromised. It might cost a bit, but it beats ruining your cooktop with the wrong product or technique. Knowing your limits is just as important as knowing your cleaning hacks.
When Scratches Go Too Deep
Light scratches from abrasive pads or sliding pans can sometimes be buffed out with a cerium oxide polish. But deep grooves that catch your fingernail usually mean the glass is permanently damaged. A pro can tell you if polishing is an option or if the cooktop needs replacing.
Don't keep scrubbing—you'll only make it worse.
Stubborn Stains That Won't Budge
Some stains, like hard water etching or metal marks from aluminum pans, can become baked into the glass. If your best efforts with baking soda, razor blades, and vinegar haven't touched them, a professional may have specialized compounds that can restore the surface. They can also confirm if the stain is actually a scratch or a chip.
Cracks And Chips Need Immediate Attention
A crack or chip isn't just ugly—it's a safety hazard. It can spread with heat, and broken glass near burners is dangerous. Turn off the stove and call a pro right away.
In most cases, the entire cooktop needs to be replaced. Don't try to seal it yourself; that's a temporary fix at best and could void your warranty.
FAQ
Can I use Windex on a glass stove top?
It's not recommended. Windex can leave a residue that burns onto the surface during cooking. Use a cleaner specifically designed for glass cooktops instead.
How do I remove a burnt-on sugar spill?
Let the stove cool completely. Apply a damp cloth or paper towel over the spill and let it sit for 15 minutes to soften. Then gently scrape with a razor scraper or wipe with a baking soda paste.
What should I avoid cleaning my glass stove top with?
Avoid abrasive sponges, steel wool, harsh chemicals like oven cleaner, and any acidic cleaners not meant for glass. These can scratch or etch the surface.
How often should I clean my glass stove top?
Wipe it down after every use once cool. Do a deeper clean with a dedicated cooktop cleaner once a week to prevent buildup.
Can scratches be removed from a glass stove top?
Light scratches can sometimes be minimized with a ceramic cooktop polishing compound. Deep scratches may be permanent and might require professional resurfacing or replacement.
Conclusion
Keeping your glass stove top clean doesn't have to be a chore. With these 25 tips, you can tackle everything from daily smudges to burnt-on disasters without stress. The key is consistency—a quick wipe after each use and a weekly deep clean will keep that mirror shine intact.
Remember, the right tools and techniques make all the difference. Stick to non-abrasive cleaners and soft cloths, and your stove top will stay smooth and streak-free for years. Happy cleaning!