17 Cleaning Old Wood Furniture Tips for Restored Warm Shine
Your antique sideboard or thrifted nightstand has years of stories etched into its surface—and a fair share of grime, too. Restoring that warm, just-polished glow doesn't require harsh chemicals or a professional refinisher. With the right techniques and a few pantry staples, you can bring tired wood back to life.
From gentle dusting to tackling stubborn water rings, these 17 tips target specific problems like sticky residue, darkened patina, and dry, thirsty grain. Each method is practical, safe for most finishes, and designed to deliver visible results without guesswork.
Ready to make your wood furniture shine again? Let's start with the basics.
1. Start with a Soft Dusting Routine
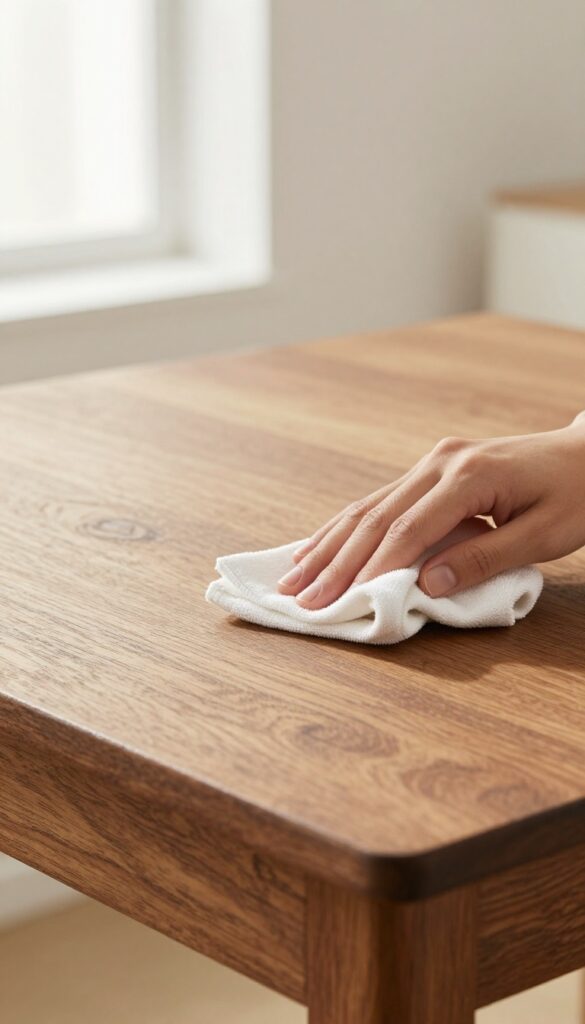
Before you reach for any polish or cleaner, you need to clear away the loose dust and grit that's settled on the surface. Skipping this step is like washing a car without rinsing off the mud first—you'll just grind particles into the finish. A gentle dusting routine sets the stage for everything that follows.
Dust might seem harmless, but it's actually abrasive. Tiny particles can scratch the varnish or wax over time, dulling the shine you're trying to restore. That's why you want to use the right tools and technique from the start.
Choose The Right Cloth
Microfiber cloths are ideal because they trap dust instead of pushing it around. Avoid old t-shirts or terry towels—they can leave lint or have rough edges that might scratch. If you prefer a brush, go with a soft-bristled one, like a clean paintbrush or a dedicated dusting brush.
Skip The Feather Duster
Feather dusters might look elegant, but they're notorious for spreading dust into the air and then letting it settle back down. Worse, the quills can scratch delicate finishes. Stick with a microfiber cloth or a soft brush for a truly safe clean.
Work From Top To Bottom
Always dust from the highest point of the piece downward. That way, any dust that falls won't land on an already cleaned area. For carved details or grooves, use a soft brush to gently loosen the dust, then wipe with your cloth.
2. Identify the Finish Before You Clean
Not all wood finishes are created equal, and using the wrong cleaner can ruin the surface. A quick test in an inconspicuous spot tells you exactly what you're dealing with—varnish, shellac, lacquer, or wax. This simple step saves you from costly mistakes and ensures your cleaning method is spot-on.
Grab a cotton swab or soft cloth and a bit of denatured alcohol. Rub it on a hidden area, like the underside of a drawer or inside a cabinet. If the finish softens or dissolves, it's shellac or lacquer.
If nothing happens, it's likely varnish or polyurethane. For wax, a gentle scrape with a fingernail will reveal a waxy residue. Once you know the finish, you can choose the right cleaner: mild soap and water for varnish, mineral spirits for wax, and denatured alcohol for shellac or lacquer.
Always test in an unseen spot first.
The Alcohol Swab Test
Dampen a cotton swab with denatured alcohol and rub it on a hidden spot. If the finish dissolves or becomes tacky, you have shellac or lacquer. If nothing changes, it's a more durable finish like varnish or polyurethane.
This test is fast and reliable.
The Wax Check
Scrape a hidden area gently with your fingernail. If a white, waxy residue appears, the piece has a wax finish. Wax requires special care—avoid water-based cleaners and use mineral spirits instead.
Why It Matters
Using the wrong cleaner can cause cloudiness, peeling, or permanent damage. For example, water on shellac creates white blooms, while alcohol strips wax. Knowing your finish lets you clean safely and effectively.
3. Mix a Gentle Cleaning Solution with Dish Soap and Water
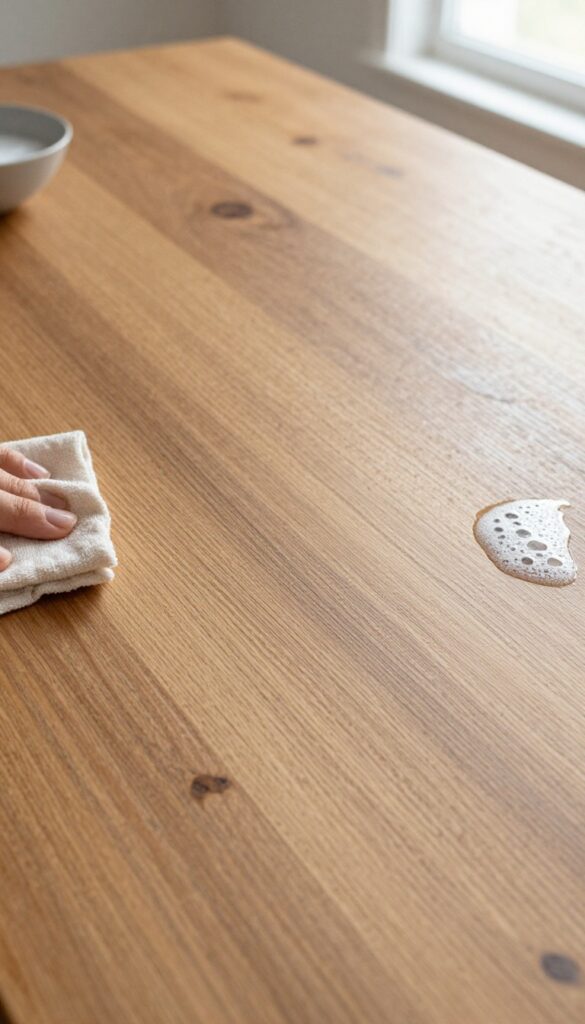
Not every grimy layer needs a heavy-duty stripper. Sometimes the simplest solution is also the safest. A few drops of mild dish soap in warm water can lift years of greasy buildup without damaging the finish.
The key is using it sparingly and drying immediately.
Mix just a few drops of mild dish soap into a bowl of warm water. Dip a soft, lint-free cloth into the solution and wring it out until it's barely damp. Wipe the furniture gently, following the grain, and then immediately dry the surface with a clean, dry cloth.
This method works well for removing sticky residue, light grime, and everyday dirt. Avoid soaking the wood or letting water pool on the surface.
Why Dish Soap Works
Mild dish soap cuts through grease and dirt without the harshness of ammonia or bleach. It's gentle enough for most sealed finishes, including lacquer, varnish, and shellac. The small amount of soap breaks the surface tension of water, allowing it to lift grime rather than just spreading it around.
The Damp-not-wet Rule
Excess moisture is the enemy of wood. It can seep into cracks, raise the grain, or cause the finish to cloud. Always wring your cloth until it's just damp to the touch.
If you see water beading or pooling, you've used too much. Work in small sections and dry each area immediately with a separate cloth.
When To Skip This Method
Avoid using any water-based cleaner on unfinished wood, antique pieces with a fragile patina, or furniture with water-sensitive finishes like wax. If you're unsure, test on an inconspicuous spot first. For heavily soiled areas, you may need a specialized cleaner, but for regular maintenance, soap and water is often enough.
4. Use White Vinegar and Olive Oil for a Natural Polish
If you want a cleaner that also conditions, this DIY mix is a game-changer. White vinegar cuts through grease and grime without stripping the finish, while olive oil adds moisture back into thirsty wood. Together, they create a polish that leaves a soft, natural sheen without any synthetic chemicals.
The Right Ratio Matters
Mix equal parts white vinegar and olive oil in a small bowl. Shake or stir well before each use because the oil and vinegar will separate. A 1: 1 ratio gives you enough cleaning power without making the surface greasy.
Application Technique
Dip a soft, lint-free cloth into the mixture, then wring it out so it's damp, not wet. Apply in a thin, even layer, working with the grain. Let it sit for a minute, then buff with a dry cloth to remove any excess.
The wood should feel smooth and look hydrated, not sticky.
When To Skip This Method
Avoid this polish on waxed, lacquered, or shellacked finishes because the vinegar can dull the surface. Test on an inconspicuous spot first. Also, don't use it on unfinished or raw wood, as the oil may not absorb evenly and could attract dust.
5. Remove Sticky Residue with Mayonnaise
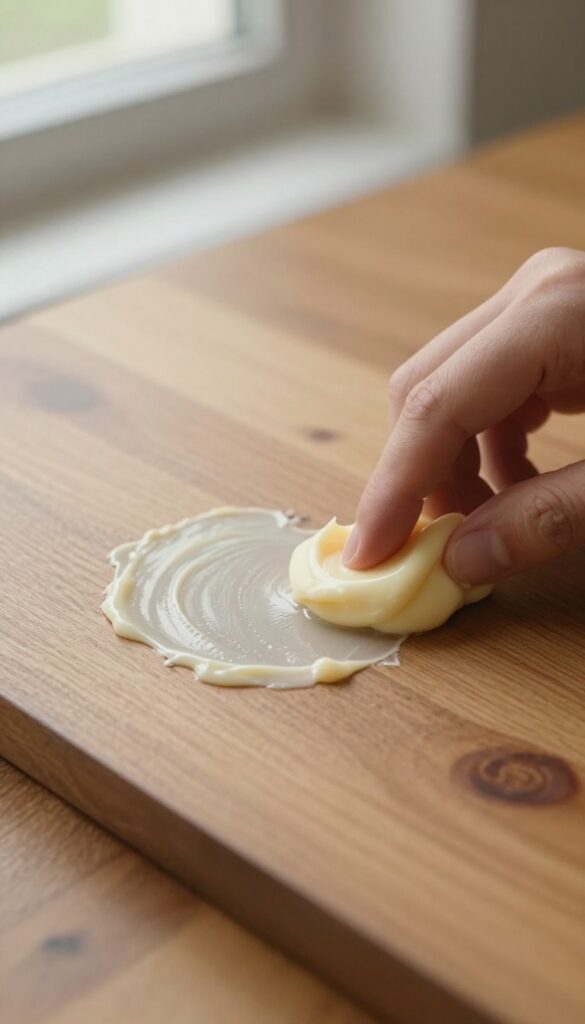
Sticky patches from old price tags, tape, or glue can be frustrating. But before you reach for a scraper or harsh solvent, check your fridge. Mayonnaise is surprisingly effective at breaking down adhesive without damaging the wood finish.
The oils in mayo soften the glue, letting you wipe it away cleanly.
Spread a thin layer of mayonnaise directly over the sticky spot. Use your finger or a soft cloth to cover it completely. Let it sit for about 15 minutes—the oils need time to penetrate.
Then, gently wipe the area with a clean, damp cloth. The residue should come off easily. If any stickiness remains, repeat the process.
Finish by wiping the spot with a dry cloth to remove any greasy film.
Why Mayo Works
Mayonnaise contains oil and egg yolks that help dissolve adhesive bonds. The oil seeps into the glue, weakening its grip. It's gentle enough for finished wood, unlike acetone or alcohol-based removers that can strip the finish.
Best For Stickers And Tape Glue
This method works great for leftover sticker adhesive, packing tape residue, or glue from old labels. It's less effective on thick, dried glue or epoxy. For those, you might need a different approach.
Wipe Away Gently
After the mayo sits, use a soft cloth or paper towel to wipe. Don't scrub hard—the glue should lift with light pressure. If needed, a plastic scraper can help, but avoid metal tools that could scratch.
6. Erase Water Rings with a Hairdryer and Toothpaste
White water rings from sweating glasses or hot mugs can make a beautiful tabletop look neglected. The good news is you don't need a refinisher—just a hairdryer and a dab of toothpaste. This trick works on most sealed finishes and takes only a few minutes.
Water rings are actually moisture trapped in the finish, not the wood itself. By gently heating the area, you encourage the moisture to evaporate, and the mild abrasive in toothpaste helps buff out any remaining haze.
Why Heat First
Set your hairdryer to low heat and hold it a few inches from the ring. Move it in a circular motion for about 30 seconds. You'll see the ring start to fade as the moisture rises.
Don't overheat—if the finish feels tacky, stop and let it cool.
Toothpaste Application
Squeeze a pea-sized amount of non-gel, non-whitening toothpaste onto a soft cloth. Rub it gently into the ring using small circles. The mild abrasives (like calcium carbonate) polish the finish without scratching.
Wipe off with a damp cloth, then dry immediately.
Final Buff And Prevention
After cleaning, buff the area with a dry microfiber cloth to restore shine. For stubborn rings, repeat the process once more. To prevent future marks, always use coasters or felt pads under glasses and hot dishes.
7. Tackle Grease Buildup with Mineral Spirits
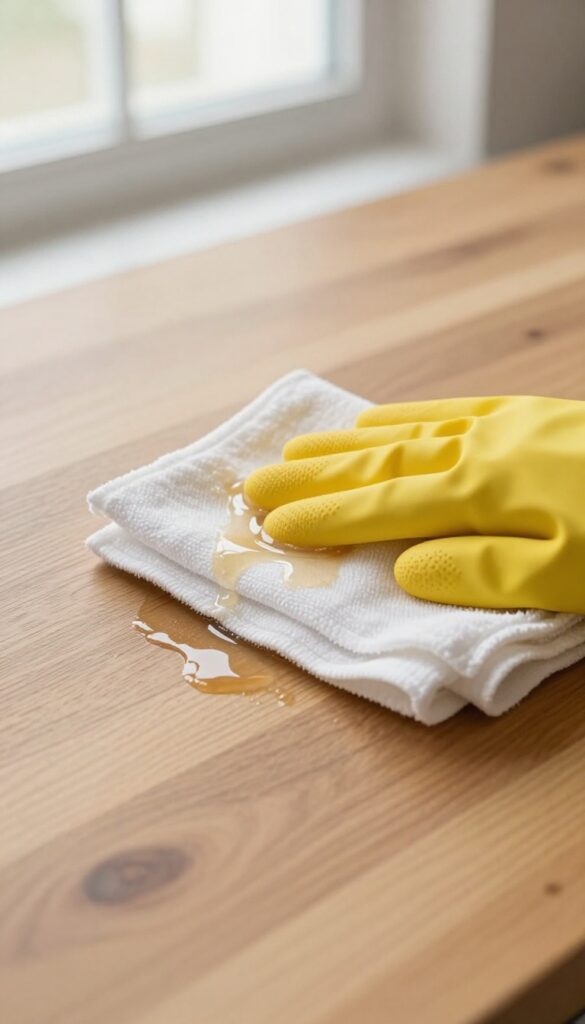
Kitchen tables, cabinets, and chairs often bear the brunt of cooking splatters and sticky fingers. That greasy film doesn't just look dull—it can trap dirt and make wood feel grimy. Mineral spirits cut through that residue without harming the finish, leaving the surface clean and ready for polish.
Before you start, always test mineral spirits on an inconspicuous spot. Some delicate finishes may react, so it's better to be safe. Work in a well-ventilated area—open windows or use a fan—and wear rubber gloves to protect your skin.
Dampen a soft, lint-free cloth with mineral spirits, then wipe the greasy areas in the direction of the grain. You'll see the grime lift away almost immediately. For stubborn spots, let the cloth sit on the area for a minute before wiping.
Follow up with a dry cloth to remove any excess, then let the wood air dry completely. After that, you can apply your favorite polish or wax for a renewed shine.
When To Use Mineral Spirits
Reach for mineral spirits when you encounter sticky, greasy residue that soap and water can't budge. It's especially effective on kitchen furniture, dining tables, and chairs near cooking areas. Avoid using it on waxed or oiled finishes unless you plan to reapply the finish afterward.
Safety First
Mineral spirits are flammable and emit strong fumes. Always work in a well-ventilated space—ideally outdoors or with windows open. Wear gloves and avoid contact with skin.
Keep away from heat sources, sparks, and open flames. Dispose of used rags properly by letting them dry flat away from combustibles.
Aftercare
Once the mineral spirits have dried, you may notice the wood looks dull or dry. That's normal—the spirits have removed the grime but also stripped any wax or polish. Follow up with a fresh coat of furniture wax or a quality wood polish to restore the warm shine.
This step also protects the wood from future grease buildup.
8. Brighten Darkened Wood with Hydrogen Peroxide
Over time, wood furniture can develop a darkened, muddy appearance from exposure to light, oils, and age. Hydrogen peroxide offers a gentle bleaching effect that restores brightness without stripping the finish. This method works best on light to medium woods and is safe for most sealed surfaces.
Why Hydrogen Peroxide Works
Hydrogen peroxide releases oxygen molecules that break down discolored compounds in the wood's surface. Unlike bleach, it doesn't damage the finish or raise the grain when used correctly. It's especially effective for removing dark patches caused by sun exposure or mild water damage.
How To Apply It Safely
Start with a 3% hydrogen peroxide solution (the standard drugstore kind). Dampen a soft cloth—not soak it—and rub gently over the darkened areas in the direction of the grain. Work in small sections and avoid letting puddles sit.
After 30 seconds, wipe off with a clean damp cloth, then dry immediately.
When To Repeat Or Stop
One application may be enough for light discoloration. For stubborn spots, you can repeat the process after the wood dries completely. If you don't see improvement after three tries, the discoloration may be too deep—consider a different method or professional help.
9. Deep Clean Carved Details with a Soft Toothbrush
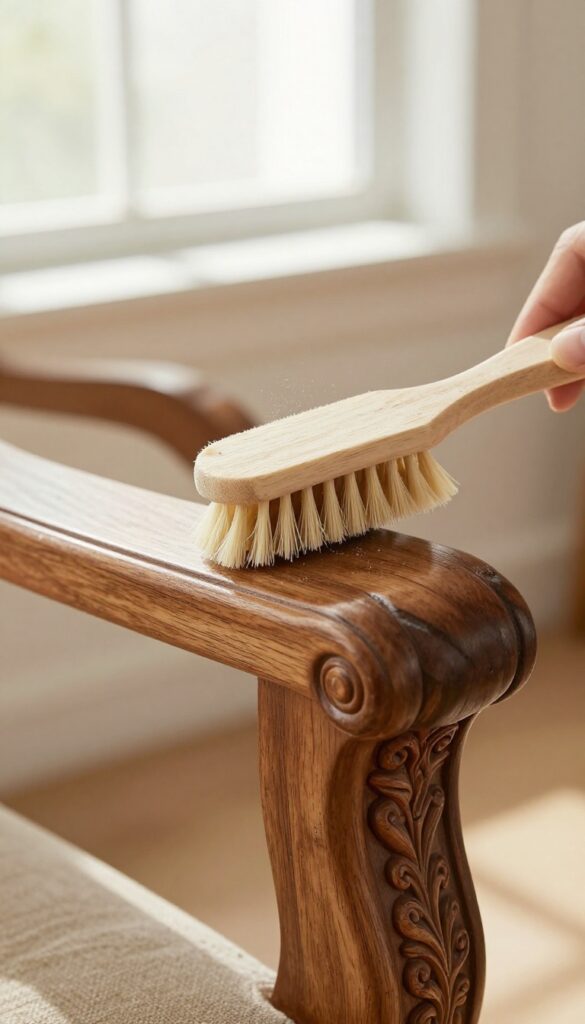
Ornate carvings and grooves are magnets for dust and grime. A cloth often can't reach into those tight crevices, leaving a dull buildup that hides the wood's natural beauty. A soft toothbrush is the perfect tool to gently dislodge dirt without scratching the finish.
Dip a soft toothbrush into your cleaning solution—a mild soap and water mix or a vinegar-water blend works well. Gently scrub the carved areas using small circular motions. Work in sections so the solution doesn't dry on the wood.
Wipe away the loosened residue immediately with a damp cloth, then dry with a soft towel. For stubborn buildup, let the solution sit for a minute before scrubbing. Avoid soaking the brush; you want it damp, not dripping, to prevent water damage.
Choosing The Right Brush
Use a new or gently used toothbrush with soft bristles. A brush with a small head gives you better control in tight spots. Avoid stiff bristles, which can scratch the finish.
If the carvings are very delicate, consider a soft-bristled artist's brush for extra precision.
Drying Carved Areas Thoroughly
Moisture can linger in crevices and cause the wood to swell or warp. After cleaning, use a dry, lint-free cloth to blot the carved areas. You can also use a hairdryer on a cool, low setting to gently dry hard-to-reach spots.
Make sure the wood feels completely dry before applying any polish or wax.
When To Use A Toothbrush Vs. Other Tools
A toothbrush is ideal for small, detailed carvings. For larger grooves or fluting, a soft-bristled scrub brush or a clean paintbrush may be more efficient. Always test on an inconspicuous area first to ensure the bristles don't damage the finish.
10. Condition Dry Wood with Lemon Oil or Beeswax
Once your furniture is clean and dry, it's time to restore moisture and depth. Dry wood looks dull and lifeless, but a good conditioner brings back that warm, rich glow. Lemon oil and beeswax are two classic choices—each works differently, so pick the one that fits your piece and your preferences.
Conditioning isn't just about looks; it also helps protect the wood from future drying and cracking. Apply a thin, even layer with a soft cloth, let it soak in for the recommended time, then buff to a soft sheen. Always test on an inconspicuous spot first.
Lemon Oil: Quick Absorption And Fresh Scent
Lemon oil penetrates quickly, making it ideal for thirsty wood that hasn't been conditioned in years. It's a blend of mineral oil and lemon fragrance—not actual lemon juice. Apply sparingly; a little goes a long way.
Wipe off any excess after 15–20 minutes to avoid sticky buildup.
Beeswax Polish: Deeper Protection And Luster
Beeswax creates a protective barrier that adds a soft, natural luster. It's thicker than lemon oil, so you'll need to warm it slightly or rub it in with a bit more elbow grease. Let it sit for about 30 minutes, then buff vigorously with a clean cloth.
It's especially good for carved details and high-use surfaces.
How Often To Condition
For most pieces, conditioning once or twice a year is enough. If your furniture is in a dry climate or near a heat source, you might need to do it more often. Watch for signs like a dull appearance or rough texture—that's your cue to condition again.
11. Remove Old Wax Buildup with Turpentine
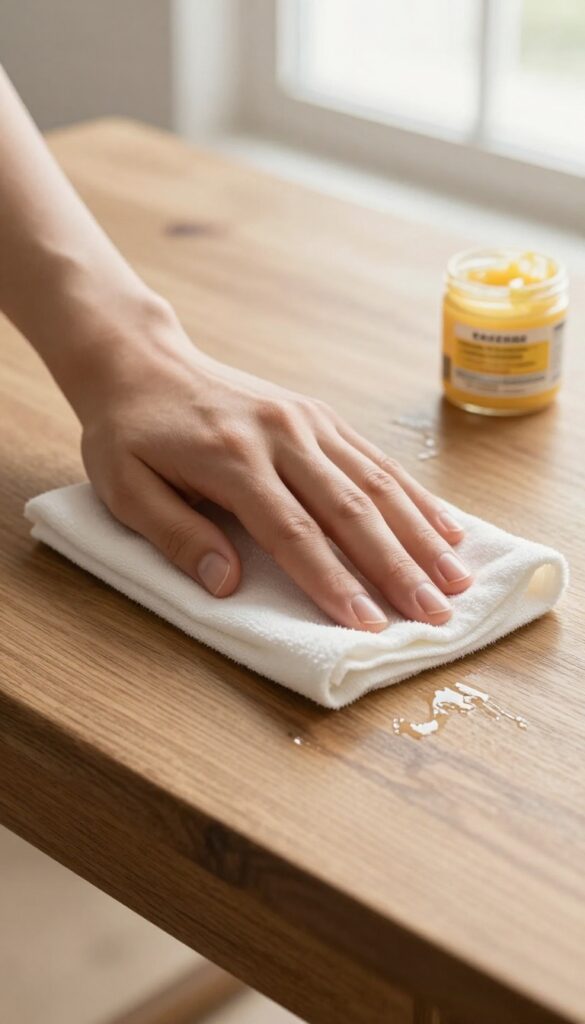
That cloudy, hazy look on your cherished wood furniture isn't always a sign of damage—it's often just old wax buildup. Over time, layers of wax can trap dirt and oxidize, turning a once-gleaming surface dull. The fix is simpler than you think, and it doesn't require stripping the entire finish.
Turpentine is a gentle solvent that dissolves wax without harming most varnishes or lacquers. A quick wipe with a turpentine-dampened cloth lifts the grimy wax layer, revealing the clean wood underneath. Afterward, a fresh coat of wax restores the protective shine and brings back that warm luster.
How To Spot Wax Buildup
Run your hand over the surface. If it feels sticky or tacky, or if the finish looks hazy even after dusting, wax buildup is likely the culprit. Another test: rub a small spot with a bit of mineral spirits on a cotton ball.
If the haze disappears temporarily, old wax is the issue.
Step-by-step Turpentine Wipe
Work in a well-ventilated area. Dampen a soft, lint-free cloth with turpentine—don't soak it. Wipe a small section at a time, following the wood grain.
The cloth will pick up the dissolved wax, so flip or replace it as needed. Let the surface dry for about 10 minutes.
Finishing With Fresh Wax
Once the turpentine has evaporated, apply a thin layer of paste wax using a clean cloth. Let it haze for 5–10 minutes, then buff with a soft cloth to a soft shine. This seals the wood and gives it that deep, warm glow you're after.
12. Fix White Heat Marks with a Cloth and Iron
White rings from hot coffee cups or steaming mugs can make any wood surface look neglected. But here's the good news: those cloudy marks are almost always trapped moisture in the finish, not permanent damage. A simple ironing trick can lift them right out, no sanding or refinishing required.
White heat marks occur when moisture gets trapped beneath the finish, creating a cloudy haze. The heat from the iron helps evaporate that moisture, restoring the clear finish. This method works best on fresh marks, but older ones can often be improved too.
What You'll Need
Grab a clean, lint-free cotton cloth (an old T-shirt or dish towel works great), a household iron, and a flat surface. No water needed—the moisture is already in the wood. Make sure the cloth is dry and free of any dyes or prints that could transfer to the finish.
Step-by-step Process
Place the cloth directly over the white mark. Set your iron to a medium heat setting (no steam). Once hot, press the iron onto the cloth and hold for about 15 seconds.
Lift and check the mark—if it's fading, repeat. Keep the iron moving slightly to avoid overheating one spot. Never leave it in place too long or you risk damaging the finish.
When To Stop And What To Do Next
If the mark hasn't changed after several attempts, stop. The damage may have penetrated the finish, requiring a different approach like using mayonnaise or toothpaste. After successful removal, let the wood cool, then buff the area with a soft cloth to restore shine.
For extra protection, apply a thin layer of furniture wax.
13. Clean Painted Wood Furniture Gently
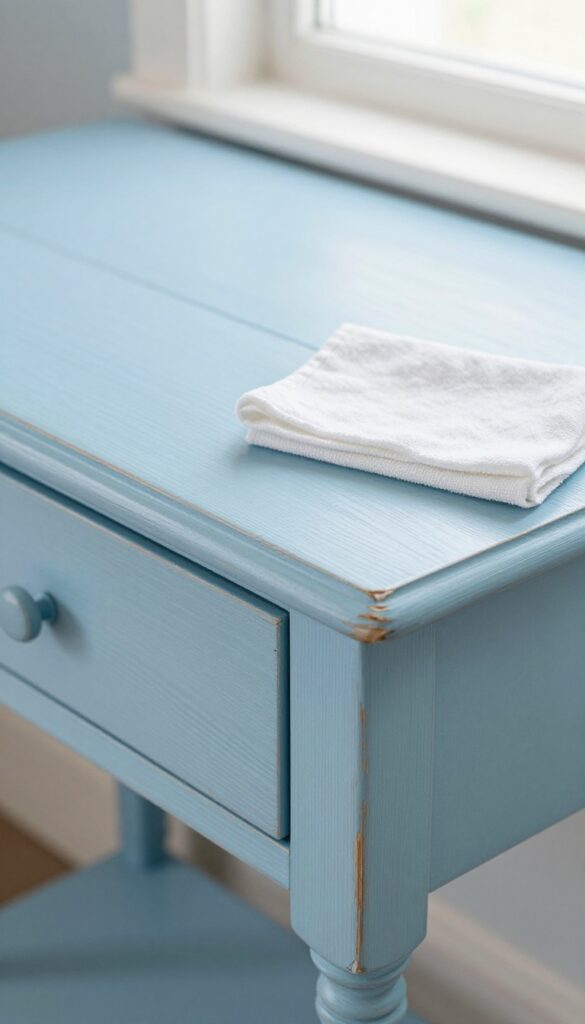
Painted wood furniture needs a softer touch than bare wood. Harsh scrubbing or strong chemicals can lift the paint, leaving you with patchy spots and extra work. The trick is to remove grime without stripping the color.
A gentle approach keeps the finish intact while still getting things clean.
Start with the mildest cleaner possible. Mix a few drops of mild dish soap into a bowl of warm water—avoid anything with bleach, ammonia, or abrasive particles. Dip a soft microfiber cloth into the solution, wring it out until barely damp, and wipe the surface in the direction of the wood grain.
Never soak painted wood; excess moisture can seep under the paint and cause peeling. For stubborn spots, let the damp cloth sit on the area for a minute before gently rubbing. Rinse your cloth frequently and change the water if it gets dirty.
After cleaning, go over the piece with a dry cloth to remove any lingering moisture. This simple routine lifts dust, fingerprints, and light stains without damaging the paint layer.
Why Abrasive Cleaners Are A No-go
Scouring powders, magic erasers, and harsh scrub brushes are too aggressive for painted finishes. They act like fine sandpaper, wearing down the paint and leaving a dull, scratched surface. Even if the paint feels durable, repeated abrasion will eventually expose the bare wood underneath.
Stick to soft cloths and non-abrasive sponges to keep that painted look fresh.
Choosing The Right Soap
Not all soaps are paint-safe. Avoid anything labeled “degreasing” or “heavy-duty, ” as these often contain solvents that can soften or discolor paint. A gentle dish soap without added bleach, citrus, or antibacterial agents is your best bet.
Castile soap is another good option—it’s mild and rinses cleanly. Always test a small, hidden area first to make sure the soap doesn’t react with your paint.
Dealing With Sticky Residue On Painted Surfaces
Sticky spots from spilled drinks or old labels can be tricky. Instead of scrubbing hard, try a tiny dab of mild soap directly on the residue and let it sit for a minute. If that doesn't work, use a small amount of rubbing alcohol on a cotton swab—just on the sticky spot, not the surrounding paint.
Wipe away the residue gently, then rinse with a damp cloth and dry immediately.
14. Restore Shine with a Homemade Beeswax Polish
Store-bought polishes often contain silicone or synthetic waxes that build up over time. A simple homemade beeswax polish gives you full control over ingredients and leaves a warm, protective sheen without the chemicals. Plus, it's surprisingly easy to make with just two ingredients.
Why Beeswax Works Best
Beeswax is a natural humectant that locks in moisture while forming a breathable barrier against dust and light scratches. Unlike petroleum-based waxes, it doesn't yellow or become sticky with age. Mineral oil carries the wax deep into the grain, feeding the wood from within.
How To Make Your Own Polish
Grate 1 part beeswax (by weight) and melt it in a double boiler. Slowly stir in 4 parts mineral oil until fully combined. Pour into a wide-mouth jar and let it cool completely—it will set into a soft paste.
Store in a cool, dark place for up to a year.
Application Tips For Best Results
Use a lint-free cloth to scoop a small amount of polish. Rub it into the wood in circular motions, working with the grain. Let it sit for 10–15 minutes, then buff with a clean cloth until the surface feels smooth and looks evenly glossy.
Less is more—a thin coat always outperforms a thick one.
15. Avoid Silicone-Based Polishes for Long-Term Care
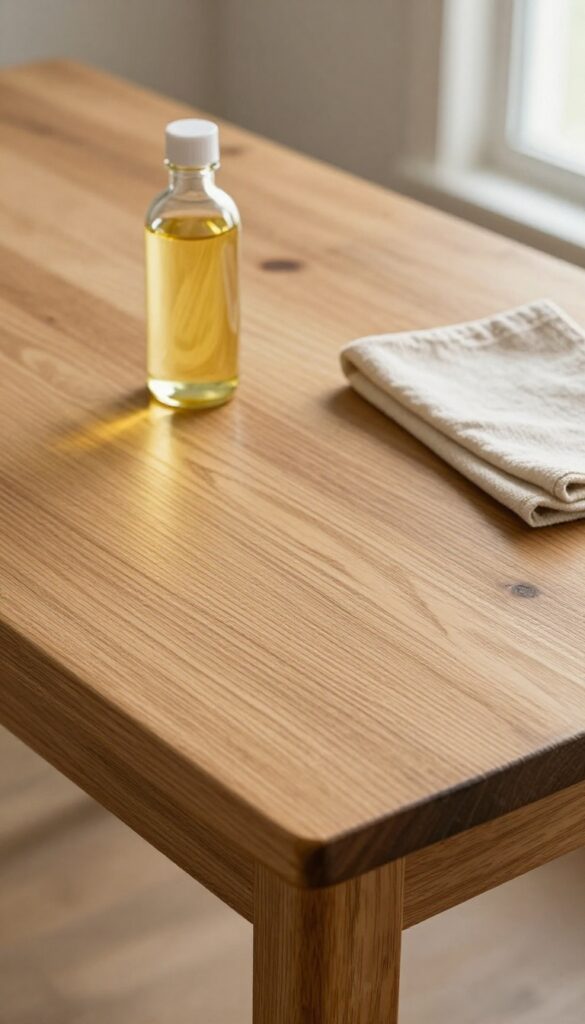
You might be tempted to grab that spray polish that promises an instant mirror shine. But many of those products contain silicone, which can cause more harm than good over time. Silicone builds up a waxy layer that seals the wood, making future refinishing nearly impossible without stripping it down completely.
Stick to natural oils like lemon oil, tung oil, or linseed oil, or use a simple paste wax made from beeswax and carnauba. These options nourish the wood without leaving a synthetic residue. They also make future touch-ups easier because you can simply reapply without worrying about layers of silicone gunk.
The Silicone Trap
Silicone polishes create a slick, high-gloss finish that looks great at first. But as you apply more coats, the silicone accumulates into a cloudy, sticky film. This film repels water and other finishes, so if you ever want to stain or varnish the piece, you'll have to sand off that stubborn layer first.
How To Check Your Polish
Before buying a polish, read the label. Avoid products that list 'dimethicone' or 'amodimethicone'—those are silicone compounds. If you already have a silicone polish on hand, you can test by rubbing a small area with mineral spirits; if the finish feels slippery or beads up, it's likely silicone-based.
Safe Alternatives That Work
A simple mix of olive oil and white vinegar (2: 1 ratio) makes an excellent natural polish for most finished wood. Or try a pure carnauba wax paste—it dries hard, buffs to a warm luster, and won't interfere with future refinishing. For a quick dusting, a microfiber cloth with a few drops of lemon oil does the trick.
16. Use a Soft Cloth and Gentle Pressure When Buffing
Buffing is the final step that brings out the warmth and shine in your wood furniture. But it's easy to overdo it—scrubbing too hard or using the wrong cloth can leave swirl marks or even strip the finish. The trick is to let the cloth do the work, not your elbow grease.
Always buff in the direction of the wood grain using a clean, lint-free cloth. Microfiber or an old cotton T-shirt works perfectly. Apply gentle, even pressure—think of it as a soft massage for the wood.
Too much force can generate heat that damages the finish or pushes dust into the grain. Work in small sections, and flip the cloth often to avoid redistributing oils or residue. This simple habit keeps your furniture looking polished and protected for years.
Why Lint-free Matters
A fuzzy cloth leaves behind tiny fibers that stick to the finish, dulling the shine. Microfiber cloths are ideal because they trap dust instead of spreading it. If you use an old T-shirt, make sure it's 100% cotton and washed without fabric softener, which can leave a waxy film.
Pressure And Speed Tips
Use a light hand—imagine you're wiping a fingerprint off a mirror. Buff in slow, even strokes along the grain. Quick, aggressive rubbing creates friction that can haze the finish.
For stubborn spots, let the polish or wax do the work: apply a little more product and wait a few seconds before buffing.
When To Stop Buffing
You'll know you're done when the surface feels smooth and looks uniformly glossy, with no streaks or cloudy patches. Over-buffing can actually remove thin layers of wax or finish, leaving the wood vulnerable. A soft sheen is often better than a high-gloss shine, especially on antique pieces.
17. Maintain Regularly with Dusting and Occasional Conditioning
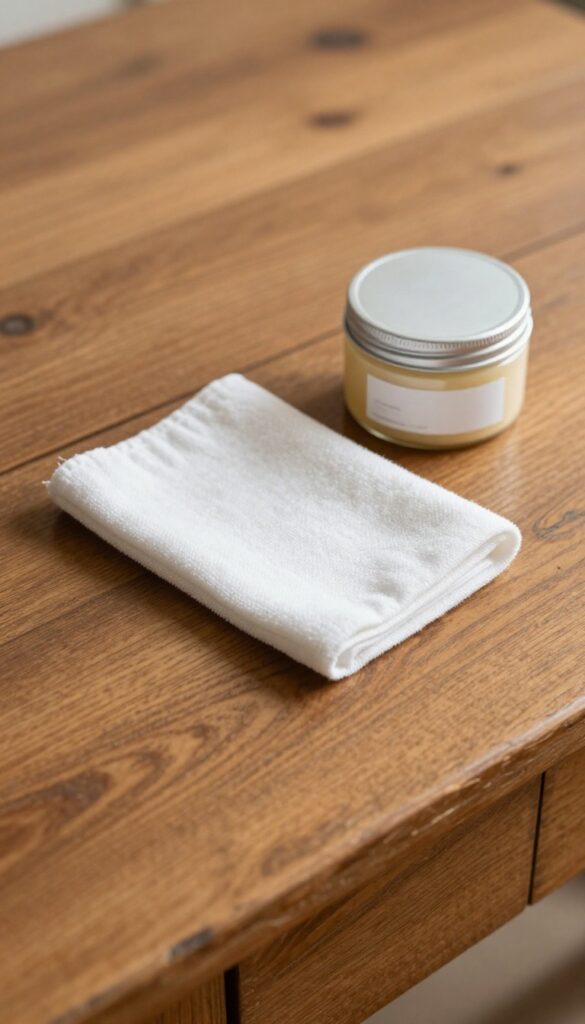
You've put in the work to restore that warm, glowing shine—now keep it that way. Regular maintenance is the secret to long-lasting beauty, and it doesn't have to be complicated. A simple dusting routine and occasional conditioning will keep your wood hydrated and protected for years.
Dusting might seem basic, but it's the single most important habit for preserving your furniture's finish. Use a soft, lint-free cloth—microfiber works great—and dust in the direction of the grain to avoid scratching. For hard-to-reach crevices, a soft paintbrush or a clean makeup brush does the trick.
Aim to dust at least once a week to prevent grit from building up and dulling the surface. Conditioning replenishes the natural oils that keep wood from drying out and cracking. Every three to six months, apply a thin layer of furniture wax or a homemade oil-vinegar blend (one part olive oil to one part white vinegar).
Rub it in gently with a soft cloth, let it sit for 15 minutes, then buff to a soft shine. This simple step restores moisture and enhances the wood's natural luster. Environmental factors matter too.
Keep your furniture out of direct sunlight, which can fade and dry the wood, and away from heating vents or air conditioners that cause drastic humidity swings. Use coasters for drinks and felt pads under decorative items to prevent scratches and stains. With consistent care, your restored furniture will stay beautiful for generations.
Weekly Dusting: The First Line Of Defense
Dust isn't just unsightly—it's abrasive. When you wipe a dry cloth over dusty wood, those tiny particles can scratch the finish over time. Always use a soft, clean cloth and dust in the direction of the grain.
For a gentle touch, slightly dampen the cloth with water (not soaking) to trap dust without leaving moisture. Microfiber cloths are ideal because they attract dust without spreading it around.
Conditioning Every Few Months
Wood needs to stay hydrated to maintain its color and prevent cracks. A good furniture wax or a natural oil conditioner works wonders. Apply a small amount to a soft cloth and rub it into the wood in circular motions, then follow the grain.
Let it soak in for 15–30 minutes, then buff with a clean cloth until the surface feels smooth and looks softly polished. Avoid over-conditioning, which can make the wood feel greasy.
Protect From Sun And Humidity
Sunlight is a major enemy of wood furniture. UV rays can fade the color and dry out the wood, leading to cracks. Place your pieces away from windows or use curtains and blinds to filter light.
Humidity fluctuations also cause wood to expand and contract, which can warp the surface. Keep the room's humidity between 40–60% with a humidifier or dehumidifier as needed. Simple precautions like these preserve your hard work.
FAQ
Can I use vinegar straight on old wood furniture?
It's best to dilute vinegar with water or oil. Undiluted vinegar can be too acidic and may damage the finish over time.
How do I know if my furniture has a wax finish?
Rub a small area with a cloth dipped in mineral spirits. If the cloth picks up a waxy residue, the finish is likely wax.
Is it safe to use olive oil on wood furniture?
Olive oil can go rancid over time. It's better to use mineral oil or a dedicated furniture oil for long-term conditioning.
How often should I condition old wood furniture?
Condition every 3 to 6 months, depending on the climate and how dry the wood feels. Over-conditioning can cause buildup.
What should I avoid when cleaning antique wood?
Avoid harsh chemicals, abrasive pads, and excessive water. Always test a hidden area first and use the gentlest method possible.
Conclusion
Old wood furniture doesn't have to stay dull or grimy. By picking just two or three of these 17 tips—like using a gentle cleaner or buffing with the right wax—you can bring back that warm, rich shine without damaging the finish.
Start with the trick that matches your biggest frustration, whether it's sticky residue or cloudy varnish. A little regular care goes a long way in preserving the character and beauty of your pieces for years to come.