11 Easy Methods on How to Clean Baseboards and Dust Edges
Baseboards collect dust and grime faster than almost any other surface, yet they're often the last thing on the cleaning list. That's a shame, because a quick wipe-down can instantly make a room feel fresher and more polished.
You don't need fancy tools or harsh chemicals to get them looking sharp again. From everyday dusting to tackling stubborn scuffs, these 11 methods cover every situation you might run into.
Each one is simple, affordable, and designed to fit into your routine without a hassle. Pick the ones that work for your home, and you'll wonder why you didn't tackle those edges sooner.
1. Use a Dry Microfiber Cloth for Quick Dusting
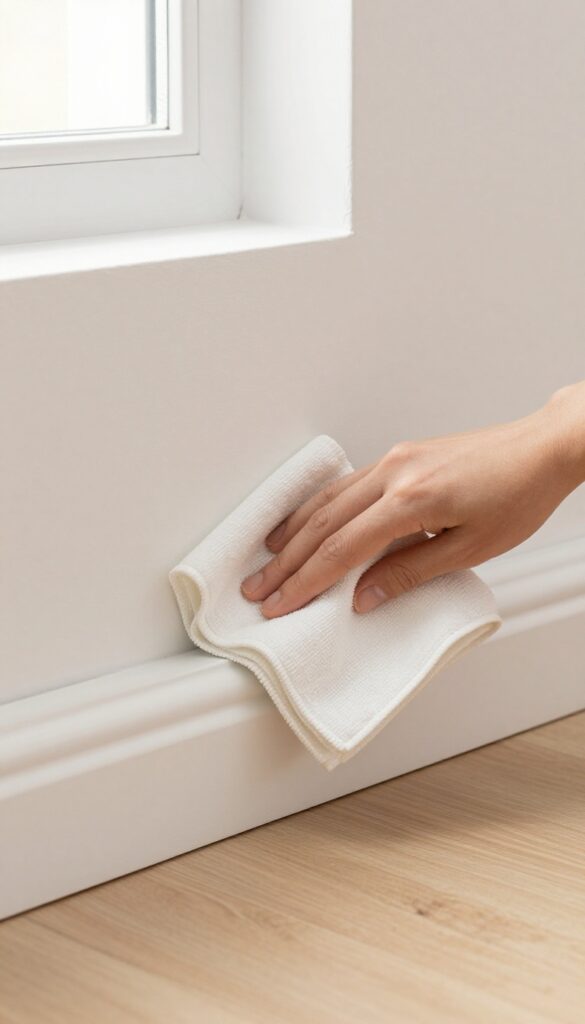
A dry microfiber cloth is your best friend for a quick dusting pass along baseboards. The microscopic fibers create a static charge that grabs dust and holds it, rather than just pushing it around. You don't need any sprays or polishes—just a clean cloth and a few minutes.
This method is perfect for regular upkeep, especially in homes with pets or high traffic. It's gentle on all surfaces, including painted wood, MDF, and even tile. Keep a dedicated cloth in your cleaning caddy so you can grab it whenever you notice a dusty edge.
Why Microfiber Works So Well
Microfiber is made of ultra-fine synthetic fibers—typically polyester and polyamide—that are split during manufacturing. These splits create tiny hooks that trap dust, dirt, and even bacteria. Unlike cotton cloths that just move dust around, microfiber lifts it off the surface and holds it until you wash the cloth.
That means less dust in the air and fewer passes needed.
How To Dust Efficiently
Start at one end of the room and work your way around, using a sweeping motion along the top edge of the baseboard. For the lower edge and the crevice where the baseboard meets the floor, fold the cloth over your finger and run it along the seam. Flip the cloth frequently to expose a clean side, and when it's fully soiled, swap it for a fresh one.
You can also use a long-handled duster with a microfiber head to avoid bending over.
2. Vacuum with a Brush Attachment for Deep Crevices
Dust has a way of settling into the tight spaces where baseboards meet the floor or the wall. A vacuum with a brush attachment is perfect for reaching those areas without spreading dust around. It's also a great first step before wiping down, as it removes loose debris that could otherwise turn into a muddy smear.
Using a vacuum isn't just for carpets—it's a smart way to handle baseboard edges without much effort. The brush attachment gently lifts dust and pet hair from crevices, while the suction pulls it away so you're not just pushing it around. This method works especially well in homes with textured walls or uneven baseboard seams where cloths can't reach.
Why A Brush Attachment Works Best
A soft brush attachment is key because it won't scratch the paint or leave marks. The bristles loosen embedded dust from corners and along the bottom edge, while the vacuum's suction collects it. This makes the job quicker and more thorough than using a dry cloth alone, especially in high-traffic areas.
How To Do It Right
Start by fitting the brush attachment onto your vacuum hose. Move it along the baseboard slowly, focusing on the top edge and the gap where the board meets the floor. For stubborn spots, use a back-and-forth motion.
Do this weekly to prevent buildup, and you'll notice less dust floating around the room.
When To Skip This Method
If your baseboards are very dirty or have sticky residue, vacuuming alone won't cut it—you'll still need a damp cloth or cleaner. Also, avoid using a stiff brush or high suction on delicate surfaces like wood or old paint, as it could cause damage. Stick to gentle settings for best results.
3. Try a Dryer Sheet to Repel Dust
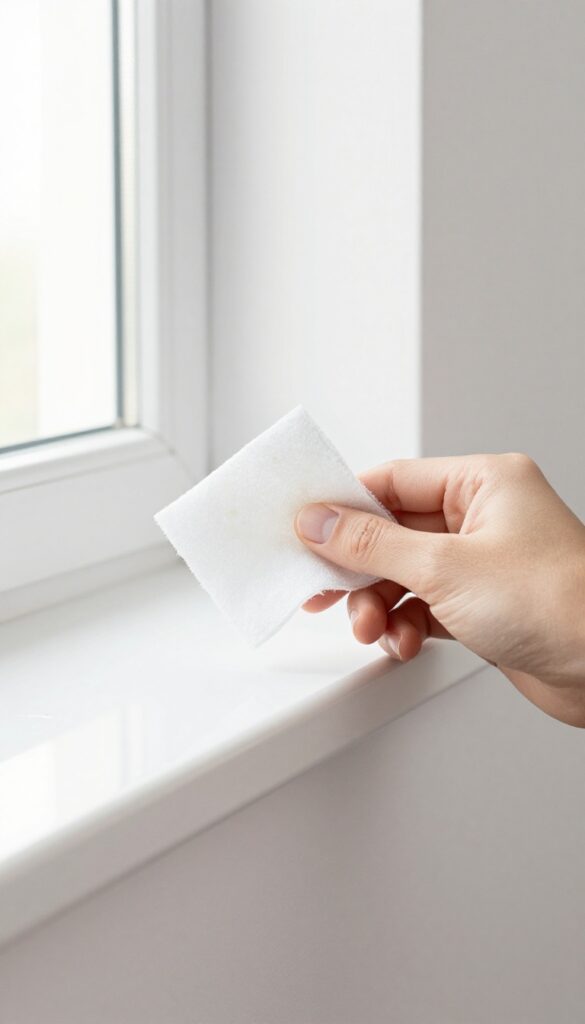
If you're tired of dusting the same baseboards every few days, a dryer sheet might be your new secret weapon. Those sheets you'd normally toss after laundry can do double duty in your cleaning routine. They pick up dust easily and leave behind a thin, invisible layer that helps repel future dust buildup.
It's one of those simple tricks that makes you wonder why you didn't try it sooner.
Using a dryer sheet is almost effortless. Grab a used one from your last load of laundry—it still works, but you can also use a fresh sheet if you prefer. Just wipe down the baseboards with the sheet, and you'll notice the dust clinging to it.
The sheet's anti-static properties are the real magic here: they reduce the static charge on the surface, so dust doesn't settle as quickly. This means you can stretch the time between cleanings, which is a win for anyone with a busy schedule.
Why Dryer Sheets Work So Well
Dryer sheets are coated with fabric softener compounds that are great at grabbing dust particles. When you wipe them across a surface, they leave behind a microscopic residue that neutralizes static electricity. Since dust is often attracted to static-charged surfaces, reducing that charge means less dust lands on your baseboards.
It's a simple science that works in your favor.
Best Way To Use Them On Baseboards
For the best results, use a slightly damp dryer sheet—run it under a bit of water and wring it out. This helps pick up sticky grime, not just loose dust. Glide the sheet along the top edge and the face of the baseboard, then finish with a dry pass.
You'll see the dust collect on the sheet, and you can flip it over as needed. No need to rinse or follow up with anything else.
When To Skip This Trick
If your baseboards have a lot of built-up grease or sticky residue, a dryer sheet alone won't cut it. You'll want to use a degreaser or a soapy water solution first. Also, avoid using dryer sheets on unfinished wood or surfaces with a delicate paint finish, as the residue might leave a slight film.
Test in an inconspicuous spot first if you're unsure.
4. Use a Squeegee for a Fast, Streak-Free Clean
A squeegee isn't just for windows. The rubber blade glides along baseboards, picking up dust and grime without you having to bend over. It's a quick, efficient way to clean low edges, especially if you have a lot of baseboards to cover.
Why A Squeegee Works So Well
The rubber edge creates a slight suction that lifts dust and dirt from the surface. It also reaches into the gap where the baseboard meets the floor, capturing debris that a cloth might miss. Plus, it's easy to rinse off and reuse, making it a sustainable cleaning tool.
How To Use It Effectively
Start with a clean squeegee to avoid spreading dirt. Hold it at a slight angle and pull it along the baseboard in one smooth motion. For stubborn spots, dampen the rubber slightly or use a mild cleaner.
Wipe the blade clean after each pass to keep it effective.
Perfect For High And Low Areas
The long handle of a floor squeegee lets you clean baseboards without crouching or stretching. It's ideal for tight spaces behind furniture or along staircases. You can also use it on other flat surfaces like doors and cabinets, making it a versatile tool.
5. Create a DIY Cleaning Solution with Vinegar and Water
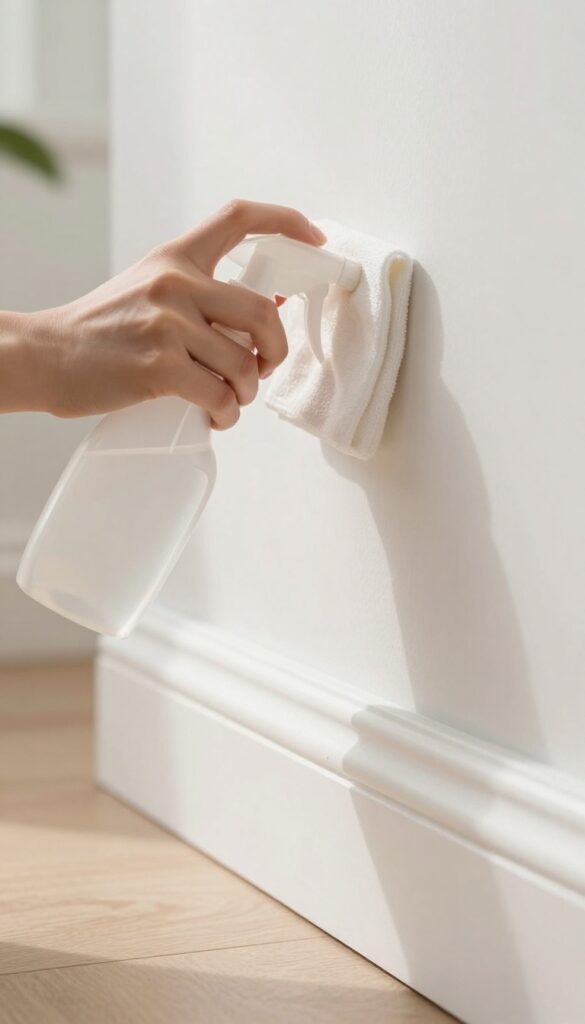
Sometimes the best cleaning products are already sitting in your pantry. A simple mix of white vinegar and water can handle most baseboard grime without the harsh chemical smell. It's cheap, eco-friendly, and surprisingly effective.
Plus, you probably have both ingredients on hand right now.
This DIY solution works because vinegar is a natural degreaser and mild disinfectant. It breaks down the sticky residue that attracts dust, making your baseboards stay cleaner longer. The water helps dilute the vinegar so it won't damage paint or wood finishes.
Mix The Right Ratio
For everyday cleaning, equal parts vinegar and water in a spray bottle is perfect. If your baseboards are extra grimy, bump up the vinegar to two parts vinegar and one part water. Don't worry about the smell—it fades quickly as it dries.
Wipe And Dry For A Streak-free Finish
Spray the solution onto a microfiber cloth, not directly onto the baseboard, to avoid dripping onto the floor. Wipe along the surface, then follow up with a dry cloth to remove any residue and prevent water spots. This two-step process leaves a clean, matte finish.
6. Use a Magic Eraser for Stubborn Marks
Some marks just won't budge with a damp cloth. Scuffs from shoes, sticky residue from kids' stickers, or mystery smudges that seem baked on—these are where a melamine sponge shines. It works like a gentle eraser, lifting grime without harsh chemicals.
A magic eraser is essentially a super-fine abrasive that breaks down dirt and scuffs without scratching most painted surfaces. It's especially handy for white or light-colored baseboards where marks stand out. Just dampen it, wring out the excess, and gently rub the affected area.
You'll see the mark fade in seconds.
Why It Works So Well
The sponge's micro-abrasive texture acts like super-fine sandpaper, but it's soft enough not to damage paint. It lifts embedded dirt and scuffs without the need for heavy scrubbing or chemical cleaners. This makes it a go-to for quick touch-ups.
How To Use It Right
Dip the sponge in water and squeeze out the excess—it should be damp, not dripping. Gently rub the mark in a circular motion. Avoid pressing too hard, especially on glossy paint, to prevent dulling the finish.
Rinse the sponge often to avoid spreading dirt.
When To Skip It
Skip the magic eraser on unsealed wood, matte finishes, or surfaces that scratch easily. Test in an inconspicuous spot first. If you see any paint coming off, stop and switch to a gentler method.
Also, avoid using it on oil-based or delicate paints.
7. Employ a Paintbrush to Dust Corners and Trim
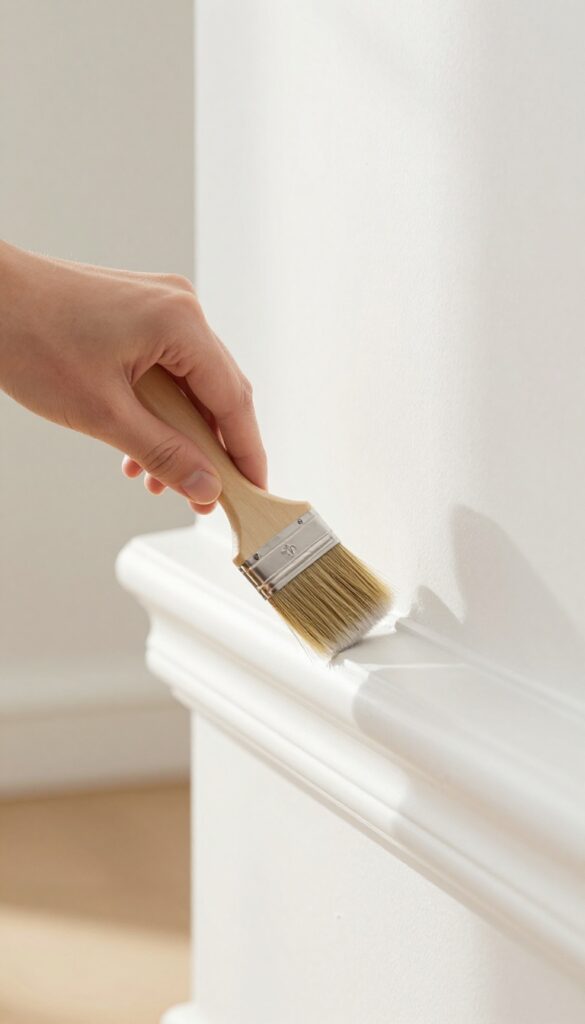
A paintbrush isn't just for walls—it's a surprisingly effective tool for dusting baseboards and trim. The soft bristles reach into crevices and along decorative details that cloths and vacuums often miss. Plus, it's gentle enough to use on painted surfaces without leaving scratches or marks.
Grab a clean, dry paintbrush with soft bristles—a 2-inch brush works well for most baseboards. Use it to sweep dust out of corners, along the top edge, and into the grooves of intricate trim. The brush picks up dust easily, and you can shake it out or wipe it on a cloth as you go.
For a quick touch-up, this method is faster than dragging out the vacuum.
Why A Paintbrush Works So Well
The bristles are flexible enough to conform to uneven surfaces, yet firm enough to dislodge dust. Unlike a microfiber cloth, a brush doesn't just push dust around—it traps it between the bristles. This makes it ideal for detailed areas like crown molding, wainscoting, or baseboards with decorative ridges.
Choosing The Right Brush
Look for a brush with natural or synthetic bristles that are soft and flexible. Avoid stiff brushes, as they might scratch paint. A brush with an angled tip helps you reach tight corners and along the floor.
You can also use a dedicated dusting brush, but a standard paintbrush from the hardware store works just as well.
How To Use It Effectively
Start at one end of the room and work your way around, sweeping the brush along the baseboard in long, even strokes. For corners, use a stabbing motion to push dust out. After a few passes, tap the brush against a trash can to release the dust, or wipe it on a damp cloth.
For a deeper clean, you can lightly dampen the brush, but keep it mostly dry to avoid leaving streaks.
8. Use a Sock or Old T-Shirt for a Disposable Dusting Mitt
When you're in a pinch, a clean sock or an old t-shirt can be the perfect dusting mitt. It's a zero-cost solution that works surprisingly well on baseboards. You can spray a little cleaner on it and wipe along the trim, then just toss it in the laundry when you're done.
It's that simple.
This method is all about convenience and reusing what you already have. Instead of buying specialty dusting cloths, grab a sock that's missing its pair or a worn-out t-shirt. The fabric is soft enough to trap dust without scratching the paint, and you can easily reach into corners and along edges.
Plus, you're giving new life to something that might have been thrown away.
Why A Sock Works So Well
The fabric of a sock or t-shirt is slightly textured, which helps grab dust rather than just pushing it around. Cotton is absorbent, so it picks up grime and light spills, too. And because it fits over your hand like a glove, you have full control and can feel exactly how much pressure you're applying—no need to worry about missing spots.
How To Make Your Own Dusting Mitt
Slip the sock over your hand like a mitt. If you're using a t-shirt, cut a piece large enough to cover your palm and fingers, then wrap it around your hand and secure it with a rubber band or just hold it in place. Lightly mist it with your favorite all-purpose cleaner or a bit of water.
Then wipe along the baseboards from top to bottom, using a sweeping motion to catch dust and cobwebs.
When To Toss It In The Wash
Once you're done, simply peel it off and throw it in the laundry. You can wash it with your regular towels or rags. If it's heavily soiled, give it a quick rinse in the sink first.
This way, you always have a fresh mitt ready for the next cleaning session. No need to buy disposable wipes or specialized dusters.
9. Try a Long-Handled Duster for Hard-to-Reach Spots
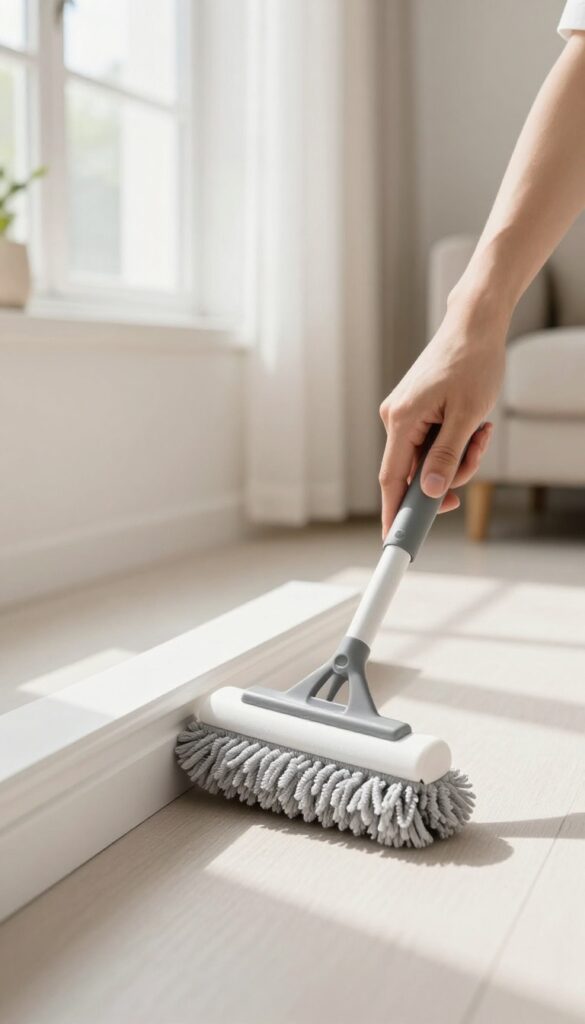
Bending and kneeling to clean baseboards can be a pain, especially after a long day. A long-handled duster takes the strain off your back and makes the job feel much quicker. It's a simple swap that can change how you approach those low edges.
A microfiber duster with an extendable handle lets you clean baseboards without bending or kneeling. Ideal for high edges and behind furniture, it's a practical tool for anyone who wants to save time and effort. The long reach also helps you get into corners and under cabinets where dust tends to hide.
Why A Long Handle Makes Sense
When you don't have to crouch down, cleaning baseboards becomes less of a chore. The extended reach lets you glide along the trim while standing upright, which is easier on your knees and back. Plus, you can cover more ground in one pass, so the whole room gets done faster.
Choosing The Right Duster
Look for a duster with a microfiber head that traps dust instead of just pushing it around. An adjustable handle is a bonus, as it lets you adapt to different ceiling heights or reach under low furniture. Some models come with a bendable neck, which helps with awkward angles.
Using It Effectively
Start at one end of the room and work your way around, sweeping the duster along the baseboard in long, even strokes. For stubborn dust in corners, use the edge of the duster to get into the crevice. After each use, shake the duster outside or toss the head in the wash if it's removable.
10. Use a Steam Cleaner for Sanitizing and Deep Cleaning
When baseboards have layers of grime that a cloth just smears around, it's time to bring in the heavy artillery. A handheld steam cleaner is perfect for this job because it loosens dirt with heat and moisture, not elbow grease. Plus, it kills bacteria and dust mites without any chemical sprays, which is great if you're sensitive to cleaning products or have little ones crawling around.
Steam cleaners are especially handy in kitchens and bathrooms, where baseboards tend to pick up sticky residue and soap scum. The high-temperature steam breaks down that gunk in seconds, making it easy to wipe away. You'll be amazed at how much dirt comes off that you didn't even see.
Pick The Right Steam Cleaner
You don't need a huge industrial machine—a simple handheld steamer with a nozzle attachment works wonders. Look for one that heats up quickly and comes with a cloth or brush attachment. If you don't own one, you can often rent a steam cleaner from a local hardware store, or even borrow from a friend.
Just make sure it's designed for surfaces like wood or laminate, so you don't damage the finish.
Steam And Wipe In Sections
Work in small sections, maybe a few feet at a time. Hold the steam nozzle a few inches away from the baseboard and move it slowly along the top edge and the face. You'll see the grime loosen almost immediately.
Then, follow up with a clean, dry microfiber cloth to wipe away the residue. Don't let the steam sit too long on one spot, especially on painted surfaces, to avoid any water damage.
Tackle Stubborn Stains And Crevices
For really stubborn spots, like dried-on food or paint drips, use the steam cleaner's brush attachment to gently scrub while steaming. The bristles help lift the gunk without scratching the surface. Also, the narrow nozzle is perfect for getting into tight corners and along the top edge where dust loves to hide.
Just be careful around electrical outlets—keep the steam away from them.
Let It Dry And Air Out
After steaming, give the baseboards a few minutes to air dry. The heat from the steam will evaporate quickly, but any excess moisture should be wiped off to prevent warping or peeling. Open a window or turn on a fan to speed up the process.
Once dry, you'll have sanitized, spotless baseboards that look and smell fresh—no chemical residue left behind.
11. Apply a Protective Coating to Keep Dust Away
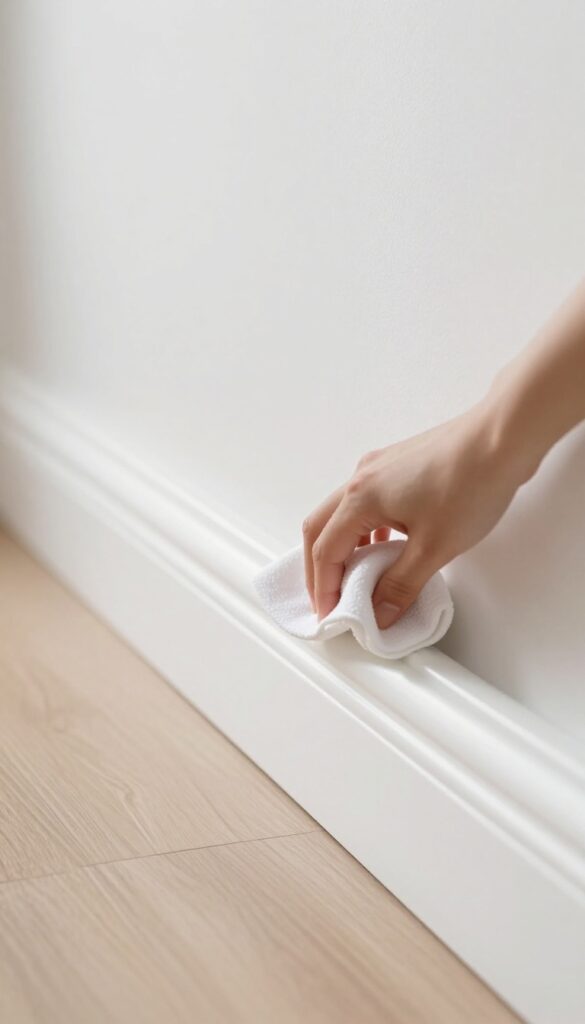
Once your baseboards are spotless, you might wonder how to keep them that way for longer. The answer is simpler than you think: a protective coating. This final step not only adds a subtle shine but also creates a barrier that dust finds harder to stick to.
It's a small effort now that pays off with easier cleaning sessions later.
Applying a protective coating is like giving your baseboards a shield. It fills tiny pores and imperfections in the paint or wood, making the surface smoother. When dust lands, it sits on top instead of clinging to microscopic roughness.
This means a quick pass with a microfiber cloth or duster is all you need to keep them looking fresh.
Choosing The Right Product
You have a couple of great options here. Car wax is a favorite because it's tough and long-lasting. Furniture polish, especially spray-on types, is another easy choice.
If you prefer something more natural, a mix of olive oil and vinegar can work in a pinch, but test it on a hidden spot first. Avoid products with harsh chemicals that might discolor your trim.
How To Apply It Like A Pro
Start with clean, dry baseboards. Apply a small amount of your chosen product to a soft cloth—not directly onto the board, to avoid drips. Rub it in with gentle, circular motions, covering the entire surface.
Let it sit for a few minutes, then buff with a clean, dry cloth to remove any excess. You'll notice a subtle sheen and a smoother feel.
When To Reapply
This isn't a daily chore. Depending on how much traffic your home gets, a single application can last several months. You'll know it's time to reapply when you notice dust starting to cling more than usual or the shine fades.
Adding this to your seasonal deep-cleaning routine is a perfect way to stay ahead of the grime.
FAQ
How often should I clean my baseboards?
Aim for a quick dusting every week or two, and a deeper clean with a damp cloth or cleaner once a month. High-traffic areas may need more frequent attention.
Can I use bleach on painted baseboards?
Avoid bleach on painted surfaces as it can strip the paint and cause discoloration. Stick to gentle cleaners like vinegar and water or a mild soap solution.
What's the best way to clean baseboards without bending over?
Use a long-handled duster or a microfiber mop with a swivel head. You can also attach a brush to a vacuum extension pole for a no-bend solution.
How do I remove scuff marks from baseboards?
A magic eraser works great on scuff marks. Dampen it slightly and rub gently. For stubborn marks, try a paste of baking soda and water.
Will vinegar damage my baseboards?
Vinegar is generally safe for most painted surfaces, but test in an inconspicuous area first. Avoid using it on unsealed wood or natural stone as it can etch.
Conclusion
Cleaning baseboards doesn't have to be a dreaded chore. With these 11 methods, you can pick the one that fits your time and tools, making the task quicker and more effective. Whether you prefer a quick dry dusting or a deep steam clean, there's a solution here for every home.
Try a couple of these tricks and see which ones become your go-to. Your baseboards will thank you, and so will your guests.