10 DIY Ideas for Bedroom Style That Works in Small Rooms
Small bedrooms often feel like a puzzle—every piece has to fit just right. But you don't need a bigger room to make a big style statement.
With a few clever DIY projects, you can turn your compact space into a cozy, functional retreat. The trick is to think vertically, use multi-purpose pieces, and add personal touches that don't eat up floor space.
Whether you're renting or own your place, these ideas are budget-friendly and beginner-friendly. Let's dive into ten DIY projects that will help you maximize every inch of your small bedroom while keeping it stylish and uniquely yours.
1. Build a Floating Shelf Headboard
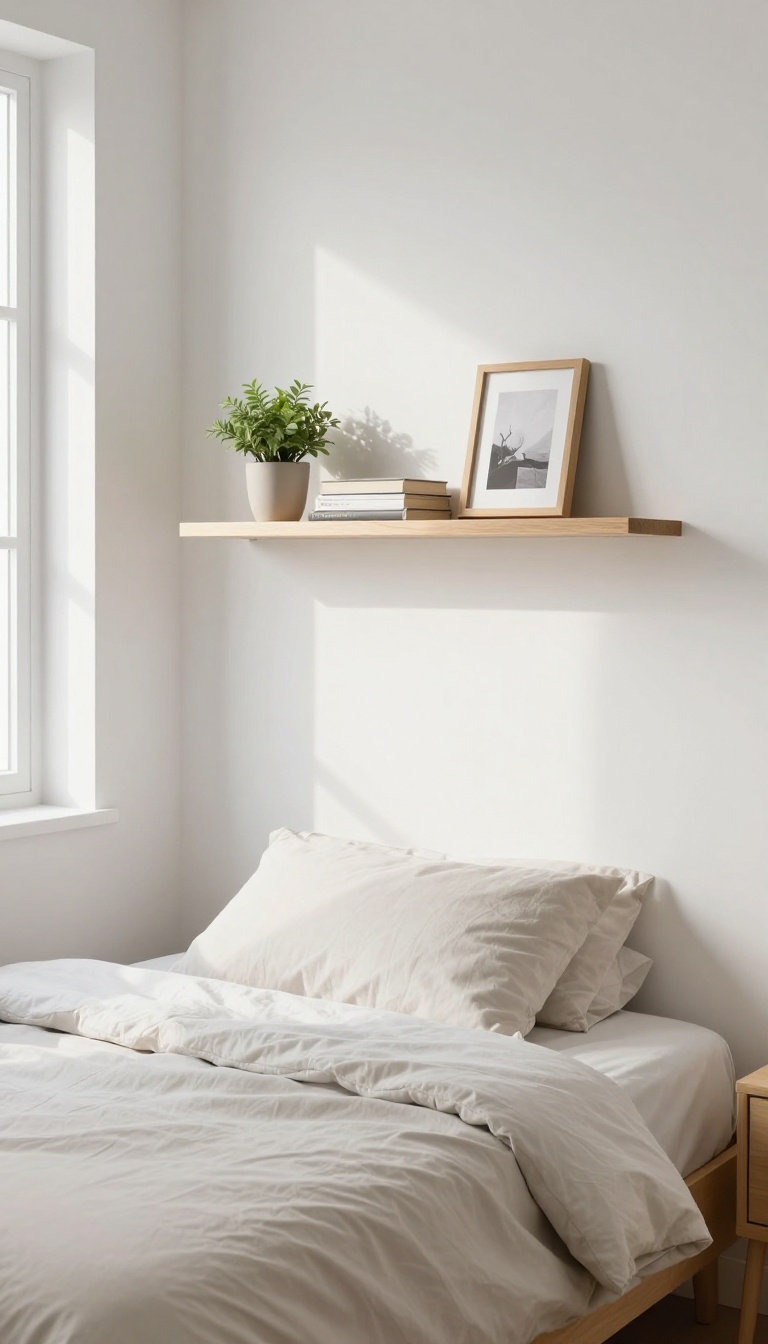
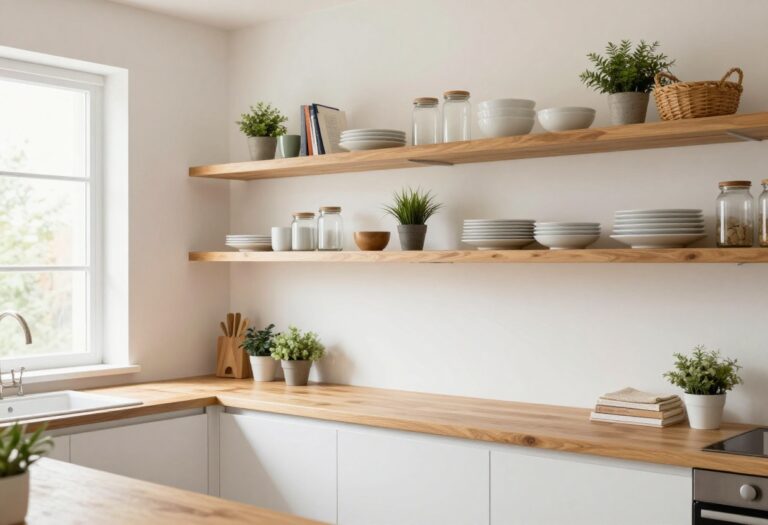
A headboard often feels like a luxury you can't afford in a small bedroom, but a floating shelf version gives you the look without eating up precious floor space. This DIY project combines a stylish focal point with practical storage, making it a win-win for compact rooms. You'll gain a place to set your glasses, phone, or a book, plus a spot to display a few favorite items.
Start by measuring your bed's width and decide how high you want the headboard to sit. A good rule of thumb is to mount the shelf so it's level with your pillows when you're sitting up in bed. You'll need a sturdy shelf bracket or a custom-cut piece of wood that can support the weight of your nighttime essentials.
If you're handy with a drill, you can create a simple floating shelf effect by attaching the shelf to wall studs or using heavy-duty anchors. For a more polished look, consider adding a second shelf above the first to create a layered display. Finish the wood with a stain or paint that matches your room's color scheme, and you're ready to style it with a small plant, a stack of books, or a framed photo.
Why It Works In Small Rooms
The beauty of a floating shelf headboard is that it uses vertical wall space instead of floor space. Traditional headboards and nightstands take up valuable square footage, but a shelf keeps everything within arm's reach without adding bulk. This is especially helpful in rooms where every inch counts, like a guest room or a studio apartment.
Plus, it draws the eye upward, making the ceiling feel higher and the room more open.
Materials And Tools You'll Need
You don't need a lot to build this project. A basic wood board (like pine or oak) cut to your bed's width, a set of shelf brackets or a floating shelf kit, screws, a drill, a level, and a stud finder are the essentials. If you want a more custom look, you can add trim to the front edge or use a live-edge slab for a rustic touch.
Sand the wood smooth and apply a finish that's easy to clean, like polyurethane or a matte varnish.
Styling Tips For A Cohesive Look
Once your shelf is installed, keep the styling simple to avoid visual clutter. A small lamp, a few books, and a tiny succulent are enough to make a statement. Choose items that match your bedroom's color palette and mix textures, like a ceramic vase or a woven basket.
If you have two shelves, alternate heights and group items in odd numbers for a balanced look. Avoid overloading the shelf—remember, it's a headboard, not a display cabinet.
2. Install a Pegboard Wall Organizer
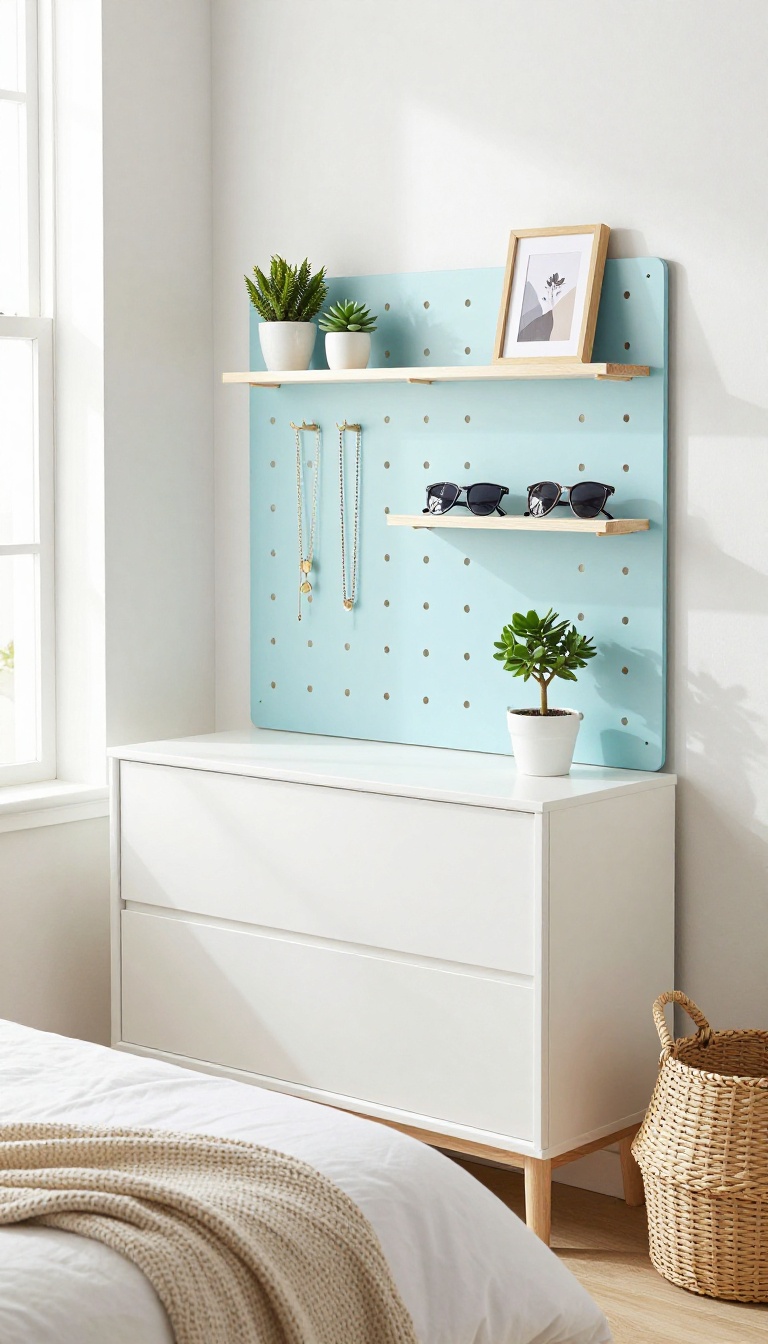
Pegboards aren't just for garages anymore—they're a stylish and functional way to keep your small bedroom tidy. By mounting one on an empty wall, you create instant storage for jewelry, accessories, or small decor items without taking up any floor space. Plus, it's fully customizable, so you can rearrange the pegs and shelves whenever your style changes.
A pegboard wall organizer is a game-changer for small bedrooms. It turns a blank wall into a vertical storage solution, keeping your dresser and nightstand clutter-free. The best part?
You can paint it to match your room's color scheme, making it both practical and decorative. Whether you hang necklaces, sunglasses, or tiny plants, a pegboard adds a personal, organized touch that's easy to update.
Choosing The Right Pegboard
Start with a sturdy pegboard from a hardware store—hardboard or metal are great options. For a small bedroom, a 2×4 feet board is usually enough. Pick a size that fits your wall space and consider the weight of items you'll hang.
If you're hanging heavier items like bags or hats, opt for a metal pegboard with stronger hooks.
Customizing With Paint And Accessories
Give your pegboard a fresh coat of paint to blend with your decor—chalk paint or spray paint work well. Then, gather a variety of hooks, baskets, and small shelves. Use short hooks for necklaces, longer ones for scarves, and add a small shelf for displaying a framed photo or a tiny plant.
Mixing different accessories adds visual interest and maximizes functionality.
Mounting And Styling Tips
Mount the pegboard with screws and wall anchors to ensure it stays secure. Leave a small gap between the board and the wall so hooks can slide in easily. When styling, group items by color or type for a clean look.
Don't overcrowd—leave some empty pegs for future additions. This organizer not only declutters but also becomes a focal point in your room.
3. Create a DIY Upholstered Bench with Storage
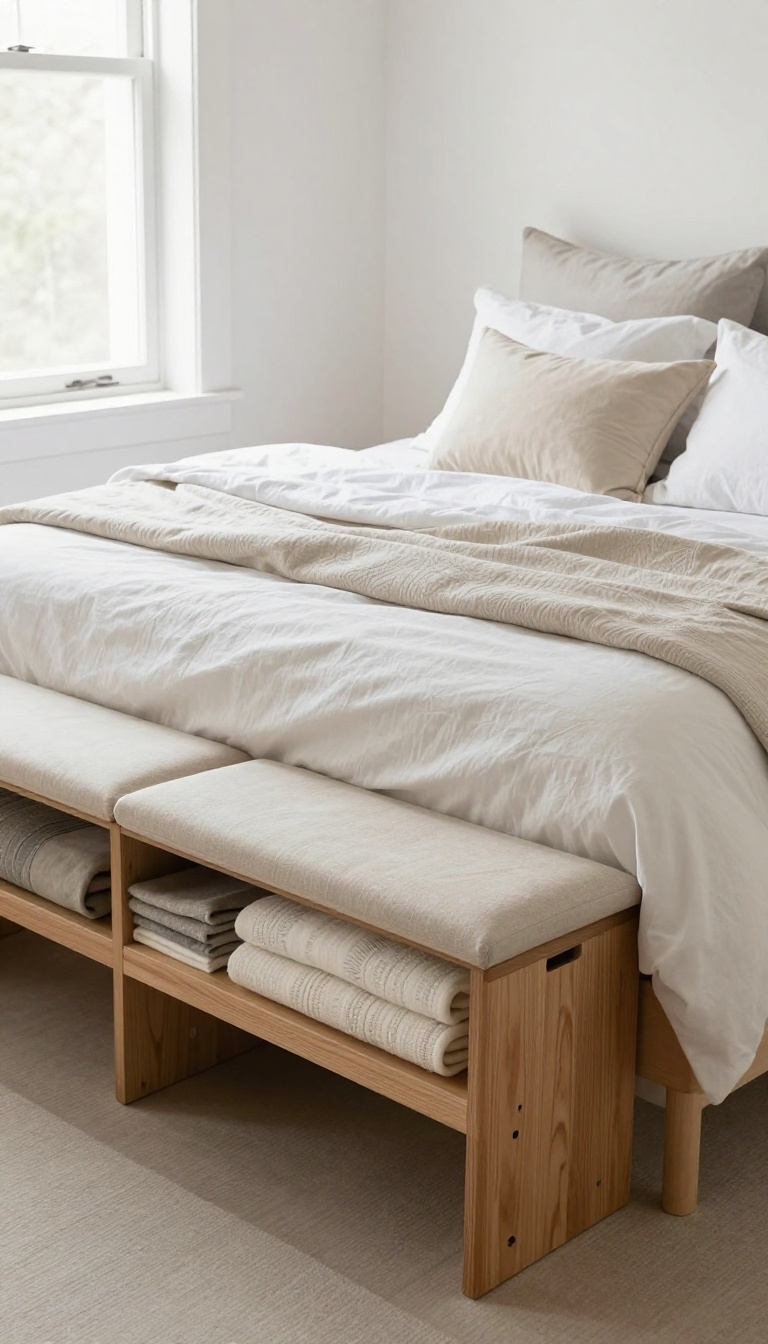
A bench at the foot of your bed is a game-changer in a small room. It gives you a spot to sit while getting dressed, and if you build it with storage inside, it doubles as a clever hideaway for extra linens or seasonal clothes. The best part?
You can make one yourself with basic tools and materials. Even if you're not a seasoned woodworker, this project is approachable and can be customized to match your room's style.
Why A Storage Bench Works In A Small Bedroom
In a small bedroom, every piece of furniture should earn its keep. A storage bench does double duty: it provides seating and hides clutter. Toss a few throw pillows on top, and it becomes a cozy reading nook.
Slide it under the bed when not in use, and you free up floor space instantly.
What You'll Need To Build It
You don't need fancy equipment. A simple plywood box with a hinged lid is all it takes. Grab a sheet of plywood, some 2x4s for the frame, hinges, fabric, foam, and batting.
You'll also need a staple gun, screws, and basic hand tools. Most of these are affordable and easy to find at your local hardware store.
Step-by-step: Build Your Own Bench
Start by cutting the plywood to your desired dimensions—measure the foot of your bed to get the right width. Assemble the box frame with screws, then attach the hinges to the lid. Next, wrap the foam and batting around the lid, and staple the fabric in place.
Finally, add legs or a wooden base for support. The whole project can be done in a weekend.
Style Ideas To Match Your Room
Choose a fabric that complements your bedding or accent colors. For a modern look, go with a bold pattern or a neutral linen. If you're into a rustic vibe, use a burlap or a textured weave.
You can also paint the wooden base to match your trim or add casters for easy mobility. The bench becomes a custom piece that ties your room together.
4. Hang a Macramé Plant Holder from the Ceiling
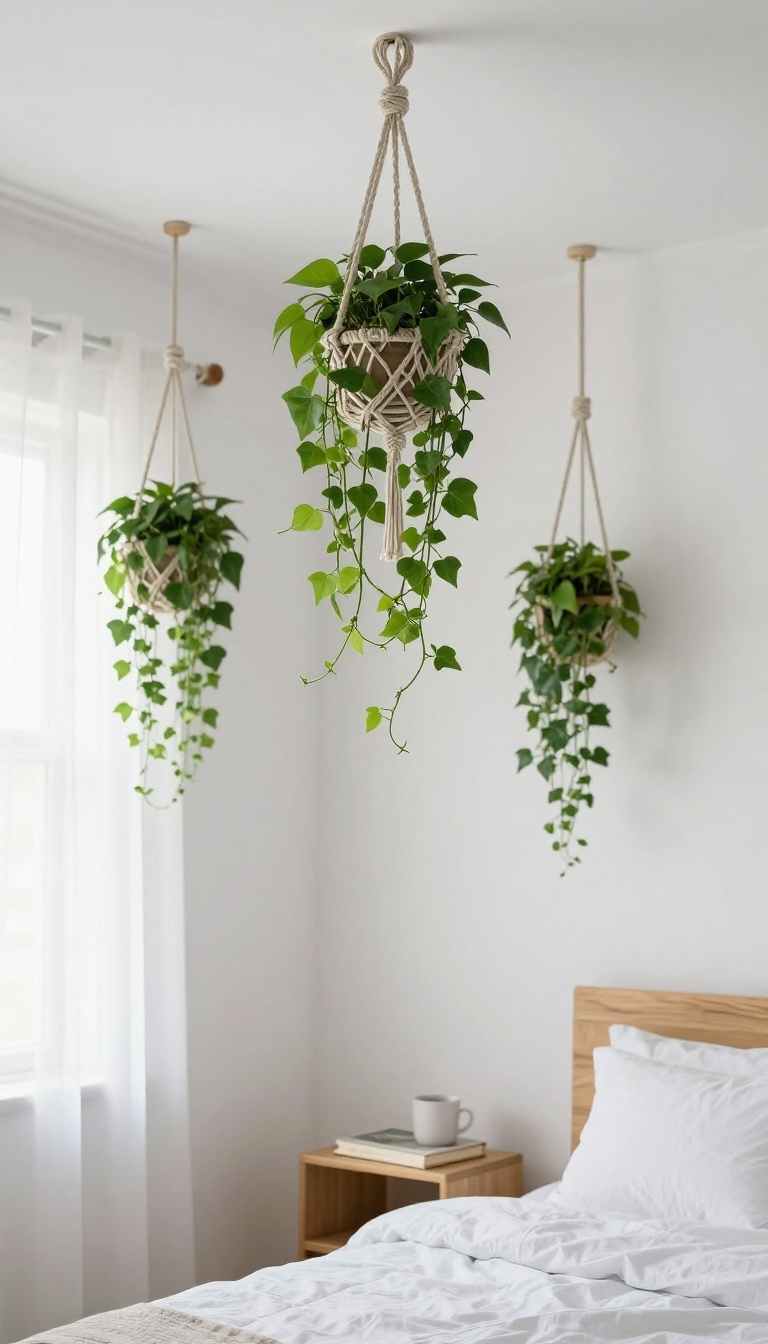
Plants bring life to any room, but in a small bedroom, floor space is precious. A macramé plant holder solves that by using the ceiling, which is often overlooked. Suspending greenery at eye level or above adds a fresh, bohemian touch without sacrificing a single inch of your limited floor or shelf space.
This project is surprisingly simple and affordable. You can buy a ready-made macramé hanger or make your own with a few basic knots. Either way, you'll get a stylish, vertical element that draws the eye upward, making the room feel taller and more open.
Plus, caring for your plants becomes easier when they're within reach.
Why Go Vertical?
In a small bedroom, every horizontal surface is prime real estate. By hanging plants from the ceiling, you free up nightstands, dressers, and shelves for other essentials. Vertical gardening also creates a sense of depth and dimension, making the room feel less cluttered and more intentional.
Choosing The Right Spot
Pick a spot near a window for natural light, but avoid direct harsh sunlight that could scorch the leaves. A corner or above the bed works well, but make sure the hanger is securely anchored into a ceiling joist or using a heavy-duty drywall anchor. You don't want your plant crashing down at 3 a. m.
Diy Macramé Basics
If you're making your own hanger, you'll need cotton rope, a plant pot, and a few simple knots—square knots and half hitches are the main ones. There are plenty of tutorials online, and you can customize the length and pattern to match your room's vibe. It's a fun weekend project that takes about an hour.
Picking The Perfect Plant
Trailing plants like pothos, string of hearts, or spider plants look stunning in macramé hangers. They cascade down, adding softness and movement. Choose low-maintenance varieties that thrive in indoor light, and consider using a lightweight plastic pot with a saucer to avoid water drips.
5. Make a Corner Reading Nook with a Pallet Chair
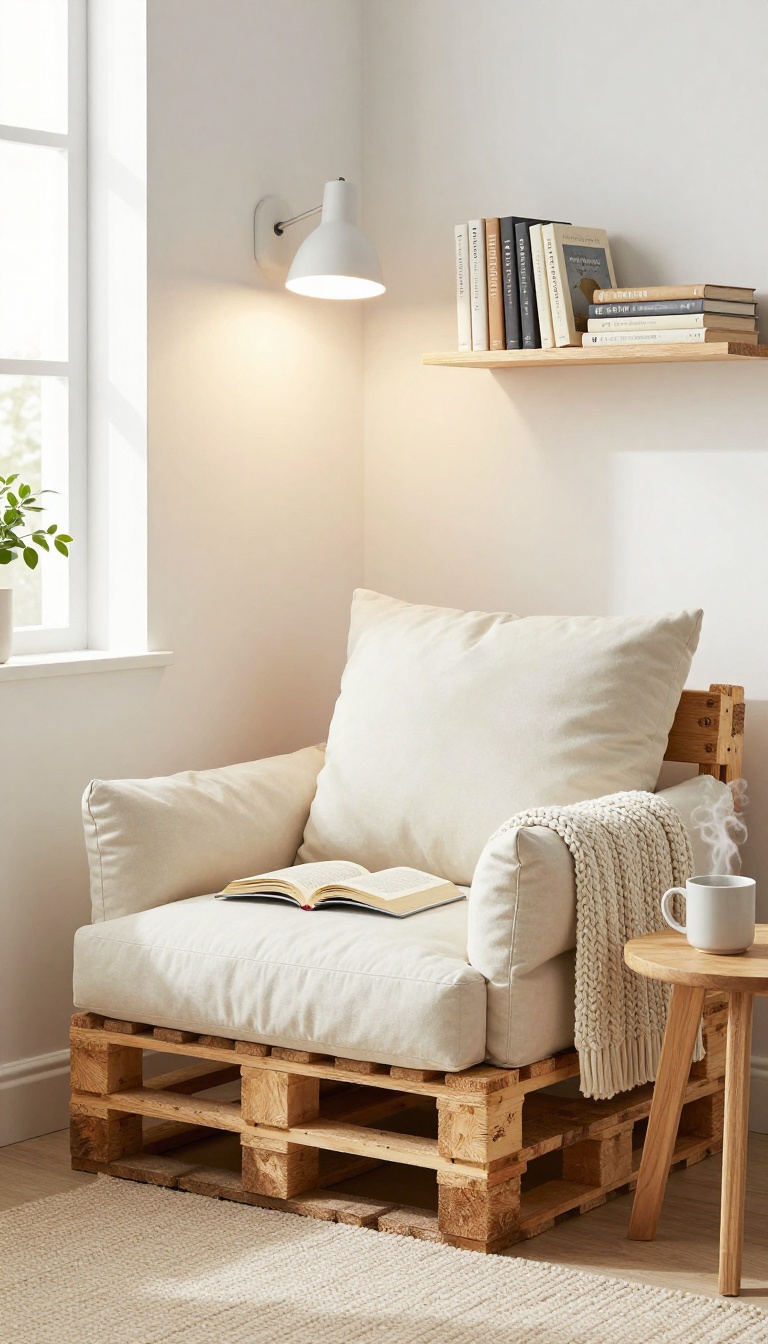
Unused corners are wasted potential, especially in a small bedroom. Instead of letting that awkward spot gather dust, turn it into a cozy reading nook with a pallet chair. This project is budget-friendly, uses vertical space, and adds a warm, rustic touch.
Plus, it's surprisingly simple—even if you've never built anything before.
Why A Pallet Chair Works In Small Spaces
Pallets are naturally compact and can be stacked to create a chair that fits snugly into a corner. They don't require much floor space, and you can customize the height to match your comfort. The open slats also keep the visual weight light, so the nook doesn't feel bulky or cluttered.
Step-by-step: Building Your Pallet Chair
Start with a clean, sanded pallet. Cut it in half if needed to create a seat and backrest. Secure the pieces together with screws or nails to form an L-shape.
Add a few sturdy legs or use the pallet's existing base. Then, place a thick cushion on the seat and lean a couple of soft pillows against the backrest. Sand any rough edges to avoid splinters.
Styling Your Nook For Maximum Coziness
Layer textures with a chunky knit throw and a small side table for your coffee or book. Add a wall-mounted reading lamp to save floor space. Hang a small shelf above for your favorite reads.
Use a soft rug underneath to define the area and make it feel extra inviting.
Alternative Ideas For A Pallet Chair
If you prefer a more polished look, paint the pallet in a color that matches your bedroom palette. You can also add casters to make it movable. Or, skip the backrest and create a low lounge chair by adding extra cushions.
The possibilities are endless, and the best part is you can adapt it to your style.
6. Add a DIY Closet Organizer with Tension Rods
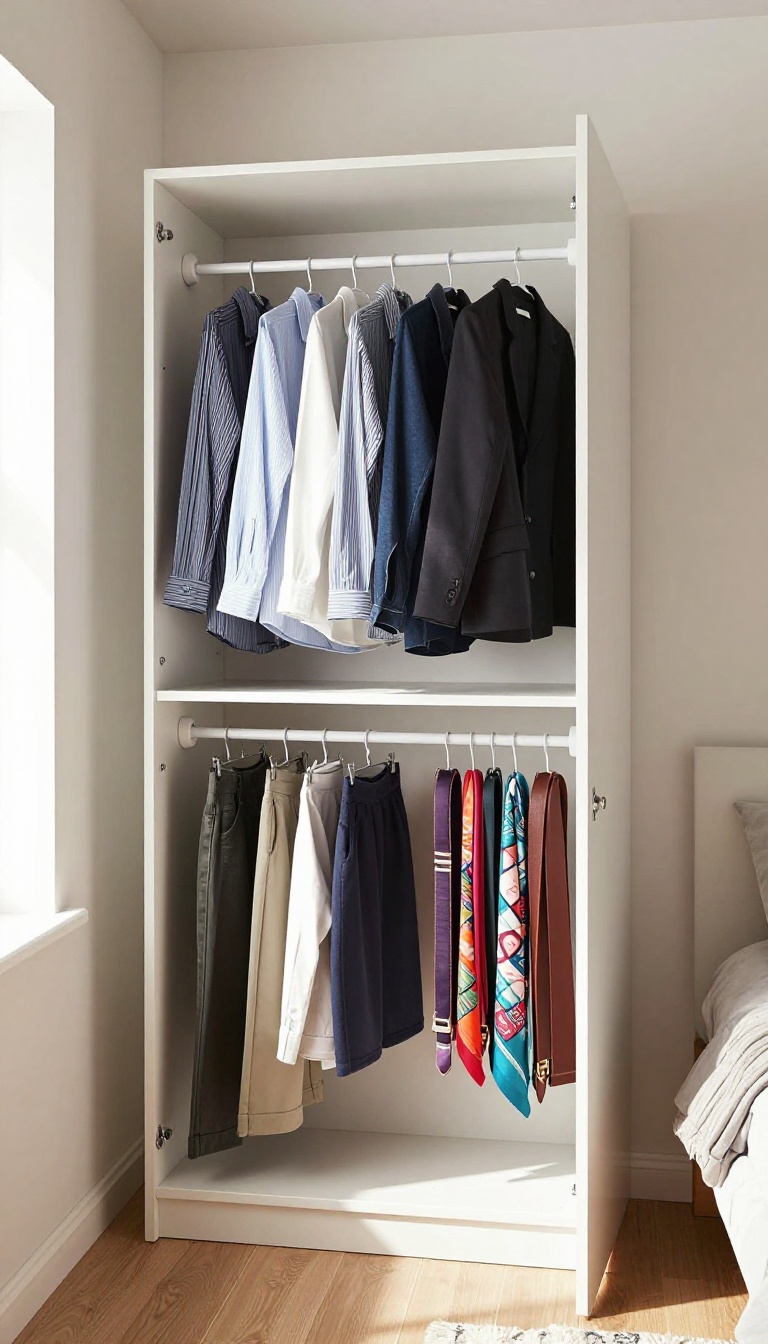
Closet space is prime real estate in a small bedroom, and it's often underutilized. You might have a single rod with clothes hanging above and a pile of shoes below, but there's likely room for more. Tension rods are a renter-friendly, no-drill solution that can instantly double your hanging space.
They're cheap, easy to install, and can be configured in countless ways to fit your specific storage needs.
Start by assessing what you have. Do you have a lot of scarves, belts, or ties that are tangled in a drawer? Are your shirts taking up vertical space that could be used for longer items like dresses or coats?
Tension rods let you create custom layers without any permanent changes. One simple setup is to place a tension rod horizontally near the top of your closet for lighter items like shirts or blouses, and use the existing rod below for pants or longer pieces. You can also add a rod vertically in a corner to create a small shelf for folded items or baskets.
For accessories, a tension rod stretched across the inside of a closet door gives you a spot to hang necklaces, hats, or even a small mirror. The key is to think about what you use most and make those items easy to reach.
Double Your Hanging Space
Install a second tension rod below the existing one to create two layers of hanging clothes. This works best for shirts, blouses, or children's clothes. Just make sure the lower rod is high enough that longer items don't drag on the floor.
Create A Vertical Storage Tower
Use a tension rod vertically in a corner of your closet to support small shelves or wire baskets. This turns unused corner space into a spot for folded sweaters, handbags, or shoes. You can adjust the height without any tools.
Organize Accessories On The Door
Stretch a tension rod across the inside of your closet door to hang scarves, belts, or jewelry. Add S-hooks to hold small bags or hats. This keeps everything visible and within reach, without taking up shelf space.
Make A Shoe Rack
If you have a deep closet, place a tension rod horizontally at ankle height to hang shoes by their heels. This works for heels, flats, and even sneakers. It's a clever way to keep shoes off the floor and organized.
7. Craft a Mirror Wall to Visually Expand the Room
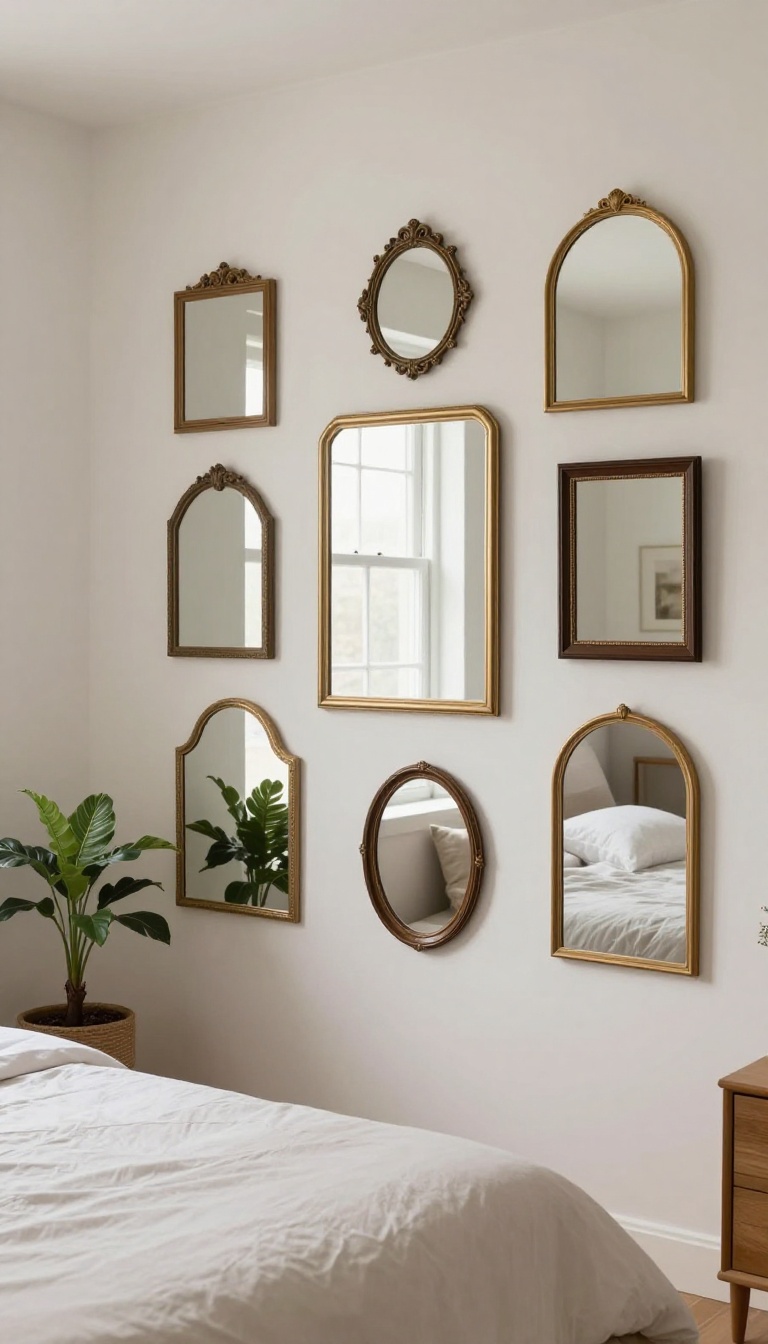
Mirrors are the oldest trick in the book for making a small space feel bigger, and for good reason. They bounce light around and create the illusion of depth, tricking your eye into thinking the room goes on further than it does. Instead of hanging one lonely mirror, why not turn an entire wall into a gallery of reflective surfaces?
It’s a DIY project that’s both practical and artistic, and it can completely change the vibe of your bedroom.
A mirror wall doesn’t have to mean a giant, expensive sheet of glass. You can use a mix of small mirrors in different shapes and frames to create a collage that adds character and light. The key is to arrange them thoughtfully so they don’t look cluttered.
Start by collecting mirrors from thrift stores, garage sales, or even dollar stores—mismatched frames add charm. Lay them out on the floor first to plan your layout, then transfer the arrangement to the wall using adhesive strips or hooks. Aim for a balanced composition that doesn’t cover the entire wall, leaving some breathing room.
Place the mirror wall opposite a window or a lamp to maximize the light reflection. This not only makes the room feel larger but also adds a sparkly, decorative focal point that draws the eye upward, making the ceiling seem higher.
Why Mirrors Work Magic In Small Spaces
Mirrors are like visual caffeine for a small room. They double the light and create the illusion of more space by reflecting whatever is in front of them. When you place a mirror opposite a window, it brings the outdoors in, making the room feel airy and open.
Even a small mirror can make a corner feel less cramped. The trick is to use multiple mirrors to scatter light and create depth, so the eye never settles on a single flat surface.
How To Choose And Arrange Your Mirrors
Pick mirrors in various sizes—round, oval, square, or rectangular—and mix frames like wood, metal, or even frameless. Thrift stores are goldmines for unique, affordable mirrors. Once you have a collection, lay them on the floor to experiment with layouts.
Try a grid for a modern look, or a more organic scatter for a bohemian vibe. Leave a few inches between each mirror to avoid a cluttered feel. Use strong adhesive strips designed for mirrors, or small nails if your walls can handle them.
Make sure they’re level and secure.
Styling Tips To Make The Mirror Wall Shine
To get the most out of your mirror wall, position it where it can reflect something beautiful—a window, a piece of art, or a stylish lamp. Avoid placing it directly opposite a cluttered area, as that will just double the mess. You can also lean a large mirror on the floor against the wall for a casual, effortless look, and surround it with smaller mirrors.
Add a small shelf below the mirror wall to hold a plant or a few books, tying the whole setup together. The goal is to create a feature that feels intentional and adds both light and personality to your bedroom.
8. Build a Rolling Cart Nightstand
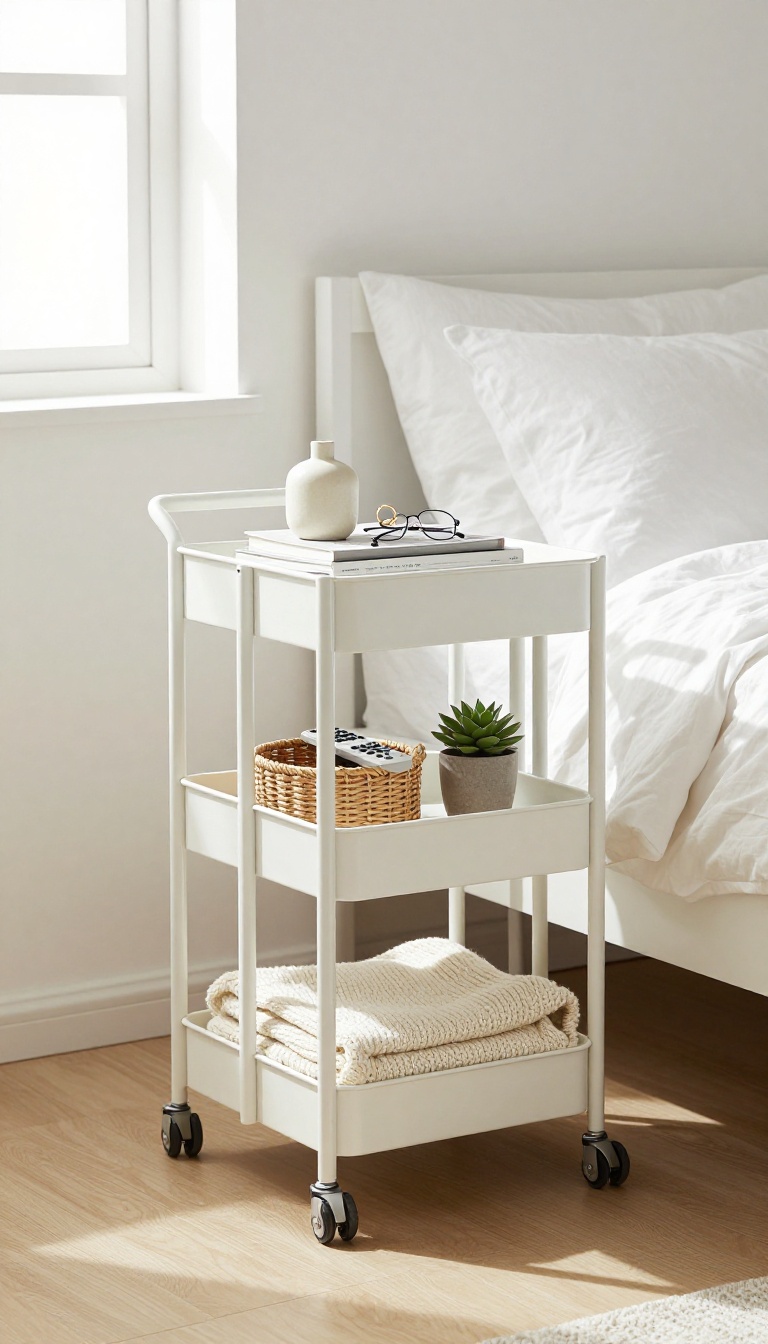
A nightstand is a must-have, but in a small bedroom, it can hog valuable floor space. A rolling cart solves that by giving you a mobile surface that slides under the bed when you need extra room. It's a simple, budget-friendly swap that adds flexibility and storage without the bulk.
Start with a slim metal or wooden utility cart on wheels—the kind you'd use in a kitchen or office. Look for one with two or three shelves, and make sure it's narrow enough to fit under your bed frame. If you can't find the perfect size, you can easily build a simple wooden cart with casters, or repurpose a small rolling drawer unit.
Pick The Right Cart
Measure the space under your bed first. You want a cart that slides in and out smoothly, so leave a little clearance. Metal carts with wire shelves are lightweight and easy to wipe down, while wooden carts add warmth.
If you're handy, a basic plywood box on casters works great—just add a handle or cutout for pulling.
Style It Like A Nightstand
Treat the cart like a regular nightstand. Top shelf: lamp, book, and a small tray for jewelry or glasses. Middle shelf: a basket for remotes or chargers, and a small plant for life.
Bottom shelf: extra pillows or a folded throw blanket. Use baskets or bins to keep things tidy and visually cohesive.
Make It Your Own
Paint the cart to match your room, or add adhesive hooks on the sides for hanging a small bag or headphones. Swap the casters for locking ones if you want it to stay put. You can even add a piece of wood on top for a solid surface.
The goal is to make it feel intentional, not just a kitchen cart in your bedroom.
9. Install Under-Bed Drawers on Wheels
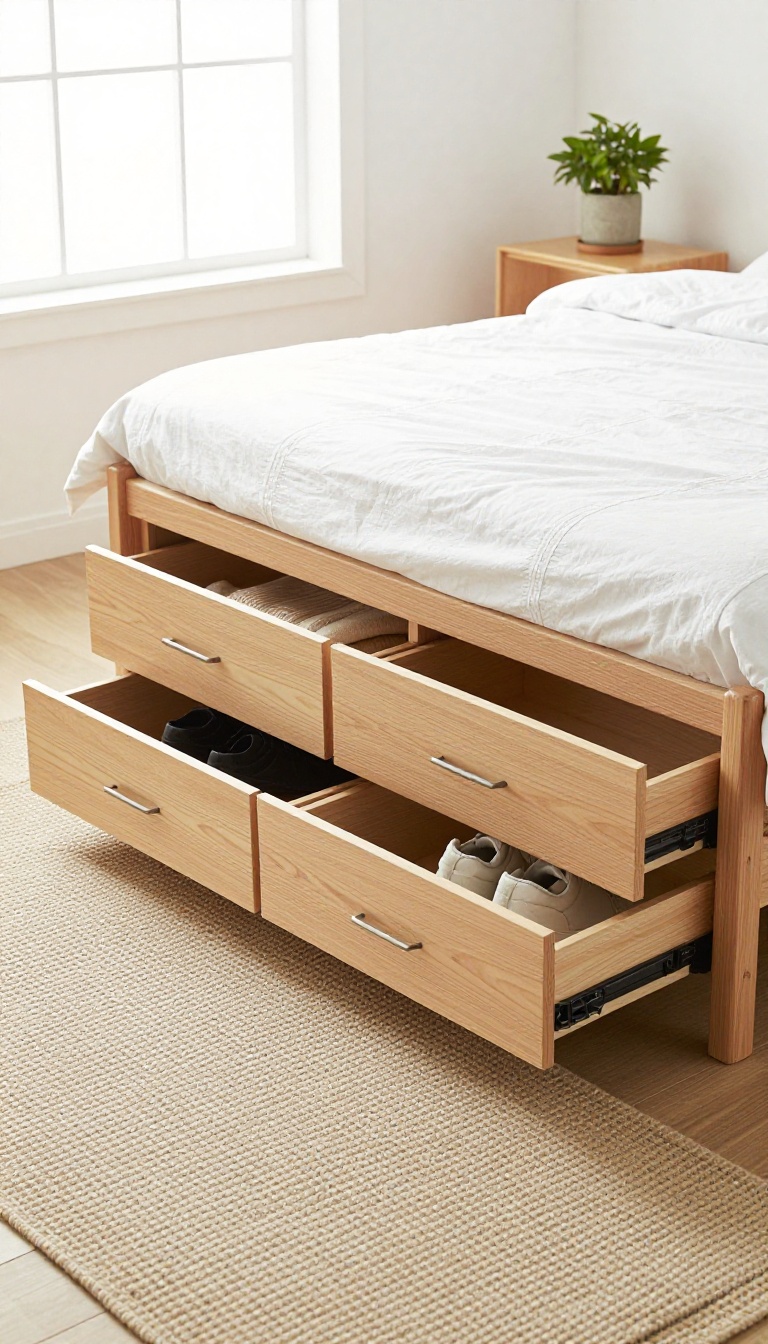
The space under your bed is prime real estate, but it usually ends up as a dusty graveyard for stray socks and old boxes. By building simple drawers on wheels, you turn that dead zone into a functional storage powerhouse. It's a weekend project that pays off every single day.
When you're short on square footage, you have to look for storage in unexpected places. The gap between your bed frame and the floor is often ignored, but it's perfect for slim, rolling drawers. You can keep shoes, off-season clothes, or extra bedding neatly tucked away, and they're easy to pull out whenever you need them.
Plus, you can customize the size to fit your bed perfectly, so nothing goes to waste.
Measure And Plan
Start by measuring the height of your bed frame from the floor to the bottom of the box spring. You'll want drawers that are a few inches shorter to leave room for casters. Also, measure the width and depth of the space so you know how many drawers you can fit side by side.
Sketch a simple plan to figure out the dimensions of each drawer.
Choose Your Materials
Plywood is a solid choice for the drawer boxes because it's sturdy and affordable. For the bottom, a thin sheet of hardboard works well. You'll also need casters—locking ones are handy so the drawers don't roll away.
Pick up some wood screws, wood glue, and a handle or cutout for pulling. If you want a polished look, paint or stain the wood to match your bedroom.
Build And Attach
Cut the plywood to your measured pieces: two sides, a front, a back, and a bottom. Assemble the box with glue and screws, then attach the casters to the bottom corners. Let everything dry thoroughly.
Once the drawers are built, slide them under your bed. You can add a fabric liner or a piece of cardboard to keep items from slipping through the slats.
Organize And Style
Use small bins or dividers inside the drawers to keep things tidy. Label the fronts if you want to find things quickly. To make the drawers blend in, attach a fabric panel or a piece of molding to the front that matches your bed frame.
You can even add a pop of color with paint or washi tape for a custom touch.
10. Design a Gallery Wall with Floating Frames
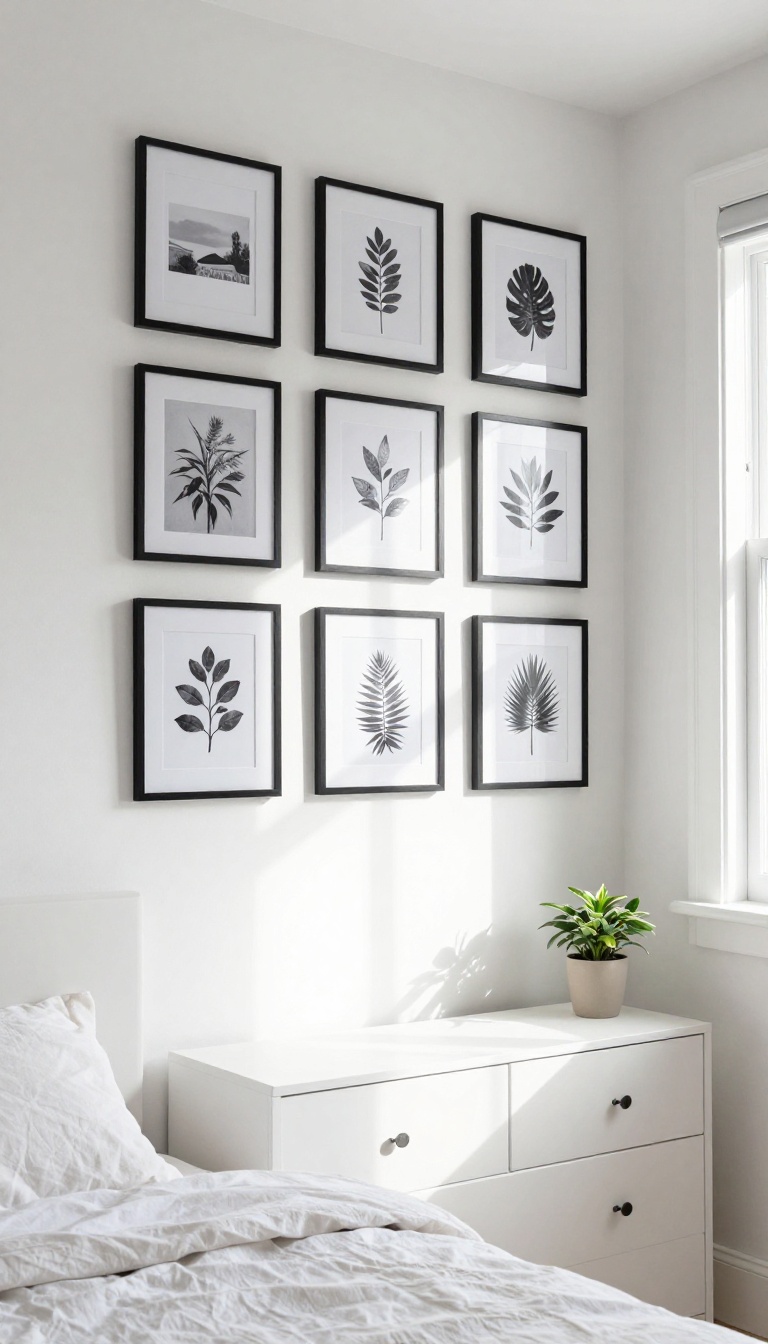
Walls are the most underused real estate in a small bedroom. A gallery wall draws the eye upward, making the ceiling feel higher and the room feel more expansive. Floating frames, which mount flush against the wall without visible hardware, add a clean, modern look that doesn't overwhelm a compact space.
You can create a stunning focal point above your bed or dresser without sacrificing a single inch of floor space.
Start by choosing a cohesive theme—family photos, travel prints, or your own artwork. Mix frame sizes and orientations for visual interest, but keep a consistent color scheme or frame finish to avoid chaos. Arrange the frames on the floor first to nail the layout, then transfer the design to the wall using painter's tape.
Use a level to ensure everything is straight. Floating frames typically come with mounting hardware included, but you can also use adhesive strips for a renter-friendly option that won't damage the paint.
Plan Your Layout
Before hammering any nails, lay your frames out on the floor or on a large piece of paper cut to the wall's dimensions. Try a symmetrical grid for a clean, orderly look, or go for an organic arrangement with varying gaps. Keep the spacing tight—around two inches apart—so the gallery feels cohesive.
Use painter's tape to mark the corners on the wall and adjust until you're happy.
Choose The Right Frames
Floating frames come in various materials like wood, metal, or acrylic. For a small bedroom, choose lightweight frames that are easy to hang and won't visually weigh down the wall. A mix of thin black or white frames creates a classic gallery feel, while natural wood adds warmth.
If you're short on wall space, consider a single oversized frame with a grid mat to display multiple photos in one piece.
Hang With Confidence
Use a measuring tape and a pencil to mark where each nail or adhesive strip will go. For a perfectly level grid, use a laser level or a long spirit level. If you're using adhesive strips, follow the weight instructions carefully—most hold up to a few pounds.
For heavier frames, use picture-hanging hooks. Step back frequently to check the overall balance, and don't be afraid to adjust as you go.
FAQ
What are the best DIY projects for a small bedroom?
Projects that maximize vertical space, add storage, or serve multiple purposes are ideal. Think floating shelves, under-bed drawers, and wall-mounted organizers.
How can I make my small bedroom look bigger with DIY?
Use mirrors to reflect light, keep colors light and cohesive, and choose furniture that is low-profile or multi-functional. DIY projects like a mirror wall or a rolling nightstand can help.
Are these DIY ideas beginner-friendly?
Yes, most of these projects are simple and require basic tools like a drill, saw, or screwdriver. Some, like the pallet chair, might need a bit more effort but are still doable for beginners.
Do I need to spend a lot of money on materials?
Not at all. Many projects use repurposed items like pallets or tension rods, and others can be made with affordable materials from a hardware store. You can often find supplies second-hand.
Can I do these projects if I'm renting?
Absolutely. Many of these ideas are renter-friendly, such as using tension rods, floating shelves (with removable adhesive), or rolling carts. Always check your lease for any restrictions on wall modifications.
Conclusion
Small rooms don’t have to feel cramped—just clever. Try one or two of these ideas that speak to your biggest challenge, whether that’s storage, light, or making the bed the star. You’ll be surprised how much a floating shelf or a fold-down desk can open things up.
Start simple, then layer in more as you get comfortable. Your bedroom should work for you, not the other way around. Pick a project, grab a weekend, and enjoy the payoff.