10 Easy Ways on How to Clean Walls Without Heavy Scrubbing
Wall cleaning often feels like a workout you didn't sign up for. But it doesn't have to be that way.
With the right techniques and a few household staples, you can lift grime and marks without breaking a sweat. These methods focus on smart chemistry and clever tools that do the heavy lifting for you.
Whether you're dealing with fingerprints, scuffs, or sticky spots, there's a gentle solution here that saves your energy. Let's dive into ten practical ways to refresh your walls, keeping them clean and your arms un-tired.
1. Use a Magic Eraser for Stubborn Marks
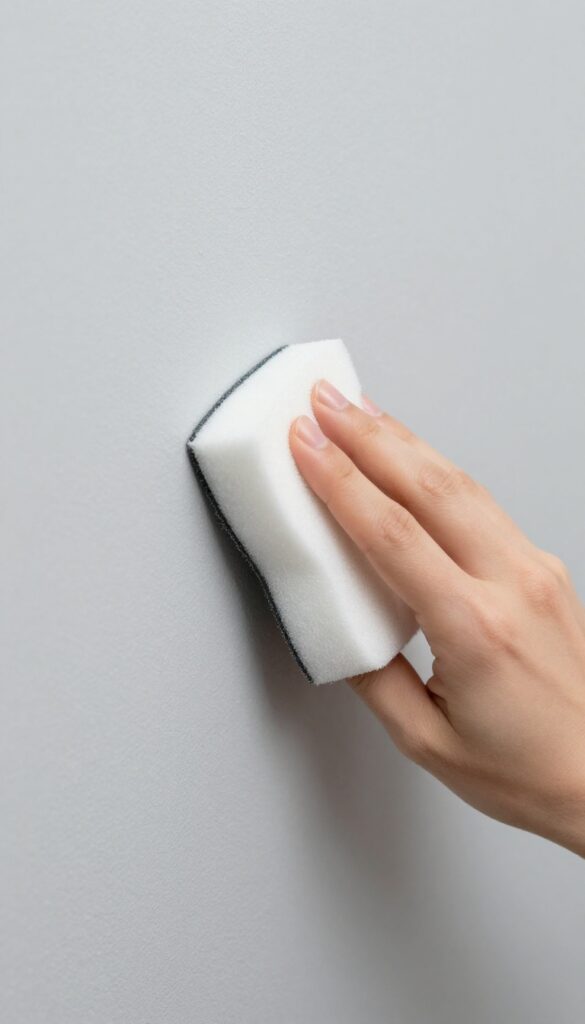
Some marks just refuse to budge with a regular sponge. That's where a magic eraser comes in. These melamine foam blocks are like tiny magnets for scuffs, crayon, and even grease spots.
They work by gently abrading the surface, lifting the stain without you having to press hard or scrub in circles. It's almost like magic, as the name suggests.
A damp magic eraser is your best friend for those stubborn marks that plain soap and water can't handle. You don't need any extra cleaning solution – just water. The eraser's micro-abrasive texture does the work, breaking down the stain and lifting it off the wall.
It's especially effective on flat or satin paint finishes, but use it lightly on glossy or textured walls to avoid dulling the shine. For crayon marks, a gentle glide is all it takes – no elbow grease required. Just remember to rinse the eraser as you go, so you're not spreading the grime around.
How To Use It Right
Start by cutting the eraser in half – you'll get more use out of it. Dampen it with water and wring out the excess. Then, gently glide it over the mark in a back-and-forth motion.
You'll see the stain lift almost immediately. For tougher spots, let the eraser sit on the mark for a few seconds before wiping. Always test in an inconspicuous area first, especially if your walls have a textured finish.
Where It Works Best
Magic erasers are perfect for scuff marks from shoes, fingerprints near light switches, and crayon masterpieces from little artists. They also work on sticky residue from tape or stickers. Avoid using them on walls with a high-gloss paint or wallpaper, as the abrasive action can create a dull patch.
For those surfaces, stick to a gentle cleaner and a soft cloth.
Safety And Precautions
Always wear gloves if you have sensitive skin, as the eraser can be drying. Keep it out of reach of kids and pets – it's not a toy. Also, never use a dry eraser on the wall; it can leave marks.
And remember, a little goes a long way – you don't need to press hard. Let the eraser do the work.
2. Try a Vinegar and Water Solution
Vinegar is a powerhouse cleaner that often gets overlooked. It’s cheap, natural, and surprisingly effective at breaking down the grime that builds up on walls over time. The best part?
You probably already have a bottle in your kitchen.
Mixing equal parts white vinegar and water in a spray bottle gives you a gentle yet potent cleaning solution. Spray it on the wall, let it sit for a minute, then wipe with a microfiber cloth. The vinegar cuts through grease and dirt without any harsh scrubbing, leaving your walls fresh and clean.
Why Vinegar Works So Well
Vinegar is acidic, which makes it perfect for dissolving the alkaline residues found in fingerprints, soap scum, and everyday grime. It’s also a natural deodorizer, so it neutralizes musty smells while it cleans. Unlike chemical cleaners, it’s safe for most wall surfaces, including painted drywall and wallpaper.
How To Use It Safely
Always test a small, hidden area first to ensure the vinegar doesn’t affect the paint finish. When you’re ready, mix one part vinegar with one part water in a spray bottle. Lightly mist the wall, then wipe with a clean microfiber cloth.
For stubborn spots, let the solution sit for a few minutes before wiping. Avoid soaking the wall, as excess moisture can damage the paint.
When To Skip This Method
If your walls have a flat or matte finish, vinegar can sometimes leave streaks or dull the paint. In that case, dilute the vinegar more (one part vinegar to three parts water) or use a different method. Also, avoid using vinegar on unsealed stone or natural marble, as the acid can etch the surface.
3. Use a Dryer Sheet for Light Dust
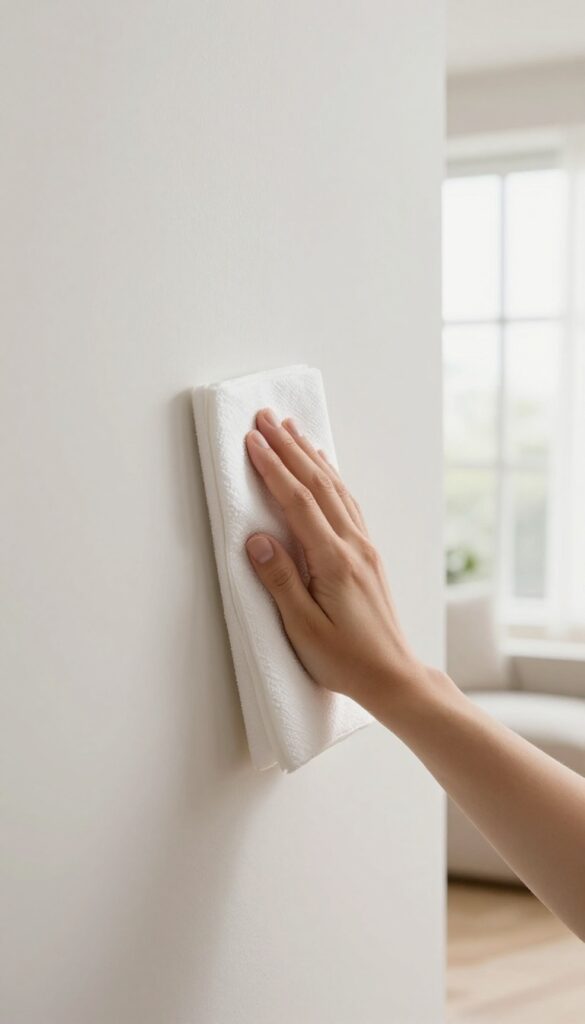
Dust settles on walls faster than you'd think, especially in high-traffic areas or near vents. But you don't need a spray bottle and a roll of paper towels for a quick refresh. A simple dryer sheet can do the trick, and it's gentler than you might expect.
The anti-static properties in dryer sheets help lift dust and light dirt right off the surface, leaving walls looking brighter in seconds. It's a low-effort hack that's perfect for weekly touch-ups or when you're short on time.
Dryer sheets are designed to reduce static cling in the laundry, and that same magic works on walls. The fabric softener coating picks up dust particles and holds onto them, so they don't just float back into the air. This makes the dryer sheet a surprisingly effective tool for quick dusting.
Best of all, it's completely dry, so there's no risk of leaving streaks or water marks on your paint. You can use it on any wall type, from flat to satin, without worrying about damage. Just grab a used or new sheet and swipe it across the surface—it's that simple.
Why Dryer Sheets Work So Well
The secret lies in the anti-static agents. When you wipe a wall with a dryer sheet, it neutralizes the static charge that holds dust to the surface. The dust then clings to the sheet instead of staying on the wall.
It's a smart, no-mess solution that works on walls, baseboards, and even ceiling corners.
How To Use A Dryer Sheet On Walls
Start with a clean, dry dryer sheet. If it's new, give it a quick shake to remove excess lint. Then, gently wipe the wall in long, sweeping strokes, working from top to bottom.
For stubborn spots, apply a little more pressure, but avoid scrubbing hard—the sheet should do the work. You can use both sides, and when it gets dirty, just flip it or grab a fresh one.
When To Skip This Trick
Dryer sheets are great for light dust, but they're not meant for heavy grime or sticky residue. If you're dealing with crayon marks, grease splatters, or other tough stains, you'll need a wet cleaning method. Also, avoid using dryer sheets on freshly painted walls (within a few weeks) as they might leave a slight residue.
Stick to this trick for regular maintenance, and you'll keep your walls looking fresh with minimal effort.
4. Make a Baking Soda Paste for Grease
Grease splatters near the stove or sticky fingerprints on cabinet fronts can feel stubborn, but a simple paste often does the trick. Baking soda is a gentle abrasive that lifts grease without scratching paint. Mixed with a little water, it turns into a thick paste that clings to the mess and breaks it down.
You won't need to scrub hard—just let it sit and wipe.
When grease has dried or baked onto walls, a damp cloth alone won't cut it. Baking soda paste works because the fine particles gently abrade the surface while the alkaline nature helps dissolve oily residues. It's safe for most painted walls, but always test on a small, hidden area first.
The key is to apply a generous layer and give it a few minutes to work.
How To Make The Paste
In a small bowl, mix three parts baking soda with one part water. Stir until it forms a thick, spreadable paste—like toothpaste. If it's too runny, add more baking soda; if too thick, add a drop of water.
You want it to stay put on vertical surfaces without dripping.
Application And Wait Time
Use a soft cloth or sponge to apply the paste directly to greasy spots. Spread it evenly, covering the entire stain. Let it sit for 5 to 10 minutes.
This gives the baking soda time to absorb and break down the grease. For extra stubborn areas, you can leave it a bit longer, but don't let it dry completely.
Wiping Away Without Scrubbing
After the wait, use a damp, clean cloth to wipe the paste away in gentle, circular motions. The grease should come off with it. If any residue remains, rinse the cloth and wipe again.
No heavy scrubbing needed—just a light touch. Finally, dry the wall with a soft towel to prevent moisture streaks.
5. Use a Spray Mop for High Walls
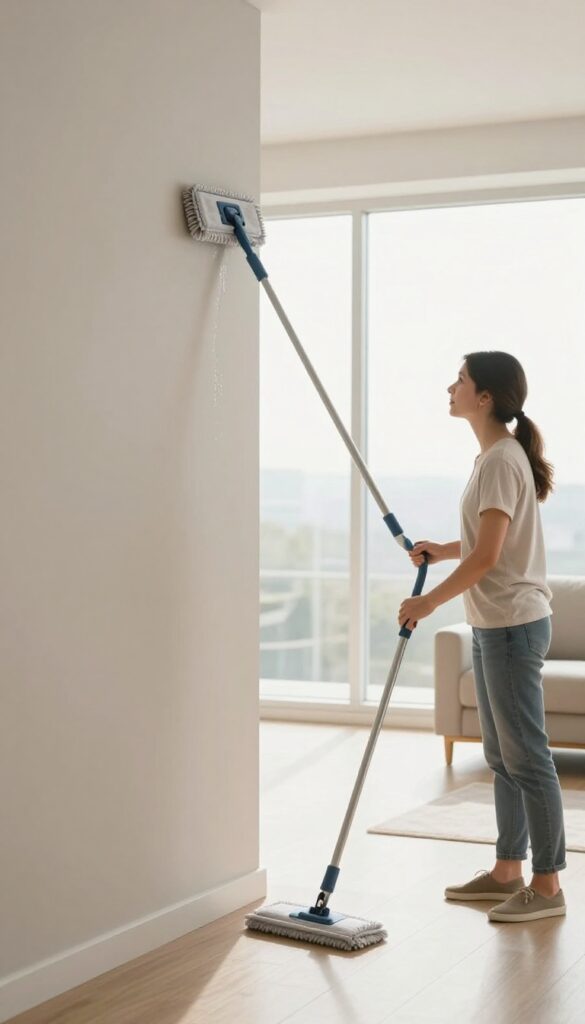
Tall walls are a pain to clean, and dragging out a ladder just for a quick wipe feels like too much effort. A spray mop with a microfiber pad can be your best friend here, letting you reach those high spots safely from the floor. It's a simple tool swap that makes a big difference.
Spray mops are designed for floors, but they work wonders on walls too. The long handle gives you extra reach, and the microfiber pad grabs dust and grime without scratching paint. You can cover a large area quickly, and the built-in sprayer lets you apply cleaner exactly where you need it.
Pick The Right Mop And Pad
Not all spray mops are created equal. Look for one with a lightweight, extendable handle and a pivoting head that angles easily. Microfiber pads are a must—they trap dirt instead of just pushing it around.
You can also use a dry pad for dusting and a wet one for deeper cleaning.
Prep Your Cleaning Solution
You don't need a fancy cleaner. A few drops of dish soap in warm water works for most walls. For tougher spots, add a splash of white vinegar.
Fill the mop's reservoir, and you're ready to go. Avoid harsh chemicals that could damage paint or leave streaks.
Spray And Glide In Sections
Start at the top of the wall and work your way down in small sections. Spray a light mist, then glide the mop in long, overlapping strokes. The pad will lift grime as you go.
Rinse or flip the pad when it gets dirty, and change the water if it starts looking cloudy.
Finish With A Dry Pass
Once you've cleaned a section, switch to a dry microfiber pad and go over it again. This picks up any leftover moisture and prevents streaks. It also gives the wall a nice, even finish.
Your arms will thank you for not having to reach or scrub.
6. Try a Dish Soap and Water Mix
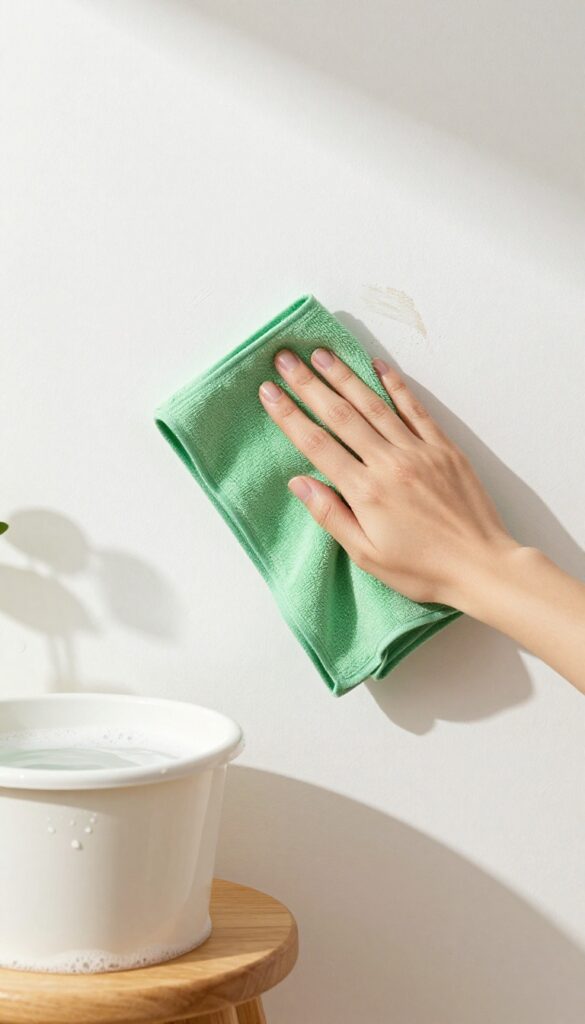
Sometimes the simplest solutions are hiding right next to your sink. A few drops of dish soap in warm water can handle a surprising range of wall marks, from fingerprints to light food splatters. This mix is gentle enough for most painted surfaces and tough enough to cut through everyday grime.
Dish soap is designed to break down oils and grease, which are often the culprits behind sticky wall spots. When you mix it with water, you get a cleaner that lifts dirt without requiring any elbow grease. The key is to use it sparingly—too much soap can leave a residue that attracts more dust.
Why Dish Soap Works So Well
Dish soap contains surfactants that lower the surface tension of water, allowing it to penetrate and lift grime. This makes it especially effective on oily fingerprints and kitchen splatters. Plus, it's mild enough for regular use on most wall finishes.
How To Mix And Apply It Right
Fill a bucket with warm water and add just a few drops of dish soap. Dip a soft sponge or microfiber cloth, wring it out well, and wipe the wall in gentle, circular motions. The goal is to use a damp—not soaking—sponge to avoid over-saturating the wall.
When To Skip This Method
Avoid using dish soap on unsealed or flat paint, as it can leave streaks or damage the finish. Also, skip it on walls with peeling paint or wallpaper that isn't water-resistant. When in doubt, test a small hidden area first.
7. Use a Microfiber Cloth with Warm Water
When you want a no-fuss approach, plain warm water and a quality microfiber cloth can handle most wall marks. The cloth's fine fibers grab and hold onto dirt, so you're not just smearing it around. It's a gentle method that works on painted walls, wallpaper, and even textured surfaces without leaving residue.
Microfiber cloths are designed to attract dust and grime, making them perfect for quick wall touch-ups. The warm water helps loosen dried-on spots, while the cloth's texture lifts them away. This method is especially handy for routine cleaning or for homes with sensitive surfaces where harsh chemicals are a no-go.
Why Microfiber Works So Well
Microfiber is made of ultra-fine synthetic fibers that create a large surface area. These fibers act like tiny hooks, pulling dirt and grease off the wall without the need for scrubbing. Plus, they're reusable and machine-washable, so you can clean multiple rooms without wasting paper towels.
The Right Way To Wipe
Dip the cloth in warm water and wring it out until it's damp, not dripping. Work from the top of the wall downward in long, overlapping strokes. This prevents streaks and catches any drips.
Rinse the cloth frequently in clean water to avoid redepositing dirt.
When To Skip This Method
If you're dealing with sticky grease or heavy scuffs, you might need a little more than water. But for everyday dust, fingerprints, and light marks, this is your go-to. Always test on a small, hidden spot first to make sure the water doesn't damage the paint.
8. Try a Commercial Wall Cleaner Spray
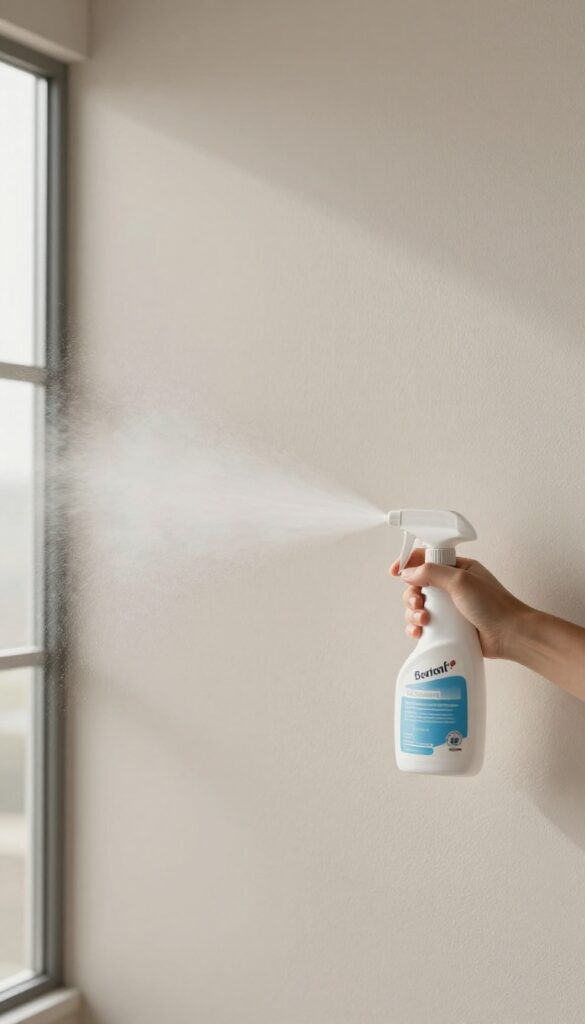
Sometimes you just want a product that does the job without any mixing or measuring. Commercial wall cleaner sprays are formulated to cut through grime and lift dirt with minimal effort. They're a convenient option when you're short on time or dealing with tough, built-up marks.
These sprays come in a variety of formulas, from all-purpose to those specifically designed for painted walls. Many are safe for most wall finishes, but it's always a good idea to spot-test in an inconspicuous area first. The key is to look for products that mention 'no scrubbing' or 'effortless cleaning' on the label—those are your best bet for a quick wipe-down.
How To Use Them Effectively
Start by dusting or vacuuming the wall to remove loose dirt. Then, hold the spray bottle about 6-8 inches away and mist the area lightly. Let the foam sit for a minute or two—this gives it time to break down the grime.
Finally, wipe with a clean microfiber cloth, using gentle, even strokes. You'll see the dirt lift right off without any elbow grease.
Choosing The Right Product
Not all wall cleaners are created equal. Check the label for 'gentle on paint' or 'safe for all finishes' to avoid stripping or dulling your wall color. Some sprays are specifically designed for kitchens and bathrooms, where grease and soap scum are common.
Others are more general-purpose. If you have textured walls, a foam spray might be easier to work with than a liquid one, as it clings better.
When To Skip The Spray
While these sprays are great for most situations, there are times you might want to use something else. For example, if you have very delicate wallpaper or a flat paint finish that's prone to water stains, a gentle soap-and-water solution might be safer. Also, avoid using heavy-duty sprays on walls with chipped or peeling paint, as the moisture could cause further damage.
9. Use a Squeegee for Bathroom Walls
Bathroom walls take a beating from steam, soap, and hard water. Every shower leaves behind a fine film that, over time, turns into stubborn scum. A simple squeegee can stop that buildup before it starts.
This isn't just for glass doors. Run it over tile, fiberglass, or even painted walls (if they're smooth and waterproof). You'll cut down on scrubbing sessions and keep your bathroom looking fresher for longer.
The trick is to make it a post-shower habit. Keep a squeegee within arm's reach, and give the walls a quick once-over while you're still in there. It takes less than a minute and saves you from future elbow grease.
For best results, use a squeegee with a soft rubber blade. Hard or worn blades can leave streaks or damage some surfaces. And don't forget to wipe the blade dry occasionally to keep it working smoothly.
Why It Works
Soap scum and water spots form when moisture sits on surfaces and dries. A squeegee removes most of that water immediately, leaving little behind for minerals and soap residue to cling to. Less residue means less scrubbing later.
Best Surfaces To Use It On
Smooth, non-porous surfaces work best: tile, glass, acrylic, and sealed stone. Avoid using it on textured or matte finishes, as the blade can catch or leave marks. If you're unsure, test a small corner first.
Quick Tips For A Better Squeegee Routine
Hang the squeegee on a hook inside the shower so it's always handy. After each use, give the walls a few vertical passes, starting from the top. Don't worry about getting every drop—just the bulk of the water.
And every couple of weeks, wipe the blade with a damp cloth to keep it clean.
10. Use a Vacuum with a Brush Attachment
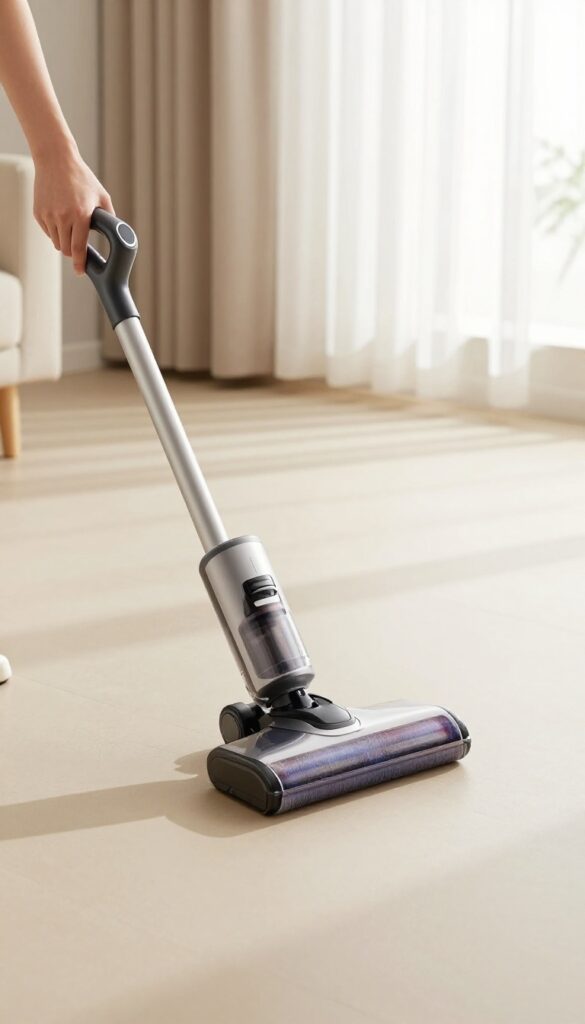
Dust and cobwebs often settle on walls long before they become visible, and wiping them with a damp cloth just turns them into streaks. A vacuum with a soft brush attachment is your best friend here—it lifts dust, pet hair, and cobwebs without spreading them around. It’s also a great first step before any deeper cleaning, so you’re not just moving dirt around.
Start by fitting your vacuum with the soft brush attachment—the one designed for upholstery or delicate surfaces. Move the nozzle gently across the wall in long, overlapping strokes, working from top to bottom. The suction pulls away loose particles, and the bristles dislodge stubborn dust without scratching the paint.
Pay extra attention to corners, baseboards, and areas near vents where dust tends to gather. For cobwebs, use the same attachment but go slowly and lightly—the suction alone usually pulls them off without leaving marks. If you have textured walls, the brush helps reach into the nooks and crannies that a cloth can’t.
This method is perfect for a quick weekly refresh or before tackling a more involved cleaning session.
Why Vacuuming Beats Dusting
Dusting with a cloth often just pushes particles into the air, where they settle back down. A vacuum captures them for good. Plus, it’s faster—you can cover a large wall in minutes without any elbow grease.
It’s also ideal for people with allergies, since it removes allergens instead of stirring them up.
Best Attachments And Settings
Use the soft brush attachment, not the hard floor brush, to avoid scratching. If your vacuum has adjustable suction, set it to a medium or low level—too much suction can pull paint off or damage delicate surfaces. For high walls, extend the hose with a telescoping wand to reach without a ladder.
When To Use This Method
This works best for routine dust removal and light cobweb clearing. If you have sticky spots or crayon marks, you’ll still need a damp cloth or cleaning solution. But for a quick maintenance pass, vacuuming is your go-to—it’s gentle, quick, and doesn’t require any chemicals.
FAQ
Can I use bleach on painted walls?
Bleach can damage paint and is too harsh for most walls. Stick to gentle cleaners like vinegar or dish soap to avoid discoloration.
How often should I clean my walls?
A quick dusting every few weeks and a deeper clean every few months is usually enough. High-traffic areas may need more frequent attention.
Will magic erasers damage wall paint?
Magic erasers are abrasive, so they can dull or remove paint if used too hard. Always test in an inconspicuous spot and use light pressure.
What's the best way to clean walls without leaving streaks?
Use a microfiber cloth and wring it well so it's damp, not wet. Wipe in a consistent direction and avoid over-saturating the wall.
Can I use a steam cleaner on walls?
Steam cleaners can be effective, but they may damage certain wall finishes. Test on a small area first and keep the steam moving to avoid moisture buildup.
Conclusion
Cleaning your walls doesn’t have to mean sore arms and endless scrubbing. With the right tools and a few simple tricks, you can keep them looking fresh in minutes. Start with the gentlest method for your paint type, and only move to stronger options if needed.
Pick a couple of these ideas that fit your routine, and you’ll save time and effort every time. A quick weekly wipe-down makes a big difference, so you’ll rarely face heavy buildup again.