11 Snow Crafts for Toddlers to Make on Cozy Winter Days
Cold days stuck inside go a lot smoother when little hands have something to squish, tear, and build. Snow crafts give toddlers all the fun of a snowy afternoon without the soggy mittens and frozen fingers.
Most of these projects use things you probably already have, like cotton balls, flour, paper, and washable paint. Each one keeps the steps short and the mess manageable, which matters when attention spans run about five minutes long.
Below are eleven ideas worth keeping on hand for the next snow day, sick day, or any afternoon that needs a reset. Pick one, set up a spot at the table, and let them get to work.
1. Fake Snow Sensory Bin
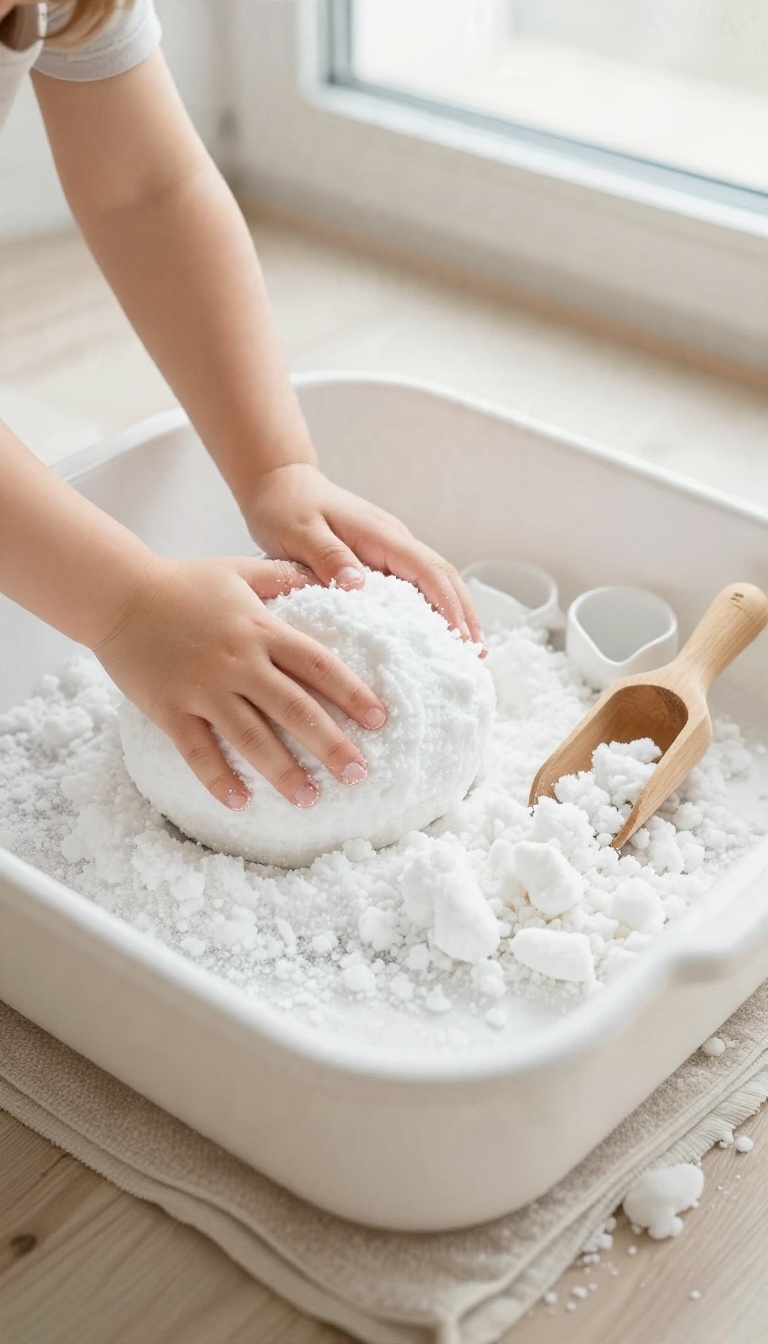
Two ingredients and about thirty seconds of stirring get you a bin of cool, fluffy fake snow that feels shockingly close to the real thing. Toddlers dig into it the same way they'd dig into a snowbank, minus the wet clothes and the meltdown over cold hands. It holds its shape when squeezed, so little ones can pack it into balls, scoop it into cups, and flatten it out again.
That repeatable cycle is what keeps them busy longer than you'd expect. Set it up on a towel or a splash mat and you've got a low-stress activity that buys you a solid stretch of quiet play.
Grab a box of baking soda and a can of white shaving cream. That's the whole supply list, and you probably have at least one of them in the house already. Dump the baking soda into a big bowl or shallow bin, then squirt in shaving cream a little at a time while your toddler stirs.
Stop adding when the mixture holds together in clumps instead of crumbling apart. You're aiming for a texture like damp beach sand. Too dry and it won't pack, too wet and it turns into a sticky paste.
Once it's mixed, hand over the tools and let them go to town.
Getting The Texture Right
Start with about a cup of baking soda and add shaving cream in small bursts. It's much easier to loosen a dry mix than to fix a soupy one. If it ends up too crumbly, add another puff of shaving cream.
If it gets sticky, sprinkle in more baking soda and knead it with your hands. The mixture stays workable for a day or two if you keep it in a sealed container. After that it dries out, but you can usually revive it with a fresh squirt of shaving cream.
Tools That Add To The Fun
Small scoops, measuring cups, and plastic spoons turn a plain bin into a full digging operation. Add a few silicone cupcake liners so your toddler can pack little snow muffins. Plastic animals or toy trucks buried in the snow make for a simple hide-and-find game.
A spray bottle set to a fine mist lets them 'make it snow' again, though keep it light so the mixture doesn't get soaked. Swap tools out every few minutes if interest starts to fade. A new scoop can reset the whole activity.
Keeping The Mess In Check
Lay down a towel or a washable mat before the bin comes out. Most of the mess lands within a foot of the container anyway. Keep the bin on the floor rather than a table, since toddlers tend to lean in and tip things over.
A shallow storage tub with low sides works better than a deep bucket because little arms can reach in easily. When playtime wraps up, sweep up the crumbs and toss the rest. It vacuums up without much fuss.
2. Paper Snowflakes for Little Hands
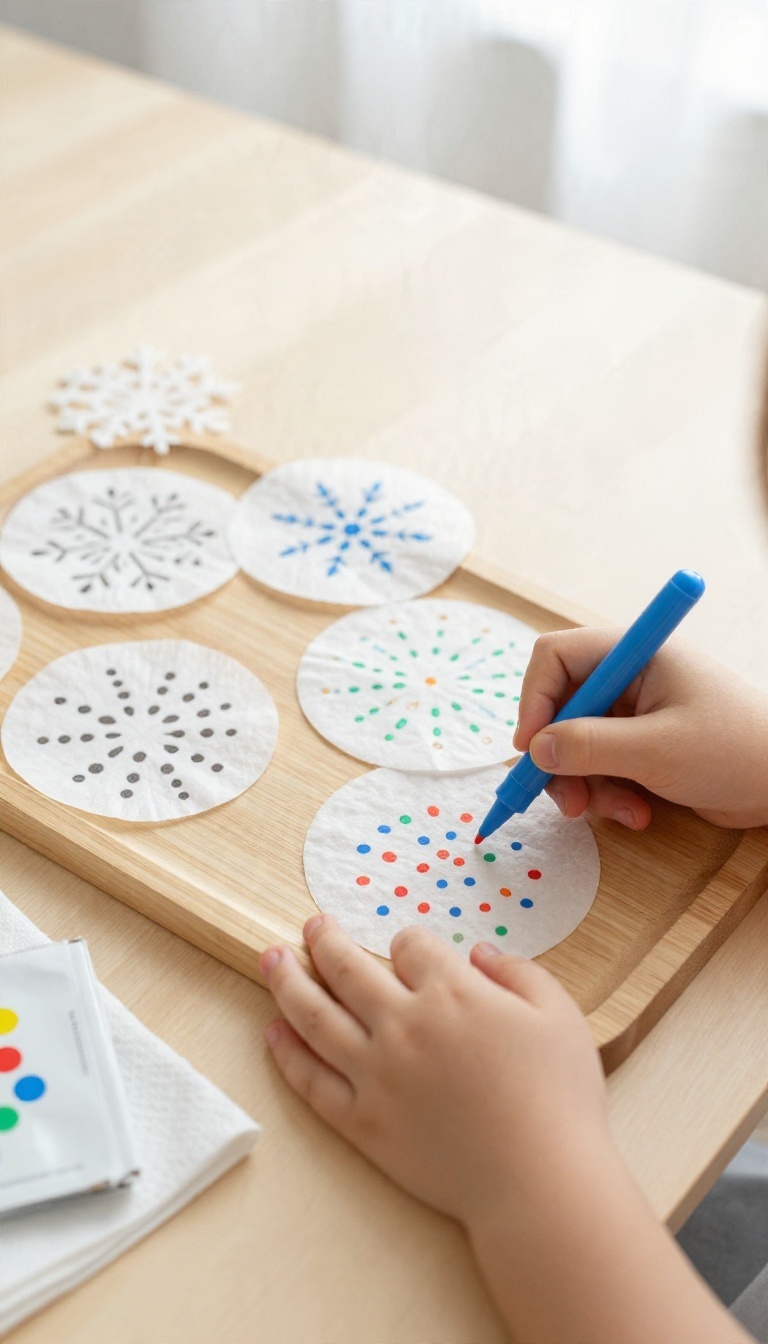
Scissors and toddlers don't always mix, but that doesn't mean you have to skip the classic paper snowflake. Coffee filters make the perfect stand-in for thin paper, and dot markers replace the sharp stuff. The result is a snowy window display that even the youngest crafter can help make.
The trick is to fold the filter into a triangle and let your toddler decorate it with dot markers. When you unfold it, the dots turn into a symmetrical pattern that looks surprisingly like a real snowflake. No cutting required, and the mess stays contained to the table.
What You'll Need
Grab a pack of round coffee filters, a set of dot markers (or washable stamp markers), and a shallow tray or plate to work on. You'll also want a damp cloth nearby for quick wipe-ups. That's it—no scissors, no glue, no glitter.
How To Make Them
Fold a coffee filter in half, then in half again, and once more to make a triangle. Show your toddler how to press the dot marker onto the folded filter. They can make as many dots as they like—the more, the merrier.
Carefully unfold the filter to reveal the pattern, then let it dry flat.
Tips For Little Hands
If your child has trouble folding, pre-fold a few filters and let them decorate. Use a tray to catch stray dots and keep the markers from rolling away. For a pop of color, try two or three different marker colors on one snowflake.
Display And Play
Once dry, tape the snowflakes to a window or hang them from a string with clothespins. They look lovely with light shining through. You can also stack a few and staple them together for a bigger, layered snowflake.
3. Marshmallow Snowman Building
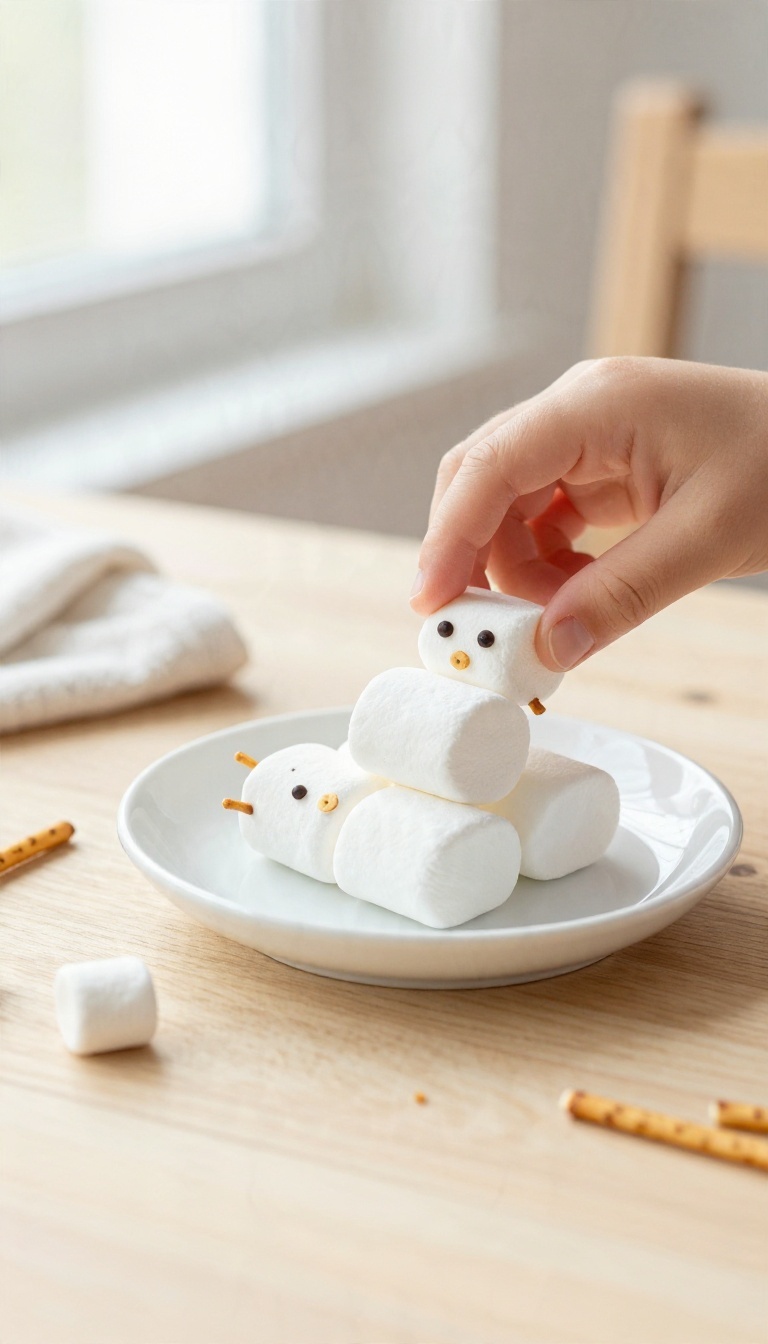
Marshmallow snowmen turn snack time into a tiny construction project. Toddlers stack soft marshmallows and poke in pretzel sticks, then eat their creation when they're done. It's a low-mess craft that keeps hands busy and faces smiling.
You only need two ingredients and a few minutes to set up. The soft texture makes it easy for little fingers to build without frustration, and the edible parts mean you don't have to worry about stray pieces going in mouths.
What You Need
Grab a bag of regular and mini marshmallows, thin pretzel sticks, and a couple of plates. That's it. You can add a dab of frosting or honey to help pieces stick, but it's optional.
Keep a damp cloth nearby for sticky hands.
How To Build
Show your toddler how to stack three marshmallows from largest to smallest for the body and head. Break pretzel sticks in half for arms and poke them into the middle marshmallow. Use tiny pretzel pieces for eyes and buttons.
Let them experiment—wonky snowmen are part of the fun.
Tips For Little Hands
If stacking gets tricky, press the marshmallows together slightly to help them grip. Give each child their own plate to avoid sharing squabbles. And don't stress about perfection—the goal is play, not a Pinterest masterpiece.
4. Puffy Paint Snow Pictures
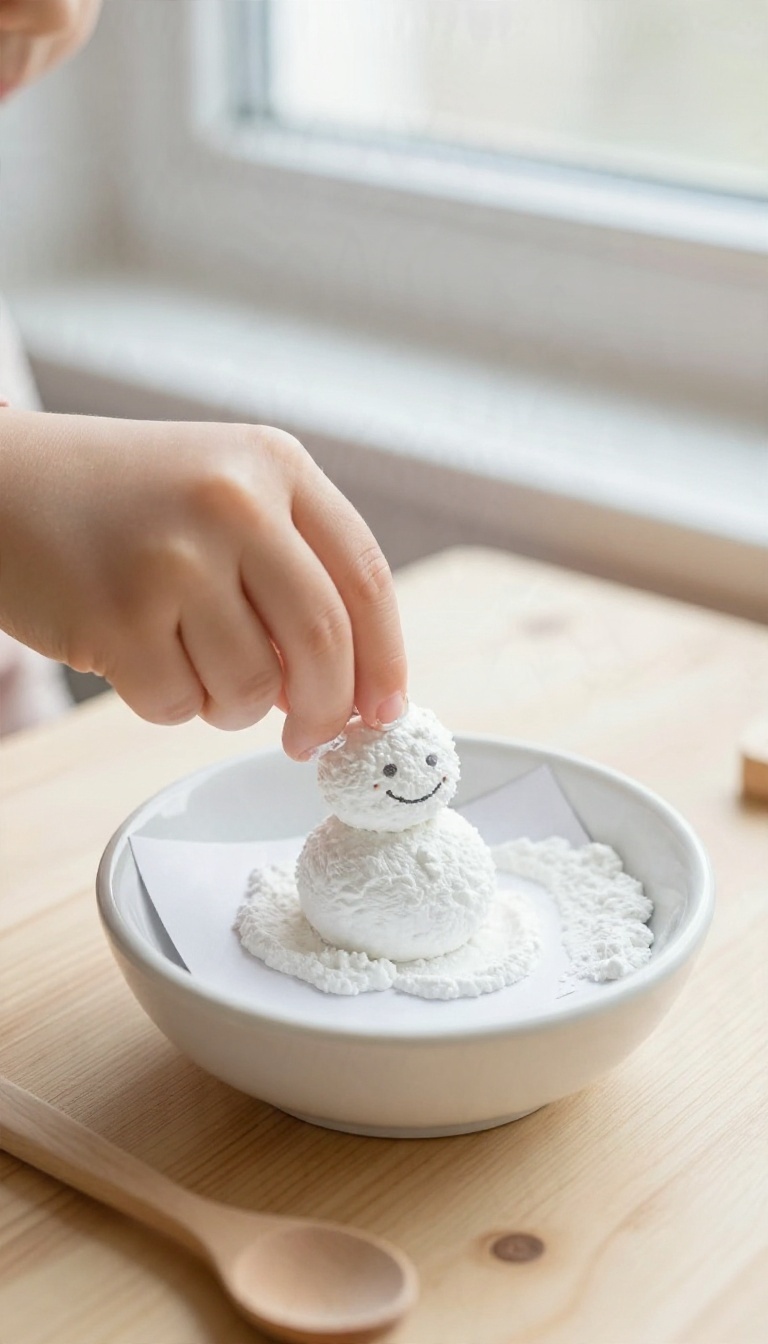
Puffy paint gives winter pictures a little extra dimension. It dries raised and soft, so a snowman looks like he's actually stacked instead of flat on the page. The paint takes about two minutes to mix, and most toddlers can help stir without making a disaster.
You only need three things: shaving cream, white school glue, and a bowl. Mix equal parts of each until it looks like thick whipped cream. Add a drop of peppermint extract if you want it to smell like a candy cane, but that's optional.
The texture is what sells it—fluffy, spreadable, and easy for little fingers to scoop.
Mix It Up
Squirt about a quarter cup of glue into a bowl, then add the same amount of shaving cream. Stir gently with a craft stick or spoon. You want it to hold its shape, so stop mixing as soon as it's combined.
If it looks runny, add a little more shaving cream. If it's too stiff, a tiny squeeze of glue loosens it up.
Paint A Winter Scene
Give each toddler a piece of sturdy paper—card stock or watercolor paper works best. Show them how to dab the paint with a brush or their fingers to make snow piles, snowmen, and fluffy clouds. For a snowman, paint three circles stacked on top of each other and add details with markers once the paint dries.
The paint puffs up as it dries, so remind them that a little goes a long way.
Let It Dry And Display
Set the pictures flat to dry for at least an hour. The paint will rise and harden slightly on the outside but stay soft inside. Once dry, tape them to the fridge or window.
They look especially nice against a dark background, so try painting on blue or black paper for a night-sky effect.
5. Cotton Ball Snow Collage
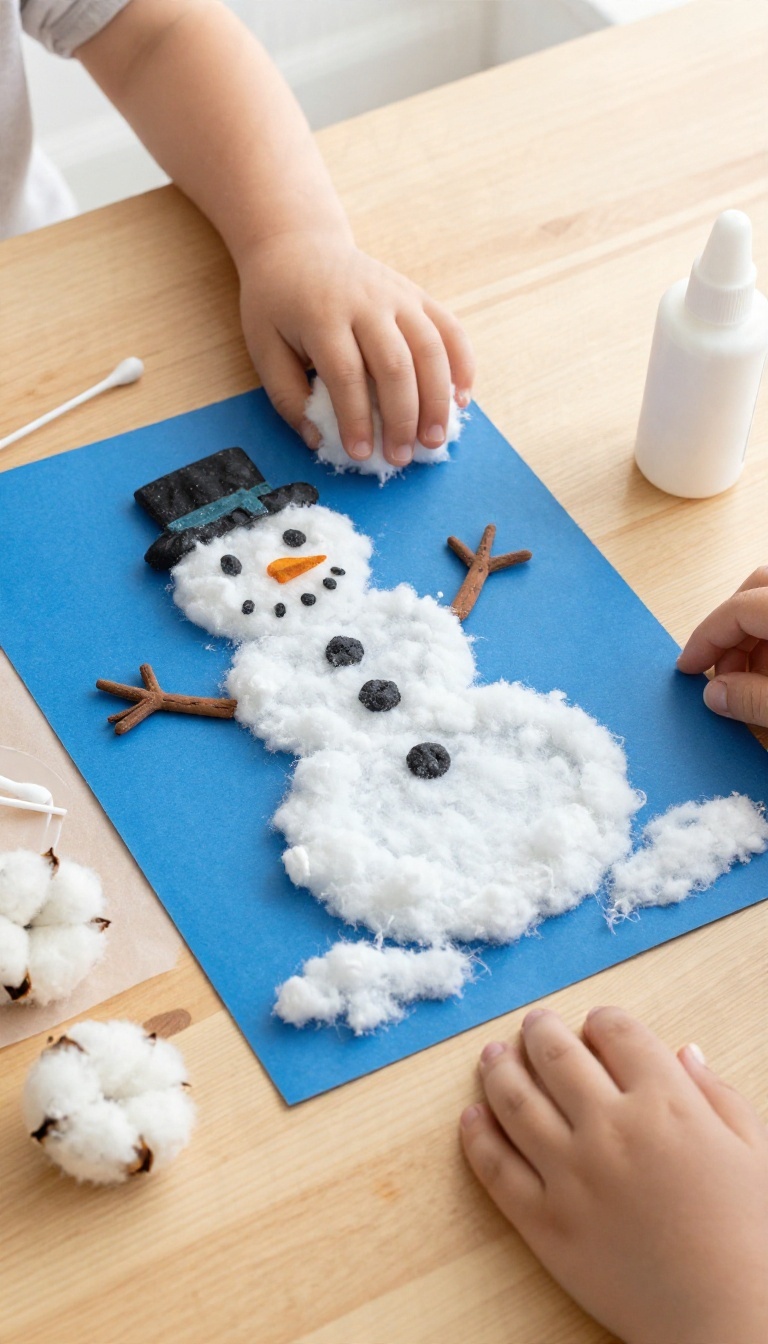
A sheet of blue construction paper and a bag of cotton balls can turn into a whole snowy world in about fifteen minutes. Toddlers pull the fluff apart, squish it down, and stick it wherever they want, which means the sky, the ground, and everything in between gets covered in soft white drifts. There's no wrong way to build one of these, and that's the point.
A lopsided snowman or a clump that's supposed to be a cloud still counts as a win when little hands made it.
The setup takes almost no time. Tear or snip a few cotton balls into different sizes ahead of time so your toddler can grab handfuls without waiting, then set out a glue stick or a small dish of white glue with a few cotton swabs. Blue paper works best as the base because the white cotton pops against it.
Dark blue looks like a night sky, light blue reads as a daytime snow scene, and either one gives you a nice contrast for photos later.
Keep The Glue Under Control
Glue is the one part of this craft that can go sideways fast. A glue stick is the easiest option for toddlers because it's hard to overdo and dries clear, so stray smears won't show. If your child prefers liquid glue, pour a little into a shallow dish and hand them a cotton swab instead of the bottle.
They dab the paper, press the cotton on, and you avoid a puddle situation. A sheet of wax paper under the project catches drips and keeps the table safe. Have a damp cloth nearby for sticky fingers, and expect to peel a few cotton balls off the paper and try again.
Let Them Build The Scene
Skip the instructions and let your toddler decide what's happening on the page. Some kids pile cotton along the bottom for snow on the ground, others stick it up top for clouds, and plenty just cover the whole sheet because it feels good. You can add a few extras if you want more to talk about while they work.
A brown paper triangle becomes a tree, a small circle cutout turns into a snowman's head, and a sprinkle of glitter stands in for falling flakes. Ask simple questions as they go, like where the snow is falling or who lives in the scene. It keeps them engaged and stretches the craft out past the five-minute mark.
Finishing And Displaying
Let the collage dry flat for about an hour before you move it, especially if you used liquid glue. Cotton balls that get bumped too soon slide around and leave sticky trails. Once it's dry, tape it to a window or the fridge at toddler eye level so they can point out their work.
The texture catches the light nicely, and it holds up well as a seasonal decoration. If you want to keep it longer, press it under a heavy book for a day to flatten the cotton slightly, then slide it into a page protector.
6. Snow Dough Snowballs
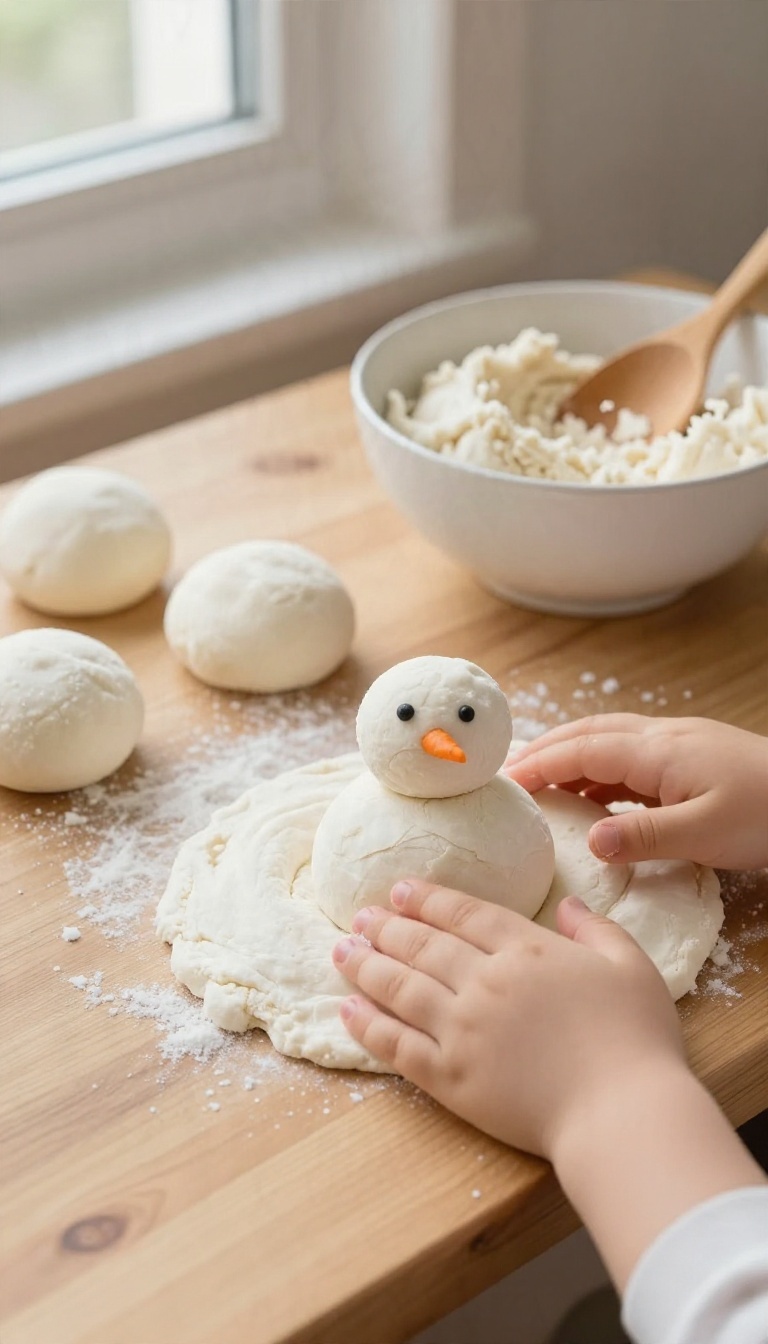
Snow dough gives you the look and feel of packing snow without the cold fingers. It's soft, moldable, and holds its shape well enough to roll into balls or stack into a tiny snowman. Toddlers can squeeze and shape it for a good while, and cleanup is easier than you'd think.
This dough comes together with just a few pantry staples, and you can make it in one bowl. It has a slightly crumbly texture that presses together nicely, so little hands can form snowballs that actually stay round. The batch makes enough for two or three kids to share, and it keeps for a few days in a sealed bag.
What You'll Need
You'll need 2 cups of baking soda, 1 cup of cornstarch, and about 1 cup of water. Add a tablespoon of white hand lotion or baby oil if you want it a little softer. A large bowl and a spoon are the only tools required.
How To Make It
Mix the baking soda and cornstarch in a bowl. Add the water a little at a time, stirring until the mixture starts to pull together. If it's too crumbly, add water a teaspoon at a time.
If it's too sticky, sprinkle in more cornstarch. Knead it for a minute until smooth.
Play Ideas
Show your toddler how to roll the dough into balls and stack them to make a snowman. Add googly eyes or small buttons for faces. They can also press the dough into cookie cutters or use a plastic knife to cut out shapes.
The dough won't dry out quickly, so they can play for a while.
Storage And Cleanup
Store the dough in a zip-top bag or airtight container for up to a week. If it dries out, add a few drops of water and knead it back to life. Cleanup is easy: let any bits dry, then sweep or vacuum them up.
A quick wipe with a damp cloth handles the rest.
7. Ice Cube Painting on Snow
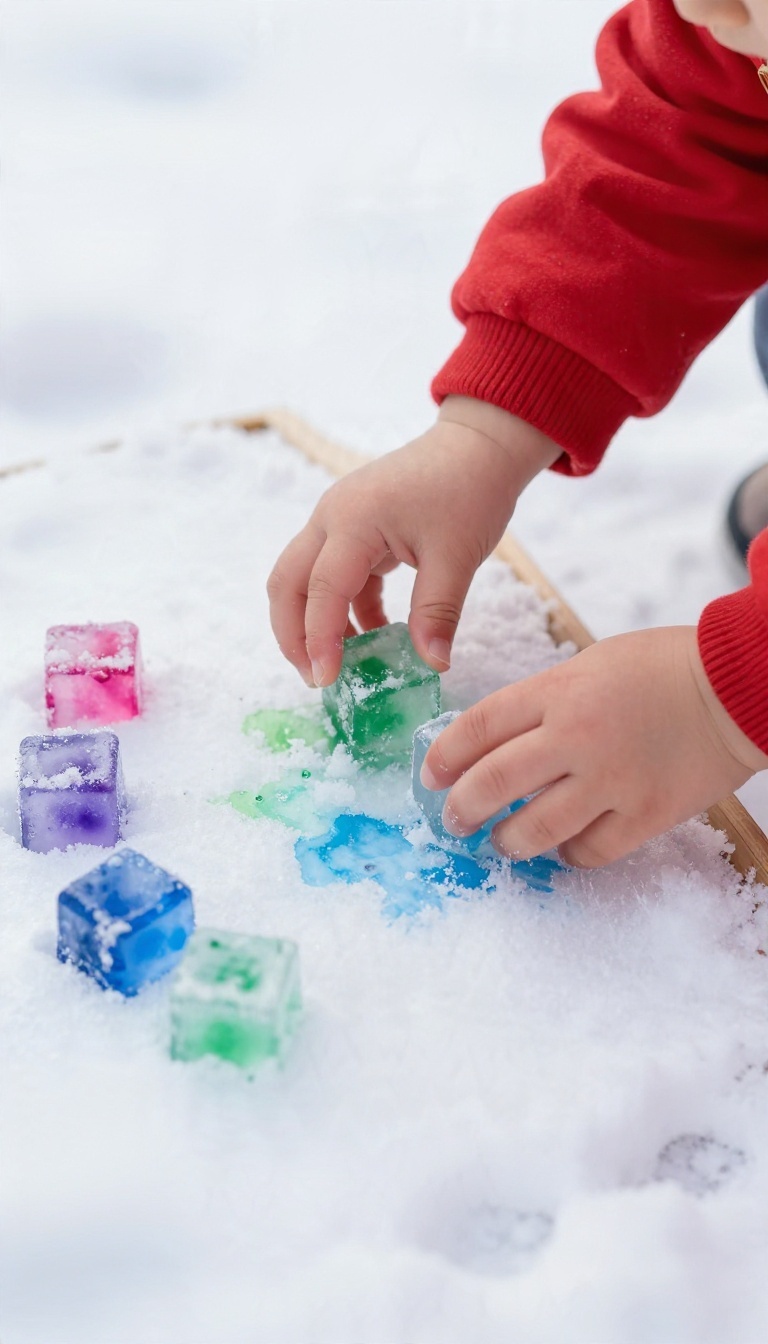
Ice cube painting takes a classic summer activity and gives it a winter twist. You freeze colored water into cubes, then let toddlers push them around on a snowy surface or a sheet of paper. As the ice melts, it leaves streaks of color that blend together in surprising ways.
It's part science, part art, and completely engaging for little ones.
The setup is simple: fill an ice cube tray with water and a few drops of food coloring, then freeze overnight. On a snowy day, pop the cubes out and let your toddler experiment. The cold cubes slide easily over snow, and the melting process creates instant watercolor effects.
What You'll Need
An ice cube tray, water, food coloring (or liquid watercolor), and a snowy surface or thick paper. Optional: craft sticks for handles, and a plastic tray to contain the mess.
How To Set It Up
Mix a few drops of food coloring into each ice cube slot, then add water and freeze. Once frozen, pop the cubes out and place them in a bowl or on a tray. Take them outside to a snowbank or bring a bin of snow indoors.
Let your toddler grab the cubes and move them around.
Ways To Play
Encourage your child to slide the cubes across the snow, make patterns, or drop them from a height to see splashes of color. On paper, they can use the melting cubes like paintbrushes. Talk about how the ice feels cold and slippery, and watch how the colors mix as the cubes shrink.
8. Snowflake Stamping with Household Items
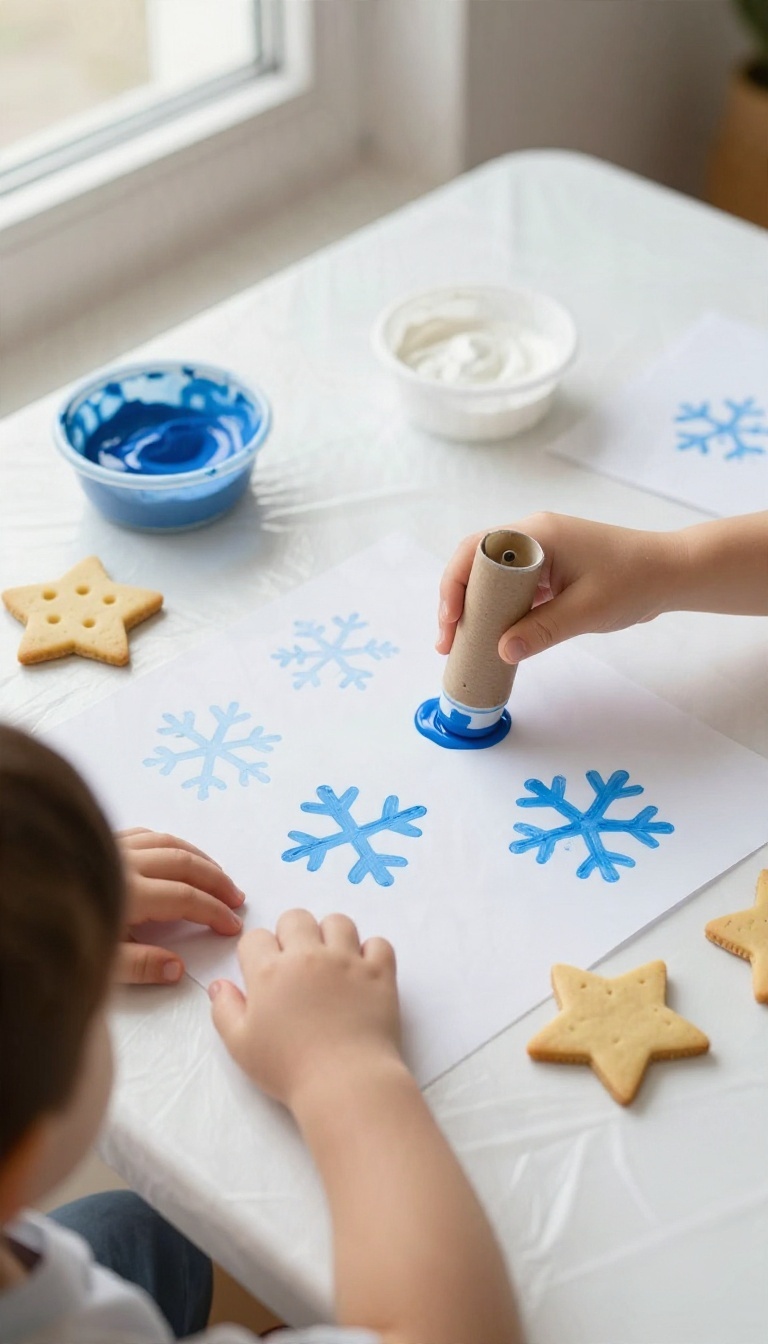
Before you toss that empty paper towel tube, look at it again. The cardboard ring at the end makes a perfect little stamp, and toddlers love pressing it into paint and slapping it onto paper. Snowflake stamping takes a few minutes to set up and gives you a whole stack of winter art to hang on the fridge.
You probably already own everything you need. The shapes come out imperfect and lopsided, which is exactly what makes them charming.
The basic setup is simple: washable paint in shallow dishes, a few stampers, and paper. Blue and white paint feel snowy, but let them mix in purple or silver if they want. A plastic tablecloth or a sheet of newspaper underneath saves you a scrubbing session later.
Show your toddler how to dip the stamper and press, then hand it over. They will figure out their own rhythm fast, and most of them want to make ten pages, not one.
Make Your Stampers
Cardboard tubes are the easiest starter. Pinch one end into a teardrop shape, dip the pinched edge in paint, and press it down in a circle to build a snowflake. A few of those around a center and you have a real snowflake look.
Potato halves work well too. Cut a simple notch pattern into the flat side with a butter knife, then let your toddler stamp away. Cookie cutters are the simplest of all, especially the star and snowflake shapes.
Just dip the edge in paint and press.
Tips For Less Mess
Keep paint shallow. A thin layer in a plastic lid or small dish stops toddlers from dunking the whole stamper and flooding the paper. Have a damp cloth nearby for quick hand wipes.
Tape the paper down at the corners so it does not slide around while they press. If your child likes to go big, roll out a long sheet of butcher paper on the floor and let them stamp a whole snowy scene.
Ways To Use The Finished Art
Once the pages dry, cut them into gift tags, cards, or a paper garland for the window. Toddlers love seeing their work turn into something real around the house. You can also layer the stamped pages onto folded cardstock for thank-you notes.
Grandparents tend to keep these, so make a few extra while the paint is already out.
9. Glitter-Free Sparkle Snow Jars
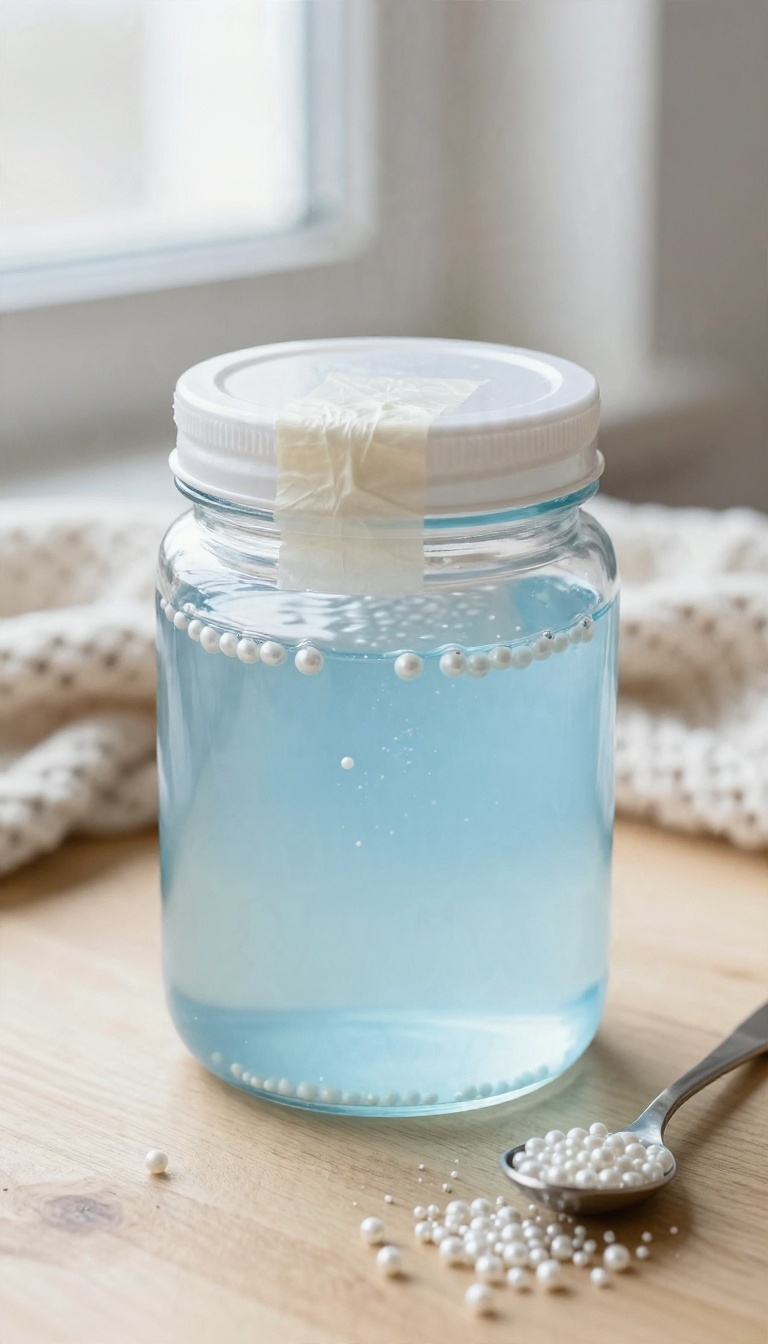
Glitter has a way of showing up for weeks after a craft is done, usually in places you never expected. These snow jars skip it entirely and still deliver that swirling, sparkly look toddlers love to watch. The trick is a mix of water, oil, and small white beads that drift and tumble like a gentle snowfall.
Shake it up, set it down, and the slow settle becomes its own little show.
This one pulls double duty. It's a craft kids help assemble and a calm-down tool they can reach for later when big feelings show up. Toddlers can pour, scoop, and drop beads with a little help, and the finished jar gives them something soothing to tip and watch.
You don't need special supplies, and the whole thing comes together in about fifteen minutes, not counting the time they spend staring at it afterward.
What Goes In The Jar
Start with a clean, sturdy plastic jar with a tight lid. A wide-mouth jar works best so little hands can drop beads in without frustration. Fill it about two-thirds with water and add a few drops of blue or silver food coloring if you want a wintry tint.
Pour in a thin layer of clear baby oil or vegetable oil on top, then add a spoonful of small white pony beads or plastic pearl beads. Seal the lid and wrap it with a strip of duct tape or run a bead of hot glue around the rim, done by you, not the toddler. That step keeps everything inside during enthusiastic shaking.
Let Them Do The Fun Parts
Toddlers don't need to handle the glue or the full jar. Hand them the bead cup and let them drop beads in one at a time, which is great for pincer grasp practice. Let them squeeze in the food coloring and stir with a long spoon before you add the oil.
Expect some spills and keep a towel nearby. Once the lid is sealed, hand the jar over and let them shake it hard. The beads and oil will swirl into a mini blizzard that slowly clears.
Ways To Use It Afterward
Keep the jar on a low shelf where your toddler can grab it during quiet time or a meltdown. Watching the beads settle gives them something to focus on while they breathe. You can also turn it into a simple seek-and-find by adding a few larger colored beads to spot as the snow clears.
Swap the beads for small winter-themed trinkets if you want to change it up. One jar per child avoids tug-of-war, and a batch of two or three makes a nice gift for cousins or playgroup friends.
10. Torn Paper Snowstorm Art
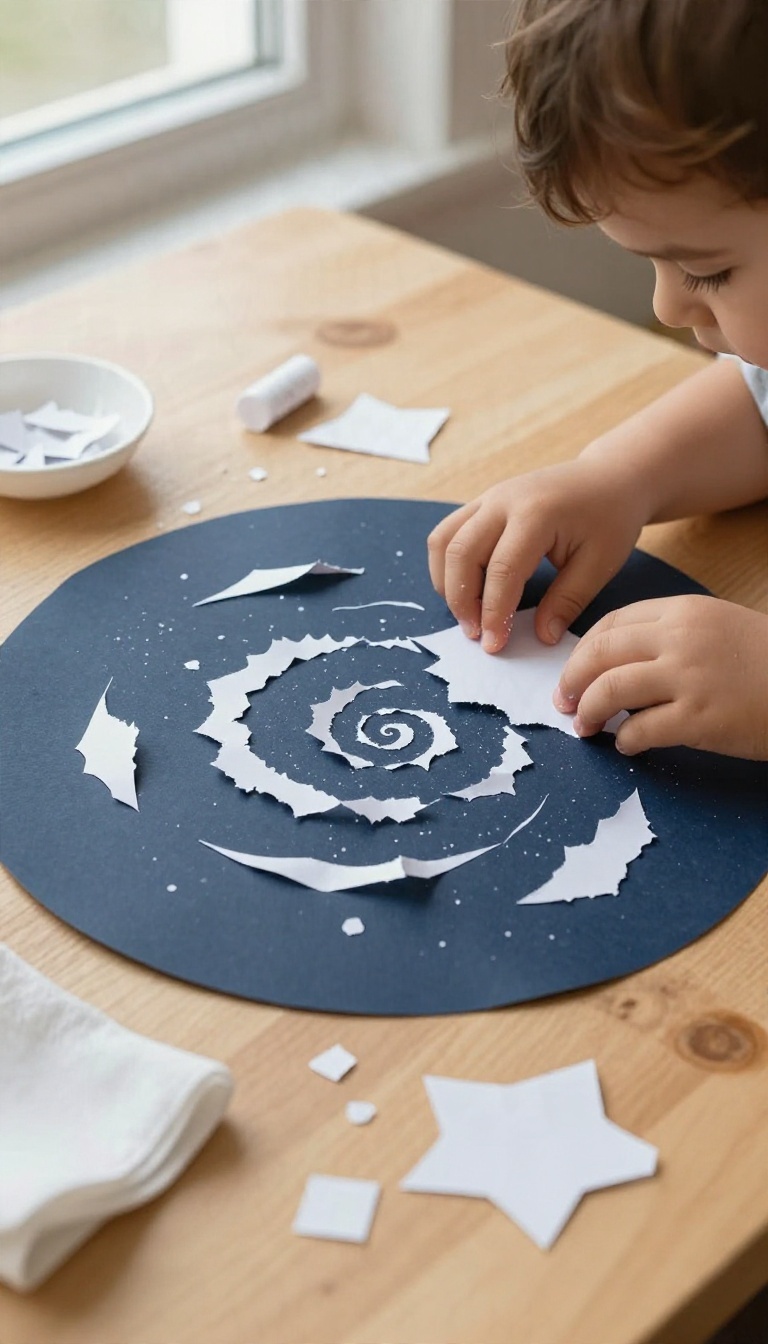
Give a toddler a piece of paper and permission to rip it, and you've basically handed them a party. Torn paper snowstorm art channels that urge into something that looks genuinely pretty on the fridge. The setup takes two minutes, and the tearing itself keeps little fingers busy far longer than you'd expect.
The concept is simple: white paper gets torn into bits, then glued onto dark paper to look like snow whipping through a night sky. It's part craft, part sensory play, and part fine motor workout all at once. Toddlers get the satisfaction of destroying something, then the pride of building it back into a scene.
You don't need special supplies, and the whole thing scales from a quick ten-minute activity to a longer project depending on the day.
What You'll Need
Grab a sheet or two of dark blue, black, or purple construction paper for the background. Then pull out white paper, the plainer the better, since copy paper and leftover scraps both work fine. For sticking, a glue stick is the easiest option for toddler hands.
White school glue squeezed into a small dish with a cotton swab works too if your kid likes the dabbing part. Keep a damp cloth nearby for sticky fingers.
How The Tearing Works
Show your toddler how to pinch a corner and pull slowly to make a strip, then tear that strip into smaller pieces. Don't worry about perfect shapes. Ragged edges actually make the snow look more like it's blowing around.
Some kids will want to tear tiny confetti-sized bits, and others will rip big chunks. Both are fine. Let them fill a small bowl or paper plate with their pile before the gluing starts, so they have a stash to work from.
Building The Blizzard Scene
Have your toddler swipe glue across the dark paper in streaks and swirls rather than covering the whole thing. Then they press the torn white pieces down along the glue lines. The result looks like wind-driven snow instead of an even sprinkle.
For extra depth, suggest bigger pieces near the bottom and smaller bits up top. If they'd rather scatter everything randomly, that's a perfectly good snowstorm too. Add a few dots of glue and tiny scraps for flurries in the corners.
Ways To Switch It Up
Toss in a little silver or light blue paper alongside the white for a frostier look. A cotton ball or two pressed into the bottom corner can stand in for a snowbank. If your child is into it, they can draw a small house or tree on the dark paper first and let the snow fall around it.
Older toddlers might enjoy adding a few star stickers to the sky once the glue dries.
11. Snowman Finger Puppets
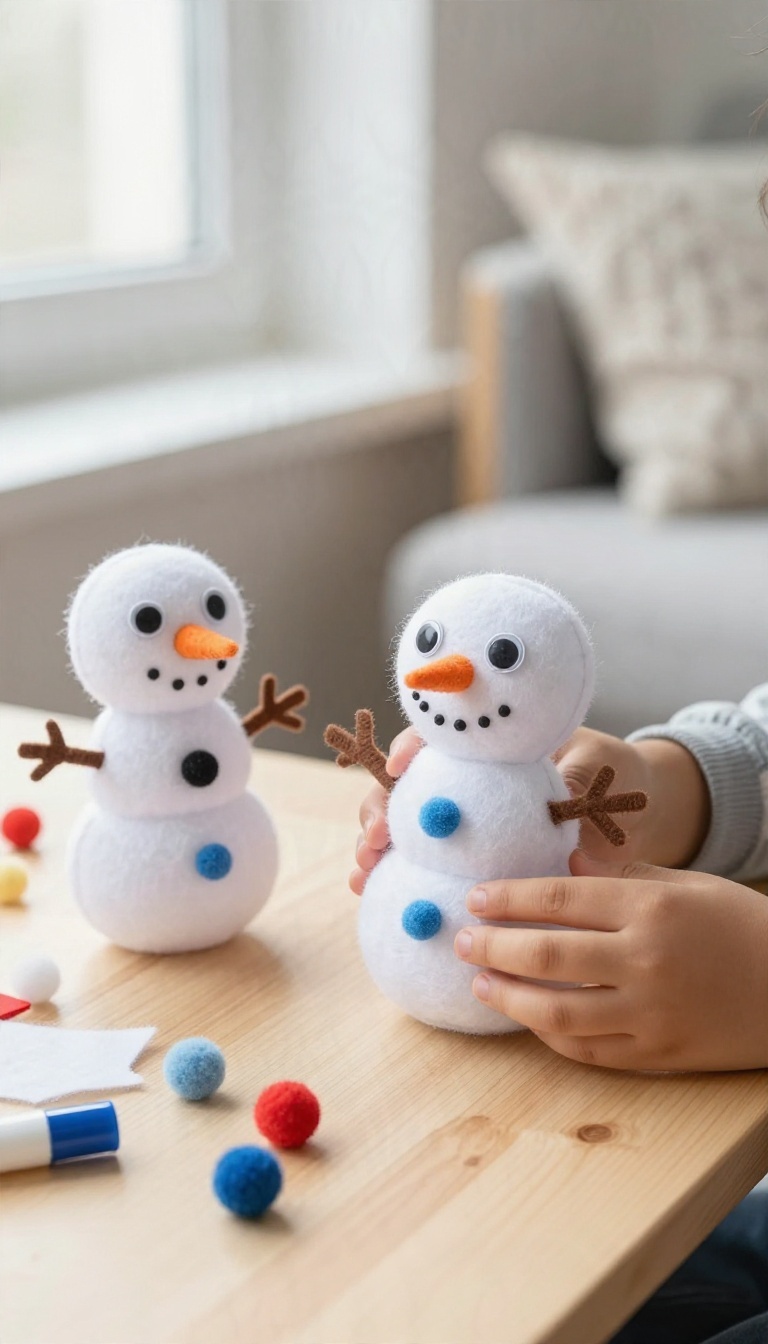
Finger puppets turn storytime into a show, and these little snowmen are easy enough for toddlers to help make. A few snips and some glue, and you've got a whole cast of characters ready for pretend play. The best part?
The crafting and the playing happen in one sitting, which is exactly what you want on a cozy winter day.
Start with a sheet of white felt or stiff paper. Felt holds up better if you plan to keep the puppets around, but paper works fine for a one-afternoon activity. Cut out simple snowman shapes—three circles stacked, or just a rounded blob with a hat.
Toddlers can help by peeling stickers or pressing on small pieces, even if their cutting skills are still a work in progress.
What You'll Need
White felt or cardstock, a marker, scissors, glue, and small decorations like googly eyes, pom-poms, or buttons. You'll also want a hot glue gun for the finger loops, but keep that part for grown-ups. If you don't have felt, paper lunch bags cut down to size make sturdy puppet bodies too.
Putting Them Together
Cut two snowman shapes for each puppet. Glue the edges together, leaving the bottom open for a finger. Or skip the sewing and tape a small loop of paper to the back.
Let your toddler decorate the front with markers, stickers, or glue and pom-poms. Set them aside to dry while you read a snowman book.
Playtime Ideas
Once dry, slip the puppets on and put on a show. Sing 'Frosty the Snowman' or make up a story about a snowman who loves hot cocoa. Toddlers can practice saying hello and goodbye with their puppet, which sneaks in some language practice.
Keep a few puppets in a basket for quiet time later.
FAQ
What age are these snow crafts best for?
Most work well for toddlers around 18 months to three years, with a grown-up handling scissors, hot glue, or anything small enough to be a choking risk.
Do I need real snow for these crafts?
No. Almost every idea here uses paper, cotton balls, dough, or homemade fake snow, so you can make them whether or not it snowed outside.
How do I keep the mess manageable?
Cover the table with a shower curtain or newspaper, keep wipes nearby, and set out only the supplies for one craft at a time.
Are these crafts safe if my toddler still puts things in their mouth?
Stick to taste-safe options like the fake snow, snow dough, and marshmallow snowman, and skip anything with small beads or glitter.
How long will each craft keep a toddler busy?
Plan for ten to twenty minutes of focused play, though sensory bins and dough tend to hold attention longer than quick paper crafts.
Conclusion
Snowy days inside go faster when little hands have something to squish, sprinkle, or stack. Pick one or two crafts that match what you already have in the cupboard, and don't worry about making them look perfect. Toddlers care about the doing, not the finished product.
Keep a towel nearby, embrace the mess, and let them lead. A torn paper snowflake or a lumpy snowman still counts as a win. When the crafts are done, warm up with cocoa and call it a good day.