11 Home Gym Ideas for Small Bedroom Workout Corners
Your bedroom probably already pulls double duty as an office, reading nook, and laundry staging area. Adding a gym to that list sounds like a stretch, but it does not have to be. With the right setup, a corner can hold everything you need for a solid workout.
The trick is working with what you have instead of fighting it. You do not need a spare room or a thousand dollars in equipment. A little planning and a few smart picks will get you moving without tripping over dumbbells.
These eleven ideas focus on real spaces, real budgets, and real sweat. Pick the ones that fit your room and your routine, then start small.
1. Use a Vertical Wall Rack for Weights and Bands
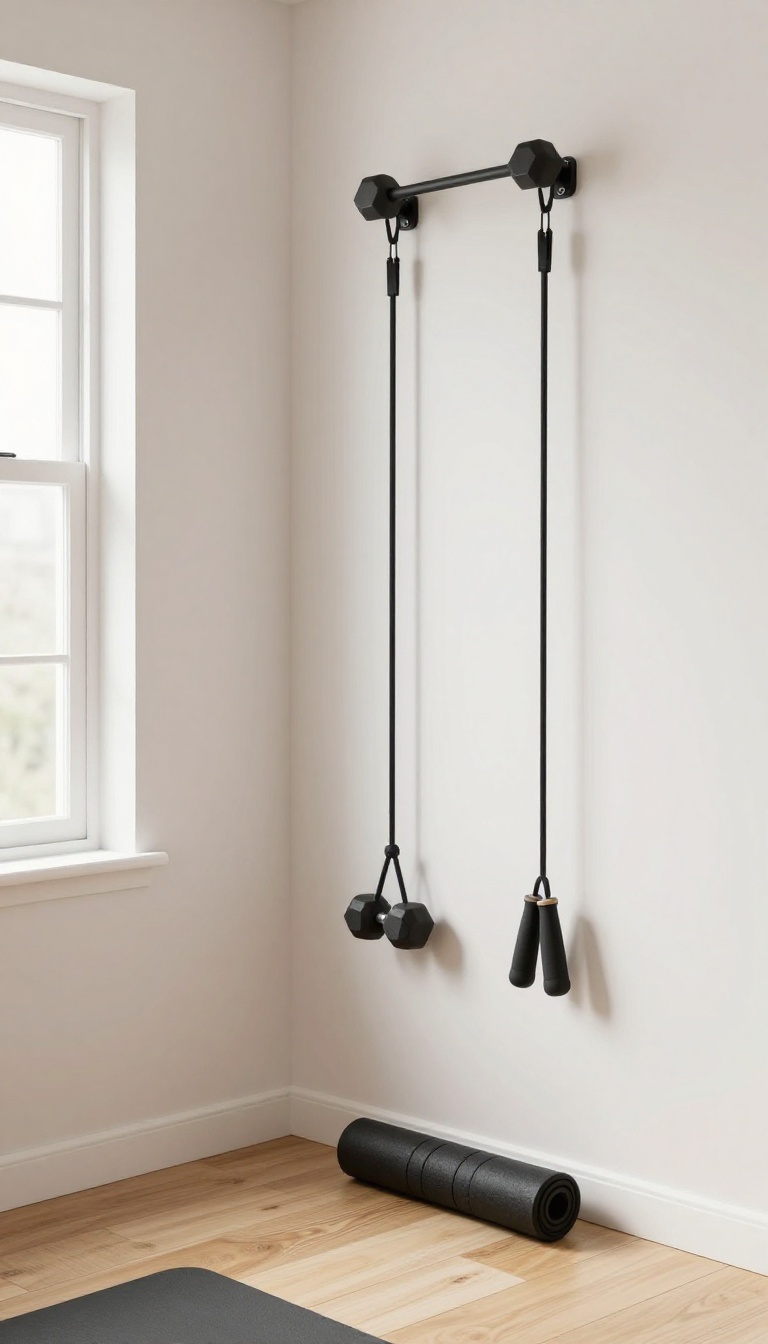
Floor space disappears fast in a bedroom, and loose dumbbells love to claim it. A vertical wall rack solves that by moving your gear up and out of the way. It turns a blank strip of wall into usable storage that keeps everything within reach.
Wall racks come in a few styles, from simple peg systems to slotted shelves built for hex dumbbells. The best pick for a bedroom corner is slim, usually under six inches deep, so it hugs the wall without jutting into your walking path. Mount it at chest height so grabbing a set of weights feels natural instead of awkward.
Once it is up, you stop digging through a bin every time you want to train. That small convenience matters more than it sounds. Gear you can see is gear you actually use.
Pick The Right Mounting Height
Chest height works for most people because you can lift weights off the rack without bending or reaching overhead. If your ceiling is low or the corner is tight, go slightly lower. Test the spot with a piece of tape before you drill anything.
What Belongs On The Rack
Dumbbells, resistance bands, and jump ropes are the obvious candidates. A small shelf or hook can also hold a foam roller or a folded mat. Keep the heaviest items on the lowest pegs so the rack stays stable and easy to load.
Anchoring It Safely
Find the studs before you mount anything, especially if you store heavier weights. Drywall anchors work for bands and ropes, but not for a full set of dumbbells. A stud-mounted rack holds up over years of daily use without sagging.
2. Pick a Foldable Mat That Lives Under the Bed
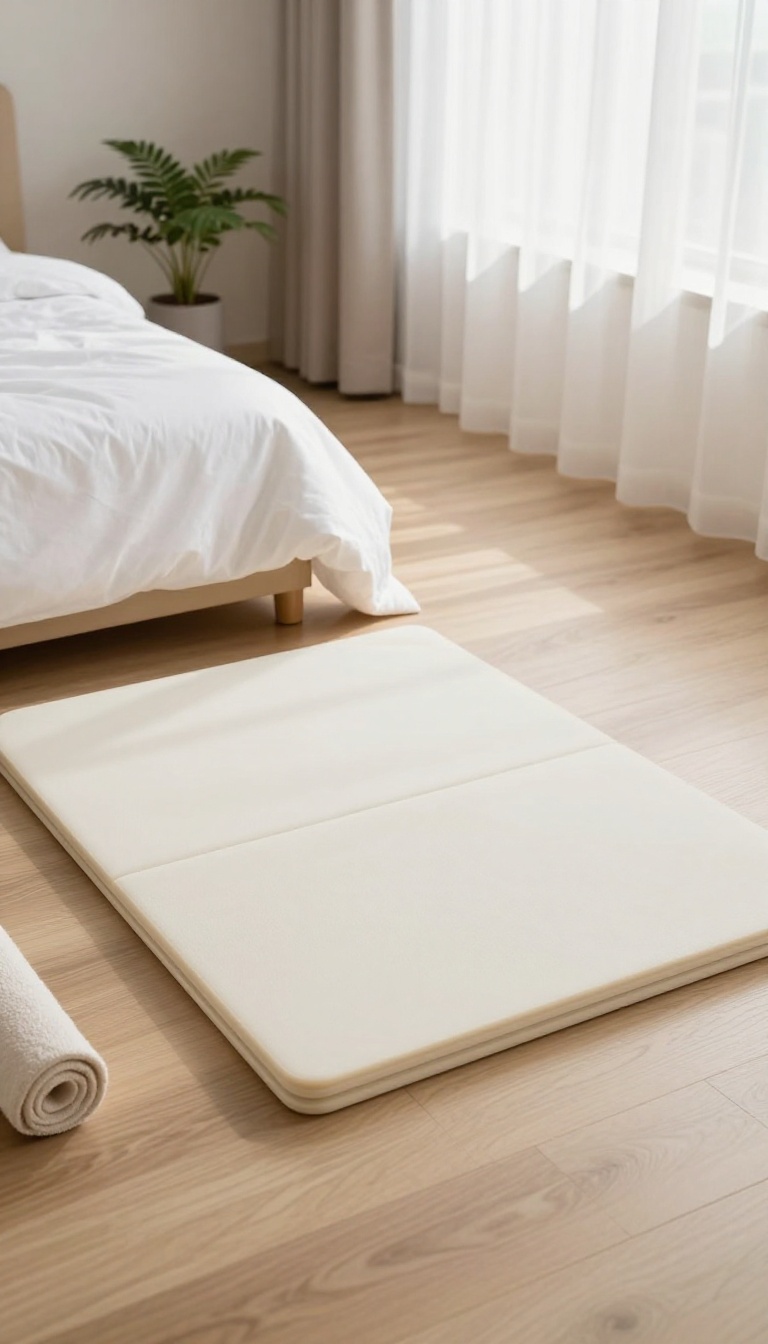
A good mat is the foundation of any floor workout, but a standard one takes up permanent real estate. A foldable mat solves that by giving you cushion when you need it and disappearing when you don't. It folds into a compact square that slides under a bed or tucks behind a door, so your floor stays clear the rest of the day.
When you're working out in a small bedroom, every inch counts. A mat that stays out all the time makes the room feel cramped and cluttered. But a mat that folds up and hides away keeps your space feeling like a bedroom first, gym second.
That mental shift matters—you'll be more likely to actually use it when it's not a hassle to set up or put away.
Why Thickness Matters For Floor Work
Thin yoga mats are fine for standing poses, but they won't protect your knees, hips, or elbows during planks, crunches, or stretching. Look for a mat that's at least half an inch thick. That extra cushion makes a big difference on hard floors, and it's worth the slightly higher price.
Folding Vs. Rolling: What To Know
Rolled mats are common, but they can be awkward to store and often don't lie flat right away. A folding mat creases into neat panels that stack or slide easily. Just check that the folds don't create bumps you can feel—quality folding mats use dense foam that stays smooth.
Storage Spots That Actually Work
Under the bed is the obvious choice, but measure the clearance first. You want a mat that slides in without forcing. Other options: behind a door, in a closet corner, or under a dresser if there's a gap.
The key is making it easy to grab and put back in seconds.
3. Turn a Closet into a Mini Gym Nook
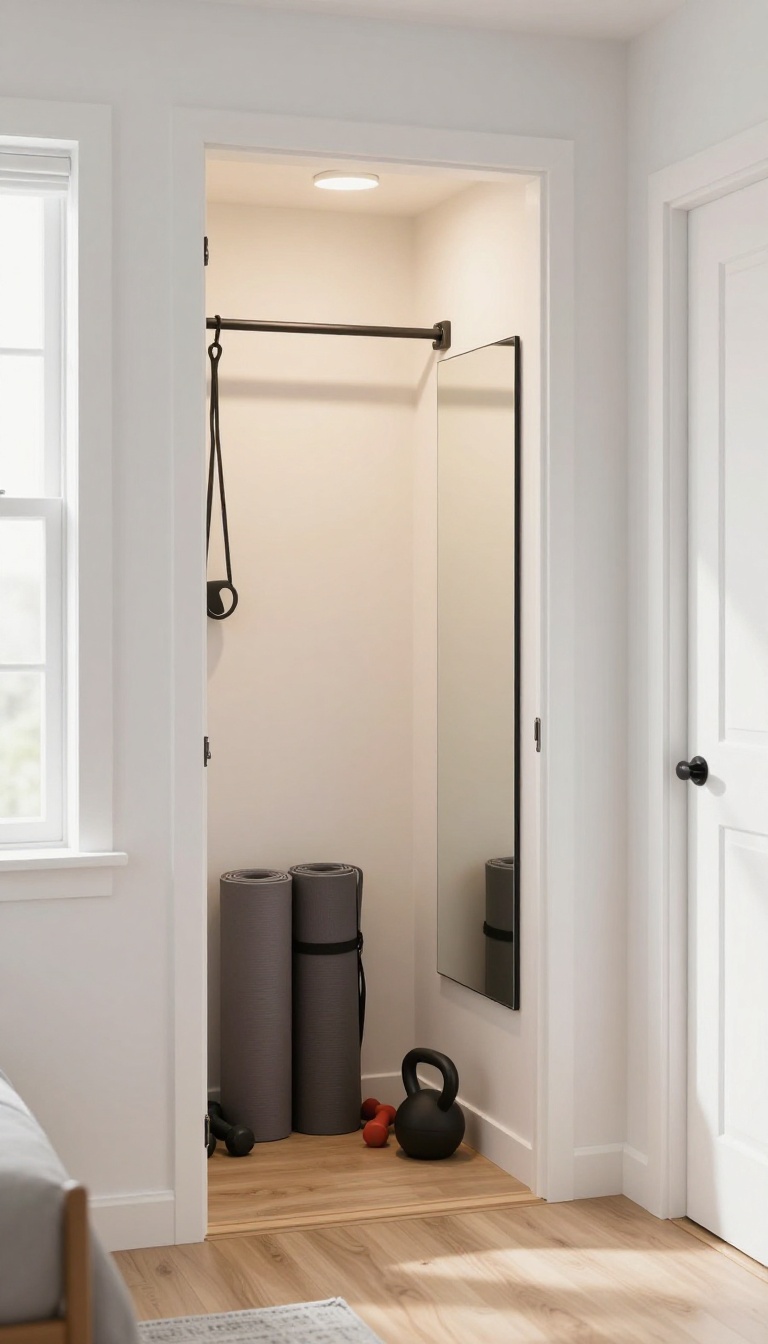
Most bedrooms have a closet that's either packed with stuff you never touch or half-empty and begging for a better purpose. That awkward space can become a legit workout spot with just a little clearing out. You get a dedicated zone that vanishes the second you close the door.
The trick is to think vertically and keep only what you truly need. Clear one shelf and the floor beneath it, then build from there. It's a small footprint with big payoff.
A closet gym works because it's out of sight and out of the way. You won't trip over a kettlebell on your way to bed, and you won't stare at a pile of gear when you're trying to relax. Everything stays contained, which makes it easier to actually use it.
Start by emptying the space completely. You'll probably find a few things you forgot were even in there. Be ruthless about what goes back in.
If it doesn't serve your workout, it doesn't belong in this closet anymore. Once it's clear, measure the width and depth. Most closets are around two feet deep, which is plenty for a mat and a few pieces of equipment.
You just need to plan the layout so nothing blocks the door from closing. Lighting is the one thing people overlook. A dark closet feels like a punishment, not a gym.
A simple stick-on LED light or a clip-on lamp can make the whole space feel intentional and inviting.
Set Up The Essentials
Hang a small mirror on the back wall or the inside of the door. It helps with form and makes the space feel twice as big. A full-length mirror from a discount store works fine.
Install a resistance band anchor on a stud or use a door anchor attachment. That gives you a place for rows, presses, and pull-aparts without drilling into your bedroom walls. Keep a few kettlebells or a pair of adjustable dumbbells on the floor.
A yoga mat rolled up in the corner finishes the setup. That's a complete gym in about four square feet.
Make It Disappear
The beauty of a closet gym is that it's hidden. When you're done, roll up the mat, stack the weights, and close the door. Your bedroom goes back to being a bedroom.
If the closet has shelves, use them for small items like bands, a jump rope, or a foam roller. Baskets or bins keep everything tidy and easy to grab. Don't overstuff it.
The goal is a functional space, not a storage unit. If you can't close the door without a fight, you've got too much in there.
Keep It Fresh
Closets can get stuffy, especially after a sweaty session. Leave the door open for a while after you work out, or add a small fan if there's an outlet nearby. Wipe down equipment regularly and air out your mat.
A little maintenance keeps the space from getting gross. If you have the budget, a tiny dehumidifier can help in humid climates. It's a small investment that keeps your gear in good shape.
4. Choose Adjustable Dumbbells Over a Full Set
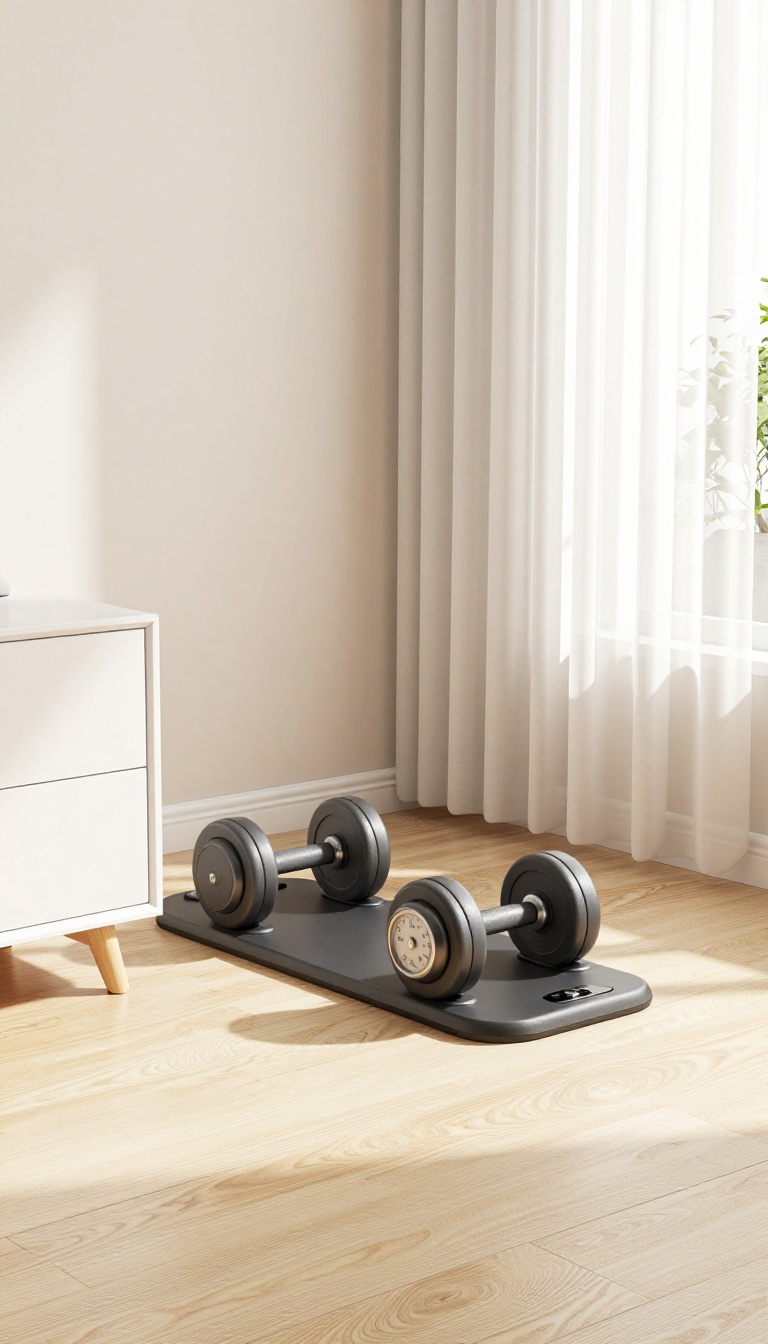
A full dumbbell rack looks impressive, but in a small bedroom it becomes a piece of furniture you have to walk around. Adjustable dumbbells solve that problem by giving you a whole range of weights in one compact package. You twist a dial or pull a pin, and the weight changes without swapping anything out.
One pair sits in a corner or slides under a nightstand, taking up about as much room as a shoebox. You get the same strength workout without dedicating half your floor to metal. The upfront cost is higher, but you buy once and skip years of scattered purchases.
If you have ever tripped over a stray five-pound weight, this trade-off starts making a lot of sense.
How Much Space You Actually Save
A traditional set of dumbbells from five to fifty pounds can easily take up a full corner or a small rack. That is a lot of square footage for something you use a few times a week. Adjustable pairs collapse all those weights into two handles and a base.
Most models measure around 16 by 8 inches per dumbbell when docked. You can tuck them beside a dresser, under a bed, or on a closet shelf. The floor stays clear, and your room still looks like a bedroom.
The Real Cost Trade-off
Yes, a good adjustable pair costs more than one set of fixed dumbbells. But compare it to buying five or six separate pairs over time, and the math flips fast. You also stop wasting money on weights you rarely touch.
Look for models with a weight range that matches your goals, usually five to fifty pounds per hand. That covers everything from light arm work to heavy rows and presses. One purchase replaces an entire rack.
Picking A Pair That Lasts
Cheap adjustable dumbbells wobble, stick, or break after a few months. Spend a little more on a brand with metal plates and a smooth adjustment mechanism. Read reviews about how they feel during fast movements like cleans or presses.
Also check the handle thickness and grip. A comfortable handle makes a bigger difference than you think when you are doing high reps. If you can, try a pair in person before buying online.
Making Them Work In A Tiny Corner
Set your adjustable dumbbells on a small mat or a low stool so you are not bending to the floor every set. Keep a microfiber cloth nearby to wipe them down, since they collect dust in a bedroom. A cheap plastic tray or boot mat keeps the base from scratching wood floors.
When you finish, dock them and slide them back into their spot. That two-second habit keeps your workout zone from becoming a clutter zone.
5. Mount a Pull-Up Bar in a Doorway You Already Use
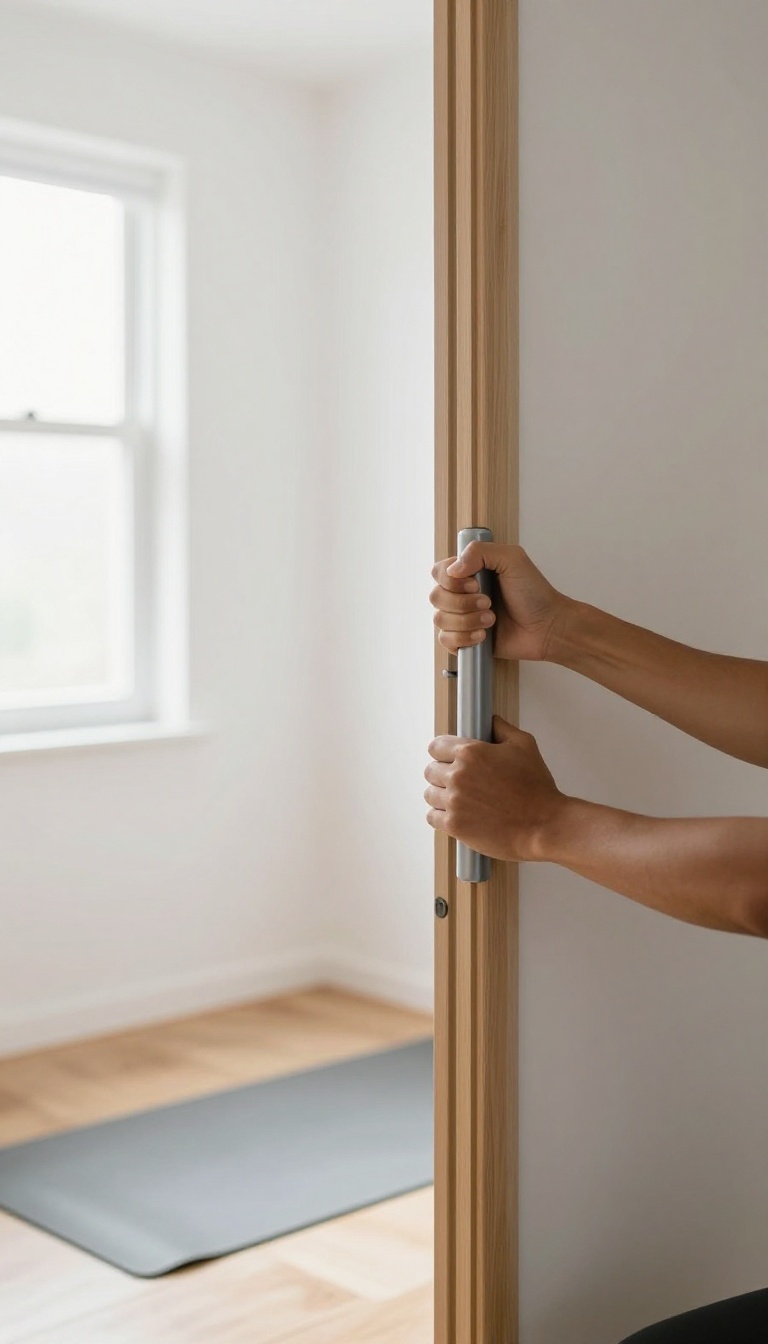
A doorway pull-up bar is the rare piece of gym equipment that gives you a serious workout without taking up any floor space. You mount it in a frame you already walk through every day, and suddenly your bedroom has a legit upper-body station. It installs in minutes, comes off just as fast, and handles way more than pull-ups.
Before you order one, though, you need to check your door frame. Not every doorway can handle the pressure, and a bad fit is a fast ticket to a wobble or a scuff.
The appeal here is simple: vertical space is free real estate. Your floor stays clear for yoga, stretching, or just walking to the bathroom at night. Most bars use a tension or cantilever design that grips the frame without drilling, so renters can use them too.
You get pull-ups, chin-ups, hanging knee raises, and a sturdy anchor for resistance bands. That covers your back, biceps, shoulders, and core in one compact tool. The catch is that the frame has to be solid and the trim has to be flat enough for the brackets to sit tight.
Check Your Door Frame First
Look at the top of the frame. You want a flat, solid surface with no decorative molding that curves or sticks out. Standard trim that sits flush against the wall is usually fine.
Next, test the frame itself. Grab the top and give it a gentle pull. If it flexes or creaks, skip the tension-style bar and look for one that mounts with screws into studs instead.
Measure the width between the frame edges too. Most bars fit openings between 24 and 36 inches, but a few models run narrower or wider. Finally, check the ceiling height above the door.
You need enough clearance to hang without your head hitting anything.
Pick The Right Bar For Your Space
Tension bars are the easiest to install and remove, which makes them great for renters. They press outward against the frame and hold surprisingly well when set up correctly. Cantilever bars hook over the top of the frame and use your body weight to lock them in place.
They tend to feel more stable for pull-ups but can leave marks on the trim over time. Screw-in bars are the most secure option, but they require drilling and are best for permanent setups. If you have a narrow doorway, look for a bar with adjustable ends.
If your frame is wide, check the maximum width before you buy.
Get More Than Pull-ups Out Of It
Once the bar is up, treat it like a mini gym station. Hang a set of resistance bands from the bar and you can do lat pulldowns, face pulls, and triceps pushdowns without a cable machine. Loop a towel or ab straps over the bar for hanging leg raises and knee tucks.
You can also use the bar for isometric holds, scapular pulls, and slow negatives if you are still building up to a full pull-up. Just keep your movements controlled. A doorway bar is stable, but it is not a playground.
No kipping, no swinging, and no dynamic jumps unless the manufacturer says it is rated for that.
Keep It Safe And Out Of The Way
Check the bar before every session. Tension bars can loosen over time, especially if you live in a humid place or the frame expands and contracts with the seasons. Give it a firm tug and retighten if needed.
If you share the bedroom with a partner or use the doorway constantly, consider a removable bar you can take down between workouts. That keeps the frame clear and avoids accidental head bumps. You can also mark the bracket positions with a little tape so you can reinstall it in the same spot every time.
A quick visual check takes five seconds and saves you from a surprise drop.
6. Create a Folding Bench That Doubles as a Nightstand
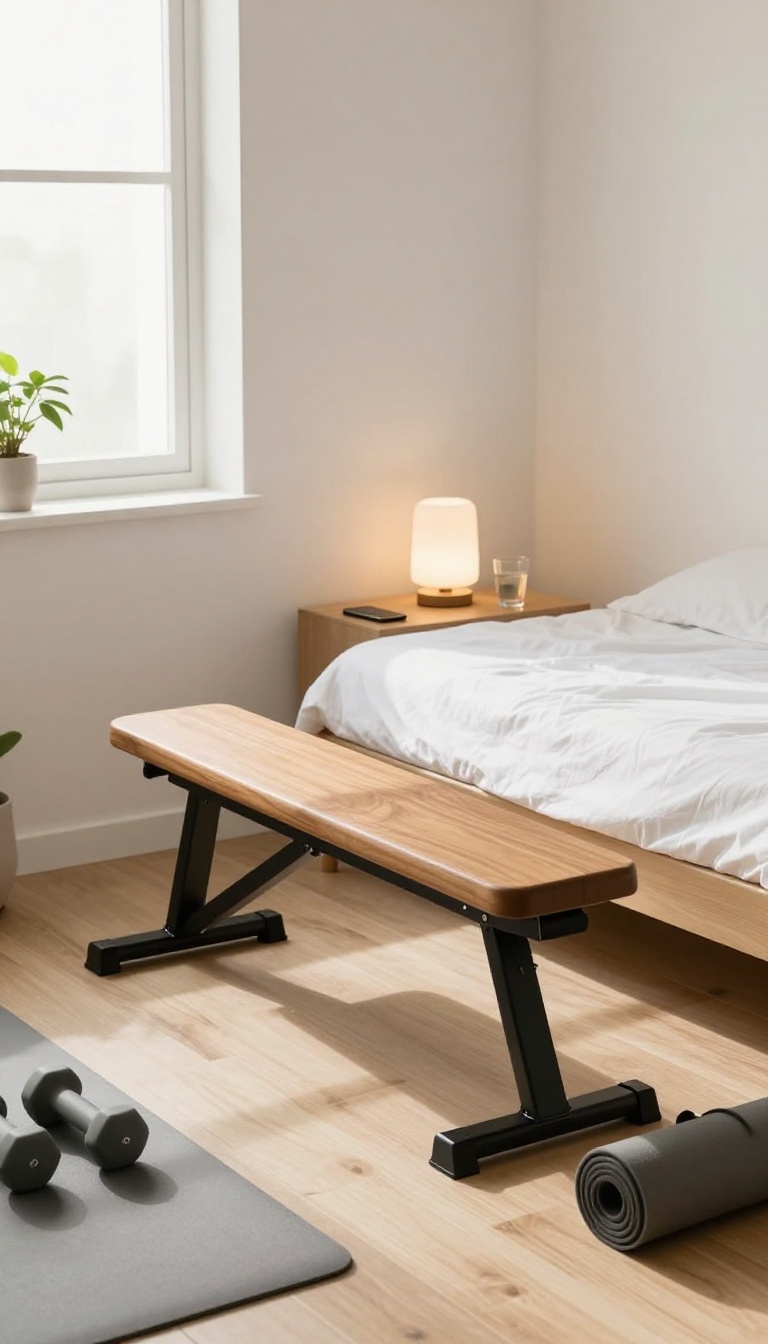
You need a bench for step-ups, dips, and seated presses, but you don't need another piece of furniture taking up permanent floor space. A folding bench or sturdy step stool solves that problem. It gives you a solid platform for workouts, then folds flat or tucks away when you're done.
The real win is when it stays out and works as a nightstand. One footprint, two jobs.
A folding bench is one of those rare pieces that earns its keep in a small bedroom. During a workout, it's your step-up platform, your dip station, and your seat for overhead presses. After you're done, it holds a lamp, your phone, a glass of water, or whatever else normally sits on a nightstand.
You don't have to move it, store it, or feel like your bedroom turned into a gym. It just blends in until you need it again. The key is picking the right bench.
It needs to be stable enough for dips and step-ups, but light enough to fold and move without a struggle. Height matters too. A bench that's too tall feels awkward as a nightstand, and one that's too short won't give you a good range of motion for dips.
Aim for something around 17 to 20 inches high, which is standard bench height and also works as a bedside surface. Once you have the bench, you can build a surprising amount of your routine around it. Step-ups, triceps dips, seated shoulder presses, incline push-ups, and even Bulgarian split squats all work with just a bench and a set of dumbbells.
It's not a full gym, but it covers a lot of ground for one compact object.
Choose A Bench That Folds Flat
Look for a folding bench with a simple hinge mechanism and a flat profile when collapsed. Some models fold in half, others fold into a slim rectangle. Either works, but check the folded dimensions before you buy.
If it folds down to a few inches thick, you can slide it under the bed or stand it in a closet when you need the floor space for something else. Weight capacity matters too. A bench rated for at least 300 pounds will handle dips and step-ups without wobbling.
Avoid flimsy adjustable benches with plastic parts. A solid steel frame and a padded top are worth the extra few pounds.
Make It Work As A Nightstand
A bench only doubles as a nightstand if it looks intentional. A plain black or gray bench can look like gym equipment, so dress it up a little. Add a small tray on top to corral your phone, glasses, and charger.
A compact lamp with a warm bulb softens the look and makes it feel like part of the room. If the bench has a flat top, you can also stack a couple of books or a small plant on one end. Just keep the surface clear enough that you can sweep everything off in one motion when it's time to work out.
The goal is a nightstand that converts to a bench in seconds, not a storage unit you have to excavate.
Workouts That Fit The Bench
Step-ups are the obvious starting point. Face the bench, step up with one foot, drive through your heel, and stand tall. Alternate legs for a set of 10 to 12 per side.
For triceps dips, sit on the edge, place your hands beside your hips, slide your butt off the bench, and lower until your elbows hit 90 degrees. Keep your back close to the bench. Seated presses work well too.
Sit on the bench with dumbbells at shoulder height, press overhead, and lower with control. You can also do incline push-ups with your hands on the bench, which is easier on your wrists than floor push-ups. Mix these into a circuit and you have a full-body session without moving anything but the lamp.
7. Use a Mirror to Check Form and Fake More Space
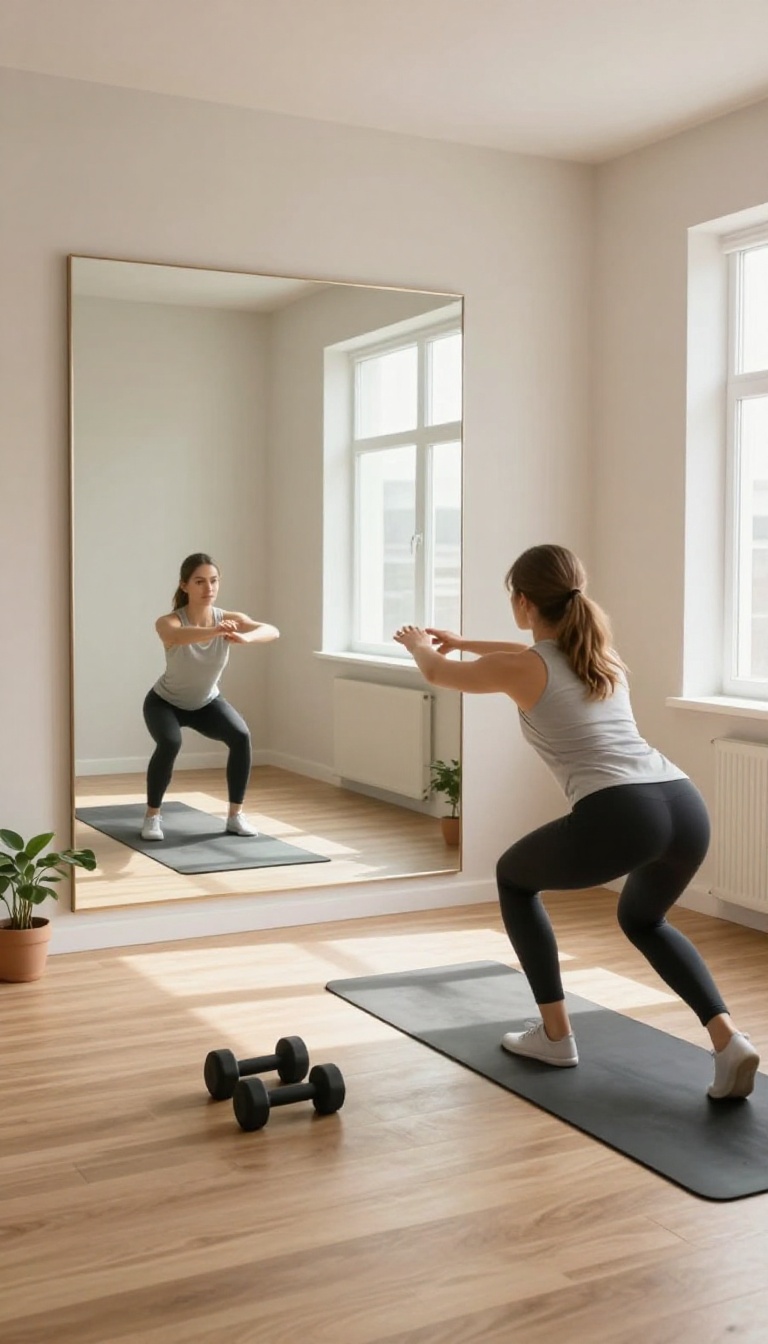
A mirror does two jobs in a small bedroom gym: it shows you what your body is actually doing, and it tricks your eye into seeing a bigger room. Both matter when you're lifting, stretching, or doing bodyweight work in a tight corner. The key is picking one that fits your wall or door without becoming a hazard.
You don't need a fancy gym mirror. A basic full-length mirror from a department store or online retailer will do the job. What matters is placement and safety.
You want to see your form during squats, lunges, presses, and rows without twisting your neck or stepping back into furniture.
Mount It Flush To Save Floor Space
Wall-mounted mirrors sit flat against the wall, so they take up zero floor space. Look for one with a simple bracket system or adhesive strips rated for the mirror's weight. If you rent, check your lease before drilling.
A flush mount keeps your workout zone clear and makes the room feel wider because the reflection adds depth.
Lean It Safely If You Can't Mount
A leaning mirror works if you secure it. Place it against a wall where it won't get bumped, and use a anti-tip strap or a rubber base to keep it from sliding. Avoid leaning it near your workout path.
You don't want to clip it during a set of lunges. If you have carpet, a leaning mirror can wobble, so test it before you trust it.
Check Form Without Breaking Focus
Position the mirror so you can see your full body from the side or front, depending on the exercise. For squats and deadlifts, a side view helps you spot rounded backs or shallow depth. For overhead presses, a front view shows if one arm is lagging.
Glance, adjust, and keep moving. Don't stare at your reflection like you're taking a selfie.
Make The Room Feel Bigger
Mirrors bounce light around, which makes a cramped corner feel less cave-like. If your bedroom gets decent natural light, place the mirror opposite a window. That doubles the brightness and opens up the space visually.
Even a small mirror can help, but a full-length one gives you the biggest payoff for both form and space.
8. Set Up a Resistance Band Station on a Door Anchor
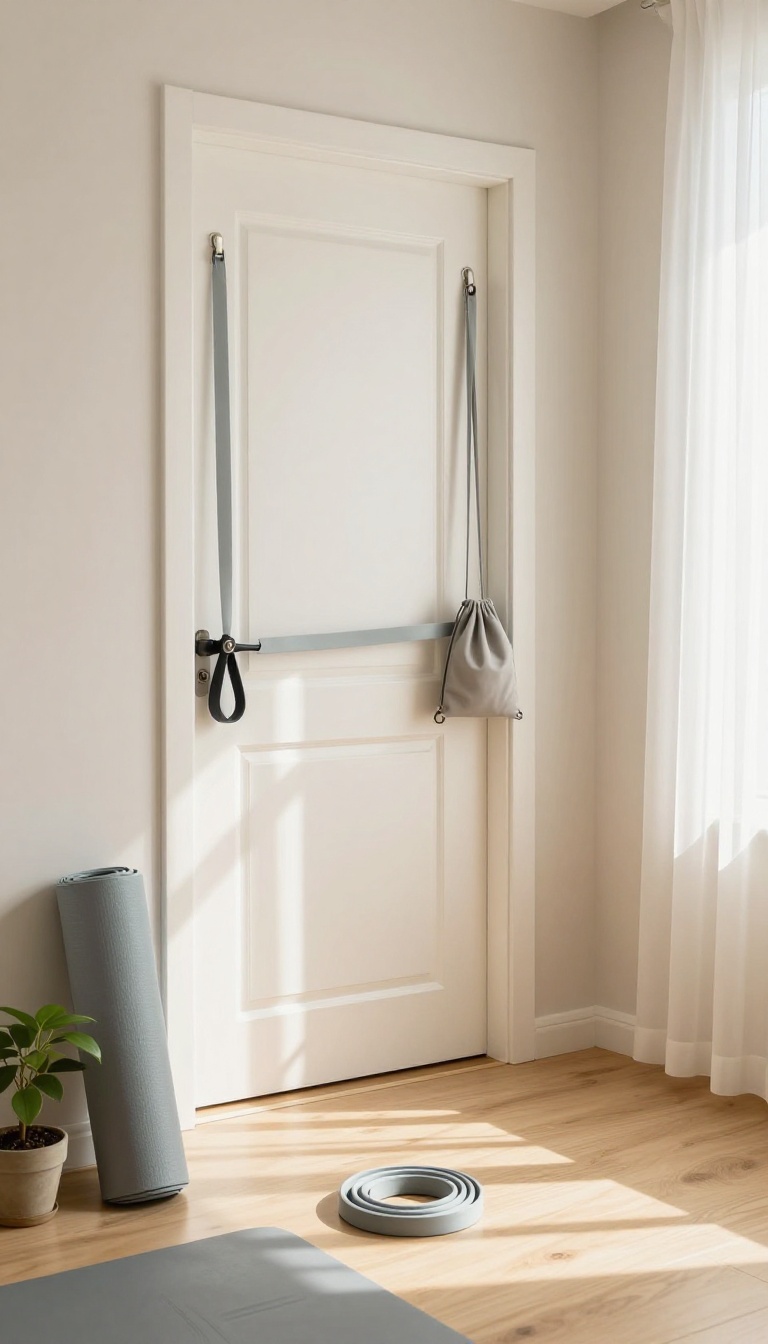
A door anchor costs less than a takeout dinner and turns any bedroom door into a full cable machine. Pair it with a set of loop bands and you unlock rows, presses, squats, and curls without a single bulky item on your floor. The whole station lives on the door, so your workout corner stays clear until you need it.
The setup takes about two minutes. You wedge the anchor into the hinge side of the door, close it tight, and clip on a band. When you finish, everything comes down and disappears into a small bag that hangs right on the anchor itself.
No rack, no bench, no pile of iron staring at you while you try to sleep.
Why Bands Beat Bulky Gear
Bands are light, cheap, and almost impossible to break. They scale from easy to brutal just by stepping further from the door or doubling up. You can train your back, chest, shoulders, legs, and arms with one anchor point.
And unlike dumbbells, they never roll under the bed at 6 a. m.
Picking The Right Anchor And Bands
Look for a door anchor with a wide, soft strap that won't dent the door frame. A basic set of loop bands in light, medium, and heavy covers most people for months. If you want more resistance later, add a single heavy band or a set of tube bands with handles.
Five Moves To Start With
Face away from the door for chest presses. Face the door for rows and face pulls. Step on the band for squats and overhead presses.
Add a split stance for lunges, and finish with band curls or triceps pushdowns. Five moves, one anchor, zero clutter.
Storing It Without A Trace
Hang a small drawstring bag on the anchor hook. Coil each band and drop it in. The anchor stays in the door, the bag hangs flat, and your bedroom looks like a bedroom again.
If you share the door, the whole thing comes down in seconds.
9. Add a Small Fan and a Bluetooth Speaker for Comfort
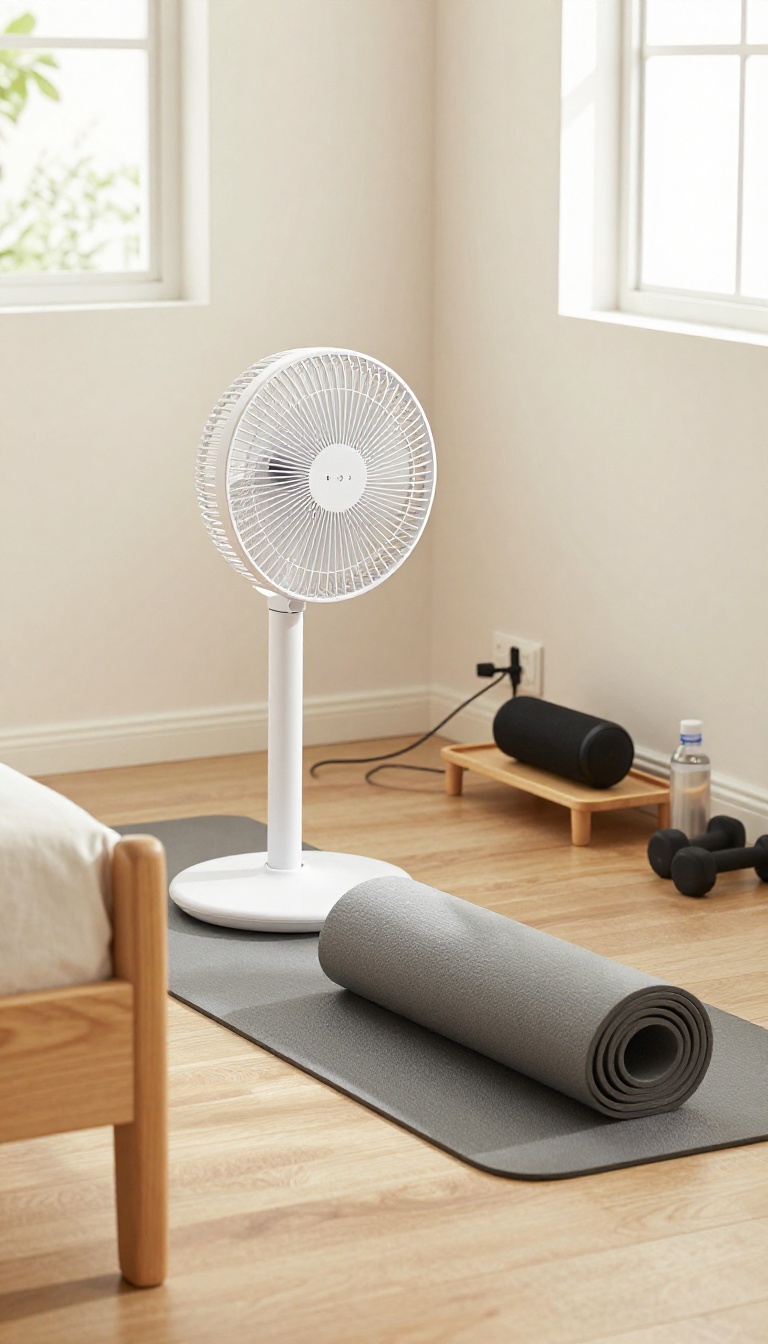
Small bedrooms get stuffy fast, especially once you start moving. A clip-on fan and a compact Bluetooth speaker fix two problems at once: overheating and boredom. Both take up almost no space and can live on a shelf, a nightstand, or the bed frame.
Comfort is what keeps you coming back. If every workout leaves you dripping and listening to nothing but your own breathing, you will find excuses to skip it. A fan and a speaker are cheap upgrades that make the whole thing feel less like a chore.
Pick A Fan That Clips Anywhere
A clip-on fan is the MVP here. It grabs onto a bed frame, a shelf edge, or the top of a bookcase and aims right at you. Look for one with a quiet motor and a few speed settings so you can keep it low during warm-ups and crank it when you sweat.
USB-powered models plug into a laptop brick or wall adapter, which keeps cords short and tidy.
Choose A Speaker That Fits Your Space
You do not need a party speaker. A palm-sized Bluetooth speaker with decent bass is plenty for a bedroom. Set it on a shelf or clip it near your fan so your music and airflow come from the same spot.
A full charge usually lasts a week of short workouts, and most models pair instantly with your phone.
Set Up A One-touch Comfort Station
Keep the fan and speaker together on a small tray or shelf so you can switch both on with one reach. Plug them into a single power strip with a switch, and you have a one-touch start to every session. That tiny bit of convenience removes friction, and less friction means more workouts actually happen.
10. Use a Rolling Cart to Move Your Gym Out of the Way
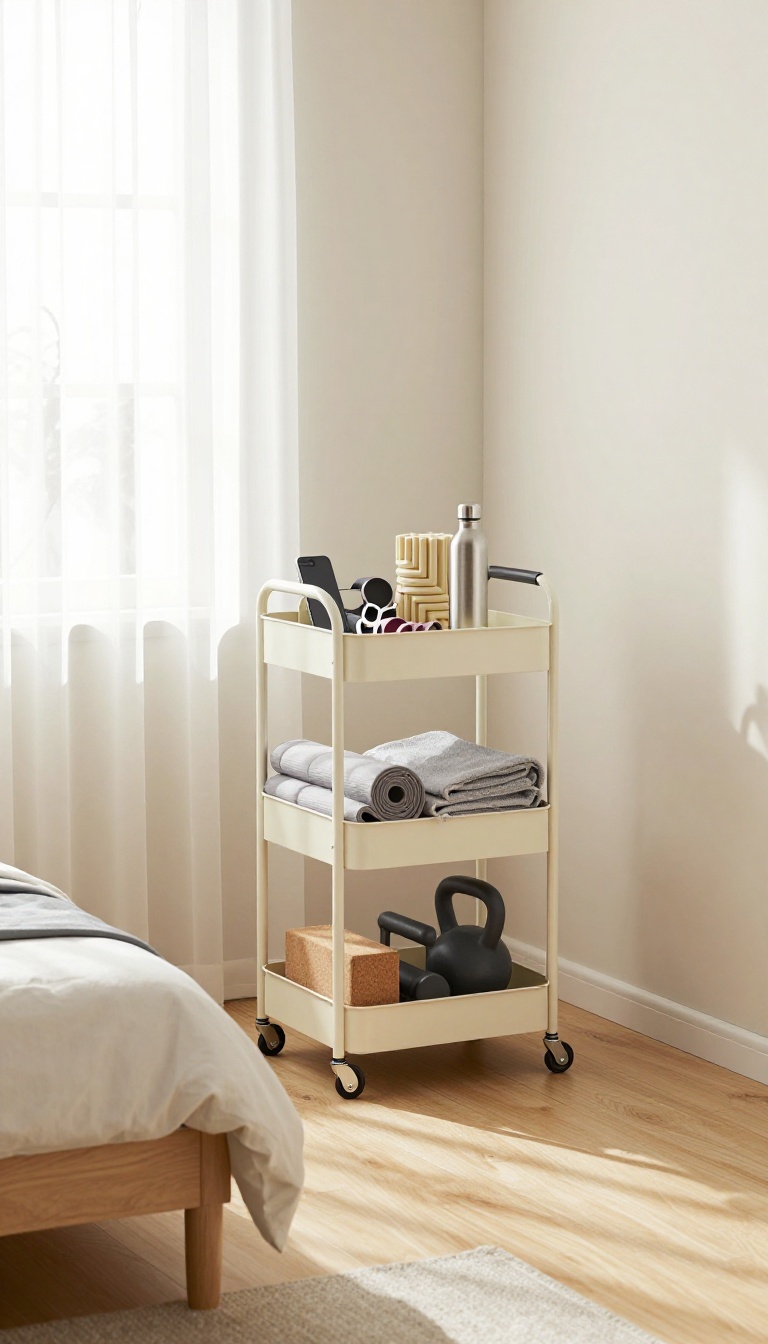
A rolling cart might be the most underrated piece of home gym gear. It keeps your workout stuff together, and when you're done, you just wheel it into a corner or closet. No more stepping over resistance bands or hunting for your jump rope.
The idea is simple: a three-tier cart becomes your portable gym locker. It holds your mat, bands, water bottle, towel, and whatever else you need. When floor space matters, the whole thing rolls away in seconds.
This works especially well in a bedroom because you can reclaim the room without dismantling a permanent setup. It's a small change that makes a big difference in how your space feels.
A rolling cart solves a problem that plagues almost every small bedroom gym: the stuff has to live somewhere. You can't leave a mat unrolled on the floor forever, and you don't want to stack weights in a pile that looks like a yard sale. A cart gives everything a home, and that home can move.
The key is picking the right cart and loading it smart. You don't need a heavy-duty utility cart from a warehouse store. A slim three-tier rolling cart—the kind meant for kitchens or bathrooms—works perfectly.
It's light, it fits in tight spots, and it usually has wheels that won't scratch your floor. Once you have the cart, think of it as a vertical locker. The top tier holds small items you reach for often: your phone, earbuds, a resistance band, maybe a foam roller.
The middle tier can hold a folded mat or a yoga block. The bottom tier is for heavier stuff like dumbbells or a kettlebell, which keeps the cart from tipping. A water bottle and towel can hang from a hook on the side or sit on top.
The real magic is the roll-away factor. When you're done, you wheel the cart into a closet, behind a door, or next to your dresser. The floor is clear.
Your bedroom looks like a bedroom again. And when you want to work out, you roll it back out and everything is right there. This setup also makes your workout more consistent because there's no setup friction.
You don't have to gather gear from three different drawers. You just roll the cart to the middle of the room and start. That tiny bit of convenience adds up over weeks and months.
If you share your bedroom with a partner, the cart is a peacekeeper. Your gym doesn't take over the room. It tucks away.
That alone can make the difference between a workout corner that sticks and one that gets packed up after a week.
What To Look For In A Cart
You want a cart that's narrow enough to fit through doorways and light enough to roll with one hand. Look for wheels that swivel, because you'll be making tight turns in a bedroom. Three tiers is the sweet spot—more than that and it gets tippy.
Metal or sturdy plastic both work, but check the weight limit if you plan to store dumbbells. A cart with a handle on top makes it easier to pull. Avoid anything wider than 16 inches if your space is really tight.
How To Load It Without Making A Mess
Heavy items go on the bottom to keep the cart stable. Put your kettlebell or a pair of dumbbells down there, and it won't tip when you roll it. The middle tier is great for a folded mat or a small plyo box.
Keep the top tier for things you grab mid-workout: bands, a jump rope, your phone. Use small bins or cups on the tiers to keep little items from sliding around. A hook on the side holds your towel or water bottle.
Don't overload it—if it's hard to roll, you've packed too much.
Where To Park It When You're Done
The whole point is that the cart disappears when you're not using it. A closet is ideal if you have the floor space. If not, roll it beside your bed or behind the door.
You can also tuck it under a desk if the cart is short enough. Just make sure the spot you choose doesn't block a walking path. And if you have to move it every time you want to get to something else, you'll start to resent it.
Pick a parking spot that's truly out of the way.
Why This Beats A Permanent Rack
A permanent weight rack or shelving unit takes up floor space all the time. A cart only takes up space when you're using it. That flexibility is huge in a bedroom.
You also get to change your workout area whenever you want—roll the cart to the window for better light, or move it to the other side of the room if you rearrange furniture. It's a small investment that keeps your room feeling like a room, not a gym.
11. Keep a Go-To Workout List Taped to the Wall
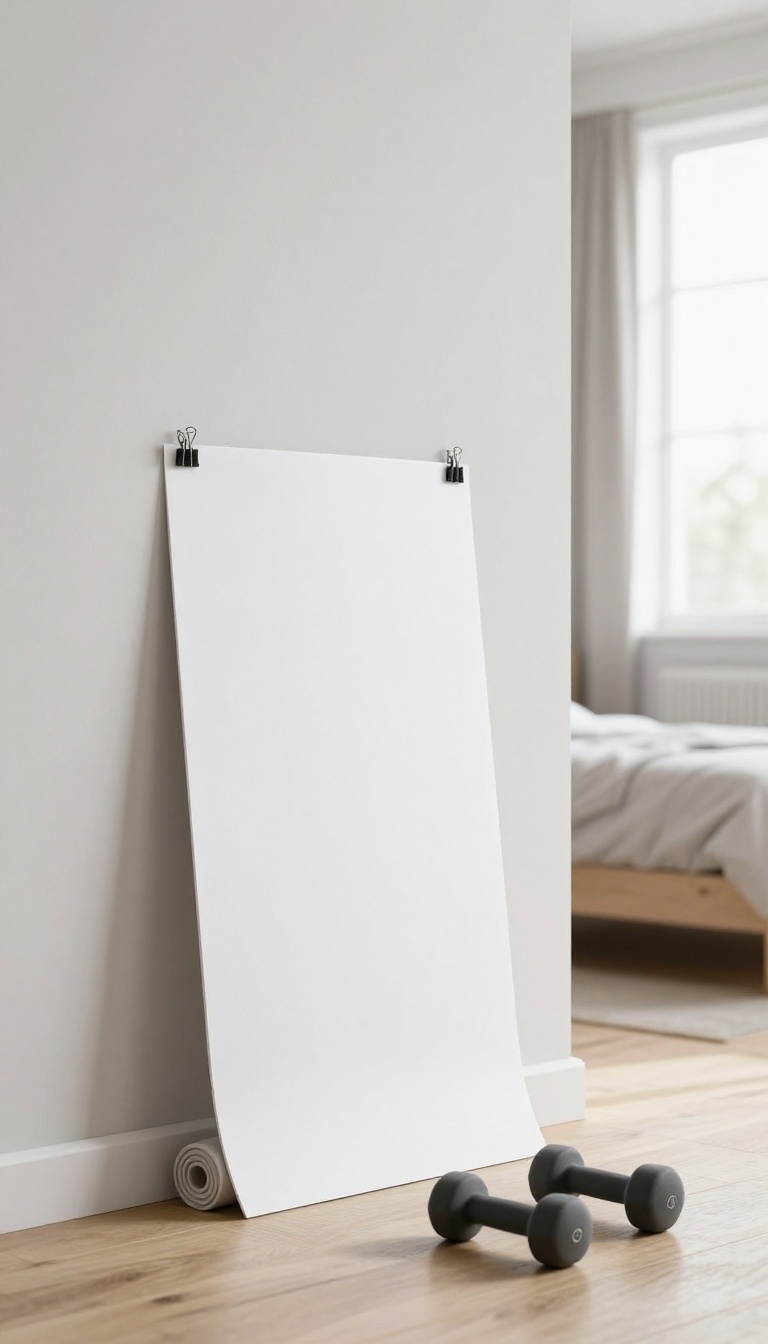
Motivation is the first thing to disappear when you train at home. You walk into your corner, pick up your phone to find a routine, and twenty minutes later you're watching videos about a guy restoring a 1970s chainsaw. A piece of paper taped to the wall kills that spiral before it starts.
Print a short circuit, stick it at eye level, and let the wall be the coach. You stop deciding and start moving, which is the whole point when your window is small.
The wall list works because it removes two of the biggest friction points in a home workout: choosing and remembering. You do not have to build a plan in your head while you're still waking up, and you do not have to hold the order of exercises in your memory between sets. The paper does both jobs for free.
It also survives bad moods. Scrolling feels productive, but it usually ends in comparison and second-guessing. A list on the wall just sits there and waits.
There is no algorithm, no ads, and no chance of falling into a feed. Keep the list short enough to finish. Ten to twelve exercises is plenty for a circuit you might repeat two or three times.
If the page looks like a novel, you will avoid it.
What To Put On The List
Stick to movements you can do with the gear already in your corner. A bodyweight circuit might be squats, push-ups, lunges, glute bridges, plank shoulder taps, and dead bugs. If you have dumbbells, add goblet squats, rows, presses, and Romanian deadlifts.
Write the reps next to each move so you never have to think. Something like 12 reps, 10 reps, or 30 seconds works fine. Keep the order logical: bigger movements first, core and smaller stuff last.
Add a rest note at the bottom, like 60 seconds between rounds. That one line stops you from turning a workout into a long sit on the floor.
Make It Easy To Read Mid-set
Use a big font and bold the exercise names. You should be able to read it from a few feet away while breathing hard. If you have to squint, you will skip it.
Print two copies if you like variety. Tape one circuit on the wall and keep a second one in a drawer for days when you want a different flavor. Swap them out every few weeks so your body does not fully adapt.
A cheap clipboard or a sheet protector also works if you want to move the list around. Tape is simpler, but a clipboard lets you take it to the floor for mat work.
Where To Tape It
Put it at eye level near the spot where you start your workout. That usually means beside the door, above your mat, or on the side of a shelf. Avoid the wall behind your equipment where you cannot see it while you set up.
If you rent and hate tape residue, use painter's tape or a removable hook. Command strips work well for a laminated page. Just make sure the page will not fall on your head mid-lunge.
Keep a pen nearby. When an exercise starts feeling too easy, you can jot a harder variation right on the sheet instead of starting over.
Refresh It Before It Gets Stale
A wall list is not a permanent contract. Change it every four to six weeks, or whenever you notice yourself skipping the same exercise. Small tweaks keep the routine interesting without turning it into a project.
You can also keep a short list of finishers on the back. A two-minute plank, a set of hollow holds, or a quick dumbbell burnout gives you something to do when you only have ten minutes. The goal is a list you actually use, not a perfect program.
If it gets you moving on a low-motivation day, it is doing its job.
FAQ
How do I stop my bedroom from smelling like a gym?
Ventilate after workouts, wipe down equipment, and store sweaty clothes in a sealed hamper. A small air purifier or a bowl of baking soda can help too.
What is the absolute minimum equipment I need?
A mat, one pair of adjustable dumbbells, and a resistance band will cover most strength and mobility workouts. Add a pull-up bar later if you have a door frame that works.
Will a pull-up bar damage my door frame?
Most doorway bars use leverage and padding, so they leave no marks if installed correctly. Check the weight limit and avoid hollow-core frames.
How can I work out quietly in a small bedroom?
Use a thick mat, avoid dropping weights, and choose controlled movements like slow squats, push-ups, and band work. A rug underneath the mat also muffles sound.
Where do I put my equipment when guests visit?
A rolling cart, an under-bed bin, or a dedicated closet shelf makes cleanup fast. Keep a small basket for loose items so nothing gets left on the floor.
Conclusion
You do not need a perfect room to start training at home. A corner, a mat, and a plan will get you further than waiting for a bigger space. Pick two or three ideas from this list and set them up this week.
Once your gear has a home, working out becomes the easy part. Keep it simple, keep it tidy, and let the room do double duty without feeling like a mess.