How to Clean a Jetted Tub in 13 Fresh Water Steps Fast
Jetted tubs feel luxurious, but hidden gunk in the pipes can turn that relaxation into a germy nightmare. Leftover soap scum, body oils, and mineral deposits build up fast, making the jets sputter grime instead of soothing bubbles.
A deep clean doesn't have to take all day—just a systematic 13-step process that's easy to follow. Grab some white vinegar and baking soda, and you'll have pristine jets and sparkling water in under an hour.
No harsh chemicals, no guesswork—just fresh, clean results every time.
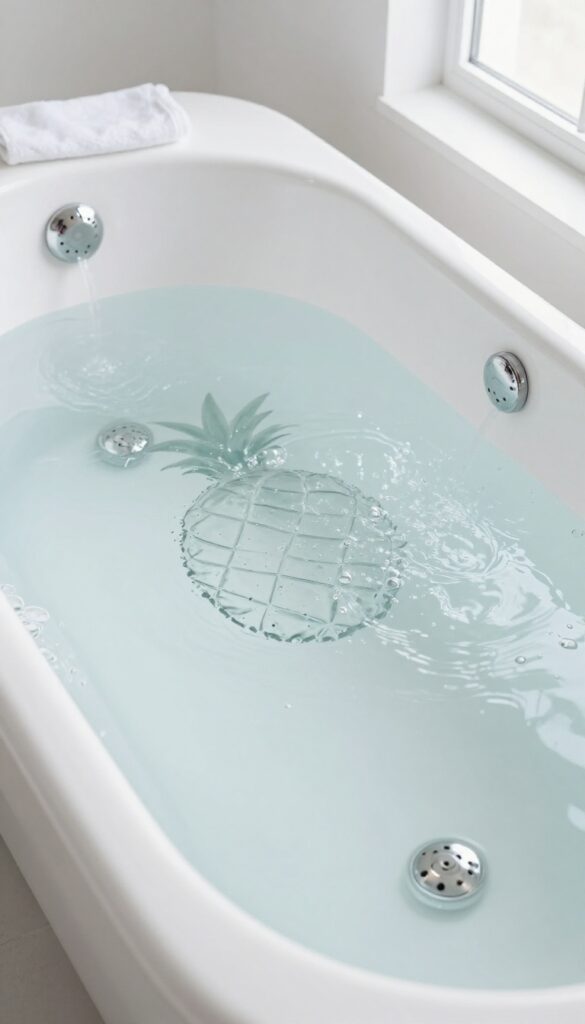
1. Fill the Tub with Hot Water
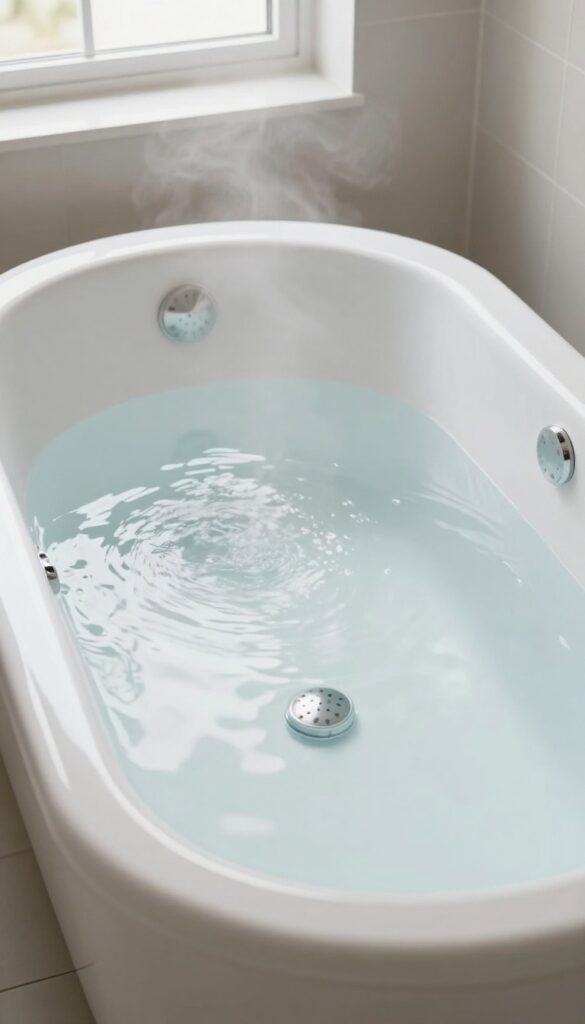
The first step sets the stage for the entire cleaning process. You need to fill the tub with the hottest water your tap can produce, making sure the water level sits at least 2 inches above the highest jet. The heat does two things: it loosens up stuck-on grime and it activates your cleaning solution so it can work its magic inside the pipes.
Don't skimp on temperature—hotter water means a deeper clean.
Why Hot Water Matters
Hot water is your best friend here. It breaks down soap scum, body oils, and mineral deposits that cold water just can't touch. When you add your cleaning agents later, the heat helps them penetrate and dissolve buildup inside the jet lines.
Think of it as prepping the tub for a serious scrub.
How High To Fill
Fill the tub until the water covers the jets by at least 2 inches. This ensures that when you turn on the jets, the water circulates through the system and reaches every nook. If the water level is too low, air gets sucked in and you'll lose cleaning power.
Use the overflow drain as a guide—stop just below it.
A Quick Temperature Check
Test the water with your hand before stepping away. It should be hot but not scalding—around 120°F is ideal. If your water heater is set lower, that's fine; just let it run at max.
The goal is consistent heat, not a burn risk.
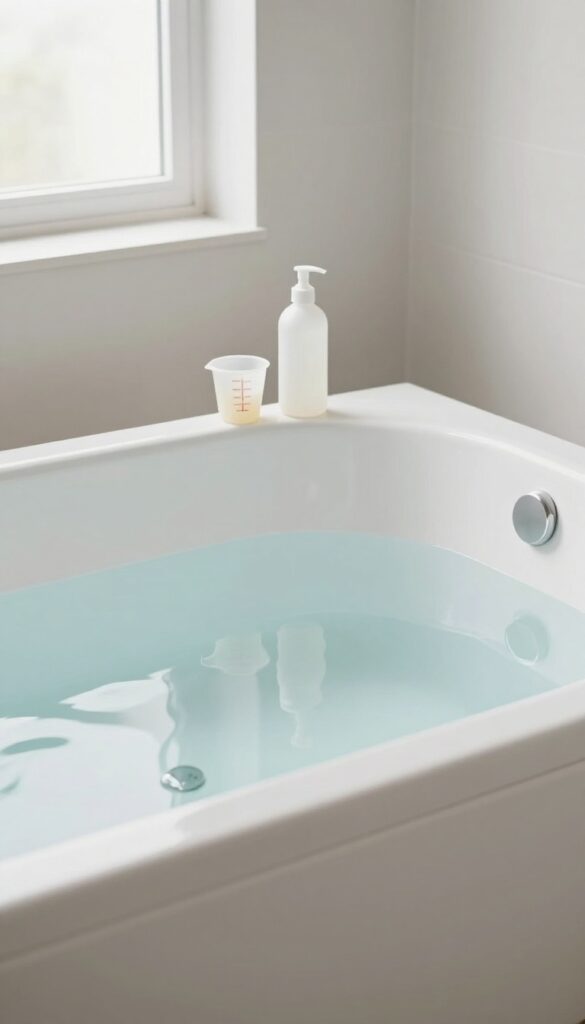
2. Add a Cleaning Agent
Now that the tub is filled with hot water, it's time to introduce the muscle. White vinegar or dishwasher detergent are your best bets—they're tough on grime but gentle on your tub's internal parts. Vinegar cuts through mineral deposits and soap scum naturally, while dishwasher detergent tackles grease and biofilm without creating suds that could damage the pump.
Both options are cheap, non-toxic, and easy to find.
Pour in one cup of white vinegar directly into the water, or add one tablespoon of powdered dishwasher detergent. Avoid regular dish soap—it creates too many bubbles that can cause the pump to cavitate or even overflow. Let the cleaning agent disperse by running the jets for a few seconds, then stop.
This ensures even distribution before the soak phase.
Why Vinegar Works So Well
White vinegar is mildly acidic, which dissolves hard water deposits and soap scum without corroding the tub's seals or plastic fittings. It also kills most bacteria and mold spores lurking in the lines. Plus, it rinses away cleanly with no residue—unlike bleach, which can leave a strong smell and degrade rubber gaskets over time.
Dishwasher Detergent As An Alternative
If you prefer a non-vinegar option, a tablespoon of automatic dishwasher detergent (powder or gel) works wonders. It contains enzymes and surfactants that break down organic gunk and grease. Just make sure it's low-sudsing—high-foam detergents can cause problems.
Never use laundry detergent or dish soap, as they produce excessive foam.
What To Avoid
Steer clear of bleach, ammonia, or harsh chemical cleaners. Bleach can damage the tub's finish and rubber components over time, while ammonia may react with any leftover cleaning residues. Stick to simple, proven agents that are safe for all jetted tub brands.
3. Run the Jets for 10 Minutes
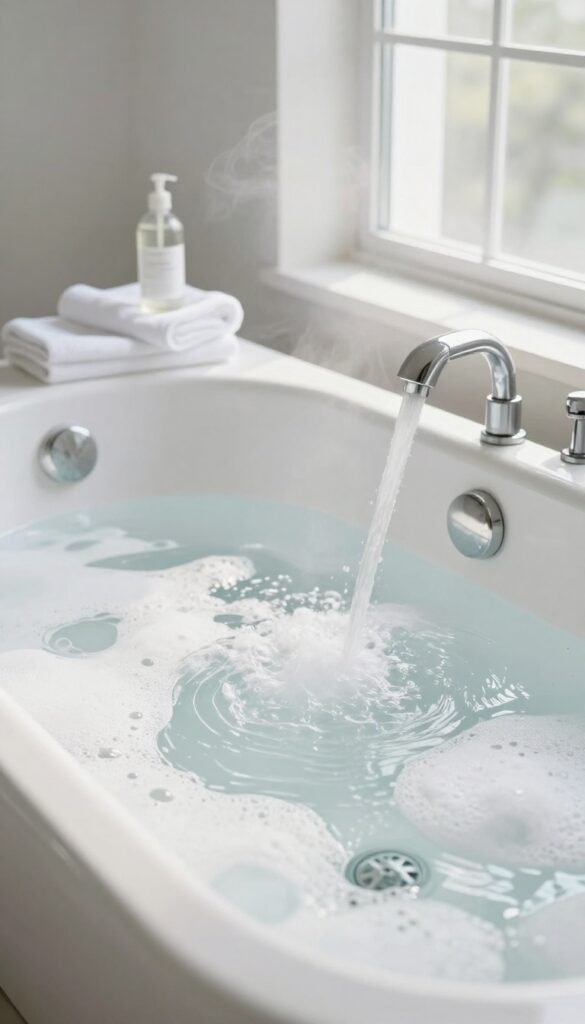
Once the tub is filled with hot water and your chosen cleaner is added, it's time to let the jets do the heavy lifting. Running the system for a full 10 minutes circulates the cleaning solution through every pipe and nozzle, loosening the grime that's built up over time. This step is crucial because the jets themselves can trap debris.
Without this circulation, you'd only clean the surface, leaving the internal plumbing untouched. The hot water helps dissolve oils and soap scum, while the cleaner targets mineral deposits and bacteria.
Turn on the jets to their highest setting. You'll see bubbles and foam as the solution works through the system. Let them run continuously for 10 minutes.
If your tub has different jet modes, cycle through them to ensure all pipes get cleaned. Keep the bathroom door open or turn on the exhaust fan to manage humidity and any strong vinegar fumes.
Why 10 Minutes Matters
Ten minutes is the sweet spot—long enough to dislodge buildup but not so long that the water cools down significantly. Hot water is key because it keeps oils and grease liquid, allowing the cleaner to break them down. Any less time, and you risk leaving residue behind.
Watch For Debris
As the jets run, you might see small particles or foam floating on the water's surface. That's a good sign—it means the cleaning solution is dislodging gunk from the pipes. Don't panic if the water gets a little cloudy; that's exactly what you want.
Safety First
Never run the jets without water in the tub. Doing so can damage the pump and create a fire hazard. Also, avoid using too much cleaner, as excessive suds can overflow.
Stick to the recommended amounts for your tub size.
4. Add a Second Round of Cleaner
One cleaning cycle is good, but a second round is even better. That first pass loosens up the heavy grime, but some stubborn residue might still cling to the pipes. A follow-up dose of cleaner gives everything a final scrub, so your jets run crystal clear.
After the first cycle drains, refill the tub with hot water to the same level above the jets. Add another cup of white vinegar or a half-cup of dishwasher detergent. Run the jets for 5 minutes, then let the solution sit for another 10 to 15 minutes.
This extra soak breaks down any leftover buildup that the first round missed. Drain the tub completely and flush the system with cold water for 2 minutes to rinse away all traces of cleaner.
Why A Second Dose Matters
The first cleaning cycle often tackles surface-level debris, but mineral deposits and biofilm can be stubborn. A second dose ensures deeper penetration into the jet lines and pump, leaving no room for grime to hide.
Choosing The Right Cleaner For Round Two
White vinegar works great for hard water stains and mild buildup. For heavy soap scum or oily residue, dishwasher detergent is more effective. Stick with the same cleaner you used first for consistency, or switch if the first round didn't cut it.
Timing And Safety Tips
Don't rush the second cycle. Let the cleaner sit after running the jets to maximize contact time. Always run a cold water flush afterward to prevent any cleaner residue from lingering in the system.
5. Drain and Rinse
After the cleaning solution has done its work, it's time to flush everything out. Draining and rinsing properly ensures no residue or loosened gunk remains inside the pipes. This step is quick but critical for a truly clean tub.
Drain Completely
Turn off the jets and open the drain fully. Let all the hot, soapy water flow out. If your tub has a separate overflow drain, make sure it's open too.
Wait until no more water comes out before moving on.
Refill With Cold Water
Close the drain and fill the tub with cold water until the jets are covered by at least 2 inches. Cold water helps flush out any remaining cleaning solution and debris without reactivating residues.
Run The Jets
Turn the jets on high for 2 to 3 minutes. This final rinse pushes out any leftover vinegar, baking soda, or loosened particles. You might see a little foam or cloudiness—that's normal.
Afterward, drain the tub again.
6. Wipe Down the Tub Surface
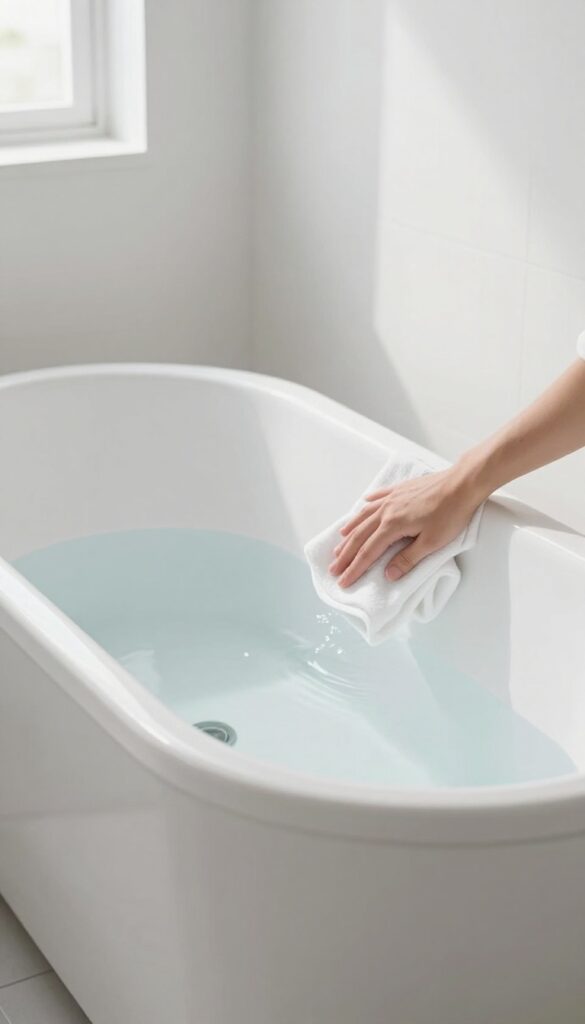
After the jets have done their thing, it's time to tackle the tub surfaces. This step removes loosened grime and leaves everything sparkling. Don't skip it—residue left behind can dry into new stains.
Grab a soft cloth or sponge and start wiping from the top down. Focus on jet covers where gunk tends to hide. Rinse your cloth often in clean water to avoid spreading dirt around.
For stubborn spots, a little baking soda paste works wonders.
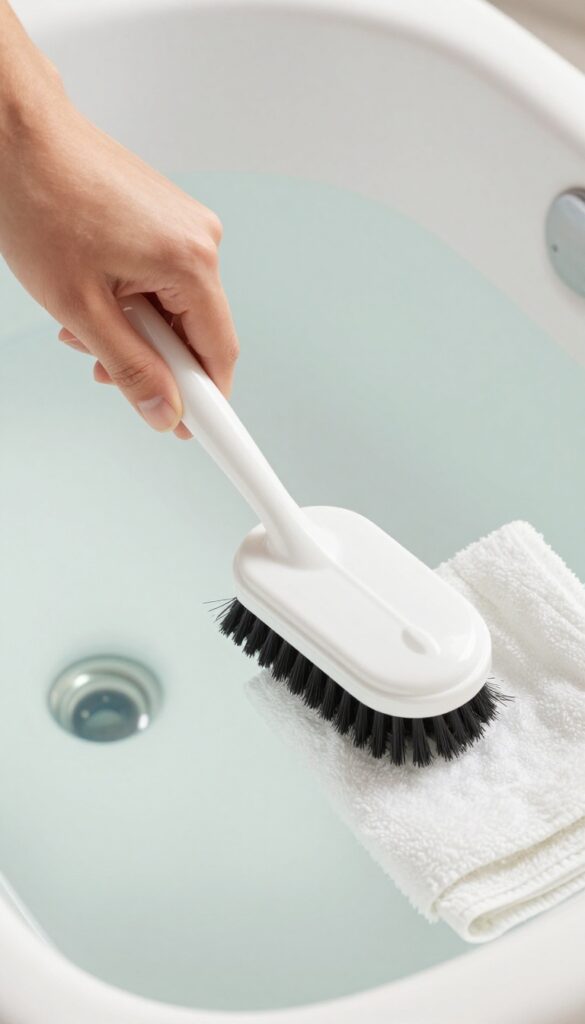
Focus On Jet Covers
Jet covers are grime magnets. Use an old toothbrush or a small brush to scrub around each jet opening. Pay extra attention to any visible buildup—soap scum and oils love to cling there.
Don't Forget The Floor
The tub floor collects residue from the cleaning solution and loosened debris. Give it a thorough wipe, especially in corners and along the edges. Rinse the cloth frequently to avoid smearing.
Final Rinse And Dry
After wiping, rinse the tub with clean water using a handheld showerhead or a cup. Then dry with a microfiber cloth to prevent water spots and mineral deposits from forming.
7. Clean the Jet Covers Individually
Jet covers trap a surprising amount of gunk. Soap scum and minerals collect in the crevices, and simply running the jets won't dislodge that buildup. Removing and cleaning each cover separately gives you a chance to scrub away hidden residue that could otherwise recirculate into your bath water.
Remove Covers Safely
Most jet covers twist off or pop out with a gentle pull. Check your tub's manual if you're unsure—forcing them can break the clips. Place the covers in a mesh bag or colander to keep them from rolling away.
Soak In Warm Vinegar Water
Fill a bowl with equal parts white vinegar and warm water. Submerge the covers and let them soak for 15 minutes. The acid in the vinegar breaks down mineral deposits and softens stubborn grime.
Scrub And Rinse Thoroughly
Use a small brush—an old toothbrush works great—to scrub every nook and cranny. Pay extra attention to the openings where water jets out. Rinse each cover under warm water and let them air dry on a towel before snapping them back on.
8. Use a Toothbrush for Tight Spots
Even after a good soak and surface wipe, there are always a few stubborn spots where grime clings. The jet openings and the crevices around them are prime real estate for mold and mineral deposits. A toothbrush is the perfect tool to get into those tight spaces without scratching the tub.
Grab an old toothbrush—preferably one with firm bristles—and dip it in white vinegar. Scrub around each jet opening, paying special attention to the rubber nozzles and the recessed areas where the jet meets the tub wall. You'll be amazed at the gunk that comes loose.
Rinse the brush frequently and re-dip in vinegar as needed. For extra stubborn buildup, make a paste of baking soda and vinegar and apply it with the toothbrush.
Focus On Jet Nozzles
The small rubber nozzles inside each jet can get clogged with biofilm and hard water scale. Use the toothbrush to gently scrub each nozzle in a circular motion. If the nozzles are removable, take them off for a deeper clean.
Just be careful not to lose any small parts.
Don't Forget The Crevices
Where the jet housing meets the tub wall is a classic mold trap. Run the toothbrush along that seam, and also clean any ridges or textured areas on the jet face. A little elbow grease here prevents pink slime and black mold from coming back quickly.
Rinse Thoroughly
After scrubbing, use a damp cloth or a spray bottle filled with clean water to rinse away any loosened debris and vinegar residue. Leftover vinegar can damage seals over time, so make sure to wipe down each jet area well.
9. Run a Final Fresh Water Cycle
You've scrubbed, soaked, and flushed—now it's time for the finishing touch. A final fresh water cycle clears out any lingering vinegar, baking soda, or loosened debris from the jets and pipes. This step guarantees your next soak is nothing but clean, clear water.
Refill the tub with cold water, making sure the jets are fully submerged. Run the jets on high for 5 minutes to push out any remaining residue. Drain the tub completely and give the surfaces a quick wipe with a microfiber cloth to catch any final specks.
Why Cold Water Works Best
Cold water is less likely to reactivate any leftover cleaning agents or cause mineral deposits to settle. It also helps flush out debris without creating suds or foam from residual soap.
Check For Stubborn Debris
After the cycle, inspect the water as it drains. If you see any particles, run another quick flush. For persistent gunk, use a pipe cleaning brush or a specialized jet cleaner to dislodge it.
Dry The Tub Thoroughly
Wipe down all surfaces with a dry cloth, including the jets and the rim. Leave the jet covers open to air dry completely. This prevents mold and mildew from forming before your next use.
10. Dry the Tub Thoroughly
You've scrubbed, soaked, and flushed—now it's time for the finishing touch. Drying might seem like an afterthought, but it's a crucial step to prevent mold and mildew from taking hold. Moisture left behind in the jets or on the tub surface can undo all your hard work.
Grab a clean, lint-free microfiber cloth and start with the tub walls and floor. Work your way around, paying extra attention to the jet openings and any crevices where water tends to pool. For the jets themselves, use a small brush or a cloth-wrapped skewer to wick moisture out of the nozzles.
Leave the tub uncovered for a few hours to air out completely before closing the lid or using the tub again.
Why Drying Matters
Mold and mildew thrive in damp environments. A jetted tub's hidden pipes and tight spaces are prime real estate for spores. By thoroughly drying the tub after each clean, you break the moisture cycle that allows growth to start.
This simple habit keeps your tub fresher between deep cleans.
The Right Tools For The Job
Microfiber cloths are ideal because they absorb more water than cotton and don't leave lint behind. For hard-to-reach spots, use a clean, dry paintbrush or a dedicated tub-drying tool. Avoid paper towels—they can leave residue and aren't as absorbent.
Final Air-dry Check
After wiping, let the tub sit with the jets open and the cover off for at least an hour. This allows any trapped moisture to evaporate. If you have a ventilation fan, turn it on to speed up the process.
A completely dry tub is your best defense against musty odors.
11. Clean the Filter (If Applicable)
Not all jetted tubs have a filter, but if yours does, it's a small component that makes a big difference. The filter catches hair, lint, and other debris before they can recirculate through the jets. Over time, it gets clogged and reduces water flow, making your cleaning efforts less effective.
Checking and cleaning it regularly keeps everything running smoothly.
Skipping the filter is like vacuuming with a full bag—the dirt just gets pushed around. A clean filter ensures water moves freely and your tub stays fresh longer. It's a quick step that pays off.
Locate And Remove The Filter
First, check your tub's manual to find the filter location. It's often behind a small panel near the pump or inside the skimmer opening. Turn off the power to the tub before removing it.
Gently pull the filter out—it's usually a cylindrical cartridge that slides into place.
Rinse And Dry Thoroughly
Take the filter to a sink and rinse it under strong running water. Use your fingers to loosen any trapped debris. Avoid soap or cleaners—they can leave residue that foams up later.
Let the filter air-dry completely before putting it back. A wet filter can grow mold or mildew inside the housing.
Reinstall And Test
Once dry, slide the filter back into its slot and secure any clips or covers. Restore power to the tub and run the jets for a minute to ensure proper water flow. You might notice stronger jet pressure and clearer water right away.
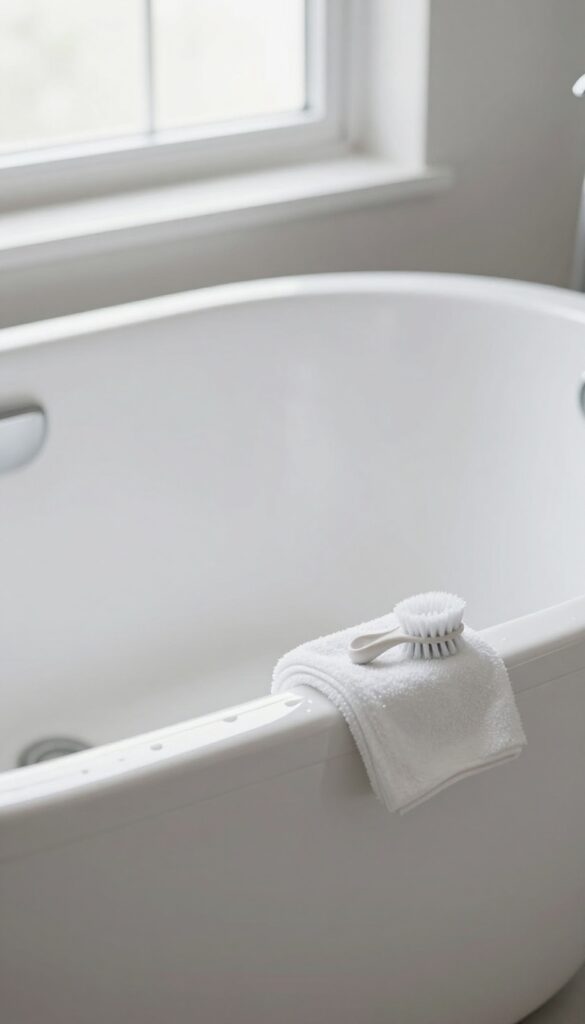
12. Prevent Future Buildup

The best deep clean is the one you rarely have to do. A quick post-soak habit can slash the grime that accumulates in your jetted tub, keeping the water fresh and the jets running strong. It takes less than a minute and saves you from scrubbing later.
After each use, run the jets for a minute with fresh water to flush out soap and oils. This simple habit keeps your tub cleaner between deep cleans.
The 60-second Flush
Right after you drain the tub, refill it with cold water just enough to cover the jets. Run the jets on high for 60 seconds, then drain completely. This pushes out any lingering soap residue or body oils before they have a chance to harden inside the pipes.
Wipe Down Surfaces
Use a soft cloth or microfiber towel to dry the tub walls and jet covers. Moisture left behind can promote mold and mildew growth. A quick wipe also removes any remaining film, so your tub stays shiny and fresh.
Keep The Cover Off
Leave the tub cover or lid open after cleaning to allow air to circulate. Trapped humidity is a breeding ground for bacteria. Letting the tub air out for a few hours (or overnight) helps prevent musty odors and buildup.
13. Schedule Monthly Deep Cleans
Consistency is the secret to a jetted tub that stays fresh month after month. A monthly deep clean prevents the buildup that turns into stubborn, smelly residue. Once you've done the full 13-step routine, it becomes a quick, satisfying habit that keeps your tub performing like new.
Mark your calendar for a monthly deep clean using these steps. Regular maintenance prevents stubborn buildup and keeps your jetted tub performing like new.
Set A Recurring Reminder
Pick a day that's easy to remember—like the first Sunday of each month. Set a phone reminder or write it on a wall calendar. Consistency is key; missing just one month can allow grime to harden and require extra elbow grease later.
Stock Your Cleaning Kit
Keep white vinegar, baking soda, a soft brush, and a microfiber cloth in a caddy near the tub. Having everything ready makes the process seamless. If your tub has a filter, note when to replace it—usually every 3 to 6 months.
Follow The Full Routine
Don't skip steps. Start with a surface wipe, then fill the tub with hot water and vinegar, run the jets for 15 minutes, drain, and scrub. Finish with a fresh water rinse.
The whole process takes about 45 minutes and keeps your tub in top shape.
FAQ
Can I use bleach to clean my jetted tub?
It's not recommended. Bleach can damage the rubber seals and plastic components of the jets. Stick to vinegar or mild dishwasher detergent for safe cleaning.
How often should I clean my jetted tub?
Deep clean once a month if you use the tub regularly. After each use, run the jets with fresh water for a minute to minimize buildup.
Why does my jetted tub smell bad?
A musty smell usually indicates biofilm or mold inside the pipes. Follow the deep-cleaning steps with vinegar to eliminate odors.
Can I use a commercial jetted tub cleaner?
Yes, but check that it's compatible with your tub's material. Many commercial cleaners work well, but vinegar is a cheaper, non-toxic alternative.
Do I need to clean the jets if I don't use the tub often?
Yes, even unused tubs can develop biofilm from standing water in the pipes. Run a cleaning cycle every few months to keep the system fresh.
Conclusion
Now your jetted tub is ready for a relaxing soak without any hidden grime or musty odors. Following these 13 steps in order ensures every nook and cranny gets cleaned efficiently.
Make it a monthly habit, and you'll never have to deal with stubborn buildup again. Your tub will stay fresh, your jets will run strong, and you can enjoy that spa-like experience at home anytime.