20 Cleaning Kitchen Steps for a Quick After Dinner Reset
Dinner is done, but the kitchen looks like a tornado hit it. You know that sinking feeling when you just want to collapse on the couch instead of facing the mess.
The good news is that a quick after-dinner reset doesn't have to be a marathon. With these 20 streamlined steps, you can transform your kitchen from disaster zone to spotless in under 30 minutes.
No harsh scrubbing or elaborate routines—just smart, efficient moves that keep your space fresh and ready for the next meal. Let's walk through the process together, one simple step at a time.
1. Clear the Sink of All Dishes
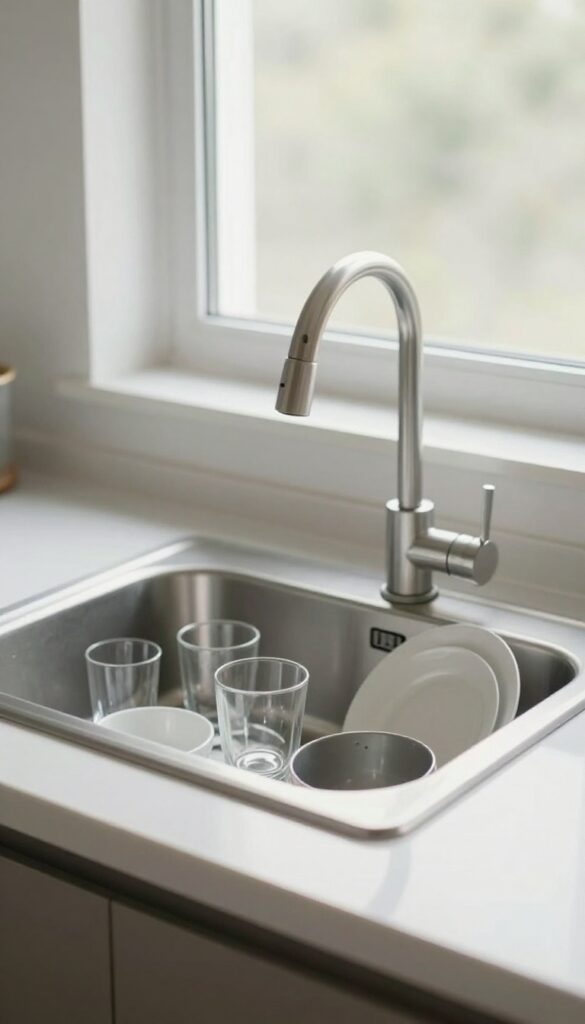
The first step to a clean kitchen is getting everything into one place. Instead of tackling dishes scattered across the counter, dining table, and stove, round them all up into the sink. This single move instantly reduces visual clutter and sets you up for efficient washing.
Gather every dish, glass, utensil, and serving piece from the entire kitchen. Check the dining table, countertops, stove, and even the microwave. Place them all in the sink or directly beside it if the sink is full.
This consolidation prevents you from walking back and forth later and gives you a clear view of what needs to be washed.
Why This Matters
Scattered dishes make the kitchen look messier than it actually is. By corralling everything into one spot, you immediately reduce visual noise. It also helps you prioritize: you can see exactly how many items need washing, so you can plan your approach.
Pro Tip: Use A Bus Tub
If your sink is small or already full, grab a bus tub or a large plastic bin. Place it on the counter and load all dirty dishes into it. This keeps the sink free for rinsing and washing, and you can carry the tub to the dishwasher or washing station in one trip.
2. Scrape and Rinse Plates Immediately
Don't let dirty dishes sit—they get harder to clean by the minute. A quick scrape and rinse now saves you from scrubbing later. This simple habit makes the rest of your kitchen reset feel effortless.
Grab a spatula or scraper and push leftover food into the trash or compost bin. Then give each plate a quick rinse under warm water to remove any remaining residue. This prevents food from drying and sticking, so your dishes practically wash themselves later.
For pots and pans, fill them with warm water and a drop of dish soap to soak while you finish the rest of the kitchen.
Why Immediate Rinsing Matters
Food residue hardens as it cools, turning into stubborn crust that requires extra elbow grease. A 10-second rinse now can cut your dishwashing time in half. Plus, it prevents odors and keeps your sink from becoming a science experiment.
Tools To Make It Easy
Keep a bench scraper or silicone spatula near the sink for quick scraping. A small dish brush or scrubby sponge can help loosen bits without scratching. For sticky foods like cheese or sauce, a quick spray with warm water does the trick.
Don't Forget The Sink
After rinsing plates, give the sink a quick wipe to catch any food particles that fell in. This prevents buildup and keeps your sink fresh. A simple rinse of the sink strainer also helps avoid clogs.
3. Load the Dishwasher Like a Pro
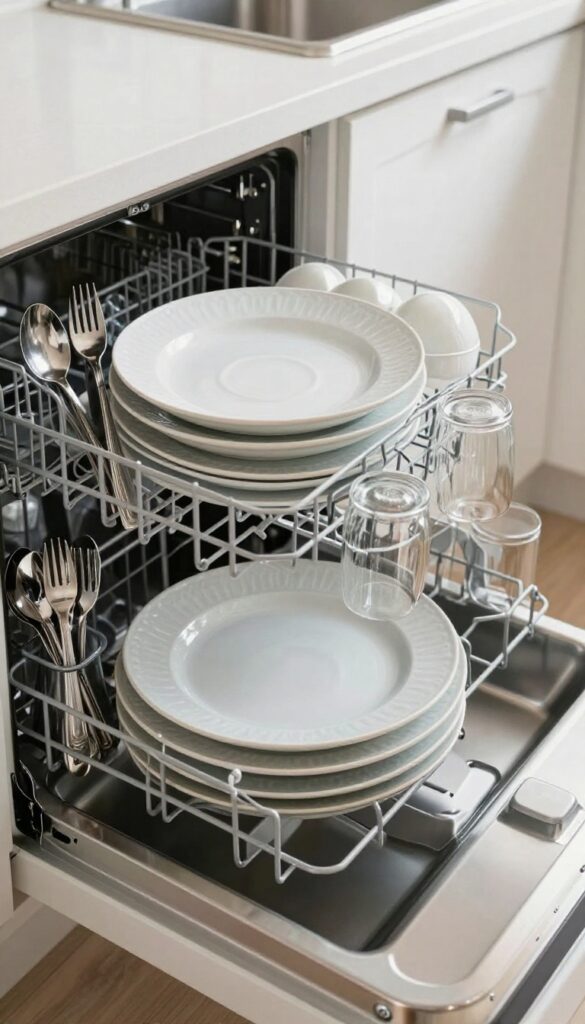
Loading the dishwasher might seem straightforward, but a little strategy makes a big difference. An organized load means cleaner dishes and fewer rewash cycles. Plus, you'll fit more in without blocking water flow.
Bottom Rack: Plates And Heavy Loads
Place plates facing the center for maximum water spray. Nestle bowls between plates, and put pots and pans on the sides. Avoid stacking—water needs to reach every surface.
Top Rack: Glasses And Delicates
Angle glasses downward so water drains out. Secure stemware on the prongs. Keep small items like lids in the cutlery basket to prevent them from falling through.
Silverware: Mix For Best Cleaning
Alternate forks and spoons up and down to prevent nesting. Knives point down for safety. This ensures each piece gets rinsed thoroughly.
When To Start The Cycle
If the dishwasher is full, run it immediately. A full load is more efficient than a half load. If it's not full, rinse dishes and run it later—but don't let food dry on.
4. Hand-Wash Delicate Items First
Not everything belongs in the dishwasher. Sharp knives, wooden cutting boards, and nonstick pans need a gentler touch to stay in good shape. Washing them by hand right after dinner prevents damage and keeps them performing well for years.
Start With Knives
Run your chef's knife under warm water, add a drop of soap, and wipe from spine to edge—never scrub the blade sideways. Rinse and dry immediately to avoid water spots. Storing a wet knife can dull it fast.
Don't Soak Wooden Boards
Wood absorbs water and can warp or crack. Scrub your cutting board with a sponge and warm soapy water, then rinse and stand it on its edge to air dry. For stubborn smells, rub with half a lemon and salt before rinsing.
Treat Nonstick Pans With Care
Use a soft sponge or cloth—no steel wool or abrasive pads. Wash with warm soapy water, rinse, and dry on a low heat burner for a minute to protect the coating. Stacking pans without a protective layer can scratch the surface.
5. Wipe Down the Stovetop
The stovetop takes the brunt of dinner cooking. Grease splatters, sauce drips, and those mysterious burned-on bits can make the whole kitchen feel grimy. Tackling it now takes just a couple of minutes, and the visual payoff is huge.
A gleaming stovetop instantly lifts the room.
Choose Your Weapon Wisely
A good degreaser is your best friend here. Spray it generously over the entire stovetop, paying extra attention to knobs and crevices where gunk hides. Let it sit for 30 seconds to break down the grease.
If you prefer a natural option, a 50/50 mix of white vinegar and water works well on glass tops—just avoid it on sealed burner edges.
Tackle Burned-on Spots
For stubborn residue, use a non-abrasive scrub pad or a razor scraper (on glass tops only). Gently scrape in one direction to lift the crud without scratching. A paste of baking soda and water can also work wonders on tough spots.
Apply, let it sit for a minute, then wipe away.
Finish With A Damp Cloth
After the cleaner has done its job, wipe the entire surface with a clean, damp microfiber cloth. Follow up with a dry cloth to remove any streaks. Don't forget the back panel and the area around the knobs.
A final polish with a glass cleaner gives that showroom shine.
6. Clean the Microwave Inside and Out
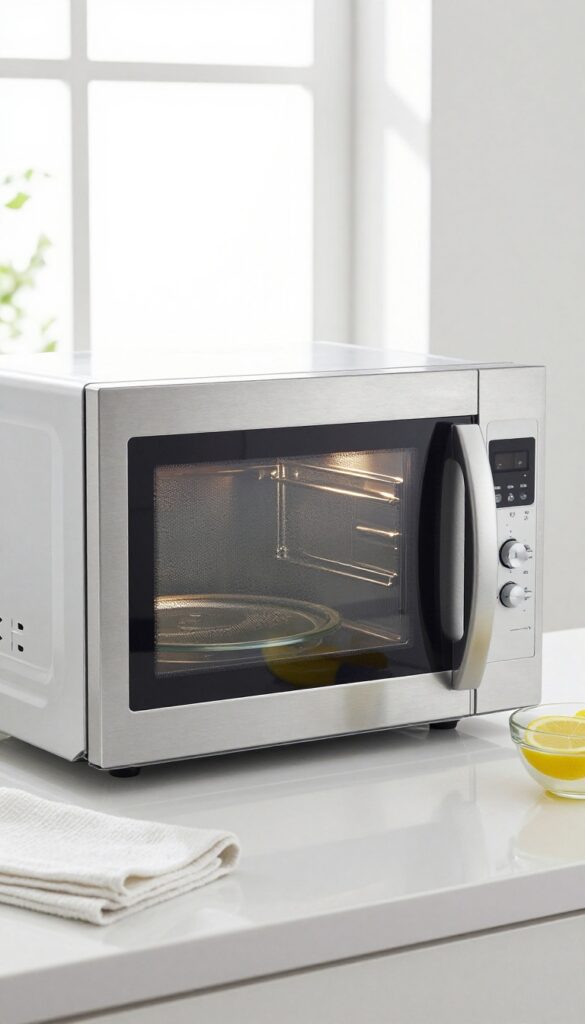
The microwave is one of those appliances that gets splattered, forgotten, and then becomes a mystery science experiment. But cleaning it doesn't require industrial-strength chemicals or elbow grease. A quick steam trick makes the inside spotless, and a simple wipe-down of the exterior keeps it looking like new.
Let's tackle both parts in just a few minutes.
Steam Clean The Interior
Fill a microwave-safe bowl with water and add a few lemon slices or a tablespoon of vinegar. Microwave on high for 2 minutes. The steam loosens all the baked-on food and grease.
Let it sit for a minute with the door closed, then wipe everything down with a damp cloth. The lemon leaves a fresh scent without any chemical residue.
Don't Skip The Handle And Keypad
The handle and keypad are high-touch areas that collect grime, fingerprints, and bacteria. Spray a microfiber cloth with a gentle all-purpose cleaner or a vinegar-water mix, and wipe them thoroughly. Avoid spraying directly onto the keypad to prevent moisture seeping into the electronics.
A quick dry with a separate cloth prevents streaks.
Tackle The Turntable And Rollers
Remove the glass turntable and wash it in warm, soapy water or place it in the dishwasher if it's dishwasher-safe. Wipe the roller ring and the microwave floor underneath with a damp cloth. This prevents food debris from building up and keeps the turntable spinning smoothly.
7. Sanitize Countertops Thoroughly
After wiping down crumbs and spills, it's time to actually sanitize. This step kills lingering bacteria and makes your kitchen truly clean. Don't skip it—especially if you handled raw meat, poultry, or fish during dinner prep.
Grab a kitchen-safe disinfectant spray or mix a simple vinegar solution (equal parts white vinegar and water). Spray generously across all countertops, including the backsplash and edges. Pay extra attention to areas where raw ingredients sat.
Let the solution sit for at least 30 seconds to a minute—this contact time is crucial for killing germs. Then wipe with a clean microfiber cloth or paper towel. For best results, let the surface air dry completely; this ensures maximum sanitization and prevents streaks.
Choose The Right Sanitizer
Not all cleaners are created equal. Look for a product labeled as a disinfectant that's safe for food-contact surfaces. If you prefer natural options, a 3% hydrogen peroxide spray or a vinegar solution works well.
Avoid mixing vinegar with bleach—it creates toxic fumes.
Target Hot Spots
Think about where raw meat, eggs, or unwashed produce touched. These areas need extra attention. Also include the area around the sink and the cutting board zone.
If you used a separate board for meat, sanitize that too.
Let It Air Dry
Resist the urge to wipe dry immediately. Allowing the surface to air dry gives the sanitizer enough time to kill germs. Plus, it reduces the chance of reintroducing bacteria from a damp cloth.
Walk away for a minute or two—your counters will thank you.
8. Wipe Down the Kitchen Sink
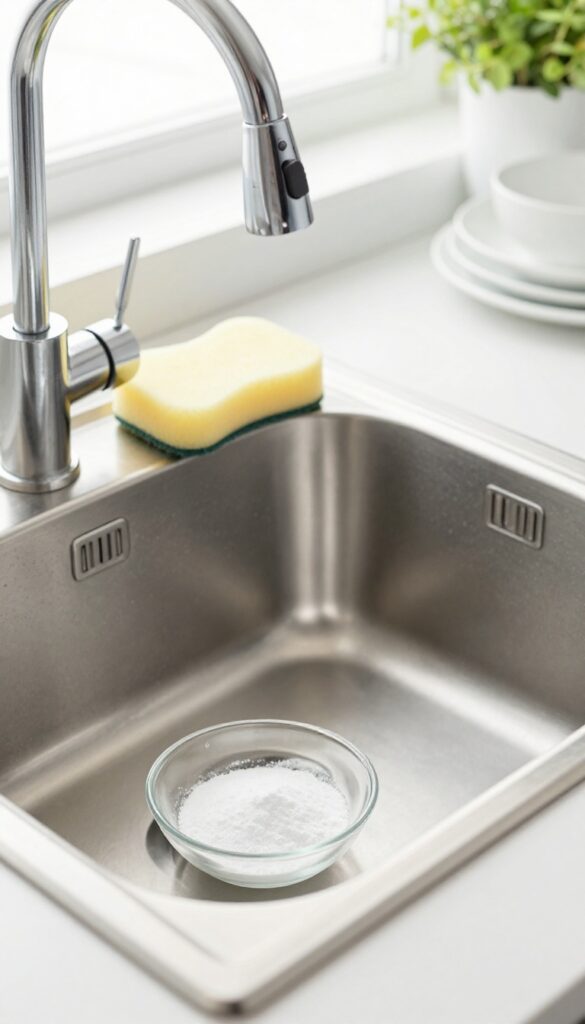
Once the dishes are done, your sink has likely taken a beating. Food scraps, grease, and soap scum can leave it looking dull and grimy. Giving it a quick scrub and rinse not only restores its shine but also prevents odors and bacteria from lingering.
Scrub With Baking Soda Or Gentle Cleanser
Sprinkle baking soda over the wet sink surface, then scrub with a soft sponge or cloth. Baking soda is mildly abrasive, so it lifts stains and residue without scratching stainless steel or enamel. Alternatively, use a gentle liquid cleanser designed for sinks.
Avoid harsh chemicals that could damage the finish.
Rinse Thoroughly And Dry
After scrubbing, rinse the sink with warm water until all cleanser is gone. Leftover residue can dull the surface. Then dry the sink with a clean, dry cloth—microfiber works great.
A dry sink is less likely to develop water spots or mineral deposits, and it instantly looks polished.
Don't Forget The Drain And Faucet
Wipe down the faucet handle and spout with the same cloth. Food splatters and fingerprints collect there. For the drain, pour a small amount of baking soda down followed by vinegar, let it fizz for a minute, then flush with hot water.
This keeps the drain fresh and helps prevent clogs.
9. Take Out the Trash and Recycling
Trash and recycling bins can quickly become the source of lingering odors, especially after cooking a full dinner. Emptying them is one of the fastest ways to reset your kitchen's freshness. This step takes less than two minutes but makes a huge difference in how clean the space feels.
Tie It Up Tight
Start by gathering the edges of the trash bag and twisting them closed. If the bag is heavy, tie a secure knot to prevent leaks. For recycling, consolidate loose items into one bag or bin to avoid spills on the way out.
Replace Liners Right Away
Before you forget, put a fresh liner in the empty trash can. This small habit ensures you're never caught off guard when you need to toss something later. Use a liner that fits snugly to avoid slipping.
Take It Out Immediately
Carry the tied bag straight to the outdoor bin—don't leave it by the back door. If recycling is full, take that out too. A quick trip outside eliminates odors and frees up space for the next day's scraps.
10. Sweep or Vacuum the Floor
Crumbs, stray bits of food, and little spills always find their way to the floor during dinner. A quick sweep or vacuum under the table and around the counters instantly lifts the whole kitchen's look. It's one of those small tasks that delivers an outsized payoff with almost no effort.
Don't overthink this step. Grab a broom or a stick vacuum—no need to haul out the full-size upright—and hit the high-traffic zones. Start under the dining area, then move to the perimeter of the counters and the island.
A minute or two is all it takes to collect the debris that makes the floor look messy even when everything else is clean.
Focus On The Hot Spots
The area under the table and around the trash can are usually the worst offenders. Give those spots an extra pass. If you have a dustpan, use it right away so you don't track crumbs back across the floor.
Choose Your Tool Wisely
A cordless stick vacuum is ideal for quick pickups—no cords to trip over and no heavy lifting. If you prefer a broom, a soft-bristle dustpan brush helps gather every last crumb. For tile or hardwood, a microfiber dry mop can also work in a pinch.
Don't Forget The Corners
Crumbs love hiding in corners and along baseboards. A quick flick with the broom or a narrow vacuum attachment gets them out. This extra 30 seconds prevents buildup that attracts pests and makes the floor look dingy.
11. Spot-Mop High-Traffic Areas
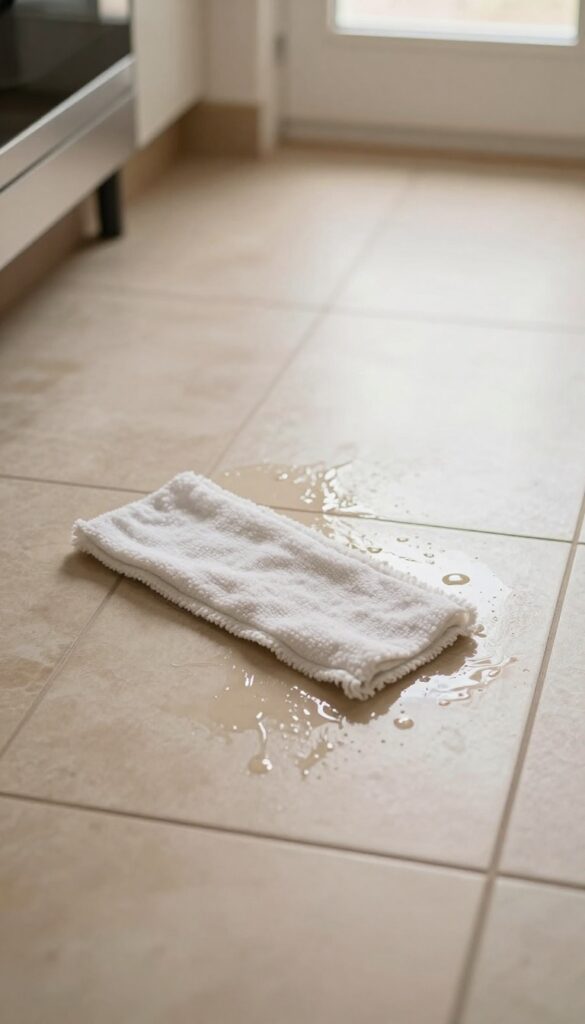
The floor around the stove, sink, and dining table usually takes the most abuse during dinner. A full mop can wait for the weekend, but a quick spot-mop keeps sticky spots from hardening into stubborn stains. Grab a damp mop or a Swiffer wet jet and focus only on the messiest zones.
Why Spot-mopping Works
Spot-mopping saves time and energy. Instead of dragging out the bucket and cleaning the entire floor, you target only the areas that need it. This approach is especially effective after dinner when spills are concentrated near where people ate or cooked.
How To Spot-mop Efficiently
Start by scanning the floor for visible spills, sticky spots, or crumbs. Use a dry cloth or paper towel to pick up any solid debris first. Then, dampen your mop or Swiffer pad and wipe the affected areas in a small, circular motion.
Rinse or replace the pad as needed to avoid spreading grime.
When To Skip The Spot-mop
If the floor looks generally clean and you don't see any sticky spots, skip this step entirely. Over-mopping can leave residue or make the floor slippery. Trust your eyes—if it's not dirty, leave it for the next deep clean.
12. Put Away Leftovers Properly
Leftovers can be a lifesaver for busy weeknights, but only if they're stored correctly. Tossing warm containers into the fridge haphazardly leads to forgotten meals and wasted food. A few smart habits make all the difference.
Cool Down First
Let leftovers cool slightly before refrigerating, but don't leave them out longer than two hours. Divide large portions into smaller, shallow containers to speed cooling. This prevents the fridge from working overtime and keeps food safe.
Choose The Right Containers
Airtight glass or BPA-free plastic containers are best. They keep odors in and prevent spills. Avoid using the original takeout containers—they're rarely airtight and can leak.
Square or rectangular shapes stack neatly, saving space.
Label And Organize
Use a permanent marker or labels to write the date and contents on each container. Group similar items together: all soups on one shelf, proteins on another. Place newer leftovers behind older ones so you use them in the right order.
13. Wipe Down Cabinet Fronts and Handles
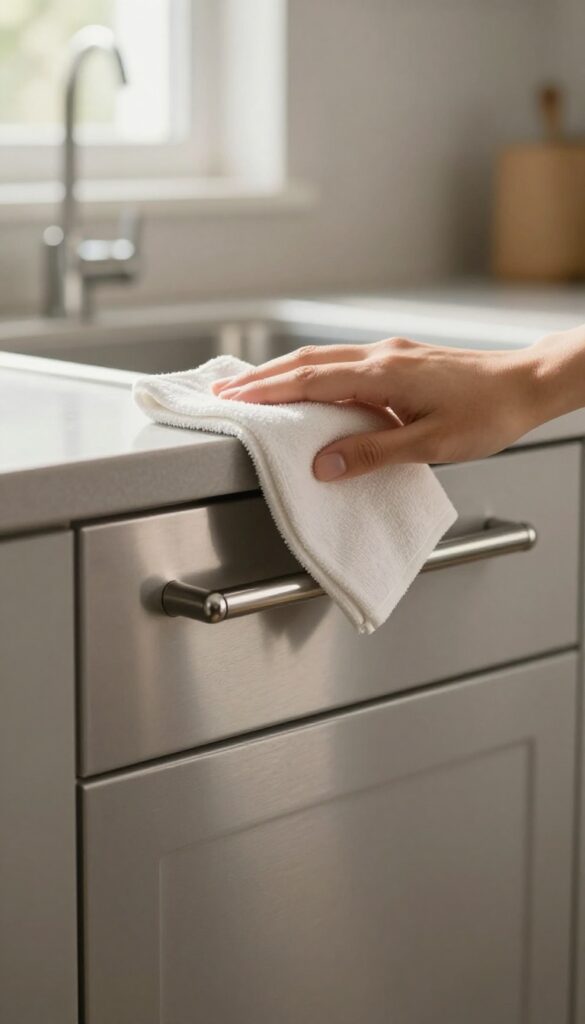
Cabinet fronts and handles are magnets for grease and fingerprints, especially around the stove and sink. A quick wipe-down not only makes your kitchen look cleaner but also prevents buildup that can become sticky over time. Grab a microfiber cloth and your go-to all-purpose cleaner, and you'll be done in minutes.
Dampen a microfiber cloth with all-purpose cleaner and wipe cabinet doors, handles, and knobs. Grease and fingerprints build up here, especially near the stove and sink.
Focus On High-traffic Zones
Pay extra attention to cabinets closest to the stove and sink. These areas collect the most grease and splatters. Use a clean section of the cloth for each door to avoid spreading grime around.
Don't Forget The Hardware
Handles and knobs are touched constantly, so they can harbor bacteria and residue. Wipe each one individually, getting into the crevices. For stubborn spots, a cotton swab dipped in cleaner works wonders.
Dry For A Streak-free Finish
After wiping with a damp cloth, go over the surfaces with a dry microfiber cloth. This step removes any leftover moisture and prevents water spots or streaks, leaving your cabinets looking polished.
14. Clean the Coffee Maker or Kettle
That morning coffee machine or electric kettle probably saw some action after dinner. Even if you only used it once, a quick rinse and wipe now prevents stains and odors from setting in. Plus, giving the coffee maker a deeper clean once a week keeps your brew tasting fresh and extends the machine's life.
Rinse And Wipe The Exterior
Start by emptying any leftover water or coffee grounds from the carafe and filter basket. Rinse the carafe with warm, soapy water and dry it with a clean cloth. Wipe down the exterior of the machine or kettle with a damp microfiber cloth to remove fingerprints, splashes, and dust.
Pay attention to the warming plate and control panel if applicable.
Descaling For Better Performance
Mineral buildup from hard water can clog your coffee maker or kettle over time. Once a week, run a descaling cycle using a 50/50 mix of white vinegar and water. For coffee makers, pour the solution into the reservoir and run a full brew cycle without coffee grounds.
Follow with two cycles of plain water to rinse. For kettles, boil the vinegar solution, let it sit for 15 minutes, then boil and discard fresh water twice.
Don't Forget The Small Parts
Remove any removable parts like the filter basket, water reservoir lid, or kettle lid and wash them in warm soapy water. Check the spout and any crevices for residue. A small brush or old toothbrush works great for scrubbing tight spots.
Let everything air dry completely before reassembling.
15. Organize the Dish Drying Rack
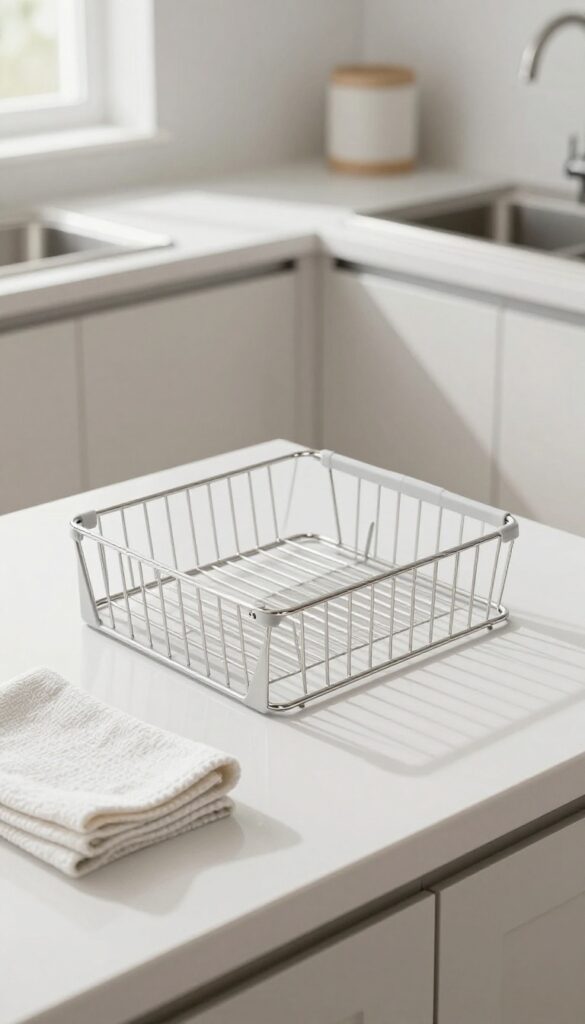
The dish drying rack can quickly become a cluttered eyesore if left unattended. Once your hand-washed items are dry, it's time to put them away and give the rack some attention. This small step frees up counter space and keeps your kitchen looking tidy.
Put Away Dry Items
Start by checking if everything on the rack is completely dry. If so, return each item to its designated cabinet or drawer. Plates go in the lower cabinet, cups on the shelf, and pots and pans in their storage area.
This clears the rack instantly.
Wipe Down The Rack
With the rack empty, take a damp cloth or sponge and wipe down the entire surface. Pay attention to the corners and crevices where water can pool. This prevents mildew and keeps the rack looking clean.
Store The Rack If Possible
If your drying rack is collapsible or can be moved, consider storing it under the sink or in a cabinet after each use. This immediately frees up valuable counter space and gives your kitchen a more open feel. If it's a permanent fixture, at least ensure it's clean and empty.
16. Refresh the Dish Towels and Sponges
Damp dish towels and sponges are breeding grounds for bacteria if left sitting overnight. Swapping them out takes just seconds and makes a huge difference in kitchen hygiene. Fresh linens and sanitized scrubbers ensure your cleaning efforts don't go to waste.
Swap Towels Daily
Grab a clean, dry dish towel from the drawer and replace the used one. Hang the used towel somewhere to dry completely before tossing it in the laundry. This simple habit prevents musty smells and cross-contamination.
Sanitize Sponges In The Microwave
Wring out your sponge thoroughly, then pop it in the microwave on high for 30 seconds. Let it cool before handling. This kills up to 99% of germs.
If your sponge smells even after microwaving, it's time to toss it.
Know When To Replace
Sponges have a short lifespan—about one to two weeks. If it starts smelling, falling apart, or looking grimy, don't hesitate to grab a new one. A fresh sponge makes scrubbing faster and more effective.
17. Straighten the Pantry or Spice Rack
After cooking, your pantry or spice rack might look like a tiny tornado hit it. Cans are stacked crooked, spice jars are out of order, and boxes are half-open. Taking just two minutes to restore order here pays off big next time you cook.
A tidy pantry saves you from rummaging around when you're mid-recipe. It also helps you see what you have, so you don't buy duplicates. The same goes for spices—when they're in order, you grab the right one without squinting at labels.
Alphabetize Spices
If your spice rack is a jumble, spend 60 seconds putting jars in alphabetical order. It's a small habit that makes a huge difference when you're in a hurry. Group similar spices together, like all the Italian herbs or curry blends, if that makes more sense for your cooking style.
Group Cans And Boxes
Push cans of beans, tomatoes, and soups into neat rows facing forward. Stack boxes of pasta or rice so they don't topple. If you have a deep pantry, put taller items in back and shorter ones in front so everything is visible.
Check Expiration Dates
While you're straightening, glance at expiration dates. Toss anything that's past its prime. This keeps your pantry fresh and prevents you from accidentally cooking with stale ingredients.
18. Wipe Down Small Appliances
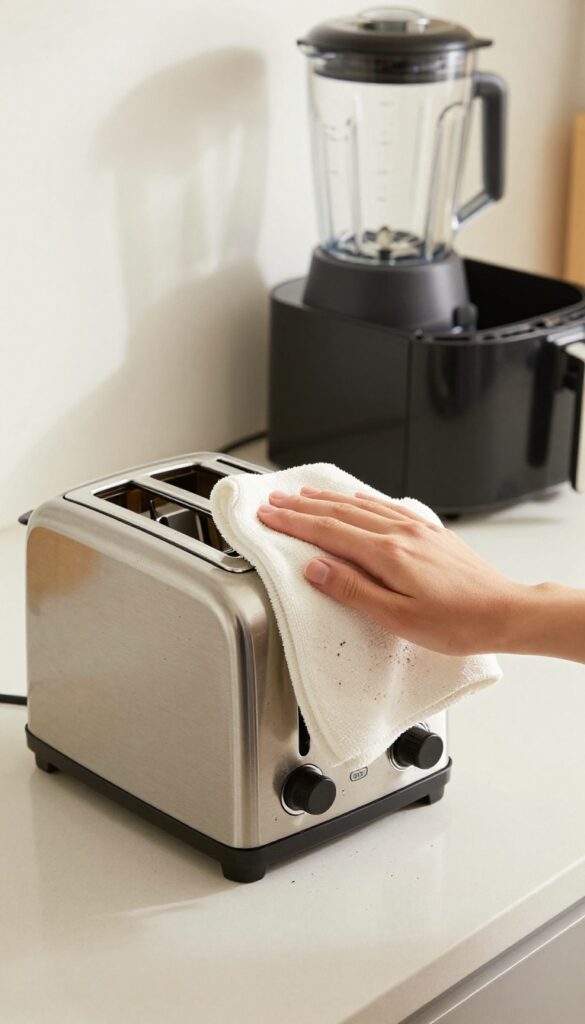
Your toaster, blender, and air fryer sit on the counter all day, collecting dust, crumbs, and grease splatters. After dinner, they often look worse for wear. A quick exterior wipe makes them look brand new and keeps your kitchen feeling fresh.
Small appliances are the workhorses of your kitchen, but they also show every bit of use. A fast wipe-down after dinner prevents buildup and keeps them looking clean and inviting. Here’s how to do it efficiently.
Focus On Crumbs And Splatters First
Start with the toaster—tip it over the sink or trash to shake out loose crumbs. Then use a damp microfiber cloth to wipe the exterior, paying attention to crevices where butter or jam might hide. For the blender base, a quick wipe around the control panel and under the pitcher catches splatters.
Air fryer baskets can be wiped inside with a soapy cloth if needed, but the exterior just needs a once-over.
Choose The Right Cloth And Cleaner
Microfiber cloths are ideal because they trap grease without scratching surfaces. For stainless steel, use a dedicated cleaner or a mix of vinegar and water to avoid streaks. Avoid abrasive sponges that can damage finishes.
A spray bottle with diluted dish soap works wonders on plastic or painted surfaces.
Don't Forget The Hidden Spots
Check the back and underside of appliances where dust bunnies gather. Pull the toaster away from the wall to swipe behind it. Wipe the cord with a damp cloth if it's greasy.
These hidden areas make a big difference when you glance around the counter.
Make It A Habit With A Daily Routine
Keep a microfiber cloth handy near your appliance zone. After dinner, spend 30 seconds wiping each machine as you put it away. This small habit prevents grime from building up and saves you from deep cleaning later.
Your future self will thank you.
19. Light a Candle or Use an Air Purifier
Cooking odors can linger long after the last dish is washed, making the kitchen feel less than fresh. Instead of masking smells with chemical sprays, try a more natural approach. Lighting a soy candle, using an essential oil diffuser, or running an air purifier can quickly neutralize odors and signal that the kitchen reset is complete.
This step is about more than just scent—it's about creating a sensory finish line for your cleanup routine. When you light a candle or turn on an air purifier, you're telling your brain that the work is done. The fresh, clean aroma (or simply cleaner air) helps you relax and enjoy the rest of your evening without lingering reminders of dinner.
Choose The Right Candle
Opt for soy or beeswax candles with natural fragrances like lemon, lavender, or eucalyptus. These scents are fresh without being overpowering and won't clash with any lingering food smells. Avoid paraffin candles, which can release soot and actually worsen indoor air quality.
Essential Oil Diffuser Alternative
If you prefer a flameless option, an ultrasonic diffuser with a few drops of tea tree, orange, or peppermint oil can quickly freshen the air. This method also adds a touch of humidity, which can help settle any remaining airborne particles.
Air Purifier For Odor Removal
For serious odor control, especially after frying or cooking fish, an air purifier with a carbon filter is your best bet. It actively removes smoke particles and volatile organic compounds (VOCs) from the air. Run it on high for 15–20 minutes while you finish the rest of your reset.
20. Do a Final Visual Scan and Tidy

You've wiped counters, loaded the dishwasher, and swept the floor. But a truly clean kitchen feels calm, not just sanitized. That's where the final visual scan comes in—a quick once-over to catch anything that's out of place.
It's the difference between a kitchen that's technically clean and one that looks and feels peaceful.
Why The Final Scan Matters
After all the active cleaning, your brain can easily overlook small stray items. A lone coffee mug on the windowsill, a stack of mail on the counter, or a pair of keys near the fruit bowl. These little things create visual clutter that makes the room feel unfinished.
Taking 30 seconds to scan and reset brings a sense of closure to the cleaning process.
What To Look For
Start at eye level and work your way down. Check countertops for any non-kitchen items—papers, phones, sunglasses. Look at the table and islands for forgotten cups or plates.
Don't forget the corners near the sink or the windowsill. Even a single stray item can break the illusion of a spotless kitchen.
The Return-to-home Rule
Every item you spot should have a designated home. Mail goes to a basket or desk, keys on a hook, and cups into the dishwasher or sink. If something doesn't belong in the kitchen, move it to its proper room now.
This habit prevents piles from accumulating and makes tomorrow's reset even faster.
FAQ
How long should an after-dinner kitchen reset take?
Aim for 15 to 20 minutes. The steps are designed to be quick and efficient, focusing on high-impact areas rather than deep cleaning.
What if I don't have a dishwasher?
No problem. Wash dishes in a systematic order—glasses first, then plates, then pots—and dry them with a clean towel. The rest of the steps still apply.
Can I skip some steps if I'm short on time?
Absolutely. Prioritize steps that address the biggest mess: clearing dishes, wiping counters, and taking out the trash. Even doing half the list makes a difference.
How often should I do a full kitchen deep clean?
A deep clean (including oven, fridge, and cabinets) is recommended once a month. This daily reset keeps things manageable between deep cleans.
What's the best cleaner for kitchen counters?
A mild all-purpose cleaner or a vinegar-water solution works for most surfaces. Avoid harsh chemicals on granite or marble—use a pH-neutral cleaner instead.
Conclusion
That's it—20 simple steps that turn your post-dinner kitchen from chaotic to calm in no time. The key is consistency: make this reset a nightly habit, and you'll never wake up to a messy kitchen again.
You don't need to be perfect every night, but even doing half these steps will keep your space feeling fresh and organized. Start tonight, and enjoy a cleaner kitchen and a more relaxed evening.