How to Clean Tile Grout Bathroom Showers in 13 Steps
You step into the shower, and the grout lines look more gray than white. Maybe they're even sporting a few dark spots that weren't there last week. Grout is porous, so it traps soap scum, body oils, and moisture, turning dingy fast.
The good news? You don't need harsh chemicals or a professional to bring it back.
With the right approach and a little elbow grease, you can make that grout look fresh again. This guide walks you through 13 practical steps to clean tile grout in your shower, from prepping the area to sealing it for long-lasting results.
1. Gather Your Cleaning Arsenal
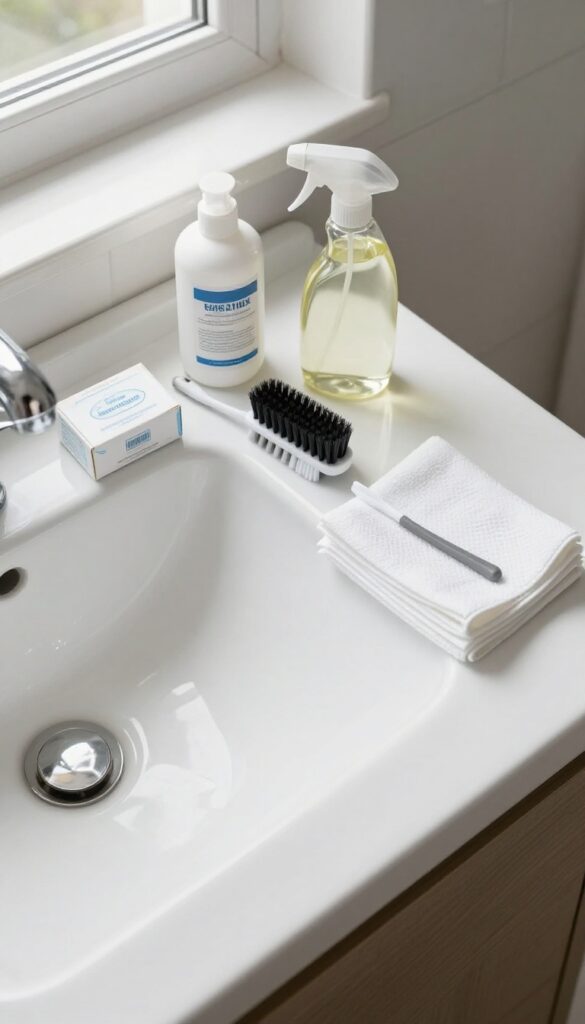
Before you start scrubbing, round up the right tools and cleaners. Using the wrong product can damage your grout or make the job harder than it needs to be. A well-stocked cleaning caddy saves you from running back and forth mid-task.
You don't need a long list of specialty products. Most of what you need is already in your pantry. Baking soda, white vinegar, and hydrogen peroxide are your heavy hitters.
Pair them with a stiff-bristled brush (an old toothbrush works great), microfiber cloths, and a spray bottle. One important tip: skip bleach if your grout is colored—it can strip the pigment and leave you with uneven patches.
The Must-have Cleaners
Baking soda is a mild abrasive that lifts grime without scratching. White vinegar cuts through soap scum and mineral deposits. Hydrogen peroxide tackles mold and mildew stains.
For tougher jobs, consider a grout-specific cleaner or a steam cleaner.
Tools That Make A Difference
A stiff brush with nylon bristles reaches deep into grout lines. Microfiber cloths are lint-free and absorbent. A spray bottle lets you apply vinegar or peroxide precisely.
Don't forget gloves to protect your hands.
What To Avoid
Bleach can discolor colored grout and weaken it over time. Abrasive scrub pads may scratch tile surfaces. Acidic cleaners like lemon juice can etch natural stone tiles.
Always test a small hidden area first.
2. Ventilate and Protect the Area
Before you start scrubbing, take a moment to set up your workspace. Proper ventilation and protection will make the job safer and more comfortable, especially when using stronger cleaning agents.
Open a window or turn on the exhaust fan to reduce fumes from cleaners. Lay down old towels or a drop cloth to catch drips and protect the shower floor. Wear rubber gloves to shield your skin from harsh chemicals, and consider safety glasses if you're using bleach or acidic cleaners.
Good airflow and protection let you focus on the cleaning without irritation.
Why Ventilation Matters
Many grout cleaners contain bleach, ammonia, or other strong chemicals that release fumes. In a small, enclosed shower, those fumes can build up quickly. Opening a window or running the exhaust fan pulls fresh air in and pushes odors out, making the experience much more pleasant.
Protecting Surfaces And Yourself
Lay down towels or a plastic sheet on the shower floor to catch any drips or splashes. This prevents cleaner from sitting on the floor and causing damage. Gloves are a must—they keep your hands dry and free from chemical burns or irritation.
If you're using a spray-on cleaner, safety glasses can prevent accidental splashes in your eyes.
3. Dry Scrub Loose Dirt
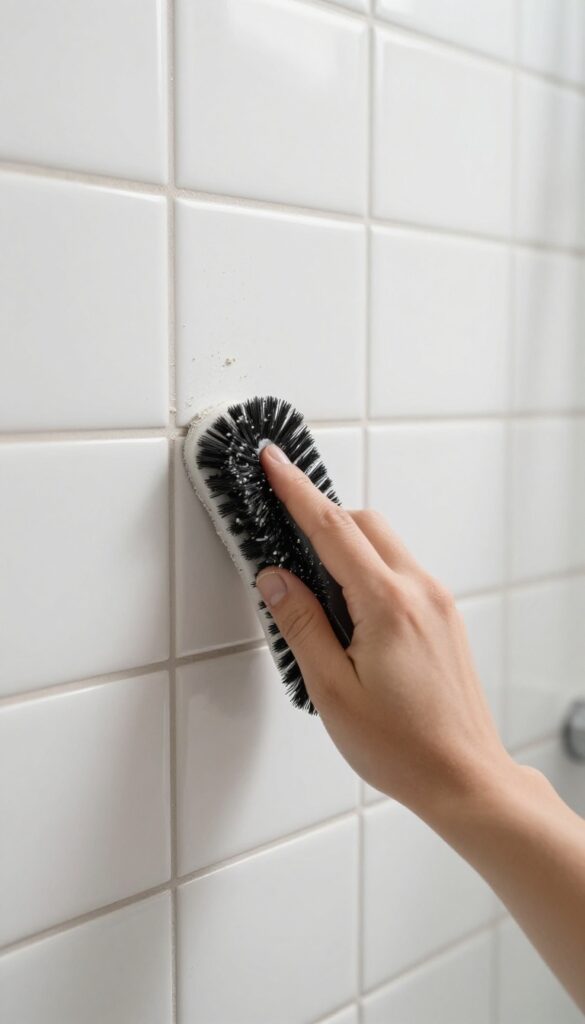
Grabbing a brush and going straight at the grout with cleaner might seem logical, but you'll get better results if you start dry. A quick dry scrub lifts loose dust, hair, and debris before any liquid touches the surface. This simple step prevents the mess from turning into mud that clogs your brush and spreads grime around.
Choose The Right Brush
A stiff-bristled brush works best for dry scrubbing. Look for a nylon or natural fiber brush with firm bristles that can reach into the grout lines without scratching the tile. Avoid metal brushes, which can leave scratches on glazed tiles.
A grout brush with a comfortable handle or an old toothbrush can also do the job in tight corners.
Work In Small Sections
Start at the top of the shower and work your way down. Focus on one wall or a small area at a time so you don't miss spots. Use short, firm strokes along the grout lines, angling the brush to get into the grooves.
You'll see dust and loose particles fall away immediately.
Vacuum Or Sweep The Debris
After scrubbing, use a vacuum with a brush attachment to suck up all the loose dirt from the grout lines and tile surface. If you don't have a vacuum, a dry microfiber cloth or a dustpan and brush will work. Removing this debris now means your cleaner can soak directly into the grout instead of sitting on top of dirt.
4. Apply a Baking Soda Paste
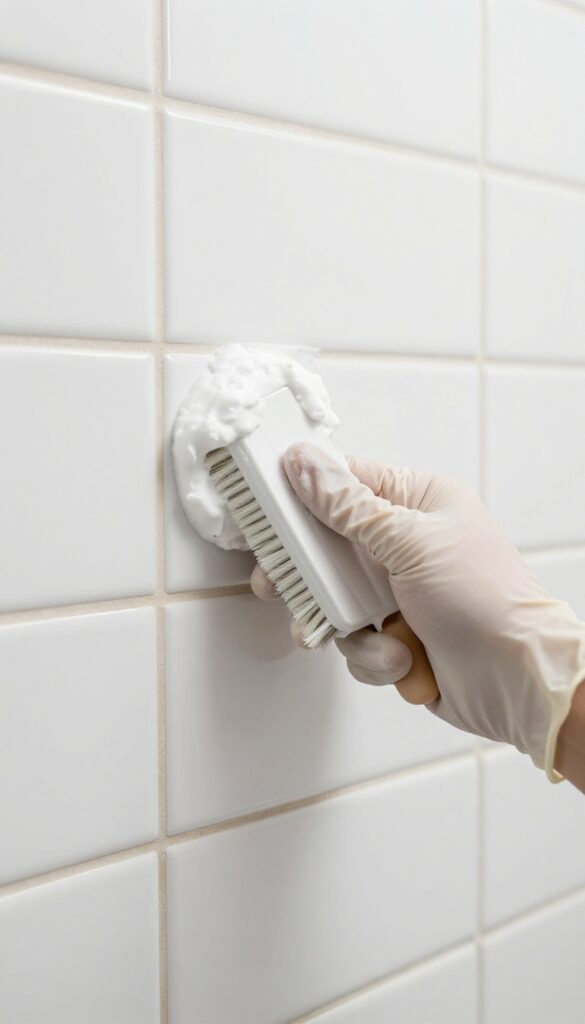
Once the grout is prepped, it's time for the real cleaning magic. Baking soda is a gentle abrasive that lifts grime without scratching tile. When mixed into a paste, it clings to vertical grout lines and works its way into pores to loosen stuck-on dirt.
This step is simple but makes a huge difference.
Mixing The Paste
In a small bowl, combine about 1/2 cup of baking soda with 2 to 3 tablespoons of water. Stir until you get a thick, spreadable consistency—think toothpaste or slightly thicker. If it's too runny, add more baking soda; too dry, add water a few drops at a time.
Applying And Waiting
Use an old toothbrush, a grout brush, or even your finger to apply the paste directly onto the grout lines. Press it in so it fills the grooves. Let it sit for 10 minutes.
This dwell time lets the baking soda start breaking down soap scum and oils without scrubbing.
Why This Works
Baking soda is alkaline, which helps dissolve acidic grime like body oils and soap residue. It's also non-toxic, so you don't have to worry about fumes or rinsing into your drain. For extra stubborn spots, you can add a splash of white vinegar after the paste sits—but be ready for fizzing.
5. Spray with Vinegar Solution
Now that the baking soda paste has had a few minutes to work, it's time to activate it with a simple vinegar spray. This dynamic duo creates a gentle fizzing action that helps lift embedded dirt and grime from the porous grout surface. The reaction is mild but effective, and it's completely safe for your tile and grout.
Fill a spray bottle with equal parts white vinegar and water. Shake gently to mix. Lightly mist the vinegar solution over the baking soda paste—you'll see it start to fizz immediately.
Let it sit for about 5 minutes to allow the reaction to loosen stubborn dirt. Don't oversaturate; a light mist is enough. The fizzing helps break down soap scum and mineral deposits without harsh scrubbing.
Why This Combo Works
Baking soda is a mild alkali that reacts with the acetic acid in vinegar to produce carbon dioxide gas. That fizzing action physically agitates dirt and debris, making it easier to wipe away. Plus, vinegar naturally cuts through soap scum and hard water stains, while baking soda provides gentle abrasion.
How To Apply Evenly
Hold the spray bottle about 6 inches from the grout and use a sweeping motion to cover the area. Focus on one section at a time so the solution doesn't dry out before you scrub. If you're working on a large shower, do a small area first to see how the grout responds.
Let It Work, Don't Rush
After spraying, step back and let the fizzing do its job. Give it at least 5 minutes—longer if the grout is heavily soiled. You might notice the fizzing subsiding after a minute or two, but the solution is still penetrating.
Use this time to prepare your scrub brush or sponge.
6. Scrub with a Grout Brush
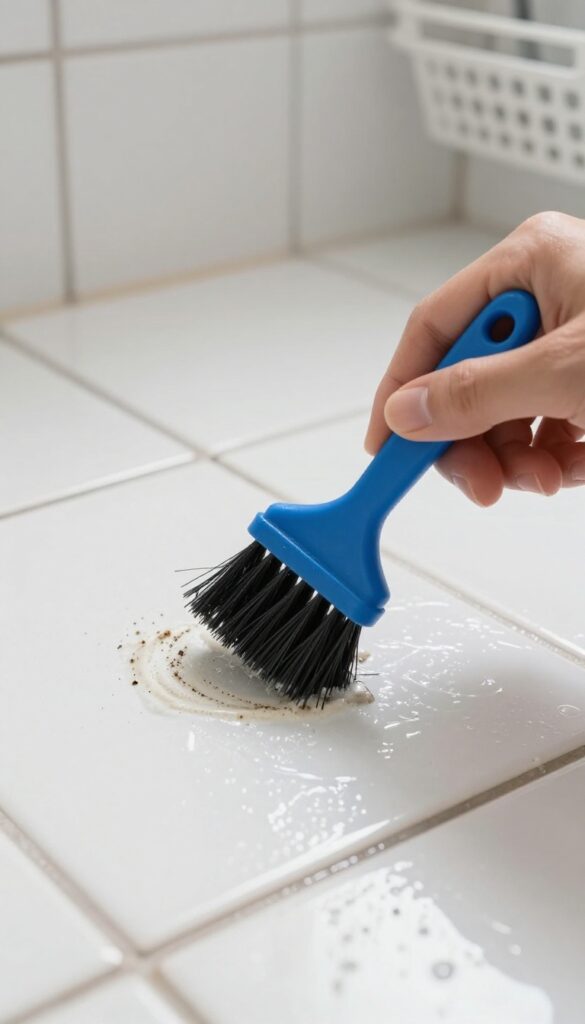
Now it's time to get physical. A good scrub is what breaks up the grime that's been sitting in those porous lines. You don't need a power tool—just the right brush and some elbow grease.
Choose The Right Brush
A dedicated grout brush has stiff, narrow bristles that fit right into the lines. If you don't have one, an old toothbrush works just as well. Avoid wire brushes—they can scratch the tile.
Use Circular Motions
Press the bristles into the grout and scrub in small circles. This motion helps dislodge dirt from all sides of the groove. Focus on one small area at a time, and you'll see the grout lighten as you go.
Apply Firm, Steady Pressure
Don't be afraid to bear down a bit. The grout is tough, and it takes some force to lift embedded stains. If your arm gets tired, switch hands or take a short break—consistency matters more than speed.
7. Rinse Thoroughly with Warm Water
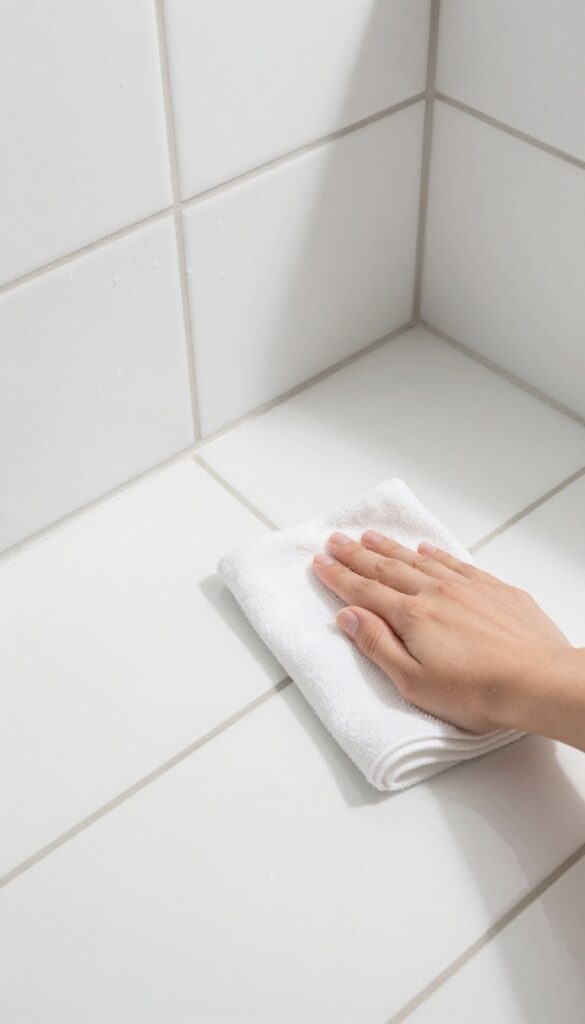
You've scrubbed and scrubbed, and the grout looks cleaner already. But don't stop now—rinsing is just as important as cleaning. Leftover baking soda or vinegar residue can attract dirt and leave a dull film.
A thorough rinse with warm water ensures your grout is truly clean and ready for the next step.
Use A Damp Microfiber Cloth
Grab a clean microfiber cloth and dampen it with warm water. Wipe down the grout lines to remove the paste and vinegar mixture. Microfiber is excellent for trapping residue without leaving lint behind.
Rinse the cloth frequently in clean water to avoid spreading dirt around.
Rinse Multiple Times
One quick wipe won't cut it. Go over the area two or three times with fresh water each pass. Pay extra attention to corners and crevices where residue likes to hide.
You'll know you're done when the water runs clear and the grout looks matte, not shiny or sticky.
Dry The Area
After rinsing, use a dry microfiber cloth to blot the grout lines. This removes excess moisture and prevents water spots or mold growth. Let the shower air-dry completely before moving on to sealing or applying any treatments.
8. Tackle Stubborn Stains with Hydrogen Peroxide
Some stains just won't budge with baking soda and vinegar alone. Mildew spots or old soap scum can leave dark patches that seem permanent. That's where hydrogen peroxide comes in—it's a mild bleach that's safe for colored grout and works wonders on organic stains.
Hydrogen peroxide is a go-to for deep-set grout stains because it breaks down mildew and whitens without the harsh fumes of chlorine bleach. It's also gentle enough for most grout types, including colored or epoxy grout, as long as you test it first.
Apply And Let It Sit
Pour 3% hydrogen peroxide directly onto the stained grout lines. You can use a spray bottle for even coverage or apply it with a small brush. Let it sit for about 15 minutes—don't let it dry out completely.
The peroxide will bubble and lift the stain as it works.
Scrub And Rinse
After the wait, scrub the grout with a stiff-bristled brush. Focus on the darkest spots, applying a little extra peroxide if needed. Rinse thoroughly with warm water.
You'll likely see a noticeable lightening. Repeat for stubborn areas, but avoid over-scrubbing to prevent grout damage.
Combine With Baking Soda For Extra Power
For really tough stains, make a paste of hydrogen peroxide and baking soda. Apply it to the grout, let it sit for 10–15 minutes, then scrub. This combo creates a gentle abrasive that lifts stains without scratching.
Rinse well afterward.
9. Use a Steam Cleaner for Deep Grime
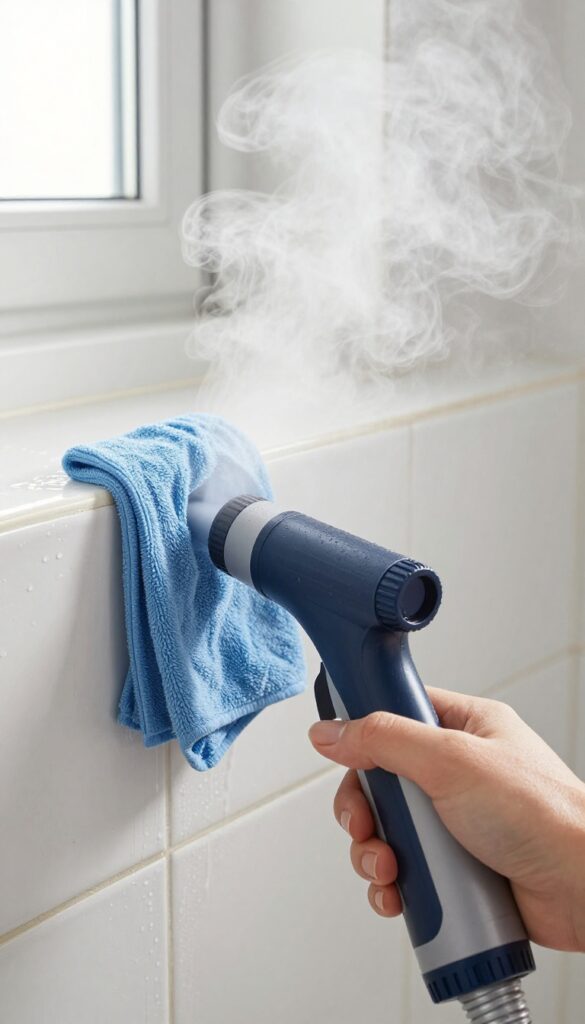
When scrubbing by hand leaves you frustrated, it's time to bring in some heat. A handheld steam cleaner shoots hot steam into the porous grout, loosening years of trapped dirt without any harsh chemicals. It's a game-changer for stubborn grime that's settled deep into the lines.
Steam cleaning is especially effective for shower grout because the high temperature kills mold spores and breaks down soap scum on contact. You don't need to scrub nearly as hard—the steam does most of the work. Plus, it's a chemical-free method that's safe for you and the environment.
Choose The Right Steamer
Not all steam cleaners are created equal. For grout, a handheld model with a small brush attachment works best. Look for one that heats up quickly and has a continuous steam function.
Avoid large floor steamers—they're too bulky for shower walls and corners.
Technique Matters
Hold the steamer nozzle about an inch from the grout and move it slowly along the lines. Let the steam penetrate for a few seconds before wiping away the loosened grime with a microfiber cloth. Work in small sections so the steam doesn't cool down before you wipe.
Safety First
Steam gets hot—over 200°F. Always wear gloves to protect your hands, and keep the nozzle away from your skin. Also, make sure your shower tiles are glazed and not cracked, as extreme heat can damage unglazed or damaged tiles.
10. Dry the Grout Completely
After all that scrubbing and rinsing, it's tempting to call it done. But skipping the drying step can undo your hard work. Wet grout is vulnerable grout—it can trap new debris, develop mildew, or prevent sealant from bonding later.
Taking a few extra minutes to dry everything thoroughly is a small investment that pays off in a cleaner, longer-lasting finish.
Drying isn't just about removing visible water; it's about pulling moisture out of the porous grout lines. Use a clean, dry microfiber cloth to blot and absorb as much moisture as possible from the grout and tiles. Then leave the shower door or curtain open and let the air do the rest.
Aim for at least an hour of air-drying time before you consider sealing. This ensures the grout is truly dry, not just surface-dry.
Why Drying Matters
Grout is like a sponge—it soaks up water easily. If you seal damp grout, you trap moisture inside, which can lead to mold growth or sealant failure. Drying thoroughly also prevents new soap scum or dirt from sticking to wet surfaces.
A fully dry surface is the best foundation for a protective seal.
Best Tools For Drying
Microfiber cloths are ideal because they're highly absorbent and lint-free. Avoid old towels that might leave fibers behind. For hard-to-reach corners, a clean, dry sponge can help.
If you have a squeegee, run it over the tiles first to remove bulk water, then follow up with a cloth.
How Long Should You Wait?
Give the grout at least one hour of air-drying time after blotting. In a humid bathroom, you might need two hours. To speed things up, turn on the bathroom fan or crack a window.
A hair dryer on a cool setting can also help, but keep it moving to avoid overheating any one spot.
11. Inspect for Mold and Mildew
After scrubbing and rinsing, take a close look at the grout lines. Some dark spots might be stubborn mold or mildew that didn't wash away. These need special treatment to prevent them from spreading and coming back.
Mold and mildew can hide in porous grout, especially in damp shower corners. A quick inspection now saves you from redoing the whole process later. Use a bright light to check every grout line, focusing on areas near the floor and corners where moisture collects.
Spotting The Difference
Not every dark spot is mold. Dirt and soap scum usually rinse off with water, while mold stays put. If a spot doesn't fade after a good scrub, it's likely mold.
Look for black, green, or brown patches that feel slightly fuzzy or slimy to the touch.
Treating Stubborn Spots
For small areas, a bleach pen works wonders. Apply it directly to the stain, let it sit for 10-15 minutes, then rinse thoroughly. For larger patches, use a commercial mold remover spray.
Follow the instructions carefully and ventilate the bathroom while working.
Final Rinse And Dry
After treating mold spots, rinse the entire shower area with warm water. Use a squeegee or microfiber cloth to remove excess moisture. Let the grout dry completely before moving on to sealing.
This step ensures no mold spores survive to regrow.
12. Apply a Grout Sealer
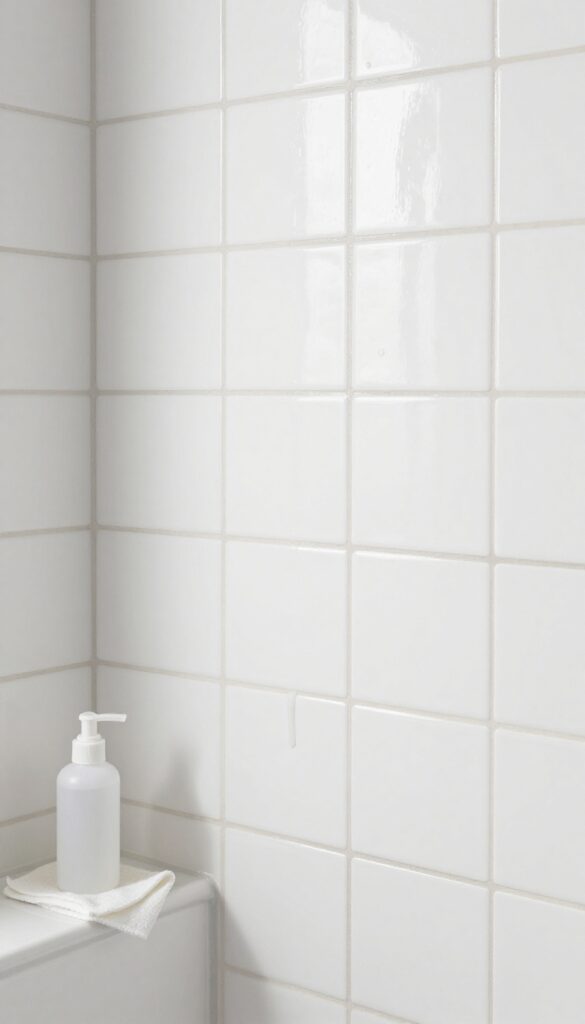
Sealing is the final step that locks in all your hard work. Grout is naturally porous, so without a sealer, it will soak up moisture and grime again within weeks. A good penetrating sealer fills those tiny pores and creates a barrier that makes future cleaning much easier.
Choosing The Right Sealer
Look for a penetrating sealer rather than a surface sealer. Penetrating sealers soak into the grout and protect from within, while surface sealers can peel or discolor. For bathroom showers, a water-based sealer is usually best—it's low odor and easy to clean up.
Check the label to ensure it's suitable for your grout type and color.
How To Apply It Properly
Use a small brush or a foam applicator to work the sealer into the grout lines. Apply it carefully, staying on the grout and off the tile. Work in small sections so you can wipe off excess before it dries.
Let the sealer sit for a few minutes as directed, then buff away any leftover with a clean, dry cloth.
Avoiding Common Mistakes
The biggest mistake is leaving excess sealer on the tile surface. It dries into a hazy film that's tough to remove. Wipe immediately and thoroughly.
Also, don't skip the curing time—most sealers need 24 to 48 hours to fully bond. Keep the shower dry during that period.
13. Maintain with Weekly Wipes
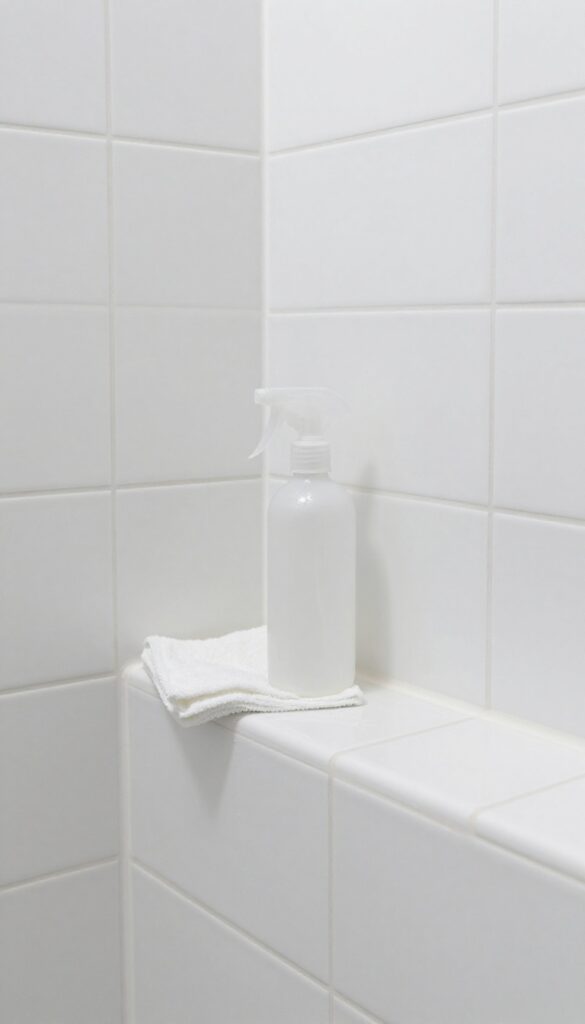
You've put in the work to get your grout looking clean and bright. The last thing you want is for grime to build up again in a few weeks. A simple maintenance routine can keep that fresh look going much longer with minimal effort.
Spending just a couple of minutes after each shower can prevent soap scum and mildew from taking hold. It's a small habit that saves you from deep cleaning sessions down the road.
After cleaning, spray grout with a daily shower cleaner or a vinegar-water mix after each use. A quick wipe prevents future buildup.
Daily Spray Routine
Keep a spray bottle filled with a 50/50 mix of white vinegar and water in your shower. After your last rinse, give the grout lines a quick spritz. The vinegar cuts through soap residue and inhibits mildew growth.
Let it sit for a minute, then rinse with the showerhead or wipe with a squeegee.
Weekly Wipe Down
Once a week, take a soft cloth or sponge and wipe down the grout lines. This removes any lingering film that spraying alone might miss. Focus on corners and edges where moisture collects.
A dry microfiber cloth works great for absorbing excess water.
Ventilation Matters
After each shower, run the exhaust fan for at least 20 minutes or open a window. Good airflow dries the grout quickly, making it harder for mold and mildew to establish. If you don't have a fan, leave the shower door open to let air circulate.
FAQ
How often should I clean shower grout?
For maintenance, wipe down grout weekly with a mild cleaner. A deep clean like this 13-step process is recommended every 3-6 months, depending on usage.
Can I use bleach on colored grout?
Avoid bleach on colored grout as it can cause fading or discoloration. Stick to oxygen-based cleaners or baking soda and vinegar.
What's the best homemade grout cleaner?
A paste of baking soda and water, followed by a spray of white vinegar, is highly effective. For tough stains, hydrogen peroxide works well.
Do I need to seal grout after cleaning?
Yes, sealing after a deep clean helps repel moisture and stains, extending the life of your grout. Reapply sealer every 1-2 years.
How do I prevent mold in shower grout?
Keep the bathroom well-ventilated, use a squeegee on walls after showers, and apply a daily shower spray to reduce moisture buildup.
Conclusion
Cleaning shower grout doesn't have to be a dreaded chore. With these 13 steps, you can tackle even the grimiest grout lines and restore your shower's appearance. The key is consistency—regular maintenance makes deep cleans much easier.
Once you see how bright your grout can be, you'll want to keep it that way. So grab your supplies, put on some music, and give your shower the attention it deserves. Your bathroom will thank you.