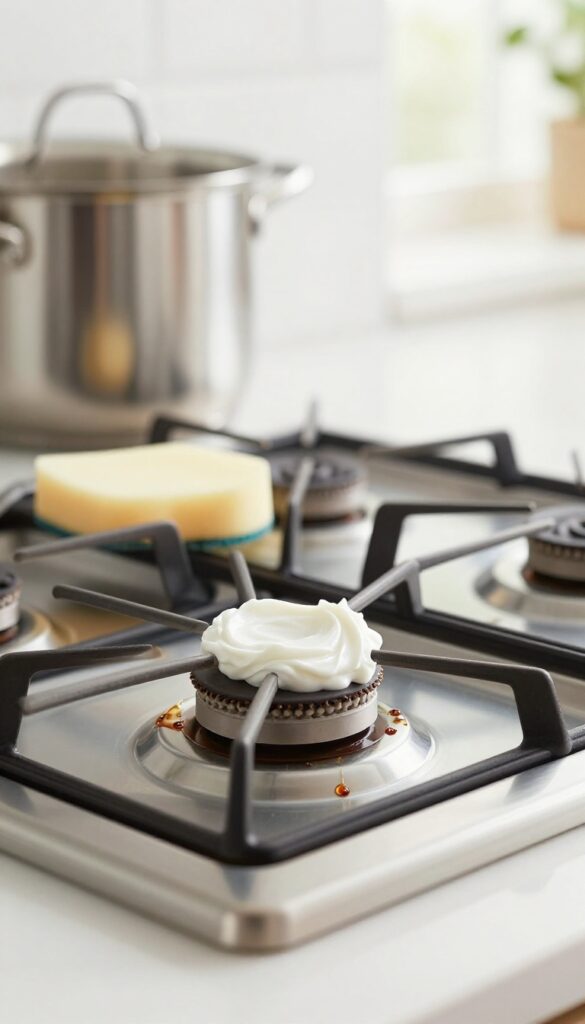
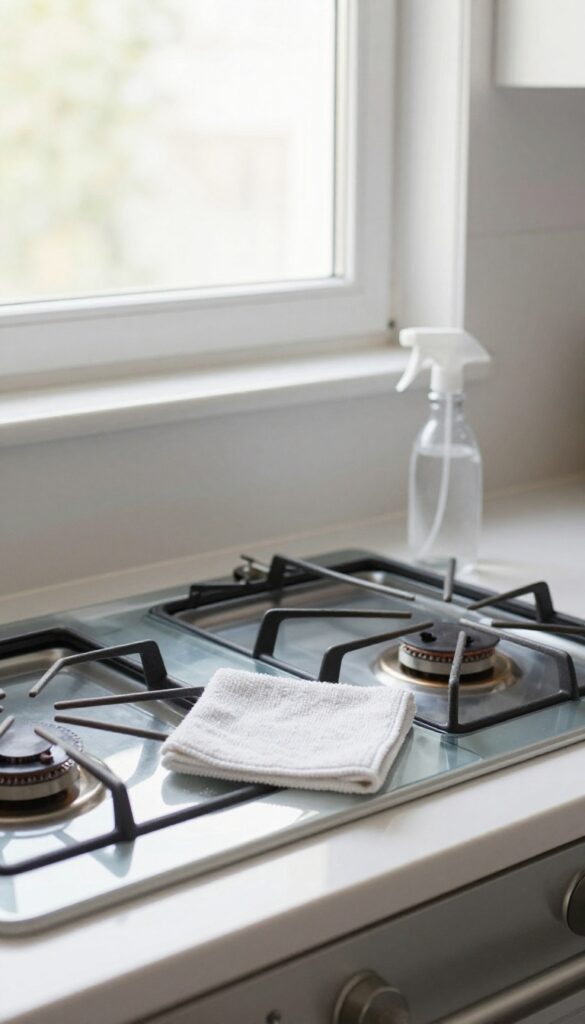
17 Stove Cleaning Hacks for Grease Splatter and Shine
Grease splatters and baked-on grime can make your stove look like a battlefield. But restoring that sparkling shine doesn't require expensive cleaners or hours of scrubbing. With a few pantry staples and clever tricks, you can tackle even the toughest messes in minutes.
From fizzing baking soda pastes to steam-cleaning with vinegar, these 17 hacks target every surface type—glass, stainless steel, or ceramic. Each method is practical, budget-friendly, and designed to deliver visible results fast.
Ready to make your stovetop gleam? Let's dive into the best ways to banish grease and bring back the shine.
1. Baking Soda Paste for Burnt-On Grease
Burnt-on grease can feel impossible to remove, but baking soda is a gentle abrasive that makes light work of it. Mixed into a paste, it clings to vertical surfaces and breaks down stubborn residue without scratching your stovetop. This method works on glass, ceramic, and stainless steel—just avoid using it on unsealed cast iron.
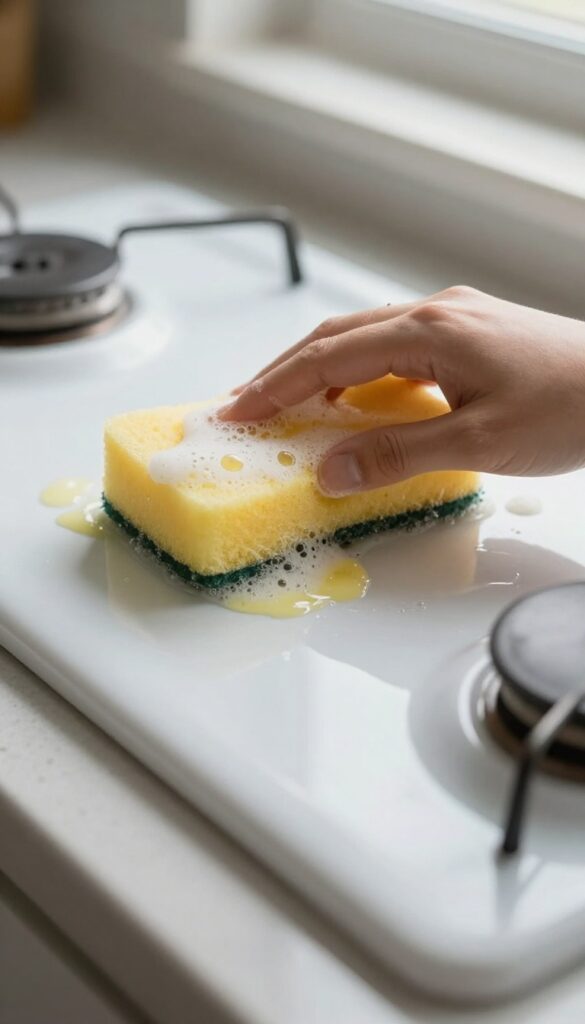
Start by mixing three parts baking soda with one part water to form a thick, spreadable paste. Apply it generously to the burnt areas and let it sit for 15 minutes to soften the grease. Then, using a soft sponge or microfiber cloth, scrub in circular motions.
Rinse with a damp cloth and buff dry. For extra stubborn spots, add a few drops of dish soap to the paste.
Why Baking Soda Works So Well
Baking soda is mildly alkaline, which helps break down acidic grease molecules. Its fine, crystalline structure provides gentle friction that lifts burnt residue without scratching. Unlike harsh chemical cleaners, it's non-toxic and safe around food prep areas.
Tips For Best Results
Let the paste sit longer—up to 30 minutes—for heavily burnt areas. If the paste dries out, spritz a little water on it to reactivate. Always test on a small, hidden area first, especially on coated or enameled surfaces.
After scrubbing, wipe with a vinegar-water solution to remove any baking soda residue and add shine.
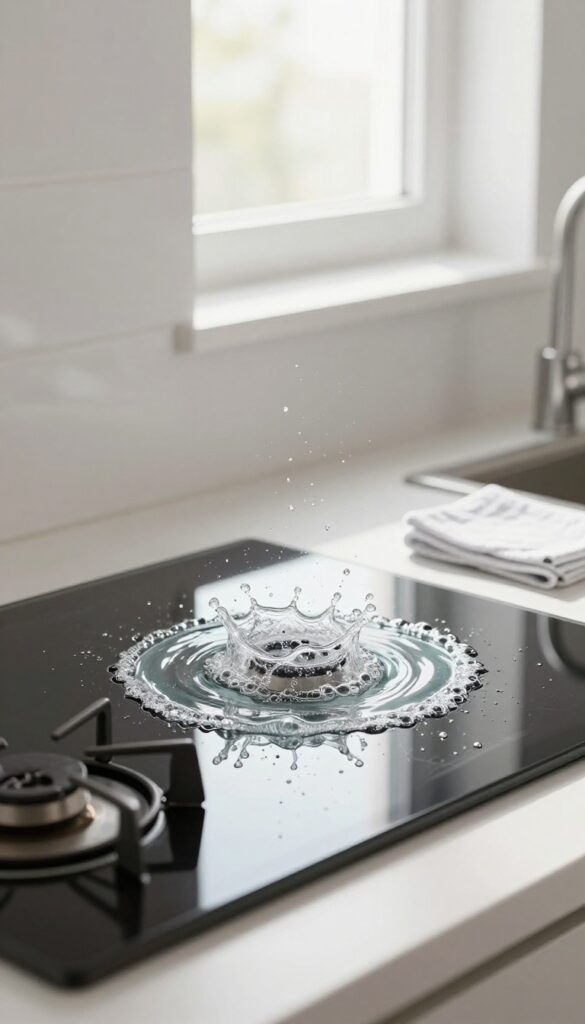
2. Vinegar and Water Steam Clean for Glass Cooktops
Glass cooktops look sleek, but they also show every smear and grease splatter. The good news is you don’t need a specialty cleaner to get them spotless. A simple solution of vinegar and water, combined with a little heat, can loosen stubborn residue and leave your cooktop streak-free.
This method works because the steam helps soften dried-on grease and food particles, making them easy to wipe away. Plus, vinegar is a natural degreaser and leaves no harsh chemical residue.
Why Steam Cleaning Works
Steam penetrates baked-on grime better than liquid cleaners alone. When you heat the vinegar-water solution, the steam rises and loosens stuck-on debris. It’s especially effective on glass cooktops because the smooth surface allows steam to spread evenly.
How To Do It Right
Mix equal parts white vinegar and water in a spray bottle. Spray the solution generously over the cool cooktop, then turn the burners on low for about 30 seconds. Turn off the heat and let the steam sit for a minute.
Wipe with a microfiber cloth in circular motions. For tough spots, repeat or let the solution sit a little longer before wiping.
Pro Tips For Best Results
Always start with a cool cooktop to avoid cracking from thermal shock. Use distilled water to prevent mineral spots. For extra shine, finish with a dry microfiber cloth.
Avoid using paper towels, as they can leave lint.
3. Dish Soap and Hydrogen Peroxide for Stubborn Stains
Some stains just won't budge, especially those yellowed or discolored patches near the burners. That's where hydrogen peroxide steps in. Mixed with regular dish soap, it creates a powerful stain-fighting duo that breaks down grease and lifts discoloration without harsh scrubbing.
This hack works wonders on ceramic and glass cooktops, as well as enamel surfaces. The peroxide reacts with the soap to release oxygen bubbles that help lift stains from the surface. It's gentle enough for daily use but strong enough to tackle those old, set-in marks that make your stove look tired.
How To Mix And Apply
In a small bowl, combine equal parts dish soap and 3% hydrogen peroxide. Use a sponge or soft cloth to apply the mixture directly to the stained areas. Let it sit for 10 minutes without letting it dry out—cover with a damp paper towel if needed.
Then scrub gently with a non-abrasive pad and rinse with a damp cloth.
Why It Works So Well
Dish soap cuts through grease, while hydrogen peroxide acts as a mild bleach and oxidizer. Together, they target the organic compounds in food residue that cause yellowing. This combination is especially effective on white or light-colored stovetops where discoloration stands out the most.
Safety And Surface Tips
Always test on a small hidden area first, especially on stainless steel or painted surfaces. Avoid using on unsealed stone or porous materials. Rinse thoroughly after use to prevent any residue from baking on during your next cooking session.
4. Lemon Juice and Salt for Grease Cuts
Sometimes the best cleaners are already sitting in your kitchen. A simple lemon and salt combo works wonders on greasy stovetops. The citric acid breaks down stubborn grease while the salt acts as a gentle scrubber—no harsh chemicals needed.
This hack is perfect for fresh splatters or light baked-on grease. Just cut a lemon in half, dip the cut side into coarse salt, and scrub the greasy areas in circular motions. The acid dissolves the grease, and the salt lifts it away without scratching most surfaces.
Rinse with a damp cloth and wipe dry for a streak-free shine.
Why It Works
Lemon juice contains citric acid, a natural degreaser that breaks down fatty residues. Salt provides just enough abrasion to dislodge stuck-on grime without damaging ceramic, glass, or stainless steel. Together, they create a gentle but effective cleaning paste.
Best Surfaces To Use It On
This method works great on glass cooktops, ceramic stoves, and stainless steel. Avoid using it on unsealed stone or porous surfaces, as the acid could etch them. Always test on a small hidden area first if you're unsure.
Pro Tips For Best Results
Use coarse salt like kosher or sea salt for better scrubbing power. Warm the stovetop slightly (turn it off and let it cool until just warm) to help the lemon juice work faster. Rinse thoroughly to prevent any sticky residue from the sugar in the lemon.
5. Club Soda for Glass Stovetop Streaks
Glass cooktops are magnets for streaks and smudges. Even after a thorough wipe, you might notice a hazy film or stubborn water spots. Club soda offers a simple fix—the carbonation helps lift residue without harsh chemicals.
Pour a small amount of club soda directly onto the cool cooktop. Let it fizz for about a minute to break down grease and grime. Then wipe with a clean microfiber cloth in circular motions.
The carbonation acts like tiny scrubbers, lifting stuck-on particles. Finish with a dry cloth for a streak-free shine.
Why Club Soda Works
Club soda contains carbonic acid, which is mild enough for glass but effective at dissolving grease. The bubbles also help dislodge food particles from tiny scratches. Unlike tap water, it leaves no mineral deposits behind.
Best Practices For Best Results
Always ensure the stovetop is cool before applying club soda. Use a microfiber cloth to avoid scratches. For tough spots, let the soda sit for an extra minute and gently scrub with a non-abrasive sponge.
Rinse with a damp cloth if needed.
When To Avoid This Method
Avoid club soda on hot surfaces, as it can cause thermal shock and crack the glass. Also, don't use it on ceramic or coil burners—it's best for smooth glass tops only.
6. Dryer Sheets for Baked-On Food
You might think dryer sheets are only for laundry, but they have a hidden talent for loosening stubborn, baked-on food on your stovetop. The fabric softener contains surfactants that break down grease and grime, making it surprisingly effective. Best of all, it's a no-scrub method that works with minimal effort.
To use this hack, grab a used or new dryer sheet and soak it in warm water. Lay it directly over the baked-on residue on a cool burner. Let it sit for about 20 minutes—the longer for tougher spots.
The softener will soften the crust, and you can wipe it away with a damp cloth. For extra stubborn areas, repeat or gently scrape with a plastic spatula.
Why Dryer Sheets Work
Dryer sheets are coated with fatty acids and softening agents that act like mild detergents. When wet, these compounds help dissolve baked-on oils and food particles, making them easy to lift without harsh chemicals.
Step-by-step Application
Start by turning off the stove and ensuring the burner is cool. Wet a dryer sheet with warm water and place it directly on the mess. Let it sit for 20 minutes, then remove and wipe the area with a sponge.
Rinse with water and dry.
Tips For Best Results
Use unscented or gentle dryer sheets to avoid strong perfume residue. If the stain is very old, let the sheet sit longer or add a few drops of dish soap. Always test on a small area first, especially on delicate glass cooktops.
7. Cream of Tartar for Tough Stains
Cream of tartar is a mild acid that cuts through stubborn stains without scratching delicate surfaces. When mixed with water, it forms a paste that targets discolored patches and baked-on residue. This hack is especially effective on ceramic and glass cooktops where abrasives can cause damage.
Cream of tartar is a mild acid that cuts through stubborn stains without scratching delicate surfaces. When mixed with water, it forms a paste that targets discolored patches and baked-on residue. This hack is especially effective on ceramic and glass cooktops where abrasives can cause damage.
How To Make The Paste
Combine two tablespoons of cream of tartar with a few drops of water to create a thick, spreadable paste. Adjust the consistency as needed—it should be like toothpaste, not runny. For extra stubborn stains, add a splash of white vinegar to boost the acidity.
Application And Drying Time
Apply the paste directly onto the stain using a soft cloth or sponge. Spread it evenly and let it sit for 10 to 15 minutes until it dries completely. The drying process helps lift the stain from the surface, making it easier to scrub away.
Scrubbing And Rinsing
Once dry, use a damp microfiber cloth or a non-abrasive scrubber to gently rub the area in circular motions. The dried paste will crumble away, taking the stain with it. Wipe off any residue with a clean, wet cloth and buff dry for a streak-free shine.
8. Rubbing Alcohol for Grease Splatters
Rubbing alcohol isn't just for first aid—it's a powerhouse degreaser that evaporates fast and leaves no streaks. Perfect for those fresh splatters that haven't had time to bake on, it cuts through oil like a charm. A quick wipe with a damp cloth is all it takes to restore shine without any sticky residue.
Rubbing alcohol works by dissolving grease on contact, and because it evaporates quickly, there's no need to rinse or buff. It's especially effective on stainless steel and glass cooktops where streaks are a common annoyance. Just make sure the surface is cool and the area is well-ventilated.
Why It Works So Well
Alcohol is a solvent that breaks down the molecular bonds in grease, making it easy to wipe away. Unlike water-based cleaners, it doesn't leave behind a film, so your stovetop dries crystal clear. Plus, it kills germs—a bonus for kitchen hygiene.
How To Use It Safely
Pour a small amount of 70% or 90% isopropyl alcohol onto a soft microfiber cloth—never directly on the stove, especially near gas flames. Wipe down the greasy areas in a circular motion, then let it air dry. For stubborn spots, let the alcohol sit for 30 seconds before wiping.
Best Surfaces For Alcohol
This hack shines on glass, ceramic, and stainless steel surfaces. Avoid using it on painted or sealed stovetops, as alcohol can strip the finish. Always test on a hidden spot first if you're unsure.
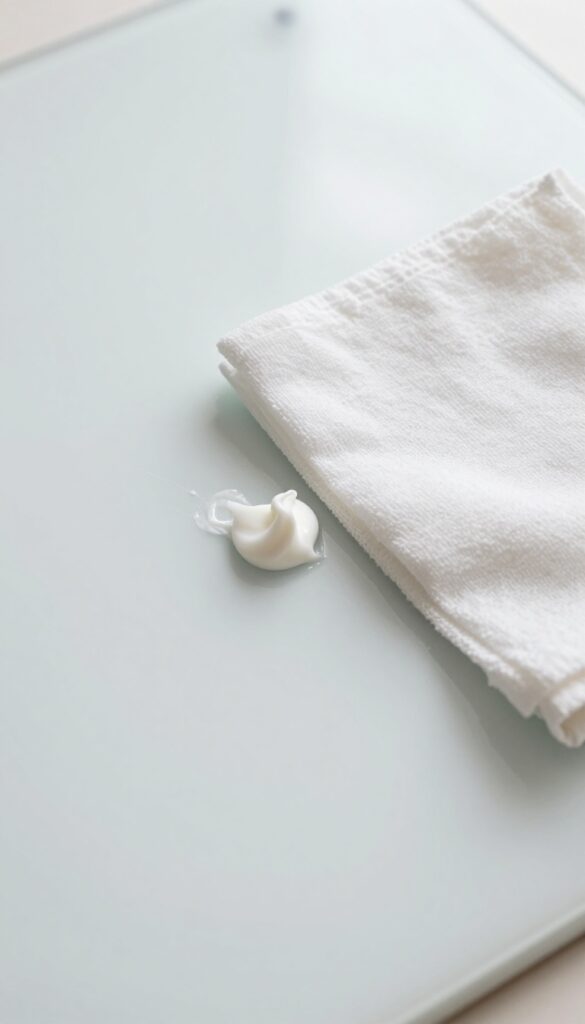
9. Baby Oil for Stainless Steel Shine
Baby oil isn't just for soothing skin—it's a secret weapon for stainless steel stovetops. A few drops on a soft cloth can wipe away fingerprints, grease smudges, and water spots while leaving behind a protective, mirror-like shine. It's cheap, gentle, and works faster than many specialty cleaners.
Baby oil is a mineral oil that fills microscopic pores in stainless steel, creating a smooth, hydrophobic barrier. This not only makes the surface gleam but also repels future fingerprints and grime. Best of all, it won't harm the finish or leave sticky residue when used sparingly.
How To Apply Baby Oil For Best Results
Start by cleaning the stovetop with a mild soap and water to remove loose debris. Dry completely. Then put 2-3 drops of baby oil on a microfiber cloth.
Rub it onto the stainless steel in circular motions, covering the entire area. Flip the cloth to a dry section and buff gently until the surface is streak-free and shiny. Use a clean part of the cloth for final buffing to avoid smears.
Why Baby Oil Works So Well
Stainless steel naturally has a thin chromium oxide layer that can be disrupted by harsh cleaners, leading to dullness. Baby oil is non-reactive and provides a temporary protective coating. It also dissolves light grease and lifts fingerprints without stripping the metal's finish.
Plus, it's safe for food-contact surfaces when used in small amounts.
Where Else To Use Baby Oil In The Kitchen
This trick isn't limited to stovetops. Use it on stainless steel sinks, refrigerator doors, range hoods, and even faucets. It also works on chrome fixtures and some ceramic cooktops (check manufacturer guidelines first).
Avoid using it on non-stick surfaces or near open flames.
10. Ketchup for Copper or Brass Accents
If your stove has copper or brass accents—like trim, knobs, or handles—you might notice they lose their luster over time. Before you reach for harsh metal polishes, check your fridge. Ketchup is surprisingly effective at restoring shine to these metals, thanks to its acidity.
It's a gentle, non-abrasive method that works like magic.
Ketchup contains vinegar and tomato acids that break down tarnish and oxidation on copper and brass. Simply apply a thin layer, let it sit for about 15 minutes, then wipe clean with a damp cloth. For stubborn spots, a soft toothbrush can help.
Rinse thoroughly and dry to reveal a brilliant shine. This hack is cheap, non-toxic, and uses something you probably already have.
Why Ketchup Works
The mild acids in ketchup—acetic acid from vinegar and citric acid from tomatoes—react with the oxidized layer on copper and brass, dissolving tarnish without scratching. It's a chemical reaction, not a abrasive scrub, so it's safe for delicate finishes. Plus, the thick consistency clings to vertical surfaces, making it easy to apply on stove knobs or trim.
Step-by-step Application
Start by squeezing a small amount of ketchup onto a soft cloth or directly onto the metal. Spread it evenly to cover the tarnished area. Let it sit for 10–15 minutes—longer if the tarnish is heavy.
Then, wipe off with a damp cloth, using gentle circular motions. For intricate details, use an old toothbrush dipped in ketchup. Rinse with water and buff dry with a clean towel.
Tips For Best Results
For best results, clean the metal first with mild soap and water to remove grease. Avoid leaving ketchup on for more than 20 minutes, as prolonged exposure could affect the finish. If you don't have ketchup, tomato paste or Worcestershire sauce can work similarly.
Always test on a small, hidden area first if you're unsure about the metal's coating.
11. Magic Eraser for Scratched Glass Tops
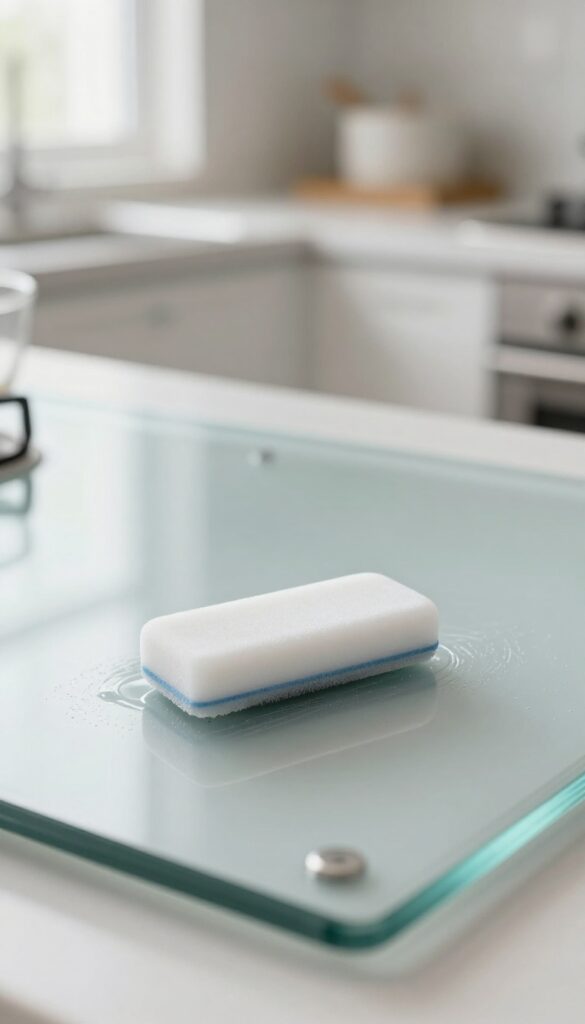
Glass stovetops can look dull and scratched over time, even if you clean them regularly. A melamine foam eraser—often sold as a magic eraser—can gently buff out minor scratches and restore clarity without harsh chemicals.
Melamine foam works like ultra-fine sandpaper, lifting scratches and residue without damaging the glass. It's a quick, low-effort fix for restoring that like-new shine.
How To Use It Safely
Dampen the eraser with water and wring out excess so it's just moist. Gently rub the scratched or dull area in small circular motions for about 30 seconds. Wipe away any residue with a clean, damp cloth.
Avoid pressing too hard—the foam does the work, not your muscle.
When To Avoid This Hack
This method works best for light surface scratches and hazy film. Deep gouges or cracks won't improve and could worsen. Also, never use a magic eraser on ceramic or enamel coatings—it can strip the finish.
Stick to glass tops only.
Pro Tip For Best Results
For extra stubborn marks, dip the eraser in a little white vinegar before rubbing. The mild acid helps break down residue while the foam buffs the scratch. Rinse and dry thoroughly afterward to prevent streaks.
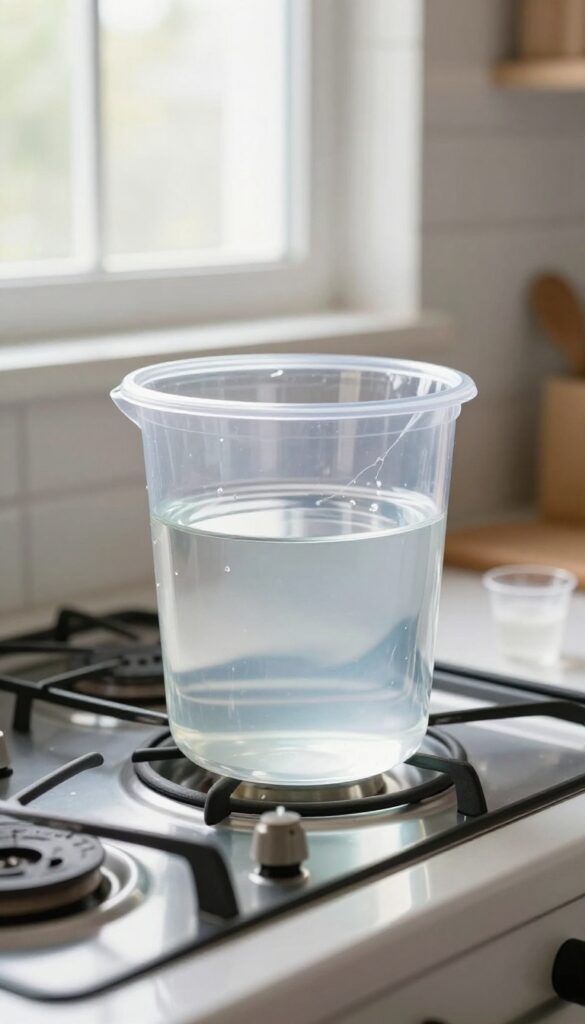
12. Steam Cleaning with a Microwave-Safe Bowl
This hack uses nothing more than a microwave-safe bowl, water, and vinegar to loosen baked-on grease without elbow grease. The steam softens grime on burners and grates, making it easy to wipe away. It's a gentle method that works on all stovetop types, including glass and ceramic.
Fill a microwave-safe bowl with 1 cup of water and 1/2 cup of white vinegar. Microwave on high for 5 minutes until the mixture boils and steams up the microwave. Carefully transfer the hot bowl to the stovetop (use oven mitts) and let the steam envelop the greasy areas.
Wait 5 minutes for the steam to soften the grime, then wipe the stovetop clean with a damp cloth. For stubborn spots, dip the cloth in the warm vinegar solution and scrub gently.
Why Vinegar Steam Works
White vinegar is a mild acid that breaks down grease and mineral deposits. When heated, the steam penetrates dried-on food and grease, loosening their bond with the surface. This method is non-toxic and safe for all stovetop materials, unlike harsh chemical sprays.
Tips For Best Results
Use a large bowl to maximize steam coverage. Avoid adding too much vinegar—equal parts water and vinegar is fine, but a 2: 1 ratio (water to vinegar) works well too. After steaming, wipe immediately while the grime is soft.
For gas stoves, remove grates and steam them separately in a sink with the same solution.
13. Toothbrush for Crevices and Knobs
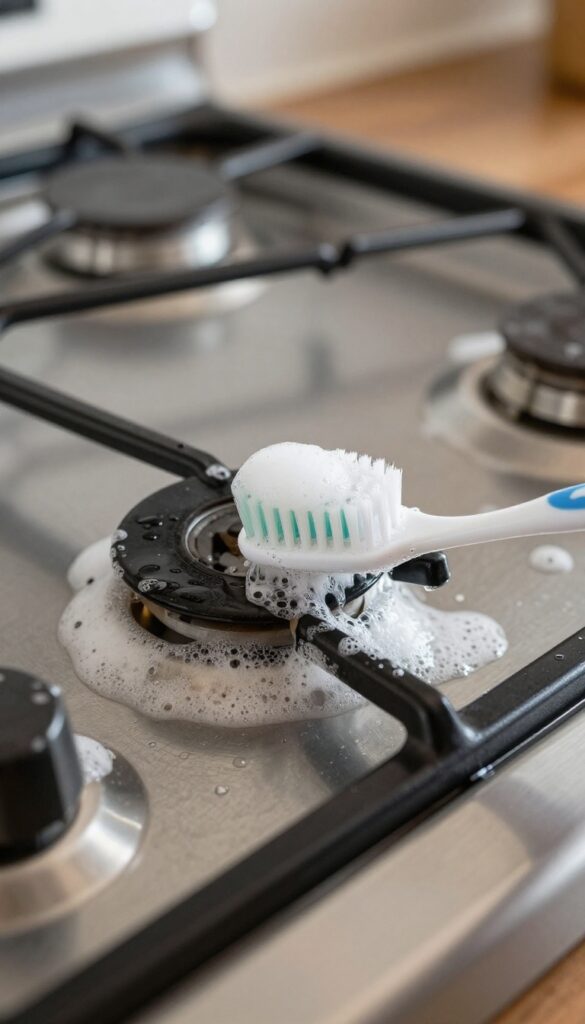
Knobs, burner rings, and control panel crevices are notorious for trapping grease and grime that sponges simply can't reach. An old toothbrush—firm but gentle—is the perfect tool to dislodge that buildup. Paired with a simple soapy water solution, it turns a tedious detail job into a quick, satisfying scrub.
This hack is all about precision. Instead of scrubbing blindly with a cloth, you target the exact spots where grease hides. The bristles work into narrow gaps and around raised lettering on knobs, lifting dirt without scratching surfaces.
Best of all, it costs nothing extra—just repurpose a toothbrush you'd otherwise toss.
Best Soapy Mix For The Job
Fill a small bowl with warm water and add a few drops of dish soap—Dawn or any grease-cutting brand works well. Dip the toothbrush bristles into the solution, shake off excess, and start scrubbing. For stubborn, baked-on grease, add a pinch of baking soda to the soapy water to create a gentle abrasive paste.
Target The High-touch Areas
Focus on the base of each knob, the crevices around burner caps, and the edges of the control panel. These spots collect cooking oils and fingerprints daily. A quick once-over with the toothbrush after each deep clean keeps them from becoming sticky or discolored.
Rinse And Dry Thoroughly
After scrubbing, wipe away the loosened grime with a damp microfiber cloth. Use a dry corner of the cloth to absorb any moisture left in crevices. Let knobs and burner parts air-dry completely before reassembling to prevent water spots or rust.
14. Cornstarch for Grease Absorption
Cornstarch isn't just for thickening sauces—it's a surprisingly effective grease magnet. When you sprinkle it on a greasy stovetop, the fine powder soaks up oil like a sponge, making cleanup a breeze. This hack works especially well on fresh splatters that haven't had time to bake on.
To use, simply sprinkle a generous layer of cornstarch over the greasy areas. Let it sit for 10 minutes—the starch will absorb the oil, turning into a paste-like consistency. Then, wipe it away with a dry cloth or paper towel.
Follow up with a damp cloth to remove any residue, and you'll have a clean, shine-ready surface.
Why Cornstarch Works
Cornstarch is a natural absorbent, thanks to its fine, powdery texture. It clings to grease molecules and lifts them from the surface without scratching. Unlike harsh chemicals, it's safe for all stovetop types—glass, ceramic, stainless steel, and even enamel.
Best For Fresh Splatters
This method is most effective on fresh grease splatters that are still wet or tacky. For dried-on grime, you might need to soften it first with a little warm water or vinegar spray before applying cornstarch. It's a quick fix for post-cooking messes.
Pro Tip: Make A Paste
For stubborn spots, mix cornstarch with a few drops of water to form a thick paste. Spread it over the grease and let it sit for 15 minutes. The paste draws out oil and then wipes away easily, leaving a streak-free finish.
15. Ammonia for Overnight Soak on Burner Grates
Burner grates take the brunt of grease and food drips, and scrubbing them clean can feel like a workout. But there's a smarter way: let ammonia do the heavy lifting overnight. The fumes work to break down baked-on grime, so you barely have to scrub the next day.
Ammonia is a powerful degreaser that softens carbonized grease without elbow grease. Just place your grates in a heavy-duty trash bag, add a small cup of ammonia, seal it tight, and leave it overnight. The fumes penetrate the grime, making it rinse off easily.
Wear gloves and work in a well-ventilated area—this is not a job for small spaces.
How To Set Up The Overnight Soak
Start by placing your burner grates inside a large, sturdy garbage bag. Pour about 1/4 cup of clear household ammonia into a small bowl or directly into the bag—avoid splashing. Seal the bag with a twist tie, making sure it's airtight.
Set the bag in a well-ventilated area like a garage or outdoors, away from kids and pets. Let it sit for at least 8 hours or overnight.
Rinsing And Finishing
The next day, open the bag outside to avoid strong fumes. Remove the grates and rinse them thoroughly with warm water. Use a soft brush or sponge to remove any remaining residue—most of it will slide off easily.
Dry completely before placing them back on the stove. The result is clean, shiny grates with minimal effort.
16. Dishwasher Tablet for Burnt-On Residue
Burnt-on food and grease can feel impossible to remove, but a dishwasher tablet might be the secret weapon you never considered. These tablets contain powerful enzymes and detergents designed to break down tough, dried-on messes. When dissolved in warm water, they create a soaking solution that softens even the most stubborn residue without harsh scrubbing.
This hack is perfect for glass, ceramic, and stainless steel stovetops where burnt spills have formed a crusty layer. It works best on flat surfaces but can also be used on burner grates and drip pans. The key is patience—letting the solution sit long enough for the enzymes to do their work.
How To Use It
Fill a bowl or sink with warm water and drop in one dishwasher tablet. Stir until it dissolves completely. Dip a clean cloth or paper towel into the solution, wring it out slightly, and lay it over the burnt area.
Let it sit for 30 minutes. The moisture and active ingredients will loosen the residue. Afterward, wipe away the softened grime with a damp cloth.
For extra stubborn spots, gently scrub with a non-abrasive sponge.
Why It Works
Dishwasher tablets contain surfactants, enzymes, and bleach that break down proteins and starches—the main components of burnt food. The warm water activates these ingredients, making them more effective. Unlike abrasive cleaners, this method won't scratch delicate surfaces, making it safe for glass and ceramic tops.
Tips For Best Results
Use this hack on a cool stovetop to avoid rapid evaporation. If the residue is extremely thick, repeat the process or let the cloth sit longer. Avoid using on aluminum or non-stick surfaces, as the chemicals may cause discoloration.
Always rinse the area with plain water afterward to remove any soapy residue.
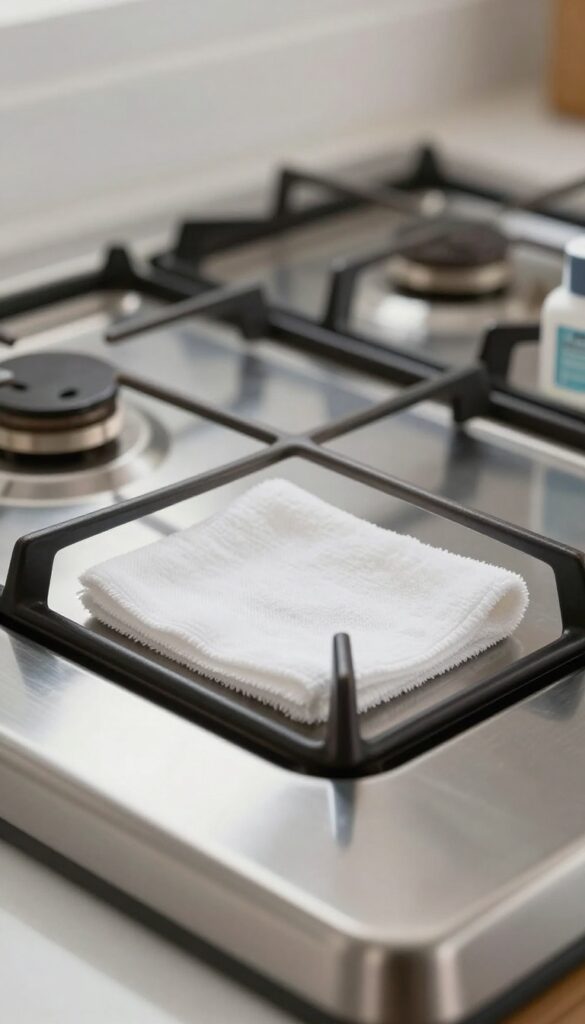
17. Regular Maintenance with a Daily Wipe
The easiest way to keep your stove looking great is to make cleaning a quick daily habit. A simple wipe-down after each use prevents grease from hardening into stubborn stains. This small effort saves you from spending hours scrubbing later on.
A daily wipe is the most effective hack for maintaining a clean stove. By removing spills and splatters while they're fresh, you stop grime from bonding to the surface. This habit also protects your stovetop from long-term damage caused by burnt-on residue.
Why Daily Wiping Works
When grease and food sit on a hot surface, they bake into a tough layer that requires heavy scrubbing. A quick wipe after cooking removes these deposits before they harden. It also keeps your stove looking clean and ready for the next meal.
Best Tools For The Job
Microfiber cloths are ideal because they trap grease without scratching. Dampen the cloth with warm water or a mild dish soap solution. Avoid abrasive sponges or harsh chemicals that can damage the finish over time.
How To Make It A Routine
Keep a microfiber cloth and a small spray bottle of soapy water near the stove for easy access. After cooking, let the stovetop cool slightly, then give it a quick wipe. This takes less than a minute and becomes second nature with repetition.
FAQ
Can I use bleach on my stove?
Bleach is not recommended for most stovetops as it can damage finishes and is harsh on surfaces. Stick to gentler cleaners like baking soda or vinegar.
How often should I deep clean my stove?
A deep clean every 1-2 months is ideal, but wipe down after each use to prevent buildup. For heavy cooking, consider monthly deep cleaning.
What's the best way to clean a glass cooktop without scratching?
Use a soft microfiber cloth and a cleaner specifically for glass cooktops, or a baking soda paste. Avoid abrasive sponges or harsh scrubbers.
Can I use vinegar on a gas stove?
Yes, vinegar is safe for gas stoves. It cuts grease and disinfects, but avoid getting it into gas ports. Wipe with a damp cloth afterward.
How do I remove burnt-on food from burner grates?
Soak grates in hot, soapy water for an hour, then scrub with a brush. For stubborn residue, use the ammonia overnight method described in hack #15.
Conclusion
Keeping your stove sparkling doesn't require harsh chemicals or endless scrubbing. These 17 hacks prove that everyday ingredients and a little know-how can tackle even the toughest grease splatter. Pick a few that fit your routine and see the difference.
Start with one method this week—maybe the baking soda paste or the vinegar steam. You'll notice how much easier cleanup becomes when you have the right tricks up your sleeve. Your stove will thank you with a brilliant shine.