11 How to Clean a Burnt Pot and Restore Its Smooth Base
That scorched pot staring at you from the sink doesn't have to be a lost cause. With the right technique, you can erase even the most stubborn burnt-on mess and bring back that smooth, shiny surface.
Burnt food happens to everyone—one distracted moment and dinner is history. But before you toss that pot, know that most burnt residue can be removed with items already in your pantry.
These 11 methods range from quick fixes to deeper soaks, so you can pick the one that matches your pot's damage level. No harsh chemicals required, just a little patience and the right approach.
1. Baking Soda and Water Paste – The Gentle Powerhouse
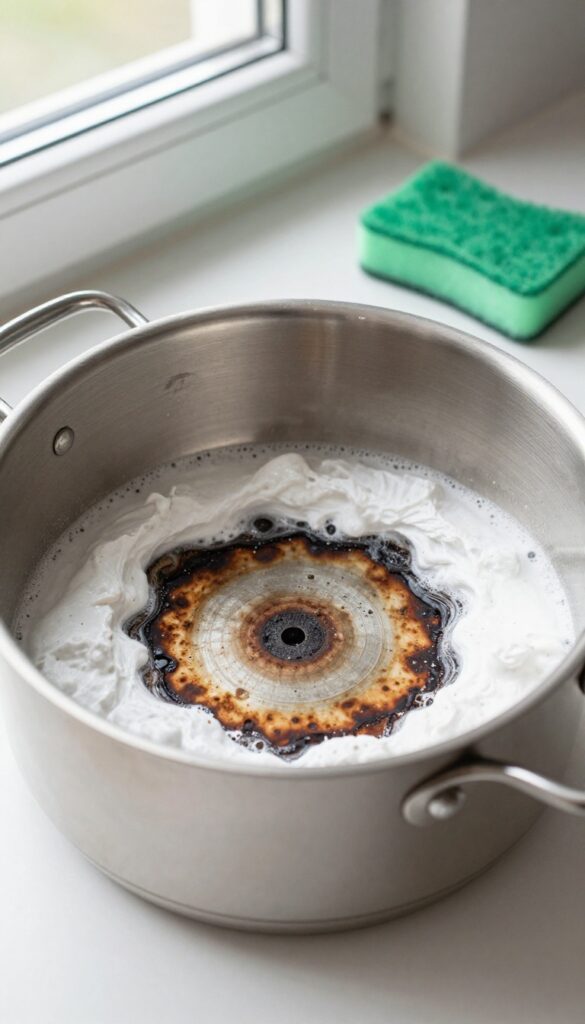
Baking soda is a kitchen superhero, especially when it comes to burnt pots. Its mild abrasiveness lifts burnt residue without scratching the surface, making it perfect for everyday cookware. You probably already have a box in your cupboard, so no special shopping required.
To make the paste, mix three parts baking soda with one part water until it forms a spreadable consistency. Apply a thick layer over the burnt areas, let it sit for 15 minutes, then scrub gently with a non-abrasive sponge or soft brush. For stubborn spots, add a squeeze of lemon juice or a splash of vinegar to boost the fizzing action.
Rinse thoroughly and dry. This method is best for light to moderate burns and works on stainless steel, enamel, and non-stick surfaces.
Why Baking Soda Works So Well
Baking soda is alkaline, which helps break down carbonized food particles. Its fine grit acts like a gentle sandpaper, lifting debris without scratching. The paste also neutralizes odors, so your pot will smell fresh.
Step-by-step Application Tips
Start with a dry pot. Spread the paste evenly, focusing on the darkest spots. Let it sit for 15 to 30 minutes for tougher burns.
Scrub in circular motions with a soft sponge. Rinse with warm water and check the result. Repeat if needed.
When To Avoid This Method
Avoid using baking soda on aluminum or copper pots, as it can cause discoloration. For non-stick pans, test on a small area first to ensure the coating isn't damaged. If the burn is severe, consider a longer soak method instead.
2. Boiling Vinegar – Loosen Stubborn Crust
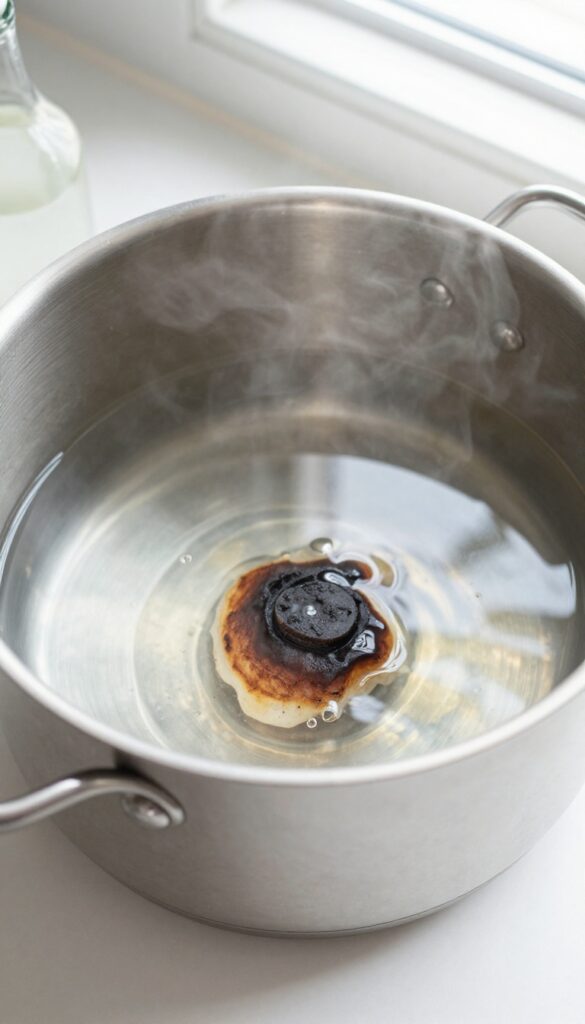
If your pot has a thick, blackened crust that won't budge, vinegar is your best friend. The acid in white vinegar works wonders on burnt-on food, breaking it down without any harsh scrubbing. This method is especially good for stainless steel and ceramic pots.
Start by filling the pot with equal parts water and white vinegar—enough to cover the burnt area. Bring the mixture to a boil, then let it simmer for about 10 minutes. Turn off the heat and let the pot cool completely.
The acidic steam and liquid will have loosened the burnt particles, making them easy to wipe away with a soft sponge. For extra stubborn spots, let the vinegar solution sit overnight before scrubbing.
Why Vinegar Works
White vinegar contains acetic acid, which reacts with the carbonized food residue. This reaction helps dissolve the burnt crust without damaging the pot's surface. It's a gentle yet effective cleaner that's safe for most cookware.
Step-by-step Instructions
- Add equal parts water and white vinegar to the pot. 2.
Bring to a boil and let it simmer for 10 minutes. 3. Turn off the heat and allow the pot to cool.
- Pour out the liquid and scrub with a non-abrasive sponge. 5.
Rinse thoroughly with warm water.
Tips For Best Results
Use a 1: 1 ratio of water to vinegar for most messes. For extremely burnt pots, increase the vinegar amount. Always let the pot cool before scrubbing to avoid burns and to allow the vinegar to work fully.
Avoid using metal scrubbers as they can scratch the surface.
3. Baking Soda and Vinegar Combo – Fizz Away the Burn
When a simple scrub won't cut it, it's time to bring out the heavy artillery: baking soda and vinegar. This classic duo creates a fizzy reaction that helps lift burnt-on gunk without harsh scrubbing. It's especially good for those dark, layered burns that seem impossible to remove.
Start by sprinkling a generous layer of baking soda over the burnt area, making sure to cover all the black spots. Then, pour white vinegar over the baking soda—it will fizz and bubble immediately. Let the mixture sit for a few minutes until the fizzing subsides.
The reaction helps loosen the burnt residue, making it easier to scrub away. After the bubbling stops, use a non-abrasive sponge or scrub brush to gently work the paste into the burnt spots. Rinse with warm water and repeat if necessary.
For extra stubborn burns, you can add a little dish soap or let the paste sit longer.
Why This Combo Works So Well
Baking soda is mildly abrasive, which helps physically scrub away burnt food, while vinegar is acidic and breaks down the chemical bonds of the burnt residue. When they mix, the carbon dioxide bubbles create a lifting action that pushes the gunk away from the pot's surface. It's a gentle but powerful one-two punch.
Best Pots For This Method
This method works great on stainless steel, enameled cast iron, and ceramic pots. Avoid using it on non-stick pans, as the abrasive baking soda can scratch the coating. For aluminum pots, be cautious—vinegar can react with aluminum and cause discoloration.
Pro Tips For Maximum Effect
For really tough burns, let the baking soda and vinegar paste sit for 15–30 minutes before scrubbing. You can also add a few drops of dish soap to the mix for extra grease-cutting power. If the burn is on the bottom of the pot, try boiling a small amount of water with the baking soda and vinegar to create a deeper clean.
4. Lemon and Water – Natural Degreaser
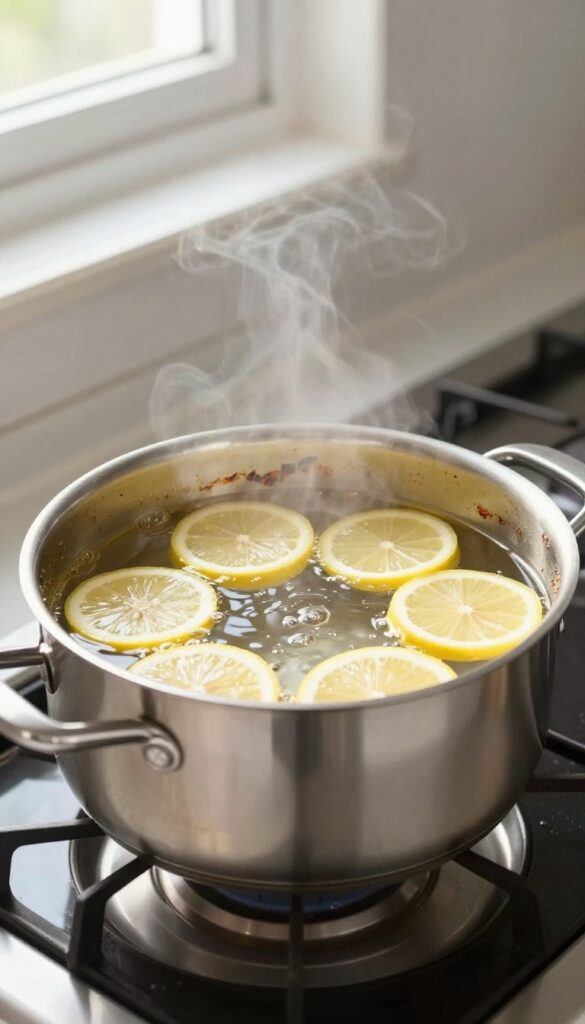
Lemons aren't just for lemonade. Their natural acidity makes them excellent at cutting through burnt-on grease and food residue without harsh chemicals. This method is especially effective for stainless steel and enamel pots.
Slice a few lemons, place them in the pot with water, and boil for 10 minutes. The citric acid breaks down burnt grease and food. Let it cool, then scrub.
Leaves a fresh scent.
Why It Works
Citric acid in lemons acts as a natural degreaser, loosening carbonized food particles. Boiling helps the acid penetrate the burnt layer, making scrubbing much easier.
Step-by-step
Fill the pot with enough water to cover the burnt area. Add 2-3 sliced lemons. Bring to a boil and let it simmer for 10 minutes.
Remove from heat and let it cool completely. Discard the lemons and water, then scrub with a non-abrasive sponge.
Pro Tip
For extra tough spots, add a tablespoon of salt to the lemon water. The salt acts as a gentle abrasive that boosts cleaning power without scratching.
5. Dishwasher Tablet Soak – Surprising Heavy-Duty Helper
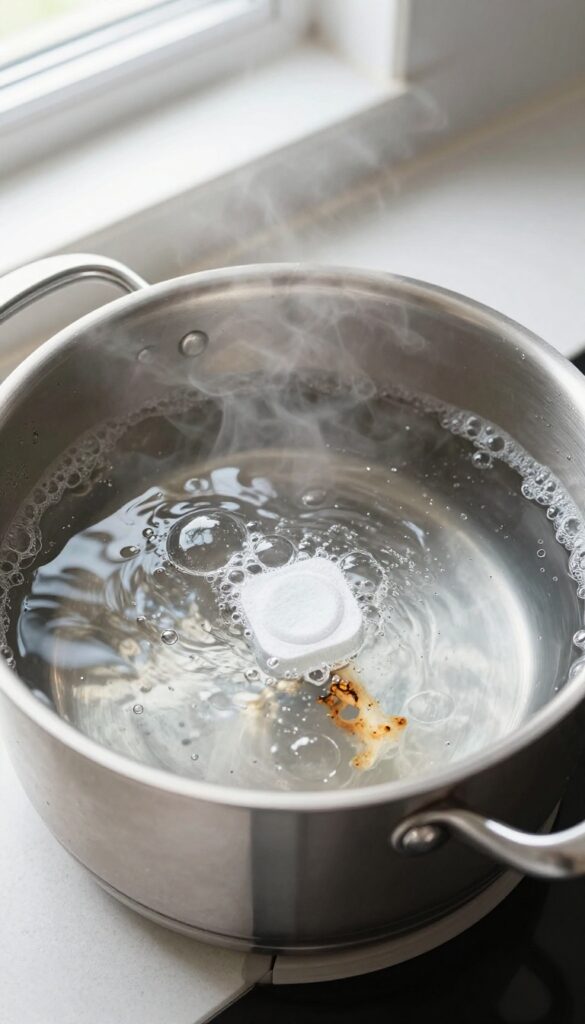
Dishwasher tablets are designed to tackle baked-on food in your machine, so why not let them work on your burnt pot? Drop one tablet into the pot, cover it with hot water, and let it soak overnight. The powerful enzymes and detergents go to work dissolving even the toughest burnt residue.
By morning, most of the gunk will have loosened, requiring just a light scrub to finish the job.
This method is surprisingly effective for heavily burnt pots that have resisted other treatments. The tablet's ingredients are formulated to break down starches and proteins, which are common in burnt food. It's also a great way to repurpose a product you already have under the sink.
Just be sure to use a fresh tablet—old, partially used ones may not have enough power. After soaking, rinse thoroughly and wash as usual.
Why It Works So Well
Dishwasher tablets contain enzymes, surfactants, and bleaching agents that target tough, baked-on food. When dissolved in hot water, these chemicals penetrate and break down the burnt layer, making it easy to wipe away. Unlike some home remedies, this method requires minimal scrubbing effort.
Step-by-step Instructions
Fill the burnt pot with enough hot water to cover the scorched area. Drop in one dishwasher tablet (do not break it). Let it soak for at least 8 hours or overnight.
The next day, pour out the water and rinse the pot. Use a non-abrasive sponge to scrub off any remaining residue. If spots persist, repeat the soak or follow up with a baking soda paste.
Cautions And Tips
Avoid using this method on aluminum, copper, or nonstick pots, as the chemicals may damage the surface. Stick to stainless steel, ceramic, or enameled cast iron. If you have sensitive skin, wear gloves when handling the soaked water.
Always rinse thoroughly to remove any detergent residue before cooking again.
6. Salt and Ice Cubes – Scrub Without Scratching
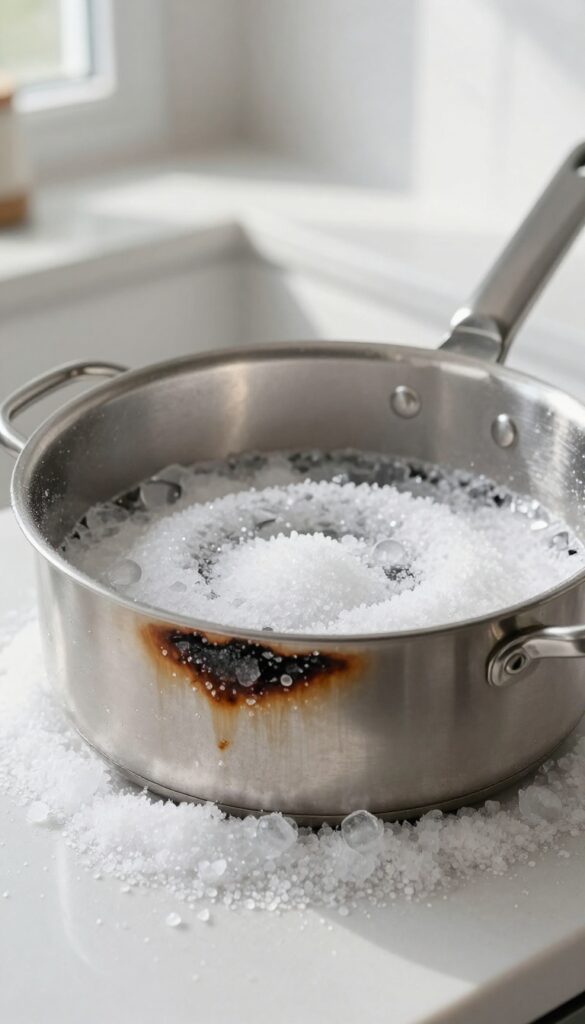
When you need abrasive action but don't want to damage your pot's surface, reach for coarse salt and ice cubes. This clever combo turns ordinary ice into a scrubbing tool that's tough on burnt residue but gentle on cookware. The ice provides a firm, cold base that doesn't melt too fast, while the salt acts as a natural grit to lift stuck-on bits without scratching.
This method works best on stainless steel and enameled pots where you want to avoid harsh scrubbers. The ice keeps the salt concentrated on the burnt area, and the cold temperature helps loosen the residue. It's a quick, no-chemical fix that takes just a few minutes.
Why It Works
The combination of coarse salt and ice creates a unique scrubbing slurry. As the ice melts slightly, it forms a gritty paste with the salt that can reach into tiny crevices of burnt-on food. The cold also contracts the metal slightly, helping to release stubborn particles.
Plus, there's no risk of scratching like with steel wool or abrasive powders.
Step-by-step Instructions
Start by sprinkling a generous layer of coarse salt over the burnt area. Add 3-4 ice cubes on top. Use the ice cubes to scrub the salt around the pot in circular motions, applying light to moderate pressure.
As the ice melts, you'll feel the salt grinding against the residue. Continue for 2-3 minutes, then rinse and check progress. Repeat if needed.
When To Use This Method
This technique is ideal for light to medium burnt spots, especially on stainless steel, ceramic, or enamel surfaces. It's not recommended for non-stick pans, as the salt can be too abrasive. For thick, blackened crusts, try a soaking method first, then finish with salt and ice for any remaining marks.
7. Cream of Tartar – Acidic Stain Remover
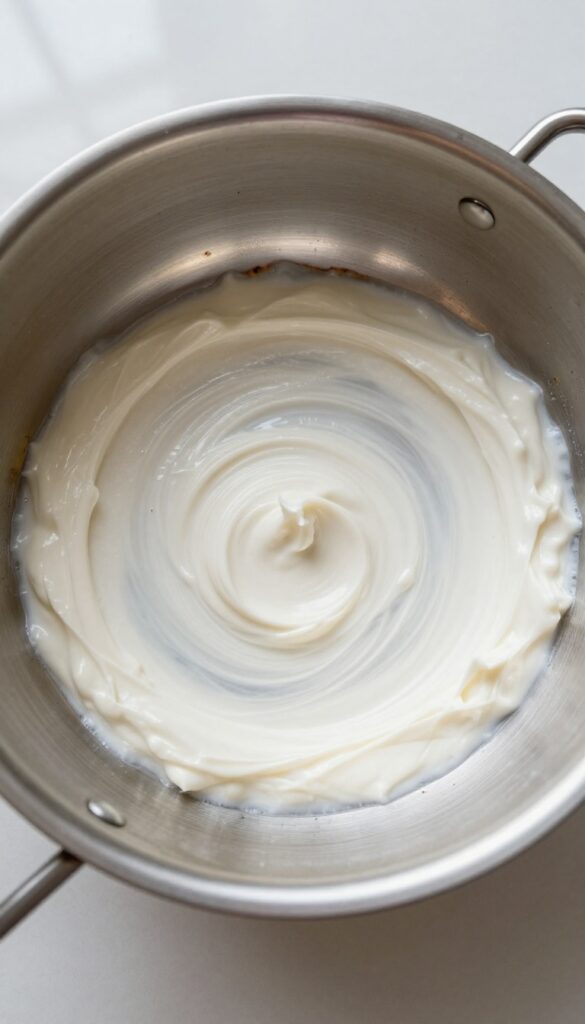
Cream of tartar isn't just for stabilizing egg whites—it's a surprisingly effective cleaner for burnt pots. This fine white powder is a mild acid that helps break down stubborn, burnt-on stains without scratching your cookware.
To use cream of tartar, mix it with a little water to form a thick paste. Apply the paste directly to the burnt spots and let it sit for about 20 minutes. The acid works to loosen the burnt residue, making it easier to scrub away.
After the wait, rinse the pot and scrub gently with a soft sponge. For tough spots, you can add a splash of vinegar to boost the cleaning power.
How To Make The Paste
Combine two tablespoons of cream of tartar with just enough water to create a spreadable paste. Adjust the ratio as needed—you want it thick enough to stay put on vertical surfaces. Apply it generously over the burnt areas.
Why It Works
Cream of tartar is potassium bitartrate, a natural acid that reacts with burnt food particles. This reaction helps dissolve the carbonized layer without the need for harsh chemicals or heavy scrubbing.
Best For Light To Medium Burns
This method is ideal for pots with light to moderate burnt spots. For heavy, thick crusts, you might need a stronger solution or a longer soaking time. Always test on a small area first to ensure compatibility with your pot's finish.
8. Hydrogen Peroxide and Baking Soda – Oxygen Boost
Hydrogen peroxide is a mild bleach that breaks down organic stains, and when you pair it with baking soda, you get a fizzy paste that lifts burnt food without harsh scrubbing. The oxygen bubbles work their way into the crust, loosening it from the pan surface. This combo is especially good for stainless steel and enamel pots where you want to avoid scratching.
Start by mixing enough hydrogen peroxide (3% solution) with baking soda to form a thick paste. Spread it evenly over the burnt area and let it sit for 30 minutes. You'll see tiny bubbles forming as the peroxide reacts with the baking soda and the burnt residue.
After the wait, scrub gently with a soft sponge or brush—the residue should come off easily. Rinse thoroughly with warm water and dry. For extra stubborn spots, you can repeat the process or let the paste sit longer.
Why This Works
Hydrogen peroxide releases oxygen when it contacts organic material, which helps break down the burnt carbon. Baking soda provides gentle abrasion and also reacts with the peroxide, creating more bubbles that physically push the gunk away from the pan. Together, they form a non-toxic cleaning powerhouse.
Best Pots For This Method
This technique works wonders on stainless steel, enameled cast iron, and ceramic-coated pans. Avoid using it on uncoated aluminum or copper, as peroxide can cause discoloration. Always test on a small hidden area first if you're unsure.
Pro Tips For Maximum Effect
Use a soft brush or non-scratch scrub pad to avoid damaging the surface. If the paste dries out during the wait, spritz a little water to reactivate the fizz. For extra tough burns, cover the paste with plastic wrap to keep it moist and active longer.
9. Dryer Sheet Soak – Unexpected Softener
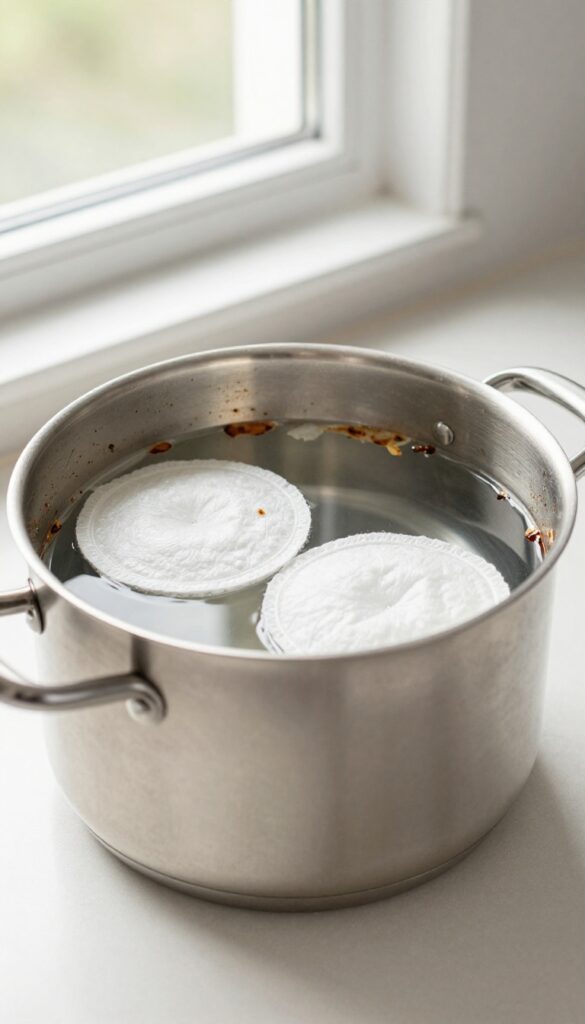
If you've got a box of dryer sheets in the laundry room, you're just a soak away from a cleaner pot. The fabric softener chemicals in those sheets are surprisingly good at loosening burnt-on food. This method is gentle, so it's perfect for non-stick or delicate surfaces.
Drop a couple of unused dryer sheets into the burnt pot. Fill it with warm water until the sheets are submerged. Let it sit for about an hour—the longer the better for tough stains.
The softening agents break down the burnt residue, making it easy to rinse and wipe away. After soaking, discard the sheets, pour out the water, and scrub gently with a sponge. Most of the gunk should come off without much effort.
If stubborn spots remain, repeat the soak or follow up with a paste of baking soda and water.
Why Dryer Sheets Work
Dryer sheets contain cationic surfactants that reduce static cling and soften fabrics. These same chemicals help loosen burnt food particles by breaking down the bonds between the residue and the pot surface. It's a gentle chemical reaction that saves you from heavy scrubbing.
Best Pots For This Method
This soak is ideal for stainless steel, ceramic, and non-stick pots. Avoid using it on cast iron or aluminum, as the chemicals may react or leave a residue. Always test a small area first if you're unsure.
Tips For Maximum Effectiveness
Use warm—not boiling—water to avoid damaging the pot. Let the soak go longer for burnt-on messes; overnight is fine. After soaking, rinse thoroughly to remove any chemical residue.
Pair with a soft sponge to protect the pot's finish.
10. Ketchup – Acidic Surprise
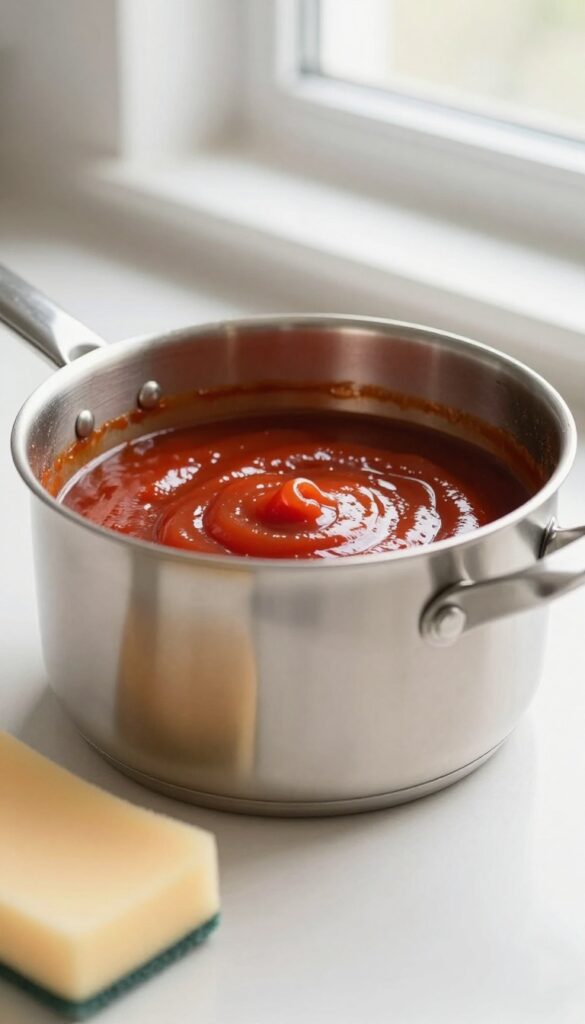
You might think of ketchup as a condiment, but it's also a surprisingly effective cleaner for burnt pots. The vinegar and tomato acids in ketchup work to break down burnt-on residue without harsh scrubbing. This method is especially good for lighter burns and stainless steel or enamel surfaces.
To use this method, simply spread a thick layer of ketchup over the burnt area, making sure to cover all the discolored spots. Let it sit for about 30 minutes to give the acids time to work. After the wait, rinse the pot with warm water and scrub gently with a soft sponge.
The burnt bits should come off easily. For stubborn spots, you can let the ketchup sit longer or repeat the process. This technique is gentle on your pot's finish and leaves it looking clean and shiny.
Why Ketchup Works
Ketchup contains vinegar (acetic acid) and tomato acids (citric and malic acids), which are mild enough not to damage most pot surfaces but strong enough to dissolve burnt food particles. The acidity helps break down the carbonized residue, making it easier to wipe away.
Best Pots To Use It On
This method works best on stainless steel, enamel-coated, and non-stick pots with light to moderate burns. Avoid using it on aluminum or copper pots, as the acid can cause discoloration or react with the metal.
Tips For Success
For extra stubborn burns, you can add a bit of baking soda to the ketchup to create a paste. Let the mixture sit for an hour before rinsing. Always test a small hidden area first if you're unsure about your pot's material.
11. Bar Keepers Friend – Commercial Cleaner for Tough Jobs
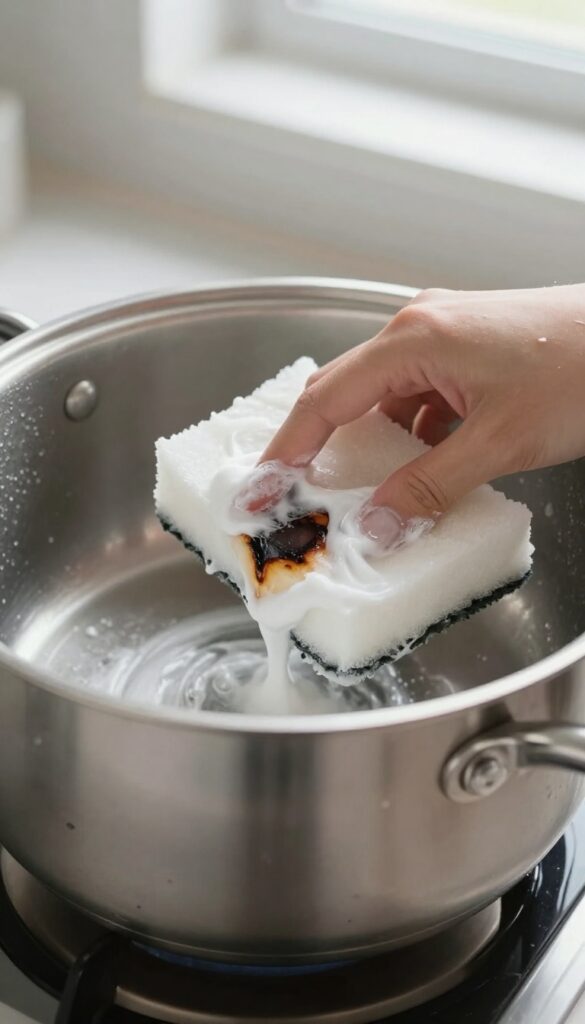
When pantry staples aren't cutting it, it's time to bring out the big guns. Bar Keepers Friend is a commercial-grade cleaner that tackles burnt-on messes with ease. Its oxalic acid formula breaks down discoloration and baked-on residue without scratching your pot's surface.
Bar Keepers Friend is a trusted name in kitchen cleaning, especially for stainless steel and ceramic cookware. The powder form is ideal for creating a paste that targets burnt spots. It's gentle enough for regular use but powerful enough to restore a pot that looks beyond saving.
How To Use It
Start by wetting the burnt area of your pot. Sprinkle a generous amount of Bar Keepers Friend powder directly onto the wet surface. Use a damp, non-abrasive sponge to work the powder into a thick paste.
Let it sit for one to two minutes—don't let it dry completely. Scrub in a circular motion, applying moderate pressure. Rinse thoroughly with warm water and dry immediately.
Tips For Best Results
For extra stubborn spots, add a few drops of water to keep the paste moist while scrubbing. Avoid using abrasive scrubbers like steel wool, as they can scratch the finish. If your pot has a copper or aluminum bottom, check the label first—Bar Keepers Friend is safe for most metals but can dull some finishes.
Always rinse and dry the pot completely to prevent any residue from affecting future cooking.
FAQ
Can I use steel wool on a burnt pot?
It depends on the pot material. Steel wool can scratch stainless steel and non-stick surfaces. For ceramic or enamel, use a non-abrasive sponge.
For cast iron, steel wool is okay but may remove seasoning.
How long should I soak a burnt pot?
Soaking times vary by method. For baking soda paste, 15-30 minutes is enough. For vinegar or dishwasher tablet soaks, overnight works best.
Heavier burns may require multiple soaks.
Will these methods work on non-stick pots?
Yes, but be gentle. Avoid abrasive scrubbing and harsh chemicals. Baking soda and vinegar are safe for non-stick, but always test a small area first.
Never use metal tools.
What if the burnt smell remains after cleaning?
Boil a mixture of water and lemon slices or vinegar for 10 minutes to remove odors. Baking soda paste left overnight can also absorb lingering smells.
Can I use bleach to clean a burnt pot?
Bleach is not recommended. It can damage the pot's finish and is harsh on your skin. Stick to gentler methods like baking soda, vinegar, or commercial cleaners designed for cookware.
Conclusion
No more scrubbing until your arms ache. With these 11 methods, you can restore even the most stubborn burnt pot to a smooth, like-new surface.
Pick the technique that matches your pot and the ingredients you have on hand, and you'll see results fast. The next time a cooking mishap strikes, you'll know exactly what to do—no panic, no waste, just a clean pot ready for your next meal.