How to Clean a Shower Floor in 15 Easy Scrub Tips Fast
A sparkling shower floor isn't just about looks—it's about safety and hygiene too. Grime, soap scum, and hard water stains can build up fast, making the surface slippery and dull.
These 15 scrub tips will get your floor spotless quickly, using everyday items you probably already have. From daily spray-downs to deep-cleaning with a steam cleaner, each method is practical and easy to follow.
Start with the simplest habit and work your way up to the heavy-duty techniques. Your shower floor will thank you.
1. Start with a Daily Spray-Down
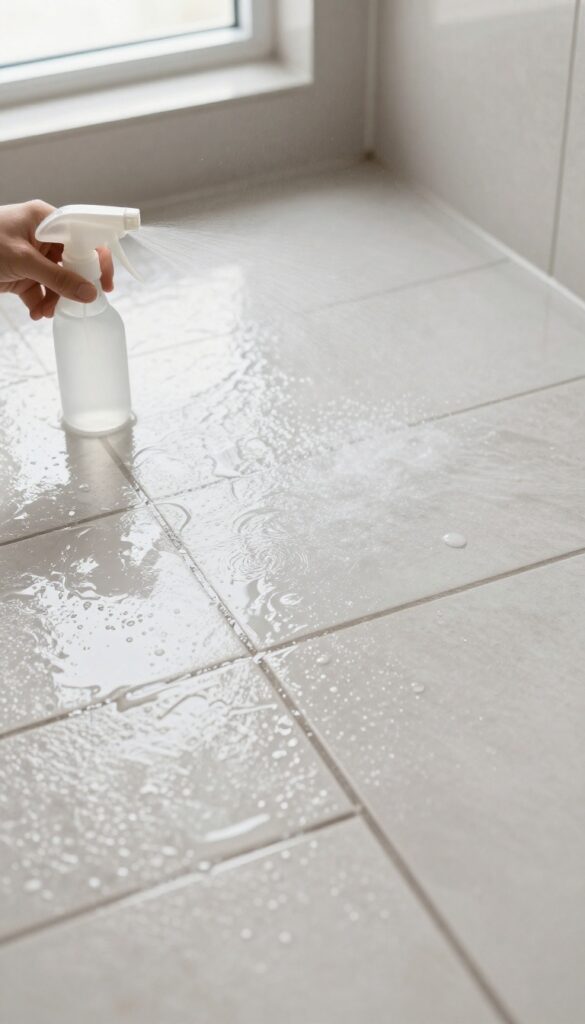
The easiest way to keep your shower floor clean is to stop grime from building up in the first place. A quick spray after every shower takes just seconds but makes a huge difference. You'll scrub less and enjoy a fresher-looking floor every day.
Mix equal parts water and white vinegar in a spray bottle. After your shower, mist the floor and walls thoroughly. Let it air-dry—no rinsing needed.
The vinegar breaks down soap scum and hard water minerals before they can settle. This simple habit cuts down on scrubbing time later and keeps your shower looking cleaner between deep cleans.
Why Vinegar Works
White vinegar is mildly acidic, which dissolves alkaline deposits like soap scum and hard water stains. It's safe for most shower surfaces, including tile and fiberglass. Just avoid it on natural stone like marble or granite.
Make It A Routine
Keep the spray bottle in your shower caddy or on a nearby shelf. Spray as soon as you step out, while the surfaces are still warm. The warmth helps the vinegar work faster.
In a week, you'll notice less buildup.
When To Skip The Spray
If your shower has a glass door, wipe it down after spraying to prevent streaks. For textured floors, a quick rinse with water after the spray can help avoid any slippery residue. Adjust based on your specific setup.
2. Use a Squeegee for Instant Results
If you want to cut down on scrubbing time, grab a squeegee. Running it over the shower floor after every use removes standing water before it can leave behind mineral deposits and soap scum. It's a 30-second habit that makes a huge difference in how long your floor stays clean.
A squeegee is one of the simplest tools for shower floor maintenance. It works on tile, stone, and fiberglass surfaces, pulling water toward the drain instead of letting it pool. Over time, this prevents the buildup that makes floors look dingy and feel slippery.
For best results, use a squeegee with a soft rubber blade to avoid scratching. Start at the top of the wall or shower door and pull down in overlapping strokes, directing water to the drain. Finish by squeegeeing the floor in long, straight passes.
Keep a small hook near the shower to hang the squeegee so it's always handy.
Why It Works So Well
Hard water contains minerals like calcium and magnesium that leave white deposits when water evaporates. Soap scum forms when soap residue mixes with these minerals. By removing water immediately, you eliminate the conditions these problems need to develop.
A squeegee also helps your shower dry faster, reducing mold and mildew growth.
Choosing The Right Squeegee
Look for a squeegee with a stainless steel handle and a replaceable rubber blade. The blade should be at least 10 inches wide to cover more area quickly. Avoid cheap plastic models that can warp or scratch.
A small, handheld squeegee with a curved handle is easiest to maneuver on floor surfaces.
When To Squeegee (and When Not To)
Use the squeegee after every shower if you have hard water or notice buildup quickly. If your water is soft, every other day might be enough. Don't squeegee if the floor is already dry—you'll just push dust around.
Instead, give it a quick rinse first, then squeegee.
3. Try a Baking Soda Paste for Stubborn Stains
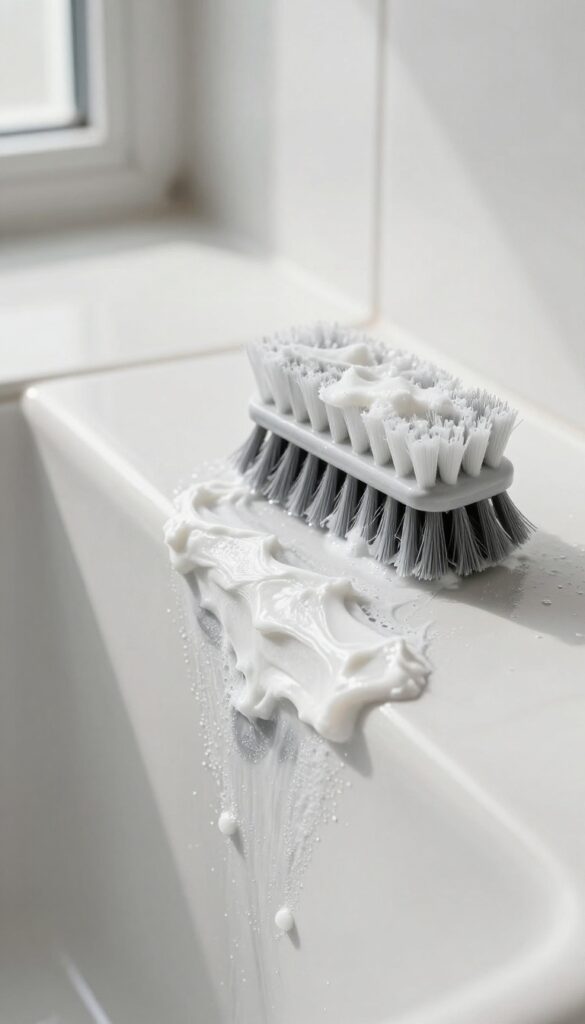
Some stains just won't budge with a quick wipe. That's where a simple baking soda paste comes in. It's gentle enough for daily use but tough on grime that's been hanging around too long.
You probably already have the ingredients in your pantry.
Baking soda is a natural mild abrasive that lifts dirt without scratching the surface. When mixed with water, it forms a paste that clings to vertical surfaces and stays put while it works. This makes it ideal for tackling those stubborn spots that resist regular cleaners.
How To Make The Paste
In a small bowl, combine three parts baking soda with one part water. Stir until it forms a thick, spreadable paste. Adjust the ratio if needed—add more water for a thinner consistency or more baking soda for a thicker paste.
You want it to stay on the stain without dripping.
Application And Wait Time
Use an old spoon or a spatula to apply the paste directly onto the stained areas. Spread it evenly, about 1/8 inch thick. Let it sit for 15 minutes.
This gives the baking soda time to break down the grime. For extra tough stains, let it sit up to 30 minutes.
Scrubbing And Rinsing
After the wait, scrub the area with a soft-bristled brush or an old toothbrush. Use circular motions to work the paste into the stain. Rinse thoroughly with warm water.
Repeat if necessary. The paste should lift most stains without any harsh chemicals.
4. Harness the Power of Hydrogen Peroxide
Mold and mildew love the damp corners of your shower floor. While bleach is a common fix, hydrogen peroxide is a gentler yet equally effective alternative. It kills spores on contact and naturally whitens grout without the harsh fumes.
Using hydrogen peroxide is straightforward. Grab a bottle of 3% hydrogen peroxide from the drugstore—it's cheap and non-toxic. Spray it directly onto any moldy or mildewed areas, especially along grout lines and in corners.
Let it sit for about 10 minutes to break down the spores. Then just rinse with warm water. You'll see the dark spots fade and the grout brighten.
For stubborn stains, scrub lightly with a soft brush after the wait time. Repeat weekly to keep mold at bay.
Why Hydrogen Peroxide Works So Well
Hydrogen peroxide is an oxidizing agent, meaning it releases oxygen when it contacts organic matter. This reaction destroys mold and mildew at the cellular level. Unlike bleach, it doesn't produce toxic fumes, making it safer for enclosed spaces.
Plus, it breaks down into water and oxygen, so it's environmentally friendly.
How To Apply It For Best Results
Pour the hydrogen peroxide into a spray bottle for easy application. Spray generously on the affected grout or tile. Let it foam and bubble for 10 minutes—that's the peroxide working.
Rinse thoroughly with water. If you have heavy mold, scrub with a toothbrush or grout brush after the soak. For maintenance, spray once a week after your shower and let it air dry.
Safety Tips And Precautions
Always test hydrogen peroxide on a small, hidden area first, especially if your grout is colored, as it can have a mild bleaching effect. Wear gloves to protect your skin from irritation. Avoid mixing hydrogen peroxide with other cleaners, especially bleach or ammonia, as this can create harmful gases.
Keep the bathroom ventilated while you work.
5. Invest in a Grout Brush for Deep Lines
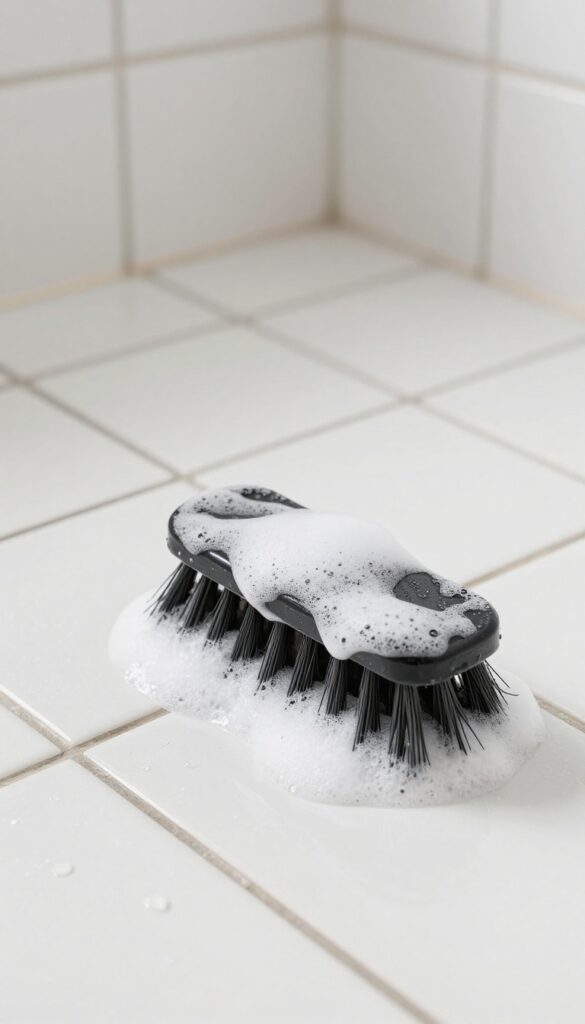
Grout lines are the hidden culprits behind a dingy shower floor. They trap dirt, soap scum, and mildew, making the whole surface look dull even after a scrub. A stiff-bristled grout brush is the tool you need to reach deep into those grooves and lift out the grime.
Pair it with a simple baking soda and vinegar solution, and you'll see a dramatic difference in brightness.
Why Grout Lines Get So Dirty
Grout is porous, so it absorbs moisture and soap residue. Over time, this creates a perfect breeding ground for mold and mildew. Regular cleaning with a sponge just skims the surface, leaving the deep dirt untouched.
That's why a dedicated grout brush is essential—it gets into the crevices where grime hides.
How To Use A Grout Brush Effectively
Start by spraying your shower floor with a mixture of equal parts baking soda and white vinegar. Let it fizz for a few minutes to loosen the dirt. Then, dip your grout brush in water and scrub along the grout lines using firm, back-and-forth strokes.
Focus on one small section at a time. Rinse with warm water and repeat if needed.
Choosing The Right Grout Brush
Look for a brush with stiff, nylon bristles and an angled head to reach corners easily. A handle with a comfortable grip helps you apply pressure without straining your hand. Some brushes come with a scraper on the end, which is handy for removing stubborn soap scum.
Avoid wire brushes—they can scratch the grout.
6. Use a Magic Eraser for Quick Touch-Ups
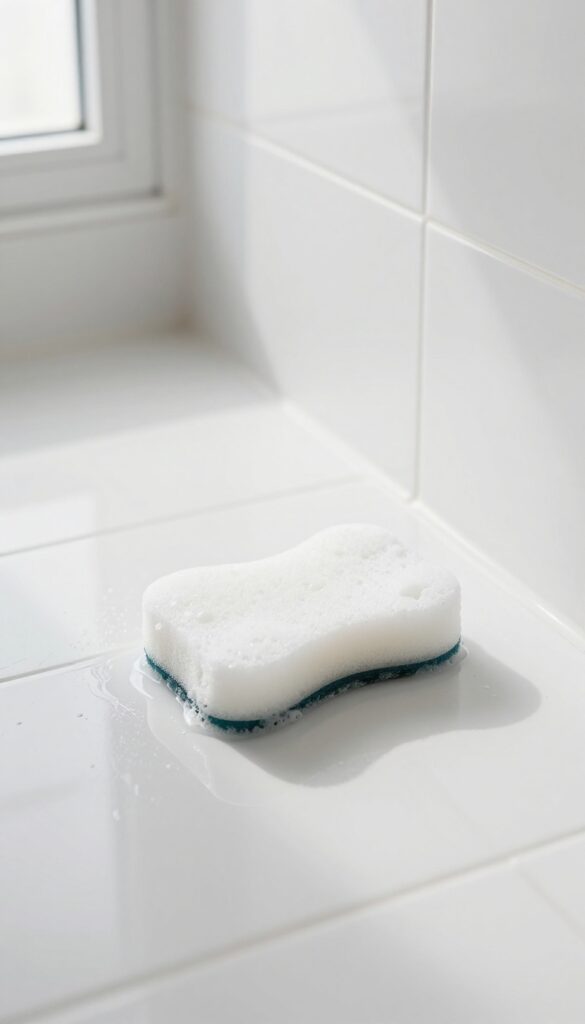
Sometimes you just need a quick fix without breaking out the heavy-duty cleaners. That's where melamine foam sponges, better known as Magic Erasers, come in. They're perfect for zapping small spots and stains on your shower floor in seconds.
These sponges work like super-fine sandpaper, lifting dirt and residue without harsh chemicals. Just dampen one, give it a gentle squeeze, and start scrubbing. You'll be amazed how easily they erase scuff marks, soap scum rings, and light hard water spots.
Keep a few on hand near your shower. When you spot a mark, you can handle it right away before it sets in.
Magic Erasers are a game-changer for quick touch-ups. They're affordable, easy to use, and require no extra sprays or scrubbing pastes. Here's how to get the most out of them without damaging your shower floor.
How To Use A Magic Eraser Safely
Wet the sponge until it's damp but not dripping. Gently rub the stained area using light pressure—the foam does the work. Rinse the sponge frequently to avoid spreading grime.
Test on an inconspicuous spot first, especially on textured or glossy surfaces, as the abrasive action can sometimes dull finishes.
Best Uses For Magic Erasers On Shower Floors
They excel at removing scuff marks from shoes or tools, soap scum rings around drains, and light rust or hard water spots. They're also great for cleaning the corners where the floor meets the wall. Avoid using them on unsealed natural stone or very delicate tile, as they can cause etching.
Pro Tip: Extend The Life Of Your Sponge
Cut the sponge into smaller pieces so you can use a fresh side for each job. After use, rinse it well and let it air dry. A single sponge can last for several cleaning sessions if you store it properly.
Replace it once it starts crumbling or loses its scrubbing power.
7. Create a Vinegar and Dish Soap Solution
Sometimes the best cleaner is hiding in your pantry. A simple mix of white vinegar and dish soap can tackle tough soap scum and grime without harsh chemicals. It's cheap, effective, and safe for most shower floor materials.
This two-ingredient solution is a powerhouse for breaking down grease and soap residue. The vinegar cuts through mineral deposits while the dish soap lifts away oily grime. Let it sit for a few minutes to soften stubborn buildup, then scrub with a brush or sponge.
Rinse thoroughly to avoid any lingering vinegar smell.
Why Vinegar And Dish Soap Work So Well
Vinegar is acidic, which dissolves hard water stains and soap scum. Dish soap is a surfactant that breaks down grease and lifts dirt. Together, they create a cleaning duo that's gentle enough for daily use but strong enough for deep cleaning.
How To Mix And Apply The Solution
In a spray bottle, combine 1 cup white vinegar, 1 cup warm water, and 1 tablespoon dish soap. Shake gently to mix (avoid excessive suds). Spray generously on the shower floor, covering all grimy areas.
Let it sit for 5 minutes to penetrate the grime.
Scrubbing And Rinsing Tips
Use a stiff-bristled brush or a non-abrasive scrub pad to work the solution into the surface. Focus on grout lines and corners where buildup collects. Rinse thoroughly with warm water to remove all residue.
For best results, dry the floor with a squeegee or towel to prevent new spots.
8. Tackle Hard Water Stains with Lemon Juice
Hard water stains can make your shower floor look cloudy and neglected. But you don't need harsh chemicals to get rid of them. Lemon juice is a natural acid that breaks down mineral deposits effectively.
Fresh lemon juice works best, but bottled is fine in a pinch. Squeeze it directly onto the stains or soak a cloth and lay it over stubborn spots. Let it sit for about 10 minutes to dissolve the minerals.
Then scrub with a soft brush and rinse thoroughly. Your floor will not only be stain-free but also smell fresh and clean.
Why Lemon Juice Works
The citric acid in lemons reacts with calcium carbonate in hard water stains, turning them into soluble compounds that rinse away. It's gentle on most shower floor materials like tile, stone, and fiberglass, but always test a small area first.
How To Apply For Best Results
For light stains, just squeeze lemon juice directly and scrub after 10 minutes. For heavy buildup, make a paste with baking soda and lemon juice, apply it thickly, let it sit for 15 minutes, then scrub. Rinse well to avoid any sticky residue.
Pro Tip: Boost With Salt
Mix lemon juice with a tablespoon of coarse salt to create a gentle abrasive scrub. The salt helps lift the stains while the acid dissolves them. This combo is especially good for textured shower floors.
9. Use a Steam Cleaner for a Chemical-Free Deep Clean
If you want a deep clean without harsh chemicals, a steam cleaner is your best friend. The high-temperature steam blasts away grime, soap scum, and mildew on contact. It's especially effective on grout lines where dirt loves to hide.
Plus, there's no need to rinse—just wipe away the residue and you're done.
A handheld steam cleaner is perfect for shower floors because it targets tight spaces and corners. The steam loosens dirt and kills mold spores instantly. It's also safe for all floor types, including tile, stone, and vinyl.
Just make sure to follow the manufacturer's instructions to avoid damaging the surface.
How To Use A Steam Cleaner On Your Shower Floor
Start by filling the tank with water and letting it heat up. Attach a brush head for scrubbing, then work in small sections. Hold the nozzle close to the grout lines and move slowly.
The steam will lift the dirt, and you can wipe it away with a microfiber cloth. For tough stains, go over the area a second time.
Why Steam Cleaning Beats Chemical Cleaners
Steam cleaning is chemical-free, so it's safer for your family and pets. It also reduces the risk of inhaling harsh fumes. The heat kills bacteria and mold without leaving a residue, meaning less scrubbing for you.
It's a one-step process that saves time and effort.
Maintenance Tips For Steam-cleaned Floors
After steam cleaning, keep the floor dry to prevent mold from returning. Use a squeegee after each shower to remove excess water. Once a month, give the floor a quick steam to maintain cleanliness.
This routine will keep your shower floor looking fresh without heavy scrubbing.
10. Scrub with a Drill Brush Attachment
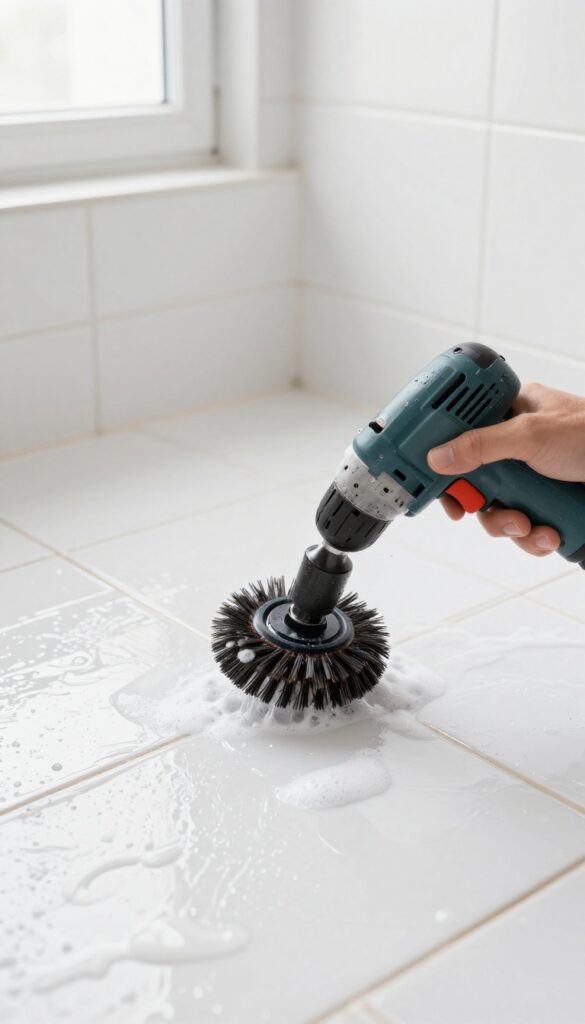
If your arms are tired from manual scrubbing, it's time to bring in some power tools. A drill brush attachment turns your ordinary power drill into a high-speed scrubbing machine. The spinning bristles do all the work, cutting through soap scum and grime in seconds.
This method is perfect for large shower floors or stubborn buildup that won't budge with a hand brush. You can cover more area in less time, and the results are often better because the consistent motion applies even pressure. Just be sure to use a mild cleaner to avoid splashing harsh chemicals everywhere.
Choosing The Right Brush
Pick a brush with stiff nylon bristles for general cleaning, or a softer brush for delicate surfaces like acrylic or fiberglass. Make sure the brush has a hex shank that fits your drill's chuck. Many sets come with different shapes—flat for floors, curved for corners.
Technique And Safety
Attach the brush securely, then set your drill to a medium speed. Start in a corner and work in overlapping passes. Keep the brush flat against the floor to avoid gouging.
Wear safety glasses to protect your eyes from splashes, and never use the drill near standing water to avoid electric shock.
Cleanup After Power Scrubbing
Once you've scrubbed the entire floor, rinse thoroughly with warm water. The loosened grime will wash away easily. Wipe down the brush attachment and let it dry before storing.
Your drill will be ready for its next job, and your shower floor will be sparkling clean.
11. Apply a Shower Floor Sealant After Cleaning
You've scrubbed, rinsed, and dried your shower floor until it gleams. Now lock in that clean with a penetrating sealant. This simple step creates a protective barrier that repels water, soap scum, and stains, making future cleanings a breeze.
Sealant fills the microscopic pores in grout and tile, preventing moisture from soaking in. This not only keeps the floor looking fresh longer but also reduces mold and mildew growth. Apply it after every deep clean, and you'll notice dirt and grime sliding off more easily.
Choose The Right Sealant
Not all sealants are created equal. For shower floors, look for a penetrating, water-based sealer designed for natural stone or ceramic tile. Avoid film-forming sealers that can peel or yellow over time.
Check the label to ensure it's suitable for wet areas.
How To Apply It Right
Start with a bone-dry floor. Apply the sealant with a small brush or sponge, working it into the grout lines first, then the tile surface. Let it sit for the recommended time (usually 5–10 minutes), then wipe off any excess with a clean cloth.
Allow it to cure for at least 24 hours before getting the floor wet.
Sealant Maintenance Tips
Reapply sealant every 6 to 12 months, depending on usage. To test if it's time, sprinkle a few drops of water on the grout. If they bead up, the sealant is still working.
If they soak in, it's time for a fresh coat. Regular sealing extends the life of your shower floor and keeps it looking new.
12. Use a Pumice Stone on Tough Deposits
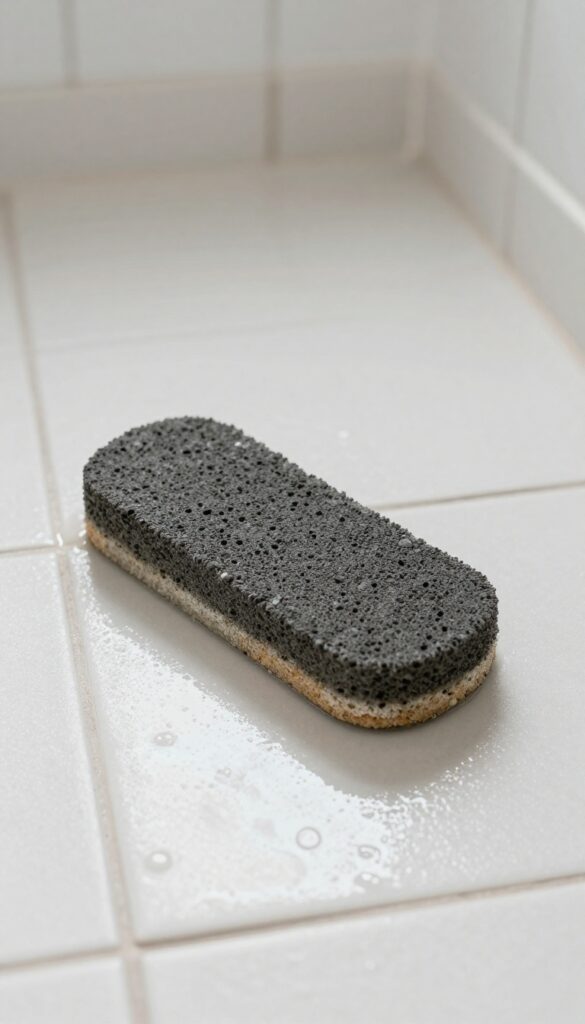
Hard water rings and mineral deposits can feel impossible to remove with regular scrubbing. But a pumice stone—yes, the same one you might use on your feet—can work wonders on porcelain and ceramic shower floors. It's a gentle abrasive that lifts stubborn stains without scratching the surface, as long as you use it correctly.
How To Use A Pumice Stone Safely
Always wet the pumice stone and the stained area before you start. This reduces friction and prevents scratches. Gently rub the stone back and forth over the deposit, applying light pressure.
You'll see the stain start to powder away. Rinse frequently to check your progress and avoid over-scrubbing.
Which Surfaces Are Safe?
Pumice stones are ideal for glazed ceramic tile, porcelain, and fiberglass. Avoid using them on unglazed tile, natural stone like marble or granite, or acrylic surfaces—they can cause permanent damage. When in doubt, test on a small, hidden area first.
Pro Tips For Best Results
Keep the stone wet throughout the process. If it dries out, it becomes too abrasive. For really thick deposits, you can add a drop of dish soap to the stone for extra lubrication.
After scrubbing, rinse the area thoroughly and dry it to prevent new stains from forming.
13. Try a Commercial Cleaner for Heavy-Duty Jobs
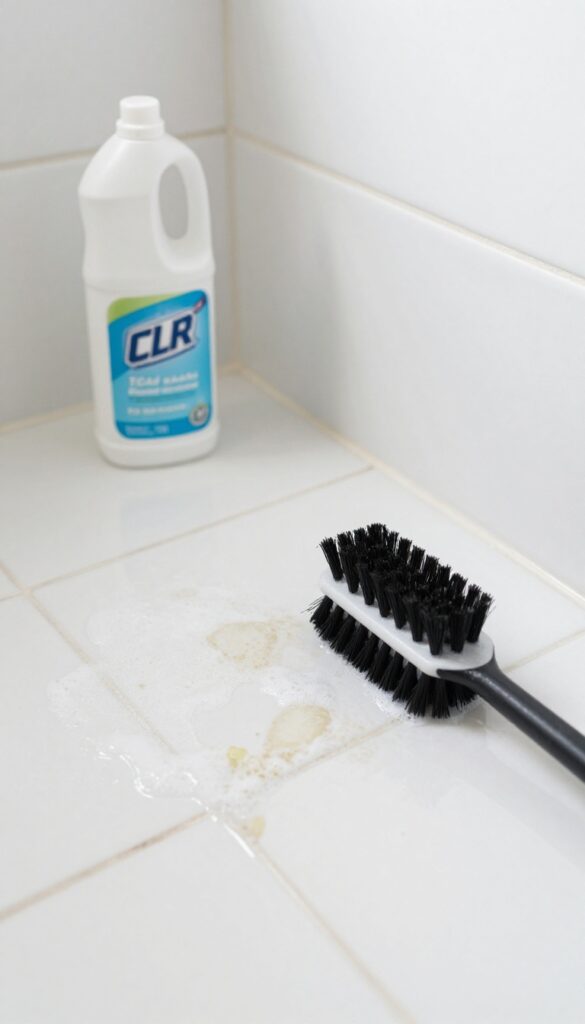
Sometimes, your DIY arsenal just doesn't cut it. That's when you bring out the big guns: commercial cleaners made specifically for tough bathroom grime. Products like CLR, Scrubbing Bubbles, or Tilex are formulated to dissolve stubborn soap scum, lime scale, and rust stains that vinegar and baking soda can't touch.
Use them sparingly and smartly, and they'll save you serious elbow grease.
Commercial cleaners are powerful, so they need to be handled with care. Always read the label first—some require dilution, others are ready to use. Wear gloves and open a window or turn on the exhaust fan to avoid breathing in fumes.
Spray the cleaner onto the shower floor, let it sit for the recommended time (usually 5–15 minutes), then scrub with a stiff brush. Rinse thoroughly with water to remove all residue, as leftover chemicals can make the floor slippery or damage the finish. For extreme cases, you may need to repeat the process.
Remember: these products are for occasional deep cleaning, not daily use. Overusing them can wear down grout and sealants over time.
Choosing The Right Product
Not all commercial cleaners are the same. Look for one that targets your specific problem: CLR for calcium, lime, and rust; Scrubbing Bubbles for soap scum and mildew; or a bleach-based cleaner for mold. If you have a natural stone floor (like marble or travertine), avoid acidic cleaners—they can etch the surface.
Stick to pH-neutral or stone-safe options instead.
Application Tips For Best Results
For maximum effectiveness, apply the cleaner to a dry shower floor so it's not diluted by standing water. Work in small sections to prevent the product from drying out before you scrub. Use a non-abrasive scrub brush or sponge to avoid scratching the surface.
After scrubbing, rinse with warm water and wipe dry with a microfiber cloth to prevent water spots.
Safety First
Always wear rubber gloves and eye protection when handling strong chemicals. Keep the bathroom well-ventilated—open a window or run the exhaust fan. Never mix different cleaners, especially bleach with ammonia, as this creates toxic fumes.
Store products out of reach of children and pets.
14. Maintain with a Weekly Quick Scrub
Consistency beats intensity when it comes to keeping your shower floor clean. A weekly quick scrub takes just five minutes but saves you from hours of deep cleaning later. Think of it as a tiny habit that delivers big results.
Set aside 5 minutes each week to give your shower floor a light scrub. Use a soft brush and a gentle cleaner. This regular maintenance prevents buildup and keeps your floor looking fresh.
Choose The Right Tools
A soft-bristled brush or a microfiber scrubber is ideal. Avoid anything too abrasive that could scratch the surface. Pair it with a pH-neutral cleaner or a mild soap solution.
Focus On High-traffic Areas
Pay extra attention to corners, drains, and spots where water pools. These areas collect soap scum and grime fastest. A quick once-over here prevents stubborn stains.
Rinse Thoroughly
After scrubbing, rinse the floor well with warm water. Leftover cleaner can leave a residue that attracts dirt. A handheld shower head works great for this.
15. Dry the Floor After Each Use
Drying your shower floor after every shower might sound like overkill, but it's one of the most effective ways to keep it clean. A wet surface is a breeding ground for mold, mildew, and soap scum. By removing moisture, you break the cycle before it starts.
Grab a microfiber cloth or a dedicated towel and give the floor a quick wipe-down after you're done. Focus on corners and grout lines where water tends to pool. This simple habit takes less than a minute but can double the time between deep cleans.
Plus, it reduces slippery spots, making your shower safer for everyone.
Why Drying Matters
Moisture is the number one enemy of a clean shower floor. It allows bacteria and mildew to thrive, and it helps soap scum harden into stubborn deposits. Drying the floor after each use removes that moisture, preventing these issues from taking hold.
It's like hitting the reset button every time you shower.
Best Tools For The Job
A microfiber cloth is ideal because it absorbs water quickly and doesn't leave lint behind. You can also use a squeegee for larger areas, but make sure to wipe down the edges. Keep a small towel or cloth handy in the bathroom so you can grab it without hassle.
Some people even use a dedicated shower towel that they swap out weekly.
How To Make It A Habit
The trick is to make drying part of your post-shower routine. Hang the cloth within reach, and do it before you step out completely. If you forget, try setting a reminder on your phone for the first few weeks.
Once it becomes automatic, you'll notice how much easier your weekly cleanings become.
FAQ
How often should I clean my shower floor?
For best results, do a quick daily spray-down and a thorough scrub once a week. This prevents buildup and keeps the floor looking clean with minimal effort.
Can I use bleach on my shower floor?
Yes, but use it sparingly. Bleach is effective against mold and mildew, but it can damage grout over time. Dilute it with water (1: 10 ratio) and rinse thoroughly.
What's the best way to clean textured shower floors?
Textured floors trap dirt in their grooves. Use a stiff brush and a baking soda paste. For deep cleaning, a steam cleaner works well without damaging the texture.
How do I prevent soap scum from building up?
Switch to liquid soap instead of bar soap, which creates less scum. Also, use a daily spray of vinegar and water to break down residue before it hardens.
Is it safe to mix vinegar and baking soda?
Yes, but they neutralize each other, so the fizzing action helps lift dirt. For cleaning, it's better to use them separately—baking soda as a paste and vinegar as a spray—for maximum effectiveness.
Conclusion
A sparkling shower floor doesn't require hours of scrubbing or harsh chemicals. By incorporating a few of these tips into your routine, you can maintain a clean, fresh-looking floor with minimal effort. Start with the daily habits, then tackle deeper cleans as needed.
Your shower will thank you, and so will your future self. Remember, consistency is key—a little regular care goes a long way in keeping that floor spotless.