15 Ornament Crafts for Kids to Make This Christmas Season
A plain afternoon with kids can turn into a keepsake in under an hour. Flour, paper, felt, and a few stray pinecones become ornaments that outlast the season and mean more than anything store-bought.
The trick is picking projects that match your crew's age and patience, not just what looks pretty on a screen. Some of these take ten minutes, others stretch across a whole cozy morning.
A few are messy enough to warrant a tablecloth, and several let older kids work mostly solo. Start with one that fits the supplies already in your cupboard, then let the pile of handmade decorations grow through December.
1. Salt Dough Handprint Ornaments
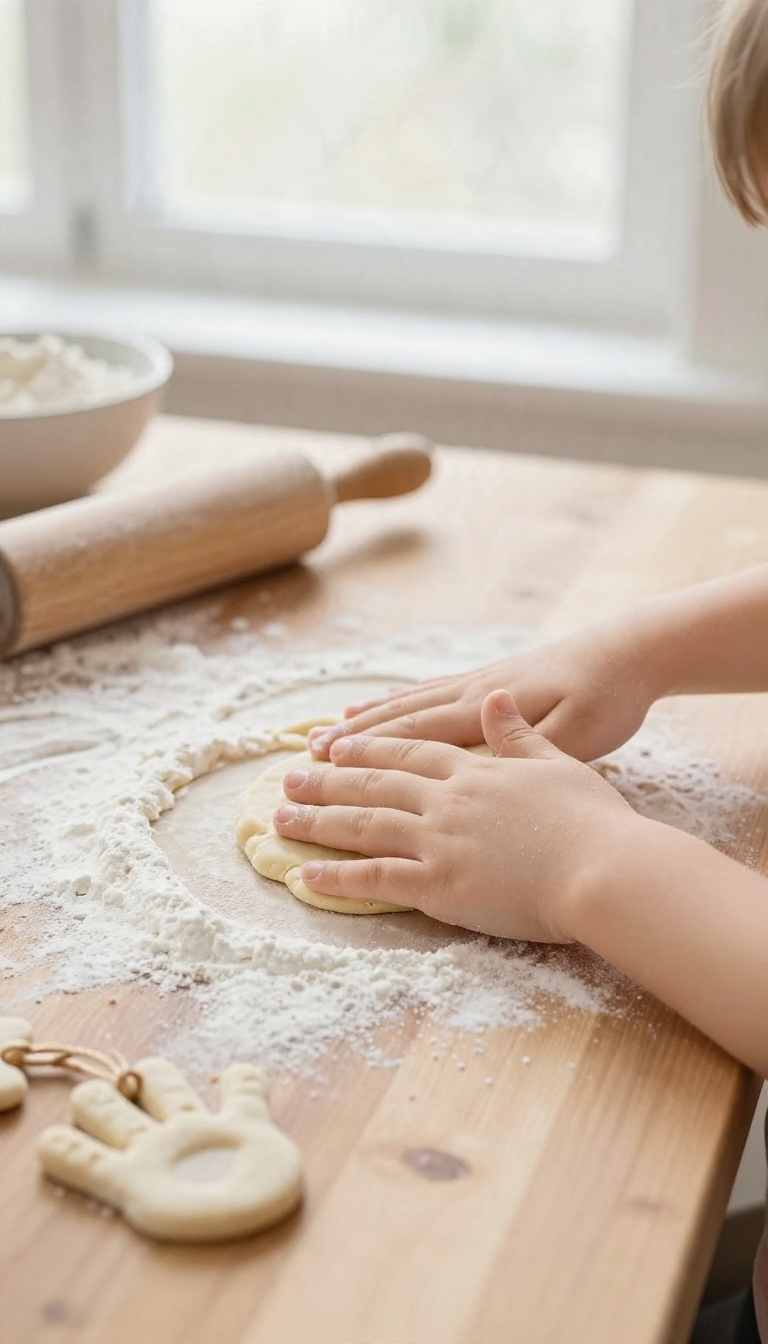
Salt dough is the gateway craft for a reason. Three pantry staples, one bowl, and about ten minutes of kneading get you a batch of ornaments that look homemade in the best way. The handprint version turns all of that into a keepsake you'll actually want to hang every December for the next fifteen years.
The recipe is simple: one cup of flour, half a cup of salt, and roughly half a cup of water. Mix the dry ingredients first, then add water a little at a time until the dough pulls together and stops sticking to your fingers. If it's crumbly, add water by the teaspoon.
If it's too tacky, dust in more flour. Kids can do most of this themselves, which is half the fun. Roll the dough out to about a quarter inch thick on a floured surface.
Press a small hand straight down, fingers spread, and lift it away clean. Poke a hole near the top with a straw before it dries, and you've got yourself an ornament. The whole thing takes less time than unloading the dishwasher.
Getting A Clean Handprint
Press firmly and evenly, then lift straight up. Wiggling smears the print. For wiggly toddlers, guide their hand down gently and count to three out loud so they hold still.
If the first attempt flops, just re-roll the dough and try again. Nobody will ever know.
Drying And Sealing So It Lasts
Air drying works but takes two to three days, flipping once. For faster results, bake at 200°F for two to three hours, checking every so often. Once fully dry, paint or leave it natural, then seal both sides with a clear acrylic spray or a coat of Mod Podge.
That seal is what keeps moisture and crumbling at bay for years.
Making It Personal
Write the child's name and the year on the back with a fine marker before sealing. You can also stamp a tiny date into the dough while it's soft. Older kids love painting their own, and a light coat of white paint under the handprint makes the shape pop.
2. Cinnamon Applesauce Ornaments
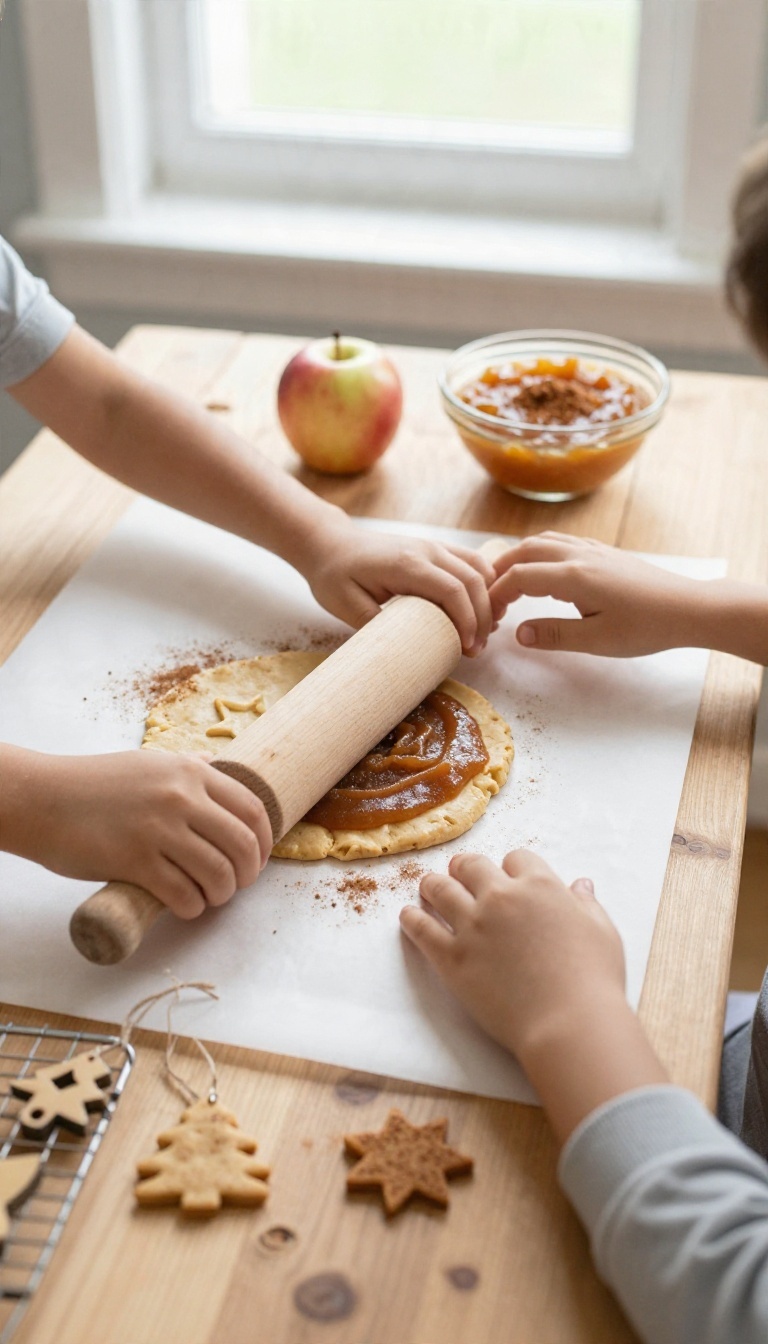
Cinnamon applesauce ornaments might be the best-smelling craft on this list. The dough comes together with just two ingredients, needs no oven, and fills the whole kitchen with a warm spice scent while it dries. Kids can roll it, cut it, and poke a hole for hanging with almost no adult help.
Once the shapes harden, they stay slightly rustic, which is exactly the charm. Paint them, glitter them, or leave them bare.
The recipe is about as simple as it gets: equal parts cinnamon and applesauce, mixed until it forms a stiff dough. The ratio matters more than the exact measurements, so start with one cup of each and adjust from there. Too sticky?
Add a spoonful of cinnamon. Too crumbly? A splash more applesauce.
Kids love being the ones to decide when it feels right.
Mixing And Rolling Without The Mess
Cinnamon stains, so put down parchment or a washable tablecloth before anyone starts. Keep a bowl of water nearby for sticky fingers, and dust the rolling surface lightly with extra cinnamon instead of flour. Roll the dough to about a quarter inch thick.
Thinner shapes tend to crack as they dry, and thicker ones take days to harden. Cookie cutters work great, but so do plastic cups and butter knives for freehand shapes.
Drying Them The Right Way
Skip the oven and let the ornaments air dry on a wire rack, flipping them once a day. A thin batch usually firms up in two to three days, depending on humidity. If you're in a rush, a low oven at around 200°F with the door cracked works too, but watch closely.
Flip every 30 minutes until they feel hard and sound hollow when tapped.
Decorating And Hanging
Acrylic paint sticks best, and a coat of clear sealer keeps the color from fading. Some kids prefer to leave them natural and just add a ribbon through the hole. Thread twine or a thin ribbon before the dough fully hardens if you can, since the hole can close up slightly.
These hold their scent for a season and make sweet little gifts for teachers and neighbors.
3. Paper Straw Snowflake Ornaments
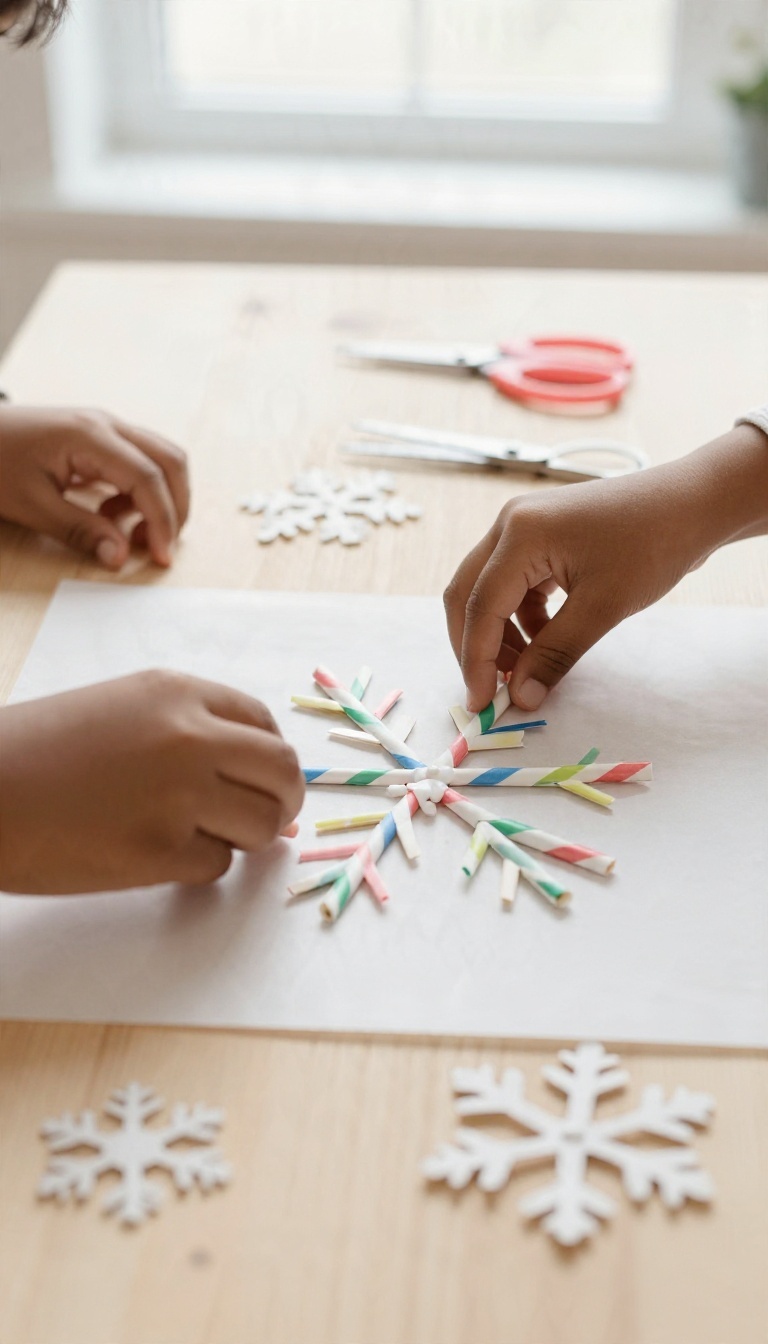
Paper straws are one of those craft supplies that seem to multiply in the cupboard. Instead of tossing the leftover birthday pack, cut them into bits and turn them into crisp, geometric snowflakes. The process is simple enough for preschoolers to join, and the results look surprisingly polished hanging on a tree.
You only need a few things to get started: paper straws in any color, scissors, white glue, and a non-stick surface like parchment paper. Cut the straws into assorted lengths—some short, some long—and let kids arrange them into snowflake shapes before gluing. The key is to build on a flat surface and let each snowflake dry completely before hanging.
Choosing And Cutting Straws
Paper straws work best because they hold glue well and come in fun patterns. Skip plastic straws, which repel glue and slide around. Use sharp scissors to cut straws into pieces about one to two inches long.
Younger kids can help sort the pieces by size or color while you handle the cutting.
Building The Snowflake
Start with a central point and arrange straw pieces outward like spokes. A classic snowflake has six sides, but let kids experiment with four or eight. Dab a small amount of glue at each joint and hold for a few seconds.
For extra stability, add a tiny dot of glue where pieces cross.
Drying And Hanging
Let the snowflakes dry flat for at least an hour—longer if the glue is thick. Once dry, tie a loop of thread or baker's twine around one of the outer straws. These ornaments are lightweight, so they hang nicely on tree branches without weighing them down.
4. Popsicle Stick Christmas Trees
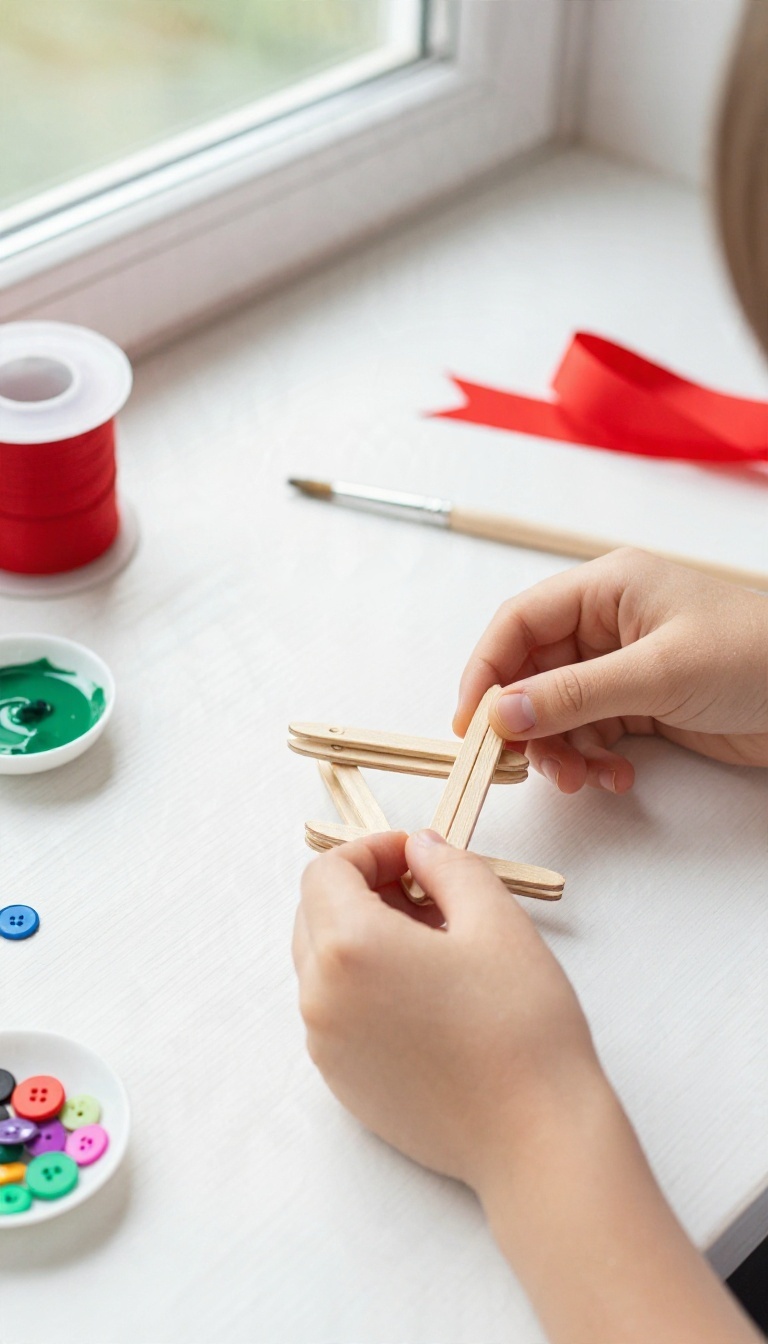
Craft sticks and a bottle of green paint cover a lot of ground with kids. Lay them out in rows, stack them into triangles, and suddenly you have a whole forest of tiny trees. The best part is how much room there is to personalize each one, so siblings can make the same project and end up with completely different ornaments.
Start by sorting your sticks. You want the flat wooden kind, and it helps to trim a few down as you build upward. Three sticks make the bottom row, then two, then one on top.
Glue them with a little overlap and let the shape dry flat before anyone picks it up. Once the trees are dry, the painting begins. Green is the obvious choice, but a few kids will go for purple or glitter-white, and that is fine.
Set out small brushes and a paper plate for each child so the colors stay somewhat separate. Decoration is where these really come alive. A shallow dish of sequins, a handful of buttons, and a few tiny star stickers give kids plenty to work with.
Let them glue on whatever they like, then add a loop of ribbon to the back so it hangs straight.
Building The Tree Shape
Line up three sticks for the base and glue them side by side with a small gap. Add two sticks above, centered, then one more on top. Trim the top stick shorter if the shape looks too tall.
Let the glue set fully before painting. A heavy book on top keeps the sticks flat while they dry, which saves you from a lopsided tree later.
Paint And Let It Dry
Acrylic paint covers the wood best, but washable tempera works if you expect a mess. Have kids paint the front, let it dry, then flip and do the back. A second coat makes the green richer and hides the wood grain.
While it dries, set out the decorations so little hands stay busy.
Add The Trimmings
Tacky glue holds sequins and buttons better than school glue, especially on painted wood. A dot on the end of a toothpick keeps things tidy. Finish with a small star or a button at the top, then glue a ribbon loop to the back.
Let everything dry overnight before hanging it on the tree.
5. Beaded Candy Cane Ornaments

Pipe cleaners and a bowl of pony beads turn into a classic candy cane ornament with almost no mess. Kids thread the beads themselves, which means the craft doubles as a quiet fine-motor workout. The result is a sturdy, sparkly decoration that holds up year after year.
Start with a full pipe cleaner and a small dish of red and white beads. Show your child how to alternate colors or create a pattern, then let them take over. The bending at the end is the only part that needs a grown-up's help.
What You'll Need
One pipe cleaner per candy cane (white or silver works best), red and white pony beads, and a pair of scissors. That's it. Pony beads are the perfect size for little hands, but if you have toddlers, use larger beads to avoid choking hazards.
Threading Tips For Little Hands
Twist a small loop at one end of the pipe cleaner to stop beads from sliding off. Kids can thread beads one by one, but if they get frustrated, try a pipe cleaner with a slightly stiffer tip. For older kids, challenge them to create a striped pattern or even a name in beads.
Shaping And Finishing
Once the pipe cleaner is almost full, leave about an inch empty at the top. Bend the top into a hook shape to form the candy cane handle. Twist the end around the last bead to secure it.
Hang on the tree with a ribbon or ornament hook.
6. Clear Ornament Fillers
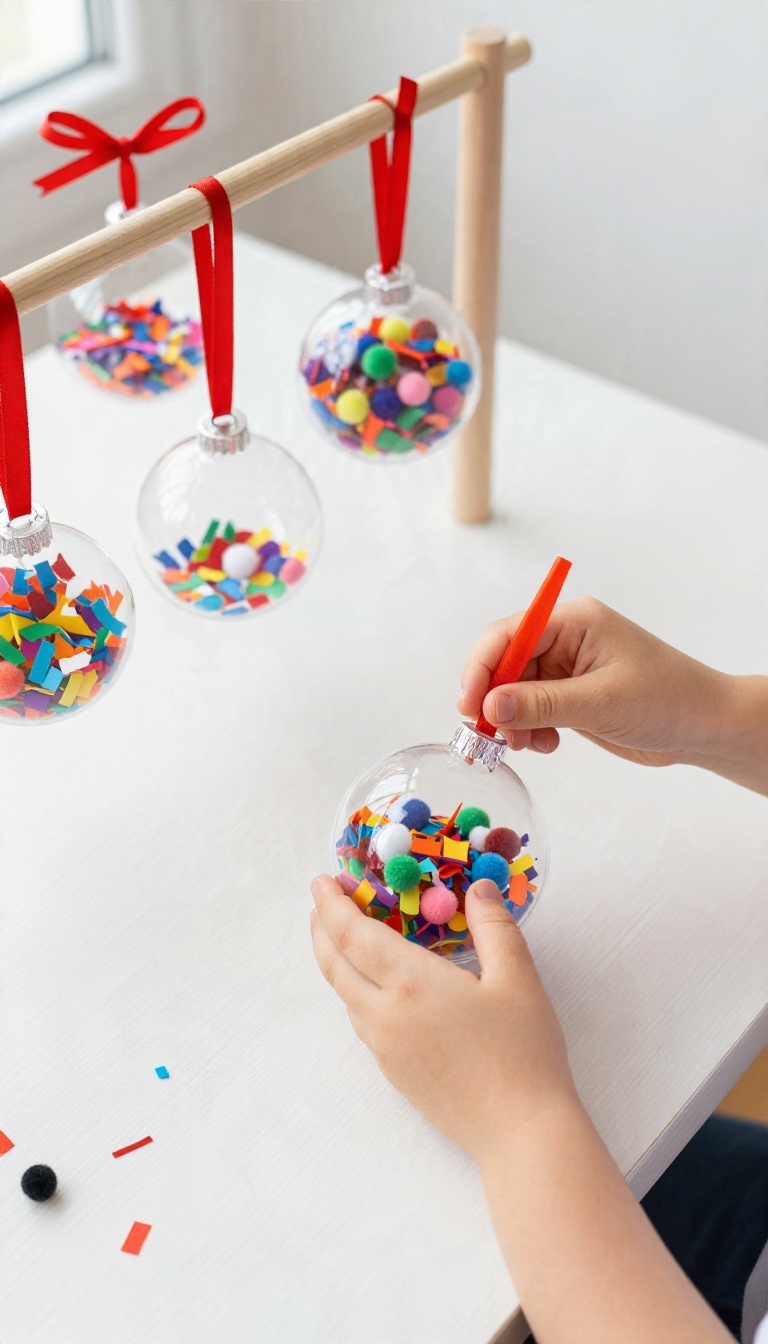
Clear plastic and glass ornaments are basically tiny display cases, and kids love being the ones who decide what goes inside. Hand over a bowl of filler options and a funnel, and you've got a project that keeps hands busy without much supervision. It's also one of the few crafts where a mistake just means shaking it out and starting over.
The appeal here is speed. A kid can fill an ornament in five minutes, cap it, and hang it before the glue on other projects has even dried. That makes this a great warm-up craft or a backup for the friend who finishes everything early.
It also works for a wide age range, since the only real skill involved is aiming filler into a small hole.
Best Fillers By Age
Toddlers do well with big, chunky fillers they can pinch and drop in: pom-poms, shredded paper, or large sequins. Anything smaller than a pea becomes a choking hazard and a cleanup headache, so save the fine stuff for older kids. School-age kids can handle confetti, tinsel strands, and tiny beads, and they usually want to layer colors on purpose.
Keeping It From Looking Like A Mess
A little restraint goes a long way. Pick two or three filler types per ornament so the inside reads as intentional rather than random. Shaking the ornament gently as you fill helps the pieces settle and leaves room for more.
A tiny drop of glue on the cap before closing stops everything from spilling out later.
Personalizing The Inside
Small trinkets turn these into keepsakes. A birthstone bead, a piece of ribbon from a birthday, or a tiny photo cut to fit makes the ornament mean something. Write the year and a name on a slip of paper, curl it up, and tuck it in before capping.
Kids love hunting for their own ornament on the tree when it holds a secret.
7. Clay Star Ornaments
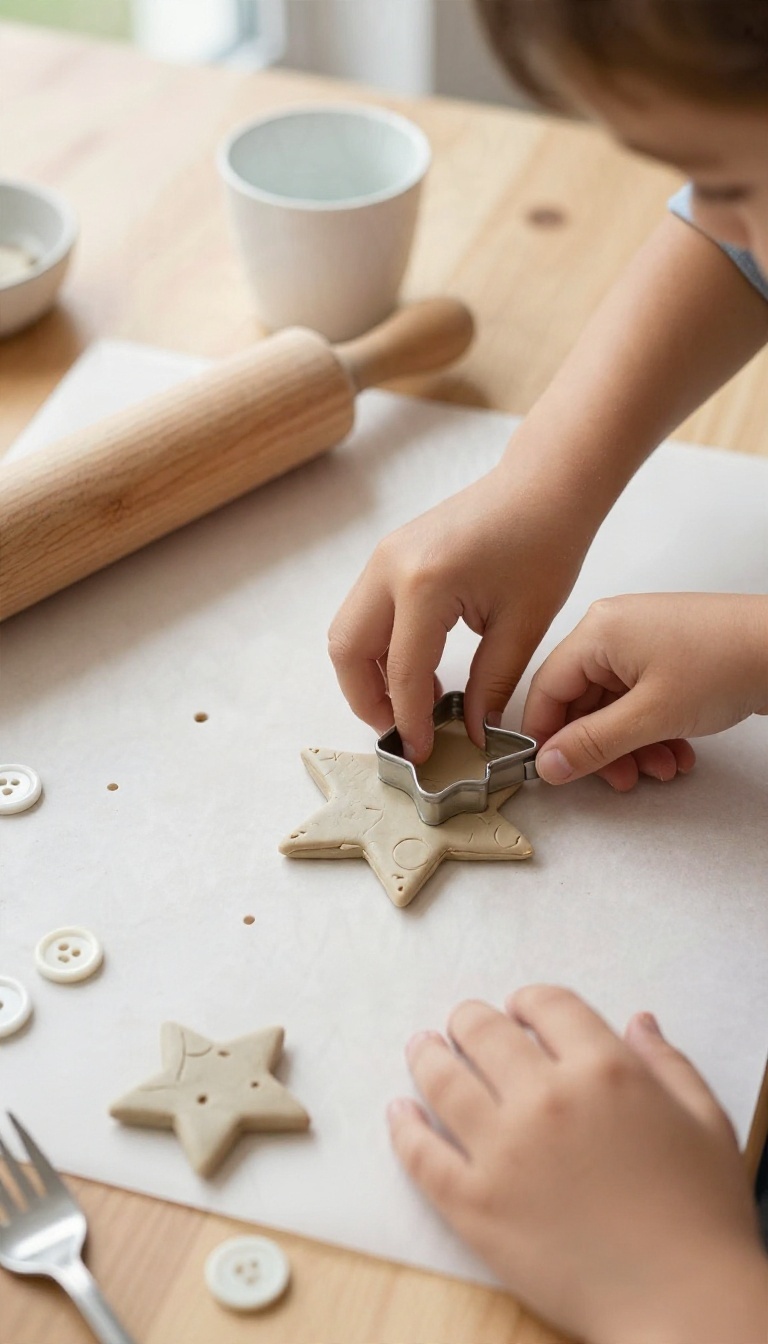
Air-dry clay has a way of making kids feel like real artists. It rolls out smooth, takes any shape you press into it, and dries hard without a kiln or a single trip to the craft store. Stars are the natural pick for Christmas, but the real charm here is the stamping.
A few textured objects and a cookie cutter turn a lump of clay into something that looks like it came from a boutique, not a kitchen table. These make genuinely nice gifts for grandparents and teachers, which is a rare thing for a kid-made craft.
The supply list stays short: a bag of air-dry clay, star-shaped cookie cutters in a couple of sizes, a rolling pin, and something to poke a hole for hanging. You probably already own the stamping tools. Think buttons, fork tines, the end of a marker, a piece of burlap, or a plastic toy with a fun pattern.
A little cup of water helps smooth rough edges, and parchment paper keeps everything from sticking to the counter.
Rolling And Cutting The Stars
Pinch off a golf-ball-sized chunk of clay and roll it to about a quarter inch thick. Thinner than that and the stars get fragile once they dry. Press the cookie cutter straight down and wiggle it slightly to get a clean edge.
Lift the star onto a sheet of parchment paper before you decorate it. Working on the paper means you can move the whole batch without smudging the designs. If the clay cracks at the points, dip a fingertip in water and smooth it back together.
Don't forget the hanging hole. A straw makes a perfect circle, and you want to poke it about a half inch from the top point while the clay is still soft. Skip this step and you'll be drilling later, which never goes well.
Stamping Patterns That Look Grown-up
This is where kids get creative and the ornaments stop looking like typical preschool crafts. Press a fork gently into the clay for a row of tiny lines, or use the rim of a small cup to make a circle in the center. Buttons leave perfect little dots, and a piece of lace or burlap presses in a texture that reads as handmade but polished.
Keep the pressure light and even. Push too hard and you'll punch straight through, especially near the points of the star. A few well-placed stamps beat a chaotic mess, so encourage kids to pick one or two patterns and repeat them.
Older kids can try a two-tone look by pressing a smaller star cutter into the center for an outline. It's simple, modern, and looks intentional.
Drying, Finishing, And Gifting
Air-dry clay needs about 24 to 48 hours to harden completely, depending on humidity and thickness. Flip the stars once after a few hours so both sides dry evenly. They're ready when they feel cool and hard, with no soft spots in the middle.
Once dry, you can leave them natural for that minimalist look or brush on a thin coat of acrylic paint. A little metallic gold or silver on the edges only looks sharp and takes two minutes. Seal with a coat of matte Mod Podge if you want them to hold up for years.
Thread a piece of twine or thin ribbon through the hole and tie a loop. These look great on the tree, but they also make sweet gift tags or package toppers. Pair a few with a handwritten note and you've got a present any grandparent will keep long after the tree comes down.
8. Painted Wooden Slice Ornaments
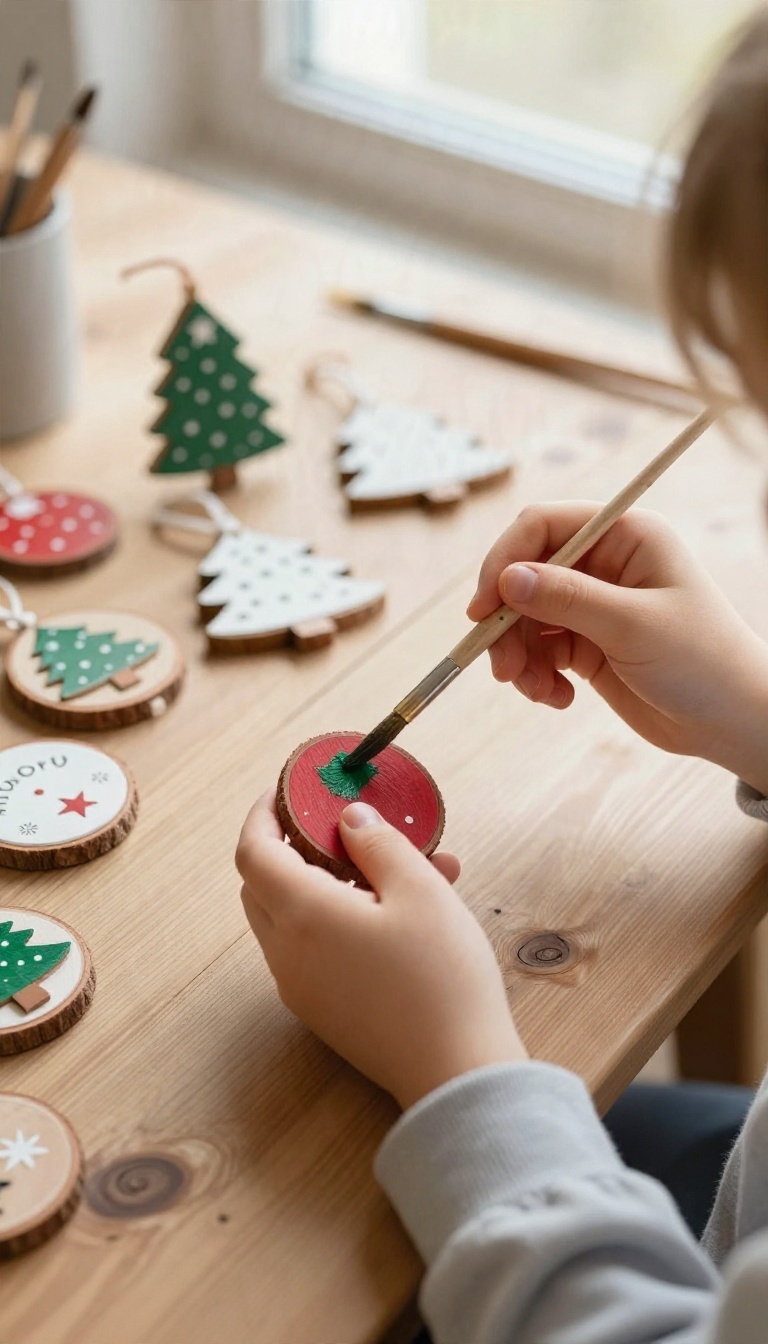
Wood slices are cheap, sturdy, and just the right size for small hands to handle. They already look like they belong on a tree, so even a simple coat of paint turns them into something special. Kids can paint a full winter scene or just a few cheerful dots, and either way, you get a keepsake that feels handmade and warm.
You can buy bags of pre-sanded wood slices at most craft stores, or ask around for fallen branches and slice them yourself if you have a saw. The smoother the surface, the easier it is for kids to paint. A quick sanding with fine grit makes a big difference, especially for detailed designs.
Set out a few small brushes and acrylic paints in winter colors, and let everyone claim a slice or two. One of the best things about this craft is how little prep it needs. Cover the table, put out some water cups, and you're ready.
The wood soaks up paint nicely, and mistakes wipe away easily while it's still wet. Older kids can add details with a fine brush, while younger ones might just cover the whole slice in their favorite color and call it done. When the paint dries, seal each ornament with a coat of Mod Podge or a clear spray sealer.
That keeps the colors from rubbing off and gives the wood a nice finish. Add a ribbon loop or a small hook at the top, and you've got a rustic ornament that looks like it came from a boutique.
Simple Designs For Little Hands
Toddlers and preschoolers do best with big, bold shapes. Paint the whole slice one color, then add a few white dots for snow or a simple star on top. You can also use cookie cutters as stencils: hold one on the wood, let them dab paint inside, and lift it off for a clean shape.
Metallic paint pens are another easy win—they're chunky and show up bright on dark backgrounds.
Winter Scenes For Older Kids
Grade-schoolers can try a mini landscape: a blue sky, a snowy hill, and a tiny pine tree. Show them how to paint the background first, let it dry, then add details on top. A fine-tip brush helps with tree branches and snowflakes.
If they want a challenge, they can paint a silhouette of a deer or a cabin against a sunset sky.
Personalized Keepsakes
Initials and dates make these ornaments extra special. Use a pencil to sketch the letter lightly, then paint over it with a thin brush. For a cleaner look, print out a letter in a bold font, cut it out, and trace around it.
Add the year on the back with a paint pen. Grandparents love these, and they're a sweet way to mark a baby's first Christmas.
Finishing Touches That Last
A sealer is key if you want these to survive more than one season. Brush on a water-based polyurethane or Mod Podge with a foam brush, and let it dry completely before handling. For a snowy effect, dab a little white paint on the edges and sprinkle with fine glitter while it's still wet.
Attach a ribbon or twine loop with a hot glue gun (adults only) or a small screw eye.
9. Paper Plate Angel Ornaments
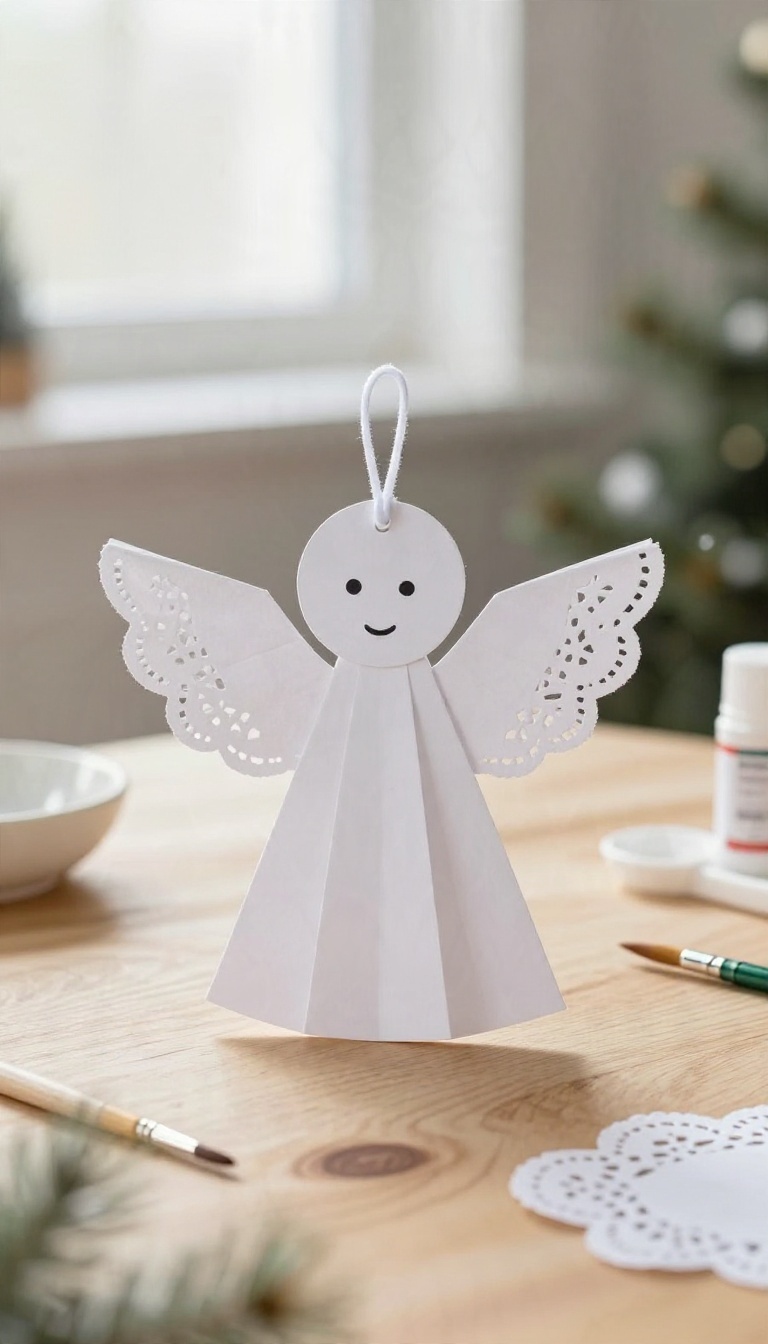
Paper plates earn their keep in the craft bin, and this one turns a plain white circle into a little angel with folded wings and a doily halo. It suits preschool hands because the big shapes are easy to hold and the steps stay short. You probably already own most of what you need, which makes it a good pick for a snowy day when nobody wants to load into the car.
The whole ornament comes together from one plate cut into sections, so there is very little waste and no complicated measuring. Kids paint, fold, and glue, and you handle the scissors if they are still learning. Set out a washable tablecloth and let them work at their own pace.
Cutting The Plate Into Angel Shapes
Start with a standard nine-inch paper plate and cut it into three pieces: a wide triangle for the body, a smaller triangle for the head area, and two curved strips for the wings. If you want a simpler version for tiny hands, skip the separate head piece and let the body triangle do double duty. Fold the wing strips accordion-style so they fan out on either side of the body.
Painting And Adding The Doily Wings
Let kids paint the body and head pieces with white or pale blue tempera, then set them aside to dry for about fifteen minutes. While those dry, cut a small paper doily in half and glue one half behind each folded wing strip for a lacy edge. A dab of white glue holds fine, but a glue stick works too and keeps things less sticky.
Finishing The Face And Hanging Loop
Once the paint is dry, add a simple face with a fine-tip marker or two tiny dot stickers for eyes. Glue the head piece to the top of the body, then attach the wings to the back with a line of glue. Loop a piece of twine or ribbon through the top and knot it, and the angel is ready for the tree.
10. Felt Mitten Ornaments
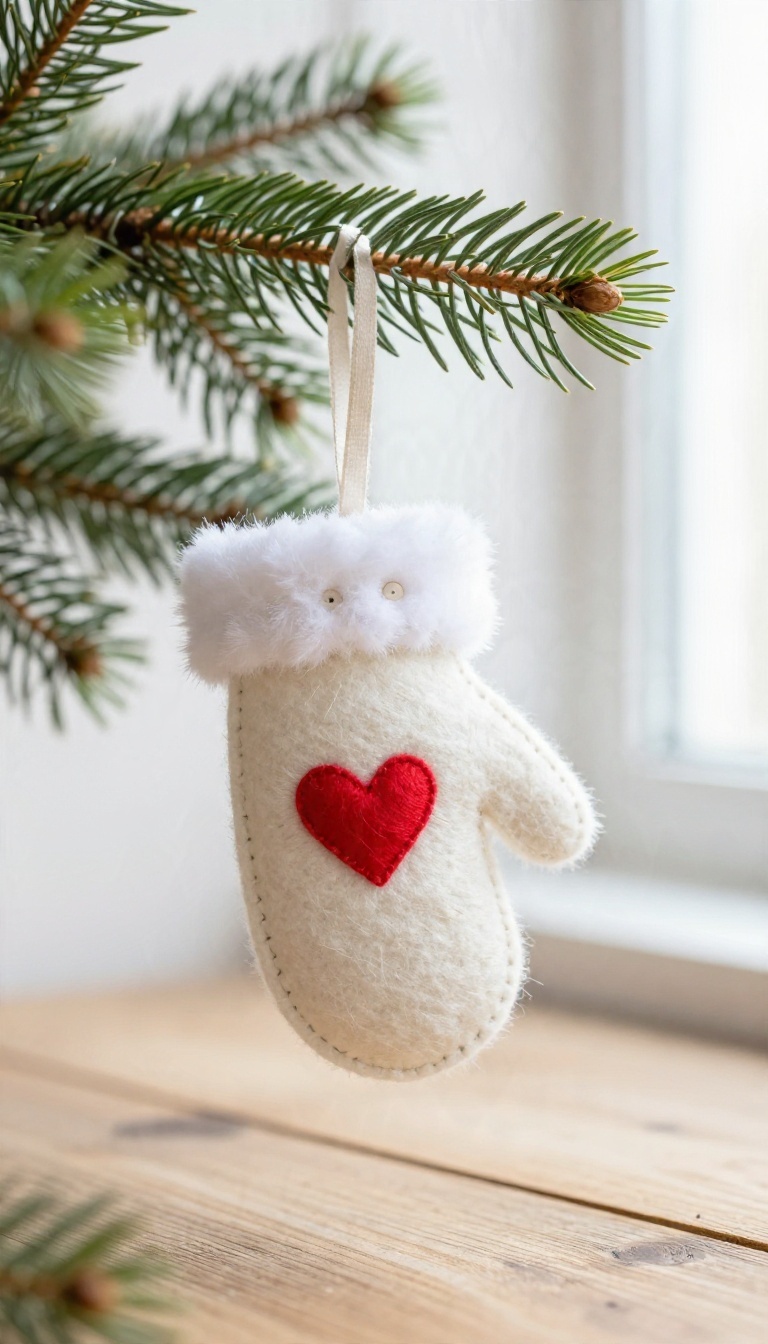
A pair of felt mittens might be the coziest ornament on the tree, and they're surprisingly forgiving for kids of different skill levels. Younger kids can glue and decorate, while older ones get real practice with a needle and thread. The best part?
You only need a few supplies, and the results look handmade in the best way.
Start by cutting two mitten shapes from felt—one for the front, one for the back. A simple template helps, but freehand works too. Older kids can trace and cut their own; younger ones might need a hand with scissors.
Then decide on the construction method: sewing or gluing.
Sewing For Older Kids
A basic running stitch around the edge is perfect for beginners. Use a plastic needle and embroidery floss or yarn. Show them how to start with a knot and end with a few backstitches.
Leave a small opening to stuff with a bit of batting or cotton balls, then stitch closed. Add a loop of ribbon at the top for hanging.
No-sew Option For Younger Kids
Fabric glue or tacky glue works great here. Run a thin line around the edge, press the two layers together, and let it dry. Kids can add buttons, sequins, or felt shapes while the glue is still tacky.
Just make sure to leave the top open until you've added the hanging loop.
Decorating Ideas
Buttons make cute 'cuffs' at the wrist. Small felt hearts or snowflakes add a festive touch. Older kids can embroider simple designs like a snowflake or initials.
Younger ones might just enjoy sticking on stickers or gluing on pom-poms. Let them experiment—there's no wrong way.
Tips For Success
Use a sturdy felt (wool or wool-blend) for durability. Keep stitches loose if sewing so the felt doesn't pucker. If gluing, clamp the edges with clothespins while drying.
And don't skip the hanging loop—a piece of ribbon or twine works perfectly.
11. Pinecone Christmas Trees

Pinecones already look like tiny trees, so this craft mostly asks kids to lean into what's there. A coat of green paint turns the scales into branches, and a few pom-poms or beads stand in for ornaments. It's one of the cheapest projects on this list, especially if you gather the pinecones yourselves on a walk.
The finished ornaments smell faintly of the outdoors, which is a nice bonus when the tree comes inside. Kids can make a whole forest of them in different sizes, and each one ends up looking a little different. Set out the supplies and let them work at their own pace.
What You'll Need
Collect clean, dry pinecones that have opened up, since closed ones won't show the tree shape as well. You'll want green acrylic or tempera paint, small pom-poms or beads, white craft glue, and a bit of twine or ribbon for hanging. A paintbrush with a smaller tip helps kids get into the gaps between scales without smothering the whole cone.
Painting The Branches
Have kids dab paint onto the tips of the scales rather than soaking the entire pinecone. That light touch keeps the natural brown showing through and makes it look more like real branches. Let it dry fully, which usually takes an hour or so, before moving on to decorations.
Adding Ornaments And A Hanger
Glue pom-poms or beads into the spaces between scales, using a dot of glue on each one. Tiny beads work well for older kids, while bigger pom-poms are easier for little hands. Once everything dries, tie a loop of twine around the top and it's ready for the tree.
12. Photo Frame Ornaments
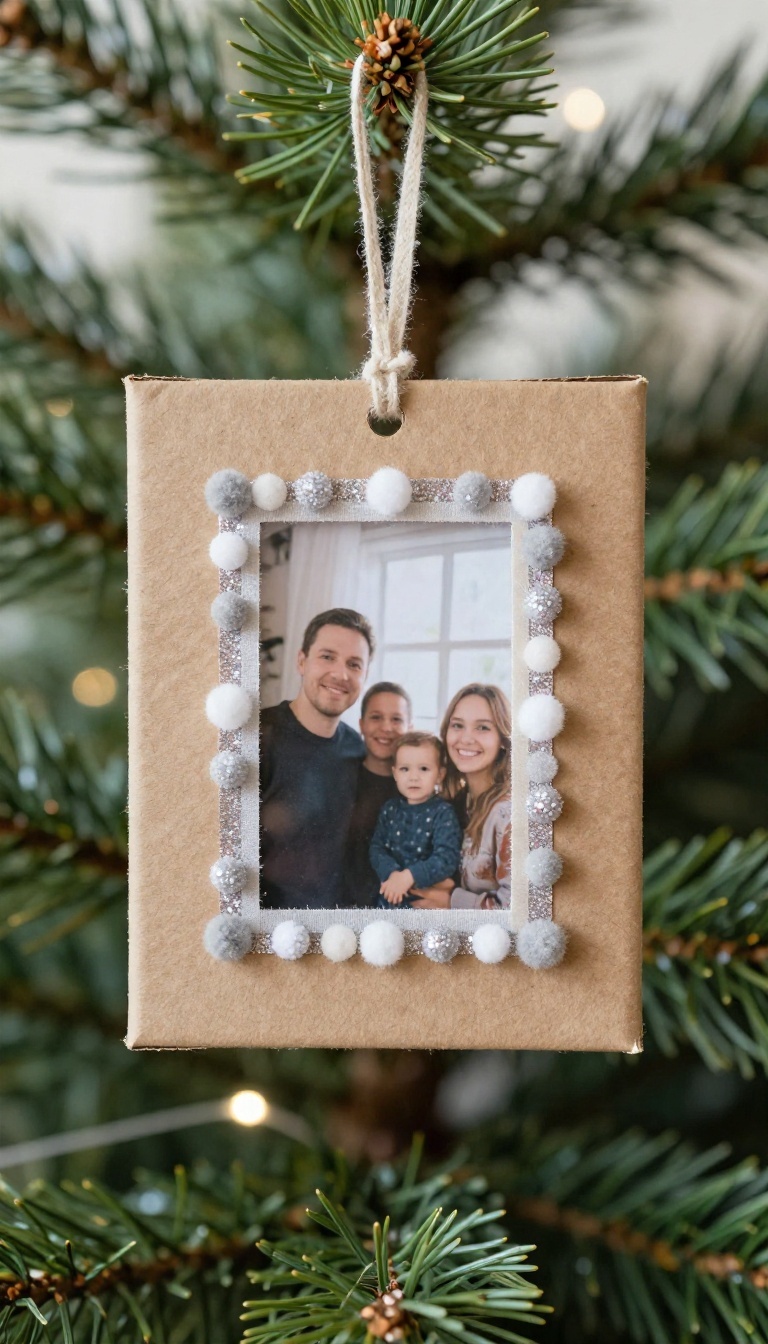
Cardboard boxes pile up fast this time of year, and this craft gives a few of them a second life as tiny picture frames. Kids cut, glue, and decorate a mini frame that holds a favorite family photo. Grandparents tend to go quiet when they unwrap one of these, and that's usually a good sign.
It also costs almost nothing, which matters when you're making a batch for every aunt, uncle, and teacher on the list.
The whole thing comes together with supplies most households already have. A cereal box is the perfect thickness, sturdy enough to stand up to a tree branch but easy for small hands to cut. Plan for about twenty minutes of active crafting plus drying time, and let kids pick the photo themselves so the ornament actually feels like theirs.
Cutting The Frame
Cut two matching rectangles from cardboard, roughly three by four inches. On one piece, cut a smaller rectangle out of the center to create the window, then glue a photo behind it. The second piece becomes the backing, glued around three edges so the photo can slide in and out if you want to swap it later.
Younger kids can handle the gluing while an adult does the window cut with a craft knife.
Decorating Ideas That Hold Up
Paint the frame first and let it dry completely before adding anything else. Then break out the fun stuff: glitter glue along the edges, tiny pom-poms in the corners, or a few stickers spelling out the year. Washi tape wraps neatly around the border and gives a clean look with zero mess.
Keep the decorations flat on the front so the ornament hangs straight on the tree.
Hanging And Gifting
Poke a small hole through the top of both cardboard layers and thread a loop of ribbon or twine through it. A dot of glue where the ribbon meets the cardboard keeps it from slipping. These stack flat in an envelope, which makes them easy to mail to faraway family.
Write the child's name and the year on the back so it doubles as a little time capsule.
13. Melted Crayon Ornaments
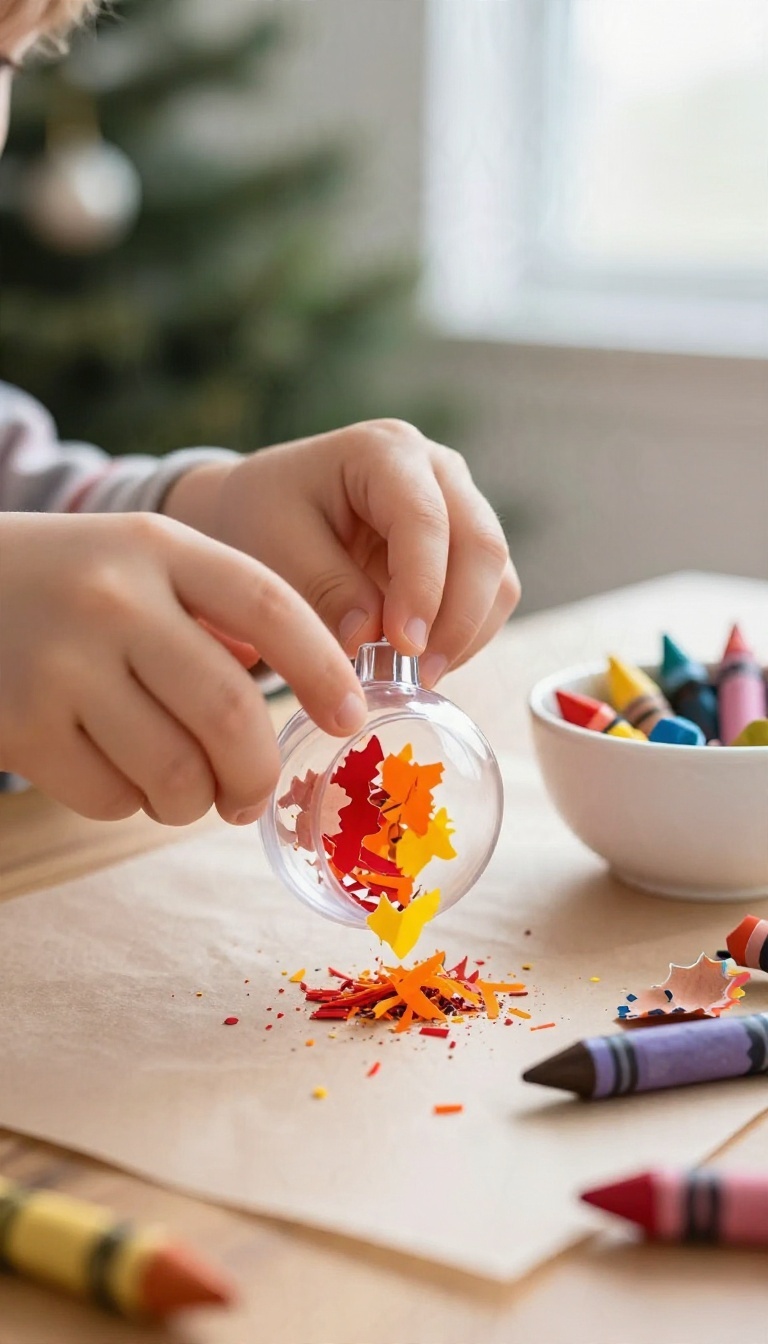
Clear glass or plastic ornaments make a great blank canvas, and a handful of broken crayons can turn them into something that looks like stained glass. Kids grate the crayons, sprinkle the shavings inside, and a grown-up melts them with a hairdryer until the colors swirl together. It's a good project for using up that sad bag of crayon stubs nobody wants to color with.
The results are bright, swirly, and different every single time.
A clear fillable ornament is the whole trick here. You can find them in craft stores or online, and the two halves usually pop apart so kids can work inside without fighting a tiny opening. Grab a cheese grater with larger holes, a few old crayons with the paper peeled off, and a hairdryer you don't mind holding for a while.
Set up on a protected surface because grated crayon bits travel. A sheet of parchment paper or an old towel under the work area saves you a scrubbing session later.
Grating And Layering Colors
Let kids grate the crayons into small bowls, keeping colors separate so they can decide how much of each goes in. Warmer colors like red, orange, and yellow tend to blend into a sunset look, while blues and greens give a cooler, ocean feel. A light sprinkle works better than a heavy pile.
Too much wax and the ornament turns into a solid blob instead of showing off the swirls. Aim for a thin, even layer across the inside surface.
Melting Without The Mess
Snap the ornament halves together and hold the hairdryer a few inches away on a low or medium setting. Move it around so the heat spreads evenly and the shavings start to melt and slide. This part takes a couple of minutes, so patience matters more than power.
Keep the ornament moving and don't let one spot get too hot, especially with plastic versions. Once the colors swirl the way you want, set it down to cool and harden before adding the cap and ribbon.
Finishing Touches
A loop of twine or a thin ribbon through the top cap finishes it off. Kids who want extra sparkle can add a small bow or a name tag, though the swirled color usually speaks for itself. These look especially pretty hanging near a window where light shines through the melted wax.
Just note that direct sun and heat can soften the crayon over time, so keep them off radiators and out of hot cars.
14. Pom-Pom Garland Ornaments
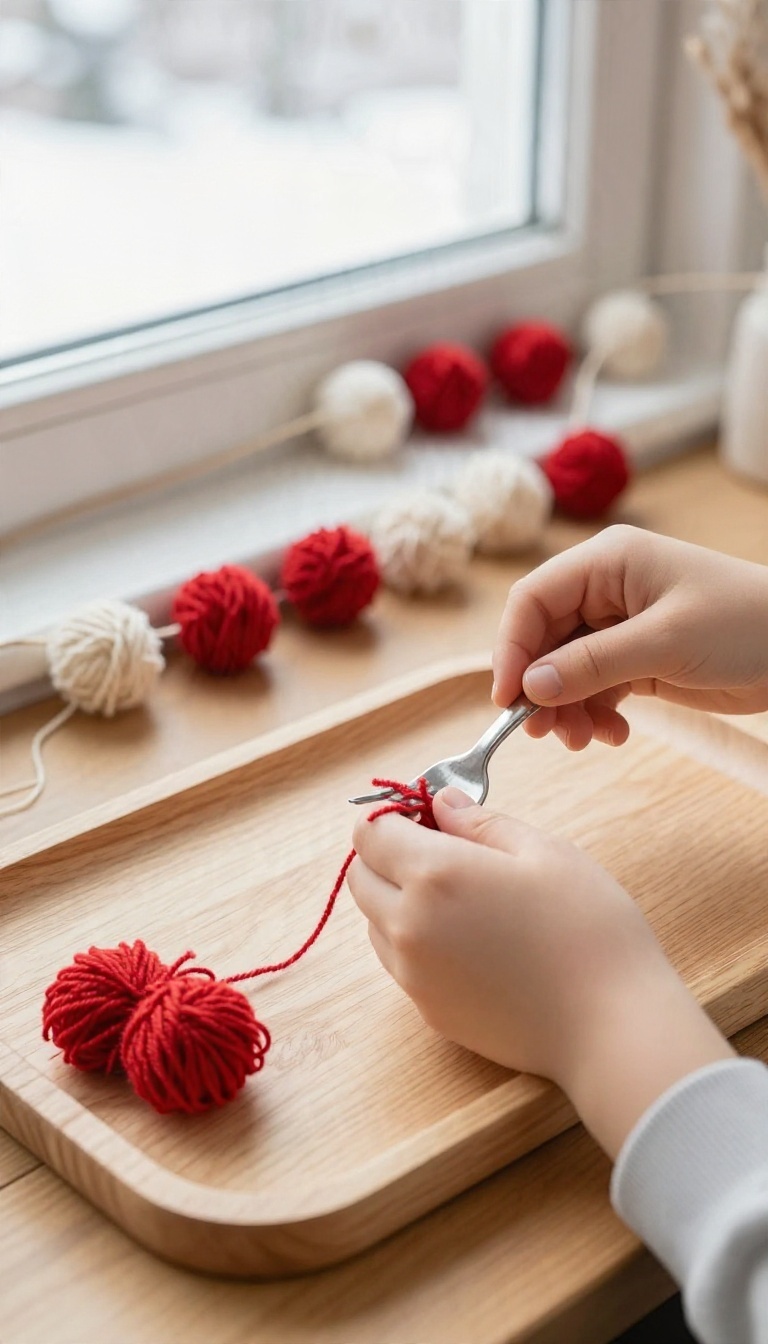
Yarn scraps and a fork can keep a kid busy for a solid stretch, and the payoff is a fluffy little pom-pom that looks great on a tree or strung across a window. This one suits a snowy afternoon when nobody wants to go outside. The mess stays contained to a tray, and the results feel genuinely festive.
Kids love the magic of wrapping yarn, tying it off, and snipping it into a round puff. Once you have a small pile of pom-poms, the craft turns into a garland or a set of single hanging ornaments. Either way, you end up with something soft and homemade that doesn't look like a classroom project.
Making The Pom-poms
A fork works great for mini pom-poms, and a piece of cardboard cut into a rectangle handles bigger ones. Have kids wrap yarn around the middle 30 to 50 times, depending on how dense they want it. Slide the bundle off, tie a tight knot around the center with a separate strand, then snip both loops.
Fluff and trim until it looks round. Younger kids may need help with the tying, but the wrapping and snipping are all theirs.
Turning Them Into Garlands
Thread a blunt tapestry needle with baker's twine or thin yarn and push it straight through the center of each pom-pom. Space them a few inches apart, then knot on either side so they stay put. A garland of eight to twelve pom-poms looks full without taking all afternoon.
Kids can pick a color scheme or go full rainbow, and the string hangs nicely across a mantel or doorway.
Single Hanging Ornaments
For a tree ornament, leave a longer tail when you tie off the center knot and use that as the hanger. Add a small bead or a bell above the pom-pom for a little extra charm. Mixing two colors in one pom-pom gives it a candy-cane swirl that kids get a kick out of.
These also make sweet gift toppers or backpack charms after the holidays.
15. Recycled Cardboard Reindeer
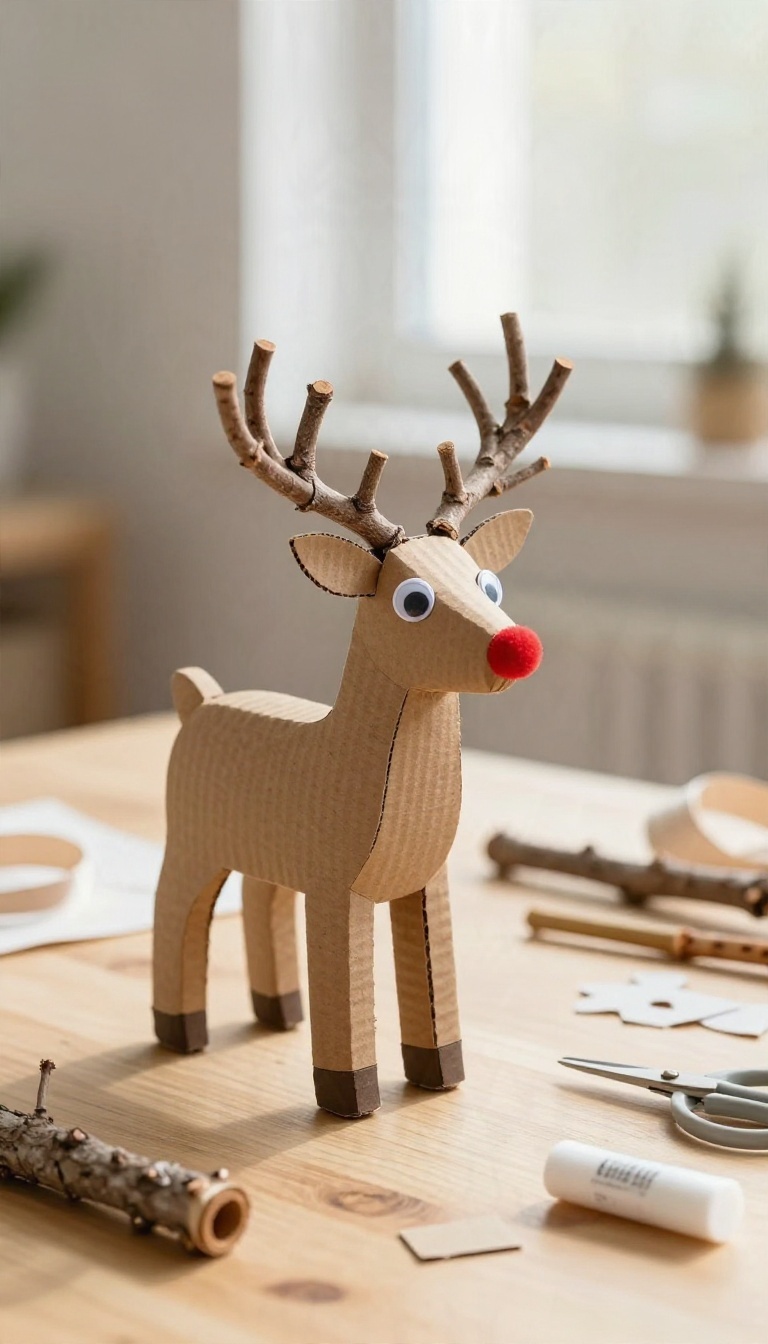
A shipping box and a few craft scraps can turn into a reindeer that looks like it wandered in from the North Pole. This project works for a wide age range because the cutting is simple and the decorating is wide open. Kids can make a whole herd in one sitting, and each one ends up with its own personality.
Start by cutting a simple reindeer silhouette from sturdy cardboard. You can freehand it or print a template, but a basic shape with a rounded body, four legs, and a head is all you need. Older kids can handle the scissors; younger ones might need help with the thicker pieces.
Once the shapes are cut, set out a glue stick or white glue, twigs, googly eyes, and a red pom-pom for the nose. Let kids assemble their reindeer however they like. The twigs make perfect antlers, and the pom-pom adds that classic Rudolph touch.
Cutting The Reindeer Shape
Draw the outline on cardboard first so kids have a guide. A simple profile works best: a rounded body, a neck, and a head with space for antlers. Cut slowly and let kids practice on a scrap piece if they're new to scissors.
For thinner cardboard, regular scissors work fine; for thicker stuff, an adult might need to help with the tricky curves.
Decorating With Natural And Craft Bits
Twigs from the yard make great antlers, but you can also use pipe cleaners or cinnamon sticks. Googly eyes add instant character, and a red pom-pom nose is a must. Let kids experiment with ribbon, felt scraps, or even buttons for extra flair.
A little white glue holds everything in place, though a hot glue gun (used by an adult) speeds things up for heavier pieces.
Finishing Touches For Hanging
Poke a small hole near the top of the reindeer's head or back and thread through a loop of twine or ribbon. If the cardboard is thick, a hole punch might not reach, so use a skewer or the tip of scissors. Tie a knot and your reindeer is ready for the tree.
These also look cute standing on a shelf or glued to a homemade card.
FAQ
What age range are these ornament crafts best for?
Most work for ages 3 and up with adult help, while projects like felt mittens and clay stars suit kids 7 and older who can handle scissors or simple stitching.
How do I make salt dough ornaments last more than one season?
Dry them slowly in a low oven or air-dry for several days, then seal both sides with acrylic spray or a coat of Mod Podge so moisture stays out.
What supplies should I keep on hand for a craft afternoon?
Gather glue, washable paint, paintbrushes, craft sticks, pipe cleaners, pony beads, air-dry clay, and clear plastic ornaments. Most projects use some mix of these.
Can these ornaments be given as gifts?
Absolutely. Photo frames, clay stars, and handprint ornaments make thoughtful gifts for grandparents and teachers, especially with a name and date written on the back.
How do I keep the mess manageable with young kids?
Cover the table with a cheap plastic tablecloth, set out supplies in small bowls, and keep a damp cloth nearby. Let kids craft in an apron or old shirt.
Conclusion
Fifteen ornament ideas gives you plenty of room to find the one that clicks with your crew. Start with whatever matches the supplies already in your kitchen drawer, then let the kids take over. A glittery pinecone or a lopsided clay star still hangs proudly on the tree year after year.
The point isn't a perfect finished ornament. It's the afternoon spent cutting, gluing, and laughing together. Pick one or two to try this week, hang them where everyone can see, and let the season get a little messier and a lot more fun.