How to Clean Your Bathroom in 15 Easy Reset Steps Today
A sparkling bathroom isn't just about appearances—it's your daily reset button. You don't need a marathon cleaning session or expensive products to get there. With the right sequence, each task builds on the last, saving you time and elbow grease.
These 15 steps target every trouble spot, from grimy shower heads to sticky light switches. Most use items you already have at home.
Ready to turn chaos into calm? Let's dive in.
1. Clear the Clutter First
Before you spray a single cleaner, take five minutes to remove everything from counters, shelves, and the shower. Bottles, soap dishes, razors, and decor just get in the way and collect dust. A clear space means you can actually reach every surface without knocking things over.
Start by gathering a small bin or basket. Sweep all items off the counter and vanity into it—toothbrushes, makeup, lotions, the works. Do the same for the shower caddy and tub ledge.
If you have a medicine cabinet, empty that too. Wipe each item with a damp cloth before setting it aside. This step alone makes the rest of your cleaning faster and more thorough.
Why Clutter Slows You Down
Every bottle you have to move is time wasted. Worse, grime builds up underneath items you rarely pick up. By clearing the slate, you expose hidden dirt and prevent yourself from skipping spots.
What To Do With The Stuff
Toss empty bottles and expired products immediately. Group like items together—hair products in one pile, skincare in another. This not only clears your bathroom but also makes putting everything back a breeze.
A Quick Declutter Check
Ask yourself: Have I used this in the last month? If not, consider donating or trashing it. Less stuff means less to clean next time.
2. Spray and Soak the Toilet
The toilet is often the most dreaded part of bathroom cleaning, but it doesn't have to be. By applying cleaner and letting it sit, you let chemistry do the hard work. This step is all about setting things in motion so you can move on to other tasks while the cleaners break down grime and stains.
Start by squeezing a generous amount of toilet bowl cleaner under the rim, making sure it coats the inside of the bowl. Then, spray an all-purpose cleaner all over the exterior—lid, seat, base, and flush handle. Let everything sit for at least five minutes.
This soak time is crucial; it lifts mineral deposits, kills germs, and makes scrubbing effortless later.
Choose The Right Cleaners
For the bowl, use a thick gel cleaner with bleach or citric acid to tackle stains and disinfect. For the outside, a spray with hydrogen peroxide or a mild degreaser works well. Avoid mixing bleach with ammonia or acidic cleaners—stick to one product per surface.
Don't Forget The Hidden Spots
While the cleaners soak, lift the seat and spray the hinges and underneath the rim. These areas collect urine splatter and dust. A quick spritz now means less scrubbing later.
Set A Timer
It's easy to forget the toilet when you're busy elsewhere. Set a timer for five minutes. When it goes off, you'll know it's time to scrub and flush.
This keeps your cleaning sequence on track.
3. Tackle the Shower Head
A clogged shower head can ruin your morning with weak spray and uneven water flow. Mineral deposits from hard water build up over time, but you don't need harsh chemicals to fix it. This simple vinegar soak restores full pressure and leaves the fixture gleaming.
What You'll Need
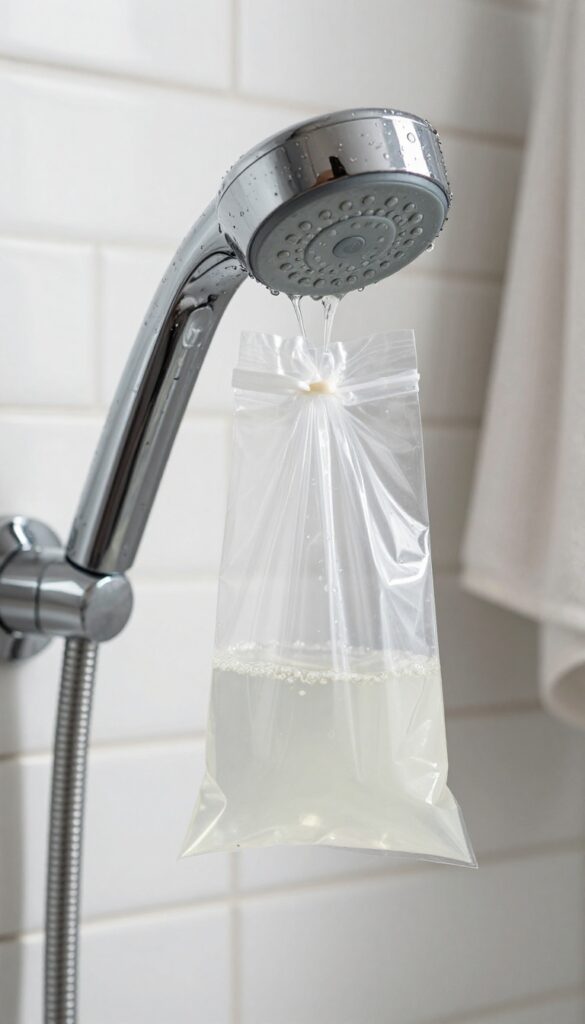
Grab a quart-sized plastic bag, white vinegar, a rubber band or zip tie, and an old towel. That's it. No special tools required.
The Soak Method
Fill the bag with enough vinegar to fully submerge the shower head's nozzle. Carefully slip the bag over the head and secure it tightly with the rubber band or zip tie so no vinegar leaks out. Place the towel underneath to catch any drips.
Let it soak for at least one hour—overnight for heavy buildup.
Final Rinse And Wipe
Remove the bag and run the shower for a minute to flush away loosened deposits. Wipe the head with a damp cloth. If any spots remain, use an old toothbrush to gently scrub them away.
4. Scrub the Tub and Tile
Your bathtub and shower tiles take the brunt of daily use, collecting soap scum, hard water stains, and mildew. A thorough scrub restores their shine and keeps grout from looking dingy. You don't need harsh chemicals—just the right technique and a little muscle.
Choose The Right Cleaner
Avoid abrasive powders or bleach-heavy products that can scratch surfaces or damage grout. A mild, non-abrasive bathroom cleaner or a DIY mix of equal parts white vinegar and dish soap works wonders. Spray it on and let it sit for a few minutes to break down grime.
Scrub In Sections
Work from top to bottom so dirty water drips onto areas you haven't cleaned yet. Use a stiff-bristled brush for tiles and a softer sponge for acrylic or fiberglass tubs. Focus on corners and edges where soap scum hides.
Rinse And Dry
After scrubbing, rinse thoroughly with warm water to remove all cleaner residue. Leftover soap can attract more dirt. Wipe down with a microfiber cloth or a squeegee to prevent water spots and mildew growth.
5. Clean the Glass Doors
Glass shower doors look beautiful when they're spotless, but they also show every single water spot and soap smear. That's why tackling them early in your cleaning routine makes a huge difference. You don't need harsh chemicals—just a simple spray and a good microfiber cloth can restore that crystal-clear shine.
Mix Your Cleaning Solution
Combine equal parts white vinegar and distilled water in a spray bottle. Vinegar cuts through hard water stains and soap scum naturally. For extra stubborn spots, add a few drops of dish soap.
Shake gently to mix.
Spray And Let It Sit
Mist the entire glass surface generously. Let the solution sit for 2–3 minutes so it can break down the grime. Don't let it dry out—work in small sections if your bathroom is humid.
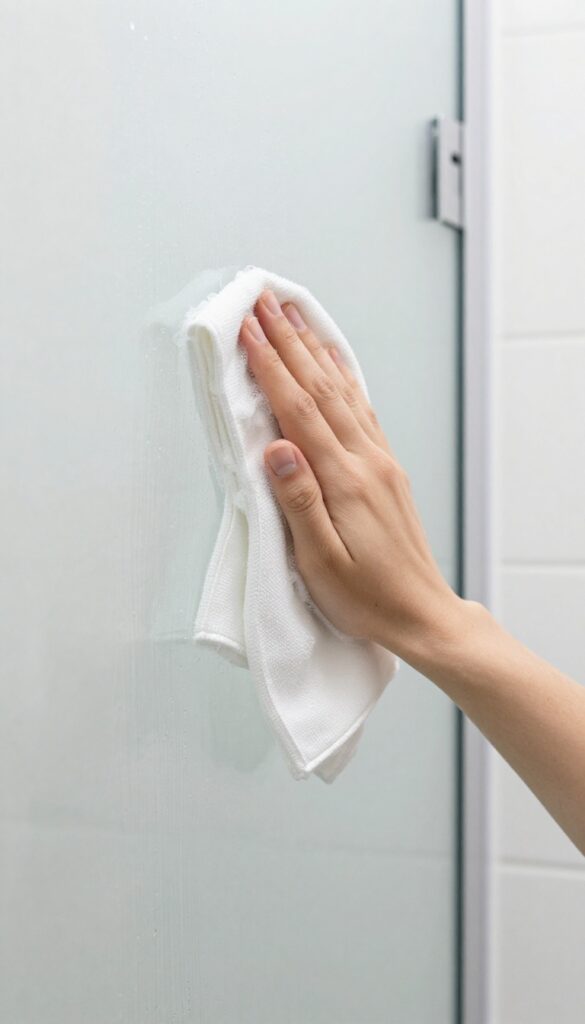
Wipe For A Streak-free Finish
Use a clean, dry microfiber cloth. Wipe in long, overlapping strokes from top to bottom. Flip the cloth often to avoid spreading residue.
For best results, buff with a second dry cloth until the glass gleams.
6. Wipe Down the Sink and Counter
The sink and counter collect more daily grime than you might think—toothpaste splatters, water spots, and stray hairs. Fortunately, they're quick to tackle once you know the right technique. A few swipes with the right cleaner will leave them gleaming in under two minutes.
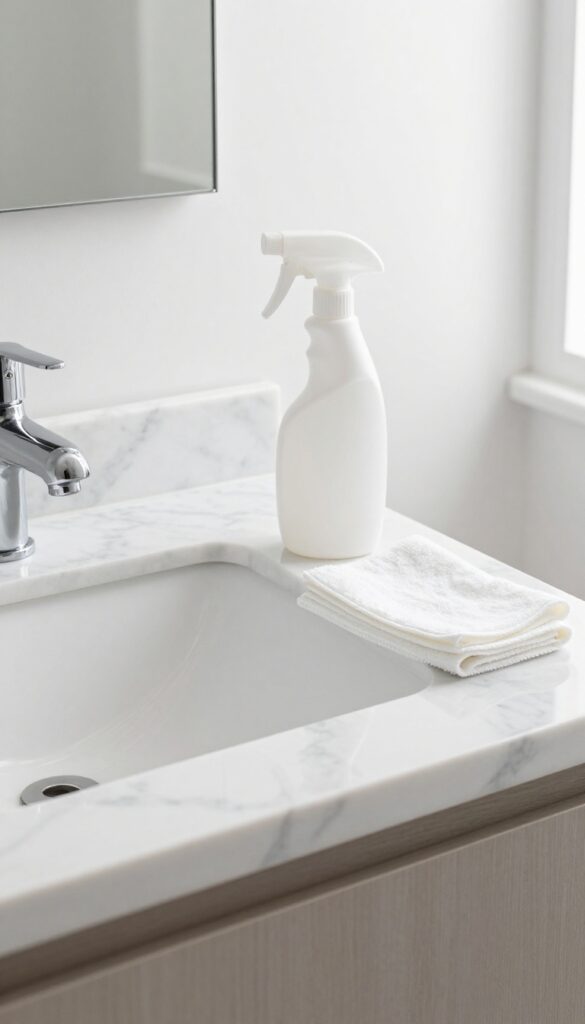
Choose Your All-purpose Cleaner
You don't need a specialty product. A spray bottle with a 50/50 mix of white vinegar and water works wonders on most surfaces. For tougher stains or soap scum, a mild dish soap solution does the trick.
Avoid abrasive cleaners on granite or quartz—stick to pH-neutral formulas.
Work From Top To Bottom
Start with the backsplash or mirror above the sink, then move to the counter, and finish with the sink bowl. This way, any drips from above get cleaned up as you go. Spray the cleaner onto a microfiber cloth rather than directly onto the surface to avoid overspray.
Don't Forget The Faucet And Handles
Faucet handles are high-touch areas that often get overlooked. Give them a thorough wipe, paying attention to the crevices where grime hides. For chrome fixtures, a dry microfiber cloth after cleaning prevents water spots and adds shine.
7. Polish the Mirror
A smudged mirror can make the whole bathroom feel dirty, even when everything else is spotless. The trick is avoiding streaks and lint, which means using the right cloth and technique. Once you master this, your mirror will look like it's not even there.
Spray glass cleaner on a microfiber cloth (not directly on the mirror) and wipe in circular motions to avoid streaks. For stubborn spots, a dab of rubbing alcohol on a cloth works wonders. Finish with a dry section of the cloth to buff away any remaining haze.
Choose The Right Cloth
Microfiber is your best friend here. Paper towels leave lint, and old t-shirts can leave streaks. A clean, dry microfiber cloth picks up dust and polish without scratching.
Spray, Don't Drench
Always spray the cleaner onto the cloth, not the mirror. This prevents drips that can streak and run down onto your freshly cleaned counter. A light mist is all you need.
The Circular Motion Trick
Wipe in overlapping circles, starting at the top and working your way down. This spreads the cleaner evenly and picks up grime. For a final polish, use a dry part of the cloth in a zigzag pattern to catch any leftover streaks.
8. Disinfect Light Switches and Handles
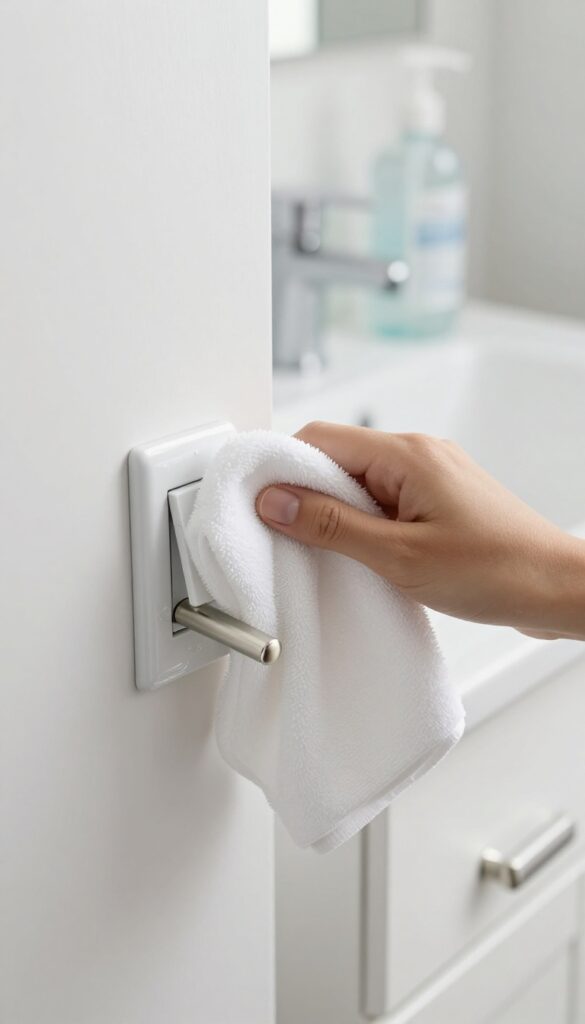
Light switches and handles are some of the most touched surfaces in your bathroom, yet they're often overlooked during cleaning. Every time you flush, turn on the faucet, or open a cabinet, you're spreading germs. A quick disinfecting step here makes a big difference in keeping your bathroom truly clean.
Grab a disinfectant wipe or spray and a clean cloth. Start with the light switches—both the switch plate and the surrounding wall area. Then move to drawer pulls, cabinet handles, and any other high-touch spots like towel bars or toilet flush handles.
Let the disinfectant sit for the recommended time (usually a few minutes) to effectively kill germs. Wipe dry if needed.
Why These Spots Matter
Think about how many times you touch a light switch or cabinet handle in a day. These surfaces collect bacteria and viruses from unwashed hands. Disinfecting them regularly reduces the spread of illness and keeps your bathroom hygienic.
Best Products For The Job
Use EPA-approved disinfectant wipes or a spray with at least 70% alcohol. Avoid bleach on metal handles as it can cause corrosion. For delicate finishes, test a small area first.
Microfiber cloths work great for applying spray and buffing dry.
Don't Forget The Toilet Flush Handle
The flush handle is one of the germiest spots in any bathroom. Give it a thorough wipe with a disinfectant wipe every time you clean. If you have a dual-flush button, clean that too.
It's a small step that packs a big hygiene punch.
9. Scrub the Toilet Inside and Out
The toilet often gets the least attention because, well, it's the toilet. But it's also the most used fixture in the bathroom, so giving it a proper scrub makes a huge difference in both cleanliness and smell. You'll tackle the inside bowl first, then move to the exterior, including the base and lid.
Start by flushing to wet the bowl, then apply a toilet bowl cleaner under the rim and let it sit for a few minutes. Use a toilet brush to scrub the inside thoroughly, getting under the rim and down into the trap. Flush again to rinse.
For the outside, use an all-purpose cleaner or disinfectant spray on a microfiber cloth. Wipe down the lid, seat (both sides), tank, and the entire base. Don't forget the floor around the base where dust and grime collect.
Inside The Bowl
Apply cleaner under the rim and let it dwell for 3-5 minutes to break down stains and mineral deposits. Scrub with a dedicated toilet brush, working your way down into the water. For stubborn rings, use a pumice stone (wet it first) or a baking soda paste.
Flush and give the brush a quick rinse.
Exterior Surfaces
Spray a disinfectant or all-purpose cleaner on a microfiber cloth—never directly on the toilet to avoid overspray. Wipe the lid, seat (top and bottom), tank, and the sides. Pay extra attention to the hinges and the base where the toilet meets the floor.
Use a separate cloth or wipe for the floor area around the base.
10. Clean the Floor
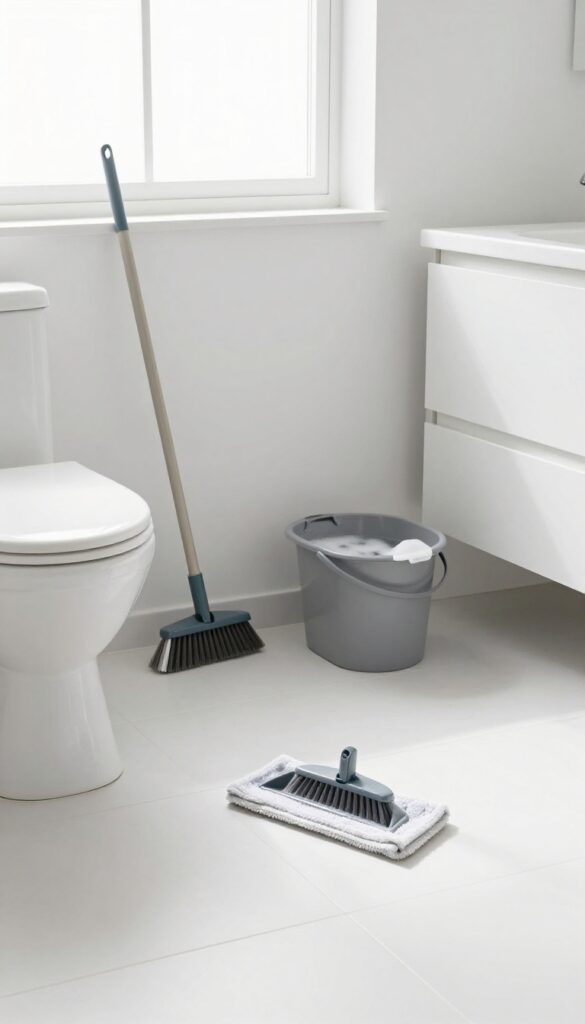
After tackling every surface and fixture, the floor is your final frontier. It catches all the dust, hair, and splashes that missed their mark. A thorough floor cleaning pulls the whole room together and leaves it feeling fresh.
Sweep Or Vacuum First
Always remove loose debris before mopping. Use a vacuum with a hard floor attachment or a soft-bristle broom to get into corners and under the vanity. Don't forget behind the toilet—that's where dust bunnies hide.
Mop With The Right Cleaner
Choose a bathroom-safe cleaner that won't damage your floor type. For tile, a mild detergent or vinegar solution works well. Use a microfiber mop or a cloth mop that you can rinse frequently.
Work from the farthest corner toward the door so you don't step on wet spots.
Tackle Grout And Edges
If your floor has grout lines, give them a quick scrub with an old toothbrush dipped in baking soda paste. Pay extra attention to edges where the floor meets the wall and around the toilet base. These areas collect grime that a mop alone can't remove.
11. Refresh the Shower Curtain or Door
Your shower curtain or door takes the brunt of soap scum, hard water, and mildew. But it's often the last thing we think to clean. Giving it proper attention not only improves the look of your shower but also prevents that musty smell that can linger in the bathroom.
Whether you have a fabric curtain, a plastic liner, or a glass door, the approach differs. But the goal is the same: a clean, streak-free surface that lets your shower shine.
Fabric Curtains: Toss In The Wash
Remove the curtain and any liner. Check the care label—most fabric curtains are machine washable. Use warm water and a mild detergent.
Add a half cup of baking soda to the wash cycle to help remove odors and brighten whites. For stubborn mildew spots, pre-treat with a paste of baking soda and water. Tumble dry on low or hang to dry.
Plastic Liners: Quick Wipe Or Replace
If your liner is looking grimy, wipe it down with a solution of equal parts white vinegar and water. Use a soft sponge or cloth, then rinse thoroughly. For heavy buildup, soak the liner in the bathtub with warm water and a cup of vinegar for 30 minutes.
If it's beyond saving, replace it—they're inexpensive and easy to swap.
Glass Doors: Final Rinse And Squeegee
After cleaning the glass with a vinegar solution or a dedicated glass cleaner, do a final rinse with hot water to remove any residue. Then squeegee the door from top to bottom. This prevents water spots and keeps the glass clear.
For extra shine, buff with a microfiber cloth.
12. Organize the Vanity

Once the surfaces are clean, it's tempting to just toss everything back onto the counter. But that's how clutter creeps back in. Take a few extra minutes to be intentional about what goes on the vanity and how it's arranged.
Edit Down To Essentials
Pull everything off the counter and sort into three piles: daily use, weekly use, and rarely used. Only the daily-use items belong on the vanity. Store the rest in cabinets or drawers.
This instantly makes the space feel cleaner and more functional.
Use Trays And Bins
Group like items together on small trays or in clear bins. For example, keep toothbrushes and toothpaste in one tray, skincare products in another, and hair tools in a third. This keeps everything corralled and easy to find.
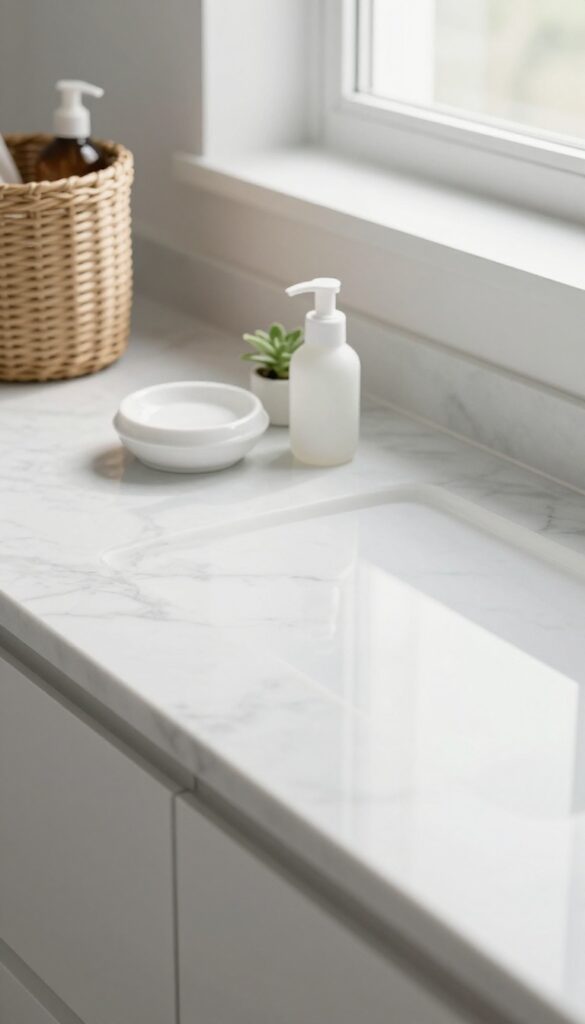
Add A Small Organizer For Frequently Used Items
A simple acrylic organizer or a ceramic dish can hold daily essentials like hand soap, a small plant, or a jar of cotton swabs. This prevents the counter from looking cluttered while keeping necessities within reach.
13. Empty the Trash and Replace Liner
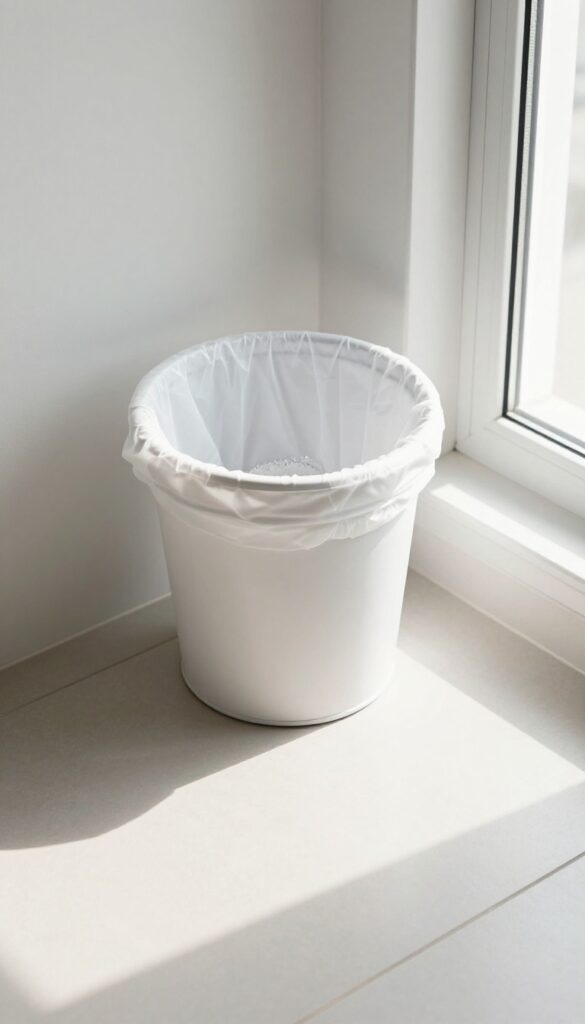
The trash can is the unsung hero of bathroom cleaning. It collects everything from used cotton swabs to empty shampoo bottles, and if you skip this step, all that fresh cleaning work gets undermined by lingering odors. Taking a moment to empty and refresh the bin keeps the whole room smelling clean.
Why This Step Matters
Trash bins trap moisture and bacteria, especially in a humid bathroom. Even if you wiped every other surface, a dirty bin can release musty smells and germs. Starting fresh with a clean liner ensures your bathroom stays truly fresh.
How To Do It Right
First, tie up the full bag and take it straight to your main trash. Don't let it sit by the door. Next, spray the inside of the bin with a disinfectant or all-purpose cleaner and wipe it dry with a paper towel.
Finally, drop in a new liner—preferably one that fits snugly so it doesn't slip.
Pro Tips For A Fresher Bin
Sprinkle a little baking soda at the bottom of the liner before placing it in the bin. It absorbs moisture and neutralizes odors. If your bin has a lid, wipe that down too—it's a magnet for fingerprints and splashes.
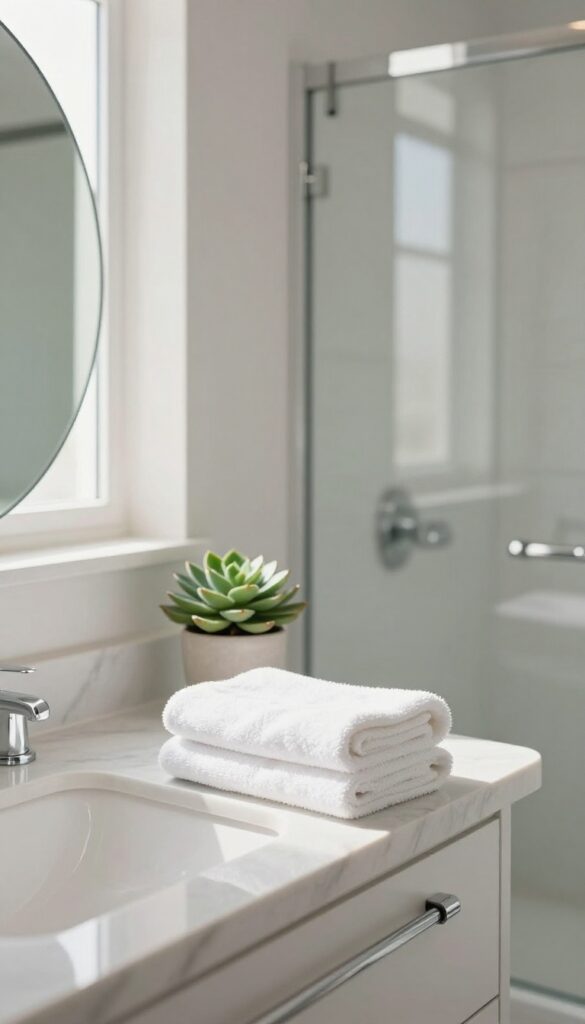
14. Add a Finishing Touch
You've scrubbed, wiped, and polished every inch. Now it's time for the payoff—a small touch that makes your bathroom feel like a sanctuary rather than just a clean room. A little effort here goes a long way in creating a space you actually enjoy stepping into.
The final step is all about ambiance. After all that hard work, you deserve a bathroom that feels inviting, not sterile. A simple addition can transform the atmosphere and signal that the cleaning is truly done.
Choose One Focal Point
You don't need to clutter your counter with a dozen items. Pick one thing that adds life or warmth: a small potted plant like a pothos or snake plant, a scented candle in a calming fragrance like eucalyptus or lavender, or a fresh, neatly folded towel. Place it where it's visible but out of the way.
Keep It Low-maintenance
The finishing touch should be easy to maintain. If you choose a plant, opt for one that thrives in humidity and low light. For candles, go with a size that won't be a fire hazard near mirrors or curtains.
A towel should be one you're happy to rotate out weekly.
Consider The Scent Factor
Scent is a powerful way to make the bathroom feel fresh. A candle or reed diffuser can add a subtle, pleasant aroma. If you prefer no open flames, try a small bowl of potpourri or a few drops of essential oil on a wooden diffuser.
Just avoid anything too strong that might clash with cleaning product smells.
15. Do a Final Walk-Through
You've scrubbed, wiped, and polished every inch. Now it's time to step back and see the big picture. A quick final walk-through catches any missed spots, streaks, or items you accidentally left behind.
It also gives you a moment to appreciate your hard work before you move on with your day.
This step is all about quality control and satisfaction. It only takes a minute or two, but it makes a big difference in how polished your bathroom feels.
Check For Streaks And Smudges
Look at mirrors, glass shower doors, and chrome fixtures from different angles. Natural light or a bright overhead light will reveal any streaks. A quick buff with a dry microfiber cloth fixes them in seconds.
Scan For Leftover Clutter
Check the floor, countertops, and corners for stray items like cotton swabs, empty bottles, or forgotten laundry. Return things to their proper places. A clutter-free bathroom feels instantly more serene.
Enjoy Your Clean Bathroom
Take a deep breath and look around. Notice the shine, the fresh scent, and the order you've created. This is your reward for 15 steps of focused effort.
Let yourself feel proud—you've earned it.
FAQ
How often should I deep clean my bathroom?
Aim for a deep clean every one to two weeks. Daily quick wipes can help maintain it between sessions.
What's the best cleaner for soap scum?
A mixture of white vinegar and dish soap works well. For tough buildup, use a commercial bathroom cleaner with citric acid.
Can I use bleach on all bathroom surfaces?
No, bleach can damage certain materials like marble or colored grout. Stick to mild cleaners for delicate surfaces.
How do I prevent mold in the shower?
Keep the bathroom ventilated, use a squeegee after showers, and wash your shower curtain regularly.
What's the fastest way to clean a toilet?
Apply cleaner, let it sit for a few minutes, scrub with a toilet brush, then flush. Wipe the exterior with a disinfectant wipe.
Conclusion
Once you've worked through these 15 steps, your bathroom will feel like a completely different space—fresher, brighter, and genuinely easier to maintain. The real secret is keeping up with small daily habits like wiping down surfaces and squeegeeing the shower.
Stick with the routine that fits your lifestyle, and you'll spend less time scrubbing and more time enjoying your clean, reset bathroom.