23 Cleaning Laminate Wood Floors Tips for Streak Free Shine
You've just finished mopping, but instead of a gleaming finish, you're left with streaks and dull patches. Laminate floors are notoriously finicky—too much water and they warp, the wrong cleaner leaves a hazy film. The good news?
Streak-free shine is totally doable with the right techniques. These 23 tips cut through the guesswork, from choosing the perfect microfiber mop to mastering a DIY vinegar solution that won't damage your floor.
Whether you're battling sticky spots or just want that mirror-like glow, each tip tackles a specific problem so you can clean smarter, not harder. Let's get your laminate looking its absolute best.
1. Start with a Dry Dusting Routine
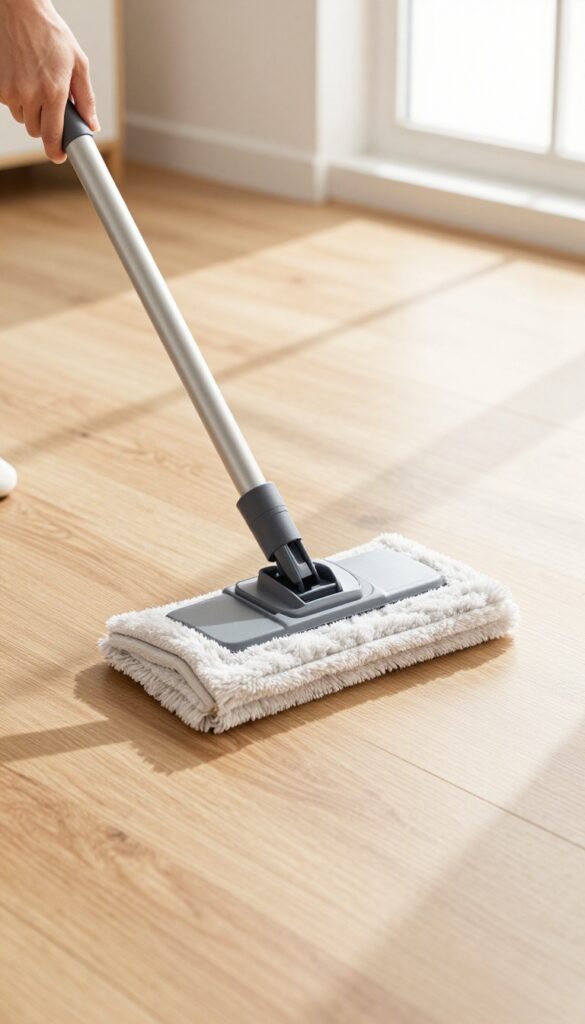
Before any wet cleaning, you need to remove loose debris. Grit and sand act like sandpaper under your mop, scratching the laminate's protective layer. A quick dry dusting daily prevents those tiny scratches that dull the finish over time.
Sweep or dust mop daily to remove grit that scratches the surface. Use a soft microfiber mop or a vacuum with a hard floor setting.
Why Dry Dusting First Matters
Laminate is durable, but its top layer is thin. When you mop over dirt, you're essentially grinding it into the floor. Dry dusting lifts particles without moisture, so your wet mop can focus on cleaning, not scrubbing.
Best Tools For The Job
A microfiber dust mop traps particles better than cotton or synthetic brooms. For vacuums, use the hard floor setting and turn off the brush roll to avoid scattering debris. Avoid dusters with oils or waxes that leave residue.
How Often To Dust
High-traffic areas like hallways and kitchens need daily attention. Low-traffic rooms can go two or three days. The key is consistency—a minute of dusting now saves you from scrubbing later.
2. Choose the Right Microfiber Mop
Not all mops are created equal, especially when it comes to laminate. The wrong mop can leave streaks, push dirty water into crevices, or dump too much moisture on your floor. A flat microfiber mop with a washable pad is your best bet—it traps dirt without pushing it around and lets you control the amount of water you use.
Avoid string mops or sponge mops that hold too much water; they can seep into seams and cause warping over time.
A good microfiber mop is the foundation of streak-free cleaning. Look for one with a swivel head to reach corners and under furniture easily. The pad should be machine-washable so you can reuse it hundreds of times.
Spray mops are convenient, but be careful—some have built-in reservoirs that make it hard to control liquid output. Stick with a model that lets you spray separately or dampen the pad manually. Replace pads when they look worn or start leaving lint behind.
Why Flat Microfiber Works Best
Flat microfiber mops have a large surface area that picks up dust, hair, and grime in one pass. The microfiber strands have a static charge that attracts particles, so you're not just pushing dirt around. Plus, since the pad lies flat, water distribution is even, reducing the chance of puddles that can damage laminate.
What To Avoid
Skip string mops—they hold too much water and are hard to wring out consistently. Sponge mops can leave excess moisture and are prone to trapping bacteria. Also avoid rough scrub brushes or abrasive pads that can scratch the laminate surface.
Stick with soft microfiber for everyday cleaning.
How To Maintain Your Mop
Wash microfiber pads after every use with mild detergent—no fabric softener, which clogs the fibers. Air dry or tumble dry on low heat. Replace pads every 3–6 months or as soon as they stop picking up dirt effectively.
A clean mop means a clean floor.
3. Use a Laminate-Specific Cleaner
Not all cleaners are safe for laminate. Many all-purpose products contain wax, oil, or bleach that leave a dull film or damage the protective layer. A dedicated laminate cleaner is pH-balanced and evaporates quickly, so you get a streak-free shine without residue.
Commercial laminate cleaners are formulated to clean gently without stripping the finish. They don't require rinsing and won't attract dirt after drying. Always follow the label directions—some need to be diluted, others are ready to use.
Avoid products labeled for vinyl, tile, or hardwood unless they specifically say safe for laminate.
Why Generic Cleaners Fail
All-purpose cleaners often contain surfactants that leave a sticky residue. Over time, this builds up and makes floors look hazy. Bleach can discolor laminate, and wax or oil creates a slippery film that dulls the finish.
Stick to cleaners designed for laminate to avoid these issues.
How To Choose The Right One
Look for a cleaner labeled 'no rinse' or 'safe for laminate. ' Check for a neutral pH (around 7). Brands like Bona, Method, and Quick Shine are popular choices. Avoid anything with ammonia, vinegar (in high concentrations), or abrasive particles.
A good cleaner should dry clear and leave no streaks.
Diy Vs. Store-bought
A simple DIY mix of water and a few drops of dish soap works in a pinch, but it's easy to use too much soap, leaving residue. Store-bought laminate cleaners are formulated to evaporate quickly and won't damage the floor's wear layer. If you DIY, use a spray bottle and a microfiber mop to control moisture.
4. DIY Vinegar Solution (Diluted Correctly)
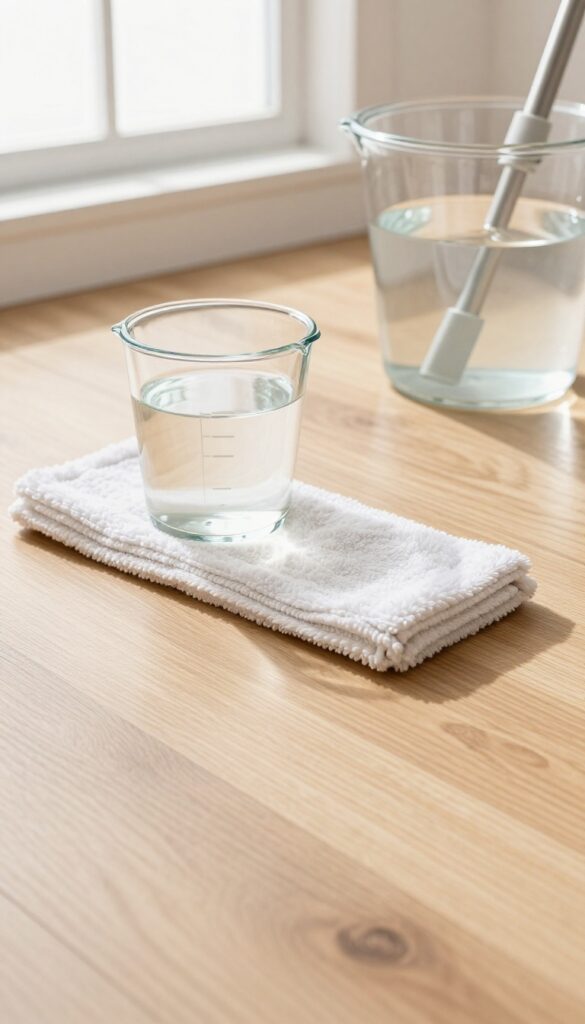
Vinegar is a go‑to natural cleaner, but it can backfire on laminate if you get the ratio wrong. Too much acid strips the protective layer, leaving floors looking dull and hazy. The secret is a gentle mix: just one cup of white vinegar per gallon of warm water.
That’s enough to cut grease and grime without damaging the finish.
Why The Right Ratio Matters
Laminate floors have a sealed surface that’s sensitive to strong acids. A heavy‑handed vinegar solution can etch that seal, causing permanent cloudiness. Sticking to the 1‑cup‑per‑gallon rule keeps the solution mild enough to clean safely.
Always test in an inconspicuous spot first, especially on newer or cheaper laminate.
How To Mix And Apply
Fill a bucket with warm water, then add one cup of white vinegar. No need to heat the water—warm helps the vinegar disperse evenly. Dip your microfiber mop, wring it until it’s barely damp, and mop in the direction of the planks.
Avoid soaking the floor; standing water is laminate’s enemy.
When To Skip The Vinegar
If your laminate has a wax or oil‑based finish, vinegar can break that down over time. Check your floor’s warranty or manufacturer guidelines. For most modern laminate, a well‑diluted vinegar solution is safe, but if you’re unsure, use a dedicated laminate cleaner instead.
5. Avoid Steam Mops Like the Plague
Steam mops promise a deep clean, but they're one of the worst things you can use on laminate. The high heat and moisture seep into the seams, causing the planks to swell and warp over time. Once that happens, there's no fixing it—you're looking at costly replacements.
Stick to damp mopping instead. A well-wrung microfiber mop with a laminate-safe cleaner gives you all the cleaning power without the risk. Your floors will stay flat, smooth, and streak-free for years.
Why Steam Is The Enemy
Laminate is made of compressed wood fibers with a decorative layer on top. The seams are the weakest point. Steam forces water vapor into those gaps, and the heat accelerates swelling.
Even if you don't see damage right away, repeated steam cleaning weakens the core and causes the planks to buckle.
What To Use Instead
A simple spray mop with a washable microfiber pad works perfectly. Mist the floor lightly (never soak it), then mop in the direction of the planks. For sticky spots, a damp cloth and a gentle cleaner like a diluted vinegar solution (1/4 cup vinegar per gallon of water) does the job without the steam risk.
When You Already Own A Steam Mop
If you have one gathering dust, don't toss it—just repurpose it for tile or sealed stone floors. For laminate, keep it in the closet. Your floors will thank you.
6. Wring Your Mop Until Nearly Dry
Laminate floors and water don't mix. Even a small puddle left behind can seep into the seams and cause swelling or warping. The trick is to use as little moisture as possible—just enough to pick up dirt without soaking the surface.
That means wringing your mop until it's barely damp, with no drips when you squeeze.
The most common mistake people make is using a soaking wet mop. On laminate, that's a fast track to damage. You want the mop to feel almost dry to the touch.
If you can wring out even a single drop, you've left too much water. A good test: run the mop over a small section and check if any moisture beads up on the surface. If it does, wring again.
The Squeeze Test
Before you start mopping, give your mop head a firm squeeze. If water runs out in a stream, keep wringing. You're aiming for a state where the mop feels heavy and damp but no water drips when you hold it above the bucket.
This is the sweet spot for laminate.
Why Dry Mops Work Best
A microfiber flat mop with a spray bottle is ideal because you control the moisture. You can mist the floor lightly and then dry-mop it immediately. This prevents any standing water from sitting on the surface.
If you're using a traditional string mop, wring it thoroughly and consider using a spin mop bucket to get it as dry as possible.
Work In Small Sections
Even with a nearly dry mop, work in small areas of about 3×3 feet. This way you can keep the mop damp enough to clean but dry enough to avoid puddles. After each section, rinse and wring the mop again to prevent spreading dirty water around.
7. Work in Small Sections
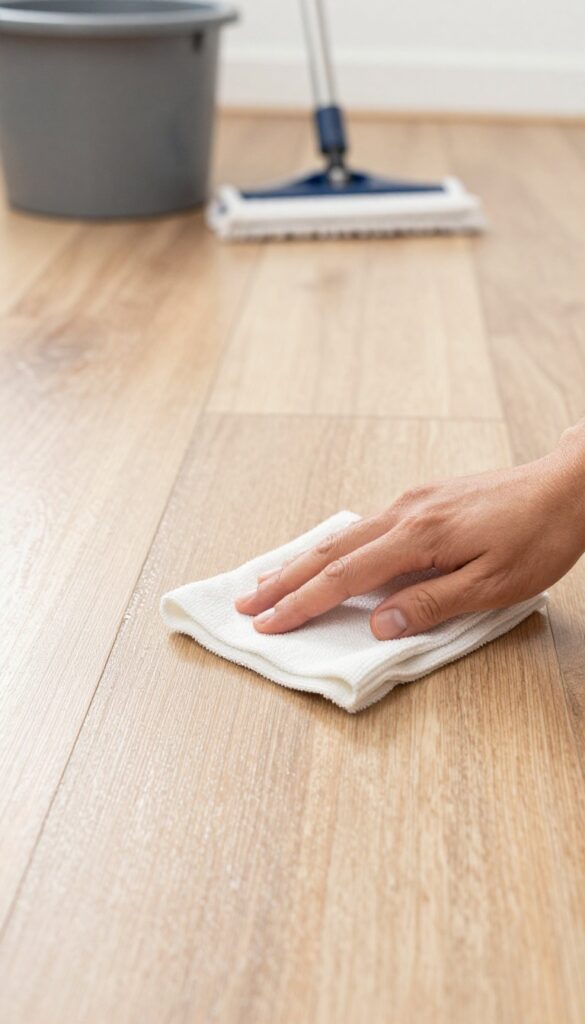
Trying to mop an entire room in one go is a recipe for disaster. The cleaning solution dries unevenly, leaving behind watermark trails and sticky residue. Instead, break the floor into manageable chunks.
Focus on a 3×3 foot area at a time—roughly the size of a doormat. This keeps the solution wet long enough to lift dirt, but not so long that it pools and damages the laminate.
Once you've mopped that small square, grab a dry microfiber cloth and buff it immediately. This two-step process—wet mop then dry wipe—prevents water spots and ensures an even, streak-free finish. It also stops the floor from absorbing excess moisture, which can cause swelling or warping over time.
Work your way across the room, overlapping each section slightly so you don't miss a spot. You'll end up with a uniformly clean, shiny floor that looks professionally done.
Why 3×3 Feet Works Best
A 3×3 foot area is small enough to stay wet while you mop, but large enough to make progress. Any bigger and the solution dries before you can buff it, leaving streaks. Any smaller and you waste time.
This sweet spot balances efficiency with quality.
The Dry Buff Is Non‑negotiable
Don't skip the dry buff. Even if your mop is only slightly damp, laminate needs that final dry pass to remove any lingering moisture. Use a clean, dry microfiber cloth—flip it often to use a fresh side.
This step is what gives you that mirror-like shine.
Move In A Pattern To Avoid Missing Spots
Start at the far corner of the room and work your way toward the door. Mop in rows, overlapping each pass by a couple of inches. After buffing one section, step to the next, slightly overlapping the previous one.
This systematic approach ensures every inch gets the same treatment.
8. Use a Squeegee for Quick Drying
Standing water is the enemy of laminate floors. Even after you wring out your mop really well, a thin layer of moisture lingers. That leftover dampness is what causes those annoying streaks and can even lead to swelling over time.
A simple rubber squeegee changes the game entirely.
After you finish mopping a section, grab a clean rubber squeegee and pull it across the floor in long, overlapping strokes. Start at the far end of the room and work your way toward the exit so you don't trap yourself. The squeegee pushes the excess water into a small puddle you can wipe up with a dry cloth.
This step cuts drying time in half and leaves a spotless, streak-free finish. It also reduces the risk of water seeping into the seams of your laminate planks.
Choose The Right Squeegee
Not all squeegees are floor-friendly. Pick one with a soft rubber blade—avoid hard or stiff rubber that could scratch the laminate. A 12- to 18-inch blade is ideal for covering ground quickly without being unwieldy.
If you already have a window squeegee, that works fine as long as the blade is clean and free of grit.
Work In Small Sections
Don't try to squeegee the entire room at once. Mop a small area—about the size of a bathroom or a kitchen work zone—then immediately run the squeegee over it. This prevents the water from drying on its own and leaving residue.
It also keeps your movements efficient and controlled.
Follow Up With A Microfiber Cloth
After squeegeeing, you'll have a small line of water along the baseboards or in a corner. Wipe that up with a dry microfiber cloth. This final touch ensures no moisture lingers near the edges where laminate is most vulnerable.
Your floors will be dry enough to walk on within minutes.
9. Add a Splash of Rubbing Alcohol
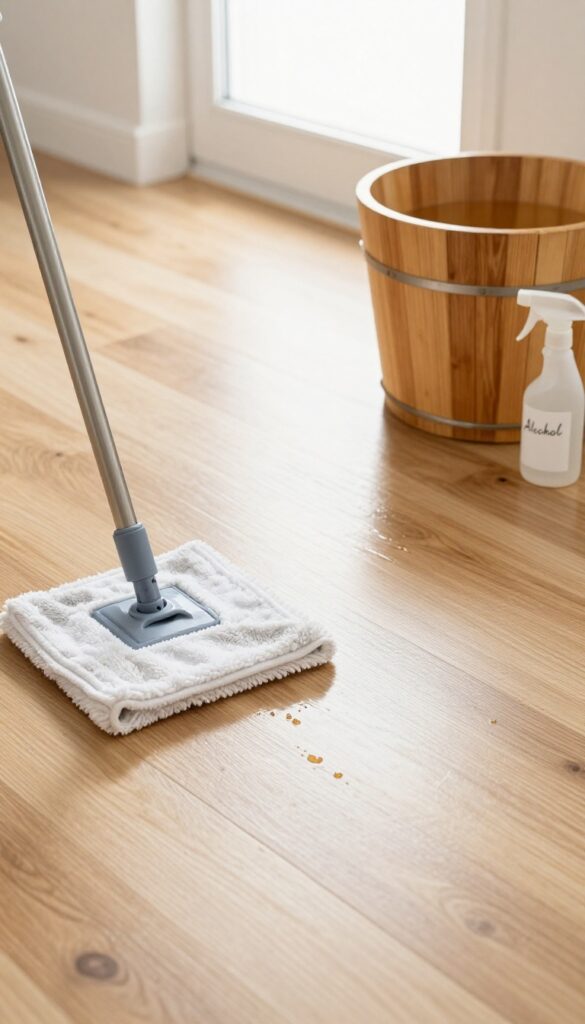
Streaks often happen because your cleaning solution takes too long to dry, leaving behind residue. Rubbing alcohol is a simple fix—it speeds up evaporation so there's less time for streaks to form. Just a tablespoon per gallon of water can make a noticeable difference.
This trick works because alcohol lowers the surface tension of water, helping the solution spread evenly and dry faster. It's especially useful in humid climates or when you're cleaning large areas. Stick to a small amount; too much can dull the finish over time.
How To Mix It Right
Add 1 tablespoon of 70% isopropyl rubbing alcohol to a gallon of warm water. Stir gently. If you're using a vinegar solution, you can add the alcohol to that mix too—just keep the total additives under 1/4 cup per gallon.
When To Use This Method
This is ideal for quick touch-ups or for rooms with poor ventilation where moisture lingers. Avoid it on floors with a worn or damaged seal, as alcohol can penetrate and cause swelling. Test in an inconspicuous spot first.
A Note On Safety
Rubbing alcohol is flammable, so keep the solution away from open flames and let the floor dry completely before using any electrical appliances nearby. Store leftover mixture in a labeled bottle out of reach of kids and pets.
10. Buff with a Dry Microfiber Cloth
After all that mopping and drying, you might still notice a faint haze or light streaks. That's where buffing comes in—it's the final step that transforms a clean floor into a truly shiny one. A dry microfiber cloth picks up any leftover residue and polishes the surface to a streak-free gleam.
This simple technique takes just a few minutes but makes a visible difference.
Buffing is especially helpful if you've used a cleaning solution that leaves a slight film, or if your tap water has minerals that deposit on the floor. It's also a great way to revive the shine between deep cleans. All you need is a clean, dry microfiber cloth—the same kind you use for dusting or drying.
Avoid terry cloth or paper towels, which can leave lint or scratches.
Why Microfiber Works Best
Microfiber has ultra-fine fibers that trap dust and residue instead of pushing them around. When dry, these fibers create a gentle static charge that lifts particles off the laminate surface. Other fabrics, like cotton or flannel, are too loose and can leave streaks or fuzz behind.
Stick to a high-quality microfiber cloth with a dense weave for the best results.
The Figure-eight Motion
Instead of wiping in straight lines, use a figure-eight pattern. This motion distributes pressure evenly and prevents you from leaving behind directional streaks. It also helps work the cloth into any tiny grooves or texture on the laminate.
Start at the far end of the room and work your way toward the door so you don't step on the freshly buffed area.
When To Buff
Buff right after the floor is completely dry to the touch—usually 10 to 15 minutes after mopping. If you wait too long, dust or foot traffic can settle on the surface. For high-traffic areas, you can also buff once a week as a quick maintenance step.
No water or cleaner needed—just a dry cloth and a few minutes of light pressure.
11. Tackle Sticky Spots with a Damp Cloth
Sticky spills and stubborn residue can be a real eyesore on laminate floors. The key is to treat them quickly and gently, without soaking the surface. A barely damp cloth with a tiny drop of dish soap is all you need to lift the mess without damaging the finish.
For spills or sticky residue, spot-clean with a damp cloth and a drop of dish soap, then rinse and dry immediately.
Why Less Water Matters
Laminate is essentially compressed wood fibers with a protective layer. Excess moisture can seep into seams, causing swelling or warping. That's why a damp—not wet—cloth is crucial.
Wring it out until it's just slightly moist to the touch.
The Right Soap Ratio
A single drop of mild dish soap in a small bowl of water is plenty. Too much soap leaves a sticky film that attracts more dirt. Dip your cloth, wring well, and gently dab or wipe the sticky spot.
Rinse And Dry Immediately
After cleaning, use a fresh damp cloth (water only) to remove any soap residue. Then buff dry with a soft, dry microfiber cloth. This prevents streaks and ensures no moisture lingers.
12. Use Felt Pads Under Furniture
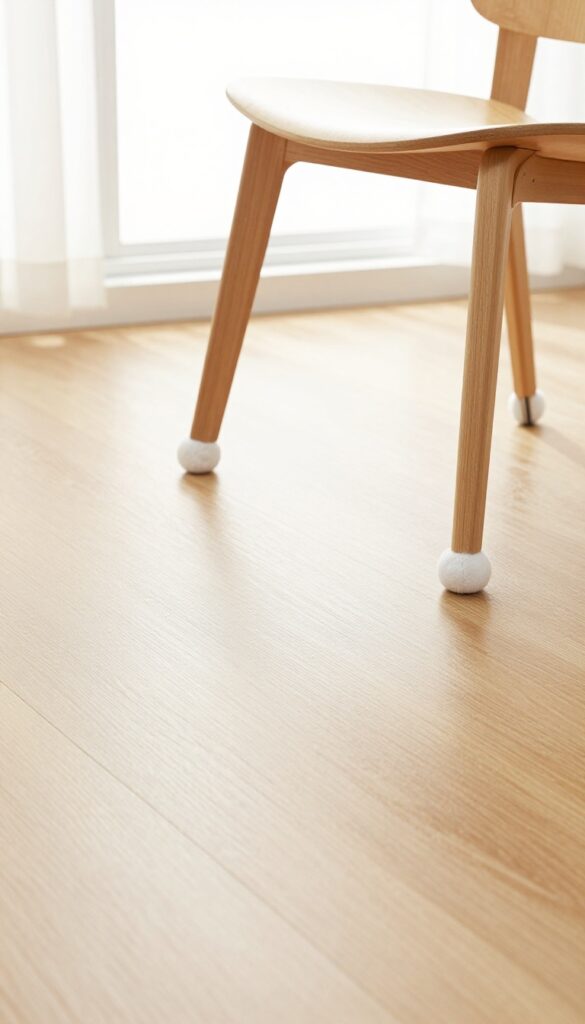
Dragging chairs and tables across laminate is a fast track to scratches and dull spots. Those ugly marks are nearly impossible to buff out, so prevention is your best bet. Felt pads are a cheap, simple fix that keeps your floor looking pristine between deep cleans.
Felt pads create a soft barrier between furniture legs and your laminate surface. They slide smoothly instead of scraping, which preserves the protective wear layer. Over time, dirt and grit get embedded in the pads, turning them into sandpaper.
Check them monthly and swap them out as soon as they look grimy or worn. A pack of adhesive felt pads costs just a few dollars and can save you from costly refinishing down the road.
Choose The Right Size And Shape
Match the pad to the furniture leg. Round pads work for most chair and table legs, while rectangular or square pads fit flat-bottomed furniture. Self-adhesive felt pads are easy to apply—just peel and stick.
For heavier pieces like sofas or cabinets, opt for thicker pads or furniture coasters for extra protection.
Apply Them Correctly
Clean the furniture leg with rubbing alcohol before sticking the pad on. This removes dust and grease so the adhesive bonds well. Press firmly and let it set for a few hours before moving the furniture.
If a pad falls off, clean the leg again and apply a new one—don't try to reuse the old one.
Replace When Dirty Or Worn
Dirty felt pads can scratch your floor because they trap abrasive particles. Inspect pads every few weeks. If they look dark, flattened, or have debris embedded, peel them off and stick on fresh ones.
Keep a spare pack in your cleaning caddy so you can swap them without delay.
13. Place Doormats at Every Entrance
The easiest way to keep your laminate floors streak-free is to stop dirt and moisture before they even get inside. A good doormat acts as the first line of defense, trapping grit that would otherwise scratch the surface and absorbing water that could leave cloudy residue. It's a simple habit that pays off with less scrubbing and more shine.
Doormats are your floor's best friend. They catch the sand, mud, and moisture that stick to shoes, preventing them from being tracked across your laminate. Without a mat, those tiny particles act like sandpaper, dulling the finish over time.
Plus, wet shoes leave water spots that turn into streaks when they dry. A high-quality mat at every outside door—front, back, garage—makes a huge difference.
Choose The Right Mat Material
Not all doormats are created equal. Look for a mat with a coarse, scraper-like surface to remove dirt and a water-absorbent layer underneath. Coir mats (made from coconut husk) are great for scraping, but they can shed fibers.
Rubber-backed microfiber mats trap moisture without slipping. Avoid thin, flat mats that just get pushed aside—they won't catch enough debris.
Place Mats Both Inside And Out
For maximum protection, use two mats per entrance: one outside to scrape off the big stuff, and one just inside to catch any remaining grit and absorb moisture from shoes. The inside mat should be absorbent and easy to clean, like a microfiber or cotton mat. This double-layer system drastically reduces what reaches your laminate.
Clean Your Mats Regularly
A dirty mat stops working. Vacuum outdoor mats weekly and shake them out to remove trapped dirt. Wash indoor mats according to the care label—most can go in the washing machine.
If a mat gets saturated with water, let it dry completely before putting it back. A clean, dry mat keeps your floors cleaner and streak-free longer.
14. Remove Shoes at the Door
Shoes are the number one enemy of clean laminate floors. They track in sand, pebbles, and moisture that scratch and stain the surface. Making a simple house rule to go barefoot or wear socks can dramatically reduce the dirt and wear your floors endure.
The easiest way to keep your laminate floors streak-free is to stop dirt and moisture before they even get inside. Shoes carry grit that acts like sandpaper, scratching the protective layer and dulling the finish. Plus, wet shoes can leave moisture marks that lead to warping.
A no-shoes policy is a game-changer for both cleanliness and longevity.
Set Up A Shoe Station
Place a sturdy shoe rack or a basket near the entrance. Add a small mat for wet or muddy shoes. This makes it easy for everyone to kick off their shoes as soon as they walk in.
A designated spot keeps the entryway tidy and reminds guests of the rule.
Provide Slippers Or Socks
Keep a basket of clean slippers or cozy socks by the door for guests. This way, no one feels uncomfortable walking barefoot. It's a welcoming touch that also protects your floors.
You can even have a few pairs in different sizes.
Communicate The Rule Gently
A small sign near the door can politely remind visitors to remove their shoes. Phrase it warmly, like 'Welcome! Please leave your shoes here to help keep our floors beautiful. ' Most people will happily comply when asked nicely.
15. Clean Spills Immediately
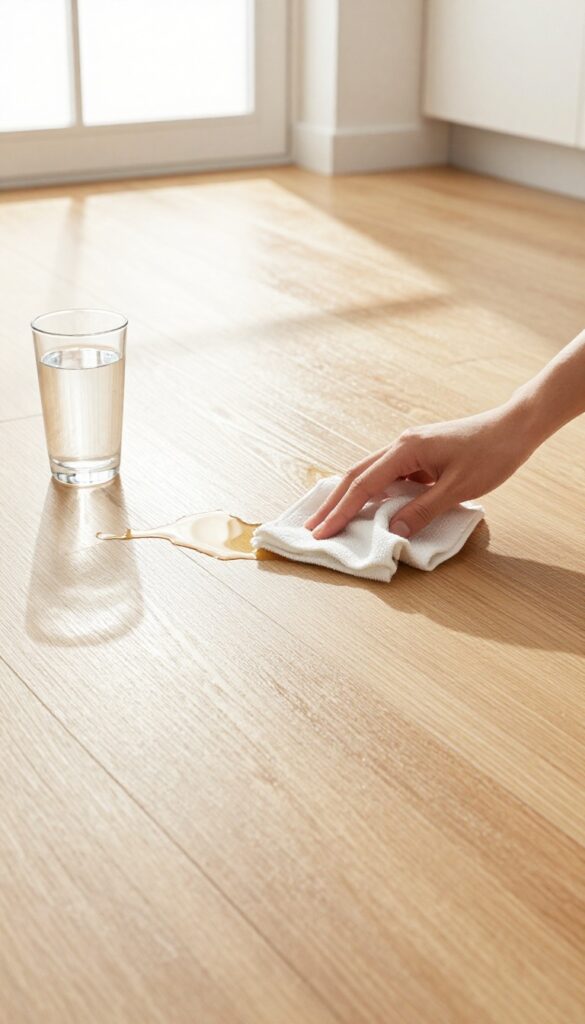
Laminate flooring looks great, but it has one major weakness: water. Unlike tile or vinyl, laminate is made of pressed wood fibers with a protective top layer. If liquid seeps into the seams or edges, it can cause swelling, warping, or permanent damage.
That's why quick action on spills is non-negotiable for keeping your floors streak-free and intact.
The golden rule with laminate is to treat every spill like an emergency. Even a small puddle left for 10 minutes can start to penetrate the seams. Keep a microfiber cloth or a dedicated spill rag handy in the kitchen and bathroom.
When a spill happens, blot—don't wipe. Wiping spreads the liquid and pushes it into gaps. Blotting absorbs it quickly.
For sticky spills like juice or soda, follow up with a damp (not wet) cloth and dry immediately. Never let standing water sit on laminate, even for a short time. This habit alone will prevent the most common cause of laminate floor damage and keep your shine looking fresh.
Blot, Don't Wipe
When you wipe a spill, you're essentially mopping a small area with too much liquid. Instead, use a clean, dry microfiber cloth to blot the spill from the outside in. This absorbs the liquid without spreading it.
For larger spills, use a towel or paper towels to soak up as much as possible before touching the surface.
Watch The Seams
Laminate planks are joined at the seams, and these are the most vulnerable spots. If a spill lands near a seam, tilt the cloth to direct liquid away from the gap. You can also use a fan or a hairdryer on a cool setting to dry the area quickly.
Never let moisture sit near seams for more than a minute.
Have A Spill Kit Ready
Keep a small basket or caddy with a microfiber cloth, a spray bottle of plain water, and a dry towel in high-traffic areas. This makes it easy to grab and handle spills immediately. For oil-based spills like cooking oil or salad dressing, use a degreasing cleaner sparingly, then dry thoroughly.
16. Avoid Wax or Polish Products
It might seem logical to give your laminate floors that extra shine with wax or polish, but that's actually a fast track to a dull, grimy mess. Laminate flooring comes with a factory-sealed wear layer that doesn't need—or want—any additional coating. Wax and polish products are designed for unfinished wood or stone, not laminate.
Applying them can create a sticky film that traps dirt, dust, and footprints, making your floors look worse over time. Once that buildup occurs, removing it is a real chore.
Skip the wax and polish aisle entirely. Instead, stick to cleaning methods that work with the laminate's protective layer, not against it. Your floors will stay cleaner longer and maintain their original luster without any extra help.
Why Wax And Polish Don't Work On Laminate
Laminate's top layer is a tough, transparent aluminum oxide coating. It's designed to resist scratches and stains on its own. Wax and polish can't bond to this surface properly—they just sit on top, creating a tacky layer that attracts every bit of dust and grit that walks by.
Over time, this layer yellows, dulls, and becomes uneven, giving your floors a cloudy, patchy appearance.
The Cleaning Nightmare That Follows
Once you've applied wax or polish, removing it is tough. Standard laminate cleaners won't cut through it. You'll likely need a specialized wax remover or a lot of elbow grease with a mild detergent and water, which risks moisture damage.
Plus, the buildup can make future cleaning harder—dirt sticks more stubbornly, and you'll find yourself mopping more often just to keep floors looking okay.
Better Ways To Boost Shine
If you're craving extra gloss, focus on proper cleaning techniques instead. Use a microfiber mop with a laminate-safe cleaner, buff dry with a clean microfiber cloth, and keep floors free of abrasive grit. A little white vinegar diluted in water (about 1/2 cup per gallon) can also enhance shine without leaving residue.
These methods are safe, effective, and won't sabotage your floor's finish.
17. Test Cleaners in an Inconspicuous Spot
You might be tempted to grab any cleaner and go, but laminate floors can react badly to certain chemicals. A quick test in a hidden area—like under a couch or in a closet—can save you from permanent discoloration or a dull film. It's a simple step that takes seconds but prevents hours of regret.
Before you commit to a new cleaner, dab a small amount on a soft cloth and wipe a patch in an out-of-sight spot. Wait a few minutes, then check for any color change, cloudiness, or residue. If the area looks exactly the same, you're good to go.
If not, try a different product or dilute it further. This habit is especially important if you're switching brands or trying homemade solutions like vinegar or castile soap.
Why Testing Matters
Laminate's protective wear layer can be sensitive to harsh chemicals, high pH, or excessive moisture. A test reveals incompatibilities before they become visible. Even products labeled 'safe for laminate' can vary by brand, so testing gives you peace of mind.
How To Test Properly
Choose a small, hidden area—under a rug, behind a door, or in a corner. Apply the cleaner as you normally would, using a damp (not wet) mop or cloth. Let it dry completely, then inspect under good lighting.
Look for streaks, haze, or any change in color or texture. If it passes, you can use it confidently on the rest of your floor.
What To Do If A Test Fails
If you notice discoloration or damage, stop using that cleaner immediately. Rinse the test area with plain water and dry it. Consider diluting the cleaner further or switching to a gentle, laminate-specific product.
Remember, less is often more—many cleaners are too strong even at recommended ratios.
18. Use a Spray Bottle for Light Mopping
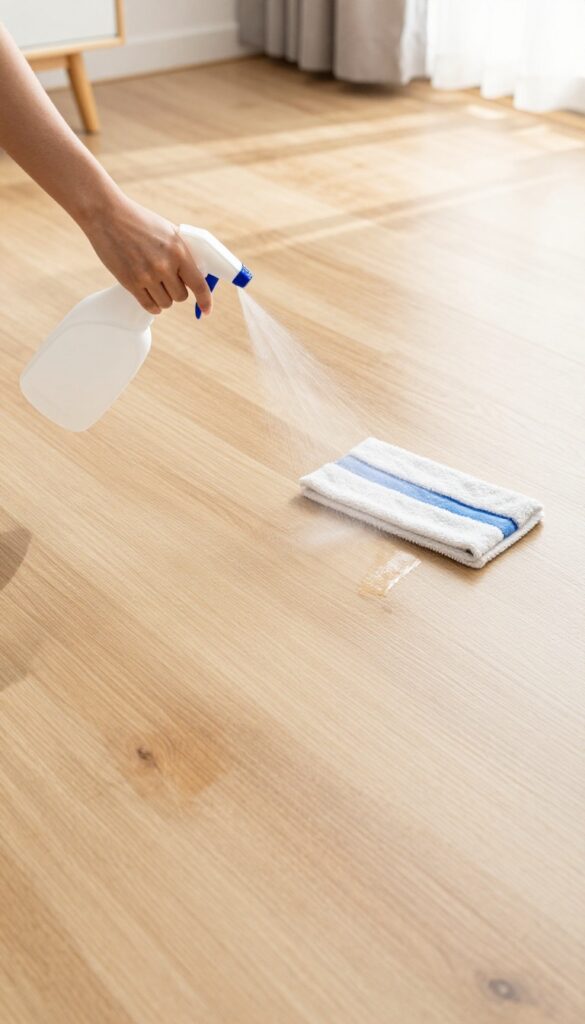
Heavy wet mopping is a recipe for disaster with laminate floors. A spray bottle gives you total control over how much moisture hits the surface, so you never soak the seams or leave puddles that can seep into the core. This method works especially well for quick touch-ups between deeper cleans.
Fill a spray bottle with your go-to laminate cleaner or a DIY vinegar solution (just remember to keep it mild). Mist a fine layer over a small section of the floor, then immediately wipe it dry with a microfiber mop. The key is to work in small patches so the cleaner doesn't sit too long.
You'll avoid the excess water that causes warping and the streaks that come from letting cleaner dry on its own.
Choose The Right Sprayer
Not all spray bottles are equal. Look for one with an adjustable nozzle that lets you switch from a concentrated stream to a fine mist. A continuous spray bottle is even better because it delivers a consistent mist without needing to pump.
Avoid trigger sprayers that spit uneven droplets—they can leave wet spots that are hard to buff out.
Work In Sections For Best Results
Divide your floor into manageable zones, like a 3×3 foot area. Mist lightly, mop dry, then move to the next section. This prevents the cleaner from evaporating before you wipe it, which is a common cause of haze.
If you're tackling a larger room, start at the farthest corner and work your way toward the exit so you don't walk over wet spots.
Pair With A Dry Microfiber Pad
A spray bottle works best when you use a dry mop head. The dry microfiber pad absorbs the fine mist quickly, lifting dirt without leaving moisture behind. If your pad gets too damp, swap it for a fresh one.
You can keep a few extra pads handy and toss the used ones in the laundry for reuse.
19. Deep Clean with a Laminate Floor Machine
Sometimes a mop and bucket just don't cut it, especially if your laminate floors have seen months of foot traffic or sticky spills. That's when a dedicated laminate floor machine can save the day. These machines are designed to deliver a deep clean without the risks of excess moisture or harsh scrubbing.
Renting or buying a laminate-specific floor machine is a game-changer for periodic deep cleans. Unlike a standard mop, these machines use controlled water flow and gentle agitation to lift embedded dirt without soaking the seams. They often come with microfiber pads that trap grime rather than pushing it around.
For best results, use a cleaner recommended by the machine's manufacturer, and always follow the drying instructions to keep your floors in top shape.
Why A Dedicated Machine Works Better
Laminate floor machines are engineered to apply just the right amount of water and pressure. They typically have a water tank that sprays a fine mist, then a pad agitates and absorbs the dirty water. This prevents puddling and ensures the floor dries quickly.
The gentle scrubbing action reaches into textured surfaces where dirt hides, leaving your floors noticeably cleaner.
Rent Vs. Buy: What's Right For You?
If you only need a deep clean once or twice a year, renting a machine from a hardware store is cost-effective. Many rental options are easy to use and come with cleaning solution. For those with large homes or frequent maintenance needs, buying a machine like a Bissell SpinWave or a Hoover FloorMate can be a wise investment.
Look for models specifically labeled for laminate or hardwood to avoid damage.
Step-by-step Deep Cleaning Tips
Before using the machine, sweep or vacuum thoroughly to remove loose debris. Fill the tank with the recommended cleaner and water mix. Work in small sections, moving the machine slowly to allow the pads to do their job.
Overlap each pass slightly to avoid streaks. After finishing, let the floor air-dry completely before walking on it. Empty and rinse the machine's tanks right away to prevent buildup.
20. Keep Pet Nails Trimmed
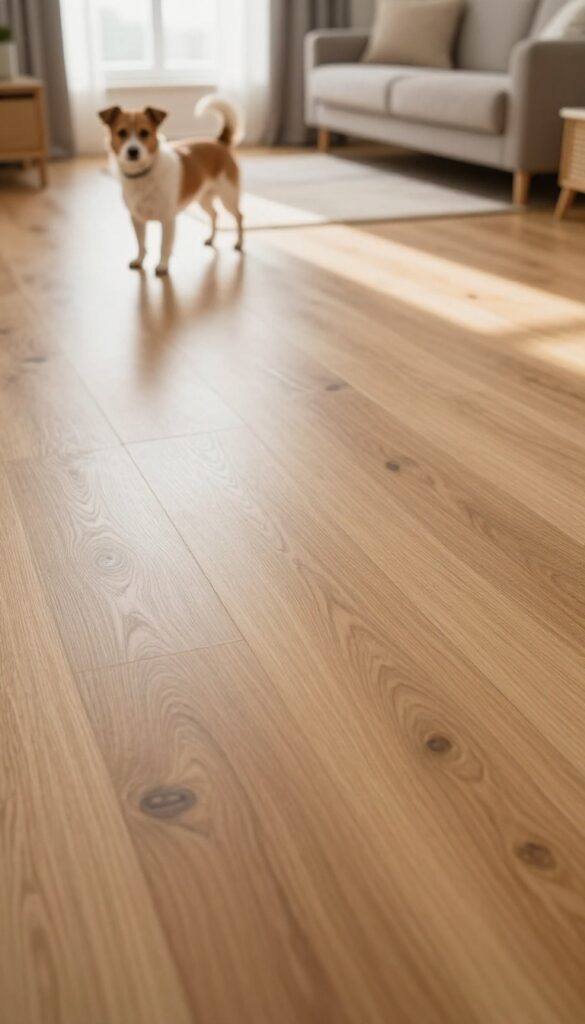
If you share your home with a furry friend, you know how quickly their nails can turn into tiny daggers. Those sharp claws can easily scratch your laminate flooring, leaving behind unsightly marks that catch the light. The solution is simple: regular nail maintenance.
Keeping your pet's nails trimmed not only protects your floors but also keeps your pet comfortable and healthy.
Long nails can scratch laminate surfaces as your pet walks, runs, or jumps. The scratches may not be deep, but they create a dull, worn look over time. Regular trimming every 2-4 weeks, depending on your pet's activity level, prevents these scratches.
If your pet is nervous about nail trims, consider using a nail grinder for a smoother, stress-free experience. For extra protection, soft nail caps can be applied to cover the nails completely, acting as a buffer between the claw and the floor.
Why Long Nails Are A Problem
When your pet's nails are too long, they don't retract fully and drag across the floor with every step. This constant scraping acts like sandpaper, gradually wearing down the laminate's protective layer. Over time, the floor loses its shine and becomes more susceptible to stains and moisture damage.
Trimming Tips For Success
Use sharp, high-quality pet nail clippers or a grinder to make clean cuts. Trim only the tip, avoiding the quick (the pink area inside the nail). If you're unsure, ask your vet or a groomer for a demonstration.
Reward your pet with treats and praise to create a positive association.
Soft Nail Caps As An Alternative
Soft nail caps are vinyl covers that glue onto your pet's nails. They're painless, last 4-6 weeks, and come in various sizes and colors. They effectively prevent scratches while still allowing your pet to walk and play normally.
Just ensure you use the correct size and follow application instructions carefully.
21. Use a Humidifier in Dry Seasons
Laminate flooring is sensitive to moisture in the air. When humidity drops during winter or dry summer months, the planks can shrink, leaving unsightly gaps along the edges. A humidifier helps maintain consistent moisture levels, keeping your floor tight and gap-free.
Running a humidifier in the rooms with laminate flooring, especially during dry seasons, prevents the wood fibers from losing too much moisture. This reduces the risk of cracking and warping. Aim for indoor humidity between 35% and 65% for optimal laminate health.
Why Humidity Matters
Laminate is made from compressed wood fibers that expand and contract with humidity changes. Low humidity pulls moisture out, causing planks to shrink and gaps to appear. These gaps not only look bad but can collect dirt and make cleaning harder.
Choosing The Right Humidifier
A whole-house humidifier is ideal, but a portable unit in the room works too. Place it away from the laminate to avoid direct moisture exposure. Use a hygrometer to monitor levels and adjust as needed.
Seasonal Tips
In winter, run the humidifier daily. In naturally humid climates, you might only need it during heat waves or when using air conditioning. Check your floor regularly for signs of gapping and adjust humidity accordingly.
22. Rearrange Furniture Periodically
Your laminate floor might look perfectly fine right now, but over time, the same spots take a beating. Heavy furniture presses down, rugs trap dirt, and sunlight fades exposed areas. A simple furniture shuffle every few months keeps the wear even and your floor looking uniform.
Rotating furniture and rugs is one of those low-effort habits that pays off big. It prevents permanent indentations from sofa legs or table feet and stops sunlight from bleaching one patch while the rest stays dark. Plus, you get a fresh room layout without spending a dime.
Prevent Dents And Indentations
Heavy furniture like bookcases, beds, and sofas can slowly press into laminate over months. The fix is simple: slide furniture a few inches every time you deep clean. Use furniture sliders to avoid scratching the surface.
Even a small shift redistributes the weight and lets the flooring bounce back.
Even Out Sun Fading
Direct sunlight can bleach laminate, leaving light patches near windows. By rotating your furniture layout every season, you expose different sections to UV rays. Pair this with curtains or UV-blocking film for extra protection.
Your floor color stays consistent longer.
Reduce Wear Patterns
High-traffic paths like hallways or the area in front of the couch get more scuffs and scratches. Move rugs to cover different zones, and swap furniture positions so foot traffic naturally shifts. This distributes the wear and tear, extending the life of your laminate.
23. Know When to Call a Professional
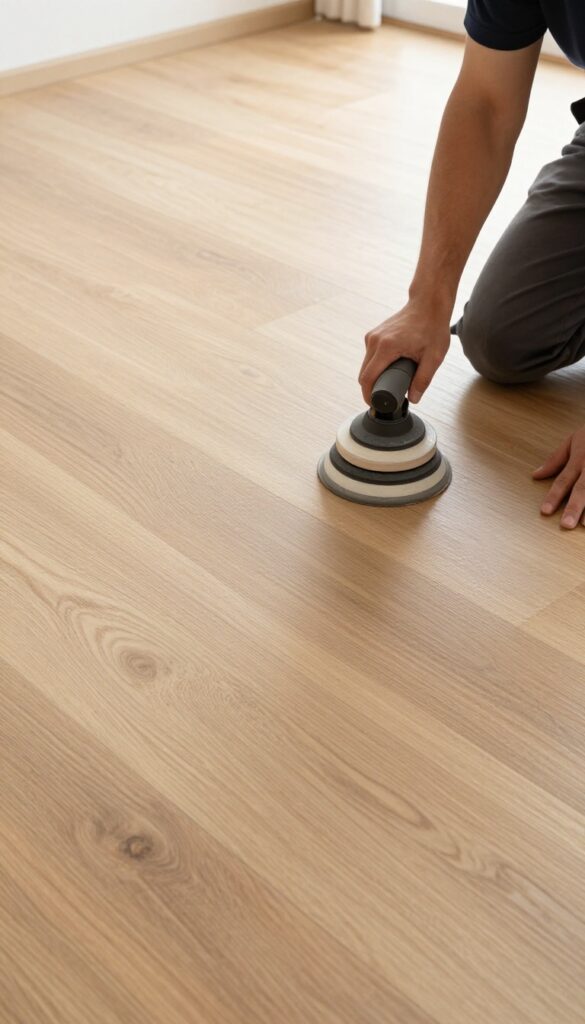
Not every floor problem has a DIY fix. Deep scratches, stubborn stains, or a dull finish that won't buff out might be beyond your mop and polish. That's when it's smart to bring in a pro who can assess the damage and restore your floors without making things worse.
Signs You Need A Pro
If you see deep gouges from furniture or pet claws, discolored patches that resist cleaning, or a cloudy haze that no amount of buffing removes, it's time to call a flooring specialist. They can tell if the damage is surface-level or if planks need replacing.
What Professionals Can Do
Pros have industrial-grade buffers, fillers, and sealants that match your floor's finish. They can spot-repair scratches, refinish entire sections, or replace individual planks without leaving visible seams. It's faster and often cheaper than trial-and-error with store-bought kits.
Cost Vs. Replacement
A professional refinishing typically costs a fraction of full replacement. If your laminate is still in good shape structurally, investing in a pro can extend its life by years. Get a few quotes and ask about their experience with your specific brand.
FAQ
Can I use vinegar on laminate floors?
Yes, but only in a very diluted solution (1 cup per gallon of water). Too much vinegar can dull the finish over time.
How often should I clean laminate floors?
Dry dust daily or every other day. Damp mop once a week or as needed. Avoid over-wetting.
What is the best mop for laminate floors?
A flat microfiber mop with a washable pad is best. It traps dirt and allows you to control moisture.
Can I use a steam mop on laminate?
No. Steam mops force moisture into the seams, causing swelling, warping, and permanent damage.
Why are my laminate floors streaky after mopping?
Streaks are usually caused by using too much cleaner or water, or a dirty mop pad. Use a damp mop and clean pads.
Conclusion
Streak-free laminate floors are closer than you think. Start with the tips that solve your biggest headache—whether it's water spots, dullness, or sticky residue. Test a few methods this week, and you'll quickly find your go-to routine.
A little consistency pays off.
Your floors will look cleaner, feel better underfoot, and stay beautiful with minimal effort. Pick your top three tips and make them a habit. You'll enjoy a brighter, more inviting home every day.