25 Cleaning Refrigerator Tips for Fresh Shelves and Drawers
A cluttered, sticky refrigerator makes grabbing a snack feel like a chore. But you don't need harsh chemicals or hours of scrubbing to get those shelves sparkling again.
These 25 practical tips break down the process into simple steps, from tackling stubborn stains with baking soda to keeping drawers fresh with paper towels. Each method is designed to save you time and effort while leaving your fridge clean and odor-free.
Ready to transform that messy appliance into an organized, fresh-smelling space? Let's dive into the strategies that actually work.
1. Start with a Full Empty
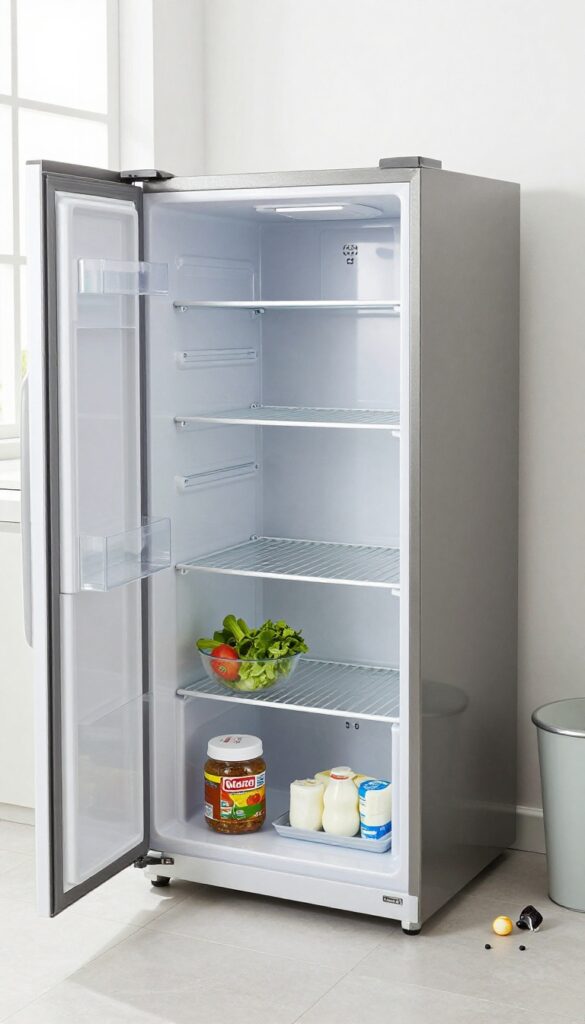
Before you can clean effectively, you need a blank canvas. Pulling everything out of the refrigerator gives you a clear view of what you're dealing with and lets you work without obstacles. It also forces you to check expiration dates and toss anything that's past its prime.
Emptying the fridge completely might seem like extra work, but it saves time in the long run. You can wipe down every shelf, drawer, and wall without moving items around. Plus, it's the perfect opportunity to group similar items together and decide what to keep, donate, or toss.
Check Expiration Dates
As you remove items, check the dates on condiments, leftovers, and dairy. Toss anything that's expired or smells off. This prevents future messes and keeps your fridge smelling fresh longer.
Group Like Items Together
Use the empty fridge to reorganize. Keep dairy on one shelf, condiments on another, and produce in designated drawers. This makes it easier to find things and keeps the fridge tidy after cleaning.
Wipe Down Surfaces Immediately
With everything out, you can reach every corner. Use a mild cleaner or vinegar solution to wipe shelves, drawers, and walls. Let them dry completely before putting items back to avoid moisture buildup.
2. Remove All Shelves and Drawers
You might be tempted to wipe around the shelves and call it a day, but that leaves a lot of hidden grime behind. Taking out every removable part lets you reach the nooks and crannies where spills and crumbs love to hide. It also makes washing each piece much easier and more thorough.
Start With A Clean Slate
Before you do any wiping, pull out every shelf, drawer, and bin. Check the manufacturer’s instructions if you’re unsure how to remove them—some shelves slide out, others lift up and out. Place them on a counter or in the sink, and you’ll have a completely empty fridge ready for deep cleaning.
Wash Separately, Not Together
Fill your sink with warm water and a few drops of mild dish soap. Wash each piece individually, using a soft sponge or cloth to avoid scratches. Pay extra attention to corners and edges where sticky residue builds up.
Rinse thoroughly and let them air dry on a clean towel.
Don’t Forget The Little Parts
Those small plastic dividers, egg holders, and butter compartments often get overlooked. Remove them too and give them the same soapy treatment. A quick scrub with an old toothbrush can get into tight grooves.
Once everything is dry, you can reassemble a truly fresh fridge.
3. Use a Baking Soda Paste for Stubborn Stains
Some spills just won't budge with a simple wipe. Dried-on ketchup, sticky jam, or mystery goo can feel impossible to remove. That's where a simple baking soda paste comes in—it's gentle enough for your fridge but tough on grime.
Mix three parts baking soda with one part water to form a spreadable paste. Apply it directly to the stain and let it sit for 15 minutes. The paste breaks down the residue without scratching your shelves.
Then, scrub gently with a soft sponge or cloth. Rinse with water and dry. For extra stubborn spots, let the paste sit longer or add a splash of white vinegar.
Why Baking Soda Works So Well
Baking soda is a mild alkali that reacts with acidic stains, making them easier to lift. It's also non-toxic and odor-absorbing, so it won't leave behind any chemical smells. Plus, its fine texture acts as a gentle abrasive that won't damage glass or plastic.
How To Apply The Paste Correctly
Start with a clean, dry surface. Use a small spatula or your finger to spread the paste evenly over the stain. Let it sit for 15 to 20 minutes—don't rush this step.
Then, scrub in a circular motion with a non-abrasive sponge. Rinse thoroughly with warm water and wipe dry.
When To Avoid This Method
Baking soda paste is safe for most fridge surfaces, but avoid using it on aluminum or unsealed wood shelves. It can also leave a white residue if not rinsed properly. Always test on a small hidden area first if you're unsure.
4. Wipe Down the Interior with Vinegar and Water
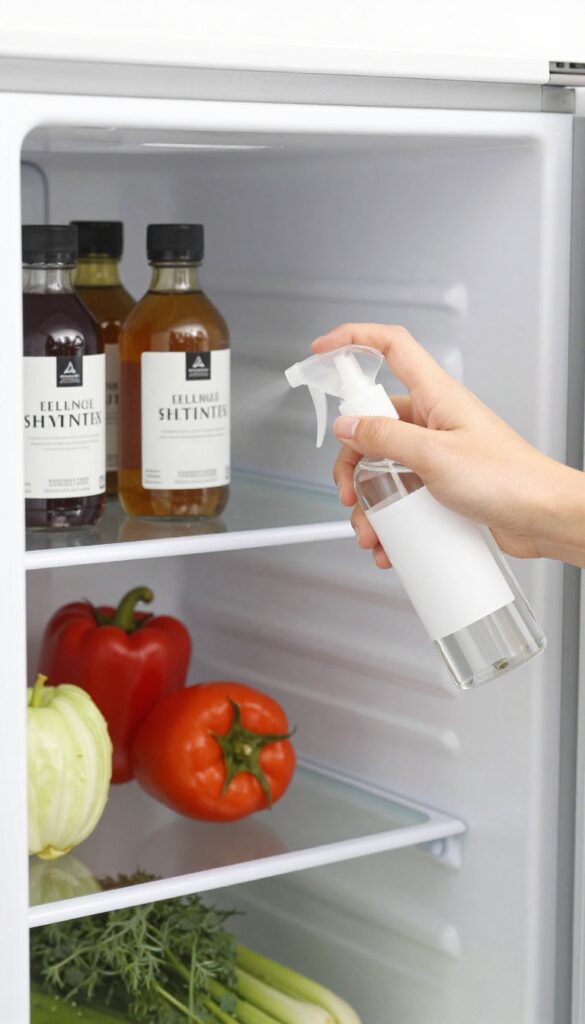
A simple spray bottle filled with equal parts white vinegar and water is one of the most effective cleaning solutions for your fridge. It cuts through grease, neutralizes odors, and kills most bacteria without leaving harsh chemical residues. Plus, it's cheap and safe for food surfaces.
Grab a microfiber cloth and spray the mixture directly onto shelves, walls, and drawers. Let it sit for a minute to break down grime, then wipe away. The vinegar smell fades quickly as it dries, leaving your fridge fresh and clean.
This method works on all interior surfaces, including glass, plastic, and metal. For stubborn spots, spray a little extra and scrub gently with a soft sponge. Avoid using abrasive pads that can scratch surfaces.
Why Vinegar Works So Well
White vinegar is acidic enough to dissolve mineral deposits, grease, and sticky residues. It's also a natural disinfectant, killing many common bacteria like E. coli and salmonella. Because it's food-safe, you don't have to worry about rinsing off toxic chemicals before putting food back in.
How To Apply For Best Results
Mix one part white vinegar with one part water in a spray bottle. Remove all food and shelves first. Spray the solution onto surfaces and let it sit for about one minute.
Wipe with a clean microfiber cloth, using a fresh cloth for the final dry pass to avoid streaks.
What To Avoid
Don't use vinegar on unsealed stone or marble surfaces, as the acid can etch them. Also avoid mixing vinegar with bleach or hydrogen peroxide, which creates toxic fumes. Stick to plain vinegar and water for a safe, effective clean.
5. Don't Forget the Door Seals
Door seals, or gaskets, are easy to overlook, but they're magnets for crumbs, sticky spills, and mold. A dirty seal can prevent the door from closing properly, letting cold air escape and driving up your energy bill. Giving them a quick clean is a small step that makes a big difference.
Cleaning the door seals is straightforward and doesn't require any special tools. A simple toothbrush and soapy water are all you need to reach into the crevices and remove built-up grime. Regular maintenance keeps the rubber flexible and ensures a tight seal every time.
Why Clean Seals Matter
Dirty gaskets don't just look bad—they can compromise your fridge's efficiency. When debris prevents a tight seal, cool air leaks out, forcing the compressor to work harder. This can lead to higher electricity bills and uneven temperatures inside.
Plus, mold and mildew on the seal can spread odors to your food.
How To Clean Them Properly
Start by mixing a few drops of dish soap with warm water. Dip an old toothbrush into the solution and gently scrub along the folds of the gasket. Pay extra attention to corners where crumbs tend to hide.
Wipe away any loosened dirt with a damp cloth, then dry the seal thoroughly with a towel. Avoid harsh chemicals that can dry out the rubber.
Quick Maintenance Tips
Make it a habit to inspect the seals every time you do a deep clean. A quick wipe with a damp cloth once a month prevents buildup. If you notice cracks or tears, replace the gasket promptly to keep your fridge running efficiently.
A well-maintained seal also helps prevent frost buildup in freezers.
6. Deodorize with an Open Box of Baking Soda
Even after a thorough wipe-down, your fridge might still hold onto lingering smells from old leftovers or forgotten produce. An open box of baking soda is a simple, chemical-free way to keep things fresh.
Why Baking Soda Works
Baking soda is a natural odor absorber. It neutralizes acidic and alkaline odor molecules without masking them. Unlike air fresheners, it doesn't add any scent—it just makes bad smells disappear.
How To Use It Correctly
Remove the box from its packaging, peel back the perforated cover, and place it on a middle shelf where air can circulate. Don't put it in the back corner; it needs airflow to work. Avoid placing it near strong-smelling foods like onions, as it can get overwhelmed.
When To Replace It
Set a reminder to swap the box every three months. Mark the date on the box with a marker so you don't forget. If you notice odors returning sooner, replace it earlier.
For extra odor control, sprinkle a thin layer on a plate and leave it in the fridge for 24 hours before wiping it out.
7. Use Coffee Grounds for Tough Odors
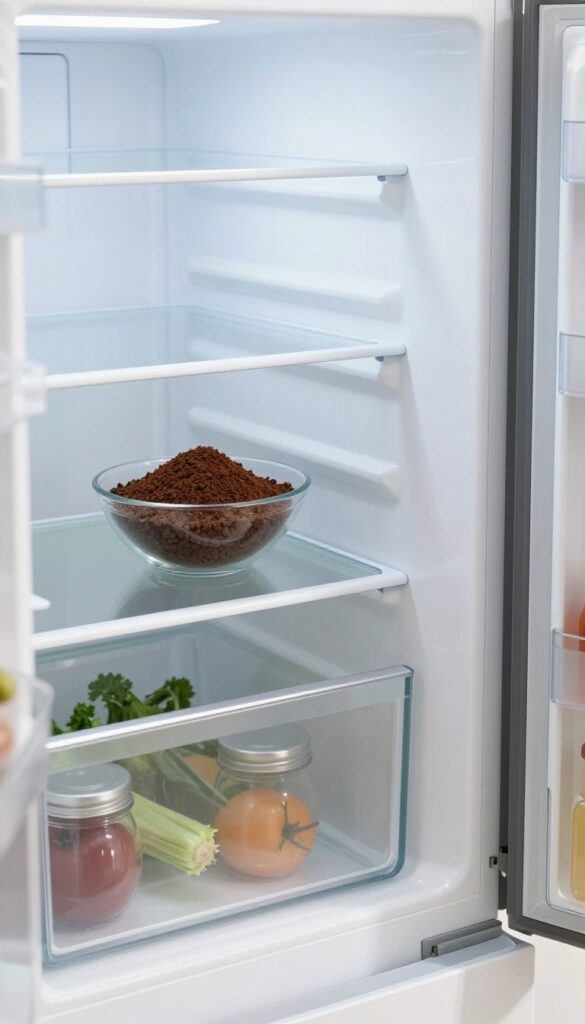
Some smells just won't quit. Fish, onions, or that mystery container from last week can leave your fridge smelling funky no matter how much you wipe. Instead of masking odors with scented sprays, try something you probably already have in your kitchen: used coffee grounds.
They're a natural, chemical-free way to absorb and neutralize stubborn smells.
Why Coffee Grounds Work
Coffee grounds contain nitrogen, which helps neutralize odors by absorbing them rather than covering them up. The porous surface of the grounds traps odor molecules, leaving your fridge smelling fresh. Plus, they leave behind a subtle coffee scent that most people find pleasant.
How To Use Them
After brewing your morning coffee, save the used grounds. Spread them out on a baking sheet and let them dry completely—this prevents mold. Once dry, place the grounds in an open bowl or a small container and set it on a shelf in your fridge.
Leave it for 24 to 48 hours, and you'll notice a big difference.
When To Replace
Coffee grounds lose their odor-absorbing power after a few days. For best results, replace them every three to four days. If you're dealing with an especially strong smell, you might need to swap them out daily.
Once they've done their job, toss the grounds in your compost bin.
8. Line Crisper Drawers with Paper Towels
Crisper drawers are designed to maintain humidity, but too much moisture can turn lettuce limp and carrots slimy. A simple layer of paper towels on the bottom of each drawer absorbs that excess dampness, keeping your produce crisp and fresh for days. It's a low-effort trick that makes a big difference.
Paper towels act as a moisture buffer, preventing condensation from pooling under your greens and veggies. They also catch any dirt or debris that falls off produce, making cleanup a breeze. Just swap the towels out once a week—or sooner if they feel wet—to prevent mold and bacteria from taking hold.
Why It Works
High humidity causes produce to release moisture, which then collects in the drawer. Paper towels wick away that moisture, reducing the risk of rot and extending shelf life. Leafy greens, herbs, and berries benefit the most.
How To Do It
Pull out the crisper drawer and line the bottom with a single layer of paper towels. Place your produce back in, arranging it so air can still circulate. Check the towels every few days and replace them if they're damp or stained.
Pro Tips
Use unbleached paper towels to avoid any chemical taste transferring to your food. For extra moisture control, add a second layer or tuck a towel under leafy greens. Don't forget to wash the drawer itself monthly to keep it hygienic.
9. Store Food in Clear Containers
Ever open the fridge and find a science experiment hiding in the back corner? Clear containers put an end to that. When you can actually see what's inside, you're way more likely to use it before it goes bad.
Transparent bins make it easy to see what you have, reducing forgotten leftovers and spills. Group similar items together.
Why Clear Containers Work
Out of sight, out of mind is the enemy of a clean fridge. Clear containers let you spot that leftover stir-fry or half-used jar of salsa at a glance. You'll waste less food and save money.
Best Types Of Containers
Look for BPA-free plastic or glass bins with tight lids. Glass is heavier but doesn't stain or absorb odors. Modular rectangular shapes stack neatly and maximize shelf space.
Grouping Strategy
Assign each bin a category: dairy, condiments, snacks, produce. Label them if you share a fridge with others. When everything has a home, you'll never dig through a jumble of containers again.
10. Keep a Fridge Thermometer Inside
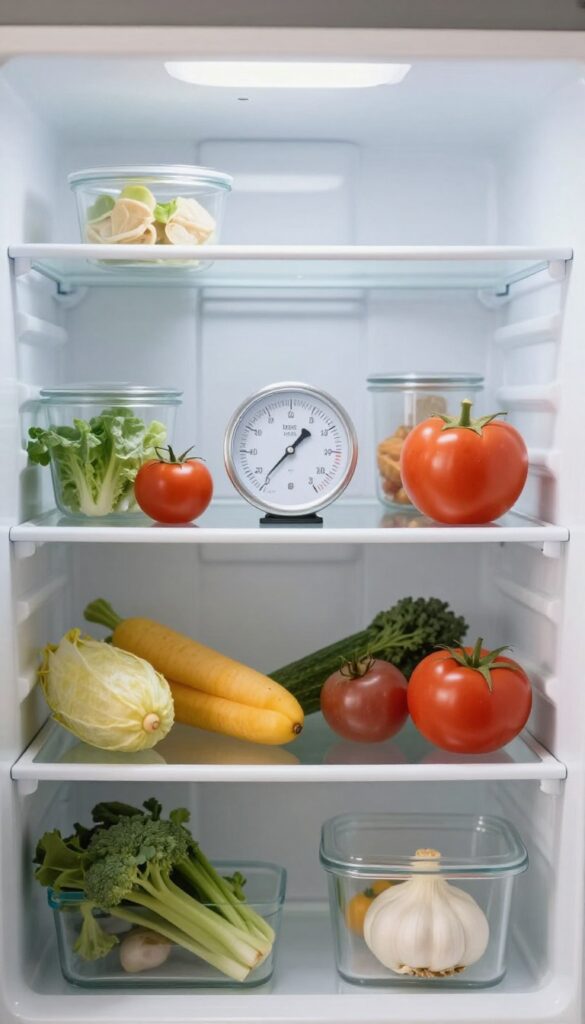
Your fridge might be running a few degrees warmer than you think, and that's a fast track to spoiled milk and wilted greens. Built-in thermostats aren't always accurate, especially in older models. A simple standalone thermometer takes the guesswork out of temperature control and helps you keep your food fresh longer.
A fridge thermometer is a small investment that pays off in food safety and reduced waste. Place it on the middle shelf, away from the walls and door, for the most accurate reading. Check it periodically, especially after loading groceries or during hot weather.
If the temperature creeps above 40°F, adjust your fridge's dial and recheck after a few hours.
Where To Place It
Put the thermometer on the middle shelf, near the front but not touching the door. Avoid placing it directly under vents or near the back wall, where temperatures can be misleading. This spot gives you a reliable average of the fridge's overall condition.
What To Do When It's Off
If your thermometer reads above 40°F, start by checking the door seals and airflow. Make sure vents aren't blocked by bulky items. Lower the temperature setting gradually and wait 24 hours before rechecking.
A consistent 35°F to 38°F range keeps dairy, meat, and produce at their best.
Battery Check Reminder
Digital thermometers run on small batteries that can die without warning. Replace them once a year, or switch to an analog dial model that never needs batteries. Mark a calendar reminder so you don't forget.
11. Clean the Condenser Coils Twice a Year
Your fridge works hard to keep things cold, but dusty condenser coils can make it work way harder than it needs to. Those coils, usually found at the back or underneath, release heat as part of the cooling cycle. When they're caked with dust and pet hair, the compressor has to run longer and more often, which wastes energy and shortens the fridge's life.
Cleaning the coils is a quick task that pays off in lower electric bills and fewer breakdowns. Aim to do it every six months—mark it on your calendar if you need a reminder. The process is simple: unplug the fridge, locate the coils, and gently vacuum them with a brush attachment.
Be careful not to bend the delicate fins. If your coils are underneath, you might need to remove a front grille panel first. A few minutes of vacuuming can make a surprisingly big difference in performance.
Why Coils Matter More Than You Think
Condenser coils are like the radiator for your fridge. They dissipate the heat pulled from inside the cabinet. When dust builds up, it acts as insulation, trapping heat and forcing the compressor to run overtime.
This extra strain not only hikes up your energy bill but also wears out the compressor faster—a costly repair. Keeping coils clean is one of the simplest ways to extend your fridge's lifespan.
How Often And What To Use
Twice a year is the standard recommendation, but if you have pets that shed or a dusty kitchen, consider quarterly cleanings. Use a vacuum with a brush attachment or a specialized coil cleaning brush. Avoid using water or any liquid, as moisture can damage electrical components.
For tight spaces, a long, flexible duster can help. Always unplug the fridge first for safety.
Don't Forget The Fan And Compressor Area
While you're back there, take a moment to check the condenser fan and compressor area. Dust can accumulate on fan blades too, reducing airflow. A soft brush or compressed air can clear it out.
Also, make sure there's a few inches of space around the fridge for proper ventilation. A well-ventilated fridge runs more efficiently and keeps your food colder.
12. Use a Squeegee to Wipe Down Shelves
A small squeegee isn't just for windows—it's a surprisingly effective tool for cleaning fridge shelves. Instead of scrubbing each shelf with a sponge and then drying it separately, a squeegee lets you push water and crumbs directly into a towel in one smooth motion. It's faster, less messy, and reduces the number of times you have to rinse your cloth.
Here's how to make the squeegee method work for your refrigerator shelves. First, spray or wipe the shelf with your preferred cleaner—a mix of water and vinegar works great. Then, instead of wiping it dry with a cloth, run the squeegee across the surface from one side to the other, collecting the liquid and debris at the edge.
Have a towel ready to catch the runoff. Repeat until the shelf is clean and nearly dry. This technique is especially effective on glass shelves, where it leaves a streak-free shine without extra polishing.
Why A Squeegee Works Better
A squeegee's flat rubber edge creates a tight seal against the glass, pushing liquid and particles ahead of it rather than smearing them around. This means you remove dirt and cleaner in one pass, not multiple. It also cuts down on the number of times you need to rinse your sponge or cloth, saving water and effort.
Plus, it's gentler on the surface than abrasive scrubbers.
Best Squeegees For The Job
You don't need a large window squeegee—a small handheld one (about 6 inches wide) is perfect for fridge shelves. Look for one with a soft rubber blade that won't scratch glass. Some kitchen-specific squeegees even have a built-in scraper for stuck-on grime.
If you don't have one, a windshield ice scraper with a rubber edge can work in a pinch.
Tips For Stubborn Spills
For dried-on spills, let your cleaner sit for a minute or two before squeegeeing. If there's sticky residue, use the squeegee's edge to gently scrape it off—just be careful not to gouge the glass. For shelves with raised edges, work from the back to the front so the liquid pools at the front edge, where you can catch it with a towel.
13. Freeze Leftovers Immediately to Avoid Spills
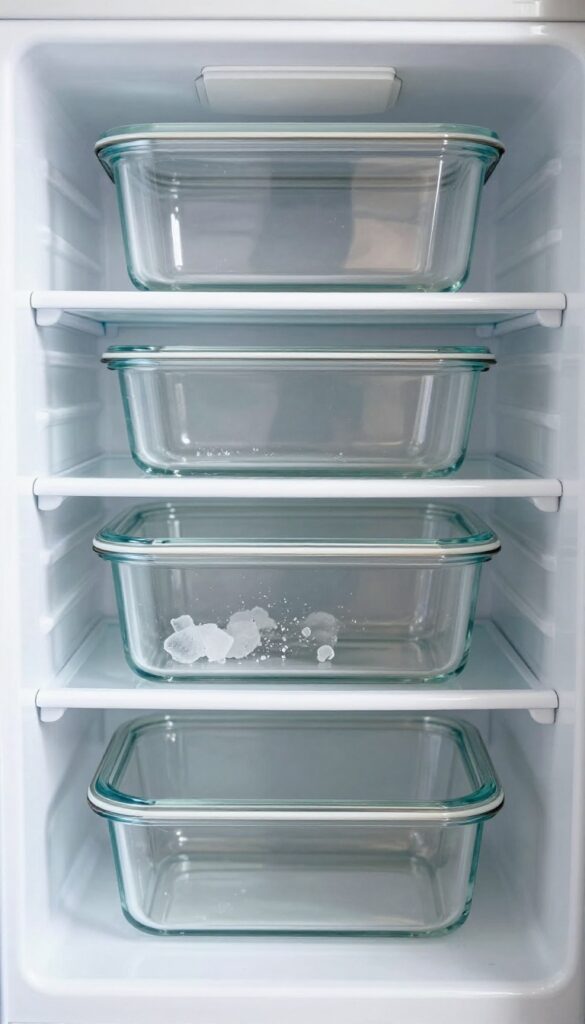
Leftovers are a double-edged sword: they save you time but can turn into a science experiment if forgotten. The trick is to freeze anything you won't eat within three days. Not only does this preserve food, but it also prevents containers from leaking and creating sticky messes on your shelves.
When you freeze leftovers quickly, you stop bacterial growth and lock in freshness. More importantly, you eliminate the risk of forgotten containers that eventually leak, spoiling other food and requiring deep cleaning. Make it a habit to portion leftovers into freezer-safe containers or bags right after the meal cools down.
Use Clear Containers
Transparent containers let you see what's inside without opening them. Label each with the date and contents using a dry-erase marker or tape. This simple step prevents mystery containers from piling up and leaking.
Cool Before Freezing
Let hot food cool to room temperature before sealing and freezing. Placing warm containers in the freezer raises the internal temperature, causing other items to thaw and potentially leak. A quick cool-down on the counter for 20–30 minutes does the trick.
Leave Headspace
Liquids expand when frozen, so leave about an inch of space at the top of your container. This prevents lids from popping off and contents from spilling onto shelves. For bagged items, squeeze out excess air before sealing.
14. Designate a 'Eat Me First' Shelf
That half-empty jar of salsa and the yogurt with tomorrow's date? They're not going to eat themselves. A dedicated 'Eat Me First' shelf puts soon-to-expire items front and center, so you grab them without thinking.
It's a simple habit that cuts food waste and keeps your fridge from turning into a graveyard of forgotten leftovers.
Pick The Right Spot
Choose a shelf at eye level—usually the middle or top shelf—so it's the first thing you see when you open the door. Avoid the door shelves, which are warmer and can cause dairy or eggs to spoil faster. The goal is visibility, not convenience for storing tall bottles.
Rotate Daily
Make it a quick morning or evening routine: scan the shelf and grab anything that needs eating that day. When you put away groceries, move older items to this shelf and newer ones to their regular spots. A small sticky note or whiteboard on the shelf can remind you of what's expiring soon.
Keep It Visible, Not Cluttered
Don't overload the shelf. Limit it to 3–5 items at a time so it stays purposeful. Use clear containers or small bins to group similar items like cheeses, dips, or cut fruits.
If something sits there for more than two days, either eat it or freeze it.
15. Use Fridge Mats for Easy Cleanup
Spills and drips are inevitable, but they don't have to mean a deep scrub every time. Fridge mats are a simple, low-effort solution that keeps your shelves cleaner for longer. These thin silicone or plastic liners sit right on the glass, catching messes before they harden or spread.
When something spills, you just lift the mat out, rinse it off, and pop it back in. No scrubbing, no soaking, no stress.
Fridge mats are a game-changer for anyone who hates scrubbing sticky shelves. They create a protective barrier that catches everything from juice drips to sauce splatters. Most mats are dishwasher safe, so cleanup is as easy as tossing them in with the dishes.
They also prevent scratches on glass shelves and reduce odors by keeping spills contained. Plus, they come in various sizes and can be cut to fit odd-shaped shelves or drawers. Once you try them, you'll wonder why you didn't sooner.
Choose The Right Material
Silicone mats are flexible, non-slip, and heat-resistant, making them ideal for fridge shelves. They grip the glass so they don't shift around when you place items on them. Plastic mats are cheaper and still effective, but they can become brittle over time.
Look for BPA-free, food-grade materials to ensure safety. Avoid cloth or absorbent mats—they trap moisture and can become a breeding ground for bacteria.
Cut To Fit Your Shelves
Most fridge mats come in standard sizes, but you can easily trim them with scissors to match your shelf dimensions. Measure the width and depth of each shelf before cutting. Leave a small gap around the edges for airflow.
For drawers, cut the mat slightly smaller so it lies flat without curling up at the corners. Custom-fitting ensures full coverage and prevents spills from seeping underneath.
Maintain And Replace As Needed
Wash mats regularly with warm soapy water or in the dishwasher on the top rack. Silicone mats can handle high heat, but plastic ones may warp. Check for cracks, discoloration, or lingering odors—these are signs it's time for a replacement.
With proper care, a good set of mats can last for months, saving you from countless scrubbing sessions.
16. Deep Clean the Ice Maker and Water Dispenser
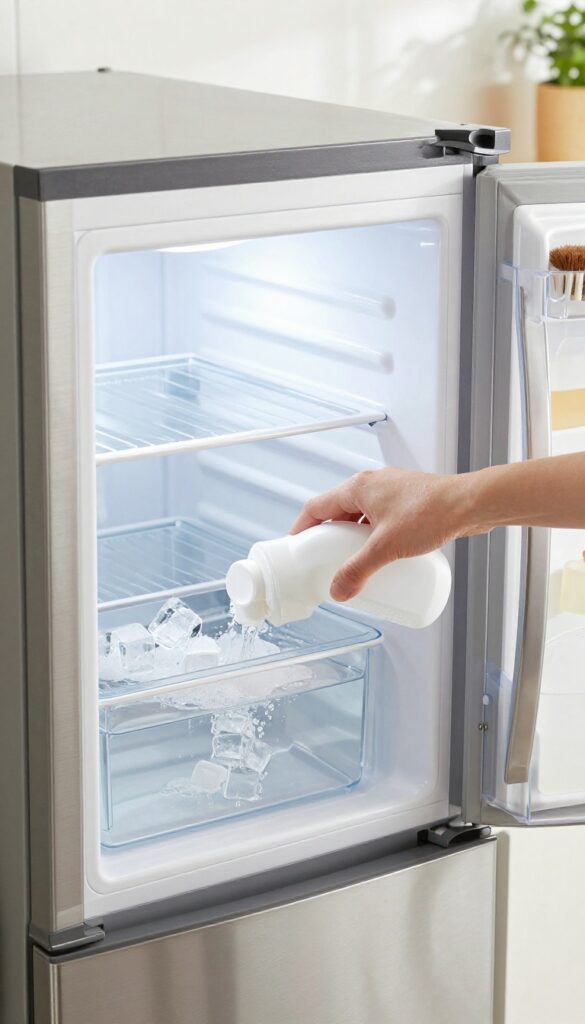
Your ice maker and water dispenser see daily use, but they rarely get the attention they deserve. Over time, mineral deposits, mold, and bacteria can build up, affecting both taste and safety. A quick deep clean every few months keeps ice clear and water fresh.
Run A Vinegar Solution Through The Dispenser
Start by removing any ice from the bin and turning off the ice maker. Mix equal parts white vinegar and warm water, then pour the solution into the water reservoir (if accessible) or use a funnel to pour it into the dispenser line. Run the dispenser until you hear the solution flowing through.
Let it sit for 5–10 minutes to break down mineral scale and kill germs.
Flush With Clean Water
After the vinegar solution has done its job, flush the system with several cups of clean water. Run the dispenser until you no longer smell vinegar. This step is crucial—you don't want your next glass of water tasting like salad dressing.
Wipe Down The Ice Bin And Dispenser Tray
Remove the ice bin and wash it with warm, soapy water or a mild cleaner. Rinse thoroughly and dry before replacing. Wipe the dispenser tray and the area around the spout with a damp cloth.
For stubborn spots, a soft brush or old toothbrush works well.
17. Check and Replace the Water Filter
Your fridge's water filter works hard every day, but it's easy to forget about until the water starts tasting funny or the ice looks cloudy. A clogged filter doesn't just affect flavor—it can slow down water flow and even put extra strain on your fridge. Replacing it on schedule keeps everything tasting fresh and your appliance running smoothly.
Why Regular Replacement Matters
Water filters trap sediment, chlorine, and other impurities. Over time, they get clogged and less effective. That means your drinking water and ice cubes can pick up off-flavors or odors from the fridge.
A fresh filter also maintains proper water pressure to the dispenser and ice maker, preventing slow fills and small, hollow ice cubes.
How Often Should You Change It?
Most manufacturers recommend replacing the filter every six months. But if you have hard water or use your dispenser heavily, you might need to do it sooner. A good rule of thumb: if the water tastes different or the ice looks cloudy, it's time.
Mark your calendar or set a phone reminder so you don't forget.
Simple Steps To Swap It Out
First, locate your filter—usually inside the fridge at the top right, in the grille at the bottom, or in the back. Turn off the ice maker and dispenser. Remove the old filter by twisting or pushing a release button.
Install the new one, run a few gallons of water through it to clear out any air or carbon dust, and you're good to go.
18. Organize by Temperature Zones
Your fridge isn't one uniform temperature—it has distinct zones that are perfect for different foods. By matching items to their ideal spots, you keep them fresher longer and reduce waste. This simple strategy also makes cleaning easier because spills are contained and airflow is improved.
Know Your Cold Spots
The back of the bottom shelf is the coldest part of most fridges. That's where raw meat, poultry, and fish should go—store them in a container or on a plate to catch drips. The middle shelves are consistently cold and great for dairy, eggs, and leftovers.
Avoid putting milk in the door, where temperatures fluctuate.
Crisper Drawers Do More Than You Think
High-humidity drawers (usually marked or adjustable) are perfect for leafy greens and vegetables that wilt, like lettuce and herbs. Low-humidity drawers are for fruits that release ethylene gas, such as apples and pears. Keep them separate to prevent premature spoiling.
Door Storage Isn't For Everything
The door is the warmest part of the fridge, so it's best for condiments, juices, and other items with natural preservatives. Don't store milk, eggs, or raw meat there—they'll spoil faster. Use the door for items you grab often to minimize how long the fridge stays open.
19. Use a Lazy Susan for Condiments
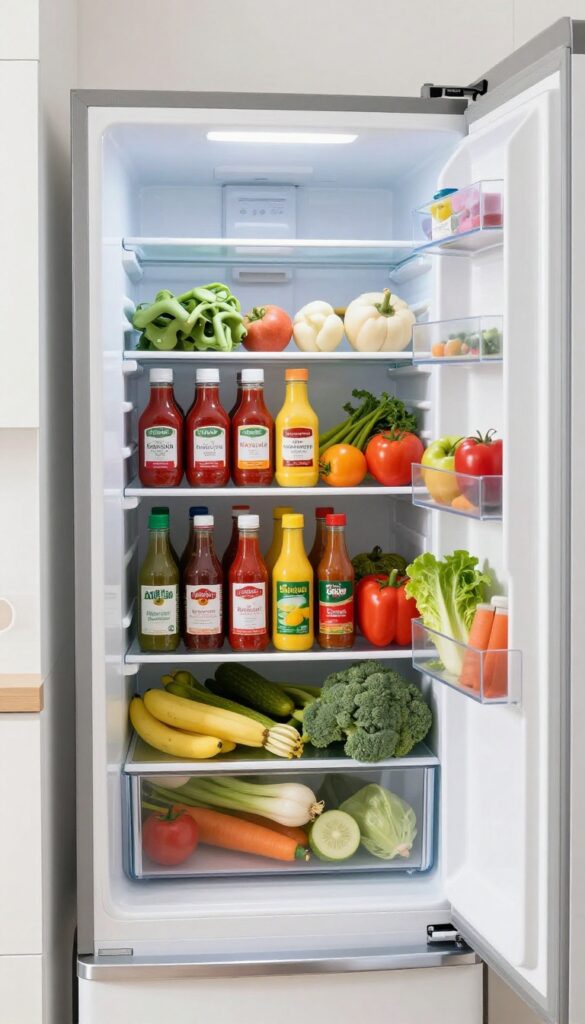
Condiment bottles are notorious for getting lost in the back of the fridge, only to be discovered months past their prime. A lazy Susan—or any turntable—solves that problem instantly. Just give it a spin and everything is within reach.
A lazy Susan transforms a chaotic shelf into an organized, accessible station. No more knocking over bottles to grab the mustard or forgetting you have three open jars of pickles.
Choose The Right Size
Measure your shelf depth and height before buying. A 10- to 12-inch turntable works for most standard fridges, but if you have tall bottles, look for one with raised edges to prevent tipping.
Group By Frequency Of Use
Place everyday items like ketchup and hot sauce on the lazy Susan, and reserve static shelves for rarely used bottles. This keeps the spin zone efficient and clutter-free.
Label The Turntable
Use a small sticker or dry-erase marker on the turntable to note what's where—or just rely on sight. The main goal is to avoid digging, so even a quick visual scan should tell you what you need.
20. Label and Date Everything
Mystery leftovers are the enemy of a clean fridge. When you can't remember when you cooked that casserole or opened that jar of salsa, it either gets tossed or left to turn into a science experiment. Labeling and dating your containers solves this problem instantly.
A simple roll of masking tape and a permanent marker are all you need. Stick a piece of tape on every container before it goes into the fridge, write the contents and the date, and you'll never have to guess again. It takes seconds but saves you from wasting food and dealing with foul odors.
Why It Matters
Without dates, food gets pushed to the back and forgotten. You end up with a science experiment that smells terrible and takes extra effort to clean. Labeling helps you rotate older items to the front so they get eaten first.
It also makes meal planning easier because you can see exactly what you have and how long it's been there.
Best Practices For Labeling
Use masking tape instead of sticky labels—it comes off easily without residue. Write the date in a clear format like "11/15" or "Nov 15" and include the dish name. For leftovers, note the number of servings.
For opened jars or bottles, write the date you opened them. Keep the tape and marker in a drawer near the fridge so you don't have to hunt for them.
How To Rotate Food Effectively
When you put new groceries away, move older items to the front. This is called FIFO (first in, first out). Check labels every few days and toss anything past its prime.
A quick weekly scan of labeled containers helps you spot what needs to be eaten soon. This habit reduces waste and keeps your fridge smelling fresh.
21. Wipe Up Spills Immediately
Spills happen, but letting them sit turns a quick wipe into a hard scrub. The trick is to catch them right away. Keep a dishcloth or paper towels within arm's reach so you can clean as you go.
It takes seconds now versus minutes later, and your fridge stays spotless with almost no effort.
Dried-on spills are stubborn and can harbor bacteria. A damp cloth wiped across a fresh spill lifts it instantly. If you wait, you'll need elbow grease and cleaner.
Make it a habit to do a quick scan every time you grab something—wipe any drips or crumbs before they set.
Keep A Cloth Handy
Store a small microfiber cloth or a roll of paper towels on the top shelf or in the door. That way, you don't have to hunt for supplies when a bottle tips over. After each use, toss the cloth in the laundry or replace the paper towel.
Clean As You Cook
While waiting for leftovers to cool, take a moment to wipe down shelves. If you spill a little sauce or juice, grab the cloth before moving on. This tiny habit prevents sticky buildup and keeps your fridge fresh between deep cleans.
Use A Spray Bottle Of Vinegar Water
Mix equal parts white vinegar and water in a small spray bottle. Keep it in the fridge door for quick sanitizing. A spritz and a wipe neutralize odors and dissolve sticky residues without harsh chemicals.
22. Use a Vacuum with a Crevice Tool for Crumbs
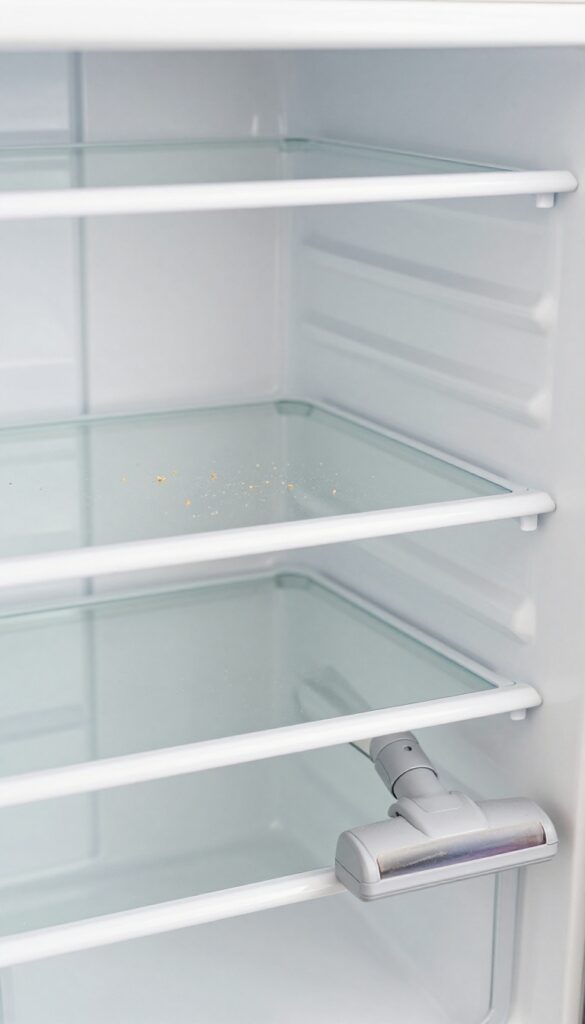
Crumbs and debris love to hide under shelves and in the back of drawers. A quick vacuum with a crevice tool can suck them all up before they attract ants or mold. It's a fast, no-scrub way to keep your fridge fresh between deep cleans.
Grab your vacuum's crevice attachment and run it along the edges of glass shelves, inside drawer tracks, and under crisper bins. Pay extra attention to the back corners where crumbs tend to gather. Doing this monthly takes just a few minutes but makes a big difference in preventing pests and odors.
Target The Hidden Spots
Remove shelves and drawers when possible to access the nooks underneath. Use the crevice tool to reach tight spaces around the condenser coils (if accessible) and the drip tray. These areas often collect dust and food particles that can cause smells.
Pair With A Dry Wipe
After vacuuming, quickly wipe down the exposed surfaces with a dry microfiber cloth to catch any lingering dust. This step ensures you don't just move debris around. It also preps the area for a deeper clean if needed.
Monthly Schedule Works Best
Set a reminder on your phone to vacuum the fridge once a month. Combine it with your regular grocery shopping day so it becomes a habit. This routine keeps crumbs from building up and saves you from scrubbing sticky messes later.
23. Sanitize with Hydrogen Peroxide
Sometimes a simple soap-and-water wipe-down doesn't cut it. For a deeper clean that kills bacteria and mold without harsh fumes, hydrogen peroxide is your go-to. It's a natural disinfectant that breaks down into harmless water and oxygen, so you don't have to worry about chemical residue near your food.
Spray 3% hydrogen peroxide directly onto shelves, drawers, and walls. Let it sit for about five minutes to give it time to work—this is key for killing germs and loosening stubborn grime. Then wipe everything down with a clean cloth or paper towel.
No rinsing needed, but if you prefer, a quick wipe with a damp cloth will remove any leftover moisture.
Why Hydrogen Peroxide Works
Hydrogen peroxide is a powerful oxidizer that destroys the cell walls of bacteria, viruses, and fungi. It's especially effective against common fridge contaminants like E. coli and salmonella. Plus, it won't leave behind a chemical taste or smell, making it safe for food-contact surfaces.
Where To Use It (and Where To Skip)
Use it on glass shelves, plastic drawers, and rubber seals. Avoid using it on unfinished wood or porous surfaces, as it can cause discoloration. For stainless steel, test a small area first to ensure it doesn't affect the finish.
Safety Tips For Best Results
Always use 3% hydrogen peroxide straight from the bottle—no need to dilute. Keep it away from eyes and skin, and store it in a dark bottle because light breaks it down. Never mix hydrogen peroxide with vinegar or bleach, as that creates toxic gases.
24. Keep a Fridge Inventory List
Ever opened the fridge to find three half-used jars of salsa and no idea when you bought them? An inventory list stops that chaos. It’s a simple habit that saves money, reduces waste, and makes meal planning effortless.
Why It Works
When you know exactly what’s inside, you stop buying duplicates and start using what you have. It also helps you spot items about to expire, so you can eat them first. No more mystery containers pushed to the back.
How To Start
Grab a whiteboard and stick it on the fridge door, or use a notes app on your phone. Every time you put groceries away, add them to the list. Cross off items as you use them.
Update the list once a week when you clean out old food.
What To Include
List categories like dairy, produce, leftovers, and condiments. Note the quantity and purchase date for perishables. For leftovers, write the dish name and date stored.
Keep it simple so you actually stick with it.
25. Schedule a Monthly Quick Clean
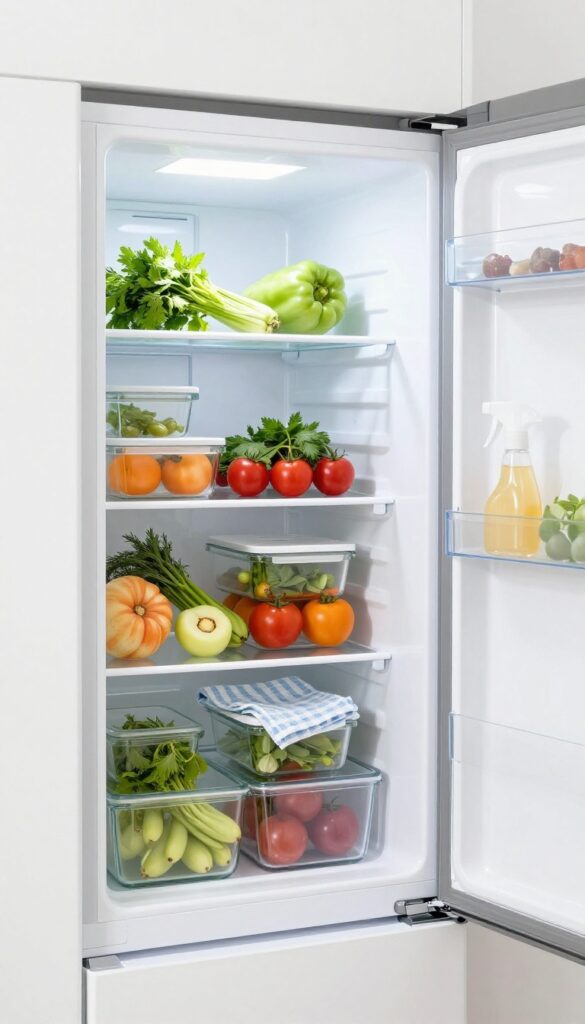
A deep clean every few months is great, but it's the regular maintenance that keeps your fridge truly fresh. Setting aside just 15 minutes once a month can stop spills from turning into stains and prevent mystery leftovers from taking over. Think of it as a quick reset that keeps your refrigerator in top shape without a major time commitment.
Consistency is the secret to a fridge that always looks and smells clean. By making monthly quick cleans a habit, you avoid the buildup that leads to sticky shelves and funky odors. It's a small effort that pays off in big ways, saving you from longer, more intensive scrubbing sessions down the line.
Set A Recurring Reminder
The easiest way to stick to a monthly clean is to put it on your calendar. Pick a day that works for you—like the first Sunday of the month or the day before your grocery run—and set a phone or calendar reminder. Treat it like any other appointment, and soon it'll become second nature.
What To Do In 15 Minutes
Start by pulling out any items that are past their prime—check expiration dates and look for wilted produce. Then, quickly wipe down shelves and drawers with a damp cloth and mild detergent. Finally, do a quick scan for any spills or sticky spots and address them right away.
That's it: toss, wipe, check.
Keep Supplies Handy
Store a small cleaning caddy in your pantry or under the sink with a microfiber cloth, a spray bottle of diluted vinegar or mild soap, and a trash bag. Having everything ready makes the monthly task faster and less likely to be skipped. You'll be more motivated when you don't have to hunt for supplies.
FAQ
How often should I clean my refrigerator?
Do a quick wipe-down weekly and a deep clean every three to four months. Regular maintenance prevents buildup and odors.
What's the best natural cleaner for fridge interiors?
A 50/50 mix of white vinegar and water works great. It cuts grease, kills bacteria, and leaves no harsh chemical residue.
How do I remove stubborn stains from plastic shelves?
Make a paste of baking soda and water, apply it to the stain, let it sit for 15 minutes, then scrub with a soft brush.
Why does my fridge smell bad even after cleaning?
Check for spoiled food hidden in drawers or behind containers. Also clean the drip pan and condenser coils, which can harbor odors.
Can I use bleach to clean my refrigerator?
It's not recommended because bleach can damage surfaces and leave harmful residues. Stick to mild soap, vinegar, or hydrogen peroxide.
Conclusion
Keeping your refrigerator clean doesn't have to be a chore. By incorporating a few of these tips into your routine—like wiping spills immediately or using baking soda to absorb odors—you'll save time and keep your food fresher longer. Start with the habits that feel easiest, then build from there.
A little regular maintenance goes a long way.
Your fridge will look great, smell fresh, and run more efficiently. Plus, you'll avoid the dreaded deep-clean marathon. Give these ideas a try and enjoy the payoff every time you open the door.