17 Floor Cleaning Tips for a Brighter Everyday Home
Imagine walking into your home and feeling instantly at ease because every floor gleams. That daily grind of dirt and scuffs doesn't stand a chance when you have a few smart habits in place. From quick daily sweeps to deep grout scrubs, these 17 tips are all about making floor care effortless and effective.
You don't need expensive tools or harsh chemicals to get that showroom shine. Simple swaps—like microfiber mops and baking soda pastes—can tackle everything from hardwood haze to tile grime.
The best part? Most of these tricks take just minutes but save you hours of scrubbing later.
1. Sweep or Vacuum Daily to Prevent Grit Buildup
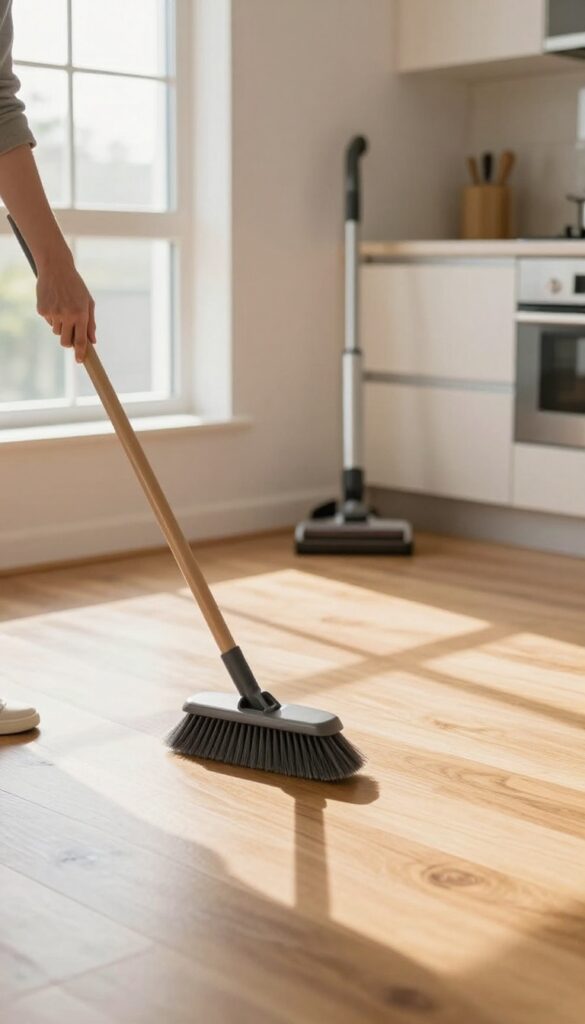
That satisfying feeling of clean floors starts with one simple habit: daily sweeping or vacuuming. Grit and tiny particles act like sandpaper, scratching finishes and dulling the shine over time. By making this a quick part of your routine, you protect your floors and keep them looking newer for longer.
Focus On High-traffic Zones
Kitchen, entryway, and hallway floors take the most abuse. Spend an extra minute or two in these areas to catch the bulk of the dirt before it spreads. A quick pass with a broom or vacuum every evening makes a huge difference.
Choose The Right Tool
A soft-bristle broom is gentle on hard floors and traps dust effectively. If you prefer a vacuum, switch to the hard floor setting to avoid scattering debris. Avoid using a beater bar on delicate surfaces like laminate or hardwood.
Don't Forget Corners And Edges
Dirt loves to hide along baseboards and in corners. Use a crevice tool or a small hand brush to dislodge buildup once a week. This prevents dark, grimy lines from forming along the edges of your floors.
2. Use Microfiber Mops for a Streak-Free Shine
If your floors still look cloudy after mopping, your mop might be the culprit. Cotton mops tend to push dirty water around and leave behind lint and streaks. Microfiber mops change the game entirely, trapping dust and grime instead of just moving it.
They work beautifully on tile, hardwood, laminate, and vinyl, giving you a clean that actually looks clean.
Switching to a microfiber mop is one of the simplest upgrades you can make. These mops use split fibers that create a static charge, pulling in dust, hair, and dirt like a magnet. They're also super gentle, so you won't scratch delicate surfaces.
Plus, they dry quickly and resist odors, unlike traditional mop heads that can get musty. For best results, use a spray mop with a refillable bottle so you control how much cleaning solution hits the floor.
Dry Dusting First
Before you add any water, use your microfiber mop dry to pick up loose dust and crumbs. This step prevents you from turning dirt into mud when you damp mop. It takes just a minute and makes the wet pass much more effective.
You'll be surprised how much fine dust a dry microfiber pad can grab.
Damp Mopping Without Overwetting
Microfiber mops are designed to work with minimal water. Lightly mist the floor ahead of the mop or use a spray mop that lets you apply solution as you go. Overwetting is a common mistake that leads to streaks and can damage wood or laminate.
A slightly damp pad is all you need to lift sticky spots and leave a streak-free shine.
Wash And Replace Pads Regularly
A dirty microfiber pad just spreads grime. Toss used pads in the laundry after each mopping session—wash them with mild detergent and skip fabric softener, which clogs the fibers. Keep a few extra pads on hand so you can swap them out mid-clean if needed.
When pads start to look frayed or lose their grip, replace them for best performance.
3. Choose the Right Cleaner for Your Floor Type
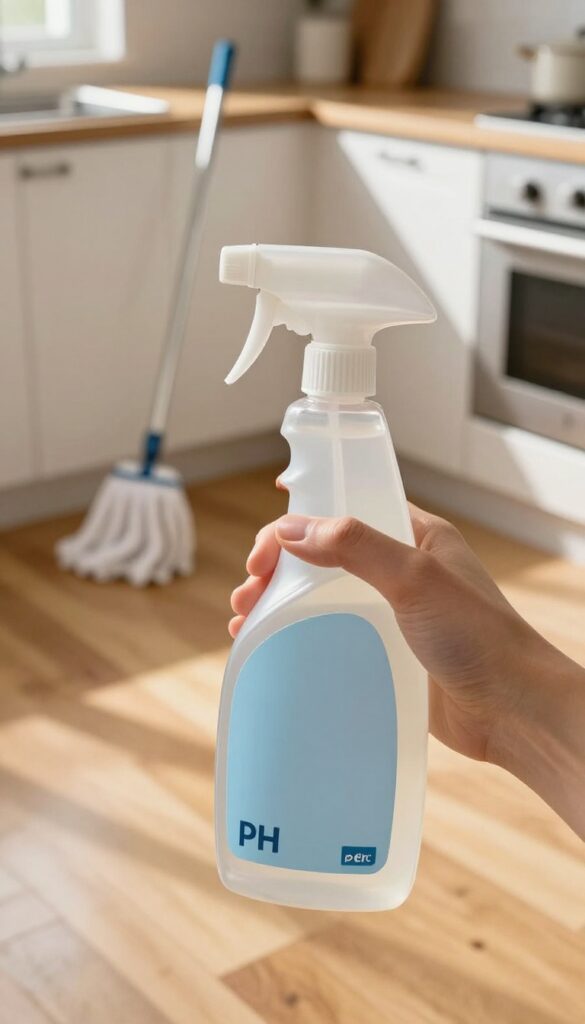
Not all floor cleaners are created equal. Using the wrong one can leave residue, cause discoloration, or even strip the finish. The key is matching the cleaner to your floor material.
Hardwood, tile, laminate, vinyl—each has its own needs. Here's how to pick the right product without second-guessing.
The cleaner you choose directly affects how your floors look and last. A pH-neutral cleaner is safe for most sealed hardwoods, while tile and grout can handle a mild detergent or a vinegar-water mix (for non-stone tiles). Laminate and vinyl are sensitive to excess moisture, so use a damp mop with a gentle cleaner designed for those surfaces.
Always check the manufacturer's label—if it says "avoid harsh chemicals, " take that seriously. A little research now prevents costly repairs later.
Hardwood: Stick To Ph-neutral
Hardwood floors are beautiful but delicate. Acidic or alkaline cleaners can dull the finish or cause warping. Look for a cleaner labeled "pH-neutral" or specifically for hardwood.
Avoid oil-based soaps—they leave a greasy film that attracts dirt. A simple mix of water and a few drops of mild dish soap works in a pinch, but rinse thoroughly.
Tile And Grout: Mild Detergent Does It
Ceramic and porcelain tile are tough, but grout is porous. Use a mild detergent or a dedicated tile cleaner. For grout lines, a baking soda paste (baking soda + water) gently scrubs without scratching.
Avoid bleach—it can discolor grout over time. Rinse well to prevent soap scum buildup.
Laminate And Vinyl: Less Water, More Care
Laminate and vinyl floors hate standing water. Use a cleaner specifically for these surfaces, or a few drops of dish soap in warm water. Wring your mop until it's barely damp.
Never pour water directly on the floor. For sticky spots, a microfiber cloth with a little cleaner works better than a soaking mop.
4. Tackle Spills Immediately to Avoid Stains
Spills happen, but how you react in the first few seconds makes all the difference. A quick response can mean the difference between a simple wipe and a stubborn stain that requires heavy scrubbing. Keep a clean cloth or paper towels handy in high-traffic areas so you're always prepared.
The key is to blot, not rub. Rubbing spreads the liquid and pushes it deeper into the floor, while blotting lifts it away. For sticky spills like juice or soda, use a damp cloth first to dissolve the sugar, then follow with a dry cloth to soak up moisture.
This two-step method prevents residue from attracting dirt later.
Why Blotting Beats Rubbing
When you rub a spill, you're essentially grinding it into the floor's surface. Blotting with a clean, absorbent cloth lifts the liquid without spreading it. For best results, press firmly and lift straight up, repeating with a fresh section of cloth until the area is dry.
The Damp-dry Method For Sticky Spills
Sticky spills like syrup or wine need extra care. Start with a slightly damp cloth to loosen the sticky residue, then immediately go over the area with a dry cloth. This prevents a tacky film from forming, which can attract dirt and become a magnet for future stains.
Quick Tips For Different Floor Types
On hardwood, act fast to prevent liquid from seeping into the grain. For tile or vinyl, spills are less urgent but still best handled quickly to avoid slippery spots. On carpet, blot until the cloth comes up clean, then apply a carpet cleaner if needed.
5. Place Doormats at Every Entrance
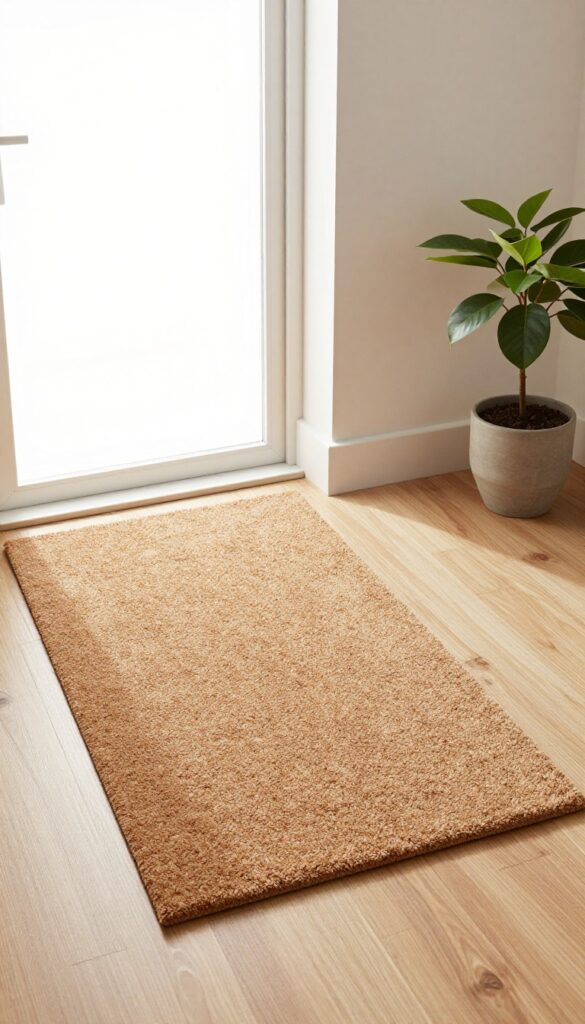
Doormats are your floor's first line of defense. They trap dirt, sand, and moisture before they get tracked inside, saving you from constant sweeping and mopping. A simple two-mat system at every door can cut the amount of grime entering your home by up to 80 percent.
The trick is choosing the right materials and keeping them clean.
The Two-mat Strategy
Place a coarse, scraper-style mat outside the door to remove large debris and mud. Then add a softer, absorbent mat just inside to catch any remaining moisture and fine particles. This combo works wonders on rainy days and during muddy seasons.
Material Matters
For outdoor mats, look for rubber or coir (coconut fiber) that can handle weather and heavy scraping. Indoor mats should be made of microfiber, cotton, or synthetic blends that absorb water without shedding. Avoid mats with rubber backs that can stain or discolor certain flooring types.
Maintenance Is Key
Shake out or vacuum your doormats at least once a week. For deeper cleaning, hose them down with mild soap and let them dry completely. A clogged mat stops working, so regular care keeps them effective and extends their life.
6. Use Furniture Pads to Prevent Scratches
Furniture legs are silent floor wreckers. Every time you slide a chair or nudge a table, those sharp edges can leave permanent scratches on hardwood, laminate, or tile. Felt pads are the cheap, easy fix that keeps your floors looking new without sacrificing furniture mobility.
Felt pads under furniture legs glide easily and protect floors from scratches. Check and replace them periodically, especially after moving furniture.
Choose The Right Pad For Your Floor
Not all pads are equal. For hard floors, self-adhesive felt pads work best. Avoid rubber or plastic ones, as they can leave marks or trap grit.
For carpets, use flat plastic gliders that won't snag fibers.
Check And Replace Regularly
Pads wear down over time, especially on heavy furniture. Inspect them every few months. If you see thinning, peeling, or trapped debris, swap them out.
A quick replacement saves your floor from hidden scratches.
Apply After Moving Furniture
Whenever you rearrange a room, take a moment to check the pads. Furniture legs that were stable can shift and lose their pads. Reapply fresh ones before sliding anything back into place.
7. Deep Clean Carpets with Baking Soda and Vinegar
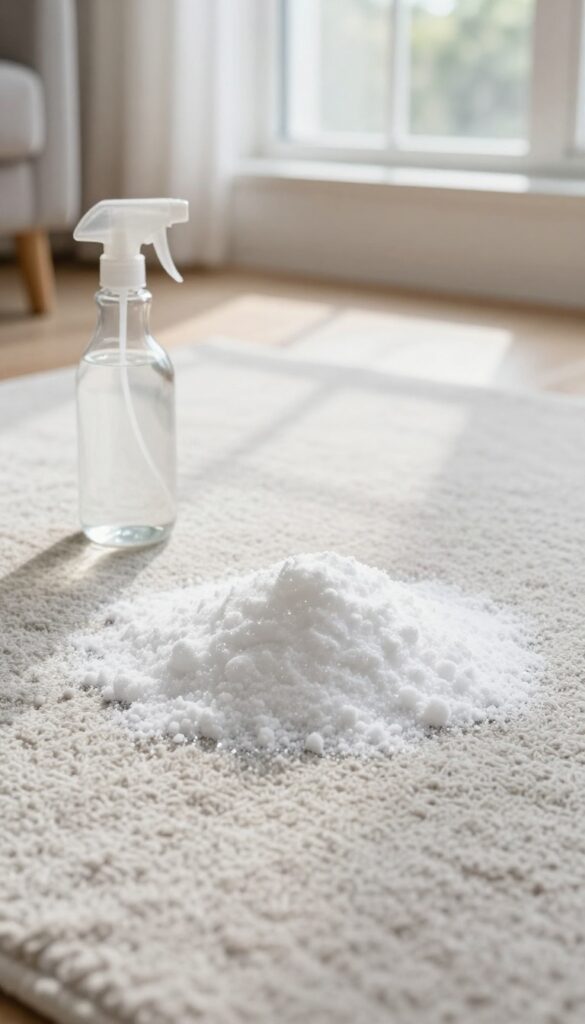
Carpets trap odors and dirt deep in the fibers, and regular vacuuming only gets surface debris. A simple baking soda and vinegar treatment can refresh your carpets without harsh chemicals. This method is budget-friendly and surprisingly effective at lifting stains and neutralizing smells.
Start by sprinkling a generous layer of baking soda over the entire carpet. Let it sit for 15 minutes—or longer for stubborn odors—then vacuum thoroughly. For spots or stains, mix equal parts white vinegar and water in a spray bottle.
Lightly mist the area, let it fizz for a few seconds, then blot with a clean cloth. Repeat until the stain lifts. Avoid rubbing, which can push the stain deeper.
Why It Works
Baking soda is a natural deodorizer that absorbs odors and lifts dirt particles. Vinegar’s mild acidity breaks down stains and disinfects without leaving toxic residue. Together, they create a gentle but powerful cleaning duo.
Best Practices
Always test a small, hidden area first to check for colorfastness. Use a white cloth to avoid transferring dye. For heavy traffic areas, let the baking soda sit overnight for deeper cleaning.
8. Mop Hardwood Floors with a Damp (Not Wet) Mop
Hardwood floors bring warmth and elegance to any room, but they hate standing water. A soaking wet mop can seep into the seams, causing the wood to warp, cup, or even develop mold over time. The key is to use a mop that's barely damp—just enough to pick up dirt without leaving puddles behind.
After mopping, always follow up with a dry cloth to absorb any remaining moisture. For even better control, switch to a spray mop that lets you mist the floor directly. This way, you avoid drenching the wood and keep your floors looking beautiful for years.
The Damp Mop Technique
Wring your mop until no water drips when you hold it up. Then, mop in the direction of the wood grain to prevent streaking. Work in small sections so you can dry each area before moving on.
Why Spray Mops Work Best
Spray mops give you precise control over how much moisture hits the floor. You can spray a fine mist directly in front of the mop head, which evaporates quickly. Plus, they're lightweight and easy to maneuver around furniture.
Drying Is Non-negotiable
Immediately after mopping, go over the floor with a clean, dry microfiber cloth. This step removes any leftover dampness and buffs the surface to a shine. Never let hardwood air-dry—it's too slow and invites damage.
9. Polish Tile Floors for Extra Shine
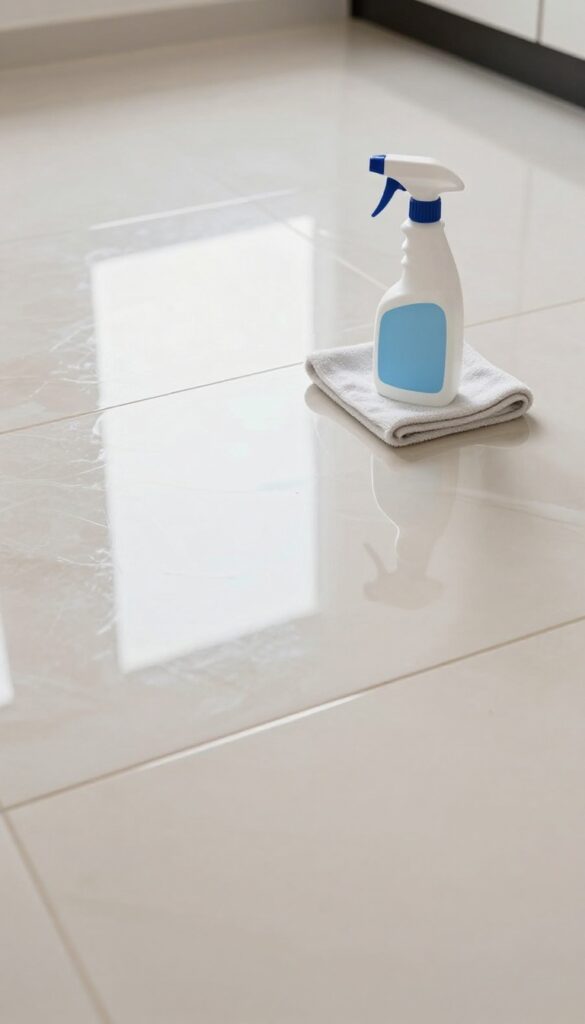
Mopping tile gets it clean, but polishing takes it from clean to gleaming. That dull, hazy look after mopping? It's often leftover residue or just a lack of finishing.
A quick polish step restores the glossy finish that makes tile look brand new. You don't need fancy equipment—just a simple solution and a bit of elbow grease.
After mopping, wait for the floor to dry completely. Then apply a small amount of floor polish or a DIY vinegar-water solution (1 part vinegar to 4 parts water) using a spray bottle or damp mop. Work in small sections, and buff immediately with a dry microfiber cloth.
The vinegar solution cuts through any remaining film and adds a streak-free shine. For high-traffic areas, repeat once a month to keep the gloss intact.
Why Polish Matters
Tile floors, especially ceramic and porcelain, have a glaze that can become dull over time. Polish restores that protective shine and makes future cleaning easier. It also fills in microscopic scratches, reducing the appearance of wear.
Best Polish Options
Commercial floor polishes are effective but can be pricey. A homemade vinegar solution works great for most glazed tiles and is safe for households with kids or pets. For unglazed or natural stone tiles, use a pH-neutral stone polish to avoid damage.
Buffing Technique
Buffing is key. Use a clean, dry microfiber cloth and apply light pressure in circular motions. This removes any excess polish and creates a smooth, reflective surface.
Avoid leaving puddles of polish, as they can dry into cloudy spots.
10. Use a Steam Mop for Sanitizing Sealed Floors
Steam mops are a game-changer when you want a deep clean without harsh chemicals. They use high-temperature steam to kill bacteria and loosen grime, making them ideal for sealed hardwood, tile, or vinyl. Just be sure to check your floor's seal first, because moisture can damage unsealed surfaces.
Steam mops work by heating water to around 200°F, producing steam that sanitizes and cleans. They're especially good for kitchens and bathrooms where germs lurk. The key is to use distilled water to prevent mineral buildup and to follow your floor manufacturer's guidelines.
Never use a steam mop on unsealed wood, laminate, or any floor that's prone to warping. Always test in an inconspicuous spot first.
When To Steam Vs. When To Mop
Steam mops are perfect for weekly deep cleans, but for daily touch-ups, a damp microfiber mop is better. Steam can strip wax or sealant if overused, so limit it to once a week. For high-traffic areas, you can steam more often, but always let the floor dry completely between uses.
Best Practices For Different Floor Types
On sealed hardwood, use a steam mop with a low setting and a microfiber pad. For tile and grout, the steam helps lift dirt from the lines. On vinyl or linoleum, keep the mop moving to avoid moisture pooling.
Always vacuum or sweep first to remove loose debris, so the steam can work directly on stuck-on grime.
Avoiding Common Mistakes
Don't leave the steam mop stationary on any floor—it can cause water damage or discoloration. Also, never add cleaning solutions to the water tank unless the manufacturer says it's safe. Most steam mops are designed for water only, and additives can clog the system or leave residue.
11. Clean Grout Lines with a Baking Soda Paste
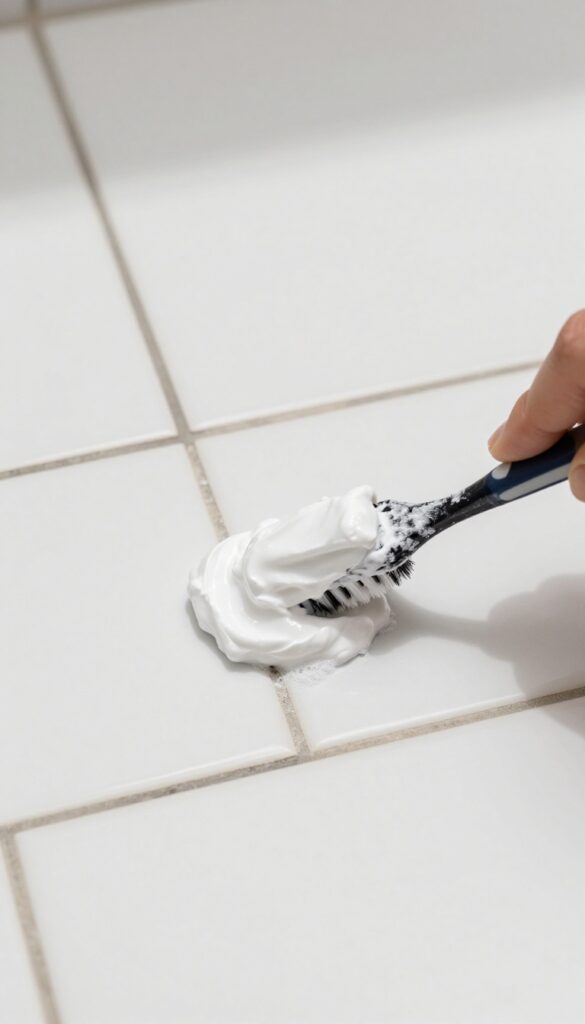
Grout lines often get overlooked, but they're the first place dirt and mildew show up. A simple baking soda paste can restore them to their original color without any harsh chemicals. This method is gentle on your tiles but tough on grime, and it costs pennies to make.
Mix three parts baking soda with one part water to form a thick paste. Apply it directly to the grout lines using an old toothbrush or a small scrub brush. Let it sit for about 10 minutes so it can break down the dirt.
Then scrub in a circular motion, focusing on the darkest areas. Rinse with a damp cloth or spray bottle, and wipe away any residue. For stubborn stains, substitute the water with hydrogen peroxide—it adds a gentle bleaching action that lifts deep-set grime.
Why Baking Soda Works So Well
Baking soda is mildly abrasive, so it scrubs without scratching your tiles. It also neutralizes odors, which is a bonus in kitchens and bathrooms where grout tends to trap smells. Plus, it's non-toxic, so you don't have to worry about fumes around kids or pets.
When To Use Hydrogen Peroxide
If your grout is stained from years of neglect, add a splash of hydrogen peroxide to the paste. Peroxide acts as a mild bleach that whitens without the harshness of chlorine bleach. Test it on a small hidden area first to make sure your grout color doesn't fade unevenly.
Sealing Grout After Cleaning
Once your grout is clean and dry, consider applying a grout sealer. This creates a protective barrier that repels dirt and moisture, making future cleanings much easier. A sealer can extend the life of your grout and keep it looking bright for months.
12. Rotate Rugs to Even Out Wear
Area rugs take a beating—especially in high-traffic zones. The constant foot traffic, sunlight exposure, and furniture weight all leave their mark over time. Rotating your rugs every few months is a simple habit that keeps them looking fresh and extends their life significantly.
By rotating rugs regularly, you distribute wear and fading more evenly. This not only keeps the rug's appearance consistent but also protects the floor underneath from uneven pressure and dirt buildup. It's a low-effort maintenance trick that pays off in the long run.
Why Rotation Matters
Sunlight fades colors unevenly, and foot traffic wears down fibers in specific paths. Rotating a rug 180 degrees (or flipping it if possible) ensures that no single area gets all the abuse. This is especially important for rugs near windows or in hallways.
How Often To Rotate
Aim for every three to six months. Mark your calendar or tie it to a seasonal change—like when you swap out your winter and summer decor. High-traffic areas may need more frequent rotations, while low-traffic spots can go longer.
Extra Tips For Rug Care
Vacuum both sides of the rug when you rotate it to remove trapped dirt. If your rug is reversible, flipping it over gives you a fresh surface and doubles its lifespan. For non-reversible rugs, simply spin them 180 degrees.
13. Use a Squeegee on Hard Floors for a Quick Dry
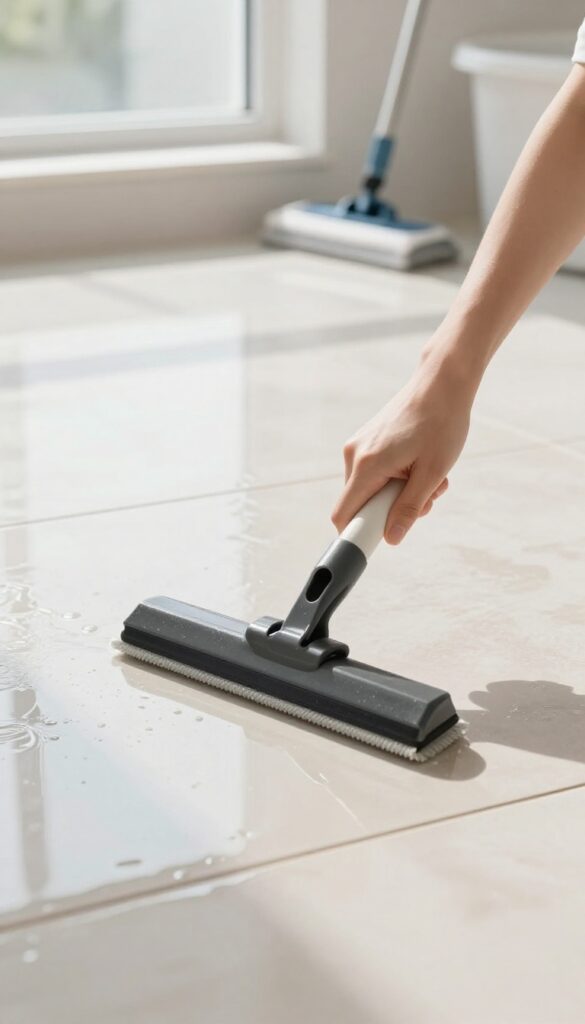
After mopping, the last thing you want is a floor that stays wet for ages and ends up with ugly streaks. A squeegee—yes, the same tool you use on windows—works wonders on hard floors. It pulls off excess water in one smooth pass, cutting drying time in half and leaving a spotless finish.
Running a squeegee over tile, vinyl, or sealed hardwood after mopping removes the thin layer of water that often dries into streaks and water spots. It's especially helpful in bathrooms and kitchens where humidity slows drying. Just glide the rubber blade from one end of the room to the other, overlapping each pass slightly.
Collect the water with a dustpan or push it toward a drain. Your floors will be dry enough to walk on in minutes.
Why It Works
Mopping leaves behind a film of dirty water that evaporates unevenly. A squeegee physically lifts that water off the surface before it can settle. The rubber blade conforms to slight imperfections, so you don't miss low spots.
Plus, it reduces the amount of moisture that seeps into grout or wood seams, protecting your floors long-term.
Best Floors For This Trick
Squeegees work best on smooth, non-porous surfaces like ceramic tile, luxury vinyl plank, and sealed concrete. Avoid using them on unsealed hardwood or natural stone, as the blade can scratch or force water into cracks. For laminate, use a soft rubber squeegee and test in an inconspicuous spot first.
Pro Tips For Best Results
Use a wide floor squeegee (18–24 inches) with a comfortable handle. Start at the farthest corner and pull toward the exit. Wipe the blade clean with a cloth after every few passes to avoid redepositing dirt.
For extra shine, follow up with a dry microfiber cloth to buff away any remaining moisture.
14. Spot Clean High-Traffic Areas Weekly
You don't need to mop the whole house every week to keep floors looking great. A quick focus on the spots that get the most action—like entryways, hallways, and kitchen zones—can make a huge difference. This targeted approach saves time and energy while keeping dirt from spreading to the rest of your home.
High-traffic areas collect the bulk of daily grime. By giving them a quick weekly spot clean, you prevent dirt from building up and getting ground into the floor. This simple habit keeps your whole house looking fresher with minimal effort.
Identify Your Hot Zones
Walk through your home and note where people step most often. Entryways, hallways, kitchen sinks, and stove areas are typical hot spots. Also check in front of couches and beds—these areas get heavy foot traffic too.
Quick Clean Routine
For hard floors, a fast sweep or vacuum followed by a damp microfiber mop over the hot zone does the trick. On carpets, a quick pass with a handheld vacuum or spot cleaner lifts dirt before it settles deep. Do this once a week, and you'll see a noticeable difference.
Prevent Spreading Dirt
Place doormats at every entrance and encourage family to wipe feet. A no-shoes policy indoors also cuts down on tracked-in grime. These small habits reduce the amount of dirt that reaches your high-traffic zones, making spot cleaning even easier.
15. Avoid Harsh Chemicals That Dull Finishes
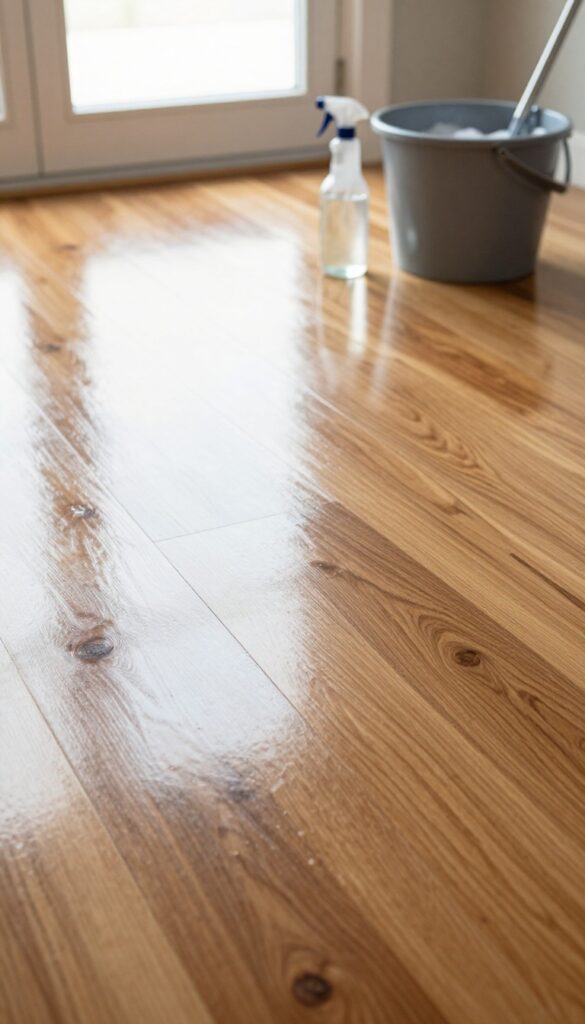
Not all cleaners are floor-friendly. Bleach, ammonia, and abrasive scrubs can strip protective coatings and leave surfaces looking dull or damaged. The solution is simpler than you think: stick to gentle, floor-specific products or natural alternatives like diluted vinegar for most cleaning tasks.
Harsh chemicals might seem effective, but they often do more harm than good. Bleach can discolor grout and weaken sealants, while ammonia can cloud hardwood finishes. Abrasive powders scratch tile and stone.
Instead, opt for pH-neutral cleaners designed for your floor type. For a natural option, mix one part white vinegar with ten parts water—it cuts grease and grime without damaging finishes. Always test a small area first, and never use vinegar on unsealed stone or waxed floors.
Why Bleach And Ammonia Are Bad News
Bleach is a common go-to for tough stains, but it's too aggressive for most floors. It can yellow grout, eat away at sealants, and even change the color of certain tiles. Ammonia, found in many glass cleaners, can strip wax and dull gloss finishes.
On hardwood, it can penetrate the wood and cause long-term damage. Stick to products labeled safe for your specific flooring.
The Right Way To Use Vinegar
Vinegar is a fantastic natural cleaner, but only when used correctly. Always dilute it—one cup of white vinegar per gallon of warm water is a good ratio. Avoid it on unsealed stone (like marble or travertine) because the acid can etch the surface.
For regular maintenance, vinegar water works wonders on tile, laminate, and sealed hardwood. Just don't let it sit too long, and dry the floor afterward to prevent streaks.
Look For Floor-specific Products
Many all-purpose cleaners contain ingredients that can harm floor finishes. Instead, buy products formulated for your floor type—like hardwood floor cleaner, tile and grout cleaner, or stone-safe solutions. These are designed to clean effectively without stripping protective layers.
A little investment in the right product saves you from costly repairs down the road.
16. Use a Robot Vacuum for Maintenance Between Deep Cleans
Robot vacuums aren't just a fancy gadget—they're a game-changer for keeping floors consistently clean without lifting a finger. These little machines handle daily dust, pet hair, and crumbs, especially in those hard-to-reach spots under furniture. Set them to run while you're at work or asleep, and you'll come home to noticeably fresher floors every day.
A robot vacuum takes the pressure off your regular cleaning routine by handling the everyday debris that would otherwise build up. It's not a replacement for your deep cleans, but it stretches the time between them significantly. Plus, it targets areas you might neglect, like under the bed or behind the couch.
Pick The Right Model For Your Floor Type
Not all robot vacuums are created equal. If you have mostly hardwood or tile, look for one with a soft brush roll and strong suction to avoid scratching. For carpets, choose a model with a rubber brush that can dig out dirt.
Many modern robots automatically adjust suction based on the surface, so they're versatile enough for mixed flooring homes.
Schedule It Strategically
The magic of a robot vacuum is its ability to work while you're not there. Set a schedule for daily or every-other-day runs during times when you're out of the house or asleep. This keeps floors consistently clean without you ever thinking about it.
Just make sure to clear small objects like toys or cords beforehand to avoid tangles or jams.
Maintain Your Robot For Long-term Performance
Your robot vacuum needs a little TLC to keep working well. Empty the dustbin after every use, clean the brushes weekly to remove hair wrap, and replace filters as recommended. A well-maintained robot will last years and save you countless hours of manual sweeping.
17. Schedule a Seasonal Deep Clean for All Floor Types
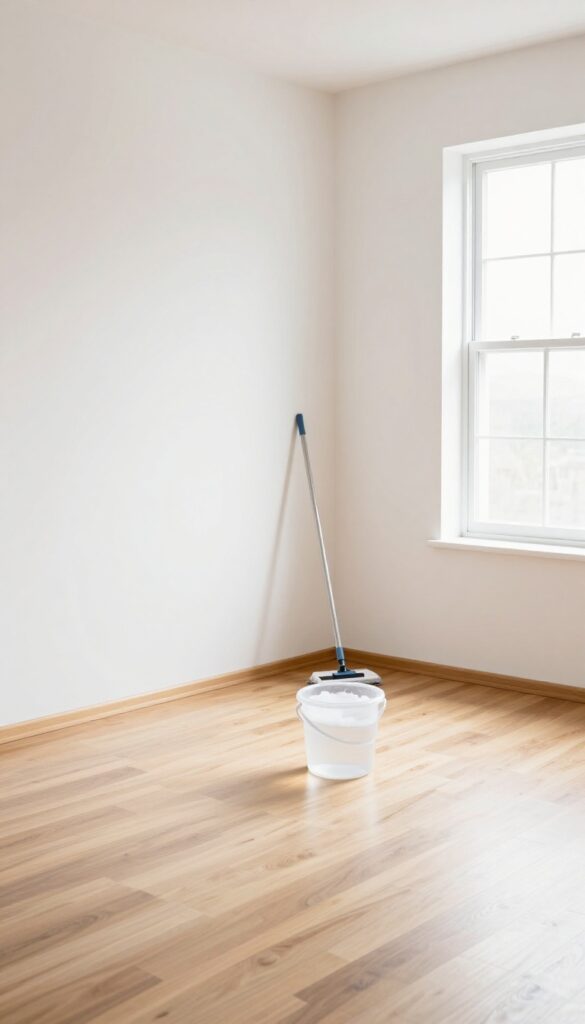
Daily and weekly maintenance keeps floors presentable, but every few months they deserve a reset. A seasonal deep clean targets the grime that builds up in corners, under furniture, and along baseboards. This full refresh not only restores your floors' original beauty but also makes your regular routine feel easier because you're starting from a truly clean slate.
Think of a seasonal deep clean as a spa day for your floors. It's the one time you move everything out of the room, scrub every inch, and treat any lingering stains. Doing this four times a year prevents dirt from becoming embedded and keeps your floors looking newer for longer.
Clear The Room Completely
Before you can deep clean, you need a blank canvas. Move all furniture, rugs, and decor to another room or at least to one side. This lets you reach every edge and corner where dust bunnies and grime hide.
It's also a great opportunity to vacuum under sofas and behind bookshelves—areas that rarely see a mop.
Scrub Baseboards And Edges
Baseboards and corners collect a surprising amount of dirt. Use a small brush or an old toothbrush with a mild cleaner to scrub along the edges. For tile or vinyl, pay extra attention to the transition strips between rooms.
A quick wipe with a damp cloth afterward leaves everything looking crisp.
Treat Stubborn Stains And Grout
Seasonal cleaning is the perfect time to tackle stains that daily cleaning missed. For hardwood, a baking soda paste can lift dark spots. For tile grout, a hydrogen peroxide and baking soda mixture works wonders.
Let the paste sit for 10–15 minutes before scrubbing gently with a stiff brush.
Finish With A Protective Layer
After everything is clean and dry, consider applying a floor polish or sealant appropriate for your floor type. This adds a protective barrier that makes future cleaning easier and helps your floors resist scratches and wear. Always test a small area first to ensure compatibility.
FAQ
How often should I mop my floors?
It depends on traffic. For high-traffic areas, mop once a week. For low-traffic, every two weeks is fine.
Always sweep or vacuum first.
Can I use vinegar on all floor types?
No. Vinegar is safe for sealed hardwood, tile, and linoleum, but can damage unsealed wood, stone, or laminate. Always test in an inconspicuous area first.
What's the best way to remove scuff marks from floors?
Rub a tennis ball or a pencil eraser over the mark. For stubborn marks, use a damp cloth with a little baking soda. Avoid abrasive pads.
How do I keep my floors shiny without wax?
Use a microfiber mop with a pH-neutral cleaner, then buff dry. For extra shine, add a few drops of baby oil to your mop water (for hardwood) or use a floor polish for tile.
Is steam mopping safe for all floors?
Steam mops are safe for sealed hardwood, tile, vinyl, and laminate. Avoid using them on unsealed wood, bamboo, or floors with cracks where moisture can seep in.
Conclusion
A brighter home starts with cleaner floors, and these 17 tips give you a practical roadmap to get there. By incorporating a few of these habits into your routine, you'll notice a real difference in how your floors look and feel. Remember, consistency beats intensity.
Small daily actions prevent big messes, and the right tools make the job easier. Your floors will thank you with a lasting shine that makes every day feel a little brighter.