15 Floor Cleaning Solution Ideas for Sparkling Surfaces
Your floors take a beating every day, but you don't need a cabinet full of specialty cleaners to keep them sparkling. From hardwood to tile, the right mix of everyday ingredients can tackle grime, restore shine, and even disinfect without harsh fumes.
These 15 floor cleaning solutions target specific surfaces and messes, so you can grab exactly what works for your home.
No guesswork, no wasted money—just practical recipes that leave your floors looking their best.
1. Vinegar and Water for Hardwood Floors
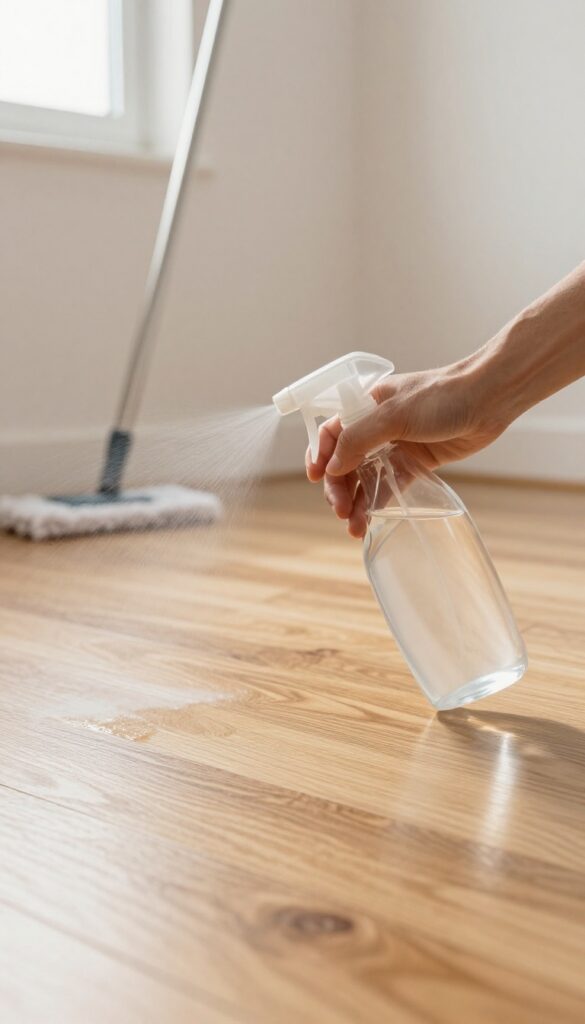
Hardwood floors need gentle care to keep their finish intact. A simple vinegar and water solution lifts dirt and leaves a streak-free shine without the chemicals found in many store-bought products. The key is getting the ratio right and avoiding excess moisture that can warp the wood.
Mix 1/2 cup of white vinegar per gallon of warm water. Use a spray bottle or a bucket, but always apply with a well-wrung mop. Never pour or spray directly onto the floor—damp mop only.
The vinegar smell fades quickly as it dries. For extra polish, add a few drops of essential oil like lemon or lavender. Avoid this solution on unsealed or waxed floors, as vinegar can damage the finish over time.
Why Vinegar Works
Vinegar is mildly acidic, which cuts through grease and grime without stripping the protective sealant. It also neutralizes odors and inhibits mold growth. Unlike harsh detergents, it won't leave a sticky residue that attracts more dirt.
Application Tips
Always test in an inconspicuous spot first. Use a microfiber mop for best results—it traps dirt and distributes the solution evenly. Work in small sections, and dry the floor with a clean cloth if you see standing water.
Buff with a dry microfiber pad for extra shine.
When Not To Use It
Skip vinegar on unsealed, waxed, or oil-finished hardwood. The acid can dull the surface and strip the wax. For those floors, use a cleaner specifically designed for raw wood or consult the manufacturer's guidelines.
2. Rubbing Alcohol and Water for Streak-Free Tile
Ceramic and porcelain tiles are durable, but they can still end up looking dull or streaky after mopping. The culprit is often leftover residue from cleaners that don't evaporate cleanly. A simple mix of rubbing alcohol, dish soap, and water solves that problem by drying fast and leaving behind zero streaks.
Rubbing alcohol is the star here because it evaporates quickly, which means no standing moisture that can trap dirt or leave water spots. The tiny bit of dish soap cuts through grease and grime without creating a sticky film. This solution works beautifully on bathroom tiles, kitchen backsplashes, and any glazed tile floor.
How It Works
The alcohol lowers the surface tension of the water, helping the solution spread evenly and dry in seconds. Dish soap breaks down oils and dirt, while the water dilutes everything to a safe concentration. Together, they lift grime and vanish without residue.
Best Practices For Application
Use a microfiber mop or cloth to avoid lint. Mop in a figure-eight pattern to prevent streaks. Work in small sections so the solution doesn't dry before you can buff it.
For extra shine, go over the area with a dry microfiber cloth after mopping.
When To Avoid This Mix
Skip this on unglazed or natural stone tiles because the alcohol can damage the sealant or etch the surface. Test in an inconspicuous spot first if you're unsure about your tile's finish.
3. Baking Soda Paste for Grout Lines
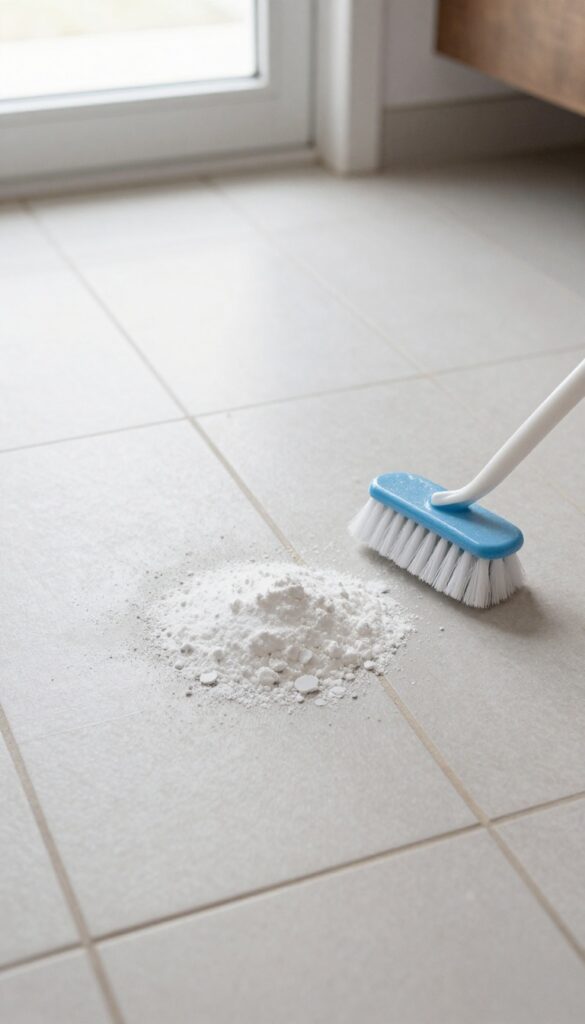
Grout lines are notorious for trapping dirt and looking dingy long after you've mopped the rest of the floor. A simple baking soda paste cuts through that grime without harsh chemicals. It's cheap, easy to mix, and surprisingly effective at restoring white or light-colored grout.
Mix three parts baking soda with one part water to form a thick, spreadable paste. Apply it directly to the grout lines using an old toothbrush or a small grout brush. Let it sit for 5–10 minutes so the baking soda can break down embedded dirt.
Scrub in a circular motion, then rinse thoroughly with water. For extra stubborn stains, add a splash of white vinegar to the paste—but test on an inconspicuous area first, as vinegar can etch some tile surfaces.
Why It Works So Well
Baking soda is a mild abrasive that physically lifts dirt without scratching tile or stone. Its alkaline nature helps dissolve acidic grime, making it ideal for ground-in messes. Unlike bleach-based cleaners, it won't discolor colored grout or release strong fumes.
Pro Tips For Best Results
Work in small sections so the paste doesn't dry out before you scrub. Use a stiff-bristled brush for deep grooves, and wipe away residue with a damp microfiber cloth. Seal the grout after cleaning to keep it looking fresh longer.
When To Skip This Method
Avoid baking soda paste on unsealed natural stone like marble or travertine—the abrasiveness can dull the surface. For those materials, use a pH-neutral stone cleaner instead.
4. Hydrogen Peroxide for Disinfecting Vinyl Floors
Vinyl floors are tough, but they still need the right cleaner to stay sanitary without damage. Hydrogen peroxide offers a simple way to kill germs while brightening the surface. It's gentle enough for sheet vinyl and luxury vinyl plank, and it won't leave behind a sticky residue.
To make this solution, combine 1/2 cup of 3% hydrogen peroxide with 1 gallon of warm water. Mop as usual, but avoid soaking the floor—vinyl can warp if excess moisture seeps into seams. The peroxide works fast, so you don't need to rinse.
It's especially good for kitchens and bathrooms where bacteria lurk.
Why Hydrogen Peroxide Works
Hydrogen peroxide is a natural disinfectant that breaks down into water and oxygen, making it safe for regular use. It kills common household germs like E. coli and salmonella without the strong smell of bleach. Plus, it has a mild bleaching effect that can help restore the original color of dull vinyl.
Best Practices For Vinyl Floors
Always test the solution on a small, hidden area first. Use a microfiber mop for even application and wring it out well. Avoid using on unsealed or damaged vinyl, as peroxide can seep in.
For tough stains, let the solution sit for a few minutes before mopping.
When To Avoid This Method
Don't use hydrogen peroxide on waxed vinyl floors—it can strip the wax. Also, skip it if your vinyl has a matte finish, as it might leave a slightly lighter spot. Stick to manufacturer recommendations for specialty finishes.
5. Castile Soap and Essential Oils for Laminate
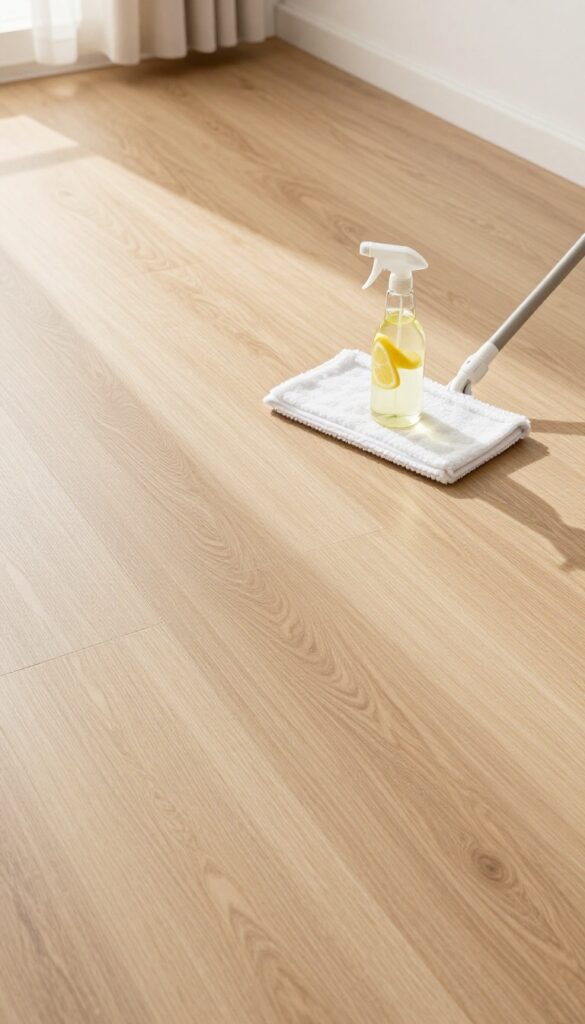
Laminate flooring looks great but can be tricky to clean. Harsh chemicals or too much water can leave streaks, dull the finish, or even cause warping. A gentle Castile soap blend cleans effectively without damaging the surface.
Adding a few drops of lemon essential oil cuts grease and leaves a fresh, clean scent.
Mix 1/4 cup liquid Castile soap and 10 drops lemon essential oil into 1 gallon of warm water. Stir gently to combine. Dip a microfiber mop into the solution, wring it out well so the mop is damp, not wet.
Mop the floor in sections, rinsing the mop head frequently. No need to rinse afterward—this solution won't leave residue. For best results, air-dry or buff with a dry microfiber cloth.
Why Castile Soap Works On Laminate
Castile soap is plant-based and mild, so it lifts dirt without stripping the protective layer. Unlike vinegar or ammonia, it won't dull the finish over time. It's also biodegradable and safe for homes with kids or pets.
Choosing The Right Essential Oil
Lemon essential oil is a natural degreaser and antibacterial. If you prefer a different scent, try tea tree oil for extra disinfecting power, or lavender for a calming aroma. Just stick with 10 drops per gallon to keep the solution gentle.
Avoid These Common Mistakes
Never use excess water on laminate—it can seep into seams and cause swelling. Also skip wax-based soaps, which build up and make floors look cloudy. Always test the solution on a small hidden area first.
6. Dish Soap and Vinegar for Greasy Kitchen Floors
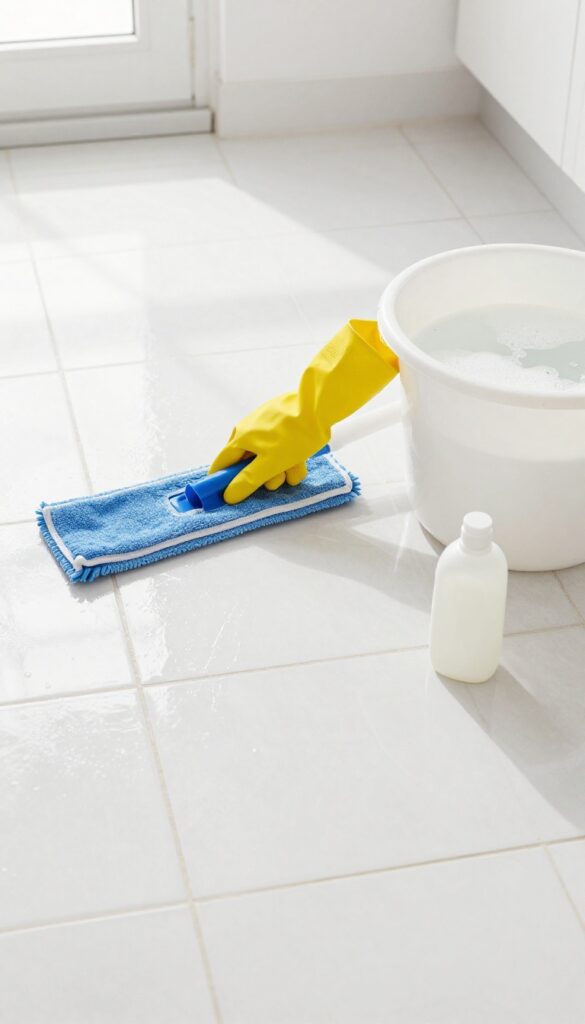
Kitchen floors take the brunt of cooking splatters, spilled oil, and sticky residue. A simple mix of dish soap and white vinegar cuts through that grease without leaving a film. This combo works especially well on tile and linoleum, where food grime tends to build up fast.
Combine 1 teaspoon dish soap, 1/4 cup white vinegar, and 1 gallon hot water. Mop as usual, then rinse with plain water to avoid any sticky residue. The vinegar deodorizes while the soap breaks down grease.
Avoid using on unsealed wood or stone.
Why It Works So Well
Dish soap is designed to dissolve grease on plates, so it does the same on your floor. Vinegar adds acidity to cut through stubborn oil and kills some bacteria. Together, they create a gentle but effective degreaser that's safe for daily use.
Best Floor Types For This Mix
Tile, linoleum, and vinyl all handle this solution well. Avoid using it on unsealed hardwood, laminate, or natural stone, as the vinegar can dull the finish over time. Always test a small spot first if you're unsure.
Pro Tips For Best Results
Use a microfiber mop to avoid leaving streaks. Change the water if it gets too dirty. Rinsing with plain water is key—skipping it can leave a sticky layer that attracts more dirt.
For extra tough spots, let the solution sit for a minute before mopping.
7. Club Soda for Fresh Spills on Carpet
Carpet spills can feel like a disaster, especially when it's red wine or coffee. But before you reach for a harsh chemical spray, try club soda. The carbonation helps lift the stain from the fibers without scrubbing it deeper.
It's a simple trick that works best on fresh messes.
Club soda is a surprisingly effective carpet cleaner because of its carbonation and mild acidity. When you pour it on a fresh spill, the bubbles help push the liquid up and out of the fibers. Blotting with a clean cloth absorbs the stain, leaving the carpet clean and residue-free.
This method avoids the sticky residue that some commercial cleaners leave behind.
Why Club Soda Works
The carbon dioxide in club soda creates bubbles that lift dirt and stains from carpet fibers. The slight acidity also helps break down compounds in wine, coffee, and juice. Unlike seltzer, club soda contains minerals like sodium bicarbonate that can further help neutralize odors.
How To Use It
Pour club soda directly onto the spill until the area is saturated. Let it fizz for a few seconds, then blot with a clean white cloth—don't rub. Repeat until the stain is gone.
For stubborn spots, add a drop of dish soap to the club soda before applying.
Best Stains For Club Soda
This method works best on fresh spills like red wine, coffee, tea, juice, and soda. Older, set-in stains may need a stronger treatment. Always test on an inconspicuous area first, especially on wool or delicate carpets.
8. Borax and Water for High-Traffic Areas
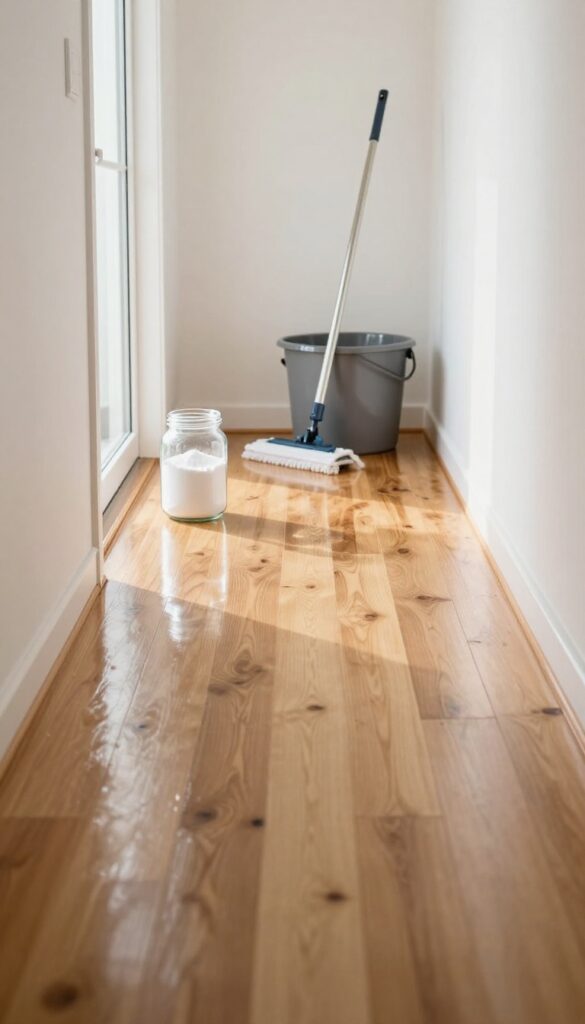
High-traffic areas like hallways and entryways collect ground-in dirt that a regular mop just pushes around. Borax, a natural mineral, cuts through that grime without scratching sealed surfaces. Mixed with hot water, it breaks down sticky residue and leaves floors feeling clean, not filmy.
Dissolve 1/2 cup borax in 1 gallon of hot water. Mop the floor as usual, then rinse with plain water to remove any residue. This solution works best on sealed hardwood, ceramic tile, and vinyl.
Avoid unsealed wood or natural stone, as borax can be too alkaline. For extra deodorizing, let the solution sit for a few minutes before mopping.
Why Borax Works
Borax has a high pH that helps break down oils and dirt, making it effective for ground-in grime. It also has mild antifungal properties, which can help prevent mold in damp areas like mudrooms.
Best Surfaces And Precautions
Use on sealed hardwood, ceramic, porcelain, and vinyl. Avoid unsealed wood, marble, limestone, or other natural stone. Always test in an inconspicuous area first.
Rinse thoroughly to prevent a white residue.
When To Use This Recipe
Ideal for weekly or biweekly deep cleaning of high-traffic zones. For daily touch-ups, stick to a pH-neutral cleaner. This borax mix is also great for removing musty smells in entryways.
9. Olive Oil and Vinegar for Unsealed Stone
Natural stone floors like slate and travertine add character to a home, but they need gentle care. Harsh chemicals can strip their finish, while water alone won't remove grime. A blend of olive oil and vinegar cleans and polishes in one step, leaving a subtle sheen.
Combine 1/4 cup olive oil, 1/4 cup white vinegar, and 2 cups warm water in a spray bottle. Shake well before each use. Mist the solution lightly onto the floor and mop with a soft cloth or microfiber mop.
The vinegar cuts through dirt, while the oil conditions the stone and enhances its natural color. This mix works best on unsealed or honed stone surfaces. Avoid using it on sealed stone, as the oil may leave a residue.
Why This Combo Works
White vinegar is mildly acidic, which helps dissolve mineral deposits and grime without damaging stone. Olive oil acts as a natural conditioner, filling tiny pores and adding a low-luster polish. Together, they clean and protect without synthetic additives.
Step-by-step Application
Start by sweeping or vacuuming loose dirt. Spray the solution onto a small section of the floor, then mop in a circular motion. Use a clean, dry cloth to buff the area if streaks appear.
Work in small patches to maintain control. Rinse the mop head frequently to avoid spreading dirt.
Important Precautions
Always test on a hidden area first, as some stone types react differently. Avoid using this mix on limestone or marble, which are softer and more porous. Over time, oil can attract dust, so use this treatment sparingly—once a month is plenty.
If the floor feels greasy afterward, wipe with a damp cloth and mild soap.
10. Lemon Juice and Salt for Cutting Board Floors
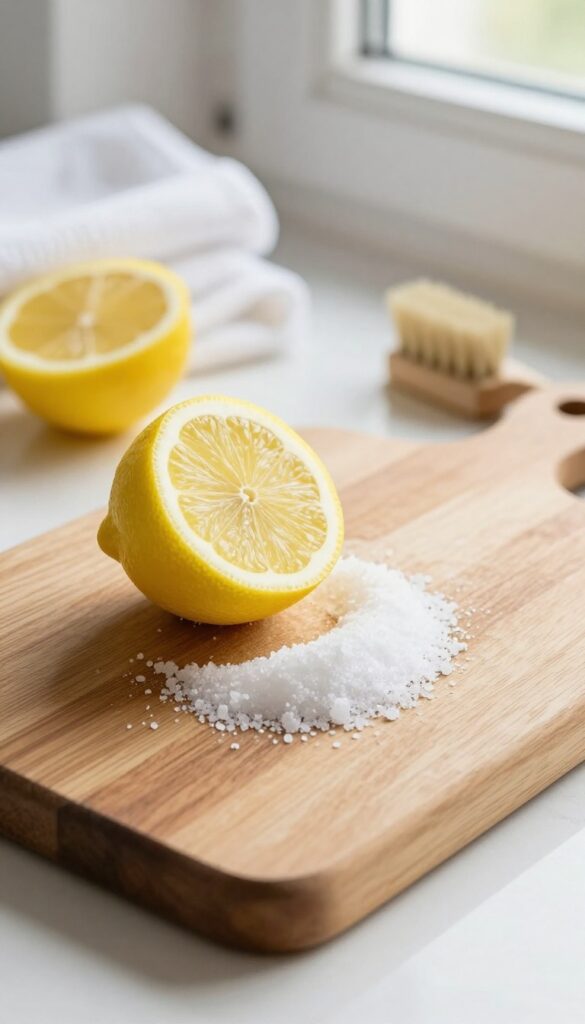
Cutting board floors—whether you have a small butcher block area or a whole kitchen floor made of wood planks—need a cleaner that cuts grease and disinfects without harsh chemicals. Lemon and salt do exactly that. The acid in lemon juice breaks down stains and odors, while salt acts as a gentle abrasive to scrub away stuck-on bits.
This combo is especially great for food-prep zones where you want something natural and effective.
This method works best on sealed wood or butcher block surfaces. Avoid using it on unsealed wood, as the acid can damage the finish. For a small floor area, simply sprinkle a generous layer of salt over the surface, then cut a lemon in half and rub it directly into the salt.
Let it sit for 5 minutes, then scrub with a soft brush or cloth. Rinse thoroughly with water and dry with a clean towel. The result is a fresh, clean surface that smells amazing.
Why This Combo Works
Lemon juice contains citric acid, which breaks down grease and lifts stains. Salt provides fine grit that scrubs away residue without scratching sealed wood. Together, they create a mild disinfectant that kills bacteria naturally.
Plus, the lemon leaves a bright, clean scent that lingers.
Best Surfaces To Use It On
This solution is ideal for sealed hardwood, butcher block, and ceramic tile floors in kitchens. It's also great for cutting boards and countertops. Avoid using it on unsealed wood, marble, or limestone, as the acid can etch or damage those surfaces.
Tips For Best Results
Use coarse salt like kosher or sea salt for better abrasion. If the area is large, mix lemon juice with salt to form a paste and apply with a mop. Always rinse thoroughly to prevent sticky residue.
For tough stains, let the paste sit for up to 10 minutes before scrubbing.
11. Commercial Neutral pH Cleaner for Epoxy Floors
Epoxy floors are tough, but they’re not invincible. Harsh chemicals or abrasive scrubbing can dull the glossy finish, leaving it looking worn and cloudy. A neutral pH cleaner is the safest bet—it lifts dirt, grease, and tire marks without attacking the coating.
Products like Simple Green or Zep are widely available and affordable.
Using a commercial neutral pH cleaner is straightforward. Dilute it according to the label instructions—usually about 1/4 cup per gallon of warm water. Mop the floor with the solution, then rinse with clean water and dry with a microfiber mop or cloth.
Avoid letting the solution sit too long, as even neutral cleaners can leave residue if left to dry. For stubborn tire marks, spray a small amount of undiluted cleaner directly on the spot, let it sit for 30 seconds, then wipe with a soft cloth. This method protects the epoxy while keeping the floor spotless.
Why Neutral Ph Matters
Epoxy coatings are sensitive to extreme pH levels. Alkaline or acidic cleaners can etch the surface, causing micro-scratches that trap dirt and reduce gloss over time. Neutral pH cleaners (around 7 on the scale) are gentle enough for daily use but strong enough to break down common garage or workshop grime.
They also won't react with the epoxy's chemical structure, preserving its durability and shine.
Best Practices For Application
Always sweep or vacuum loose debris first to avoid scratching the epoxy during mopping. Use a soft microfiber mop head—cotton or abrasive pads can leave swirl marks. Work in small sections, rinsing the mop frequently to avoid spreading dirty water.
After mopping, go over the floor with a clean, damp mop to remove any cleaner residue. Dry the floor with a separate microfiber cloth or let it air dry with good ventilation.
When To Avoid Neutral Cleaners
Neutral pH cleaners are excellent for maintenance, but they won't remove heavy wax buildup or old sealants. If your epoxy floor has a layer of wax from previous treatments, you'll need a dedicated wax stripper first. Also, avoid using neutral cleaners on freshly applied epoxy (less than 30 days old) unless the manufacturer says it's safe, as the coating needs time to fully cure.
12. Steam Cleaning for Sealed Ceramic Tile
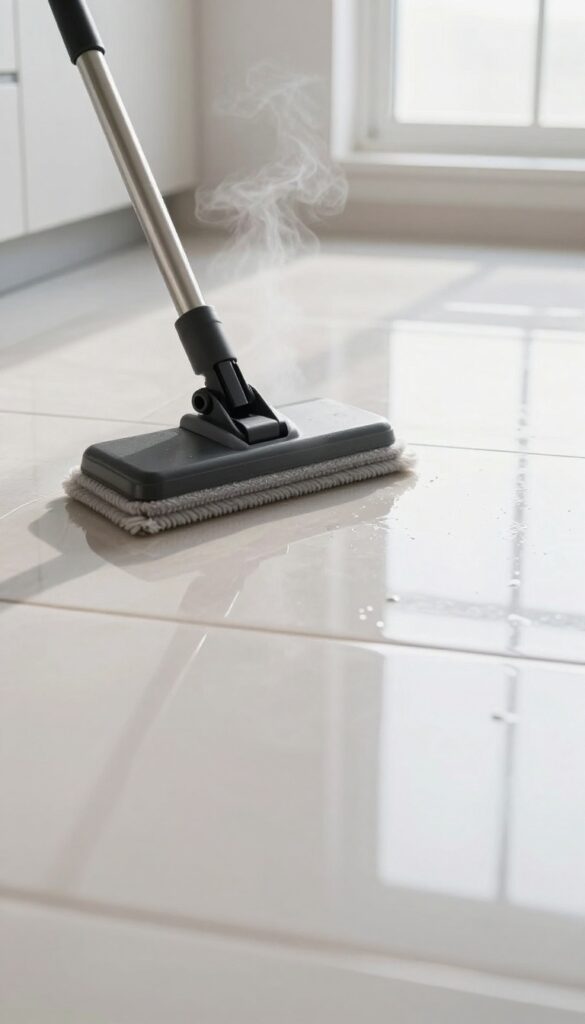
Steam cleaning is a game-changer for sealed ceramic tile. It uses only distilled water, heated to a high temperature, to loosen dirt and kill bacteria without any chemicals. This method is especially great for kitchens and bathrooms where you want a deep clean without residue.
Just make sure your tile is properly sealed—steam can damage unsealed grout or natural stone.
Steam cleaning is a chemical-free way to deep clean sealed ceramic tile. The high heat loosens stuck-on grime and sanitizes the surface, making it ideal for high-traffic areas. It's also quick: a steam mop can cover a large area in minutes, and the floor dries almost instantly.
Why Steam Works So Well
The steam's temperature, typically above 200°F, breaks down dirt and grease that regular mopping leaves behind. It also kills most germs and bacteria without needing bleach or harsh cleaners. For sealed tile, the moisture evaporates quickly, so there's no standing water to seep into grout lines.
What To Avoid
Never use steam on unsealed grout—the moisture can weaken it over time. Also avoid steam on natural stone like marble or slate, as the heat can cause damage. Always check your tile's seal before starting, and test a small hidden area first.
Tips For Best Results
Use only distilled water to prevent mineral buildup in your steam mop. Sweep or vacuum first to remove loose debris. Move the mop slowly over stubborn spots, and don't let the steam sit too long in one place.
After steaming, let the floor dry completely before walking on it.
13. Rubbing Alcohol and Vinegar for Glass Tile
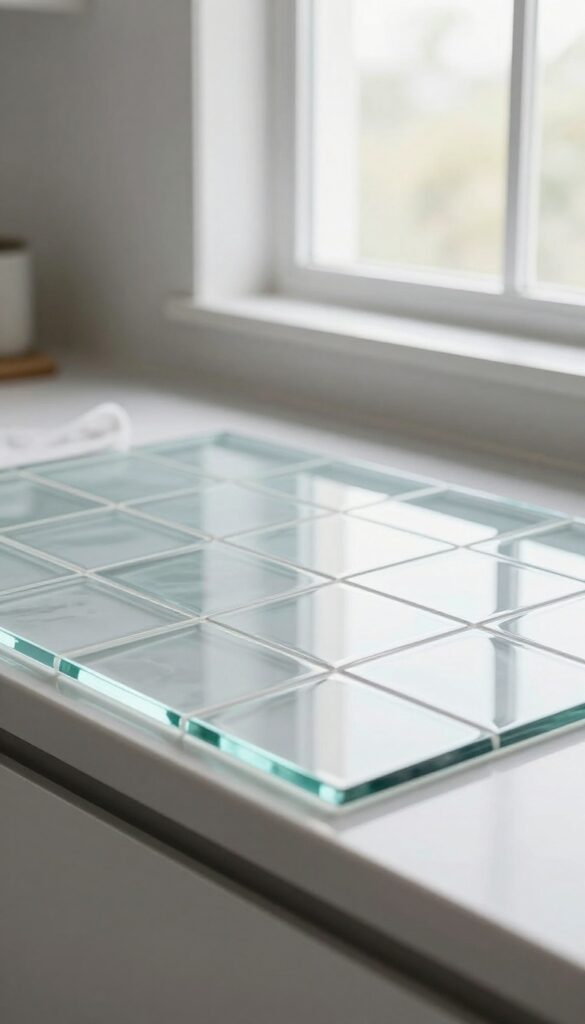
Glass tile backsplashes and floors look stunning, but they show every smudge and streak. Commercial glass cleaners work, but they often leave a filmy residue or cost a lot. A simple mix of rubbing alcohol and vinegar cuts through grease and dries crystal clear, leaving your glass tile sparkling without effort.
This solution evaporates quickly, so you won't see streaks or haze. It's also a great degreaser for kitchen backsplashes. Use a microfiber mop or a soft cloth to avoid scratching the glass.
For best results, mop in one direction and let it air dry.
Why It Works So Well
Rubbing alcohol evaporates faster than water, which prevents streaks. Vinegar cuts through grease and hard water spots. Together, they create a streak-free shine that's safe for sealed glass tile.
Just avoid using it on unsealed grout, as the acid can weaken it over time.
How To Apply It
Mix 1 cup rubbing alcohol, 1/2 cup white vinegar, and 1 gallon warm water in a bucket. Dip a microfiber mop, wring it well, and mop the glass tile. Work in small sections, and use a clean, dry microfiber cloth to buff away any remaining moisture.
No rinsing needed.
When To Skip This Method
If your glass tile has unsealed grout or is painted, skip the vinegar. The acid can damage the grout or paint. Also, avoid using this on glass tiles with metallic or iridescent finishes, as the alcohol might dull them.
Stick to a pH-neutral cleaner for those.
14. Baby Oil for Shiny Linoleum
Linoleum floors are durable and budget-friendly, but they can look dull over time. A tiny amount of baby oil mixed into your mop water can restore a soft, even shine without the need for wax or polish. Just be careful—baby oil is slippery, so a little goes a long way.
This simple trick works best on standard sheet linoleum or vinyl composite tiles. The oil fills in microscopic scratches and leaves a light protective film that repels dust and dirt. For best results, use a microfiber mop and wring it out well—you don't want puddles of oily water sitting on the floor.
To make the solution, add 1 tablespoon of baby oil to 1 gallon of warm water. Stir or shake gently to disperse the oil. Mop as usual, then let the floor air dry.
Avoid walking on it until it's completely dry to prevent slips. If the floor feels greasy afterward, you used too much oil—next time cut the amount in half.
Why It Works
Baby oil is mostly mineral oil, which is a lightweight, non-drying oil that won't damage linoleum. It leaves a thin, invisible layer that fills tiny imperfections, making the surface reflect light more evenly. It also helps loosen stuck-on grime as you mop.
Pro Tips For Best Results
Always test on an inconspicuous spot first. Use unscented baby oil to avoid a strong fragrance. Never use baby oil on unsealed or worn linoleum—it can seep into cracks and attract dirt.
For regular maintenance, use this method every 2-4 weeks, and stick to plain water or mild soap in between.
Safety Note
Baby oil makes floors slippery, especially when wet. Warn household members and pets to stay off the floor until it's bone dry. If you have an elderly person or someone unsteady on their feet, skip this method or use a very diluted solution (1 teaspoon per gallon).
15. Enzyme Cleaner for Pet Urine on Sealed Floors
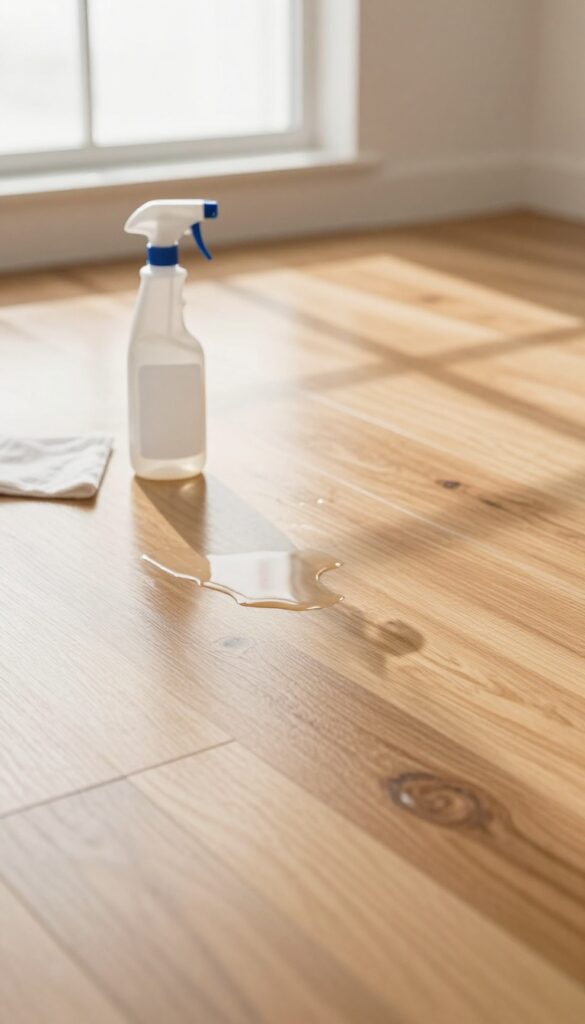
Pet accidents happen, and if you've got sealed hardwood, tile, or vinyl, an enzyme cleaner is your best friend. Unlike regular cleaners that just mask the smell, enzymes actually break down the proteins in urine, eliminating the odor at the source. This is especially important for floors because if the smell lingers, your pet might keep coming back to the same spot.
Enzyme cleaners are easy to use and safe for sealed surfaces. Just make sure your floor is sealed—unsealed wood or porous stone can absorb too much liquid. Always test in an inconspicuous area first.
How Enzyme Cleaners Work
Enzyme cleaners contain beneficial bacteria or enzymes that digest organic waste like urine, feces, and vomit. They break down uric acid crystals and proteins into harmless byproducts—water and carbon dioxide. This process neutralizes the stain and smell completely, rather than just covering it up.
Step-by-step Application
Blot up as much fresh urine as possible with paper towels. Then apply the enzyme cleaner generously to saturate the stain. Let it sit for 10–15 minutes (follow the product instructions).
Blot again to remove excess liquid. For dried stains, saturate thoroughly and let it dwell longer—sometimes up to 30 minutes. Do not rinse; let it air dry naturally.
Best Practices For Sealed Floors
Always check that your floor's sealant is intact. If the seal is worn, the liquid can seep into the wood or grout, causing damage. For sealed hardwood, avoid over-wetting—use a spray bottle to apply the cleaner lightly.
On tile or vinyl, you can use a bit more liquid. After treatment, wipe away any residue with a damp cloth if needed.
Recommended Products & Diy Options
Commercial options like Nature's Miracle or Rocco & Roxie are reliable. If you prefer DIY, mix 1 part hydrogen peroxide (3%) with 2 parts water and a squirt of dish soap. But note: DIY versions are less potent than commercial enzyme cleaners.
For stubborn old stains, stick with a store-bought enzymatic formula.
FAQ
Can I use vinegar on all floor types?
No. Vinegar is too acidic for unsealed hardwood, natural stone, and some laminates. It can dull finishes and etch stone.
Always check manufacturer guidelines.
How often should I mop my floors?
High-traffic areas may need weekly mopping. Low-traffic areas can go two to three weeks. Spot clean spills immediately to prevent stains.
What's the best way to dry floors after mopping?
Use a dry microfiber mop or a clean towel to buff floors dry. This prevents water spots and streaks, especially on tile and hardwood.
Can I mix different cleaning solutions together?
Avoid mixing bleach with ammonia or vinegar, as it creates toxic fumes. Stick to one solution per mop session and rinse between different cleaners.
How do I remove sticky residue from floors?
Apply a small amount of rubbing alcohol or goo remover to a cloth and rub gently. Test on an inconspicuous area first to avoid damaging the finish.
Conclusion
A sparkling floor doesn't require a cabinet full of specialty products—just smart choices and a little consistency. Whether you reach for vinegar, a steam mop, or a microfiber cloth, each of these 15 ideas can be tailored to your surface and schedule. Start with the one that solves your biggest pain point, then build from there.
Your floors will reward you with a clean, healthy shine that makes the whole room feel fresh. Pick a tip, give it a try, and enjoy the results.