15 Cleaning Upholstery Tips for Fresh and Spotless Fabric
Your sofa endures a lot—spilled coffee, pet hair, dust, and the occasional mystery stain. Over time, fabric upholstery can start to look tired and dingy, no matter how careful you are. But you don't need expensive professional cleaning to bring it back to life.
With a few simple techniques and everyday household items, you can tackle dirt, odors, and stains yourself. These 15 tips will help you maintain fresh, spotless upholstery without the hassle.
Whether you're dealing with a fresh spill or deep-seated grime, there's a solution here that works. Let's dive in and give your furniture the care it deserves.
1. Vacuum Thoroughly and Often
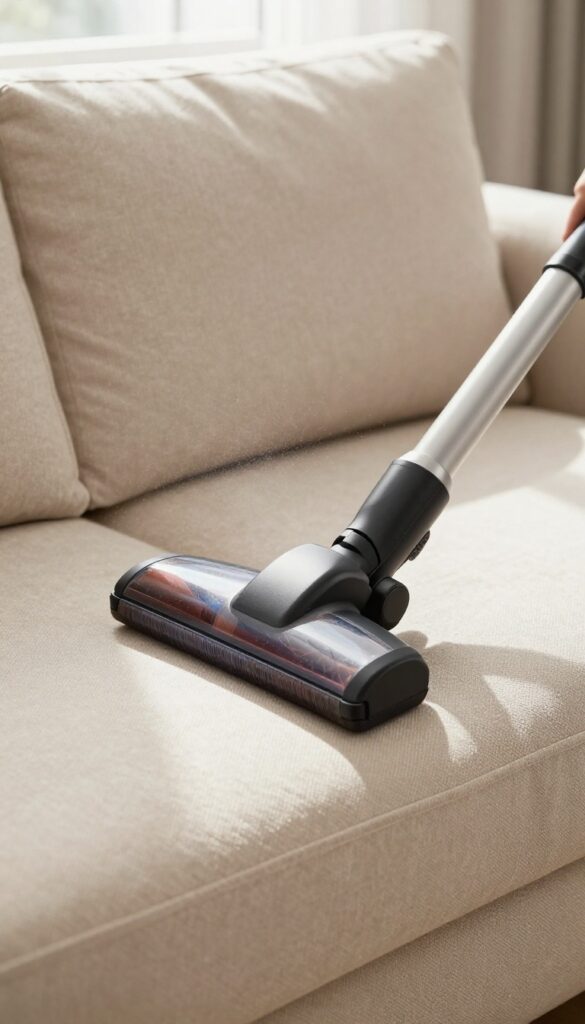
You might be surprised how much dirt, dust, and debris settles into your upholstery every day. Regular vacuuming is the single most effective way to prevent grime from embedding deep into the fabric fibers. It’s quick, easy, and makes a huge difference in keeping your furniture looking fresh.
Grab your vacuum cleaner with an upholstery attachment—the wide, flat brush head is perfect for this job. Go over every surface methodically: the seat cushions, backrests, arms, and even the sides of the furniture. Don't forget to lift the cushions and vacuum underneath, where crumbs and dust bunnies like to hide.
Run the nozzle along crevices and seams where dirt tends to accumulate. For best results, vacuum once a week, or more often if you have pets or kids. This simple habit alone can extend the time between deep cleans significantly.
Why Vacuuming Matters
Dust and dirt act like sandpaper on fabric fibers. When you sit down, you grind those particles deeper into the weave, causing premature wear and a dull appearance. Regular vacuuming lifts away these abrasive particles before they can do damage.
It also removes allergens like pet dander and pollen, making your home healthier.
The Right Tools For The Job
A standard vacuum hose with a crevice tool is handy for tight spots, but an upholstery brush is gentler on fabric and more effective at lifting debris. If your vacuum has adjustable suction, use a lower setting on delicate fabrics like velvet or linen to avoid pulling threads. For stubborn pet hair, try a rubber brush or a dampened microfiber cloth wrapped around the nozzle to attract hair.
How Often Should You Vacuum?
For most households, a weekly vacuuming is sufficient. If you have shedding pets or kids who eat on the couch, bump it up to twice a week. High-traffic areas like the seat cushions may need more frequent attention.
A quick once-over with the upholstery tool takes just a few minutes and pays off in the long run.
2. Check the Care Tag First
Before you grab any cleaner or scrub brush, flip over your cushion or look under the frame for the care tag. Those tiny symbols aren't just decoration—they tell you exactly what's safe for your fabric. Ignoring them is the fastest way to ruin upholstery that was otherwise in good shape.
Decoding The Codes
The tag will have one of four letters: W means you can use water-based cleaners. S means only solvent-based cleaners (dry cleaning products) are safe. WS means either water or solvent works.
And X means vacuum only—no liquid or solvent at all. Stick to the code, and you'll avoid shrinking, fading, or damaging the fabric.
What Happens If You Ignore It
Using water on an S-coded fabric can cause the backing to warp or the color to bleed. Solvent on a W-coded fabric might leave a sticky residue or dissolve the fibers. And anything on an X-coded fabric can cause permanent stains or structural damage.
It's not worth the risk.
Tags That Are Missing Or Faded
If the tag is gone or unreadable, test your cleaning method on a hidden spot first—like the back of a cushion or under the skirt. Apply a small amount and blot with a white cloth. If any color transfers or the texture changes, stop and call a professional.
3. Blot Spills Immediately
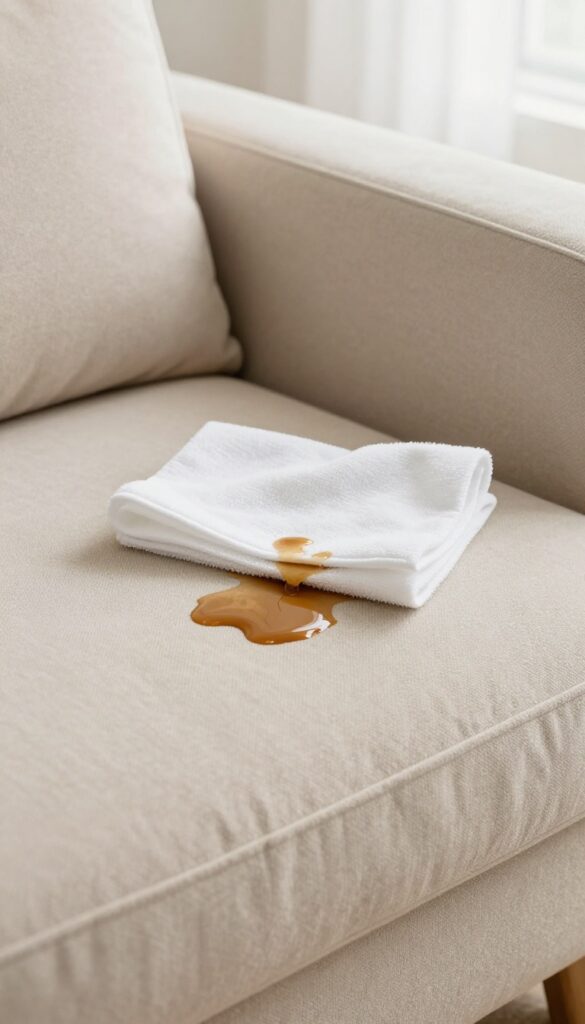
Spills are inevitable, but how you react in those first few seconds makes all the difference. The natural instinct is to rub the stain with a napkin or cloth, but that actually works against you. Rubbing pushes the liquid deeper into the fibers and can spread the stain to a larger area, making it much harder to remove.
Blotting is the only way to go. Use a clean, white cloth or paper towel and press firmly on the spill to absorb as much liquid as possible. Work from the outside of the stain inward to prevent spreading.
Repeat with fresh sections of the cloth until no more liquid transfers. This simple step can prevent a permanent stain and save you a lot of scrubbing later.
Why Rubbing Makes It Worse
When you rub a spill, you're essentially grinding the liquid into the fabric fibers. The friction pushes the stain deeper into the cushion or backing, where it's nearly impossible to reach. Plus, rubbing can damage the fabric's texture, leaving it fuzzy or worn.
Blotting, on the other hand, lifts the liquid out without forcing it in.
What To Use For Blotting
Always choose a white cloth—colored ones can bleed dye onto your upholstery. Microfiber cloths work great because they're super absorbent and lint-free. Paper towels are fine too, but avoid printed or patterned ones.
If you're using a rag, make sure it's clean and free of detergent residue.
Blotting Technique For Different Liquids
For watery spills like coffee or soda, blot immediately and then follow up with a damp cloth to dilute any remaining sugar. For oily spills, blot first, then sprinkle cornstarch or baking soda on the spot to absorb the grease. Let it sit for 15 minutes before vacuuming it up.
4. Use Baking Soda for Odors
Baking soda is a powerhouse when it comes to neutralizing smells trapped in upholstery. Unlike sprays that just mask odors, it absorbs them at the source. This simple trick works wonders on musty couches, pet beds, or any fabric that's seen better days.
How It Works
Baking soda is alkaline, which helps it react with and neutralize acidic odor molecules. When you sprinkle it on fabric, it pulls in smells and moisture, locking them away until you vacuum. It's safe for most fabrics and leaves no residue.
Step-by-step
Start by removing any loose debris or cushions. Sprinkle a generous, even layer of baking soda over the entire surface. For stubborn odors, work it into the fibers with a soft brush.
Let it sit for at least 15-20 minutes—longer for strong smells. Then vacuum thoroughly using an upholstery attachment.
When To Use It
This method is perfect for routine deodorizing every few months, or after a pet has been lounging. It also helps freshen up fabric after a spill has been cleaned. Just make sure the area is dry before applying, or the baking soda can clump.
5. Test Cleaners in a Hidden Spot
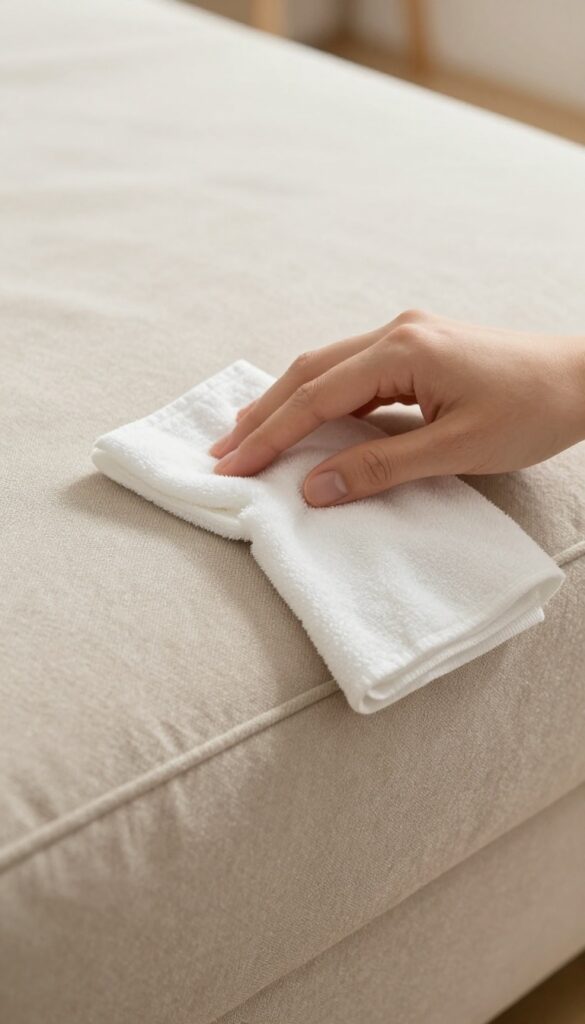
You’ve found the perfect stain remover or DIY solution, but before you go all in, slow down. Not every cleaner plays nice with every fabric. Some can bleach or discolor your upholstery, leaving you with a bigger problem than the original stain.
That’s why testing in a hidden spot is a non-negotiable step—it saves you from regret and keeps your furniture looking its best.
Why Testing Matters
Upholstery fabrics react differently to cleaners. What works on a cotton sofa might ruin a microfiber or velvet piece. Even water can cause watermarks on certain materials.
A quick test helps you spot any adverse reactions—like fading, bleeding, or texture changes—before they become permanent.
Where To Test
Look for a spot that’s out of sight: under a cushion, behind a leg, or along the bottom edge. If your cushions are reversible, test on the underside. The goal is to find an area that mimics the main fabric but won’t be visible if something goes wrong.
How To Test Properly
Dampen a clean white cloth with your cleaning solution. Blot it onto the hidden area and let it sit for a few minutes. Then check for any color transfer, discoloration, or residue.
Also feel the fabric—if it stiffens or changes texture, that cleaner isn’t safe. Wait for the area to dry fully, as some reactions only show up then.
What To Do If It Fails
If the test reveals damage, don’t use that cleaner. Try a milder option—like plain water or a diluted vinegar solution—and test again. For delicate fabrics like silk or antique upholstery, consider a professional cleaner instead.
Better safe than sorry.
6. Make a DIY All-Purpose Cleaner
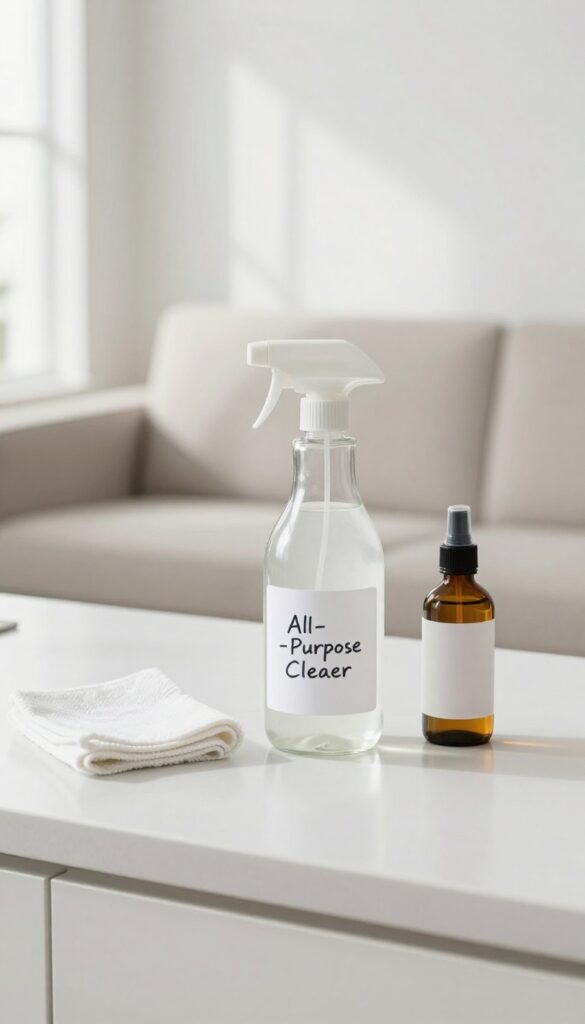
Store-bought upholstery cleaners can be pricey and loaded with chemicals you don't really need. A simple homemade solution works just as well on most stains and everyday grime, and you probably have the ingredients in your pantry already. This gentle mix is safe for most fabrics and leaves no sticky residue behind.
Mix 1/4 cup white vinegar, 1/4 cup rubbing alcohol, and 1 cup water in a spray bottle. Lightly mist the stained area and blot with a clean cloth. The vinegar cuts grease and odors, while the alcohol helps the solution dry quickly.
Always test on a hidden spot first to make sure the fabric doesn't react poorly.
Why This Combo Works
White vinegar is a natural degreaser and deodorizer, breaking down dirt without harsh chemicals. Rubbing alcohol evaporates fast, preventing the fabric from staying wet too long—which can lead to mildew or water rings. Together, they create a balanced cleaner that's tough on stains but gentle on fibers.
How To Apply It Right
Spray the cleaner lightly onto the stain—don't soak the fabric. Let it sit for 30 seconds to loosen the dirt, then blot with a microfiber cloth. Repeat if needed, but avoid rubbing, which can push the stain deeper.
For dried-on spots, gently scrape first, then treat.
When To Avoid This Mix
This cleaner is not ideal for delicate fabrics like silk, velvet, or acetate. The alcohol can damage some dyes or finishes. Stick to water-only cleaning for those materials, or check the manufacturer's recommendations.
Also, skip this on waterproof or stain-resistant coatings, as vinegar can break them down over time.
7. Steam Clean for Deep Dirt
Sometimes a surface wipe or spray just isn't enough. When dirt has settled deep into the fibers, steam cleaning can be a game-changer. It uses high-temperature vapor to loosen grime, kill bacteria, and refresh fabric without harsh chemicals.
A handheld steam cleaner or upholstery steamer can lift embedded dirt and sanitize fabric. Follow the manufacturer's instructions and let the fabric dry completely.
Choose The Right Steamer
Not all steam cleaners are safe for upholstery. Look for one with an upholstery attachment and adjustable steam settings. Test on an inconspicuous area first to ensure the fabric can handle the heat and moisture.
Prep The Fabric
Vacuum the upholstery thoroughly before steaming to remove loose dirt and debris. This prevents the steam from pushing dirt deeper into the fibers. Spot-treat any stains with a gentle cleaner beforehand.
Steam In Sections
Work in small sections, holding the steamer a few inches away. Move slowly and evenly to avoid soaking the fabric. Over-wetting can lead to mold or mildew, so use a light touch.
Let It Dry Completely
After steaming, open windows or turn on fans to speed up drying. Avoid sitting on the furniture until it's fully dry—usually 4 to 6 hours. This prevents wrinkles and keeps the fabric looking fresh.
8. Treat Pet Stains with Enzyme Cleaner
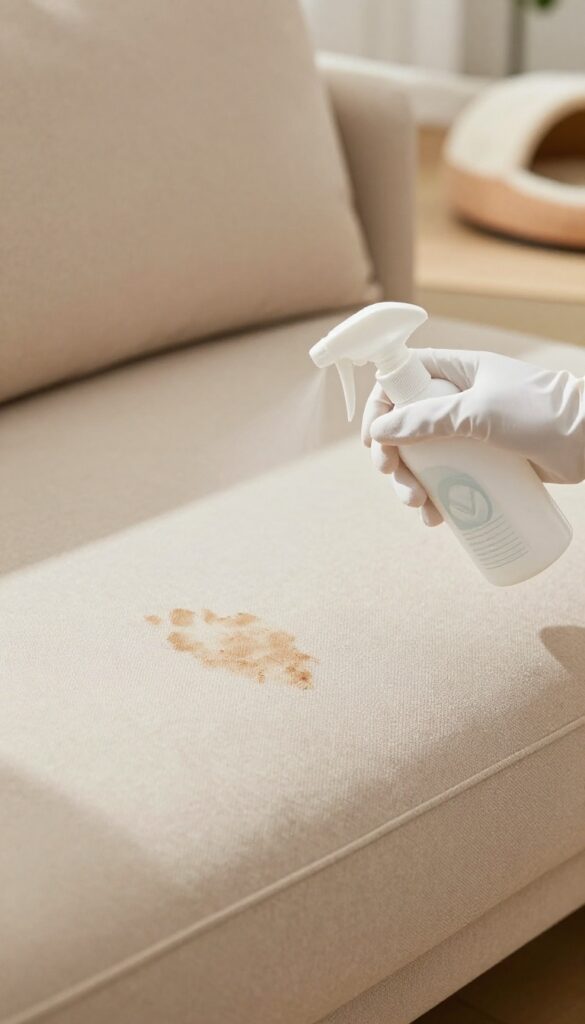
Pet accidents happen, and regular cleaners often just mask the problem. Enzyme-based cleaners work differently—they break down the proteins in urine, saliva, and vomit, eliminating both the stain and the odor at the source. This makes them a must-have for any pet owner.
For fresh stains, blot up as much moisture as possible first. Apply the enzyme cleaner generously, making sure it saturates the affected area. Let it sit for the time recommended on the label—usually 10 to 15 minutes—so the enzymes can do their job.
Then blot again with a clean cloth. For older or set-in stains, you may need to repeat the process. Always test on an inconspicuous area first, and avoid using heat or steam, which can set the stain permanently.
Why Enzymes Work Best
Enzymes are biological catalysts that target specific compounds. In pet stains, they digest the uric acid and other proteins that cause odor and discoloration. Unlike bleach or vinegar, they don't just cover up the smell—they remove it completely.
Application Tips For Success
Blot, don't rub. Rubbing pushes the stain deeper into the fibers. Always apply enough cleaner to fully saturate the stain, and allow adequate dwell time.
For deep-set odors, consider using a spray bottle to reapply and let it air dry. Repeat if needed.
9. Use a Lint Roller for Pet Hair
Pet hair has a way of embedding itself deep into upholstery fibers, making it tough to remove with just a vacuum. A simple lint roller is surprisingly effective for grabbing surface hair quickly. For those stubborn clumps that won't budge, a few alternative tools can save the day.
Why A Lint Roller Works Best
Lint rollers use adhesive sheets that lift hair right off fabric without damaging it. They're perfect for quick touch-ups between deep cleans. Keep one in your living room drawer for daily maintenance.
Rubber Glove Trick
Dampen a rubber glove slightly and run your hand over the upholstery. The static electricity and rubber texture pull hair into clumps you can easily pick up. It's cheap, reusable, and works like magic.
Squeegee For Stubborn Hair
A window squeegee isn't just for glass. Drag it across your sofa in short strokes—the rubber edge collects hair in neat rows. This method is especially effective on tightly woven fabrics.
Damp Sponge Method
Lightly wet a clean sponge and wipe it over the fabric. The moisture helps gather hair into balls that you can vacuum or brush off. Works well on microfiber and cotton blends.
10. Remove Grease Stains with Dish Soap
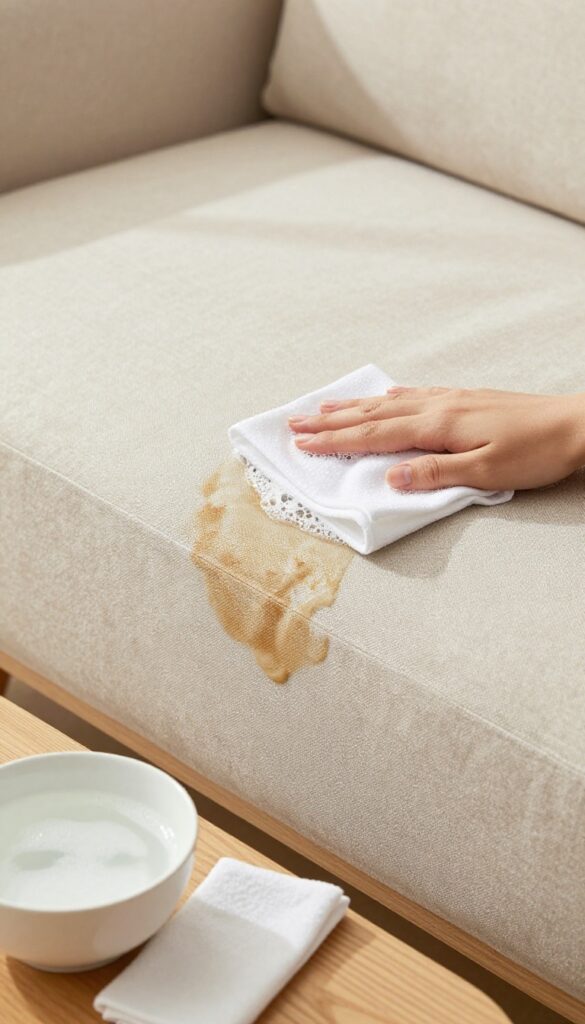
Grease stains from food, lotions, or even body oils can be stubborn on upholstery. Water alone won't cut it, but dish soap is designed to break down grease. Here's a simple method that works on most fabric types.
Why Dish Soap Works
Dish soap contains surfactants that lift grease from fabric fibers. Unlike all-purpose cleaners, it's gentle enough for upholstery and rinses out easily. Always choose a mild, dye-free formula to avoid discoloration.
Step-by-step Application
Mix a few drops of dish soap with warm water until sudsy. Dip a clean white cloth into the solution—never pour directly on the stain. Blot the grease stain gently from the outside in, working the soap into the fabric.
Avoid rubbing, which can spread the grease.
Rinsing And Drying
After blotting, dampen a separate cloth with plain water and blot the area to remove soap residue. Repeat until no suds remain. Let the fabric air dry completely, then vacuum to restore texture.
11. Freshen with Fabric Spray
Sometimes your upholstery just needs a quick refresh between deep cleans. A homemade fabric spray can neutralize odors and leave a light, pleasant scent without soaking the fabric. It's a simple way to keep your furniture smelling clean and feeling fresh.
Making your own fabric spray is easy and cost-effective. Combine 1 cup of water, 2 tablespoons of baking soda, and a few drops of your favorite essential oil in a spray bottle. Shake well until the baking soda dissolves.
Lightly mist the upholstery from about 12 inches away, being careful not to saturate the fabric. Let it air dry completely before using the furniture. This spray helps neutralize odors and leaves a subtle, natural fragrance.
Choosing The Right Essential Oil
Pick an essential oil that complements your home's vibe. Lavender is calming, lemon is fresh and clean, and tea tree has antibacterial properties. Avoid oils with strong synthetic scents, as they can be overwhelming.
A few drops go a long way.
Testing On An Inconspicuous Area
Before spraying the whole piece, test the mixture on a hidden spot like the back or underside of the cushion. Wait for it to dry and check for any discoloration or residue. This step ensures your fabric won't react badly to the spray.
When To Use Fabric Spray
Use this spray between deep cleanings, after a quick vacuum, or when you notice a musty smell. It's great for refreshing fabric after guests leave or when you want a quick pick-me-up. Avoid using it on heavily soiled areas—those need a deeper clean first.
12. Dry Upholstery Quickly After Cleaning
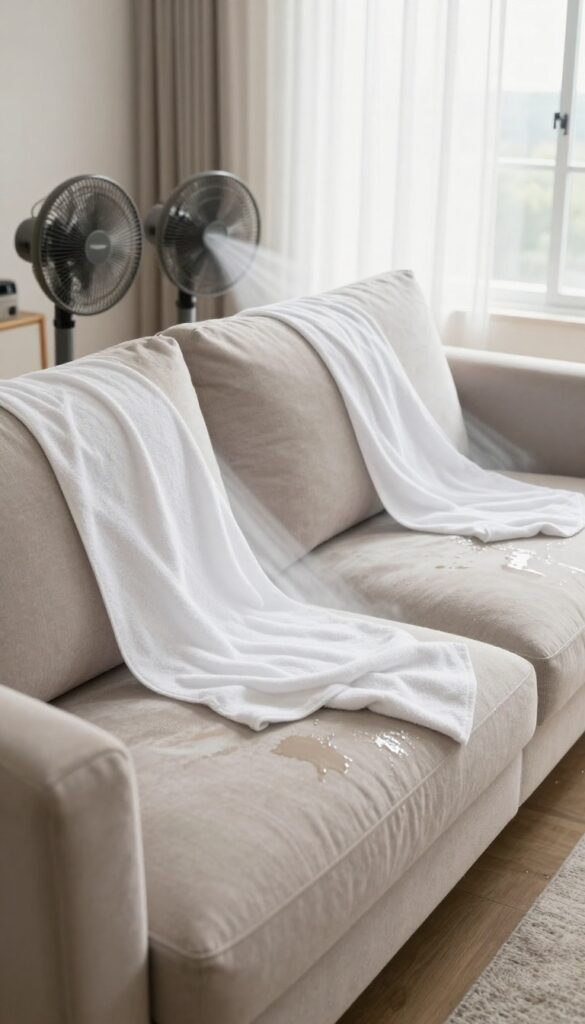
You've scrubbed, rinsed, and blotted—now what? Leaving your upholstery damp for too long can undo all that hard work. Moisture trapped in the fabric and padding creates the perfect breeding ground for mold, mildew, and musty odors.
Drying your furniture quickly is just as important as the cleaning itself.
Speed up the drying process by opening windows to increase airflow, pointing fans directly at the wet areas, or running a dehumidifier in the room. If the weather cooperates, move smaller pieces outdoors into the sun and breeze. For stubborn moisture, try using a hair dryer on a cool setting, holding it a few inches from the fabric.
Why Moisture Is The Enemy
Even a small amount of leftover moisture can seep into the cushion foam or batting, where it hides from sight. Over time, that hidden dampness leads to mold growth, unpleasant smells, and even fabric deterioration. Quick drying prevents these issues and keeps your upholstery fresh longer.
Tools To Speed Things Up
A high-velocity fan placed a few feet from the furniture works wonders. If you have a wet-dry vacuum, use it to extract as much water as possible right after cleaning. For extra insurance, place a clean, dry towel over the damp area and press down firmly to absorb residual moisture.
Signs Your Upholstery Is Fully Dry
Touch the fabric—if it feels cool or damp, it's not ready. Press a dry paper towel against the surface; if it comes away wet, keep drying. Also check the cushion seams and underside, where moisture often lingers.
Only when the fabric feels room-temperature and dry to the touch should you consider it done.
13. Use a Soft Brush to Restore Texture
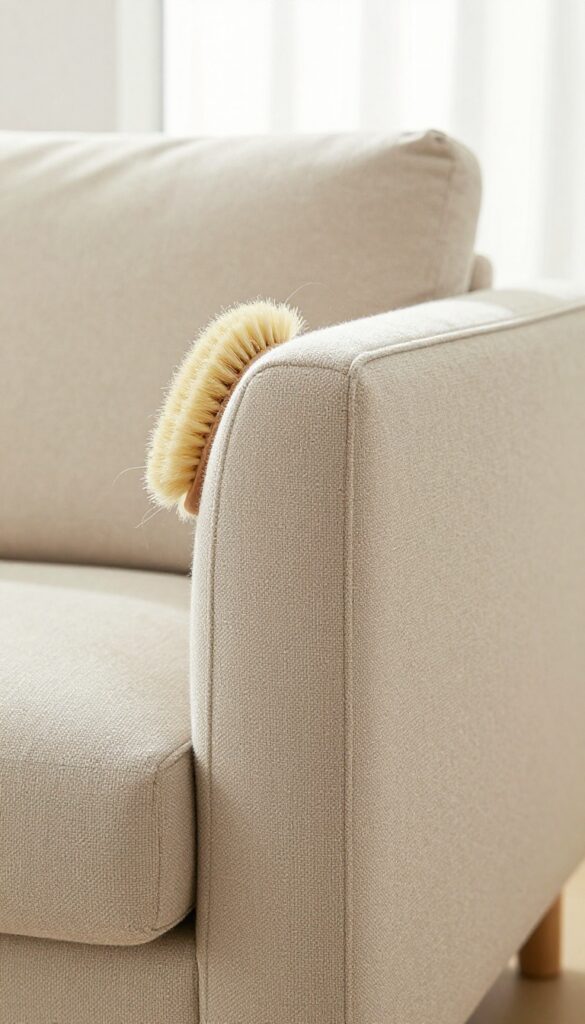
After vacuuming and spot cleaning, your upholstery might still look a bit flat or matted. That's where a soft brush comes in. Gently brushing the fabric lifts the fibers, reviving that plush, inviting feel.
It's a simple step that makes a surprising difference in how fresh your furniture looks.
Brushing isn't just for carpets—upholstery benefits too. Use a soft-bristled brush (like a clean clothes brush or a dedicated upholstery brush) and work in one direction, following the natural grain of the fabric. This helps redistribute fibers that have been crushed by sitting or cleaning.
For velvet or microfiber, a gentle circular motion can restore the nap without damaging the pile. Always test on an inconspicuous spot first to ensure the brush doesn't snag or fade the fabric.
Why Brushing Matters
Over time, pressure from sitting and cleaning can flatten upholstery fibers, making the fabric look worn. Brushing lifts those fibers, restoring volume and softness. It also helps remove any remaining dust or debris trapped deep in the weave, leaving the fabric cleaner and more comfortable.
Choosing The Right Brush
Not all brushes are safe for upholstery. Stick with natural bristle brushes for delicate fabrics like linen or silk, and synthetic soft bristles for sturdier materials like cotton or polyester. Avoid wire brushes or anything too stiff—they can scratch or pull threads.
A horsehair brush is a great all-around option.
Technique Tips
Always brush dry fabric—wet brushing can stretch or damage fibers. Work in small sections, using short, gentle strokes. For stubborn matting, lightly mist the area with water before brushing to help fibers relax.
Finish by vacuuming again to collect any loosened dirt.
14. Protect with Fabric Guard Spray
Even the best cleaning routine can't prevent every spill. That's where a fabric guard spray comes in—it adds an invisible shield that helps liquids bead up instead of soaking in. Think of it as insurance for your upholstery.
Fabric protector sprays work by coating each fiber with a thin, breathable barrier. This barrier repels water-based spills and makes it harder for stains to set. Most sprays are safe for synthetic and natural fabrics, but always test on a hidden area first.
Reapply after every deep cleaning to maintain protection, as the barrier wears off over time.
Choosing The Right Spray
Look for a spray labeled specifically for upholstery or fabric furniture. Avoid products meant for outdoor gear or carpets, as they may be too harsh. Water-based protectors are generally safer and less likely to discolor fabric.
Check the label for compatibility with your upholstery type—some sprays work best on microfiber, while others are formulated for cotton or linen blends.
How To Apply Evenly
Start with clean, dry upholstery. Hold the can about 6 to 8 inches away and spray in a steady, sweeping motion. Cover the entire surface lightly—don't soak it.
Overlapping strokes help avoid streaks. Let the fabric dry completely before using the furniture. Good ventilation speeds up drying and reduces any lingering fumes.
When To Reapply
Protection fades with regular use and after each deep cleaning. A good rule is to reapply every 6 to 12 months, or sooner if you notice liquids starting to absorb again. If you have kids or pets, consider a more frequent schedule.
Always reapply after steam cleaning or using a shampoo machine, as these methods can strip the protective layer.
15. Rotate Cushions Regularly
You might not think about it often, but the way you sit on your sofa day after day can leave permanent marks. Cushions that never get moved end up with uneven wear, sagging spots, and a lopsided look. Rotating them is one of the easiest ways to keep your upholstery fresh and extend its life.
Flip and rotate cushions every few months to ensure even wear and prevent sagging. This also helps maintain a uniform appearance.
Why Rotation Matters
Every time you sit in your favorite spot, the foam and fabric compress a little more. Over time, that area gets thinner and less supportive. By rotating cushions, you spread the pressure across all surfaces, so no single spot gets overworked.
This keeps the cushion shape consistent and prevents that sunken-in feeling.
How Often To Rotate
A good rule of thumb is to rotate cushions every three to six months. If you have a high-traffic sofa or one that gets daily use, lean toward the three-month mark. For less-used furniture, twice a year is fine.
Set a reminder on your phone or tie it to a seasonal task like switching out throw pillows.
The Right Way To Rotate
Start by removing all cushions. Flip them over so the bottom becomes the top, then swap their positions—move left cushions to the right and vice versa. If your cushions are reversible, also flip them front to back.
This ensures even wear on both the fabric and the filling. For seat cushions with zippers, check that the zipper is fully closed before flipping to avoid snagging.
FAQ
How often should I clean my upholstery?
Vacuum upholstery weekly and do a deep clean every 6-12 months, or more often if you have pets or allergies.
Can I use bleach on upholstery?
No, bleach can damage fabric fibers and cause discoloration. Stick to mild cleaners recommended for your fabric type.
What does the cleaning code 'W' mean?
'W' means you can use water-based cleaners. 'S' means solvent-based cleaners only. 'WS' allows both, and 'X' means professional cleaning only.
How do I remove old, set-in stains?
For set-in stains, try a paste of baking soda and water, let it dry, then vacuum. For stubborn stains, consider a steam cleaner or professional service.
Is it safe to use vinegar on all upholstery?
Vinegar is generally safe for most fabrics, but always test in a hidden spot first. Avoid using it on silk or delicate materials.
Conclusion
Your upholstery doesn't need to be a constant source of worry. By weaving a few of these tips into your regular cleaning routine, you'll keep your fabric looking fresh and spotless without the hassle. Start with the tip that addresses your biggest concern, whether it's a stubborn stain or general dullness, and build from there.
A little consistency goes a long way toward preserving that just-cleaned look. Pick two or three methods to try this week, and you'll notice the difference every time you sit down.