How to Clean Bathroom Spaces in 15 Simple Home Steps
A clean bathroom doesn't just look good—it feels good. But let's be honest, scrubbing every surface can feel overwhelming. The secret is breaking it down into small, manageable tasks that deliver big results.
You don't need a cabinet full of specialty cleaners. Most of what you need is already in your pantry. With a little strategy and the right order, you can cut your cleaning time in half.
These 15 steps are designed to give you the biggest payoff with the least effort. Each one targets a common trouble spot, so you can see the difference immediately. Let's get started.
1. Clear the Clutter First
Before you touch a sponge or spray anything, take everything off the counters, shelves, and shower. Toothbrushes, soap dispensers, shampoo bottles—all of it. A bare surface means you can actually reach every corner without playing Tetris around your toiletries.
Plus, you'll spot grime you normally miss.
Why Decluttering Matters
Clutter hides dirt. When bottles and jars crowd the counter, you end up cleaning around them, leaving sticky residue and dust behind. Removing everything also gives you a chance to wipe down each item before putting it back, so your bathroom stays fresh longer.
What To Do With The Stuff
Grab a laundry basket or a large tote and toss in all the loose items. For small things like makeup brushes or razors, use a cup or a jar. Keep the basket in the hallway or another room while you clean.
This keeps the bathroom clutter-free and prevents you from knocking things over.
A Quick Sort Opportunity
While you're clearing, take a second to toss expired products, empty bottles, or half-used samples you'll never touch. Less stuff means less to clean next time. It's a small habit that makes your weekly scrub-down faster and more effective.
2. Spray and Soak the Toilet Bowl
The toilet bowl is often the most dreaded part of bathroom cleaning, but a little patience makes it effortless. By applying a cleaner and letting it soak, you let the chemicals or natural ingredients break down stains and grime without any scrubbing on your part. This step is all about working smarter, not harder.
Start by flushing the toilet to wet the bowl, then apply your chosen cleaner around the rim and down into the water. A commercial toilet bowl cleaner works great, but a paste of baking soda and vinegar is just as effective and non-toxic. Let it sit for at least 10 minutes—longer if the bowl is heavily stained.
While it soaks, move on to other tasks like wiping down the sink or mirror. When you come back, a quick scrub with a toilet brush and a flush will leave the bowl sparkling clean.
Choosing Your Cleaner
You have options: a thick gel toilet bowl cleaner clings to the porcelain and works well on tough rings. For a natural approach, mix baking soda with a little water to form a paste, then add vinegar to create a fizzing action that lifts dirt. Avoid mixing bleach with vinegar or ammonia, as that creates toxic fumes.
Why Soaking Matters
Soaking allows the active ingredients to penetrate and dissolve mineral deposits, urine scale, and bacteria. Without soaking, you'd need to scrub much harder and longer. This is a set-it-and-forget-it step that saves elbow grease.
Don't Forget The Rim
Lift the toilet seat and apply cleaner under the rim where grime hides. Use a small brush or an old toothbrush to reach the tiny holes. Let the cleaner drip down inside the bowl for full coverage.
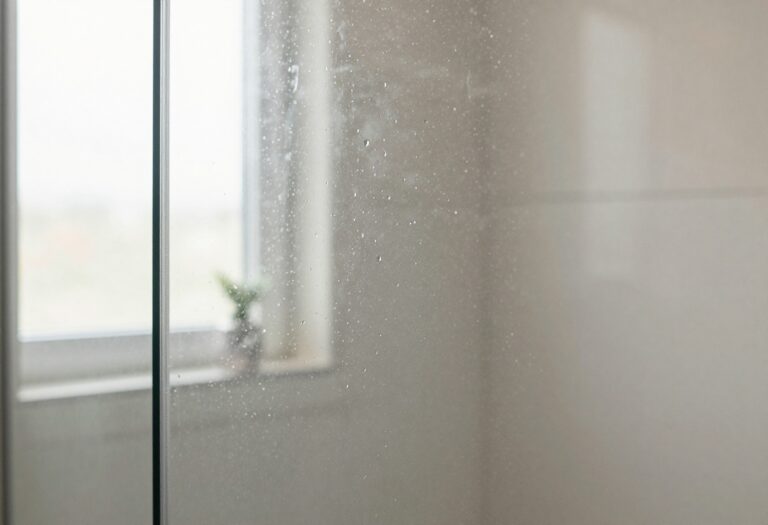
3. Tackle Shower Glass Doors
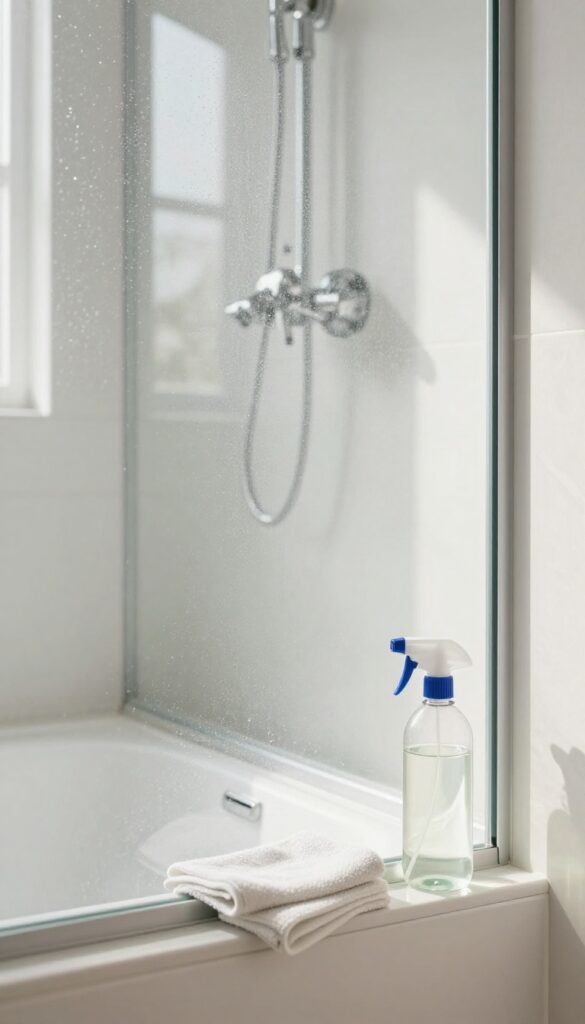
Glass shower doors look sleek when they're clean, but soap scum and hard water stains can build up fast. The good news is you don't need harsh chemicals to make them sparkle again. A simple spray and wipe routine works wonders and takes just a few minutes.
Choose Your Cleaner
You have two solid options: a DIY vinegar-water solution (equal parts white vinegar and water) or a dedicated glass cleaner. Vinegar cuts through soap scum naturally, but avoid it if you have natural stone nearby. For stubborn spots, a few drops of dish soap in warm water also works.
Spray And Let It Sit
Generously spray the entire glass surface. Let the solution sit for two to three minutes to break down the grime. Don't let it dry on the glass—that can leave streaks.
Work in sections if your door is large.
Wipe With Microfiber
Use a clean, dry microfiber cloth to wipe the glass in circular motions, then finish with vertical or horizontal strokes to avoid streaks. Flip the cloth often to keep a clean side against the glass. For extra shine, buff with a second dry cloth.
Don't Forget The Track
The bottom track collects gunk and mildew. Spray it with the same solution, scrub with an old toothbrush, and rinse with warm water. Dry it with a cloth to prevent new buildup.
This step makes the whole door look cleaner.
4. Scrub Tile and Grout
Grout lines are notorious for trapping dirt, soap scum, and mildew, making them look dingy even after a general wipe-down. But you don't need harsh chemicals to bring them back to life. A simple baking soda paste and a bit of elbow grease can make a world of difference.
Start by mixing baking soda with a little water to form a thick paste. Apply it to the grout lines using an old toothbrush or a dedicated grout brush. Scrub in small circular motions, focusing on the darkest areas.
Let the paste sit for a few minutes to break down grime, then rinse thoroughly with water. For stubborn stains, add a splash of white vinegar to the paste—but test it on an inconspicuous spot first, as vinegar can etch certain tiles.
Why Grout Gets So Grimy
Grout is porous, so it absorbs moisture, soap residue, and dirt over time. That's why it darkens and can even grow mold. Regular cleaning prevents buildup, but once it's stained, a targeted scrub is the only fix.
Tools That Make The Job Easier
A grout brush with stiff bristles is ideal, but an old toothbrush works just as well for tight spots. If you have large areas, consider a grout-cleaning pen or a small handheld scrub brush. Wear rubber gloves to protect your hands.
Rinsing And Drying Matters
After scrubbing, rinse the area thoroughly with clean water. Any leftover baking soda residue can look chalky once dry. Use a damp microfiber cloth to wipe away excess, then let the grout air-dry completely.
You'll be amazed at the difference.
5. Clean the Showerhead
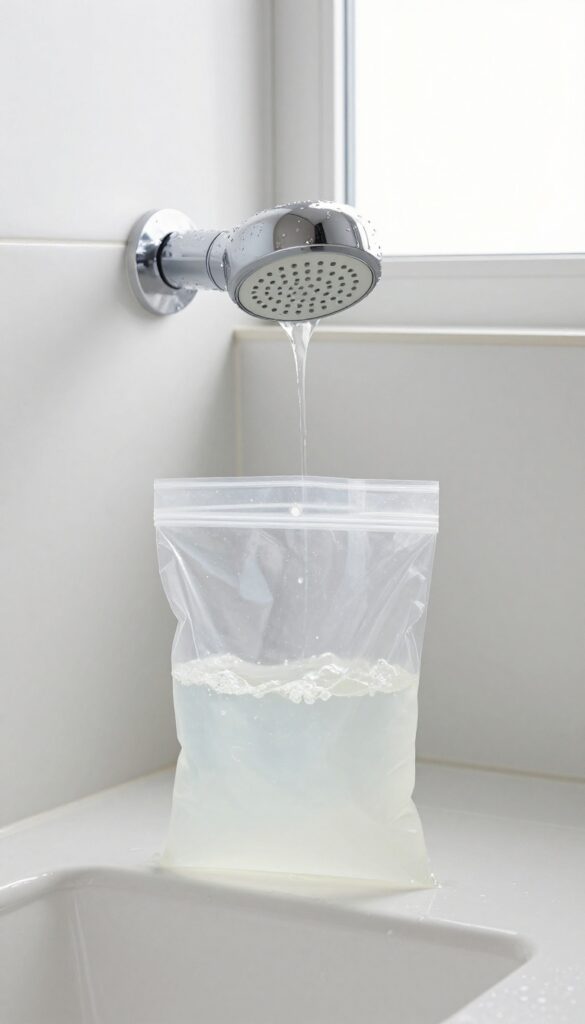
A clogged showerhead can ruin your morning with weak spray or uneven water flow. Mineral deposits from hard water build up over time, but you don't need harsh chemicals to fix it. This simple vinegar soak restores full pressure and leaves the fixture sparkling.
Why Vinegar Works Best
White vinegar is mildly acidic, which dissolves calcium and lime scale without scrubbing. It's cheap, non-toxic, and safe for most metal and plastic showerheads. Just avoid using it on brass or gold-plated fixtures—check your manufacturer's guide first.
Step-by-step Soak
Fill a sturdy plastic bag with enough white vinegar to submerge the showerhead. Loop a rubber band or zip tie around the bag's neck to secure it tightly over the head. Let it soak for 30 minutes—longer if buildup is heavy.
Remove the bag and turn on the water to flush out loosened debris.
Aftercare And Maintenance
Once flushed, wipe the showerhead with a damp cloth to remove any remaining residue. For stubborn spots, use an old toothbrush dipped in vinegar. To prevent future buildup, do this soak every three months or switch to a filtered showerhead.
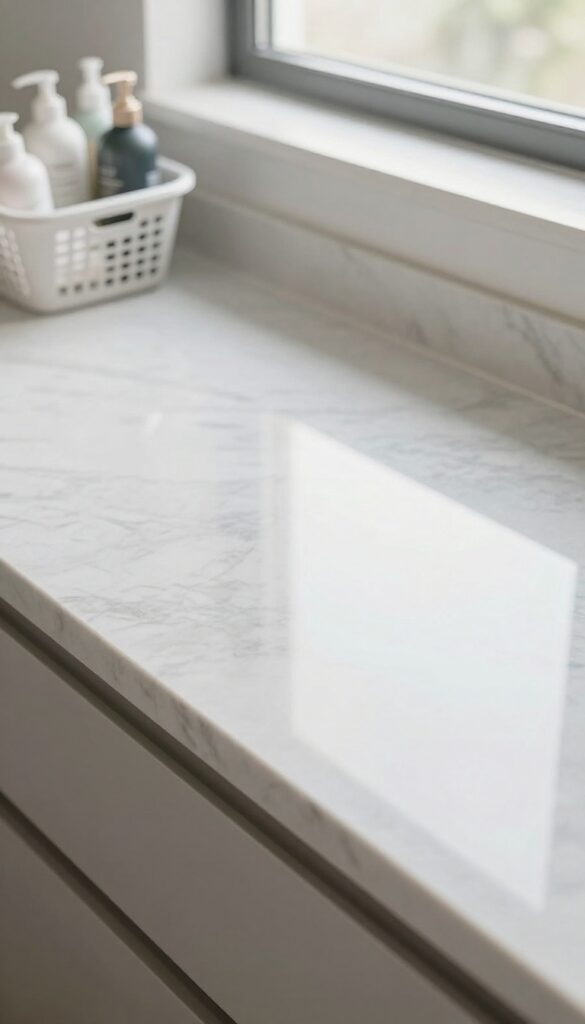
6. Wipe Down Countertops and Sinks
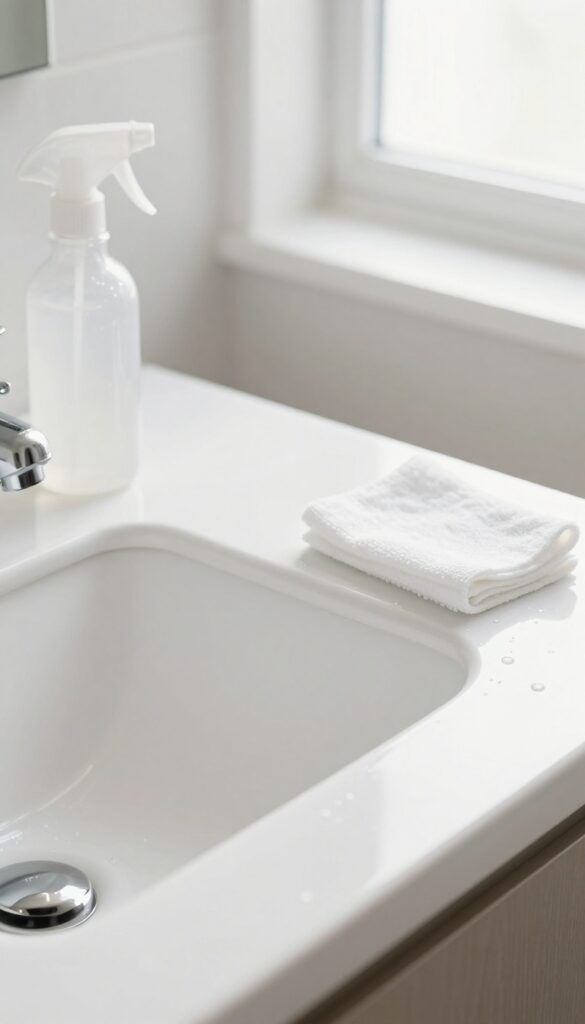
Now that the toilet and shower are handled, it's time to focus on the surfaces you touch most. Countertops and sinks collect toothpaste splatter, soap residue, and everyday grime. A quick wipe-down here makes the whole bathroom feel fresh.
Choose Your Cleaner
You don't need anything fancy. A gentle all-purpose spray works great, or mix equal parts white vinegar and water in a spray bottle. Vinegar cuts through soap scum and disinfects naturally.
Just avoid it on natural stone like marble or granite—use a pH-balanced cleaner instead.
Work From Back To Front
Start at the back of the counter near the wall and work your way forward. Spray the surface lightly, then wipe with a damp microfiber cloth. This way you're not pushing dirt into areas you've already cleaned.
Pay extra attention to the area around the faucet base—it's a magnet for grime.
Don't Forget The Faucet And Handles
Faucet bases and handles are high-touch spots that often get overlooked. Spray them directly or use your cloth to wipe them down. For a streak-free shine, dry with a clean cloth after wiping.
If you have hard water spots, a little vinegar on a cloth will dissolve them quickly.
Finish With The Sink Basin
The sink bowl collects toothpaste, soap, and hair. Spray the entire basin, let it sit for a minute, then scrub with a sponge or brush. Rinse thoroughly and wipe dry.
For stubborn stains, sprinkle baking soda before spraying—it creates a gentle abrasive paste.
7. Polish Mirrors and Chrome Fixtures
Mirrors and chrome fixtures are the first things your eyes land on when you walk into a bathroom. When they're spotless, the whole room feels cleaner and brighter. But smudges, water spots, and fingerprints can dull that effect fast.
A few simple techniques can make glass and metal surfaces gleam like new. The right approach prevents streaks and keeps that just-cleaned look longer.
Glass Cleaner Or Diy Vinegar Mix
For mirrors, a dedicated glass cleaner works great, but you can also mix equal parts white vinegar and water in a spray bottle. Spray lightly onto the mirror—never directly onto the frame if it's wooden or painted—and wipe with a lint-free microfiber cloth in a zigzag or S‑pattern to avoid streaks.
Tackle Chrome Fixtures The Right Way
Faucets, showerheads, and towel bars collect water spots and soap residue. After cleaning with a mild soap or all-purpose cleaner, rinse and dry immediately with a dry microfiber cloth. This single step prevents mineral deposits and restores that mirror-like shine.
Don't Forget The Little Details
Pay attention to the base of faucets, around handles, and any crevices where grime hides. A soft toothbrush can reach tight spots. For stubborn hard water stains on chrome, a paste of baking soda and water gently buffs them away without scratching.
8. Clean the Toilet Exterior and Seat
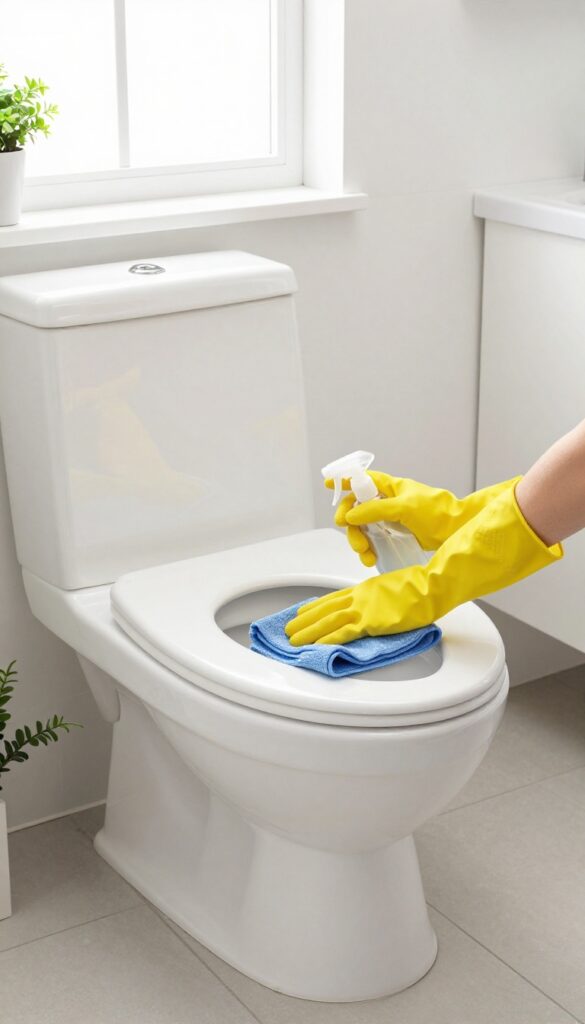
The toilet is often the last thing we want to touch, but it’s also the surface that gets the most attention from guests. A quick exterior wipe can make the whole bathroom feel fresher instantly. You don’t need to scrub for hours—just a few targeted passes with the right cleaner will do the trick.
Start by spraying a disinfectant cleaner all over the outside of the toilet—the seat, lid, tank, and base. Let it sit for a minute to break down grime. Then, using a clean microfiber cloth or disinfectant wipe, wipe everything down from top to bottom.
Don’t forget the hinges and the floor around the base. Finally, flush the toilet and use a toilet brush to scrub the inside of the bowl, focusing under the rim. Flush again, and you’re done.
Choose The Right Cleaner
A disinfectant spray or wipe is best for the exterior because it kills germs on contact. Avoid abrasive cleaners that can scratch the porcelain or plastic seat. If you prefer a natural option, a mix of white vinegar and water works well, but let it sit a little longer to disinfect.
Work From Top To Bottom
Always clean the toilet from the tank down to the base. This prevents dirty water from dripping onto already-cleaned areas. Start with the lid, then the seat (both sides), the tank, the bowl exterior, and finally the base and floor around it.
Don’t Skip The Bowl Interior
Even if the outside looks spotless, the bowl can harbor odors and stains. Squirt cleaner under the rim and let it sit for a few minutes. Scrub with a toilet brush, paying extra attention to the waterline and the jet holes.
Flush to rinse, and give the brush a quick rinse too.
9. Refresh the Shower Curtain or Door Track
Shower curtains and door tracks are magnets for soap scum, mildew, and mystery grime. A quick refresh can make your whole bathroom feel cleaner without much elbow grease. The best part?
You probably already have the supplies.
Start by removing the curtain or liner. If it's machine-washable, toss it in with a couple of towels and a half cup of baking soda. Add vinegar to the rinse cycle for extra freshness.
For plastic liners, wipe them down with a bleach spray or scrub with a paste of baking soda and water. Let it dry completely before hanging back up. For glass doors, focus on the track.
Use an old toothbrush or a small scrub brush dipped in a 50/50 vinegar-water solution. Scrub along the grooves to loosen built-up scum. Rinse with warm water and wipe dry.
If mildew is stubborn, apply a hydrogen peroxide paste and let it sit for 10 minutes before scrubbing.
Machine-wash Fabric Curtains
Fabric shower curtains can go right in the washing machine. Check the label first—most are safe on a gentle cycle with cold water. Add a cup of white vinegar to the rinse cycle to kill mildew and remove soap residue.
Hang them back up immediately to prevent wrinkles.
Scrub Plastic Liners And Curtains
If your liner is plastic or vinyl, machine washing might damage it. Instead, lay it flat and spray with a 50/50 vinegar-water solution. Scrub with a soft sponge, then rinse thoroughly.
For tough mildew spots, make a paste of baking soda and water, apply, let sit for 15 minutes, then scrub.
Deep-clean Glass Door Tracks
Door tracks are narrow and collect gunk fast. Dip an old toothbrush in vinegar and work it into the grooves. Follow up with a baking soda paste for extra scrubbing power.
Rinse with a spray bottle of water and wipe dry with a microfiber cloth. For hard-to-reach corners, use a cotton swab.
10. Organize Under the Sink
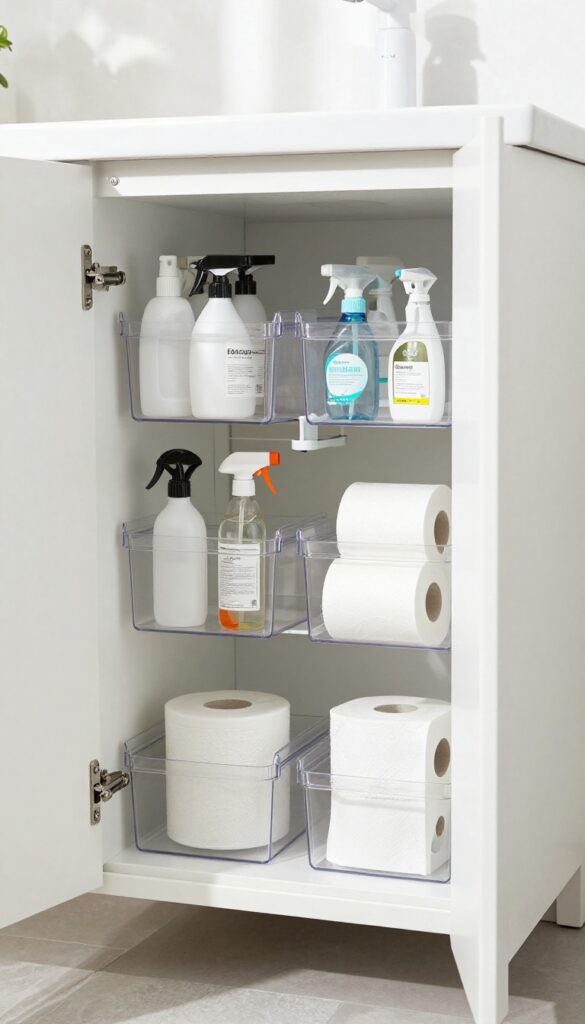
Under-sink cabinets are notorious for becoming black holes of half-empty bottles and forgotten cleaning supplies. But this small space can actually be a model of efficiency with just a little effort. The key is to start fresh—pull everything out, wipe down the cabinet, and only put back what you actually use.
Start With A Clean Slate
Remove every single item from under the sink. As you go, check expiration dates on products like medications, makeup, and old cleaning solutions. Toss anything that's expired, dried out, or that you haven't touched in a year.
Then, give the cabinet floor a thorough wipe with a disinfectant or all-purpose cleaner. This is also a good time to lay down a waterproof liner or mat to protect against future spills.
Group Like Items Together
Sort the survivors into categories: cleaning supplies, extra toilet paper, personal care products, and tools like plungers or brushes. This makes it easy to grab what you need without digging. Use small bins or trays to keep each category separate.
Clear plastic bins work great because you can see what's inside without pulling them out.
Make The Most Of Vertical Space
Stackable bins, tension rods, and over-the-door organizers can double your storage. Hang a tension rod under the sink to hold spray bottles by their triggers. Use a small lazy Susan for frequently used items like all-purpose cleaner or glass spray.
If you have a tall bottle that doesn't fit upright, store it on its side in a bin to prevent leaks.
Maintain The System
Once everything is organized, commit to a quick reset every few months. When you buy a new product, remove an old one. Keep a small trash bin nearby for immediate disposal of empty bottles.
Label bins if you share the space with others, so everyone knows where things belong.
11. Deep Clean the Exhaust Fan
The exhaust fan works hard to pull out moisture and odors, but it rarely gets any love in return. Over time, dust and grime build up on the blades and cover, making the fan less effective and noisier. A quick deep clean restores its performance and helps prevent mold growth.
Start by turning off the fan and the circuit breaker for safety. Remove the cover—most snap off or have a few screws. Vacuum the cover and the fan blades with a brush attachment to remove loose dust.
Then wash the cover in warm, soapy water, scrub away any stubborn grime, and let it air dry completely before reinstalling. While the cover is off, use a damp cloth to wipe down the blades and the interior housing. Reattach the cover and turn the power back on.
Your fan will run quieter and more efficiently.
Safety First
Always turn off the power at the breaker before touching the fan. This prevents accidental starts and electrical shock. Use a sturdy step stool if needed, and work in good light.
Vacuum Before Washing
Dry dust is easier to remove than wet gunk. Use a vacuum with a brush attachment to clean the cover and blades before any water touches them. This keeps dust from turning into mud.
Wash And Dry Thoroughly
Soak the cover in warm water with a few drops of dish soap. Scrub with a soft brush to remove grease and dust. Rinse and let it dry completely—moisture can cause rust or mold if you reinstall too soon.
12. Wash Bathroom Rugs and Towels
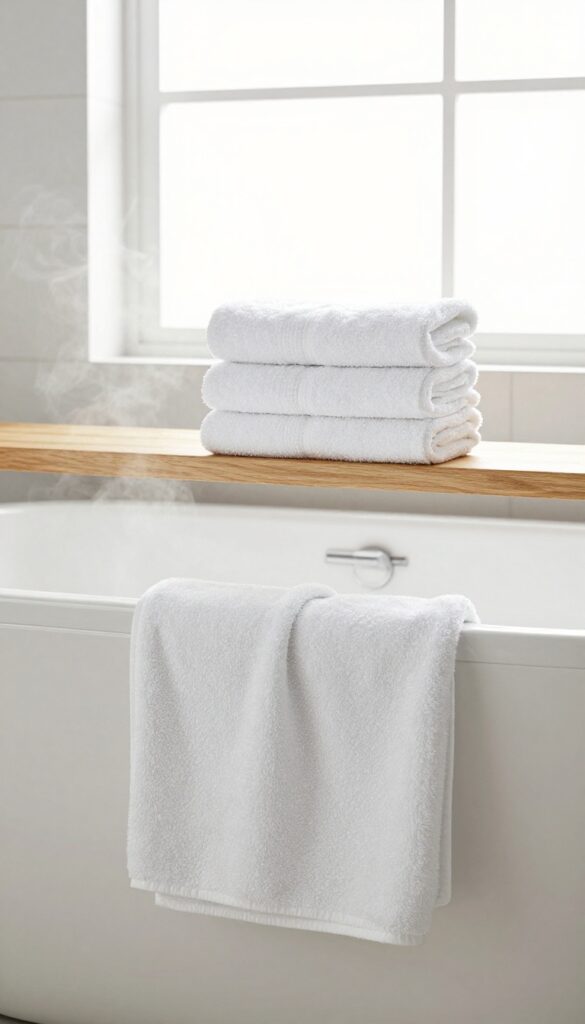
Bathroom rugs and towels are the unsung heroes of a fresh bathroom. They soak up water, hide dirt, and trap moisture—making them a perfect breeding ground for bacteria and mildew. If your bathroom smells musty even after a deep clean, your linens might be the culprit.
Washing them regularly is one of the easiest ways to keep your bathroom smelling clean and feeling hygienic. And the best part? It takes almost no scrubbing.
Gather all bath mats, hand towels, and bath towels. Shake them out outside to remove loose hair and debris. Load them into the washing machine, but don't overcrowd—leave room for water and detergent to circulate.
Use hot water and add a disinfecting laundry additive like bleach (for whites) or a color-safe sanitizer. For extra odor control, add half a cup of white vinegar to the rinse cycle. Dry thoroughly on high heat or in direct sunlight, as damp towels can quickly develop mildew.
Sort And Shake First
Separate rugs from towels if they shed lint. Shake each item vigorously outside or over a trash can to remove hair and dust. This step prevents debris from clogging your washing machine and helps the wash water work more effectively.
Choose The Right Cycle And Additives
Select the hottest water setting your fabric can handle. For white cotton towels, add a small amount of chlorine bleach. For colors, use a color-safe oxygen bleach or a laundry sanitizer.
Add half a cup of baking soda to the drum to boost cleaning power and neutralize odors.
Dry Completely Before Use
Tumble dry on high heat until bone-dry. If you have a clothesline, sun-drying is even better—UV rays naturally kill bacteria. Never put damp towels back in the bathroom; they'll start smelling musty within hours.
13. Disinfect High-Touch Surfaces
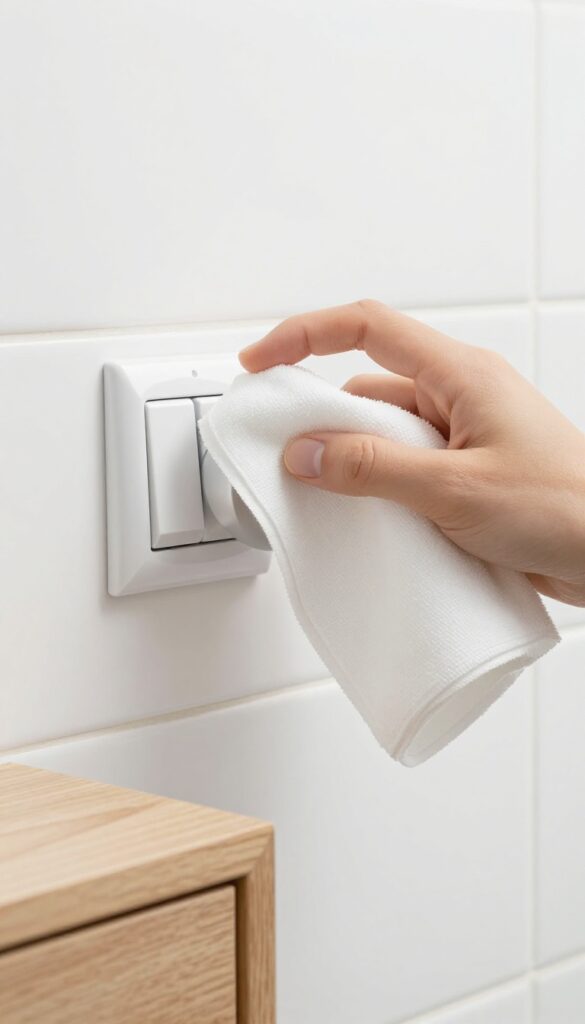
You probably wipe down the sink and toilet, but what about the things your hands touch dozens of times a day? Light switches, doorknobs, cabinet handles, and the toilet flush lever are germ hotspots that often get ignored. A quick disinfecting step here makes a real difference in keeping your bathroom truly clean.
Grab a disinfectant wipe or spray and a clean cloth. Start with the light switch near the door, then move to the doorknob, both inside and outside. Next, hit every cabinet handle or knob on your vanity and storage.
Finally, don't forget the toilet flush lever—it's one of the most touched surfaces in the room. Let the disinfectant sit for the time recommended on the label (usually a few minutes) to actually kill germs. For an extra touch, use a fresh wipe on the toilet paper holder and any towel bars.
This step takes less than two minutes but dramatically reduces the spread of bacteria.
Why These Spots Matter
High-touch surfaces are the main way germs travel from person to person. In a bathroom, moisture and warmth create a perfect breeding ground. By regularly disinfecting these points, you break the cycle of contamination and keep your family healthier.
Choose The Right Disinfectant
Not all wipes or sprays are created equal. Look for products labeled as disinfectants that list bacteria and viruses they kill. Bleach-based cleaners work well, but hydrogen peroxide or alcohol-based options are gentler on surfaces.
Always follow the dwell time—spraying and wiping immediately doesn't give the product time to work.
Don't Forget Hidden Handles
Think beyond the obvious. Drawer pulls, the handle on the medicine cabinet, and even the edge of the toilet seat lid are frequently touched. If you have a bidet or a handheld showerhead, its control panel or trigger also deserves a wipe.
Make a mental checklist so nothing slips through.
14. Sweep and Mop the Floor
The floor is the final frontier. After tackling every other surface, it's time to give the floor the attention it deserves. A quick sweep or vacuum followed by a proper mop will make the whole room feel fresh.
Clear The Area
Move bath mats, rugs, trash cans, and any other items off the floor. This gives you full access to every corner and prevents you from having to work around obstacles.
Sweep Or Vacuum First
Use a broom or vacuum to remove hair, dust, and debris. Pay special attention to corners and under the toilet where dust bunnies like to hide. If you have tile, a microfiber dust mop works great.
Choose The Right Cleaner
Select a floor cleaner that's safe for your flooring type. For tile or vinyl, a mild all-purpose cleaner or vinegar solution works well. For natural stone, use a pH-neutral cleaner to avoid damage.
Mop From The Back To The Door
Start at the farthest corner and work your way toward the door. Use a clean mop head and wring it out well—too much water can damage floors or leave streaks. Rinse the mop frequently and change the water when it gets dirty.
15. Add a Final Fresh Touch

After all the scrubbing and wiping, the last step is making the bathroom smell as clean as it looks. A few simple tricks can keep the air fresh without harsh chemicals. These final touches take just seconds but leave a lasting impression.
Natural Odor Absorbers
Place a small bowl of baking soda in a discreet corner, like behind the toilet or on a shelf. It silently absorbs moisture and odors. For a light scent, add a few drops of your favorite essential oil to a cotton ball and tuck it into the bowl or set it on a windowsill.
Let The Room Breathe
Open a window for at least five minutes to let fresh air circulate. If there's no window, run the exhaust fan for ten minutes. This simple step clears out lingering moisture and any cleaning product fumes, leaving the room feeling crisp and clean.
FAQ
How often should I deep clean my bathroom?
Aim for a deep clean every one to two weeks. Daily quick wipes of surfaces and weekly tasks like scrubbing the toilet and mopping keep buildup manageable.
What's the best way to remove hard water stains?
White vinegar is highly effective. Soak a cloth or paper towel in vinegar and lay it on the stain for 15-20 minutes, then scrub with a non-abrasive pad.
Can I use bleach on colored grout?
Bleach can discolor colored grout. Instead, use a baking soda paste or a hydrogen peroxide-based cleaner to lift stains without fading the color.
How do I prevent mold in the shower?
Keep the bathroom well-ventilated by running the exhaust fan during and after showers. Squeegee the walls and door after use to reduce moisture.
What's the safest cleaner for natural stone surfaces?
Avoid acidic cleaners like vinegar or lemon juice. Use a pH-neutral stone cleaner or mild dish soap diluted in water to protect the sealant.
Conclusion
After tackling these 15 steps, your bathroom will feel noticeably cleaner and fresher without requiring hours of effort. The trick is to stick with a simple routine—wiping down surfaces after use and addressing grime as it appears rather than letting it build up.
Pick the methods that work best for your space and schedule, and you'll find that maintaining a spotless bathroom becomes second nature. A little consistency goes a long way toward keeping your bathroom a place you actually enjoy stepping into.