17 Upholstery Chairs Cleaning Tips for Stains and Dust
Your upholstery chairs work hard—collecting dust, absorbing spills, and trapping odors that no amount of fluffing can fix. But you don't need a professional cleaner to keep them looking great. With the right techniques, you can tackle everything from stubborn grease stains to pet hair buildup using simple household items.
These 17 practical tips target specific problems like set-in odors, ink marks, and dusty crevices, so you can restore your chairs without guesswork. Whether you're dealing with a fresh spill or routine maintenance, each tip offers a clear, actionable solution.
Ready to bring your upholstery back to life? Let's dive into the most effective cleaning methods that actually work.
1. Vacuum Weekly with the Right Attachment
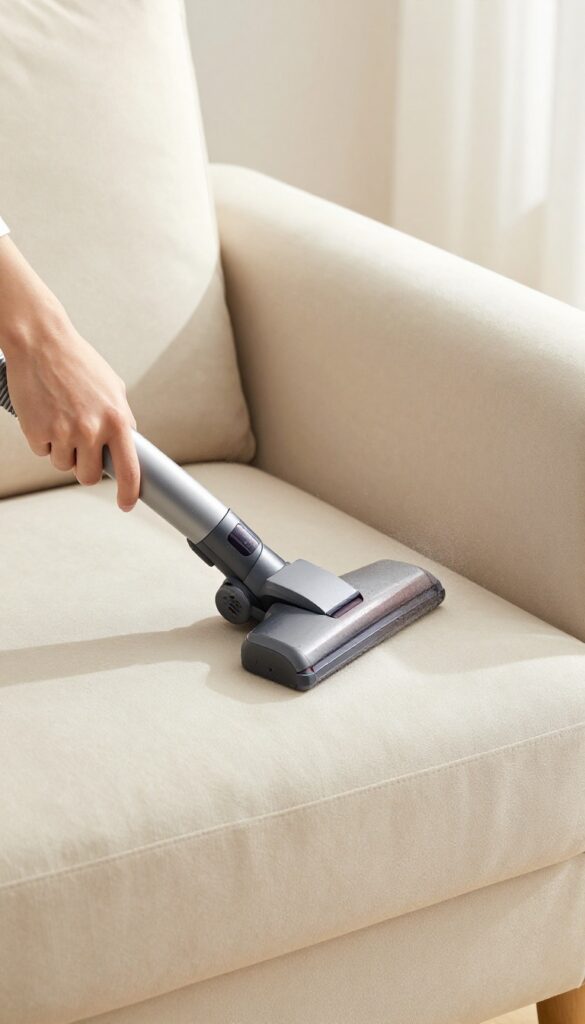
Regular vacuuming is the simplest way to keep dust and dirt from grinding into your upholstery fibers. But not all vacuum attachments are created equal—using the wrong one can actually push debris deeper or damage the fabric. A soft brush attachment is your best friend here, as it gently lifts surface dust without scratching or fraying the material.
Make it a habit to vacuum all surfaces, including the backrest, seat, and arms, and don't forget those hidden spots where dust loves to hide.
Vacuuming weekly with the right attachment prevents dust from settling deep into the fabric, which can cause discoloration and wear over time. The soft brush bristles are gentle enough for delicate fabrics like velvet or linen, yet effective at loosening embedded particles. For best results, go over each section slowly in overlapping passes, and pay extra attention to seams and tufted areas where dust accumulates.
This simple step alone can extend the life of your upholstery and reduce the need for deep cleaning.
Why The Soft Brush Attachment Matters
A soft brush attachment has densely packed bristles that create a gentle sweeping action. Unlike a bare nozzle, which can scrape and flatten fibers, the brush lifts dust without damaging the fabric's texture. It's especially important for napped fabrics like microfiber or chenille, where aggressive suction can pull loops and cause pilling.
Don't Forget The Crevices And Under Cushions
Dust and crumbs love to settle in crevices—between the seat and arms, along the backrest seam, and under removable cushions. Use the crevice tool to reach these tight spaces, but switch to the soft brush for wider areas. For under cushions, lift them out and vacuum both the cushion bottom and the chair base to remove hidden debris that can cause odors and attract pests.
How Often Should You Vacuum?
For most households, a weekly vacuuming schedule keeps dust and allergens in check. If you have pets or heavy use, increase frequency to twice a week. In low-traffic rooms, every two weeks may suffice.
Consistency is key—regular vacuuming prevents dirt from becoming embedded, making future cleanings much easier.
2. Blot Spills Immediately, Don't Rub
Spills happen. Whether it's a splash of coffee or a dollop of spaghetti sauce, the first few seconds are critical. Your natural instinct might be to grab a cloth and scrub, but that's exactly what you shouldn't do.
Rubbing grinds the liquid deeper into the fibers and spreads the stain, making it much harder to remove. Instead, grab a clean, absorbent cloth—a white one is best to avoid color transfer—and gently blot the spill. Press down firmly to soak up as much liquid as possible, working from the outside in to prevent the stain from spreading.
For thicker spills like gravy or mud, use a spoon or dull knife to lift away the excess first.
Blotting is your best defense against permanent stains. The key is to act fast and use the right materials. A microfiber cloth or a stack of paper towels works well.
Press and lift, don't wipe. Repeat until no more liquid transfers to the cloth. If the spill has already started to set, you can apply a small amount of mild dish soap mixed with water, but always test an inconspicuous area first.
Why Rubbing Makes It Worse
When you rub a spill, you're essentially pushing the liquid deeper into the cushion and spreading it across a wider area. The friction also damages the fabric fibers, leaving them frayed or matted. Over time, this can create a permanent discolored patch that's almost impossible to fix.
Blotting, on the other hand, lifts the liquid out without disturbing the fabric's structure.
What To Use For Blotting
Always use a clean, white cloth or paper towel to avoid dye transfer. Colored cloths can bleed onto your upholstery, creating a new stain. Microfiber cloths are excellent because they're highly absorbent and gentle on fabrics.
Avoid terry cloth towels, as their loops can snag delicate fibers. If you're using paper towels, choose a thick, durable brand that won't disintegrate when wet.
The Blotting Technique Step By Step
Start by removing any solid debris with a spoon or dull knife. Then, place your cloth over the spill and press down firmly with the palm of your hand. Hold for a few seconds, then lift.
Don't rub or scrub. Move to a clean area of the cloth and repeat. Continue until no more liquid is absorbed.
For stubborn stains, you can apply a tiny amount of upholstery cleaner, but always blot—never rub.
3. Test Cleaning Solutions on a Hidden Area
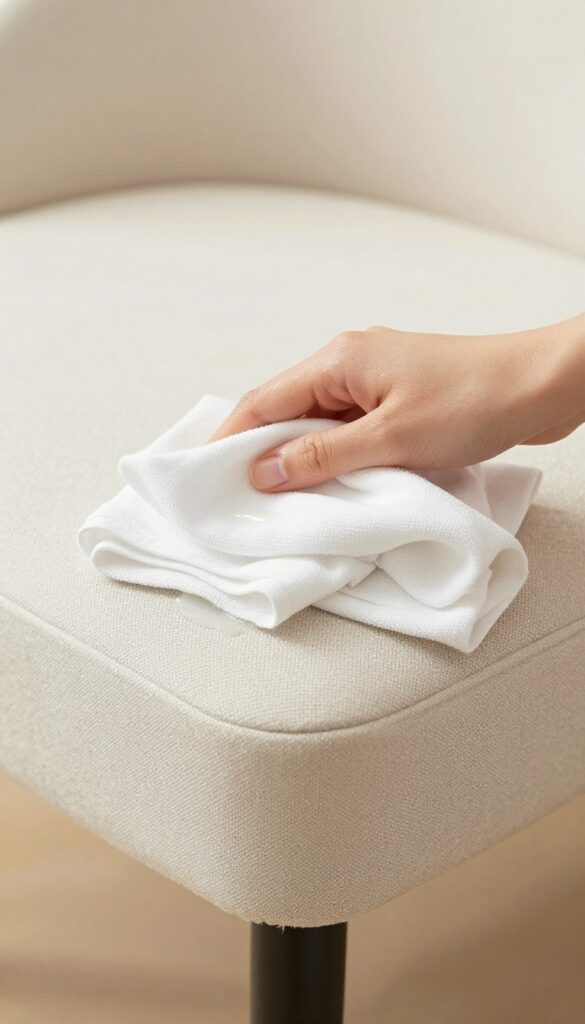
Before you go all in with a cleaning solution, take a moment to test it on a spot that no one will see. Upholstery fabrics can react unpredictably—some might fade, discolor, or even shrink when exposed to certain cleaners. A quick patch test saves you from turning a small stain into a bigger problem.
Always test any cleaner on an inconspicuous spot first to ensure it doesn't discolor or damage the fabric. This simple step can prevent costly mistakes and keep your chairs looking their best.
Choose The Right Test Spot
Look for a hidden area like the underside of the chair, behind a leg, or under a cushion. These spots are out of sight but still representative of the main fabric. Avoid areas near seams or edges where the fabric might be different.
Apply And Wait
Dab a small amount of your cleaner onto a white cloth and gently blot the test spot. Wait at least 10–15 minutes to see if any color change or damage occurs. Check both when wet and after it dries—some reactions only show up later.
Check For Colorfastness
If the cloth picks up any dye from the fabric, that's a red flag. Also look for rings, fading, or stiffening of the fibers. If the fabric looks unchanged, you're good to go.
If not, try a milder cleaner or dilute the solution further.
4. Use Baking Soda for Odor and Light Stains
Baking soda is a powerhouse when it comes to neutralizing odors and lifting fresh stains from upholstery. It's gentle enough for most fabrics yet effective enough to tackle everyday messes. Best of all, you probably already have a box in your pantry.
Sprinkle a generous layer of baking soda over the affected area, making sure to cover the stain or odor source completely. Let it sit for at least 15 minutes—longer for stronger smells—so it can absorb moisture and odors. Then vacuum thoroughly using an upholstery attachment.
For light stains, you can gently blot with a damp cloth after vacuuming to remove any residue.
Why Baking Soda Works
Baking soda is alkaline, which helps break down acidic stains like coffee, juice, or wine. Its fine powder also acts as a gentle abrasive that lifts dirt without damaging fibers. Plus, it traps odor molecules, leaving your chairs smelling fresh.
How To Apply For Best Results
Always test on a hidden spot first. For set-in odors, let the baking soda sit for a few hours or overnight. For fresh stains, sprinkle immediately after blotting up excess liquid.
Vacuum in multiple directions to ensure you remove all powder.
When To Skip This Method
Avoid baking soda on delicate fabrics like silk or velvet, as it can be too abrasive. Also, don't use it on grease or oil stains—it won't dissolve them and may leave a residue. Stick to a degreasing cleaner for those.
5. Tackle Grease Stains with Dish Soap
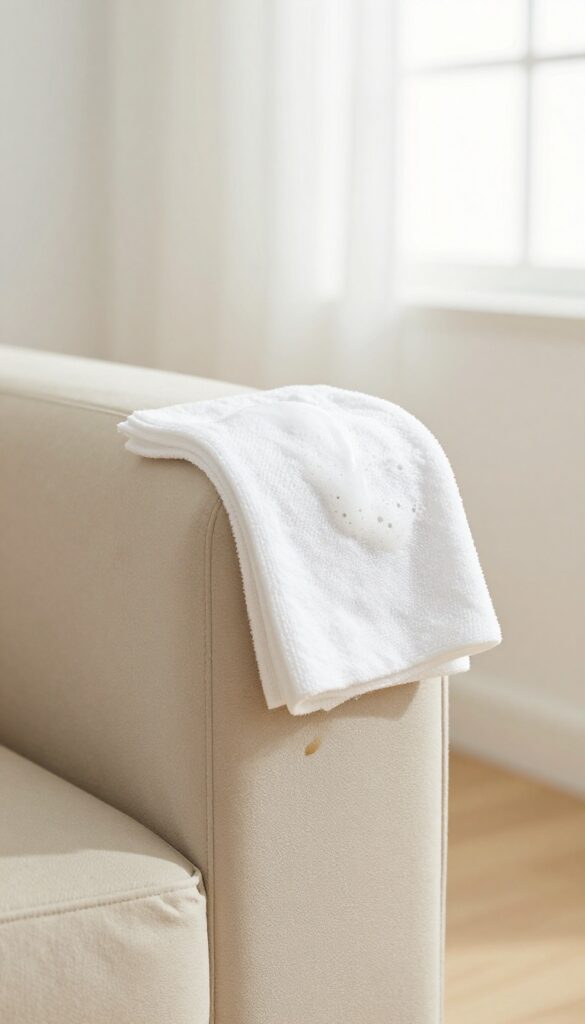
Grease stains from food spills, hand lotion, or body oils can look stubborn, but dish soap is your secret weapon. Its degreasing power breaks down oily residues without harsh chemicals. You probably already have a bottle under your sink.
Mix a few drops of mild dish soap with warm water. Dip a clean white cloth into the solution, then blot the stain gently—don't scrub, or you'll push the grease deeper. Work from the outside in to prevent spreading.
Blot with a dry cloth to lift the moisture, then let the area air dry. Repeat if needed.
Why Dish Soap Works So Well
Dish soap is designed to cut through grease on plates, and it does the same on fabric. The surfactants in the soap surround oil molecules, allowing them to be lifted away with water. It's gentle enough for most upholstery but effective against even set-in marks.
Step-by-step For Fresh Grease
Blot up any excess grease with a paper towel first. Mix 1 teaspoon of dish soap into 1 cup of warm water. Dip a microfiber cloth into the solution, wring it out so it's damp not wet, and dab the stain.
Keep blotting until the stain transfers to the cloth. Finish with a damp water rinse to remove soap residue.
Handling Old Or Dried Grease
For older stains, apply the soap solution and let it sit for 10–15 minutes to soften the grease. Then blot with a clean cloth. You may need to repeat a few times.
Avoid heat (like a hair dryer) until the stain is gone, because heat can set grease permanently.
6. Remove Pet Stains with Enzyme Cleaner
Pet accidents happen, and when they do, regular cleaners often fall short. Urine and vomit contain proteins that bond with upholstery fibers, leaving behind both a stain and a lingering odor. Enzyme-based cleaners are designed to break down those proteins at a molecular level, eliminating the problem instead of just masking it.
The key is to follow the product instructions precisely and give the enzymes enough time to work.
Why Enzyme Cleaners Work
Enzymes are biological catalysts that target specific compounds. In pet stain cleaners, they break down proteins, starches, and fats into smaller, harmless molecules. This process removes both the visible stain and the odor-causing residue.
Unlike bleach or ammonia, enzymes are safe for most upholstery fabrics when used as directed.
How To Apply Enzyme Cleaner
Start by blotting up as much of the fresh mess as possible with a clean cloth—don't rub, or you'll push it deeper. Spray the enzyme cleaner generously over the stain, covering an area slightly larger than the stain itself. Let it sit for the time specified on the label (usually 10–15 minutes).
Then blot again with a damp cloth to lift the residue. Avoid soaking the cushion, as excess moisture can lead to mold.
Tips For Old Or Set-in Stains
For dried stains, first rehydrate the area with a little water or a 50/50 water-vinegar solution. Let it sit for a few minutes, then blot. Apply the enzyme cleaner and let it dwell longer—up to 30 minutes—to penetrate.
You may need to repeat the process for stubborn stains. Always test in an inconspicuous spot first to ensure colorfastness.
7. Steam Clean for Deep Refresh
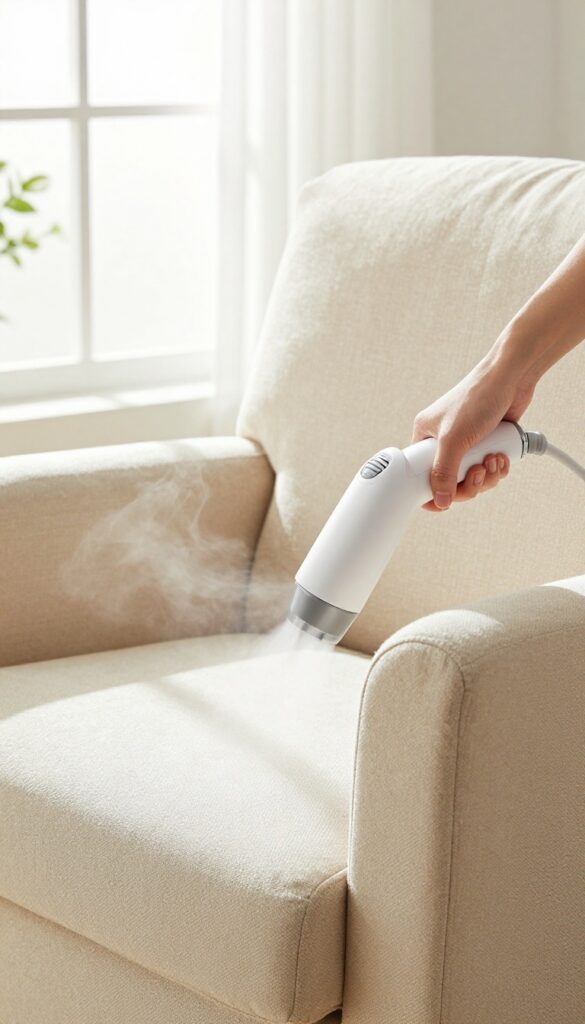
Sometimes your upholstery needs more than a surface wipe-down. Over time, dust mites, bacteria, and deeply embedded odors can settle into the fabric. Steam cleaning offers a chemical-free way to sanitize and refresh your chairs, reaching layers that sprays and wipes can't touch.
The high temperature kills germs and loosens grime, leaving fabric feeling revived.
A handheld steamer or a dedicated upholstery steam cleaner can be a game-changer for deep cleaning. The steam penetrates fibers, breaking down dirt and neutralizing odors without the need for harsh detergents. It's especially effective for fabrics that can't handle wet scrubbing or chemical cleaners.
However, not all upholstery is steam-friendly. Delicate fabrics like silk, velvet, or antique pieces may warp or discolor. Always test on a hidden area first and check the manufacturer's care tag.
If the tag says "W" (water-based cleaning), steam is likely safe. For "S" (solvent-only), avoid steam entirely.
Choosing The Right Steamer
Not all steamers are created equal. A handheld garment steamer can work for light refreshment, but for deeper cleaning, look for a model with an upholstery attachment and adjustable steam settings. The attachment helps concentrate the steam and lift dirt without soaking the fabric.
Avoid using a high-pressure steam cleaner meant for floors—it can damage upholstery fibers.
Steam Cleaning Step By Step
Start by vacuuming the chair thoroughly to remove loose dust and debris. Fill the steamer with distilled water (to prevent mineral buildup) and let it heat up. Test on an inconspicuous spot, then work in sections, holding the steamer nozzle a few inches from the fabric.
Move slowly to allow steam to penetrate, but don't linger too long on one spot to avoid over-wetting. After steaming, let the chair air dry completely before sitting on it. Open windows or use a fan to speed up drying.
When To Call A Professional
Steam cleaning is great for routine deep cleaning, but it may not remove heavy set-in stains or odors from pet urine. If your chair has extensive damage or you're unsure about fabric compatibility, a professional upholstery cleaner with industrial steam equipment can deliver better results. They also have extraction tools to remove excess moisture, reducing drying time and preventing mold.
8. Combat Ink Stains with Rubbing Alcohol
Ink stains on upholstery can feel like a disaster, especially if they've already dried. But rubbing alcohol is a surprisingly effective remedy that breaks down the ink without damaging most fabrics. The key is to act quickly and blot gently, never rub, to avoid spreading the stain deeper into the fibers.
Rubbing alcohol works because it dissolves the dye in ink, making it easy to lift away. This method is safe for most synthetic fabrics like polyester and nylon, but always test on a hidden spot first. For delicate materials like silk or velvet, consider professional cleaning instead.
Step-by-step Blotting Technique
Start by placing a clean white cloth or paper towel under the stain to catch the ink as it lifts. Dip a cotton ball or soft cloth in rubbing alcohol and gently blot the stain from the outside in. Don't pour alcohol directly on the fabric, as that can push the ink deeper.
Replace the cloth underneath as it absorbs ink, and keep blotting until no more color transfers.
Dealing With Dried Ink Stains
For older, dried ink stains, let the rubbing alcohol sit on the stain for a few minutes to soften it. Then blot gently. You may need to repeat the process a few times.
If the stain persists, try mixing a drop of dish soap with the alcohol for extra lifting power. Rinse the area with a damp cloth afterward to remove any residue.
What To Avoid
Never rub the stain vigorously, as that will spread the ink and damage the fabric fibers. Avoid using colored cloths or paper towels that might transfer dye. Also, steer clear of hairspray or other DIY methods that can leave sticky residues or cause discoloration.
9. Use a Lint Roller for Dust and Pet Hair
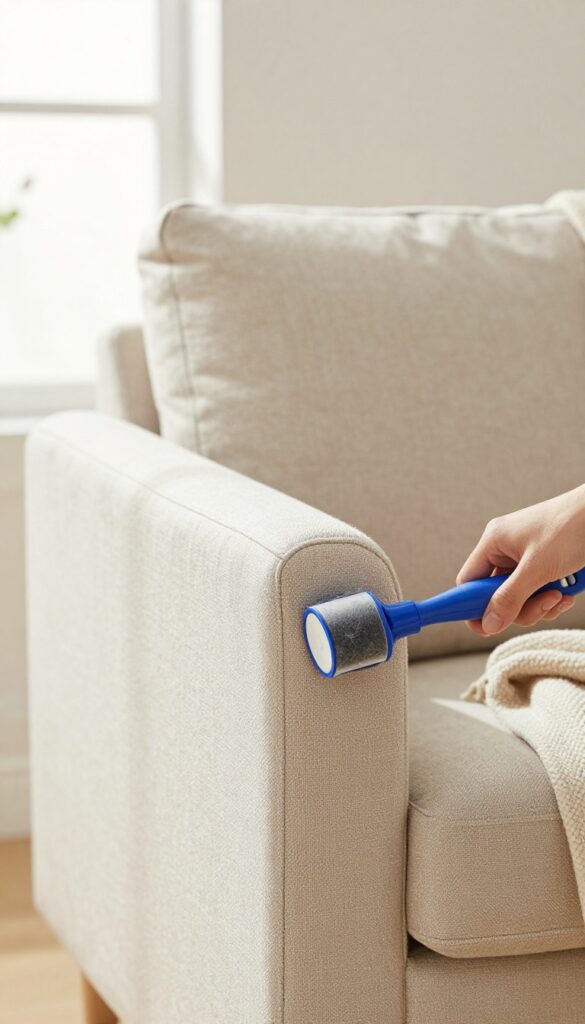
A lint roller isn't just for your clothes—it's a quick fix for upholstery dust and pet hair between deep cleans. Keep one in your living room or near your favorite chair, and you can freshen up the fabric in seconds without dragging out the vacuum.
Lint rollers are perfect for spot-cleaning high-touch areas like armrests and seat cushions. They trap fine dust, pet dander, and crumbs that settle into the weave, preventing buildup that can dull fabric over time. For best results, roll in one direction to lift debris without pushing it deeper.
Why Lint Rollers Work So Well
The adhesive sheets grab loose particles that vacuums sometimes miss, especially on textured fabrics like velvet or chenille. They're also gentle enough for delicate upholstery and won't pull threads if you use light pressure.
When To Reach For A Lint Roller
Use it right after a pet has been lounging on the chair, or before guests arrive for a quick refresh. It's also handy for picking up dried crumbs or fluff from blankets without having to set up a full cleaning station.
Pro Tips For Maximum Effect
Keep the roller in a drawer near your seating area so it's always ready. If the adhesive gets less sticky, peel off the used sheet and continue. For stubborn pet hair, try a rubber lint brush first, then follow with the roller.
10. Fluff and Rotate Cushions Regularly
Your cushions take a beating every day—sitting, shifting, and absorbing all that dust and dirt. Fluffing them isn't just about keeping them plump; it's a simple habit that prevents uneven wear and keeps your chairs looking fresh. Rotating cushions also spreads out the wear and tear, so one side doesn't get flattened while the other stays like new.
Fluffing and rotating cushions is one of the easiest ways to extend the life of your upholstery chairs. It also helps redistribute dust and dirt that settle into the fibers, making future cleaning more effective. Aim to do this every week or two, especially for chairs that get daily use.
Why Fluffing Matters
When you sit in the same spot, the cushion fibers compress and lose their bounce. Fluffing—by gently punching or shaking the cushion—restores its shape and prevents permanent sagging. It also loosens trapped dust and debris, so they don't grind into the fabric over time.
How To Rotate For Even Wear
Most chairs have removable cushions that can be flipped and swapped. Rotate them front to back and left to right every few weeks. If your cushions are attached, simply rotate the entire chair's position in the room to change the angle of sunlight and traffic.
The Bonus: Better Airflow
Fluffing and rotating also improves airflow around the cushions, which helps prevent musty odors and moisture buildup. This is especially important in humid climates or if you have pets. A quick weekly fluff can keep your chairs smelling fresh without any extra products.
11. Make a DIY Vinegar Solution for General Cleaning
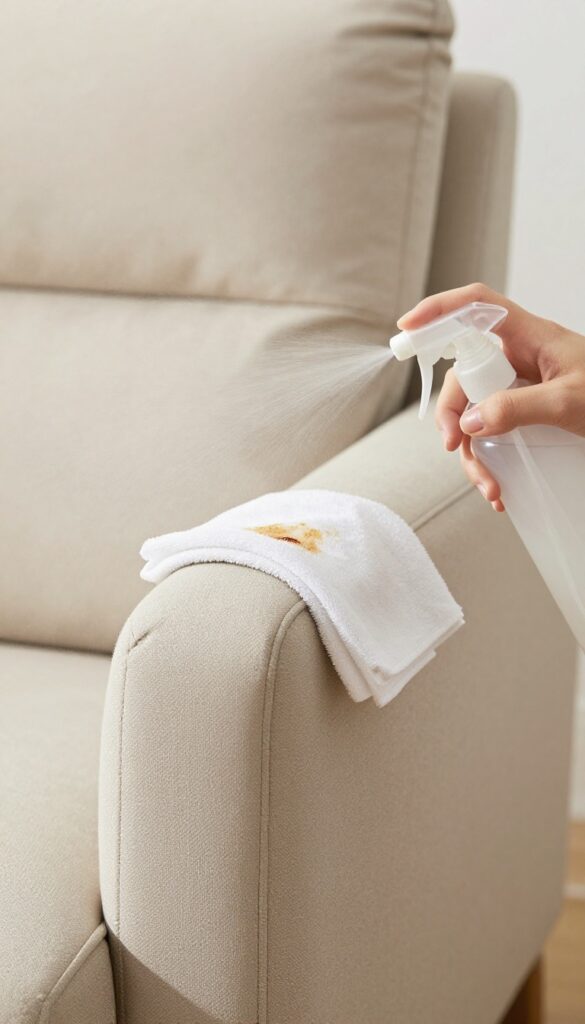
White vinegar is a powerhouse when it comes to gentle yet effective cleaning. It cuts through grime, neutralizes odors, and is safe for most upholstery fabrics. Best of all, you probably already have it in your pantry.
Mix equal parts white vinegar and water in a spray bottle. Lightly mist the solution onto the stained or dusty area—avoid soaking the fabric. Blot with a clean, dry cloth until the stain lifts or the dust is absorbed.
For freshening, a quick spritz and air-dry works wonders. Always test on a hidden spot first to ensure colorfastness.
Why Vinegar Works
Vinegar's mild acidity breaks down dirt and dissolves mild stains without harsh chemicals. It also kills some bacteria and deodorizes naturally, leaving your chairs smelling fresh.
Best Uses For This Solution
This mix is ideal for light soil, everyday dust, and minor spills like coffee or juice. It's also great for refreshing fabric between deep cleans. Avoid using it on silk or delicate fabrics that may water-spot.
Application Tips
Use a spray bottle set to a fine mist. Work from the edges of a stain inward to prevent spreading. Blot, don't rub, to avoid pushing dirt deeper.
Let the fabric air-dry completely before sitting.
12. Protect Fabric with a Fabric Guard Spray
You've put in the work to clean your upholstery chairs, so why let a stray spill undo all that effort? A fabric guard spray adds an invisible shield that repels liquids and prevents stains from setting in. It's a simple step that makes future cleaning much easier and keeps your chairs looking newer for longer.
Fabric guard sprays work by coating each fiber with a protective layer that causes liquids to bead up and roll off instead of soaking in. This gives you precious extra seconds to blot up spills before they become stains. Most sprays are safe for a wide range of fabrics, but always test on an inconspicuous area first to be sure.
For best results, apply the spray after a thorough cleaning and let it dry completely before using the chair. Reapply every six to twelve months or after each deep clean to maintain protection. Remember that fabric guard isn't a magic force field—it reduces the risk but doesn't make your upholstery stain-proof.
Still, it's one of the easiest ways to extend the life of your chairs and cut down on cleaning frequency.
Choosing The Right Fabric Guard
Not all fabric guards are created equal. Look for a product specifically designed for upholstery, not just clothing or outdoor gear. Water-based sprays are generally safer for indoor use and have less odor.
Some brands also offer eco-friendly or non-toxic options if you're sensitive to chemicals. Avoid silicone-based sprays on delicate fabrics like silk or velvet, as they can alter the texture.
How To Apply For Maximum Effectiveness
Start with clean, dry fabric. Hold the can about six to eight inches away and spray in a steady, sweeping motion. Don't oversaturate—a light, even coat is enough.
Work in a well-ventilated area and cover any nearby surfaces you don't want to get misted. Let the spray dry completely, usually a few hours, before sitting on the chair. For high-traffic areas like armrests, consider a second light coat after the first dries.
When To Reapply
Fabric protection wears off over time, especially on frequently used chairs. A good rule of thumb is to reapply every six months. If you notice liquids starting to soak in rather than bead up, it's time for another treatment.
Also, reapply after any deep cleaning or steam cleaning, as those processes can strip away the protective layer.
13. Remove Gum or Wax with Ice
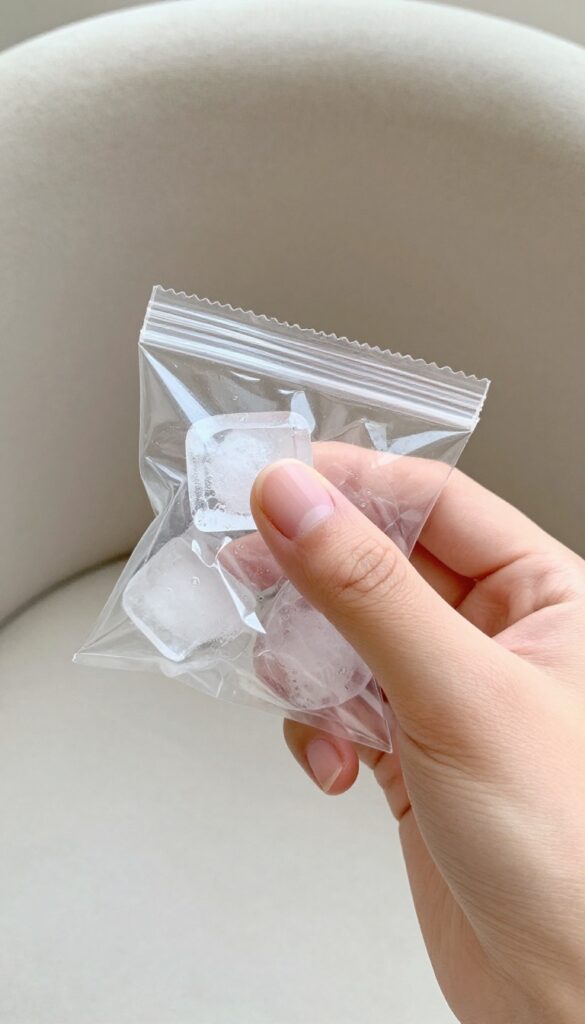
Chewing gum and candle wax are two of the most annoying things to get off upholstery. They stick, smear, and seem impossible to remove without damaging the fabric. But there's a simple trick that works like magic: freeze them solid with an ice cube.
Once hardened, they pop right off with minimal effort.
The Freeze-and-scrape Method
Grab a few ice cubes and place them in a plastic bag so the fabric doesn't get wet. Hold the bag against the gum or wax for about 30 seconds to a minute. You'll feel it harden as the cold sets in.
Once it's rock solid, use a dull knife or a plastic scraper to gently pry it away from the fibers. Work slowly to avoid tearing the fabric. The frozen gum or wax should break off in chunks without leaving a sticky residue.
What To Do With Stubborn Bits
Sometimes small pieces remain stuck, especially in textured fabrics. If that happens, repeat the freezing process on the leftover bits. You can also use a vacuum with a brush attachment to suck up any loose fragments after scraping.
For wax, if a faint greasy stain remains, dab a little rubbing alcohol on a white cloth and blot the area. This lifts any residual oils without damaging the color.
Why This Works Better Than Heat
You might think heat would melt wax or soften gum, but that actually makes the problem worse by spreading the mess deeper into the fibers. Cold solidifies the material, making it brittle and easy to remove in one piece. It's a gentler approach that protects the upholstery's structure and keeps the fabric looking clean.
Plus, no chemicals are needed—just ice and a little patience.
14. Use a Soft Brush to Lift Matting
Vacuuming does a solid job of pulling up surface dust, but it can leave fabric fibers flattened and matted, especially on high-traffic seats. A soft-bristled brush is a simple tool that restores the nap and lifts embedded particles that suction alone misses. This step adds a polished finish to your cleaning routine without any chemicals or extra effort.
Grab a brush with natural or soft synthetic bristles—nothing too stiff that could snag or scratch the fabric. Start at the top of the chair and work downward in long, even strokes, always brushing in the same direction. This aligns the fibers uniformly, making the upholstery look refreshed and helping release any lingering dust.
For velvet or microfiber, a gentle circular motion can revive the texture even more effectively.
Choose The Right Brush
Not all brushes are upholstery-friendly. Look for a brush labeled 'soft' or 'delicate, ' like a horsehair brush or a clean, dry paintbrush with fine bristles. Avoid wire brushes or anything with hard plastic tips that could damage the weave.
If you're unsure, test on a hidden spot first.
Work In Sections
Break the chair into manageable zones—backrest, seat, arms, and sides. Brush each section thoroughly before moving on, overlapping strokes slightly to avoid missing spots. This method ensures even coverage and prevents matted lines from forming between sections.
Finish With A Final Vacuum
After brushing, go over the chair again with the upholstery attachment on your vacuum. The brushing action loosens deep dust, and the second pass captures it before it settles back into the fabric. This one-two punch leaves your chair visibly cleaner and softer to the touch.
15. Spot Clean with Club Soda for Red Wine
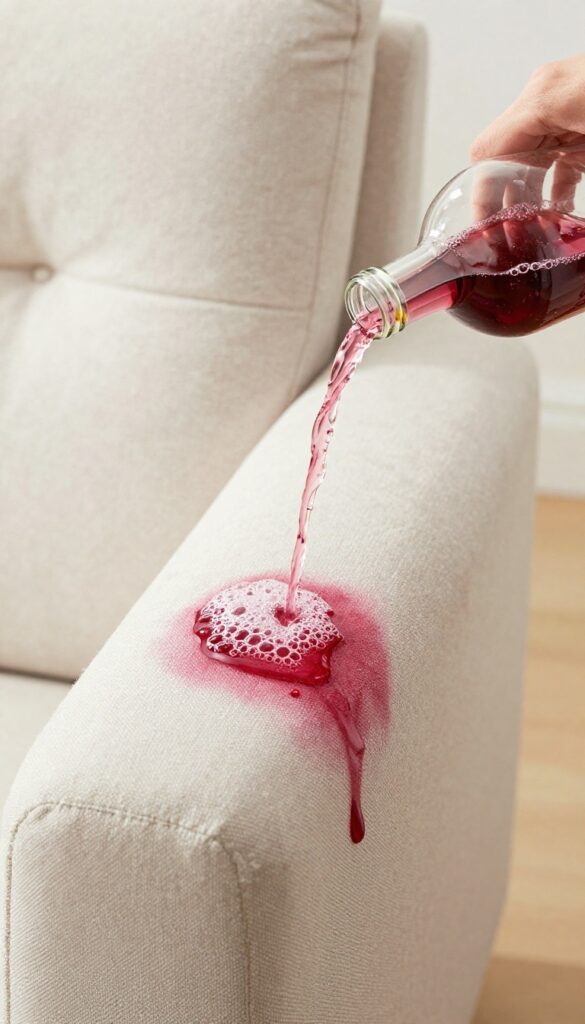
Red wine on upholstery is one of those heart-stopping moments. But before you panic, reach for a bottle of club soda. The carbonation works like a charm to lift the stain without harsh scrubbing.
This trick is a lifesaver for light-colored fabrics where stains show the most.
Club soda is your secret weapon against fresh red wine stains. The bubbles help push the wine out of the fibers, while the salt in the soda draws out moisture. Act fast, and you can often remove the stain completely without any residue.
Why Club Soda Works
The carbon dioxide in club soda creates bubbles that agitate the stain, lifting it from the fabric. The mild acidity also helps break down the wine's pigments. Unlike seltzer, club soda contains sodium bicarbonate and salts that enhance its cleaning power.
Step-by-step Spot Cleaning
Blot the spill with a clean cloth to remove excess wine. Pour club soda directly onto the stain, enough to saturate it. Let it fizz for a minute, then blot with a dry cloth.
Repeat until the stain fades. Finish by blotting with a damp cloth to remove any residue.
When To Call It Quits
If the stain is set or older, club soda may not fully remove it. In that case, try a specialized upholstery cleaner or a mix of dish soap and hydrogen peroxide. Always test on a hidden area first to avoid damage.
16. Dry Thoroughly to Prevent Mold
Moisture is the enemy of upholstery, especially when it lingers deep inside the cushions. After any wet cleaning method—whether you used a steam cleaner, a spray solution, or a spot treatment—the drying phase is just as critical as the cleaning itself. Trapped dampness creates the perfect breeding ground for mold and mildew, which can ruin your chair's fabric and cause musty odors that are tough to remove.
Skipping this step or rushing it can undo all your hard work, so give drying the attention it deserves.
The key is to remove as much moisture as possible before letting the chair air out. Start by blotting the cleaned area with a dry, clean towel or microfiber cloth, pressing firmly to absorb excess water. If you used a steam cleaner, go over the fabric with a dry extraction tool or a squeegee to pull up leftover moisture.
Then, position the chair in a well-ventilated area—open windows, turn on ceiling fans, or set up a portable fan directed at the wet spots. For thicker cushions, prop them up or remove them if possible to allow air to circulate on all sides. Avoid using a hairdryer on high heat, as that can set stains or damage delicate fibers; instead, use a low-heat setting or a dehumidifier to speed things up safely.
Leave the chair to dry completely for at least 24 hours before sitting on it or adding any protectants.
Why Mold Loves Damp Upholstery
Upholstery fabric, especially foam padding underneath, acts like a sponge when wet. Mold spores are everywhere in the air, and they only need moisture and a food source (like dust or fabric fibers) to start growing. Once mold takes hold, it can spread quickly, causing discoloration, a musty smell, and potential health issues like allergies or respiratory irritation.
That's why thorough drying isn't just a nice-to-have—it's essential for keeping your chair hygienic and long-lasting.
Best Tools For Speeding Up Drying
A few simple tools can make a big difference. A wet/dry vacuum is excellent for sucking out water from deep in the cushions after cleaning. If you don't have one, layer dry towels over the wet area and press down firmly to wick away moisture, repeating with fresh towels until they come up barely damp.
Fans are your best friend: a box fan or pedestal fan placed a few feet away creates continuous airflow. For humid climates, a dehumidifier in the room helps pull moisture from the air, speeding up the process and preventing secondary dampness in nearby furniture.
How To Tell When It's Truly Dry
Don't rely on touch alone—the surface might feel dry while the padding underneath is still wet. Press your hand firmly into the cushion and hold for a few seconds; if it feels cool or damp, it needs more time. Alternatively, place a dry paper towel on the spot and press down; if the towel picks up moisture, keep drying.
A moisture meter (available at hardware stores) can give a precise reading, but for most homes, the hand test is enough. When in doubt, give it an extra 12 hours—patience prevents mold.
17. Know Your Fabric Code (W, S, WS, or X)
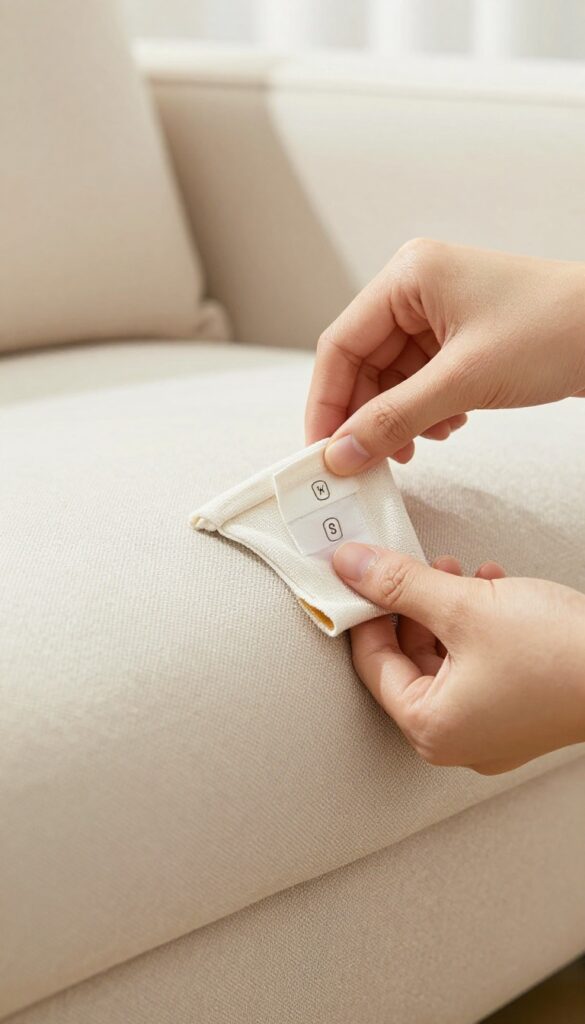
Before you spray or scrub anything, flip over a cushion and find the tag. That little square of fabric holds the secret to safe cleaning. Most upholstery has a code—W, S, WS, or X—that tells you exactly what kind of cleaner to use.
Ignore it, and you could end up with a faded spot or a permanent watermark.
Understanding your fabric code is the single most important step in upholstery care. It prevents damage, saves money, and ensures your cleaning efforts actually work.
What Each Code Means
W stands for water-based cleaners only. Use a mild detergent mixed with water or a store-bought upholstery shampoo. S means solvent-based cleaners only—no water.
Look for dry-cleaning solvents or alcohol-based sprays. WS means you can use either water or solvent, but test a hidden area first. X means vacuum only; no liquid or solvent at all.
These are often natural fibers like silk or rayon that water or chemicals can ruin.
How To Find The Code
Check the tag under the seat cushion, along the zipper, or on the back of the chair. If the tag is missing or unreadable, you can do a simple test: dab a tiny amount of water on an inconspicuous spot. If the fabric darkens or beads up, it's likely S or X.
If it absorbs without issue, W or WS is probable. When in doubt, stick to vacuuming and dry methods.
Why It Matters
Using the wrong cleaner can cause shrinking, color bleeding, or sticky residue that attracts more dust. For example, water on an S-code fabric can leave a permanent ring. Solvent on a W-code fabric might strip the color.
Matching the method to the code keeps your upholstery looking like new and extends its life.
FAQ
Can I use bleach on upholstery chairs?
No, bleach is too harsh and will likely discolor or damage the fabric. Stick to mild cleaners like dish soap or vinegar solutions.
How often should I deep clean my upholstery chairs?
Deep clean every 6 to 12 months, depending on usage. High-traffic chairs or homes with pets may need more frequent cleaning.
What's the best way to remove old, set-in stains?
For set-in stains, try a paste of baking soda and water, let it sit for 30 minutes, then gently scrub and vacuum. If that fails, consider a professional cleaner.
Is steam cleaning safe for all upholstery fabrics?
No, steam cleaning is not safe for delicate fabrics like silk or rayon. Always check the fabric code and test in a hidden area first.
Can I machine wash removable cushion covers?
Only if the care label says machine washable. Use cold water and gentle cycle, then air dry to prevent shrinkage.
Conclusion
You don't need a professional to keep your upholstery chairs looking their best. Start with the tips that match your biggest struggle—whether it's a stubborn wine stain or layers of dust—and build from there. A little regular care, like vacuuming weekly and treating spills immediately, makes a huge difference.
Pick two or three methods to try this week. Your chairs will stay fresher, last longer, and save you money on deep cleaning or replacements. Consistent, simple habits are all it takes to enjoy clean, inviting seating every day.