15 Kitchen Cleaning Tips for a Fresh Cooking Zone
A clean kitchen isn't just about appearances—it's the foundation for enjoyable cooking and healthy meals. But between grease splatters, sticky counters, and mysterious fridge spills, keeping that fresh feeling can feel like a full-time job.
The good news? You don't need harsh chemicals or expensive tools to get your kitchen sparkling.
These 15 tips target the most stubborn kitchen messes with simple, everyday items you probably already have. Each one solves a specific problem, so you can tackle the worst offenders first and work your way to a truly fresh cooking zone.
1. Degrease Stove Burners with Ammonia
Stove burners take a beating. Grease and food residue bake on every time you cook, turning a simple cleaning job into a frustrating scrub session. But there's a smarter way that requires almost no elbow grease.
Ammonia is a powerful degreaser that works wonders on tough, baked-on grime. The key is to let it do the work for you overnight. This method is safe for most metal burner parts and leaves them looking like new.
What You'll Need
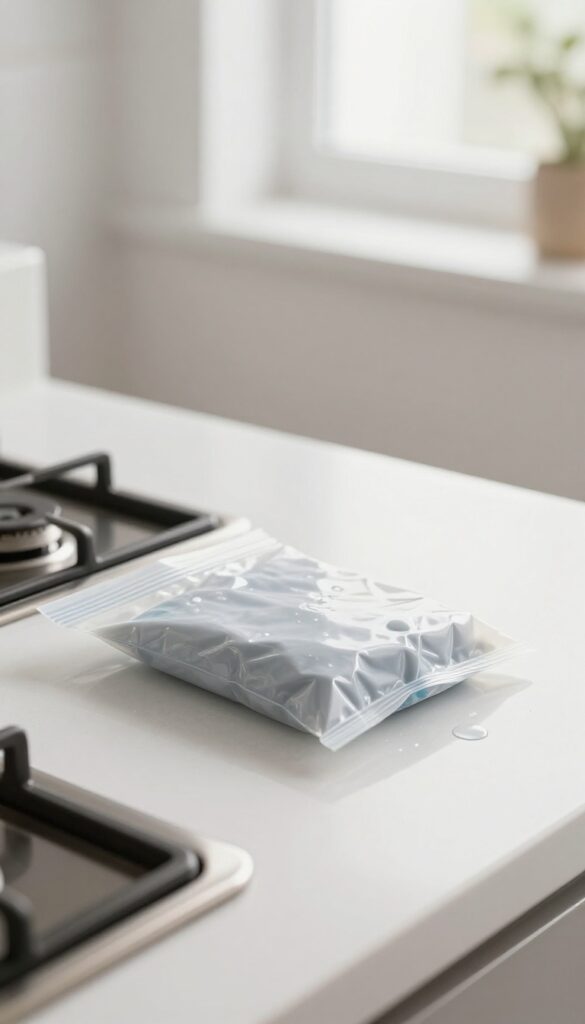
You only need a few things: a gallon-size resealable plastic bag, 1/4 cup of household ammonia, and your removable burner grates and caps. Make sure the bag is large enough to hold all the parts without overcrowding.
The Overnight Soak
Place the burner parts inside the bag and pour in the ammonia. Seal the bag tightly, then place it in a well-ventilated area or outside—ammonia fumes are strong. Let it sit for at least 12 hours.
The ammonia vapors will loosen the grease without any scrubbing.
Rinse And Dry
After the soak, remove the parts with gloves or tongs. Rinse thoroughly with warm water to remove any ammonia residue. Dry completely before putting them back on the stove.
You'll be amazed at how clean they look.
2. Banish Microwave Splatters with Lemon Steam
Microwave splatters are stubborn, but they don't have to be. A quick steam treatment loosens even baked-on gunk without scrubbing. Lemon adds fresh scent and natural degreasing power.
This method uses steam to soften residue, making cleanup effortless. It's safe, chemical-free, and leaves your microwave smelling clean.
How It Works
Fill a microwave-safe bowl with 1 cup of water. Add 2-3 lemon slices or a tablespoon of lemon juice. Microwave on high for 3 minutes.
Let it sit for 2 minutes before opening.
Wipe Away The Mess
Carefully remove the hot bowl. Use a damp cloth or sponge to wipe the interior. Dried food and grease will come off easily.
For tough spots, dip the cloth in the warm lemon water.
Extra Tips
Place a wooden toothpick under the bowl's rim to prevent superheating. For a deeper clean, add a splash of vinegar. Repeat weekly to keep splatters from building up.
3. Clean Oven Racks with Dryer Sheets
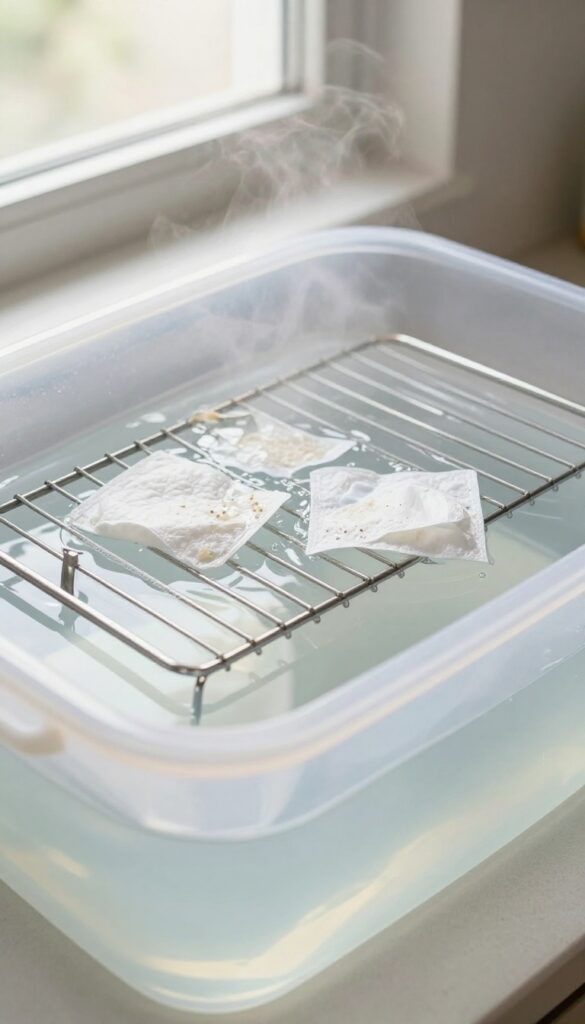
Oven racks collect baked-on grease and food residue that scrubbing alone barely touches. The fabric softener in dryer sheets works as a gentle surfactant to loosen that stubborn grime. This method saves your elbows and leaves racks looking nearly new.
Pull the racks out and place them in a large trash bag or bathtub. Fill with hot water—enough to fully submerge the racks—and toss in four to six used or new dryer sheets. Let them soak overnight or at least four hours.
The heat and softener break down carbonized grease. Next morning, scrub with a sponge or soft brush; grime slides off easily. Rinse thoroughly and dry before sliding back into the oven.
For extra-stubborn spots, add a half cup of baking soda to the soak.
Why Dryer Sheets Work
Dryer sheets contain cationic surfactants that reduce surface tension, helping water penetrate baked-on grease. They also have mild abrasives that aid lifting residue without scratching metal. The heat from the hot water activates these ingredients, making the soak far more effective than plain water.
Soaking Setup Tips
Use a large plastic tub or a heavy-duty trash bag placed in a bathtub to contain the water. If using a bag, double-bag to prevent leaks. Make sure racks are fully submerged—weigh them down with a heavy plate if needed.
Add a squirt of dish soap for extra grease-cutting power.
After The Soak: Quick Rinse And Dry
Once the grime loosens, rinse racks with warm water and a mild detergent. Avoid harsh scouring pads that can damage the chrome finish. Pat dry with a microfiber cloth or let air dry completely before returning to the oven.
Residual moisture can cause rust over time.
4. Freshen the Garbage Disposal with Ice and Citrus
Your garbage disposal works hard, but it can get pretty funky. Food particles get trapped, leading to odors that linger even after rinsing. The good news is you don't need harsh chemicals to fix it.
A simple combination of ice cubes and citrus peels will sharpen the blades and leave everything smelling fresh.
Grinding ice cubes helps dislodge stuck-on gunk and hones the disposal blades, making them more effective. Adding lemon or orange peels releases natural oils that neutralize odors and leave a clean, citrusy scent. This method is quick, chemical-free, and uses items you'd otherwise toss.
Why Ice Works
Ice cubes are abrasive enough to scrub the blades and inner walls of the disposal without damaging them. As they grind, they knock loose debris and grease buildup. The cold also helps solidify any fatty residues, making them easier to break apart and flush away.
Citrus Power
Lemon and orange peels contain natural oils that cut through grime and deodorize. The fresh scent is a bonus, but the real benefit is the antibacterial properties of citrus. Just drop a few peels in while running cold water, and let the disposal do the work.
Step-by-step Routine
Start by filling the sink with cold water. Drop in a handful of ice cubes and a few citrus peels. Turn on the disposal and let it run until everything is ground up.
Finish by running cold water for 15 seconds to flush any remaining particles. Do this once a week for a fresh disposal.
5. Remove Coffee Stains from Mugs with Baking Soda
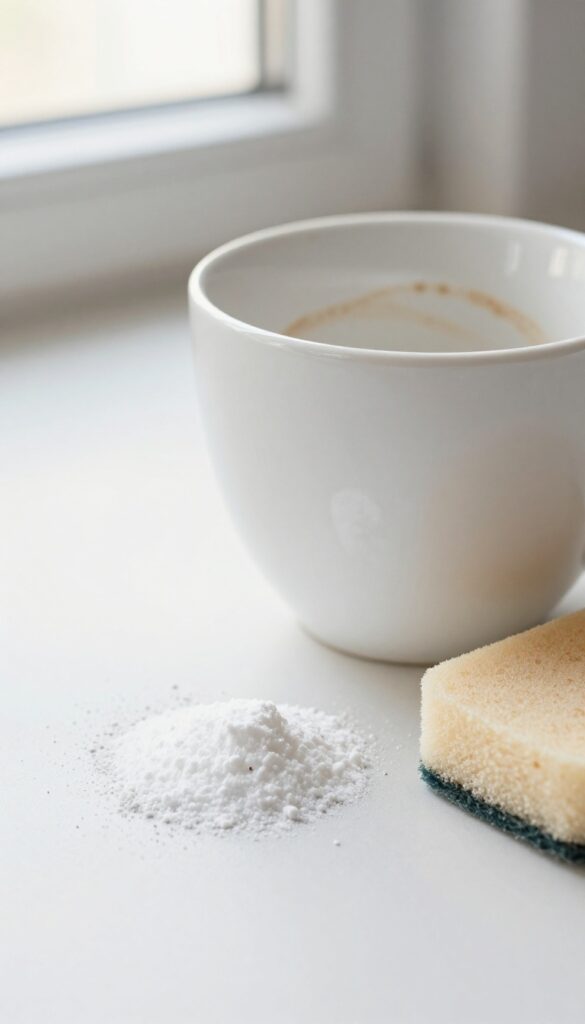
Coffee lovers know the struggle: that stubborn ring of brown that clings to your favorite mug no matter how many times you wash it. Over time, those stains build up and make even a clean mug look grimy. But you don't need a special cleaner—just baking soda and a little elbow grease.
Baking soda's mild abrasive action gently lifts coffee discoloration without scratching ceramic, glass, or porcelain. It's safe, cheap, and works in seconds. Here's how to get your mugs looking like new again.
The Simple Scrub Method
Sprinkle a tablespoon of baking soda onto a damp sponge or directly onto the stained area. Scrub in circular motions for about 30 seconds. Rinse with warm water.
Most stains will vanish immediately. For deeper set-in stains, let the baking soda paste sit for a few minutes before scrubbing.
Tackling Stubborn Rings
If the stain is really stubborn, make a paste with baking soda and a few drops of water. Apply it to the stain and let it sit for 10–15 minutes. Then scrub with a soft brush or sponge.
This gives the baking soda time to break down the tannins that cause the discoloration.
Prevention Tip
To keep stains from coming back, rinse your mug immediately after finishing your coffee. But when they do appear, baking soda is always there to save the day. Keep a small box under the sink for quick touch-ups.
6. Sanitize Cutting Boards with Hydrogen Peroxide
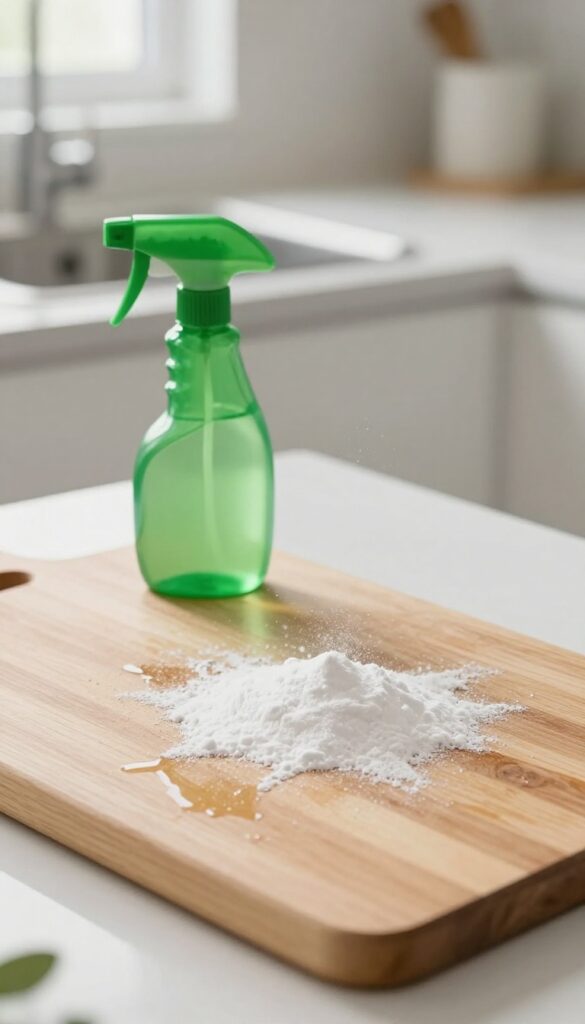
Cutting boards see a lot of action, and they can harbor bacteria even after a good scrub. Hydrogen peroxide is a gentle but effective sanitizer that breaks down into harmless water and oxygen. It's perfect for keeping your boards fresh without harsh chemicals.
To sanitize, spray a 3% hydrogen peroxide solution directly onto the board, making sure to cover the entire surface. Let it sit for about five minutes to kill bacteria and lift stains. Then rinse thoroughly with water and pat dry.
For stubborn stains, you can sprinkle baking soda on the board first, then spray with peroxide and let it fizz before rinsing.
Why Hydrogen Peroxide Works
Hydrogen peroxide is a powerful oxidizer that destroys bacteria, viruses, and mold spores. It's safe for food contact surfaces when used correctly and leaves no toxic residue. Plus, it's cheap and readily available at any drugstore.
Best Practices For Different Board Materials
For wooden boards, avoid soaking them in peroxide, as prolonged exposure can dry out the wood. Instead, spray and wipe quickly. Plastic boards can handle a longer soak—just make sure to rinse well.
Always dry boards upright to prevent moisture buildup.
When To Replace Your Cutting Board
Even with regular sanitizing, boards wear out. If your board has deep grooves, cracks, or a persistent odor, it's time for a new one. Those crevices can trap bacteria that sanitizing can't reach.
7. Unclog a Slow Drain with Baking Soda and Vinegar
A slow kitchen sink drain can make cleanup frustrating and leave standing water that smells. Before you reach for harsh chemical drain cleaners, try this simple, non-toxic method that uses two pantry staples. It's gentle on pipes but tough on the gunk that builds up over time.
Start by removing any standing water from the sink. Pour 1/2 cup of baking soda directly down the drain, followed by 1/2 cup of white vinegar. You'll see fizzing as the mixture works to break down grease, soap scum, and food particles.
Let it sit for 15 minutes, then flush with a full pot of boiling water. For stubborn clogs, repeat the process or follow up with a plunger. This method is safe for most pipes and leaves your drain smelling fresh.
Why This Combo Works
Baking soda is a mild alkali that reacts with the acid in vinegar to create carbon dioxide gas. This fizzing action physically loosens debris, while the baking soda itself helps dissolve fatty acids and grease. The hot water rinse flushes everything away, leaving pipes clear without corrosive chemicals.
When To Use This Method
It's ideal for slow drains caused by everyday buildup—not for completely blocked pipes. Use it weekly as a maintenance trick to prevent clogs before they start. If your drain is fully blocked or you have a garbage disposal, skip the boiling water and use cool water instead to avoid damaging rubber seals.
Extra Tips For Best Results
For extra cleaning power, add a tablespoon of salt to the baking soda before pouring. If the smell persists, drop a few lemon or orange peels into the disposal after flushing. Always run cold water when using the disposal to keep grease solid so it gets chopped, not melted and stuck.
8. Shine Stainless Steel with Olive Oil
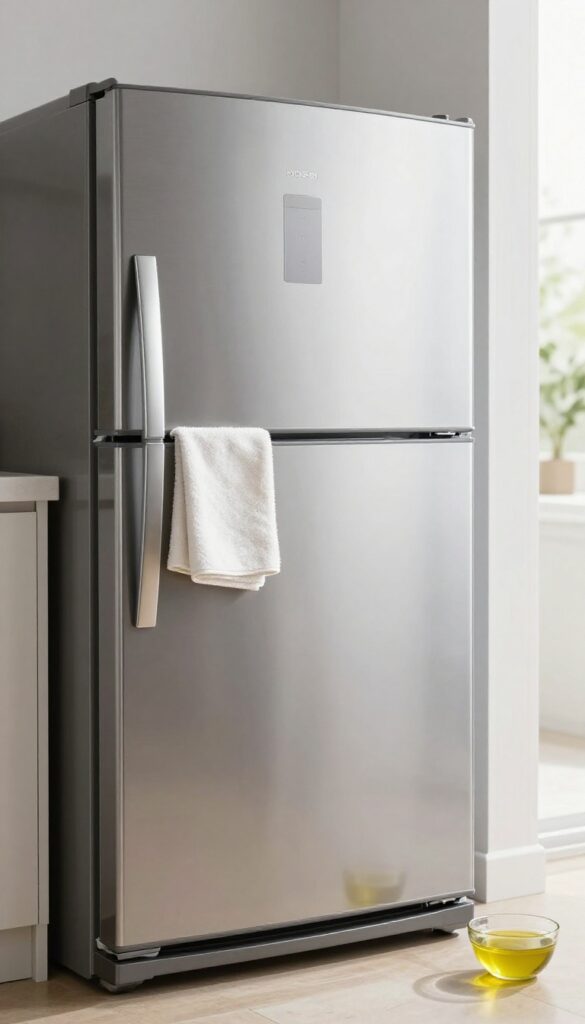
Stainless steel appliances look sleek when they're clean, but they're notorious for showing every fingerprint, smudge, and water spot. Commercial stainless steel cleaners work, but they can be pricey and full of chemicals. A simple kitchen staple—olive oil—can give you the same shine without the extra cost or fumes.
Olive oil is a natural polish that removes light grime and leaves a protective, streak-free finish. The key is using a tiny amount—too much will leave a greasy film. Pair it with a microfiber cloth to avoid lint and scratches.
This trick works on refrigerators, dishwashers, ovens, and range hoods.
Why Olive Oil Works
Olive oil is a mild, food-safe oil that fills in microscopic scratches on stainless steel surfaces. This smooths out the finish, reducing the appearance of fingerprints and making future cleaning easier. It also helps repel dust and moisture, keeping your appliances looking polished longer.
How To Apply It Right
Drizzle just a few drops of olive oil onto a clean, dry microfiber cloth—not directly on the appliance. Buff the surface in the direction of the grain (usually vertical or horizontal lines). Use a separate dry section of the cloth to remove any excess oil.
For stubborn smudges, wipe with a damp cloth first, then follow with the oil.
What To Avoid
Don't use too much oil or a cloth that leaves lint. Avoid olive oil on matte or brushed finishes with a textured surface—it can darken or spot unevenly. Test on a hidden area first.
Also, skip this method on surfaces near high heat, like the stovetop, as oil can smoke or become sticky.
9. Deodorize the Fridge with Coffee Grounds
Your fridge works hard to keep food fresh, but over time, odors from leftovers, spoiled produce, and forgotten containers can create an unpleasant smell. Instead of reaching for a chemical-laden spray, try a natural solution that's probably already in your kitchen: used coffee grounds. They're excellent at absorbing odors without masking them.
Used coffee grounds are a natural, effective deodorizer because they contain nitrogen, which helps neutralize odors. Simply place a bowl of dried, used grounds on a middle shelf and let them work their magic. Replace the grounds every month to keep your fridge smelling fresh.
This trick also works for freezers and even kitchen cabinets.
How To Prepare The Grounds
After brewing your morning coffee, don't toss the grounds. Spread them on a baking sheet and let them dry completely—this prevents mold. Once dry, transfer them to a small open bowl or a breathable cloth pouch.
Place the bowl or pouch on a fridge shelf where air can circulate around it.
Where To Place The Bowl
For best results, put the coffee grounds on a middle shelf away from strong-smelling foods like onions or fish. Avoid placing them near the back where airflow is limited. The more air that passes over the grounds, the more odors they'll absorb.
When To Replace
Mark your calendar to swap the grounds every 30 days. If you notice the fridge starting to smell again sooner, replace them more frequently. You can also give the bowl a quick stir every few days to expose fresh surface area.
10. Clean Greasy Cabinet Doors with Dish Soap and Vinegar
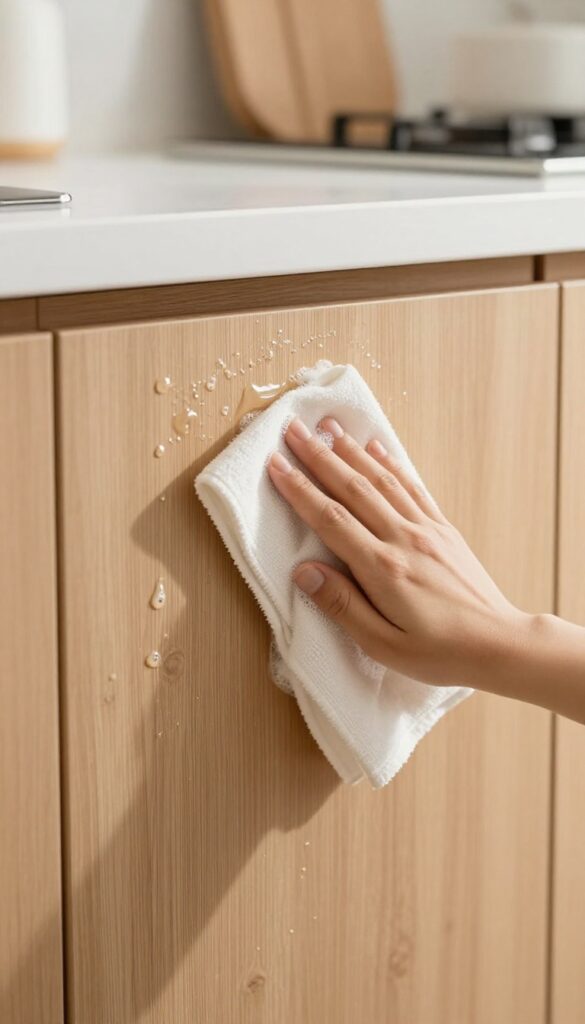
Cabinet doors take a beating in the kitchen. Every time you cook, a fine layer of grease and grime settles on them, turning that once-pristine finish into a sticky, dull surface. You might not notice it until you run your hand across the wood or laminate and feel that tacky residue.
The solution is simpler than you think. A mixture of equal parts warm water and white vinegar, plus a squirt of dish soap, cuts through grease like magic. The vinegar dissolves the oil, while the dish soap lifts it away.
Just dip a soft cloth into the solution, wring it out well, and wipe down the cabinet fronts. For stubborn spots, let the solution sit for a minute before wiping. Rinse with a damp cloth and dry with a microfiber towel to prevent water spots.
Your cabinets will look fresh and feel smooth again.
Why This Mix Works So Well
Vinegar is a mild acid that breaks down grease molecules, making them easier to remove. Dish soap is a surfactant that reduces surface tension, allowing the grease to be lifted away with the cloth. Together, they create a powerful degreaser without harsh chemicals.
Best Practices For Different Cabinet Materials
For painted or laminate cabinets, this mixture is perfectly safe. For wood cabinets with a sealed finish, avoid letting the liquid sit too long to prevent moisture damage. Always test on an inconspicuous area first.
For unfinished or waxed wood, use a drier cloth and wipe quickly.
Pro Tip: Work From Top To Bottom
Start cleaning from the top cabinets and work your way down. This prevents drips from landing on already-cleaned surfaces. Also, use a separate cloth for rinsing to avoid spreading grease back onto the cabinets.
11. Remove Hard Water Spots from Glassware with Vinegar Soak
Cloudy, spotted glassware can make your cleanest glasses look dirty. Hard water minerals are usually the culprit, leaving a film that regular washing can't touch. White vinegar cuts through that mineral buildup without any scrubbing.
Fill your sink or a large basin with undiluted white vinegar and submerge the affected glasses completely. Let them soak for 15 minutes—no longer, or the vinegar might etch softer glass. After soaking, wash each glass with dish soap and warm water, then dry immediately with a lint-free cloth.
For stubborn spots, use a soft sponge to gently wipe the glass before rinsing. This method restores clarity and leaves glasses streak-free.
Why Vinegar Works
White vinegar is acidic, which dissolves the calcium and magnesium deposits left by hard water. Unlike abrasive cleaners, it won't scratch glass. It's also cheap and non-toxic, making it a safe choice for everyday glassware.
Preventing Future Spots
To keep glasses clear, rinse them with distilled water after washing, or add a rinse aid to your dishwasher. Drying glasses immediately with a soft cloth also prevents water spots from forming in the first place.
When To Avoid This Method
Don't use vinegar on antique or hand-painted glass, as the acid can damage delicate finishes. Also avoid soaking glasses with gold or platinum rims—the vinegar can cause the metal to flake off.
12. Freshen the Dishwasher with a Bowl of Vinegar
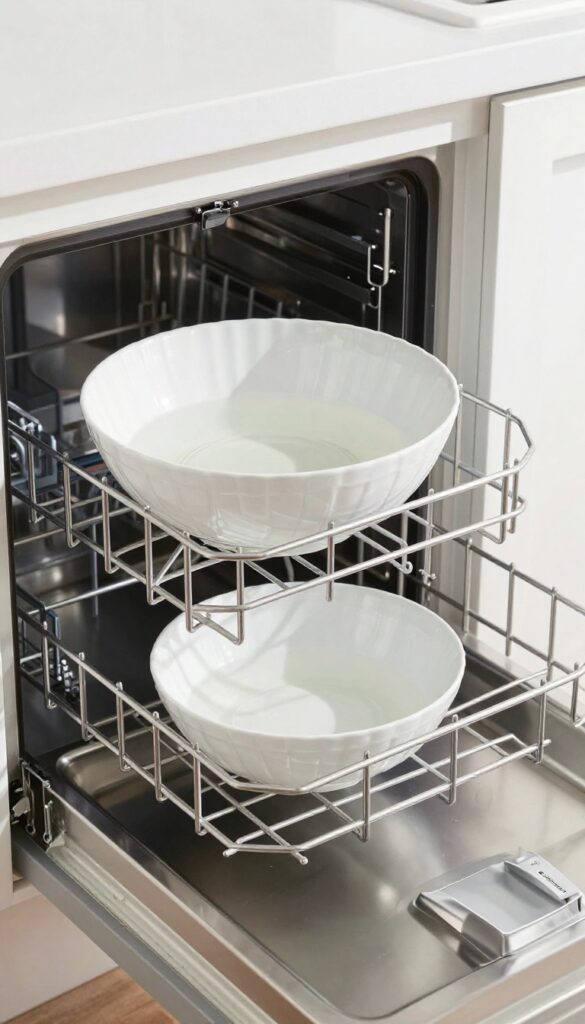
Your dishwasher works hard to clean your dishes, but it can get pretty grimy itself. Over time, grease, soap scum, and food particles build up inside, leading to musty odors and less effective cleaning. You might notice a film on your glassware or a funky smell when you open the door.
That’s a sign it’s time for a deep clean.
The easiest way to refresh your dishwasher is with a simple bowl of white vinegar. Vinegar is a natural deodorizer and mild acid that breaks down mineral deposits and grease without harsh chemicals. Here’s how to do it right.
Why Vinegar Works So Well
White vinegar is acidic enough to dissolve hard water deposits and soap residue, but gentle on dishwasher components. It neutralizes odors by killing odor-causing bacteria and mold. Unlike bleach, it won’t damage rubber seals or stainless steel interiors.
Step-by-step Cleaning Routine
Start by removing any food debris from the filter and drain. Place a dishwasher-safe bowl filled with 1 cup of white vinegar upright on the top rack. Run a hot water cycle (the longest one) with no detergent.
The vinegar will circulate and clean the interior. After the cycle finishes, leave the door open for a few minutes to air dry.
When To Do This And Extra Tips
Aim to vinegar-clean your dishwasher once a month to prevent buildup. For extra freshness, sprinkle a cup of baking soda on the bottom of the empty dishwasher and run a short hot cycle after the vinegar treatment. This helps remove any lingering vinegar smell and polishes the interior.
13. Clean Microwave Turntable with a Paste
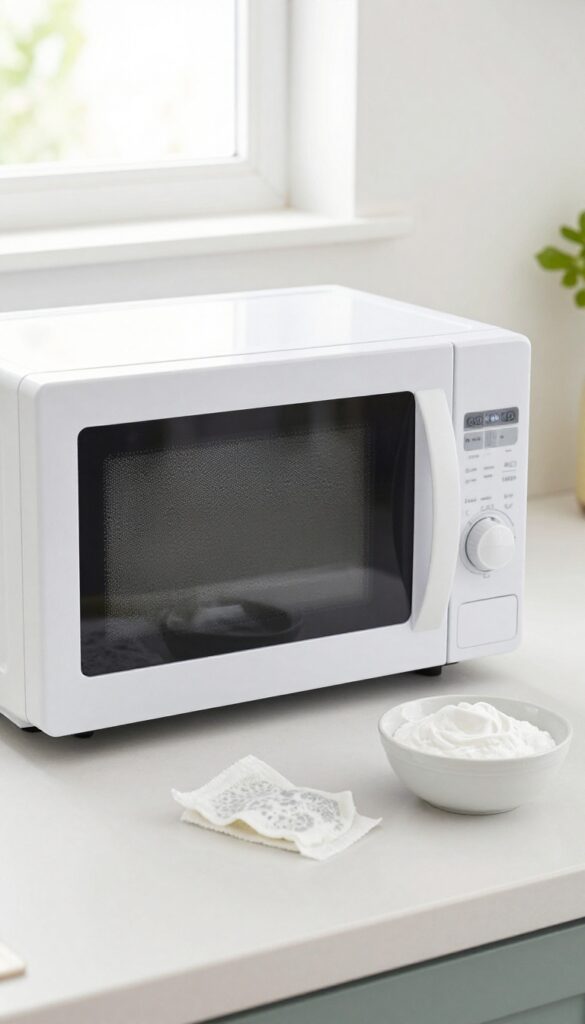
The microwave turntable often gets overlooked during routine cleaning, yet it bears the brunt of splattered sauces and reheated leftovers. A simple paste can cut through that baked-on grime without harsh scrubbing.
Mix three tablespoons of baking soda with just enough water to form a thick paste. Remove the turntable from the microwave and spread the paste over any crusty spots. Let it sit for 10–15 minutes to soften the residue, then scrub gently with a non-abrasive sponge.
Rinse thoroughly under warm water and dry before replacing. For extra freshness, wipe the interior with a vinegar-water solution afterward.
Why Baking Soda Works
Baking soda is mildly abrasive yet gentle enough not to scratch glass or ceramic. It also neutralizes odors, so your turntable comes out smelling clean, not like last night's spaghetti.
Avoiding Common Mistakes
Never use steel wool or harsh scouring pads on the turntable—they can leave micro-scratches that trap food. Also, make sure the turntable is completely dry before returning it to the microwave to prevent moisture from causing mold.
14. Wipe Down Range Hood Filters with Degreaser
Range hood filters work hard trapping grease and smoke, but they can't do their job when clogged. A greasy filter also becomes a fire hazard and recirculates stale air. Cleaning them regularly keeps your kitchen smelling fresh and your hood running efficiently.
Check Your Filter Type
Most range hoods have either metal mesh filters or charcoal filters. Metal ones are reusable and can be washed; charcoal filters need replacement every few months. Check your manual or look at the filter—if it's metal, you're good to go with this cleaning method.
Soak In Hot, Degreasing Water
Fill your sink or a large basin with hot water and add a generous squirt of degreasing dish soap. Submerge the metal filter completely and let it soak for at least 10 minutes. For heavy buildup, let it sit up to 30 minutes.
The heat and soap break down stubborn grease.
Scrub And Rinse Thoroughly
After soaking, use a soft brush or sponge to gently scrub both sides of the filter. Pay extra attention to corners and crevices. Rinse well with hot water to remove all soap residue.
Shake off excess water and let the filter dry completely before reinstalling.
15. Organize and Wipe Pantry Shelves with a Damp Cloth
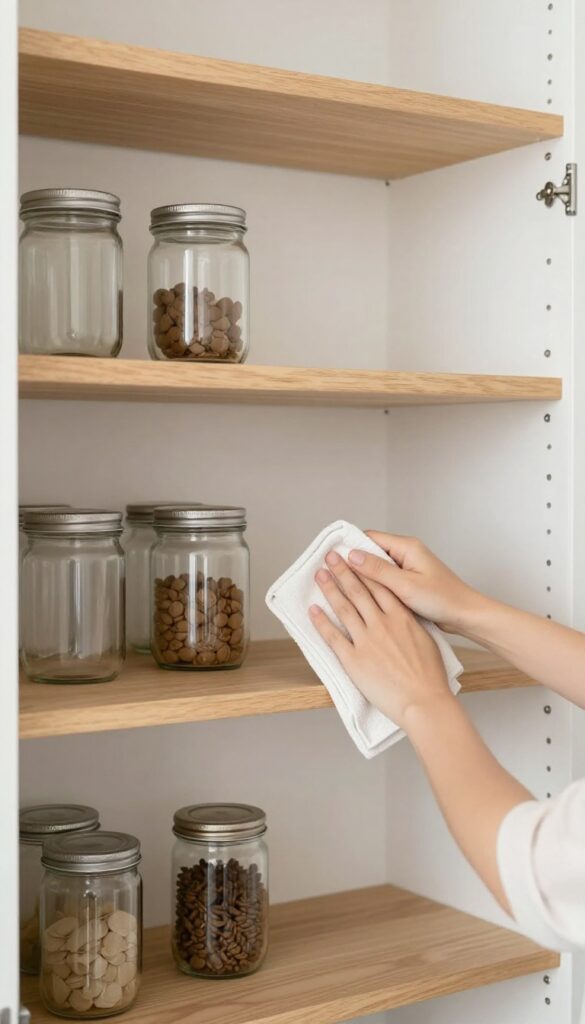
Pantry shelves collect crumbs, sticky spills, and dust bunnies over time. A quick wipe-down not only freshens the space but also makes it easier to find ingredients. Plus, it's a great chance to toss expired items and reorganize.
Start by removing everything from the shelves. Group items by category—canned goods, spices, baking supplies—and check expiration dates as you go. Wipe down each shelf with a damp cloth and a drop of mild dish soap.
Pay extra attention to corners where crumbs hide. Rinse the cloth frequently to avoid spreading grime. Once clean, dry shelves thoroughly with a towel before restocking.
This prevents moisture from damaging labels or causing mold. While you're at it, line shelves with easy-to-clean shelf liners for future maintenance.
Declutter First
Before wiping, take everything out. This is the perfect moment to toss expired or stale items. Donate unopened non-perishables you won't use.
Group similar items together so restocking is logical.
Wipe And Dry Properly
Use a microfiber cloth dampened with warm water and a tiny bit of dish soap. Wipe from back to front, overlapping strokes. Rinse the cloth often.
After cleaning, go over shelves with a dry cloth to remove all moisture.
Restock With A System
Put frequently used items at eye level. Heavier cans go on lower shelves. Label shelves or bins so everything has a home.
This keeps your pantry organized longer and makes future cleanings easier.
FAQ
How often should I clean my kitchen deeply?
Aim for a deep clean every 1-2 weeks, focusing on appliances, cabinets, and floors. Daily wipe-downs of counters and stovetops help maintain freshness.
Can I use bleach on stainless steel?
Avoid bleach—it can damage the finish. Instead, use mild dish soap or a vinegar-water solution, then buff with olive oil for shine.
What's the best way to remove baked-on grease from oven racks?
Soak them in hot water with dryer sheets or a dishwasher tablet overnight. The enzymes break down grease without harsh scrubbing.
How do I get rid of lingering fridge odors?
Place an open box of baking soda or a bowl of coffee grounds inside. Replace every month for best results.
Is it safe to mix vinegar and baking soda in drains?
Yes, it's safe and effective for mild clogs. The fizzing action helps dislodge debris. Follow with hot water to flush.
Conclusion
A fresh kitchen doesn't require a full day of scrubbing or expensive products. By targeting the messiest spots with these simple, proven methods, you can keep your cooking zone clean and inviting with minimal effort. Start with the tip that solves your biggest frustration—whether it's greasy stovetops or smelly drains—and build from there.
Small, consistent habits make all the difference. Your kitchen will thank you, and so will your next meal.