15 Cleaning Tile Floors Tips for Grime and Brighter Shine
Tile floors look great when they're clean, but keeping them that way can feel like a losing battle. Grime settles into grout lines, soap scum clouds the surface, and before you know it, your floors look dull and dingy.
You don't need a professional crew or a cabinet full of harsh chemicals to get them sparkling again. A few smart techniques and everyday ingredients can make a huge difference.
These 15 tips target the toughest tile floor problems—from ground-in dirt to hazy residue—so you can bring back that just-installed shine without the elbow grease.
1. Sweep or Vacuum First to Remove Loose Grit
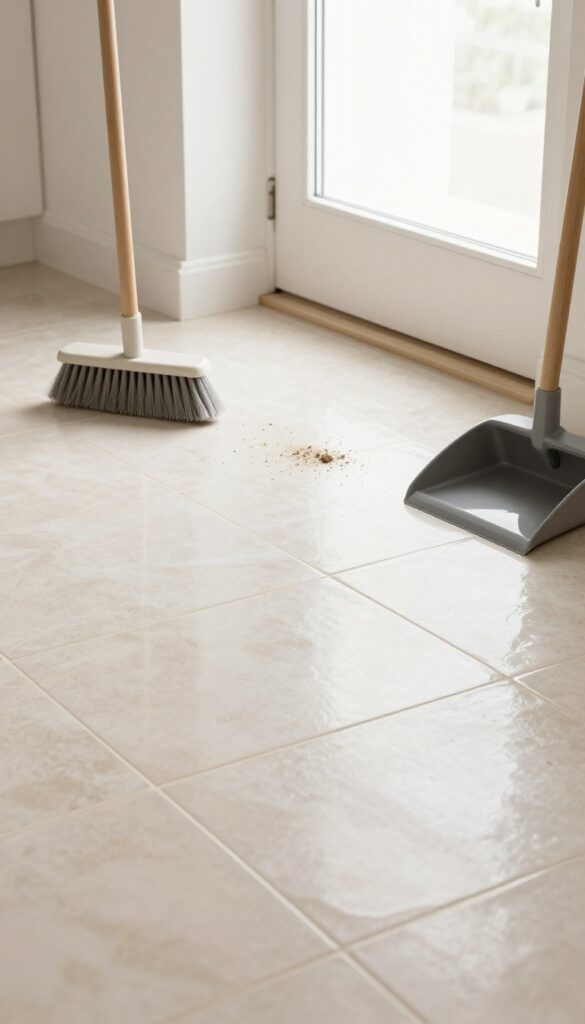
Before you even think about mopping, get rid of the loose stuff. Dirt, dust, and tiny pebbles act like sandpaper when you drag a wet mop across the floor. That scratching dulls the finish over time.
A quick dry cleanup takes two minutes and saves you from scrubbing later.
Sweeping or vacuuming daily prevents grit from embedding into the tile surface. For best results, use a soft-bristle broom that doesn't scratch, or a vacuum with a floor attachment (no beater bar). Pay extra attention to corners and along baseboards where debris hides.
If you have pets, a quick pass every evening keeps fur from turning into muddy streaks.
Why Dry Cleaning Matters
Wet mopping over loose dirt just spreads the grime around. Worse, it grinds sharp particles into the tile, creating micro-scratches that trap even more dirt later. Dry cleaning first breaks that cycle.
Best Tools For The Job
A microfiber dust mop picks up fine dust without stirring it into the air. For textured or uneven tile, a vacuum with a soft brush head is more effective. Avoid traditional brooms with stiff bristles—they can leave hairline scratches on glossy tiles.
How Often To Do It
High-traffic areas like kitchens and entryways benefit from daily sweeping. Less-used rooms can go two to three days. The key is consistency: a minute of dry cleaning each day reduces the need for heavy wet scrubbing by half.
2. Use a pH-Neutral Cleaner for Daily Mopping
Many store-bought cleaners are too harsh for tile and grout. Acidic or alkaline formulas can etch the tile surface and eat away at grout over time. A pH-neutral cleaner is the safe, effective choice for regular maintenance.
It lifts dirt without causing damage, keeping your floors looking new longer.
Why Ph Matters
Tile and grout are porous materials. Strong cleaners with low or high pH can react with the surface, causing dullness, discoloration, or even pitting. A pH-neutral cleaner (around 7 on the scale) is gentle enough for daily use but still powerful enough to break down everyday grime.
How To Use It
Mix the recommended amount of pH-neutral cleaner with warm water in a bucket. Dip your mop, then wring it out until it's damp—not soaking wet. Excess water can seep into grout lines and cause mildew or loosening.
Mop in sections, rinsing the mop frequently to avoid spreading dirty water.
Best Practices For Best Results
For extra dirty areas, let the solution sit for a minute before mopping. Avoid using too much cleaner—more doesn't mean better. After mopping, let the floor air-dry or use a clean dry mop to speed things up.
This method leaves no residue and maintains that natural shine.
3. Tackle Grout Lines with a Baking Soda Paste
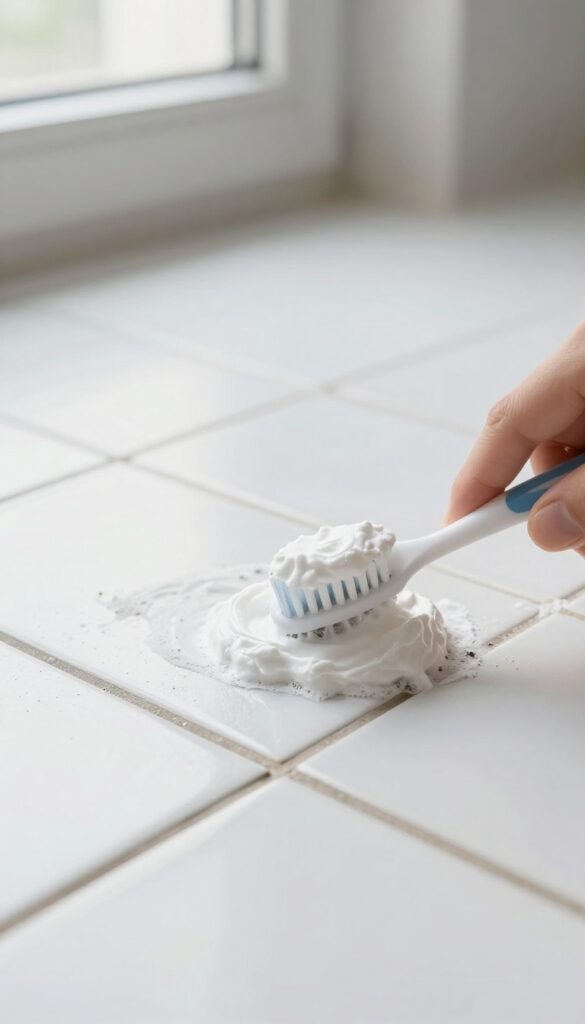
Grout lines are the first place grime sets up camp. Its porous surface soaks up spills, dirt, and soap scum, turning those once-light lines dark and dingy. But you don't need harsh chemicals to get them clean again.
A simple paste of baking soda and water can lift the grime without damaging the grout.
Grout is porous, so it traps dirt and stains easily. A baking soda paste is gentle yet effective for scrubbing away grime without scratching tiles. Let it sit to loosen debris, then scrub with a stiff brush.
Rinse thoroughly to remove residue.
Why Baking Soda Works So Well
Baking soda is a mild abrasive that buffs away grime without scratching tile or grout. It also deodorizes, so it tackles musty smells trapped in grout lines. Plus, it's non-toxic and safe for all tile types.
How To Make And Apply The Paste
Mix three parts baking soda with one part water to form a thick paste. Spread it over grout lines with an old toothbrush or a grout brush. Let it sit for 10 minutes to break down the grime.
Then scrub in circular motions and rinse with clean water.
Extra Boost For Stubborn Stains
For tough stains, add a splash of white vinegar to the paste. It will fizz, which helps lift dirt. Just be careful not to let vinegar sit too long on grout—it can weaken it over time.
Rinse immediately after scrubbing.
4. Use Hydrogen Peroxide for Stubborn Grout Stains
Grout stains that laugh at your regular cleaner need something stronger. Hydrogen peroxide is a mild bleach that lifts deep discoloration without the harsh fumes of chlorine bleach. It's especially good for white or light grout where dark stains really stand out.
Spray 3% hydrogen peroxide directly onto the stained grout lines. Let it sit for a few minutes—you'll see it fizz as it breaks down the grime. Scrub with a stiff brush, then rinse with water.
For extra stubborn spots, mix hydrogen peroxide with baking soda into a paste, apply, let it dry, then scrub off.
Why Hydrogen Peroxide Works
Hydrogen peroxide releases oxygen bubbles that lift dirt and kill mold spores. It's gentler than bleach but still effective on organic stains like food spills or mildew. Always test on an inconspicuous area first to make sure it doesn't lighten your grout color.
How To Apply It Safely
Pour hydrogen peroxide into a spray bottle for easy application. Mist the grout lines, not the tile surface, to avoid any potential lightening. Let it bubble for 5–10 minutes, then scrub with a grout brush.
Rinse thoroughly with water and dry with a cloth.
5. Steam Clean for Deep Grout Cleaning
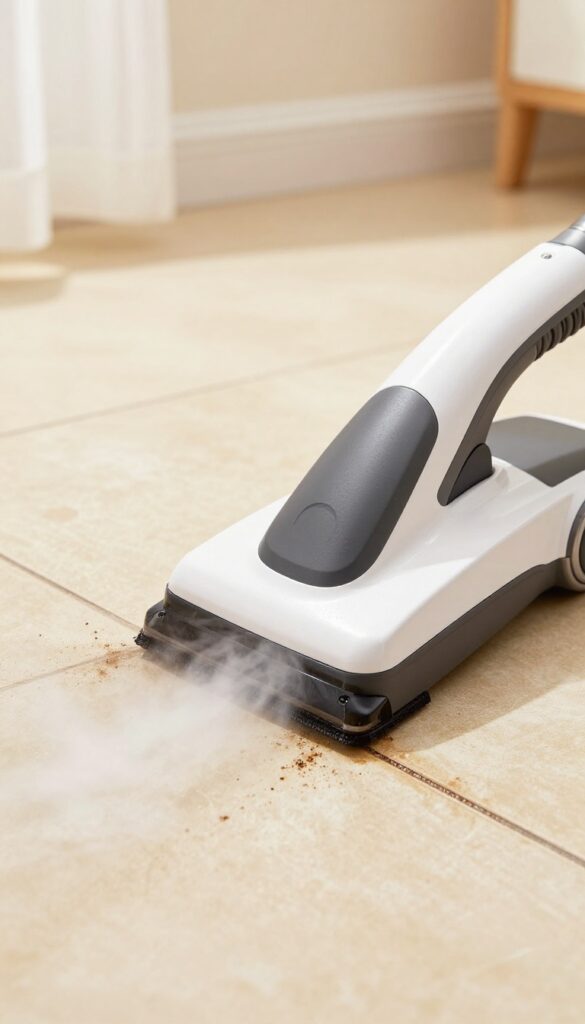
If you're tired of scrubbing grout lines by hand and still seeing stains, it's time to bring out the big guns—a steam cleaner. This tool uses high-temperature steam to blast away embedded dirt, grease, and soap scum without any chemicals. It's especially effective on textured tiles and porous grout, where a mop just can't reach.
Plus, the heat kills mold and mildew spores, so your floors get a deeper clean than any bucket of soapy water can deliver.
Steam cleaning is a game-changer for tile floors, especially when grout lines are the main culprit. The steam penetrates porous surfaces, loosening grime that's been baked in over months or years. It's also safe for most tile types—ceramic, porcelain, natural stone (with proper sealing)—and leaves no chemical residue behind.
Just be sure to follow your machine's instructions: over-wetting can damage unsealed grout or wood subfloors. Start with a test patch in an inconspicuous area, and always vacuum or sweep thoroughly before steaming to avoid pushing dirt deeper into the grout.
Why Steam Works On Grout
Grout is porous by nature, which means it acts like a sponge for spills, dirt, and bacteria. A mop only wipes the surface, but steam forces moisture and heat deep into those tiny pores. The result?
Loosened grime that wipes away easily, plus sanitization that kills up to 99. 9% of germs without bleach or harsh fumes. For heavily stained grout, you might need to go over the same area a couple of times, but the effort is minimal compared to hand scrubbing.
Best Practices For Steam Cleaning Tile
Always start with a clean floor—sweep or vacuum to remove loose debris. Fill your steam cleaner with distilled water to avoid mineral buildup, and attach the appropriate brush or squeegee head. Work in small sections, moving the steamer slowly so the steam has time to penetrate.
After steaming, wipe away the loosened dirt with a microfiber cloth or mop. For extra-stubborn grout, let the steam sit for 10–15 seconds before scrubbing with a grout brush. Avoid using steam on unsealed natural stone like marble or limestone, as the heat and moisture can cause damage.
When To Call In A Professional
If your grout is deeply stained or the tile floor is very large, a professional steam cleaning service might be worth the investment. They use industrial-grade machines that can extract dirt and moisture more effectively than consumer models. However, for regular maintenance and light-to-moderate grime, a home steam cleaner is a fantastic tool.
Just remember to seal your grout after a deep clean—it'll make future steam sessions even more effective.
6. Try a Vinegar Solution for Soap Scum on Ceramic Tile
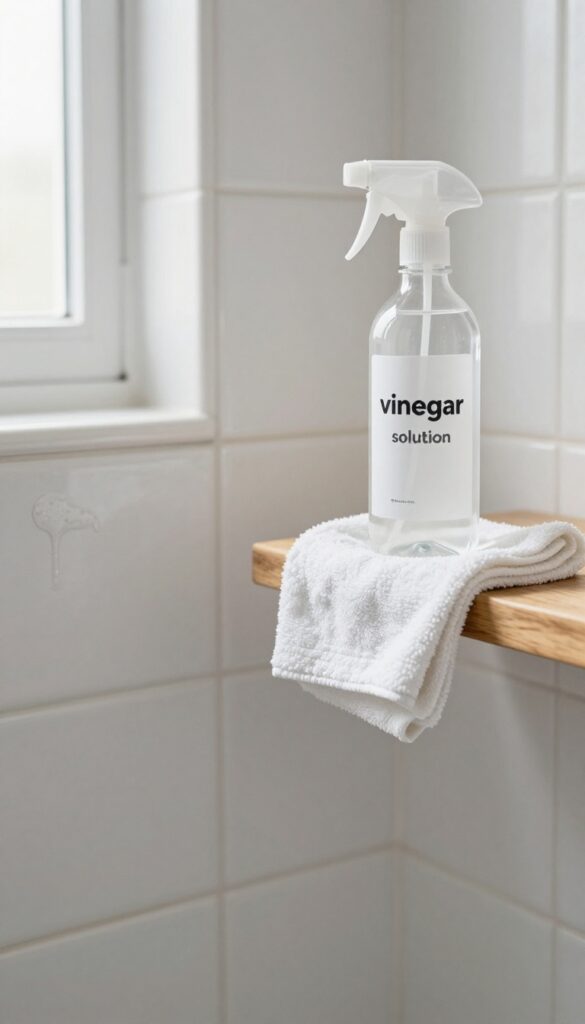
Soap scum is that stubborn white film that builds up on ceramic tiles in bathrooms and kitchens. It's caused by soap reacting with minerals in hard water, and it can make even the cleanest tile look grimy. A simple vinegar solution cuts through it without harsh chemicals.
Mix equal parts white vinegar and water in a spray bottle. Spray the solution directly onto the soap scum and let it sit for about 5 minutes to break down the residue. Then wipe the area with a damp cloth or sponge.
For tougher buildup, you can increase the vinegar ratio or let it sit longer. Rinse with clean water afterward to remove any vinegar smell.
Why Vinegar Works
Vinegar is acidic, which helps dissolve the alkaline mineral deposits in soap scum. It's a natural degreaser that's safe for ceramic and porcelain tiles. Plus, it's cheap and non-toxic, making it a great alternative to commercial cleaners.
When To Avoid This Method
Never use vinegar on natural stone tiles like marble, granite, or travertine. The acid can etch the surface, leaving permanent dull spots. Also avoid vinegar on unsealed grout, as it can weaken the grout over time.
Stick to pH-neutral cleaners for those surfaces.
Extra Tips For Best Results
Use a microfiber cloth to wipe the tile—it picks up residue better than cotton. For vertical surfaces, spray from top to bottom to prevent drips. If soap scum is really thick, make a paste with baking soda and vinegar, apply it, let it fizz, then scrub gently with a soft brush.
7. Use a Squeegee After Showering to Prevent Buildup
Bathroom tile takes a beating from soap scum and hard water every single day. A quick post-shower habit can cut down that buildup dramatically. The tool is simple: a squeegee.
Running it over your tile walls after each shower removes water droplets before they dry into mineral deposits and soap residue. It takes less than a minute and keeps your tiles looking fresh much longer.
The key is consistency. Keep a squeegee hanging in your shower so it's always within reach. After you turn off the water, give the walls a quick once-over, starting from the top and working down.
Don't forget corners and edges where water tends to pool. If you have glass shower doors, squeegee those too—it prevents the cloudy film that makes glass look old and worn. This one habit can reduce the frequency of deep cleaning by weeks.
Why It Works
Soap scum forms when the fatty acids in soap react with minerals in hard water. By removing the water before it evaporates, you stop that reaction from happening in the first place. Less residue means less scrubbing and fewer harsh cleaners needed.
Best Squeegee For The Job
Look for a squeegee with a rubber blade that's soft enough to glide without scratching tile. A stainless steel or plastic handle with a hook makes it easy to store. Avoid cheap versions with hard plastic blades—they can leave streaks or even damage glossy tile over time.
Make It A Family Habit
Get everyone in the household on board. Keep a squeegee in each shower and remind family members to use it. After a week, it becomes automatic.
You'll notice less grime and a brighter shine with almost zero effort.
8. Polish with a Microfiber Mop for Extra Shine
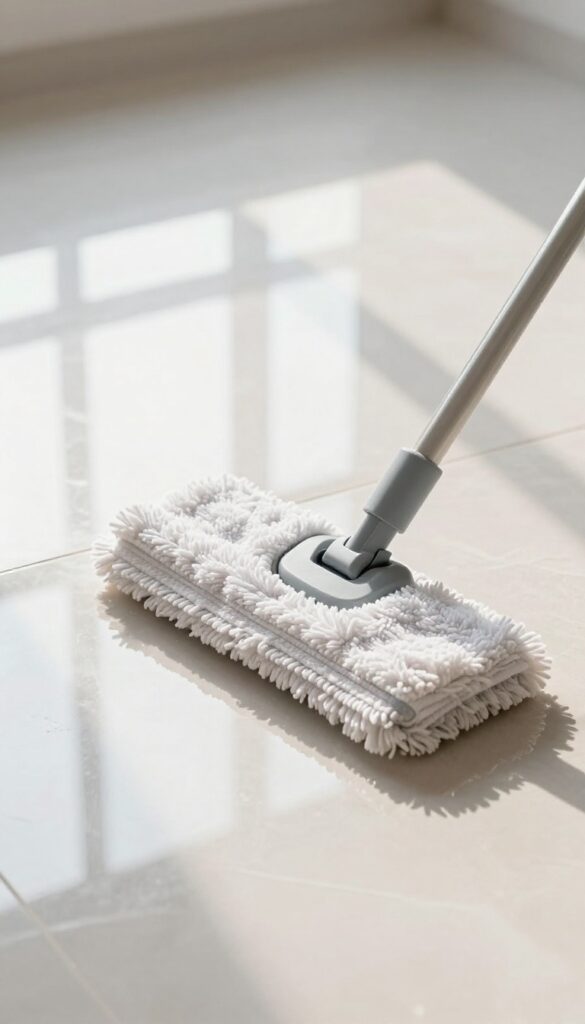
You've mopped, scrubbed, and rinsed—but your tile might still look a little dull or streaky. That last step, a dry polish with a microfiber mop, is what takes your floors from clean to gleaming. It's quick, requires no extra products, and makes a noticeable difference.
After your tile has dried from mopping, grab a clean, dry microfiber mop head or a microfiber cloth. Gently buff the entire floor in a figure-eight motion. This picks up any leftover dust or residue and smooths out water spots, leaving a streak-free shine.
Microfiber's fine fibers trap particles without scratching the tile, making it ideal for glossy finishes. For high-traffic areas or bathrooms, do this once a week to maintain the polished look.
Why Microfiber Works Best
Microfiber has a static charge that attracts dust and dirt, unlike cotton cloths that just push debris around. It also absorbs excess moisture, preventing new water spots from forming. Plus, it's gentle enough for all tile types, including ceramic, porcelain, and natural stone.
How To Polish Without Wax Or Polish
You don't need any spray or wax—just the dry mop. If your floors are extra dull, lightly mist the microfiber with water (not soaking wet) and buff. The slight dampness reactivates any leftover cleaner residue, which you then wipe away.
This leaves a clean, natural shine without buildup.
9. Seal Grout Annually to Repel Stains
Grout is porous by nature, which means it soaks up spills, dirt, and moisture like a sponge. That's why even freshly cleaned grout can start looking dingy again within weeks. The fix is simpler than you think: a good grout sealer creates an invisible shield that keeps grime out and makes future cleaning way easier.
Sealing your grout once a year is one of the most effective ways to maintain bright, stain-free tile floors. It doesn't take long, and the payoff is huge—less scrubbing, fewer stains, and a longer life for your grout.
Why Sealing Matters
Unsealed grout is like an open invitation for dirt, grease, and moisture. Over time, these particles get trapped deep inside the pores, causing permanent discoloration. A penetrating sealer fills those pores without changing the look or texture of the grout.
It repels liquids on contact, so spills bead up instead of soaking in. That gives you a window to wipe them away before they become stains.
Choosing The Right Sealer
Not all sealers are the same. For most ceramic and porcelain tile floors, a penetrating, water-based sealer is the safest bet. It's easy to apply, low odor, and won't leave a glossy residue on your tile.
Avoid film-forming sealers—they can peel or yellow over time. Look for a product labeled "penetrating sealer" or "impregnating sealer" and check that it's compatible with your specific grout type (sanded or unsanded).
How To Apply Sealer Properly
Start with completely clean and dry grout. Apply the sealer with a small brush or applicator bottle, carefully working it into the grout lines. Let it sit for the time recommended on the label (usually 5–10 minutes), then wipe away any excess from the tile surface with a clean cloth.
Don't skip the wipe-down step—dried sealer on tile can leave a hazy film. Let it cure for 24 hours before walking on the floor or getting it wet.
When To Reseal
A simple water test tells you when it's time to reseal. Sprinkle a few drops of water on the grout. If they bead up, the sealer is still working.
If they soak in and darken the grout, it's time for a fresh coat. Most homes need resealing once a year, but high-traffic areas like kitchen floors may need it every six months.
10. Use Rubbing Alcohol for Sticky Residue
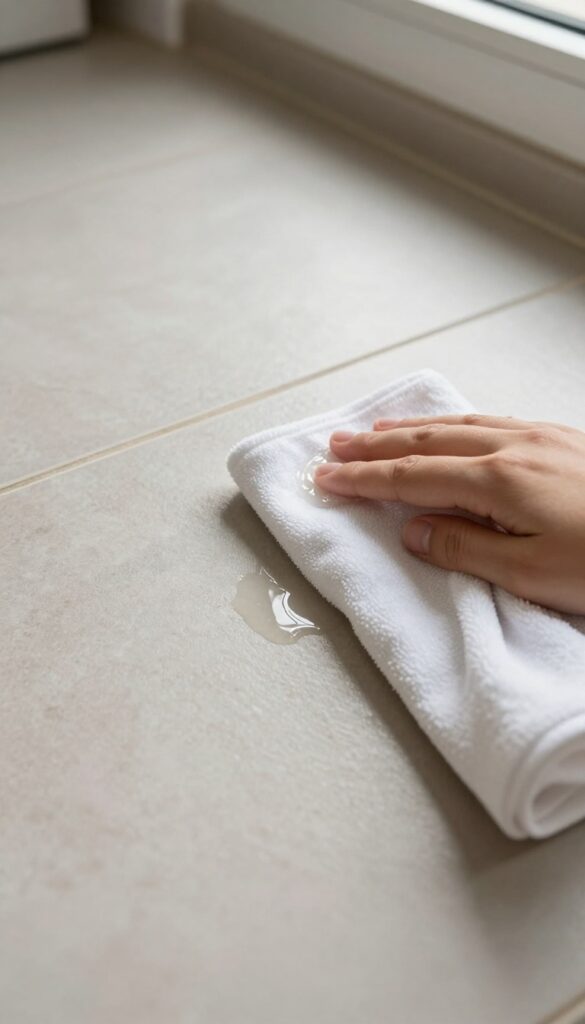
Sticky spots from spilled soda, dropped food, or old tape can turn a clean tile floor into a tacky mess. Regular mopping often just spreads the goo around instead of lifting it. Rubbing alcohol cuts through that sticky residue fast, without harming most tile finishes.
Rubbing alcohol is a gentle solvent that dissolves adhesives and sugary spills on contact. It evaporates quickly, so you won't have to worry about leftover moisture seeping into grout. Just a small amount on a soft cloth is all you need.
How It Works
The alcohol breaks down the chemical bonds in sticky substances like glue, syrup, or sticker residue. Unlike harsh solvents, it won't dull or discolor ceramic, porcelain, or stone tiles. It's safe for most sealed grout too, but always test in an inconspicuous spot first.
Step-by-step Application
Dampen a clean, lint-free cloth with rubbing alcohol—don't soak it. Gently rub the sticky area in small circles. The residue should start to lift within a few seconds.
Wipe away any dissolved gunk with a dry part of the cloth. If the spot is stubborn, let the alcohol sit for 30 seconds before rubbing again.
When To Avoid This Method
Avoid using rubbing alcohol on unsealed natural stone tiles like marble or limestone, as it can etch the surface. Also, skip it on painted or decaled tiles, as it may strip the finish. For those surfaces, try a mild dish soap solution instead.
11. Avoid Wax or Oil-Based Cleaners on Glazed Tile
Not all cleaners are tile-friendly, especially when it comes to glazed surfaces. Wax and oil-based products might promise shine, but they often leave behind a cloudy film that actually dulls your floors. Plus, they can make the surface dangerously slippery.
Stick with water-based cleaners to keep your tile looking clear and bright.
Wax and oil-based cleaners are a common mistake on glazed tile. They don't rinse off completely, leaving a residue that attracts dirt and creates a hazy layer. Over time, this buildup becomes harder to remove and can even damage the glaze.
Water-based cleaners, on the other hand, evaporate cleanly and won't compromise the tile's natural finish. If you've already used a wax product, you can strip the residue with a mixture of warm water and a few drops of dish soap, then rinse thoroughly.
Why Wax And Oil Are Problematic
Glazed tile is non-porous, so wax and oil sit on the surface instead of absorbing. This creates a film that traps dirt and makes floors look dull. The film also reduces friction, turning your floor into a slip hazard, especially in kitchens and bathrooms.
The Right Cleaner For Glazed Tile
Look for pH-neutral, water-based cleaners labeled safe for glazed tile. You can also make your own with warm water and a splash of white vinegar or a mild dish soap. Avoid anything that lists wax, oil, or silicone on the ingredient label.
How To Fix A Waxy Buildup
If you notice a hazy film, mix 1/4 cup of white vinegar with a gallon of warm water. Mop the floor with this solution, then rinse with plain water. For stubborn residue, add a few drops of dish soap.
Dry the floor with a microfiber cloth to prevent streaks.
12. Clean Porcelain Tiles with Dish Soap and Warm Water
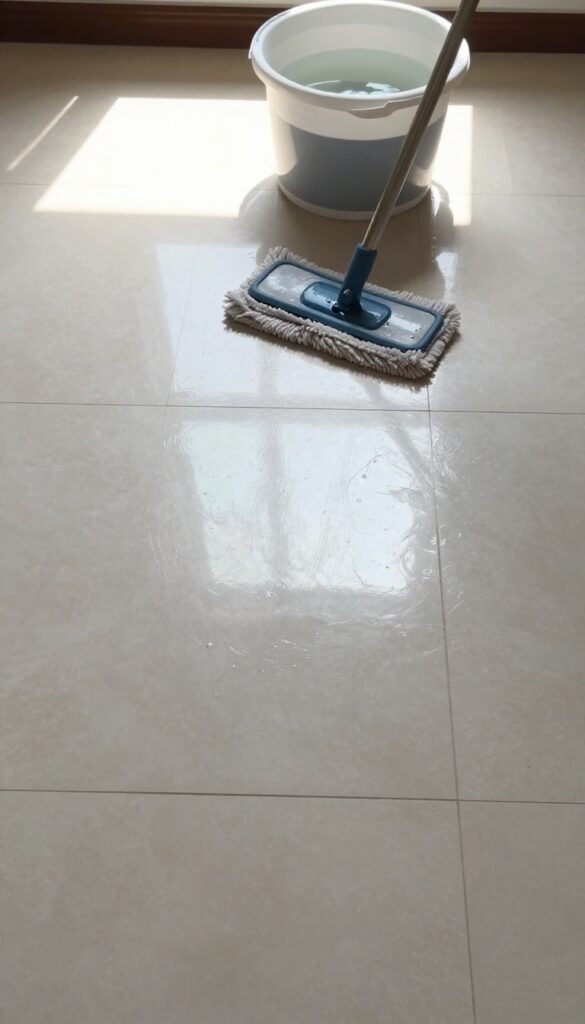
Porcelain tile is dense and non-porous, which makes it less prone to staining than other materials. That also means you don't need heavy-duty cleaners to get it clean. A simple mix of mild dish soap and warm water is often all it takes to lift dirt and restore shine.
Fill a bucket with warm water and add a few drops of mild dish soap. Swirl to mix, then dip your mop and wring it out well—excess water can leave a soapy residue that dulls the finish. Mop in sections, rinsing the mop frequently.
For best results, do a final rinse with plain water to remove any leftover soap film. Dry with a microfiber cloth or allow to air dry with windows open.
Why Dish Soap Works
Dish soap is designed to cut through grease and grime without being too harsh. It's gentle enough for porcelain's glazed surface but effective enough to break down everyday dirt. Plus, it's cheap and you probably already have it under your sink.
The Right Mop Technique
A well-wrung mop is key. Too much water can seep into grout lines or leave streaks. Use a microfiber mop or a sponge mop with a squeeze mechanism.
Work in a figure-eight pattern to avoid pushing dirt into corners.
When To Avoid This Method
If your porcelain tiles have unglazed or textured surfaces, dish soap residue can be harder to rinse away. In that case, use a pH-neutral stone cleaner instead. Also, skip this if you've recently sealed the grout—some sealers react with soap.
13. Remove Hard Water Stains with Lemon Juice
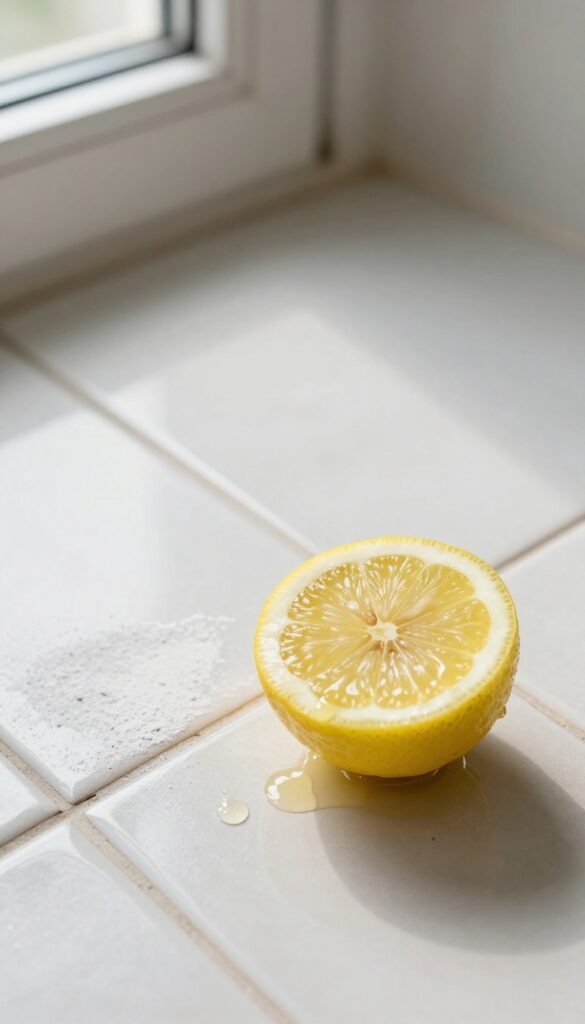
Hard water stains are those stubborn white, chalky deposits that build up on tile, especially near faucets or in bathrooms. They're caused by mineral-rich water evaporating and leaving behind calcium and lime. While they look tough, a simple lemon can cut through them naturally.
The acid in lemon juice breaks down mineral deposits without harsh scrubbing. For ceramic or porcelain tile, this method is gentle yet effective. Just make sure to test on a hidden spot first, especially if your tile is unglazed or natural stone.
How To Apply Lemon Juice
Cut a lemon in half and rub the cut side directly onto the stain. Squeeze gently to release juice as you go. For larger areas, squeeze fresh lemon juice into a bowl, dip a soft cloth, and wipe the stains.
Let the juice sit for about 10 minutes—don't let it dry completely.
Rinse Thoroughly
After the wait, rinse the area with warm water and a damp mop or cloth. Lemon juice is acidic, so leaving it on too long could dull the finish. Dry with a clean towel to prevent new water spots.
If stains persist, repeat the process or try a second application.
Best Tile Types For This Method
Lemon juice works best on glazed ceramic and porcelain tile. Avoid using it on natural stone like marble, travertine, or slate—the acid can etch the surface. For those materials, use a pH-neutral cleaner instead.
Always check your tile's care guidelines first.
14. Use a Soft-Bristle Brush for Textured Tiles
Textured tiles are great for slip resistance, but they have a downside: dirt loves to hide in all those nooks and crannies. A regular mop just glides over the surface, leaving grime trapped in the grooves. That's where a soft-bristle brush comes in—it's the secret weapon for deep cleaning textured tile without causing damage.
A soft-bristle brush, like a dedicated scrub brush or even an old toothbrush, can work your cleaning solution into the texture and dislodge embedded dirt. The key is to use gentle pressure—scrubbing too hard can scratch the tile's finish. Pair it with a pH-neutral cleaner or a homemade solution (like warm water and a splash of vinegar) for best results.
Work in small sections, rinse thoroughly, and watch the grime disappear.
Choose The Right Brush
Not all brushes are created equal. Look for one with nylon or natural bristles labeled "soft" or "non-scratching. " Avoid wire brushes or anything with stiff bristles, as those can etch the tile surface.
A brush with a long handle is easier on your back, while a smaller brush gives you more control for tight spots.
Use A Circular Motion
Instead of scrubbing back and forth, use small circular motions. This helps lift dirt from the grooves without pushing it deeper. Focus on high-traffic areas and spots where you notice discoloration.
Rinse the brush frequently in clean water to avoid redepositing grime.
Don't Forget The Grout
Textured tiles often have wide grout lines that collect just as much dirt. The soft-bristle brush is perfect for scrubbing grout too. For stubborn stains, dip the brush in a baking soda paste before scrubbing.
Rinse well after—leftover residue can attract more dirt.
15. Dry the Floor After Mopping to Prevent Water Spots
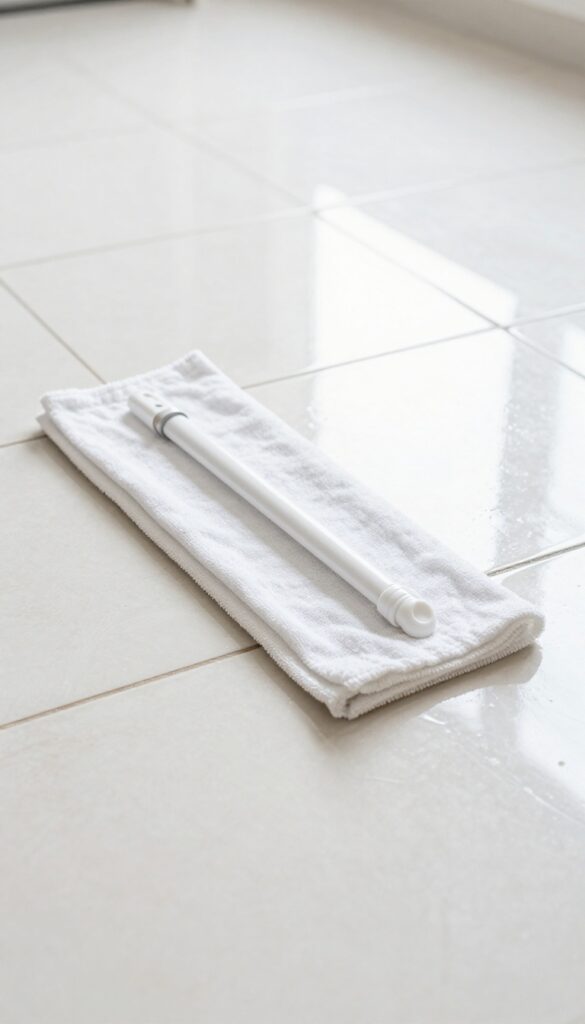
You've just finished mopping, and the floor looks great—until it dries. All those water spots and streaks appear out of nowhere, making the tile look worse than before. The culprit is hard water minerals left behind as moisture evaporates, but you can stop them with one simple step.
Don't let your tile air-dry. Grab a clean, dry microfiber mop or a soft towel and go over the floor immediately after mopping. This picks up any leftover moisture and buffs the surface to a streak-free shine.
It takes just a few extra minutes but makes a huge difference in the final result.
Why Air-drying Causes Spots
When water sits on tile, minerals like calcium and magnesium settle as the water evaporates. These leave behind white, chalky spots that dull the shine. Hard water makes it worse, but even soft water can leave faint streaks if the floor isn't dried.
Best Tools For Drying
Microfiber is your best bet because it's highly absorbent and lint-free. A flat microfiber mop with a clean pad works well for large areas, while a soft terry cloth towel is great for corners and edges. Avoid cotton rags that can leave lint behind.
Quick Drying Technique
Work in small sections as you mop. After mopping a 4×4 foot area, immediately go over it with your dry mop or towel. This prevents water from pooling and gives you a spotless finish.
Change the drying cloth when it gets damp to avoid spreading moisture.
FAQ
Can I use bleach to clean tile grout?
Yes, but sparingly. Bleach is effective for whitening grout, but it can weaken grout over time and may discolor colored grout. Dilute with water (1: 10 ratio) and rinse thoroughly.
How often should I mop tile floors?
High-traffic areas may need mopping once a week, while less-used rooms can go two weeks. Sweep or vacuum daily to remove grit that can scratch tiles.
What is the best cleaner for natural stone tile?
Use a pH-neutral cleaner specifically formulated for stone. Avoid vinegar, lemon, and other acids that can etch the surface. Always test in an inconspicuous area first.
How do I get rid of a hazy film on my tile floors?
Haze is often caused by leftover cleaner residue. Mop with plain warm water and a microfiber mop, then dry with a clean cloth. For stubborn haze, use a mixture of water and a few drops of dish soap.
Can I use a steam mop on all tile floors?
Steam mops are safe for ceramic, porcelain, and sealed stone tiles. Avoid using them on unsealed natural stone or damaged grout, as moisture can seep in and cause damage.
Conclusion
Grime on tile floors can feel stubborn, but you now have a full toolkit to tackle it. Start with the tips that match your biggest pain point—maybe it's dull grout or sticky kitchen tiles—and build from there. Consistency matters more than perfection.
A quick daily sweep and a weekly deep clean with the right methods will keep your tiles looking brighter with less effort. Pick two or three tips to try this week, and you'll see the difference fast.