How to Clean Bathroom Grout in 15 Bright Easy Ways
Grout lines in your bathroom can go from bright to grimy faster than you'd expect, collecting soap scum, mildew, and dirt in those tiny grooves. Scrubbing them by hand often feels endless, but you don't need expensive tools or harsh chemicals to bring them back to life.
These 15 bright and easy methods use everyday items you probably already have under your sink, from baking soda and vinegar to a simple pumice stone. Each technique is designed to cut through stubborn grime without damaging the grout or tiring you out.
Pick the one that fits your schedule and supplies, and watch those lines turn white again in no time.
1. Baking Soda and Vinegar Paste
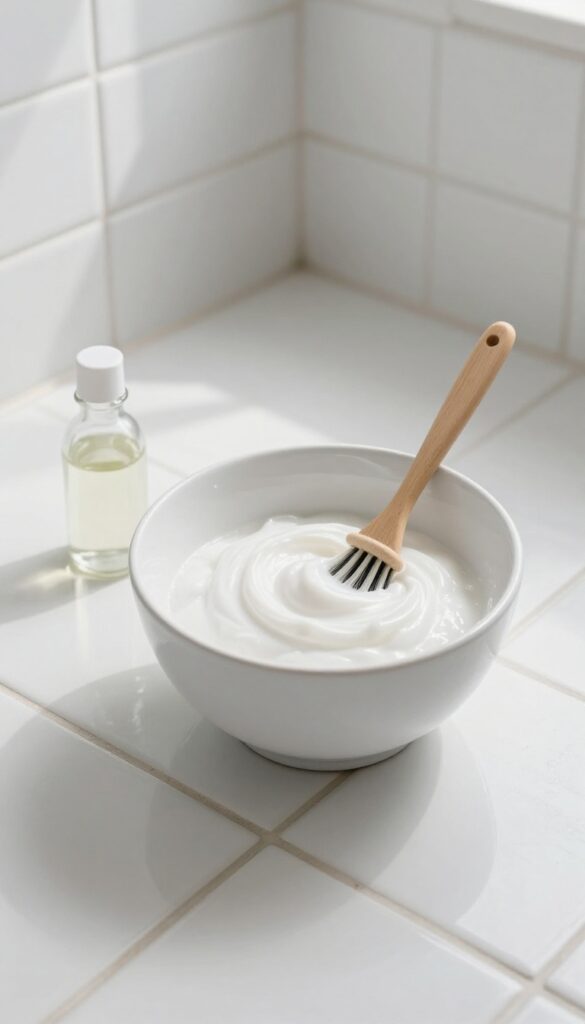
If your grout is looking dingy but not deeply stained, a simple paste of baking soda and vinegar can work wonders. The fizzy reaction helps lift dirt while the abrasive baking soda scrubs without scratching. It's one of the gentlest yet effective methods for routine cleaning.
Mix three parts baking soda with one part white vinegar until you get a thick, spreadable paste. Apply it directly onto the grout lines, let it sit for about 10 minutes to fizz and break down grime, then scrub with a stiff brush. Rinse thoroughly with water and wipe dry.
For extra stubborn spots, add a few drops of dish soap to the paste.
Why It Works So Well
The alkaline baking soda reacts with the acidic vinegar, creating carbon dioxide bubbles that help dislodge dirt from porous grout. The paste's texture provides gentle abrasion, making it ideal for daily or weekly maintenance without damaging the grout seal.
Pro Tips For Best Results
Use a grout brush or an old toothbrush for precision. Work in small sections so the paste doesn't dry out. If the fizzing stops before you're done, add a splash more vinegar.
Always rinse thoroughly to avoid any residue that could attract new dirt.
When To Skip This Method
Avoid this paste on unsealed or very old grout, as the acid can weaken it over time. For heavy mold or mildew, you'll need a stronger solution like hydrogen peroxide or bleach. Test on a hidden spot first to check for discoloration.
2. Hydrogen Peroxide and Baking Soda
When grout needs a serious brightness boost, hydrogen peroxide and baking soda make a powerful team. The peroxide acts as a mild bleach while the baking soda provides gentle abrasion, creating a paste that lifts stains without harsh scrubbing. This combo is especially effective on white or light-colored grout that has yellowed over time.
Mix baking soda with enough hydrogen peroxide to form a thick paste, similar to toothpaste. Apply it directly to the grout lines using an old toothbrush or a small spatula, making sure to work it into the grooves. Let it sit for about 15 minutes—the peroxide will bubble and start breaking down the grime.
Then scrub the area with a stiff brush and rinse thoroughly with warm water. For extra stubborn spots, you can add a few drops of dish soap to the paste. This method is safe for most grout types, but always test on an inconspicuous area first, especially if your grout is colored.
Why This Combo Works So Well
Hydrogen peroxide is a natural bleaching agent that kills mold and mildew spores, while baking soda is a mild abrasive that helps physically lift dirt. Together, they create a chemical reaction that releases oxygen bubbles, which help dislodge debris from porous grout. Unlike chlorine bleach, hydrogen peroxide is less likely to yellow grout over time and is safer for the environment.
Step-by-step Application Tips
Start by cleaning the area with plain water to remove loose dirt. Then mix your paste in a small bowl—use about 3 parts baking soda to 1 part hydrogen peroxide, adjusting for consistency. Apply generously, making sure the grout is fully covered.
Let it sit for 10–15 minutes, but don't let it dry completely; if it starts to dry, spritz a little water or peroxide on it. Scrub with a grout brush or an old toothbrush using circular motions. Rinse with warm water and wipe away any residue with a damp cloth.
When To Use This Method
This technique is ideal for grout that is dingy or yellowed but not heavily stained with mold. It works best on white or light-colored grout because the peroxide can lighten darker grout unevenly. Use it as a monthly maintenance treatment to keep grout looking fresh, or as a deeper clean before sealing.
Avoid using it on unsealed grout that is already damaged, as the bubbling action might worsen cracks.
3. Steam Cleaning
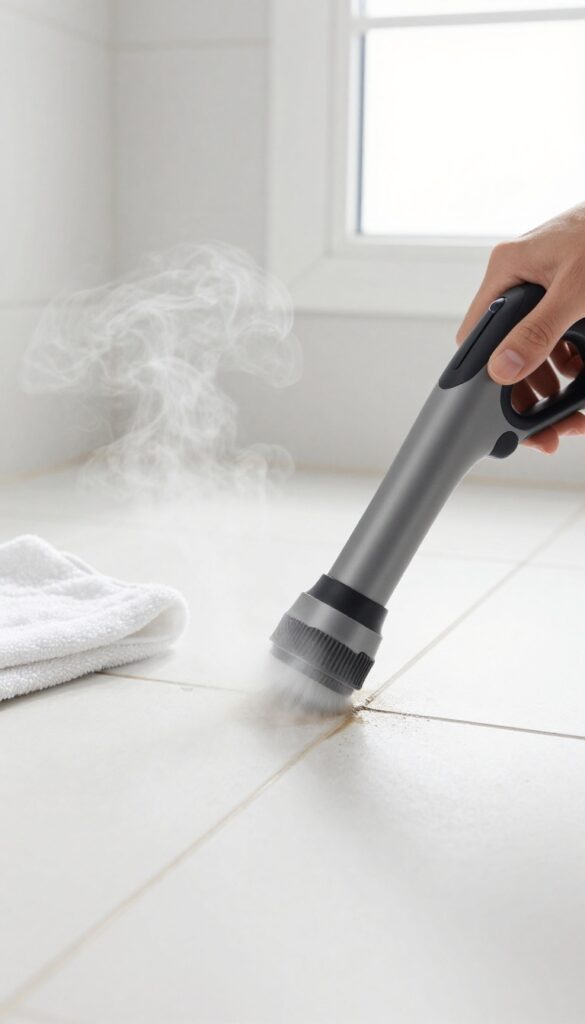
If you want a deep clean without scrubbing or chemicals, steam is your best friend. A handheld steam cleaner uses high heat to loosen dirt, mildew, and soap scum from grout pores, making it easy to wipe away. It's fast, effective, and leaves your bathroom smelling fresh.
Why Steam Works So Well
Steam penetrates porous grout and expands trapped grime, breaking its grip. The heat also kills mold and mildew spores, so you get a sanitized finish. No need for harsh fumes—just water and heat.
How To Steam Clean Grout
Fill your handheld steamer with water and let it heat up. Hold the nozzle close to the grout lines and move slowly, letting the steam saturate each section. After a few seconds, wipe the loosened dirt with a microfiber cloth.
Repeat on stubborn spots.
Pro Tips For Best Results
Work in small sections so the steam doesn't cool down. For extra tough stains, let the steam sit for 10–15 seconds before wiping. Use a brush attachment if your steamer has one—it helps agitate the grime.
Always open a window or turn on the fan to reduce humidity.
4. Bleach Pen Application
Sometimes grout stains are stubborn and localized, like a dark spot near the shower caddy or a ring around the drain. A bleach pen gives you pinpoint control so you can treat only the stained lines without bleaching the surrounding tile. It's a quick fix that works best on white grout, but you need to follow the timing carefully to avoid damage.
Why A Bleach Pen Works So Well
Bleach pens contain a thick gel that clings to vertical grout lines without dripping. The gel delivers a high concentration of bleach directly to the stain, breaking down mildew and organic dirt in minutes. Unlike liquid bleach, the pen lets you draw exactly where you need it, making it ideal for spot treatments.
How To Apply It Correctly
Start by cleaning the area with a mild soap to remove loose grime. Dry the grout with a towel so the gel can stick. Twist the pen to release the gel, then draw along the stained grout lines.
Let it sit for exactly 10 minutes—don't exceed that or the bleach may seep under the tile. Rinse thoroughly with warm water and wipe dry.
Safety Precautions And Limitations
Always ventilate the bathroom when using bleach products. Wear gloves to protect your skin. Bleach pens are only safe for white grout; colored grout will fade or discolor.
Test on a hidden spot first. If the grout is old or porous, the bleach might absorb unevenly, so keep the application thin.
5. Toothbrush and Dish Soap
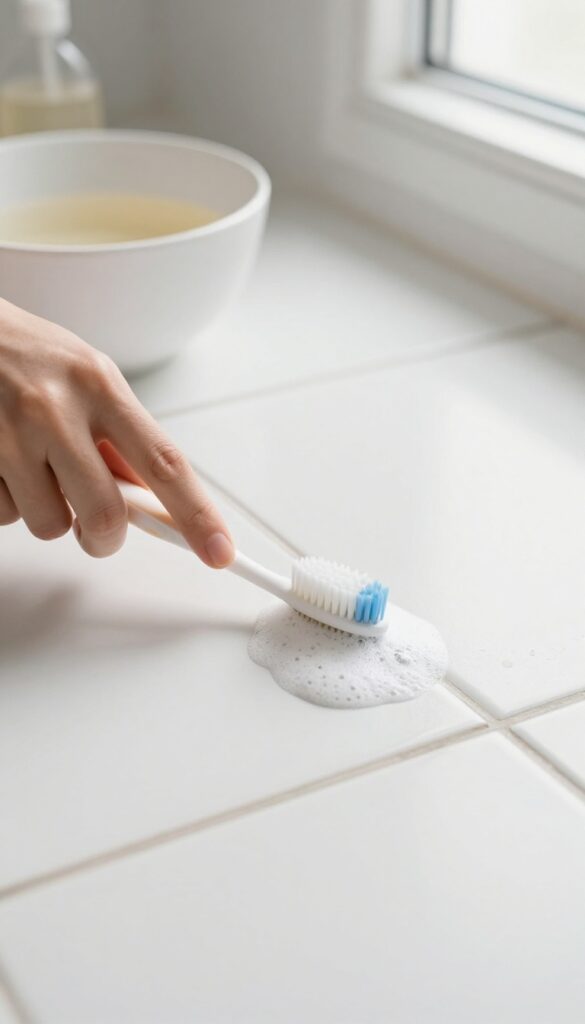
Sometimes the simplest tools are the most effective. An old toothbrush and a drop of dish soap can handle light grout grime without any harsh chemicals. This method is perfect for a quick weekly freshen-up, especially if you stay on top of it.
It's gentle enough for colored grout and won't wear down the surface over time.
What You'll Need
Grab an old toothbrush (a soft or medium bristle works best), a small bowl of warm water, and a squirt of mild dish soap. That's it. No special cleaners or gloves required.
If your grout is extra greasy, add a few drops of white vinegar to the soapy water for extra degreasing power.
How To Scrub
Dip the toothbrush into the soapy water, shake off excess, and scrub the grout lines using small circular motions. Focus on one small section at a time, about a square foot. The bristles will reach into the grooves and loosen dirt.
Rinse the brush often to avoid redepositing grime.
Rinsing And Drying
After scrubbing, wipe the area with a damp microfiber cloth to remove soap residue. Then dry with a clean towel. Leaving soap on the grout can attract more dirt, so thorough rinsing is key.
This method leaves grout clean and streak-free.
6. Grout Cleaning Tool Kit
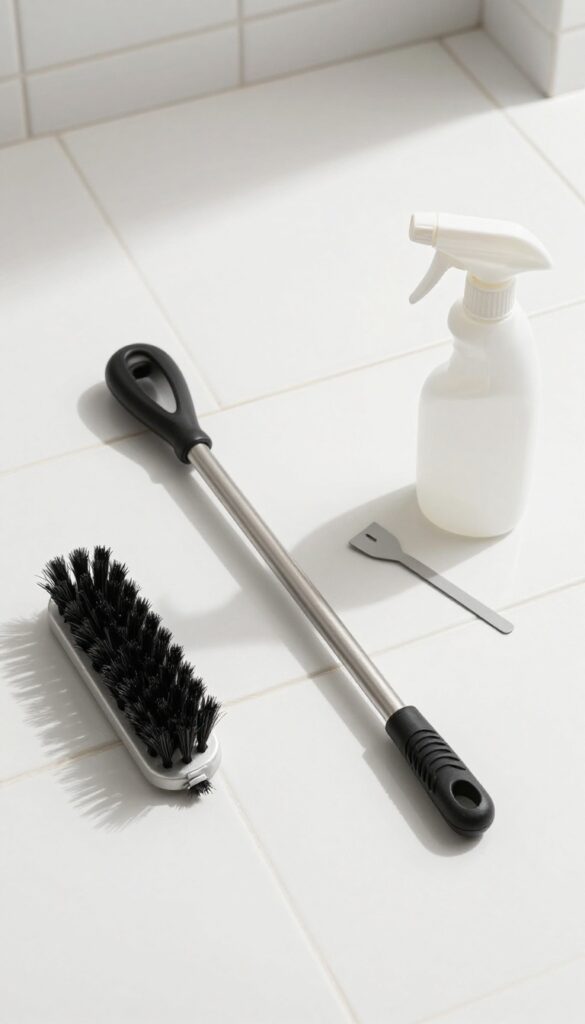
Having the right tools makes grout cleaning faster and less frustrating. Instead of scrubbing with an old toothbrush that leaves your hand cramping, a dedicated grout brush or scraper with a long handle gives you better leverage and control. Pair it with a cleaner that matches your grout type, and you'll cut through buildup with much less effort.
A proper grout cleaning kit doesn't need to be expensive. A stiff-bristled grout brush with an angled head reaches deep into grooves, while a scraper tool helps lift stubborn residue without scratching tiles. For a budget option, a long-handled scrub brush with firm nylon bristles works well on floors and walls.
Whichever you choose, look for ergonomic handles that reduce wrist strain during longer sessions.
Choosing The Right Brush
Grout brushes come in various sizes and bristle stiffness. For narrow lines (1/8 inch or less), a brush with fine, tightly packed bristles is best. Wider grout lines (1/4 inch or more) benefit from a brush with thicker bristles.
Some brushes have a built-in scraper on the back for dislodging stuck-on grime. If you have sensitive tiles like marble or limestone, opt for nylon bristles over brass or steel.
Pairing With A Cleaner
The tool is only as good as the cleaner you use with it. For everyday grime, a mix of baking soda and water works well. Tougher stains call for oxygen bleach or a commercial grout cleaner.
Always test a small area first to ensure the cleaner doesn't discolor the grout. Apply the cleaner, let it sit for a few minutes, then scrub with your brush in a circular motion.
Maintaining Your Tools
Rinse brushes thoroughly after each use to prevent cleaner residue from hardening the bristles. Hang them to dry with bristles facing down. Replace brushes when bristles become frayed or lose stiffness, usually every few months for regular use.
A well-maintained tool lasts longer and cleans more effectively.
7. Oxygen Bleach Soak
Oxygen bleach, like OxiClean, is a game-changer for grout that's stained but not sealed. It lifts organic stains—mold, mildew, soap scum—without the harsh fumes of chlorine bleach. The key is giving it time to work: a 30-minute soak breaks down grime so you barely have to scrub.
Oxygen bleach works by releasing oxygen bubbles that penetrate porous grout and lift stains from within. It's safe for colored grout (always test first) and won't damage tile or grout sealant. For best results, use warm water to activate the powder.
How To Mix And Apply
Mix oxygen bleach powder with warm water according to package directions—usually 1 scoop per 2 cups of water. Stir until dissolved, then apply the solution to dry grout using a spray bottle or sponge. Make sure the grout is saturated but not pooling on the tile.
The Soak And Scrub Routine
Let the solution sit for 30 minutes without letting it dry out. For heavy stains, cover with plastic wrap to keep it moist. After soaking, scrub with a stiff brush or old toothbrush—the stains should lift easily.
Rinse thoroughly with clean water and dry with a microfiber cloth.
When To Use This Method
This works best on unsealed or worn grout where stains have soaked in. It's ideal for bathroom floors, shower walls, and backsplashes. Avoid using on natural stone tiles like marble or travertine, as oxygen bleach can etch their surface.
8. Magic Eraser Sponge
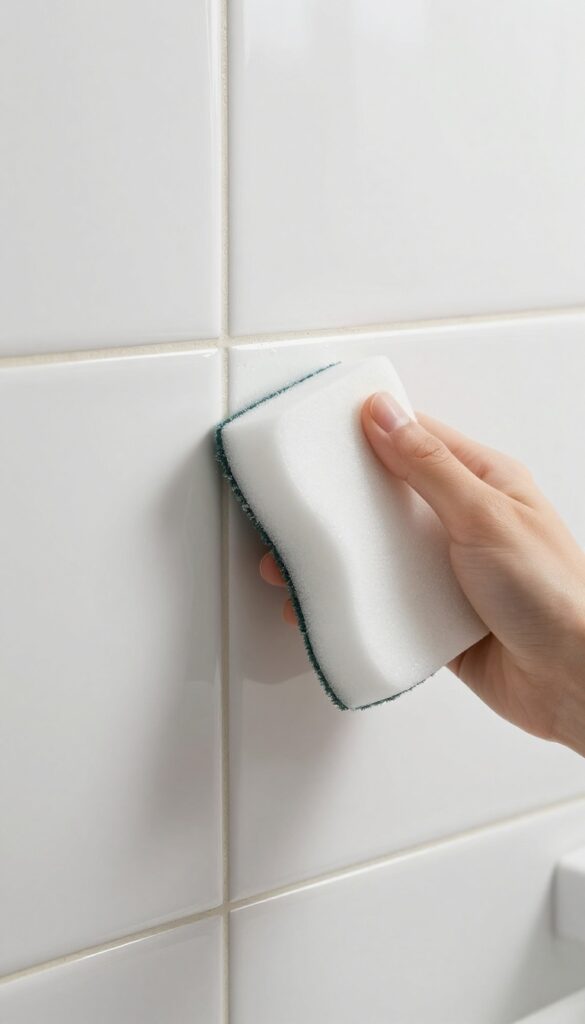
A melamine sponge, often sold as Magic Eraser, is a surprisingly effective tool for tackling surface grime on grout. You don't need any special cleaning solutions—just water. The sponge's micro-abrasive texture lifts dirt and mild stains from the porous surface without harsh scrubbing.
It's perfect for a quick touch-up between deep cleans, especially on lighter-colored grout where dirt shows easily.
Using a Magic Eraser is straightforward. Cut a small piece from the sponge (they tend to wear down quickly, so no need to use the whole thing). Dampen it with water and squeeze out excess so it's moist, not dripping.
Gently rub the sponge along the grout lines, applying light to moderate pressure. You'll see the sponge pick up grime as it turns gray. Wipe the area with a clean, damp cloth to remove any residue.
This method works best on surface stains like soap scum, light mildew, or everyday dirt. For deep-set discoloration or mold that has penetrated the grout, you may need a stronger cleaner. Also, avoid using Magic Eraser on unsealed or delicate grout, as the abrasiveness could wear it down over time.
Test in an inconspicuous spot first.
When To Use Magic Eraser
This method is ideal for maintenance cleaning between deep scrubs. If your grout looks dull or has light spotting from soap residue or hard water, a Magic Eraser can restore its brightness in minutes. It's also great for spot-treating areas that get dirty quickly, like around the sink or shower caddy.
Because it's so quick, you can easily incorporate it into your weekly bathroom routine.
Tips For Best Results
Always dampen the sponge first—using it dry can be too abrasive and may scratch tiles. Work in small sections and rinse the sponge frequently to avoid redepositing dirt. For stubborn spots, let the damp sponge sit on the stain for a minute before wiping.
And remember, the sponge will disintegrate as you use it, so replace it when it becomes too small to handle or loses its texture.
9. Commercial Grout Cleaner
When home remedies aren't cutting it, a dedicated commercial grout cleaner can save the day. These products are formulated specifically to tackle the porous, textured surface of grout without damaging it. Brands like Zep and Clorox offer sprays and foams that penetrate deep to lift embedded dirt and mildew.
Using a commercial cleaner is straightforward, but a few tips can make the process smoother. Always test in an inconspicuous spot first, especially if your grout is colored or unsealed. Work in small sections so the product doesn't dry before you scrub.
And don't forget to ventilate the bathroom – these cleaners can have strong fumes.
Choosing The Right Product
Look for a cleaner labeled for grout, not just general bathroom spray. Gel or foam formulas cling better to vertical surfaces. Read the label to ensure it's safe for your grout type (cement-based vs. epoxy).
Some products also include a built-in scrubber cap for convenience.
Step-by-step Application
Spray the cleaner generously along the grout lines and let it sit for the recommended time – usually 5 to 10 minutes. Use a stiff grout brush or an old toothbrush to scrub in a circular motion. Rinse thoroughly with water and wipe dry with a microfiber cloth to prevent residue.
Safety And Precautions
Wear gloves and open a window or turn on the exhaust fan. Avoid mixing with other cleaners, especially bleach or ammonia. Keep the product away from children and pets.
If you have sensitive skin, consider wearing safety glasses to protect against splashes.
10. Vinegar and Water Spray
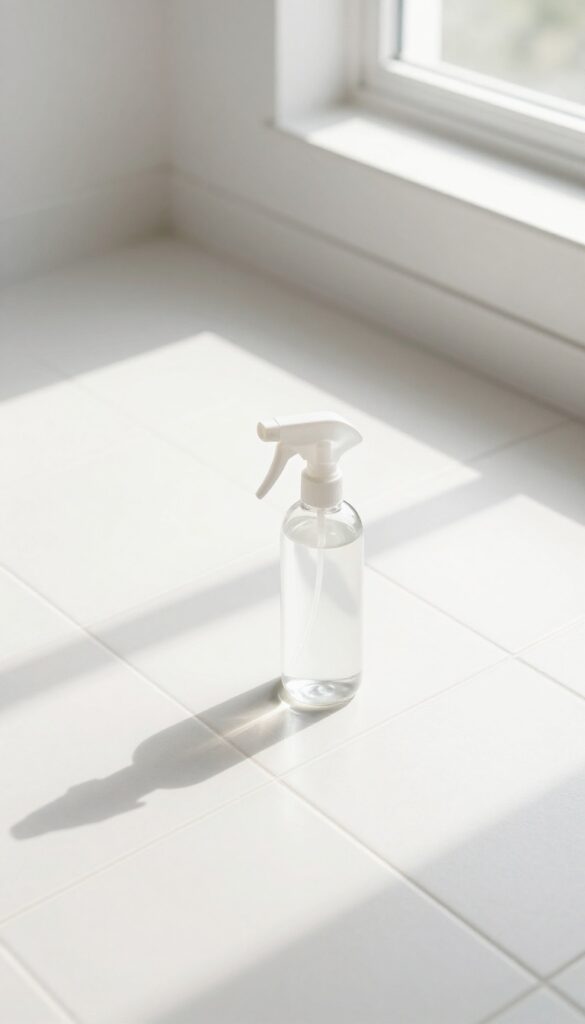
Vinegar is a household superstar when it comes to cutting through mild grime and soap scum. A simple vinegar and water spray works as a gentle daily cleaner that won't harm your grout or your lungs. It's perfect for light soil and regular maintenance, keeping those lines bright without heavy scrubbing.
Mix equal parts white vinegar and water in a spray bottle. Spray the solution directly onto the grout lines until they're wet but not dripping. Let it sit for about 5 minutes to break down the dirt.
Then scrub with a soft brush or sponge, and rinse thoroughly with water. This method is best for light stains and regular upkeep, not for deep-set mold or heavy grime.
Why It Works
Vinegar is mildly acidic, which helps dissolve alkaline-based grime like soap scum and hard water deposits. It's also a natural disinfectant, so it kills some bacteria and mildew spores. Because it's gentle, you can use it as often as you like without worrying about damaging the grout or tiles.
When To Use This Method
This spray is ideal for weekly or bi-weekly cleaning when the grout is only lightly soiled. If you have stubborn stains or mold, you'll need a stronger solution. But for keeping things fresh between deep cleans, vinegar spray is a quick and effective go-to.
Pro Tips For Best Results
Always do a patch test on an inconspicuous area first, especially if your tiles are natural stone. Vinegar can etch some stone surfaces. Also, avoid using vinegar on unsealed grout too often, as the acid can slowly wear it down.
Rinse well after scrubbing to remove any residue.
11. Pumice Stone Scrub
A pumice stone might look like something from a geology class, but it's actually a powerhouse for tackling tough grout stains. When wet, the stone's abrasive surface gently wears away mineral deposits, soap scum, and mildew without scratching ceramic tile. It's especially handy for those stubborn rings around toilet bases or shower corners that other cleaners can't budge.
Wet the pumice stone thoroughly before use—never use it dry, as that can damage tile. Gently rub it over the stained grout lines using light pressure; the stone will gradually wear down as it works. Rinse the area well with water to remove any residue.
This method works best on unsealed grout and ceramic tiles, so test on a small spot first if you're unsure about your tile's finish.
Why Pumice Works So Well
Pumice is a volcanic rock full of tiny air pockets, making it naturally abrasive yet soft enough for tile. When wet, it becomes a fine scrubber that lifts away hard water deposits and embedded grime without scratching. It's a chemical-free option that's safe for septic systems and won't irritate your lungs like bleach can.
Step-by-step Technique
First, soak the pumice stone in water for a few minutes. Then, wet the grout lines with a spray bottle or sponge. Hold the stone at a slight angle and rub gently back and forth over the stain.
Rinse the stone frequently to remove loosened debris. Once the stain is gone, wipe the area with a damp cloth and dry it.
When To Avoid Pumice
Skip the pumice stone on polished tile, natural stone like marble or granite, and any surface with a glossy finish—it can cause dullness or scratches. Also avoid it on painted or sealed grout, as it may strip the coating. Stick to unglazed ceramic, porcelain, or unsealed cement grout for best results.
12. Toothpaste and Baking Soda
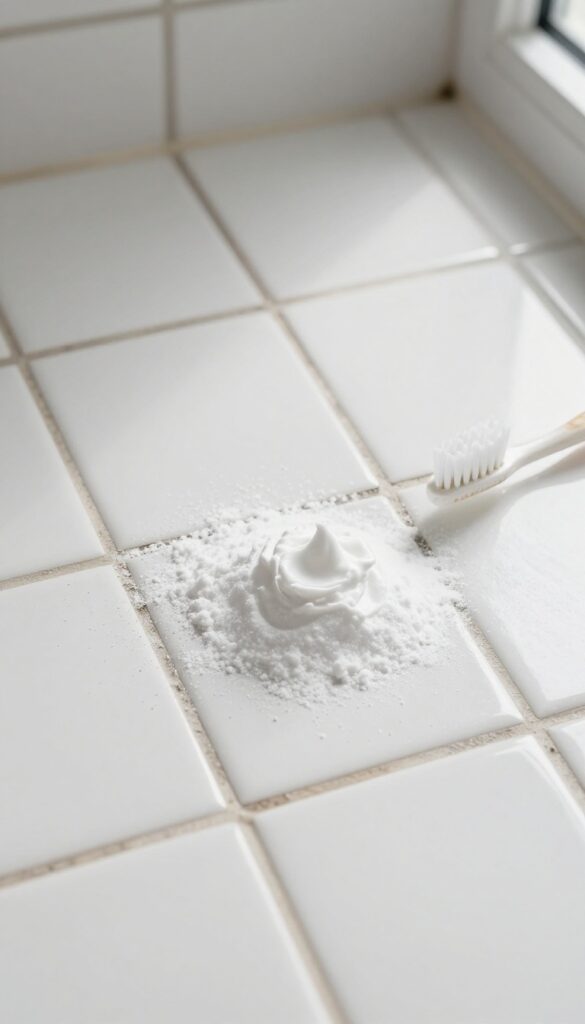
Whitening toothpaste isn't just for your teeth—it can also brighten up dingy grout. The mild abrasives in toothpaste, combined with baking soda's gentle scrubbing power, create a paste that lifts stains without scratching tiles. This duo works especially well on light-colored grout that's lost its luster.
Squeeze a generous amount of whitening toothpaste onto an old toothbrush or a small scrub brush. Dip the bristles into baking soda, then scrub the grout lines using small circular motions. The toothpaste breaks down soap scum and mildew, while the baking soda provides extra grit to polish away embedded dirt.
Rinse thoroughly with water after scrubbing to remove any residue. For tougher stains, let the paste sit on the grout for 5–10 minutes before scrubbing.
Why This Combo Works
Toothpaste contains mild abrasives like silica or calcium carbonate that gently sand away surface stains without damaging grout. Baking soda is a natural alkaline cleaner that helps dissolve grease and organic buildup. Together, they create a non-toxic, low-cost paste that's safe for most tile and grout types.
Best Grout Types To Use It On
This method is ideal for unsealed or light-colored grout. It's gentle enough for ceramic, porcelain, and even natural stone tiles (though test a small area first). Avoid using it on dark or colored grout, as the whitening agents may lighten the color unevenly.
Tips For Maximum Results
Use a whitening toothpaste with baking soda already in it for an extra boost. Work in small sections so the paste doesn't dry out. Rinse with a damp cloth or spray bottle to avoid leaving a white film.
For stubborn spots, repeat the process or let the paste sit longer.
13. Hydrogen Peroxide and Dish Soap
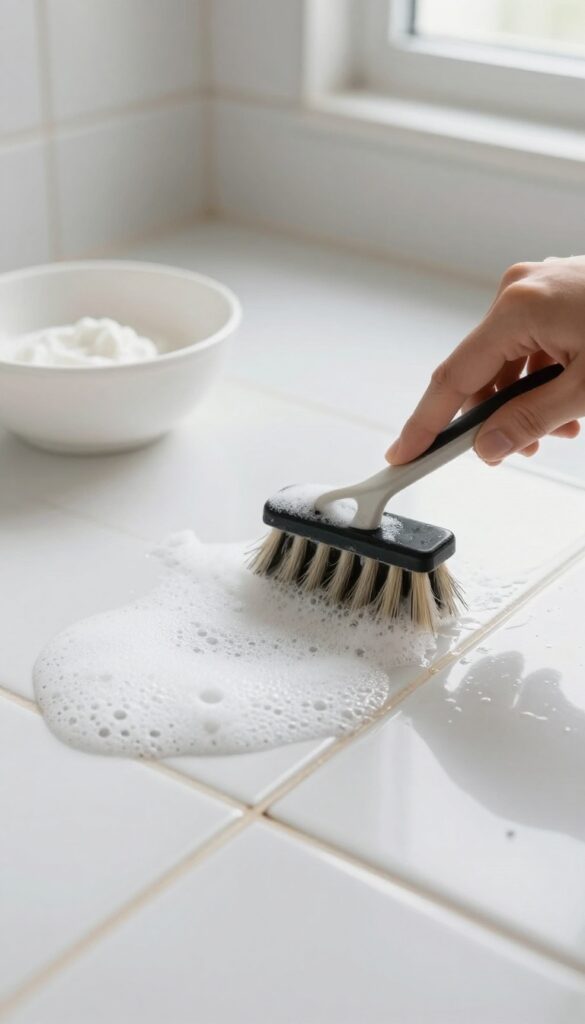
When grout is stained with both grease and mildew, a simple bleach cleaner might not cut it. That's where hydrogen peroxide and dish soap come in—they work together to lift oily residue and kill mold without the harsh fumes of chlorine bleach.
This two-ingredient paste is gentle enough for colored grout but tough on grime. The hydrogen peroxide whitens and disinfects, while the dish soap breaks down soap scum and body oils. It's a safe alternative for homes with kids or pets, since it doesn't release toxic vapors.
Mixing The Right Ratio
Combine 2 parts hydrogen peroxide (3% solution) with 1 part blue dish soap in a small bowl. Stir until it forms a thick, foamy paste. Avoid using gel dish soaps, as they don't mix as well.
The mixture should be spreadable but not runny.
Application And Dwell Time
Use a small brush or an old toothbrush to apply the paste directly onto the grout lines. Let it sit for 10 minutes—don't let it dry completely. If you notice it drying out, spritz a little water over it.
This dwell time allows the peroxide to bubble away dirt and mildew.
Scrubbing And Rinsing
After 10 minutes, scrub the grout with the same brush using circular motions. You'll see the grime lift away. Rinse thoroughly with warm water and wipe dry with a clean cloth.
Repeat on stubborn spots, but avoid leaving the paste on for more than 15 minutes to prevent damage.
14. Grout Sealer Application
Once your grout is sparkling clean, you'll want to keep it that way. Applying a grout sealer is like giving your tiles a protective shield that repels moisture, dirt, and stains. It's a simple step that makes future cleaning a breeze, and it only takes a few minutes.
Pick a quality penetrating sealer designed for your type of grout (sanded or unsanded). Make sure the grout is completely dry before you start. Use a small applicator bottle with a precision tip to trace along the grout lines, being careful not to get sealer on the tile surfaces.
Let it soak in for the time specified on the label, then wipe away any excess with a clean cloth. Allow it to cure fully before exposing the grout to water. Reapply every year or as needed to maintain protection.
Choosing The Right Sealer
Not all sealers are the same. For bathroom grout, look for a water-based, penetrating sealer that won't alter the color or finish. Avoid film-forming sealers that can peel or yellow over time.
Check the label to ensure it's suitable for your grout type and the level of moisture in your bathroom.
Application Tips For Best Results
Work in small sections, applying the sealer evenly along the grout lines. Don't flood the area; a thin, steady bead is enough. Use a damp sponge to immediately wipe off any sealer that gets on the tiles.
For vertical surfaces, apply from the bottom up to prevent drips. Let the sealer dry completely before using the shower or tub.
How Often To Reapply
Grout sealer isn't permanent. In a high-moisture bathroom, plan to reseal every 6 to 12 months. You can test if it's time by sprinkling a few drops of water on the grout.
If the water beads up, the seal is still working. If it soaks in and darkens the grout, it's time for a fresh coat.
15. Professional Grout Cleaning Service
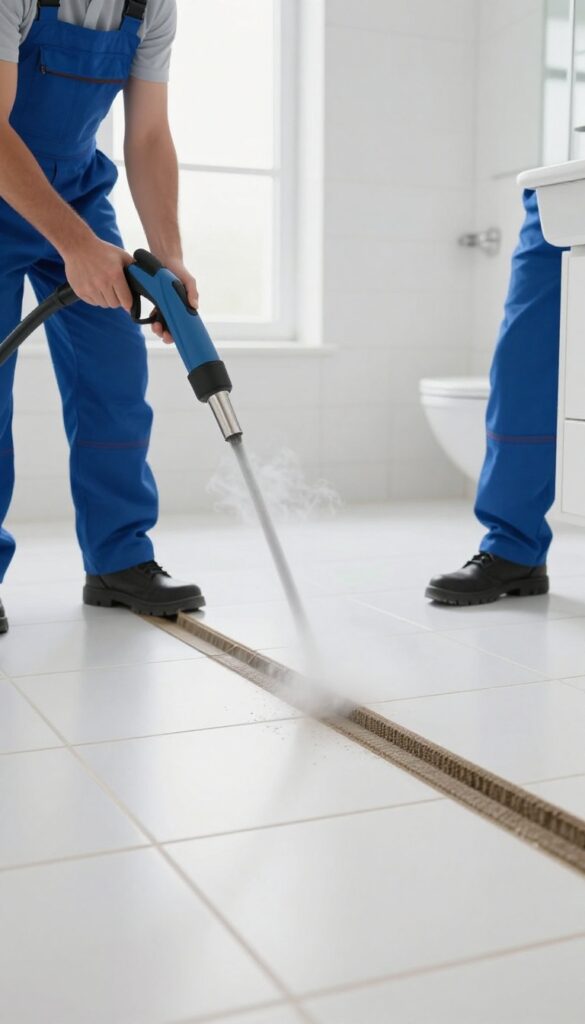
Sometimes DIY methods just aren't enough. If your grout is deeply stained, moldy, or covers a large area, calling in a pro can save you time and frustration. Professional cleaners have industrial-grade equipment and specialized chemicals that can restore grout to like-new condition, often in a fraction of the time it would take you.
Professional grout cleaning services use hot water extraction, steam cleaning, or high-pressure washing combined with powerful detergents to lift years of embedded dirt. They also apply sealants afterward to protect the grout from future stains. While it costs more than DIY, the results are often dramatic and long-lasting.
For bathrooms with extensive tile work or stubborn discoloration, this investment is well worth it.
What To Expect From A Pro
A typical service starts with an inspection, then they apply a cleaning solution and agitate it with a machine. After extraction, they may seal the grout. The whole process can take a few hours for a standard bathroom.
How To Choose A Reliable Service
Look for companies with good reviews, proper insurance, and experience with your tile type. Ask about their cleaning method and whether they use eco-friendly products. Get multiple quotes to compare pricing.
When To Call A Professional
If your grout is crumbling, has black mold that keeps returning, or covers more than 50 square feet, it's time to hire an expert. Also consider it if you've tried multiple DIY methods without success.
FAQ
Can I use bleach on colored grout?
Bleach can discolor or damage colored grout. Test in an inconspicuous area first, or use a color-safe cleaner like oxygen bleach.
How often should I clean bathroom grout?
For maintenance, clean grout every 2-4 weeks. Deep clean every 3-6 months, depending on usage and ventilation.
What is the best natural grout cleaner?
A baking soda and vinegar paste is effective for light stains. For whitening, hydrogen peroxide and baking soda works well.
How do I prevent grout from getting dirty quickly?
Seal grout after cleaning to repel moisture and stains. Also, use a squeegee on shower walls and ensure good ventilation.
Can I use a pressure washer on grout?
Pressure washers can damage grout and tiles if used incorrectly. Stick to low-pressure settings or use a steam cleaner instead.
Conclusion
With these 15 methods, you can tackle grout cleaning in a way that fits your schedule and preferences. Whether you prefer natural solutions or commercial products, there's an option that works. Remember, regular maintenance is key to keeping grout bright.
A quick wipe-down after showers and periodic deep cleaning will extend the life of your grout. Try a couple of these ideas and see which one makes your bathroom shine.