13 Guest Bathroom Remodel Moves for a Smarter Modern Space
Your guest bathroom can do more than just look pretty—it can work smarter, too. The right upgrades cut down on daily hassle, save water, and make guests feel genuinely pampered.
Whether you're starting from scratch or just tweaking a few details, these 13 moves blend modern convenience with timeless comfort. From clever storage to touchless tech, each idea is practical enough for real life and stylish enough to impress.
Ready to turn that spare bath into a standout space? These upgrades will help you get there without overcomplicating the process.
1. Swap in a Floating Vanity for Instant Airiness
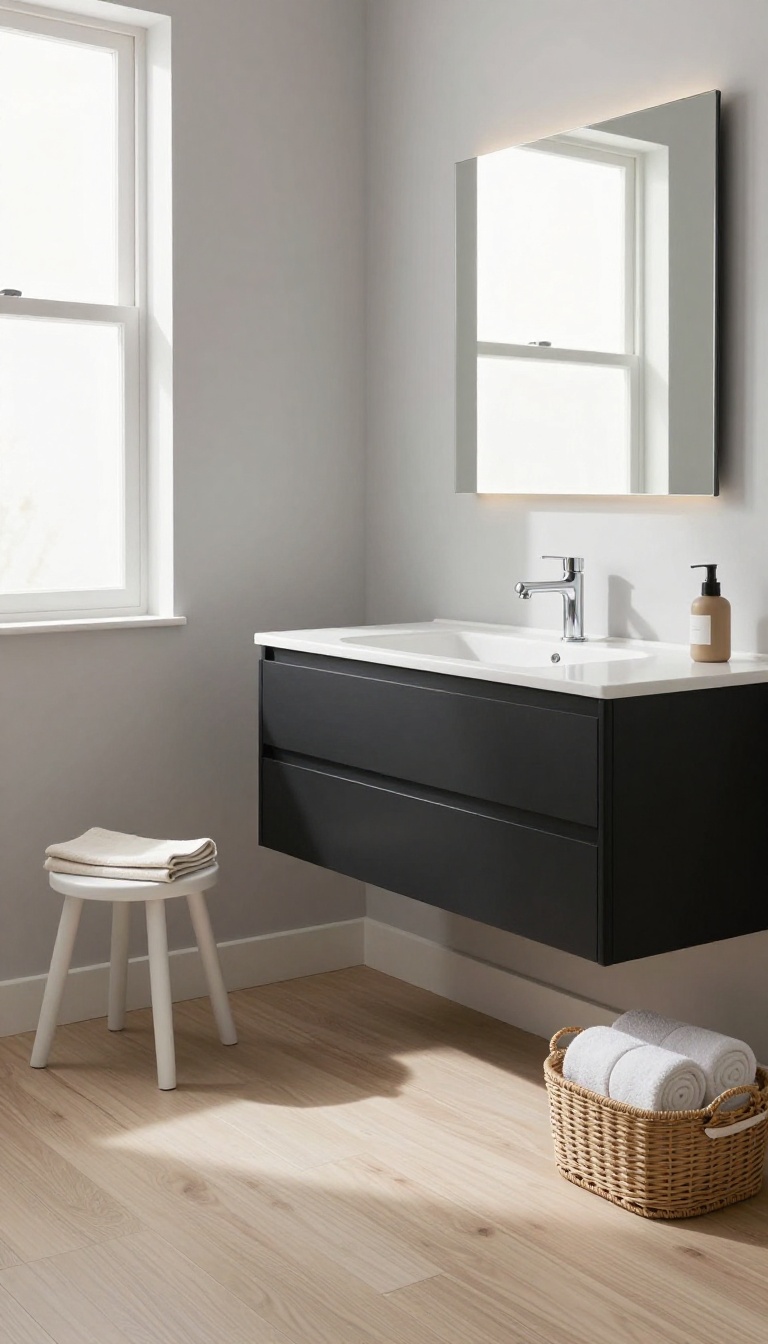
A floating vanity is one of those upgrades that quietly changes the whole feel of a bathroom. By lifting the cabinet off the floor, you open up visual space and make the room feel less boxy. It also gives you a spot to tuck a small stool or basket, which is handy for guests.
The magic of a floating vanity is how it tricks the eye. When the floor is visible beneath the cabinet, the room looks bigger and cleaner. That gap also makes sweeping and mopping a breeze—no more chasing dust bunnies into tight corners.
Plus, the sleek, wall-mounted look instantly modernizes the space, even if the rest of the bathroom is simple.
Why It Feels More Spacious
An open floor line creates a sense of depth. Your eye follows the continuous flooring, which makes the room appear larger than it is. In a small guest bath, this trick is worth its weight in gold.
You can even add a subtle LED strip under the vanity for a soft glow that enhances the floating effect.
Cleaning Made Easier
No more kneeling to scrub around cabinet legs. With a floating vanity, you can run a mop or vacuum right underneath. That means less time cleaning and more time enjoying your weekend.
It's a small convenience that adds up, especially if you host often.
Style Options To Consider
Floating vanities come in all materials—wood, lacquer, stone, even concrete. Pick a finish that matches your bathroom's vibe. For a warm, organic feel, go with oak or walnut.
For a crisp, modern look, try a high-gloss white or matte black. Pair it with a vessel sink or an integrated countertop to keep the lines clean.
2. Install a Smart Thermostatic Shower Valve
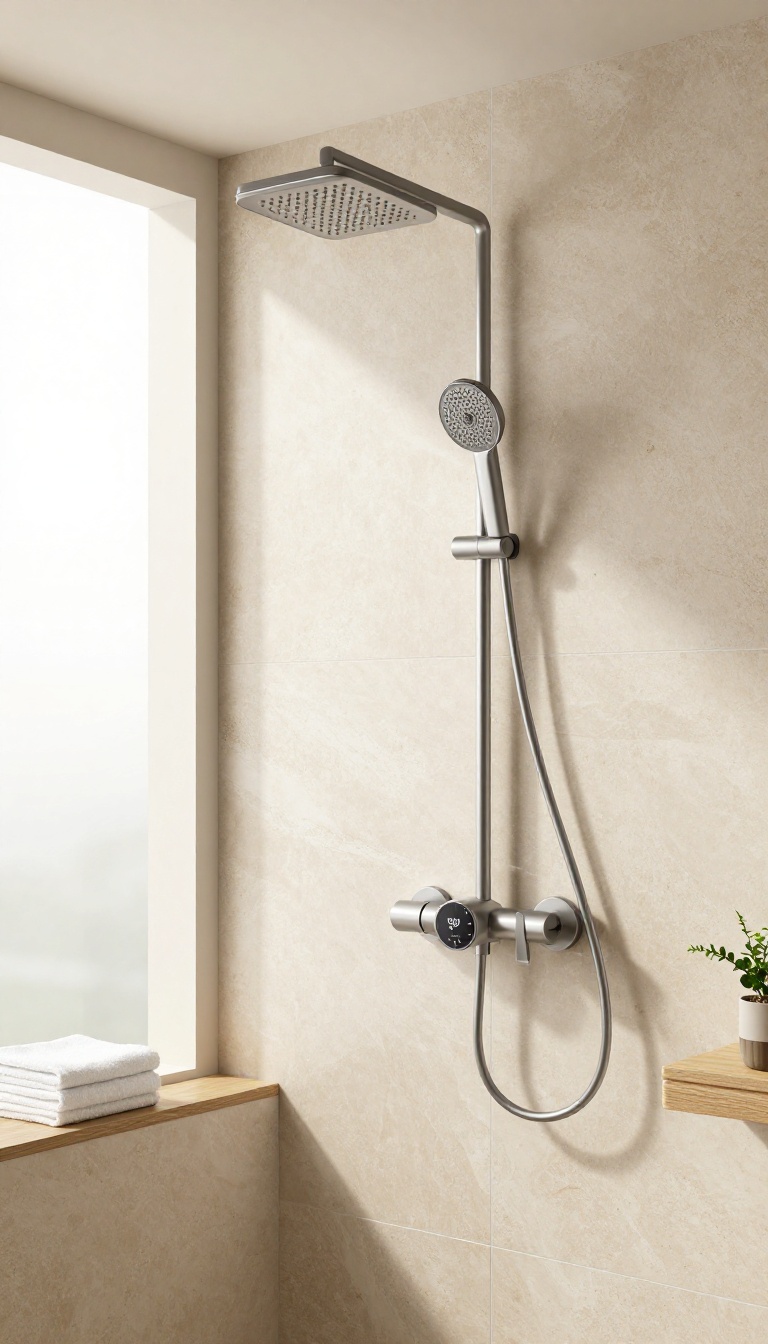
Few things ruin a guest's stay faster than a shower that suddenly turns icy or scalding. A smart thermostatic shower valve puts an end to that drama by keeping water at a precise, pre-set temperature. It's a small upgrade that delivers a big payoff in comfort and safety, making your guest bath feel like a boutique hotel.
A thermostatic valve mixes hot and cold water to maintain a steady temperature, even when someone flushes a toilet or runs water elsewhere in the house. That means no more surprise temperature swings mid-shower. Guests can step in with confidence, knowing the water will stay exactly where they set it.
Plus, many models come with a safety stop that prevents the temperature from going above a certain level—great for families with kids or elderly visitors. It's a simple, smart upgrade that instantly elevates the showering experience.
Why Temperature Stability Matters
Guests expect a comfortable, relaxing shower, but traditional valves can't compensate for pressure changes. A thermostatic valve responds in milliseconds, adjusting the mix to keep the temperature consistent. This not only prevents discomfort but also reduces the risk of burns, especially for children or older guests.
It's a thoughtful touch that shows you care about their well-being.
Smart Features Worth Considering
Look for models with digital displays, preset temperature buttons, and even voice control compatibility. Some allow you to set a max temperature or create custom profiles for different users. Others have built-in flow meters that help track water usage, which is handy if you're aiming for a more eco-friendly bathroom.
These features add convenience without making the shower complicated to use.
Installation And Compatibility Tips
Most thermostatic valves fit standard plumbing, but it's wise to check your water pressure and pipe layout before buying. If you're not confident with DIY, hire a licensed plumber to ensure proper installation. Also, consider the valve's aesthetic—choose a finish that matches your other fixtures, like brushed nickel or matte black, to keep the design cohesive.
3. Add a Heated Towel Rack for Luxury Comfort
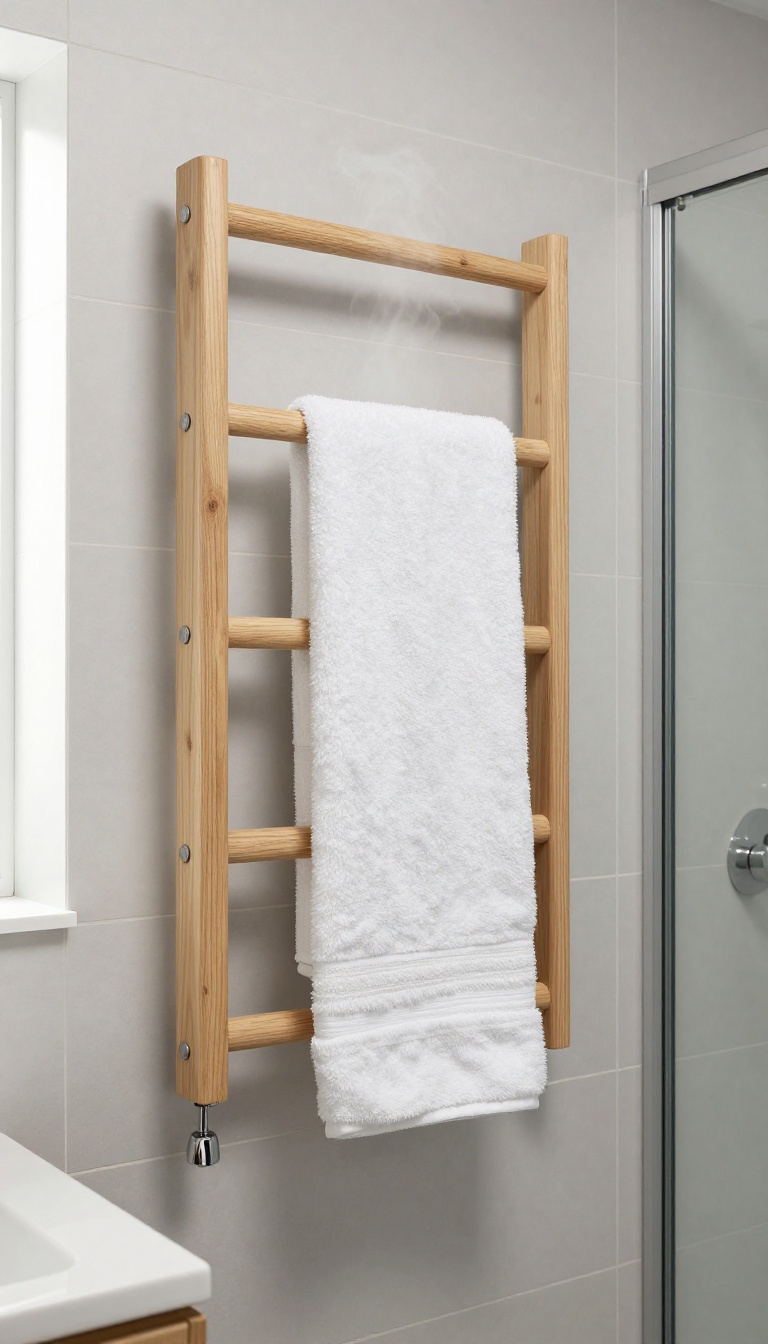
Imagine stepping out of the shower and wrapping yourself in a towel that's warm and fluffy—it's a simple pleasure that can make your guests feel truly cared for. A heated towel rack delivers that cozy experience while also serving a practical purpose: it dries towels quickly, preventing that damp, musty smell that can linger in bathrooms. It's a small upgrade with a big impact on comfort and freshness.
A heated towel rack is more than just a luxury—it's a smart addition that keeps towels dry and ready for the next use. For guests, it adds a spa-like touch that makes the bathroom feel more inviting. Plus, it helps reduce moisture in the air, which can discourage mold and mildew growth.
Whether you choose a wall-mounted or freestanding model, this feature is a thoughtful way to elevate the guest experience.
Why It’s A Guest Favorite
Guests often remember the little details, and a warm towel is one of those touches that stands out. It signals that you've thought about their comfort. Heated racks also help towels dry faster, so guests don't have to deal with damp, chilly linens during their stay.
It's a practical luxury that makes the bathroom feel more like a boutique hotel.
Choosing The Right Style
Heated towel racks come in various designs—from sleek wall-mounted bars to ladder-style floor models. Pick one that matches your bathroom's decor and available space. For small guest baths, a wall-mounted rack above the toilet or beside the shower works well.
Consider the material too: stainless steel resists rust and is easy to clean, while brass or bronze adds a warm, traditional look.
Installation And Energy Tips
Installation is straightforward if you have an electrical outlet nearby, but you might need a professional for hardwired models. Many racks are plug-in, making them a DIY-friendly option. To save energy, choose a model with a timer or thermostat so it's only on when needed.
You can also set it to warm up just before guests typically shower, balancing comfort and efficiency.
4. Upgrade to a Water-Saving Dual-Flush Toilet
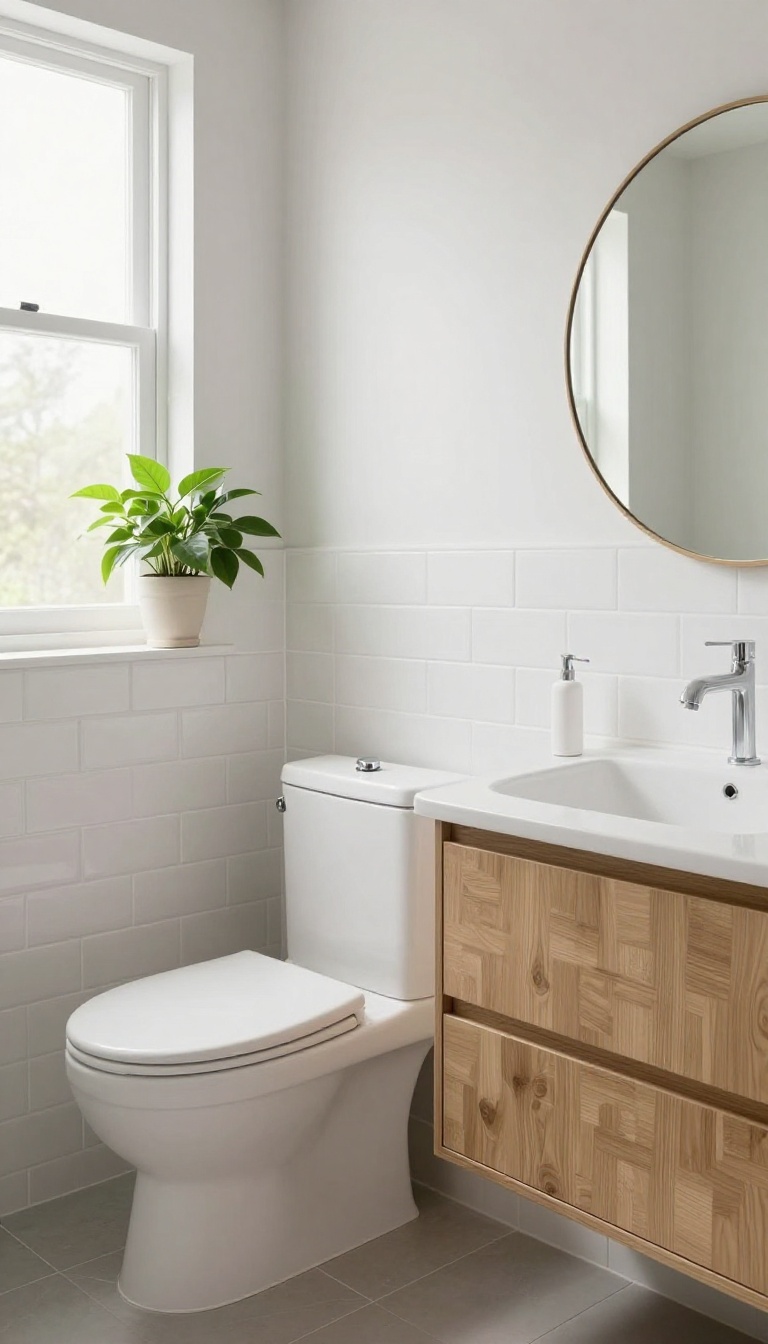
When guests visit, the last thing you want is a toilet that guzzles water with every flush. A dual-flush model changes that with two buttons—one for liquid waste, one for solid. It's a simple swap that cuts water usage dramatically, and the modern design fits right in with a refreshed bathroom.
Dual-flush toilets aren't just eco-friendly; they're practical. The half-flush uses less water for liquid waste, while the full flush handles solids. Over a year, that can save thousands of gallons, which shows up as lower utility bills.
Plus, guests appreciate the thoughtful touch—it signals you care about sustainability without sacrificing comfort.
How Dual-flush Saves You Money
The average dual-flush toilet uses about 1. 28 gallons per flush, compared to older models that use 3. 5 or more.
With a family of four, that adds up to roughly 13, 000 gallons saved annually. In many areas, that translates to $100 or more in yearly water savings. Over the toilet's lifespan, you'll recoup the upfront cost and then some.
Choosing The Right Model
Look for a model with a high MaP score (toilet performance rating) to ensure it handles waste effectively. Also, consider the flush mechanism—some use a button on top, others a lever. Pick one that feels intuitive for guests.
A round bowl saves space, while an elongated bowl offers more comfort. Match the style to your bathroom's vibe.
Installation Tips
While you can hire a plumber, many dual-flush toilets are DIY-friendly. They use a standard 12-inch rough-in, so they fit most existing setups. Make sure to check the water supply line and shut-off valve.
If you're comfortable with basic tools, you can swap it out in an afternoon. Just follow the manufacturer's instructions carefully.
5. Incorporate Smart Storage Niches in the Shower
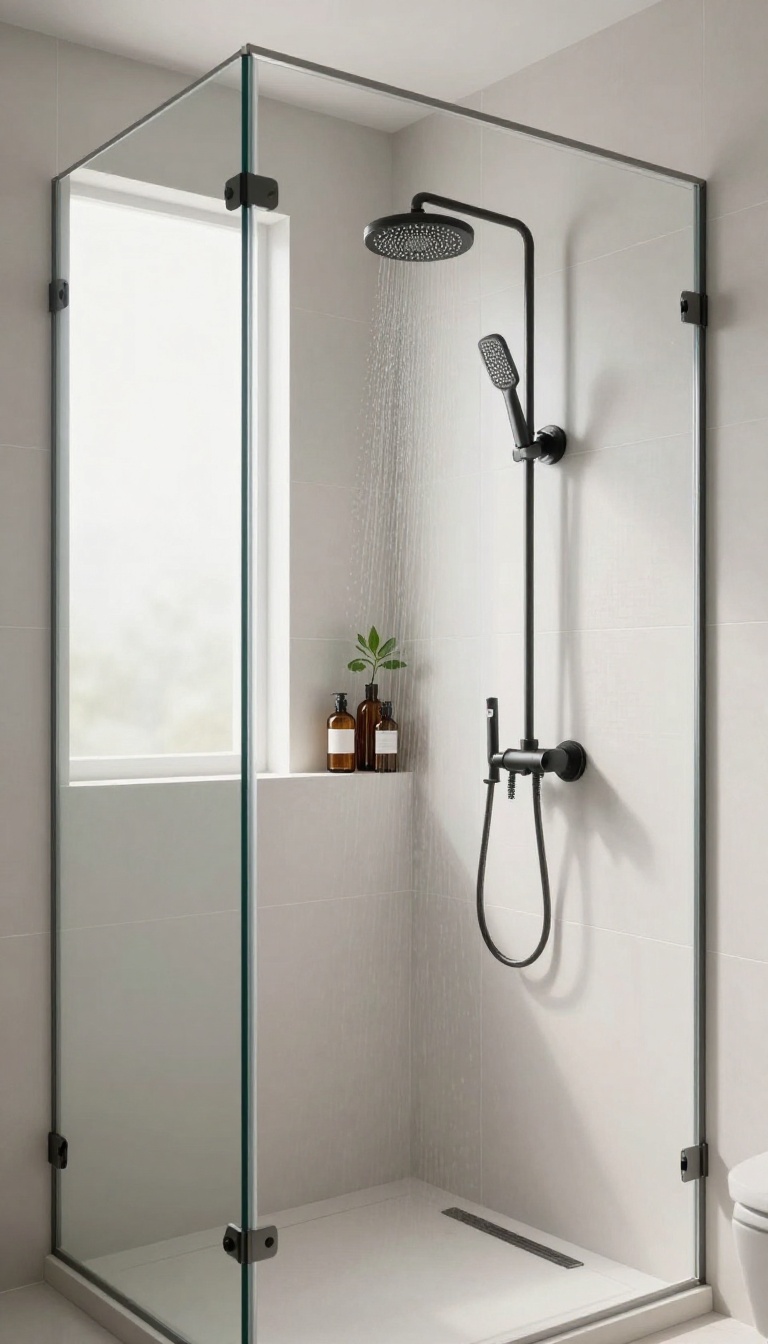
Shower caddies are a thing of the past. Built-in niches offer a sleek, permanent solution that keeps your essentials organized without cluttering the space. They’re a small addition that makes a big difference in how your bathroom looks and functions.
Niches are more than just a spot to stash shampoo. They add a custom touch that feels high-end, and they’re incredibly practical for guests. Plus, they eliminate the need for rust-prone metal racks that can look messy over time.
When you design them well, they become a seamless part of the shower’s aesthetic.
Choose The Right Size And Placement
Think about what you’ll store: tall bottles, small soaps, razors. A good rule is to make the niche at least 12 inches tall and 6 inches deep. Place it at a height that’s comfortable for most people—usually around 48 to 60 inches from the floor.
Avoid placing it directly under the showerhead, as water can accumulate and cause mildew.
Go For A Seamless Look
For a truly custom feel, use the same tile as your shower walls for the niche interior. This creates a continuous look that’s easy on the eyes. If you want a subtle contrast, choose a complementary tile or a different shape, like a hexagon or a linear mosaic.
Just make sure the edges are finished with a matching trim for a polished result.
Add A Little Extra Function
Consider adding a small ledge or a built-in shelf below the niche for extra storage. You could also install a niche with a built-in shelf divider to separate items. If you want to go the extra mile, add a small waterproof LED light inside the niche—it’s a luxurious touch that’s both practical and stylish.
6. Choose Large-Format Tiles for a Seamless Look
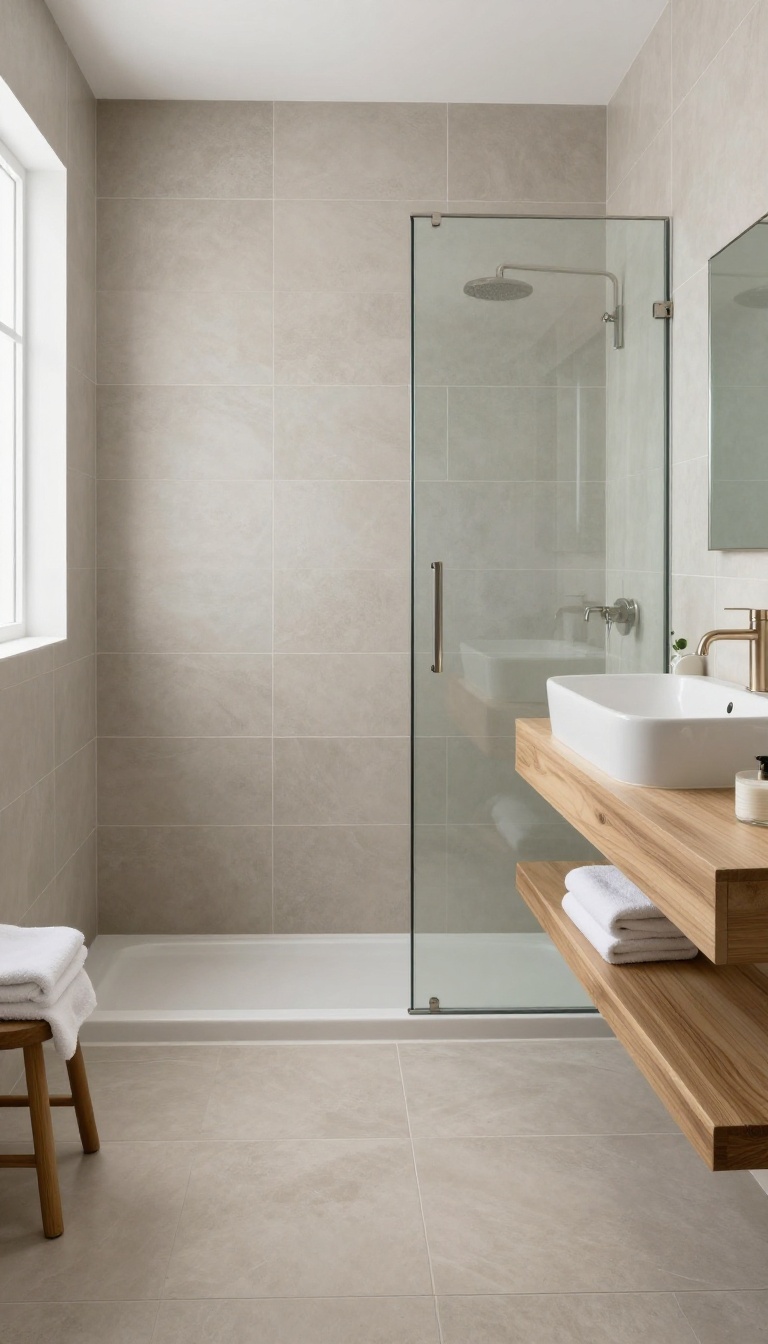
Grout lines are the unsung villains of bathroom upkeep. They collect grime, discolor, and create visual clutter that makes a small space feel busy. Large-format tiles solve all of that in one elegant move.
These oversized slabs—think 12×24 inches or larger—minimize grout lines dramatically. The result is a clean, seamless surface that reads as more open and airy. Plus, fewer lines mean less scrubbing, which is a win for busy hosts.
Large-format tiles are a design shortcut to a modern, spa-like feel. They work in showers, on floors, and even as a full wall treatment. The key is to choose the right size and finish for your space, and to hire a pro who knows how to handle them properly.
Why Fewer Grout Lines Matter
Grout lines are like magnets for soap scum and mildew. The more lines you have, the more maintenance you're signing up for. Large tiles cut those lines by up to 50%, making cleaning faster and easier.
They also create a smooth, uninterrupted surface that visually expands the room—a huge plus for guest baths that might be on the smaller side.
Picking The Right Size And Finish
For floors, 12×24 inches is a safe bet, but 24×24 or even larger slabs work well for walls. If you're tiling a shower, consider using large panels to minimize grout in wet areas. As for finish, matte or satin finishes hide water spots better than high-gloss, and they add a subtle, contemporary texture.
Porcelain is a top choice because it's durable, low-maintenance, and comes in endless colors and patterns.
Installation Tips To Keep In Mind
Large tiles require a perfectly flat surface—any dips or bumps will cause lippage, where one tile edge sticks up higher than the next. That's why it's crucial to have a professional installer who uses a leveling system. Also, bigger tiles are heavier and trickier to cut, so DIY might not be the best route unless you're experienced.
But the payoff is a flawless, high-end look that's worth the investment.
7. Install a Motion-Sensor Night Light
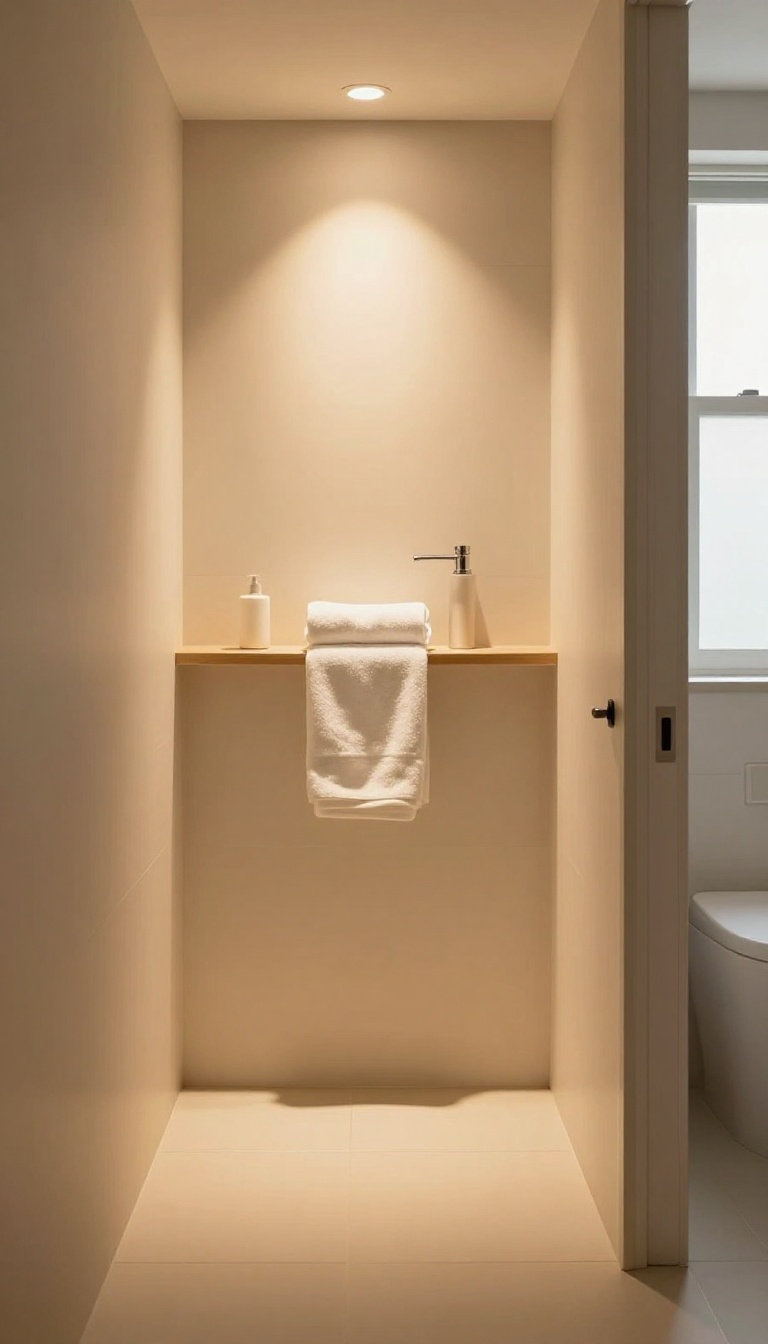
That middle-of-the-night trip to the bathroom can be a disorienting stumble, especially in an unfamiliar space. A motion-sensor night light solves this by softly illuminating the path the moment someone enters, without the harsh glare of overhead lights. It's a small touch that makes a big difference in how comfortable and cared-for your guests feel.
A motion-sensor night light is more than just a convenience—it's a safety feature. It prevents stubbed toes, fumbling for switches, and the disorientation of waking up in a dark, unfamiliar room. Plus, it's energy-efficient, turning on only when needed and using minimal power, so you can leave it on all night without guilt.
Pick The Right Spot
Place the night light near the bathroom entrance, ideally at baseboard level, so it casts a gentle glow across the floor without shining directly into eyes. Avoid placing it right above the mirror, which can create glare. A spot near the toilet or along the path from the door works best for guiding guests safely.
Choose The Right Brightness And Color
Look for a night light with adjustable brightness and a warm, amber hue. Cool white or blue light can suppress melatonin and make it harder to fall back asleep. A soft warm glow is both inviting and sleep-friendly, providing just enough visibility without being jarring.
Go For Plug-in Or Rechargeable
Plug-in models are simple and always ready, but rechargeable ones offer flexibility if outlets are scarce. Some even have a detachable design that can be used as a flashlight. Consider your outlet layout and how often you want to deal with charging—either works well, but choose what fits your space.
8. Add a Touchless Faucet for Hygiene and Convenience
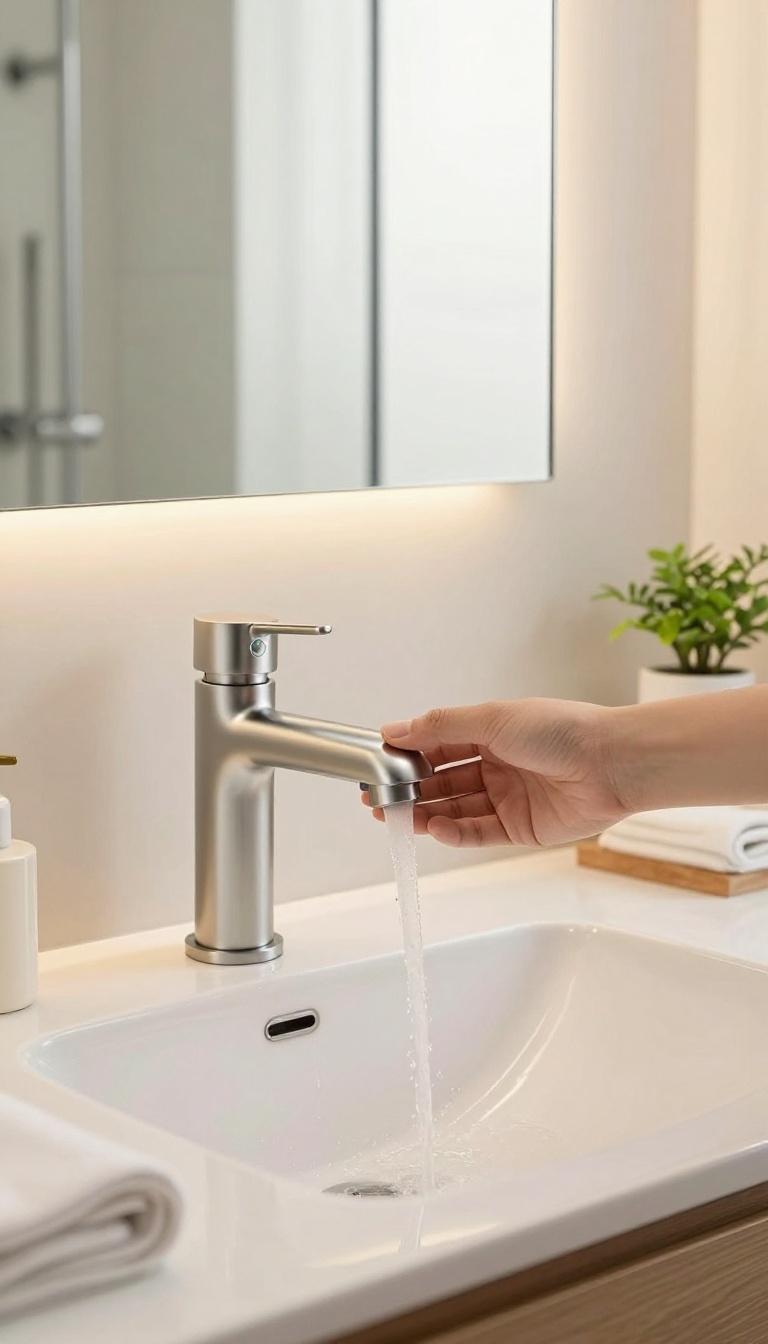
Hands covered in soap or dough are no match for a touchless faucet. Guests simply wave a hand and the water flows—no handles to grip, no germs to pass along. It’s a small upgrade that makes a big impression, especially in a space meant for visitors.
Touchless faucets use motion sensors to start and stop water flow, so guests never have to touch the fixture with dirty hands. This simple feature cuts down on cross-contamination and keeps the faucet cleaner between uses. Plus, it’s a handy convenience when hands are full or messy—think rinsing a razor or washing off sticky kids’ hands.
How Touchless Faucets Work
Most models rely on an infrared sensor near the spout that detects hand movement. When you place your hands under the faucet, the water turns on; when you move away, it shuts off. Some versions include a manual override for temperature control, while others let you preset the water temperature for a consistent, comfortable flow.
Choosing The Right Model
Look for a faucet with a reliable sensor range and adjustable sensitivity to avoid accidental triggers. Consider battery-powered versus hardwired options—battery models are easier to install, but you'll need to replace batteries periodically. Also, check the flow rate to ensure it meets your water-saving goals without sacrificing pressure.
Installation And Maintenance Tips
Most touchless faucets fit standard sink holes, making them a DIY-friendly swap. If you're not handy, a plumber can handle it quickly. For upkeep, wipe the sensor lens regularly to prevent dust buildup that can affect performance.
And if you notice the faucet running longer than expected, it might be time to adjust the sensor or replace the batteries.
9. Use a Pocket Door to Save Space
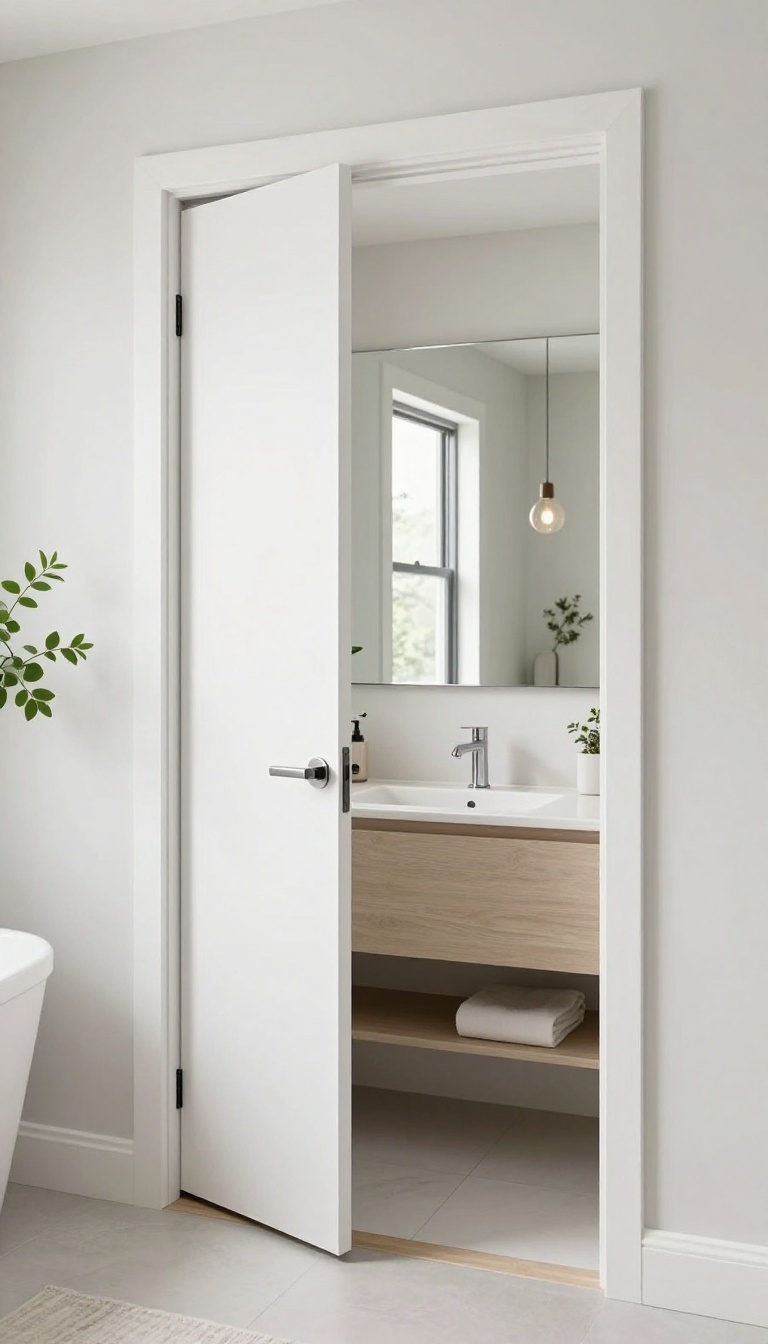
Swing doors eat up precious floor area in a compact guest bath, making the room feel cramped before anyone even steps inside. A pocket door slides neatly into the wall, reclaiming that space for better traffic flow and a more open layout. It's a simple structural change that pays off every time someone uses the room.
If your guest bathroom is tight on square footage, a standard door swing can be a constant frustration. It blocks access to the vanity or toilet, forces awkward maneuvering, and makes the room feel smaller than it is. Swapping it for a pocket door is a clever way to maximize every inch without sacrificing privacy or style.
Why Pocket Doors Work In Tight Bathrooms
Pocket doors slide completely into a cavity in the wall, so they don't intrude into the room at all. That means you can place fixtures closer to the doorway and still have room to move. In a guest bath, this extra clearance makes the space feel more welcoming and easier to navigate, especially for older visitors or anyone with mobility aids.
Installation Considerations
Installing a pocket door requires some wall modification, so it's not a weekend project for most DIYers. You'll need to account for the header and track system, and make sure the wall isn't load-bearing without proper reinforcement. Hiring a professional ensures the door glides smoothly and the wall stays sturdy.
If you're already doing a full remodel, the extra cost is usually worth it.
Privacy And Soundproofing
One common worry is that pocket doors don't seal as well as swing doors, letting sound and light pass through gaps. Modern pocket door kits include better weatherstripping and soft-close mechanisms that help minimize this. For a guest bath, adding a small latch and a sweep at the bottom can boost privacy and keep the room feeling secure.
Style And Hardware Options
Pocket doors aren't just practical—they can be a design feature. Choose a barn-style sliding door for a rustic touch, or a sleek flush-mounted panel that disappears into the wall for a minimalist look. Hardware finishes like brushed nickel or matte black let you tie the door into your bathroom fixtures, so it feels intentional rather than just a workaround.
10. Incorporate a Built-In Bench in the Shower
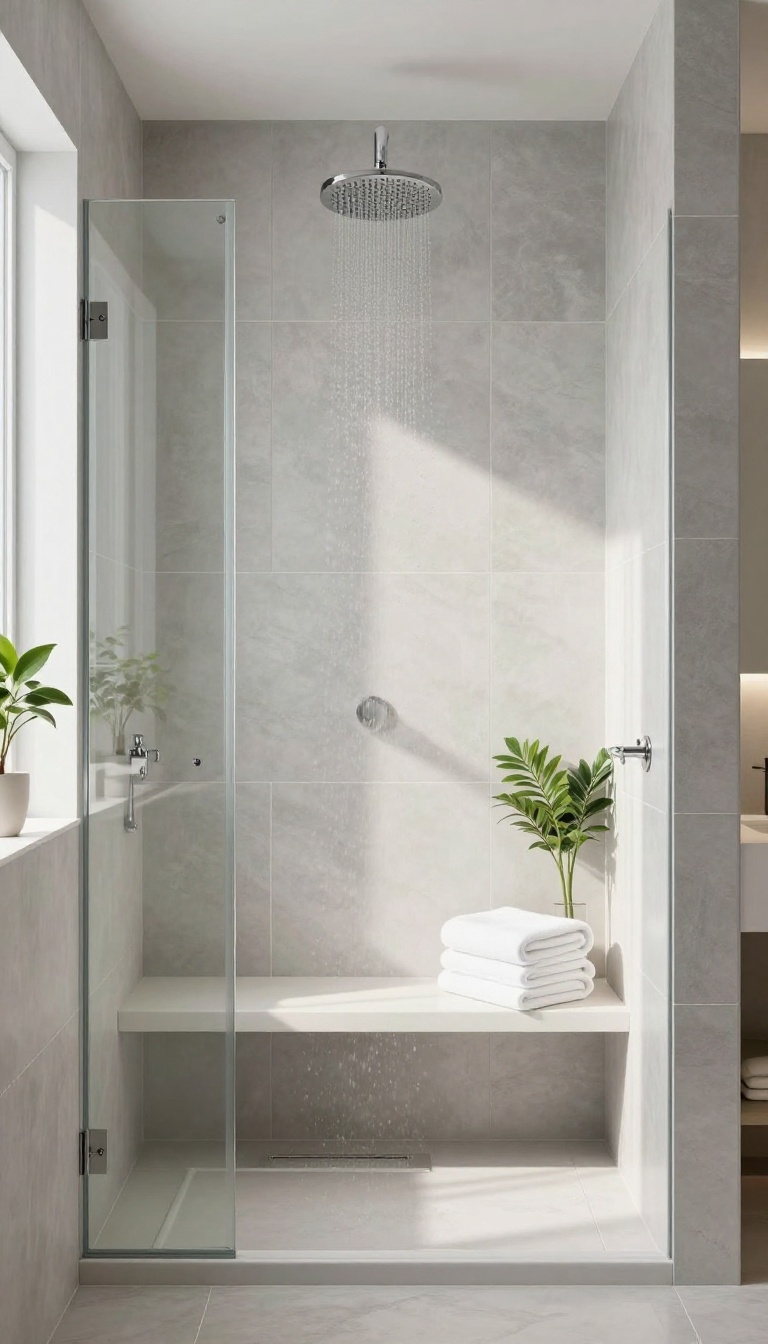
A shower bench isn't just for the elderly or those with mobility issues—it's a luxury that everyone can appreciate. Guests who prefer to sit while showering will thank you, and it adds a spa-like vibe that feels indulgent. Beyond comfort, a built-in bench provides a handy ledge for toiletries, keeping the shower floor clutter-free.
Adding a built-in bench to your guest shower is a smart move that blends function with style. It offers a safe, comfortable spot for guests to sit, shave, or simply relax under the water. Plus, it's a design feature that can make your bathroom look more custom and high-end.
Safety And Comfort For All Guests
A built-in bench is a thoughtful addition that accommodates guests of all ages and abilities. It provides a stable seat for those who have difficulty standing for long periods, such as pregnant women, seniors, or anyone recovering from an injury. Even for able-bodied guests, sitting in the shower can be a relaxing treat after a long day.
The bench also reduces the risk of slips and falls by offering a secure place to sit while washing.
Design And Material Choices
When it comes to materials, you have several options that match your bathroom's style. Tile-covered benches blend seamlessly with your shower walls, creating a sleek, continuous look. For a warmer feel, consider a teak or cedar bench, which resists moisture and adds a natural spa touch.
If you're working with a smaller budget, a foldable teak bench is a practical alternative that doesn't require any construction. Whatever you choose, make sure the bench has a slight slope or drainage to prevent water pooling.
Maximizing Storage And Functionality
A built-in bench doubles as a convenient shelf for shampoo, soap, and other shower essentials. You can keep the bench clutter-free by adding a small caddy or basket underneath, or by building niches into the wall above it. This keeps everything within easy reach while maintaining a tidy, organized space.
The bench also provides a handy spot to prop a foot while shaving your legs, making it a multi-functional feature that guests will appreciate.
11. Upgrade Lighting to LED with Dimmable Options
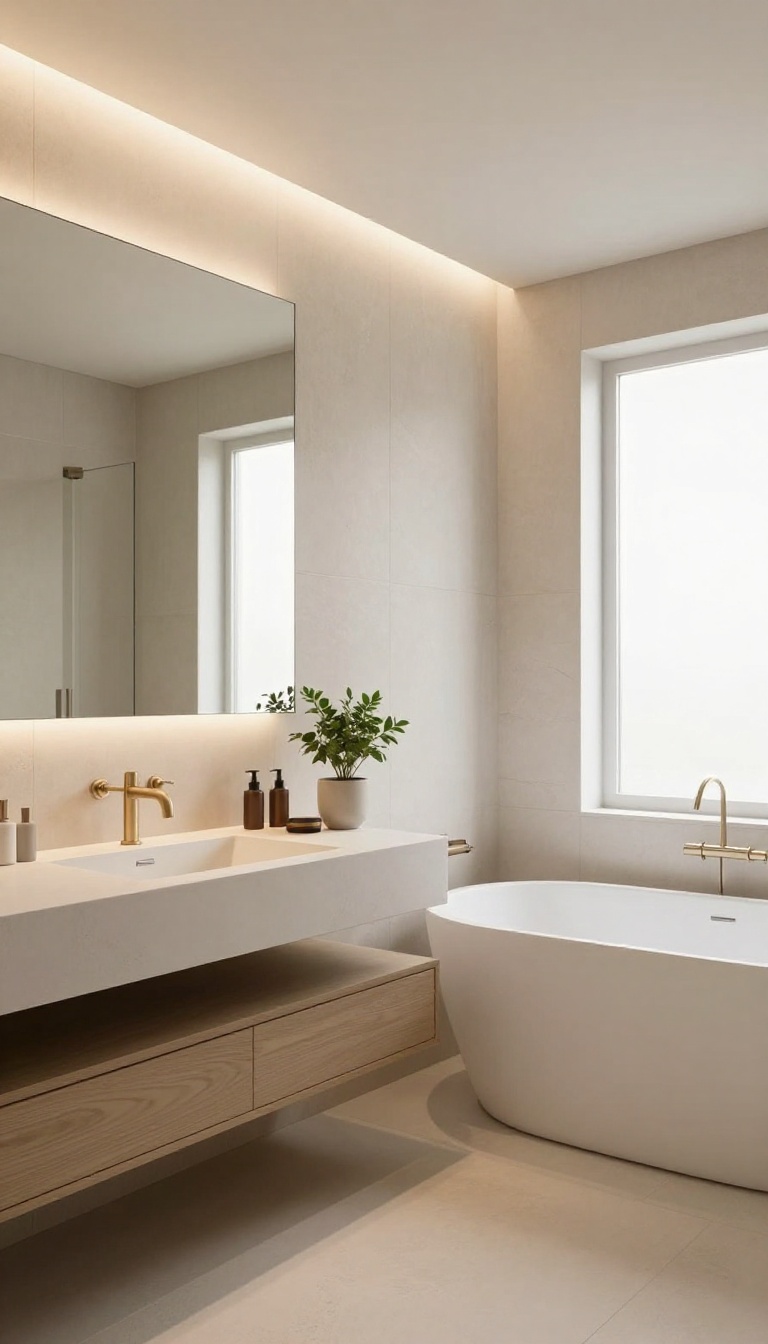
Lighting sets the entire mood of a bathroom, but it's often an afterthought in guest spaces. Swapping outdated fixtures for LED bulbs with dimmable controls is a small change that makes a huge difference. It's not just about saving energy—it's about giving your guests the ability to tailor the light to their needs, whether they're prepping for a night out or winding down with a bath.
Dimmable LED lighting is a win-win for both you and your guests. You'll cut down on electricity bills and bulb replacements, while your guests get a more comfortable, flexible experience. The right lighting can make the room feel larger, warmer, and more inviting.
Plus, modern LED options come in a variety of color temperatures, so you can choose a soft, warm glow for relaxation or a brighter, cooler light for tasks.
Why Dimmable Led?
Dimmable LEDs give you control over the ambiance. Bright light is perfect for shaving or applying makeup, while a softer setting is ideal for a calming soak. This flexibility is especially valuable in a guest bathroom, where you don't know your visitors' preferences.
Also, LEDs last significantly longer than traditional bulbs, so you won't be changing them as often.
Choosing The Right Fixtures
When updating, look for fixtures that are compatible with dimmer switches. Many modern LED fixtures are dimmable, but it's essential to check the packaging. Consider installing separate dimmers for overhead lights and vanity lights, so guests can adjust each independently.
This allows for even more control over the lighting scene.
Placement And Layers
Think about layering your lighting. Combine overhead lighting with task lighting at the mirror and maybe even a small accent light. This creates depth and eliminates harsh shadows.
Place dimmers in easy-to-reach spots, and consider a smart dimmer that can be controlled by a phone or voice assistant for an extra touch of convenience.
12. Add a Ventilation Fan with a Humidity Sensor
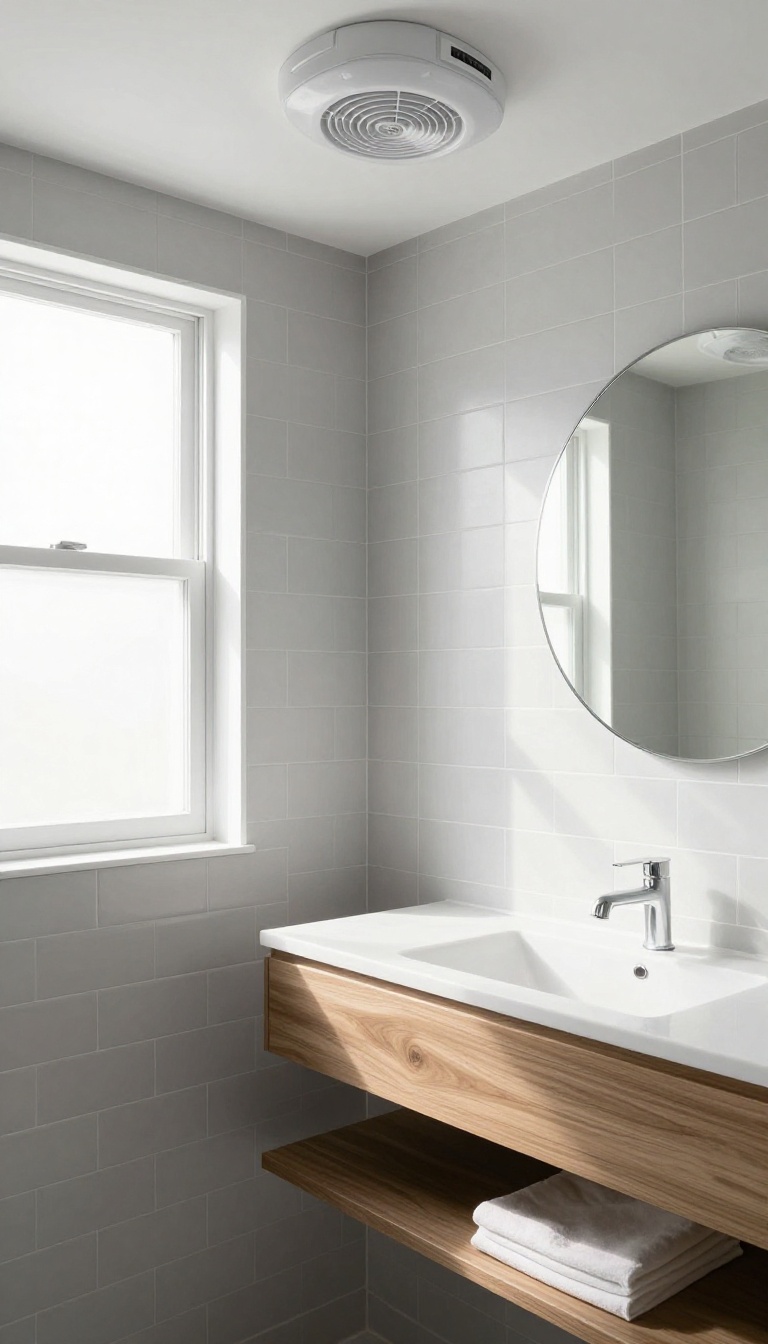
Guest bathrooms often get the short end of the stick when it comes to ventilation. A tiny window or a basic fan that you have to remember to switch on just doesn't cut it, especially after a hot shower. Humidity lingers, and before you know it, you're dealing with musty smells or worse—mold.
A humidity-sensing fan takes the guesswork out of bathroom ventilation. It automatically kicks on when moisture levels rise and shuts off once the air is clear. That means you never have to remind guests to flip a switch, and you don't have to worry about the fan running all day.
It's a set-it-and-forget-it upgrade that keeps the room fresh and protects your walls and fixtures from moisture damage.
Why Humidity Sensors Beat Manual Fans
Manual fans rely on someone remembering to turn them on and off. In a guest bath, that's a gamble. A humidity sensor removes the human factor entirely.
It detects the spike in moisture from a shower or bath and responds instantly. You get consistent ventilation without any effort, which is exactly what you want in a space used by visitors.
Choosing The Right Fan For Your Space
Look for a fan with adjustable sensitivity and a timer delay. That way, you can fine-tune how quickly it reacts and how long it runs after the humidity drops. Also, check the CFM (cubic feet per minute) rating to ensure it's sized correctly for your bathroom.
A quiet motor is a nice bonus—guests won't be startled by a loud roar every time they shower.
Installation Tips And Placement
Install the fan near the shower or tub, but not directly above it, to avoid drafts. If you're replacing an existing fan, the wiring is usually straightforward, but if you're adding one from scratch, it might require a pro. Make sure the fan vents to the outside, not into the attic, to prevent moisture from building up in your home's structure.
13. Install a Wall-Mounted Toilet for a Clean Look
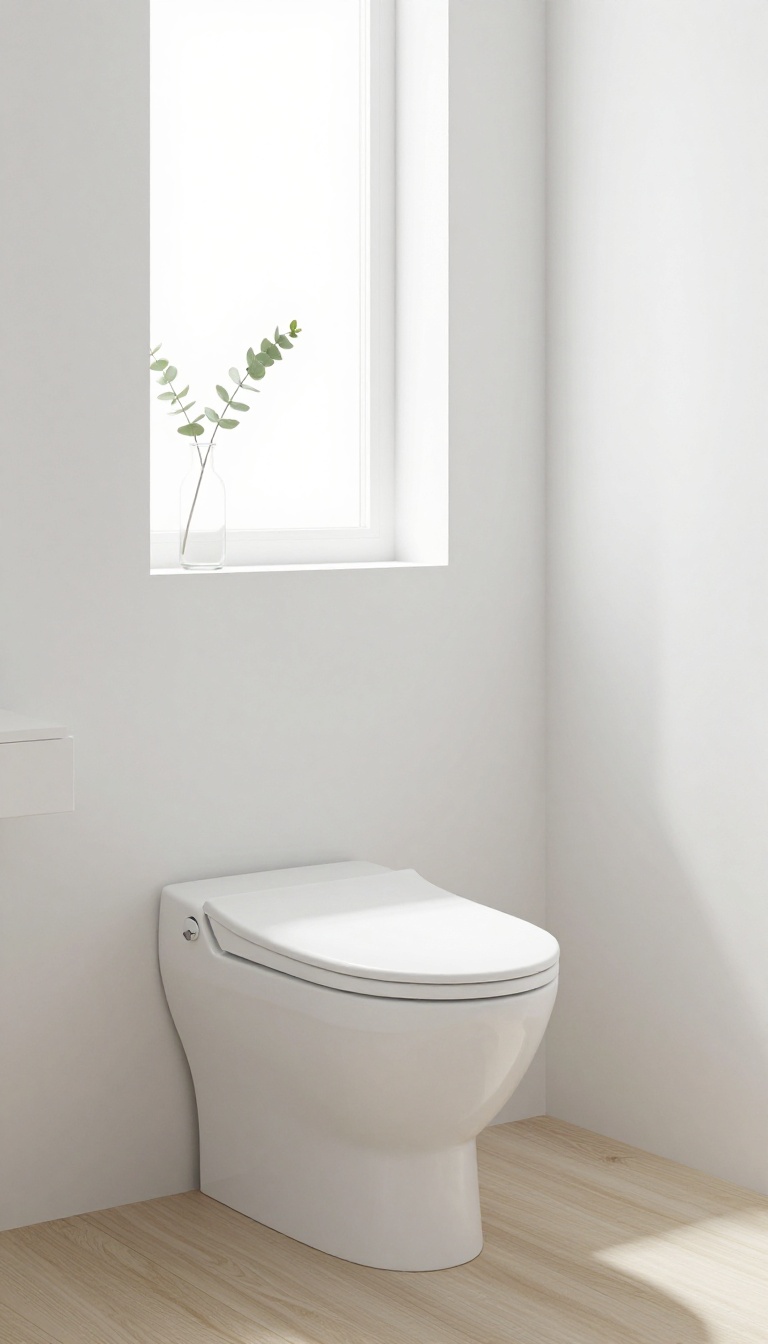
Wall-mounted toilets might seem like a high-end upgrade, but they're actually a smart choice for any guest bath. By hiding the tank inside the wall, you free up valuable floor space and create a sleek, minimalist look that's easy to clean. Plus, you can set the seat height to whatever feels most comfortable for you and your guests.
Wall-mounted toilets are a game-changer for guest bathrooms. They not only look modern and streamlined but also make cleaning a whole lot easier. Since there's no pedestal or base to work around, you can mop or sweep right under the bowl without any obstacles.
And because the tank is tucked away, you eliminate those hard-to-reach nooks and crannies where dust and grime tend to accumulate. The custom height adjustment is another big plus—you can install it at a height that's comfortable for everyone, from kids to tall adults. It's a practical upgrade that adds both style and function to your space.
Why Wall-mounted Toilets Win On Cleanliness
The open floor beneath a wall-mounted toilet is a dream for anyone who hates scrubbing around a traditional base. You can sweep, mop, or even use a robot vacuum without any obstructions. Plus, the wall-hung design eliminates the crevices where dirt and bacteria love to hide.
It's a simple change that makes your guest bathroom feel noticeably more hygienic and easier to maintain.
Custom Comfort At Any Height
One of the biggest perks of a wall-mounted toilet is the ability to set the seat height exactly where you want it. Unlike standard toilets that come in one size, these let you tailor the height to your family's needs or the preferences of your typical guests. Whether you want a chair-height seat for easier sitting and standing or a lower profile for a more traditional feel, the choice is yours.
This personalization adds a touch of luxury that guests will notice and appreciate.
Installation Considerations To Keep In Mind
Before you commit to a wall-mounted toilet, there are a few things to consider. First, you'll need access to the wall cavity for the carrier frame and plumbing, which might require some construction if you're not already set up for it. It's also a good idea to hire a professional plumber for the installation, as the frame needs to be securely anchored to the studs.
And while the upfront cost can be higher than a standard toilet, the long-term benefits in terms of space, style, and ease of cleaning often make it worth the investment. Just make sure your wall has enough depth to accommodate the tank and frame—most homes will work, but it's always good to check.
FAQ
What is the most impactful upgrade for a guest bathroom?
The most impactful upgrade is often the vanity or the shower. A floating vanity or a walk-in shower with glass doors can instantly modernize the space and improve functionality.
How can I make a small guest bathroom feel larger?
Use large-format tiles, a floating vanity, and a pocket door to save space. Also, choose light colors and add mirrors to reflect light, making the room feel more open.
Are smart bathroom fixtures worth the investment?
Yes, smart fixtures like thermostatic valves, touchless faucets, and humidity-sensing fans add convenience, safety, and energy efficiency. They also increase home value and appeal to modern buyers.
What is the best flooring for a guest bathroom?
Porcelain or ceramic tile is durable, water-resistant, and easy to clean. Large-format tiles with minimal grout lines are a popular choice for a sleek, modern look.
How can I add luxury to a guest bathroom on a budget?
Add a heated towel rack, a motion-sensor night light, or a rainfall showerhead. These affordable upgrades create a spa-like feel without a full remodel.
Conclusion
A guest bathroom remodel doesn’t have to be overwhelming. By focusing on a few smart upgrades—like better lighting, durable materials, and clever storage—you can create a space that feels both modern and welcoming. Start with the move that addresses your biggest pain point, whether that’s a leaky faucet or a cluttered counter.
Small changes add up fast, and you’ll notice the difference every time a visitor walks in. Pick one or two ideas that fit your budget and get started.