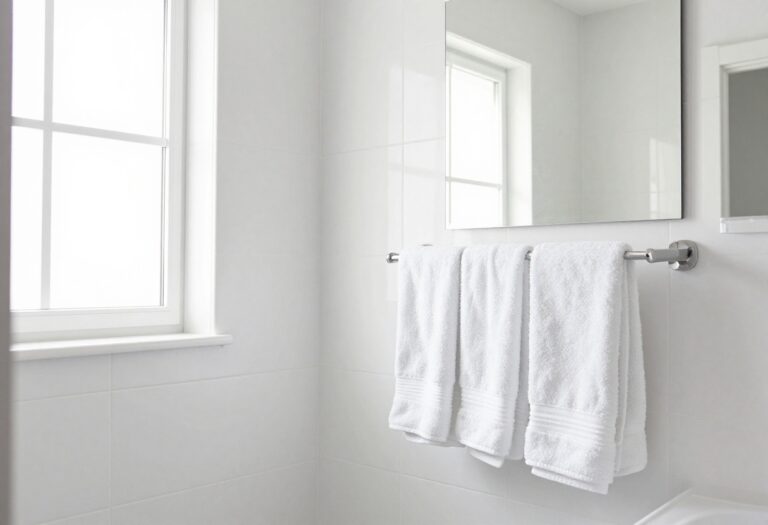
How to Clean Bathroom Tiles in 15 Brightening Tips
Bathroom tiles take a beating—soap scum, hard water, and daily grime can leave them looking dull. But you don't need harsh chemicals or a deep clean every time. With a few smart techniques and common household items, you can restore their shine without the elbow grease.
These 15 tips target every trouble spot, from grout lines to glass doors, using methods that actually work. No fluff, just practical steps to make your tiles sparkle.
Ready to brighten up your bathroom? Let's dive in.
1. Start with a Dry Sweep or Vacuum
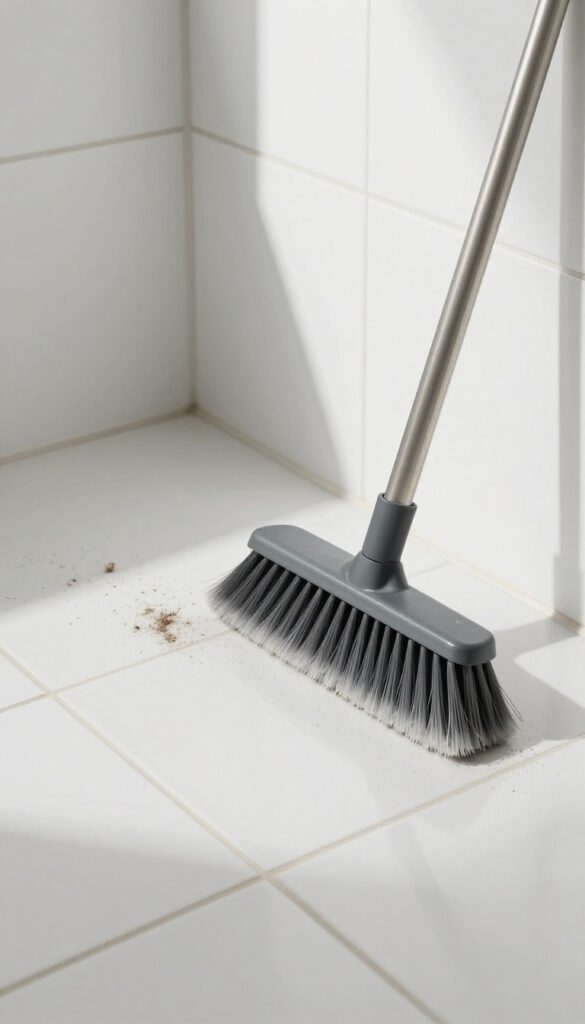
Before you bring out any sprays or sponges, take a minute to remove loose debris. Bathroom floors and walls collect dust, hair, and lint that can turn into a muddy mess when mixed with water. A quick dry sweep or vacuum clears the way for a more effective clean and helps prevent fine scratches on glossy tiles.
Skipping this step is a common mistake. When you wet mop over loose dirt, you're essentially sanding the tile surface with grit. A few minutes with a soft-bristle broom or a handheld vacuum with a brush attachment makes a huge difference.
Focus on corners and along grout lines where debris tends to hide.
Why Dry Cleaning Matters
Wet cleaning pushes dirt into grout pores and can dull tile finishes over time. Dry removal lifts particles without spreading them around. It also reduces the amount of cleaning solution you'll need, saving money and cutting down on chemical residue.
Best Tools For The Job
A microfiber dust mop works well on smooth tiles, while a vacuum with a soft brush is ideal for textured or uneven surfaces. Avoid using a standard broom on wet areas—it can scatter hair and dust into the air. For tight spaces, a small handheld vacuum or a lint roller does the trick.
How Often To Dry Sweep
Make it a habit to dry sweep or vacuum bathroom tiles once a week, or more often if the bathroom gets heavy use. This simple routine keeps grime from building up and makes deep cleaning sessions much faster.
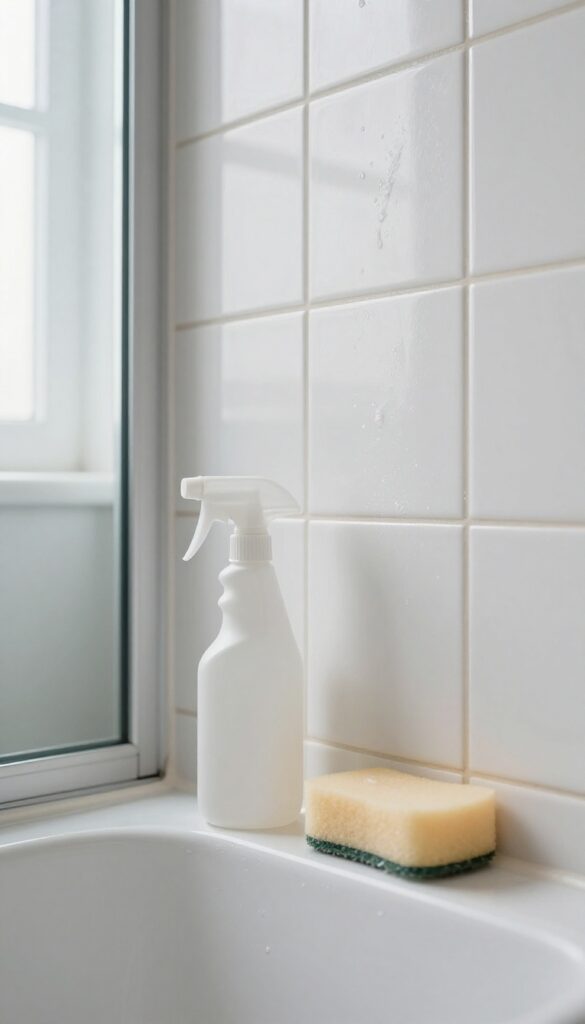
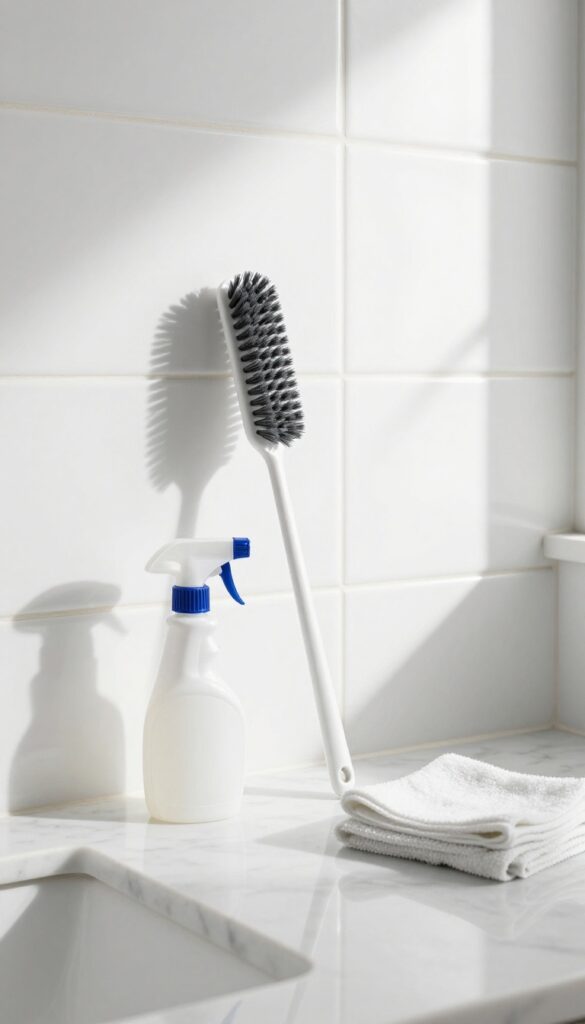
2. Mix a Gentle All-Purpose Cleaner
You don't need a cabinet full of specialty products to get bathroom tiles clean. A simple homemade solution often works just as well, if not better, than store-bought sprays. The key is keeping it gentle to protect both your tiles and grout.
Start with warm water as your base. Add just a few drops of dish soap or a mild pH-neutral cleaner. Dish soap cuts through grease and soap scum without being too harsh.
Avoid anything with bleach or ammonia for routine cleaning, as those can dull finishes over time. Swirl it together in a spray bottle or bucket, and you're ready to go. This mixture lifts everyday grime easily and rinses clean without leaving residue.
Why Gentle Matters
Harsh cleaners can eat away at grout and strip the protective layer off glazed tiles. Over time, that leads to discoloration and a worn look. A mild cleaner keeps your tiles looking new longer.
Plus, it's safer for you and the environment.
How To Use It Effectively
Spray the solution onto tiles and let it sit for a minute to loosen dirt. Then wipe with a soft sponge or microfiber cloth. For tougher spots, let it sit a bit longer or give it a gentle scrub with a soft-bristle brush.
Rinse thoroughly with water to avoid any soapy film.
When To Upgrade The Mix
For extra cleaning power, add a splash of white vinegar to the warm water and dish soap. But only use vinegar on ceramic or porcelain tiles—avoid natural stone. Test in an inconspicuous area first.
Vinegar helps dissolve hard water stains and soap scum without harsh chemicals.
3. Tackle Soap Scum with Vinegar
Soap scum is that stubborn white film that builds up on tiles and shower doors. It's a mix of soap residue, minerals from hard water, and body oils. White vinegar cuts through it naturally because the acetic acid breaks down the alkaline compounds in soap scum.
Just keep it away from natural stone tiles like marble or travertine—the acid can etch the surface.
How To Apply Vinegar For Best Results
Pour undiluted white vinegar into a spray bottle and mist it generously over the soap scum. Let it sit for 5 minutes to loosen the gunk. Then scrub with a soft brush or sponge.
For stubborn spots, let it sit longer or reapply. Rinse thoroughly with water to remove any vinegar smell.
When To Avoid Vinegar
Never use vinegar on natural stone tiles like marble, limestone, or granite. The acid will dull the surface and cause etching. Also avoid it on unsealed grout if it's already damaged—vinegar can weaken it further.
Stick to a pH-neutral cleaner for those surfaces.
Vinegar And Baking Soda Combo
For extra tough soap scum, sprinkle baking soda on the area before spraying vinegar. The fizzing action helps lift the residue. Let it bubble for a few minutes, then scrub and rinse.
This works great on shower doors and glossy tiles.
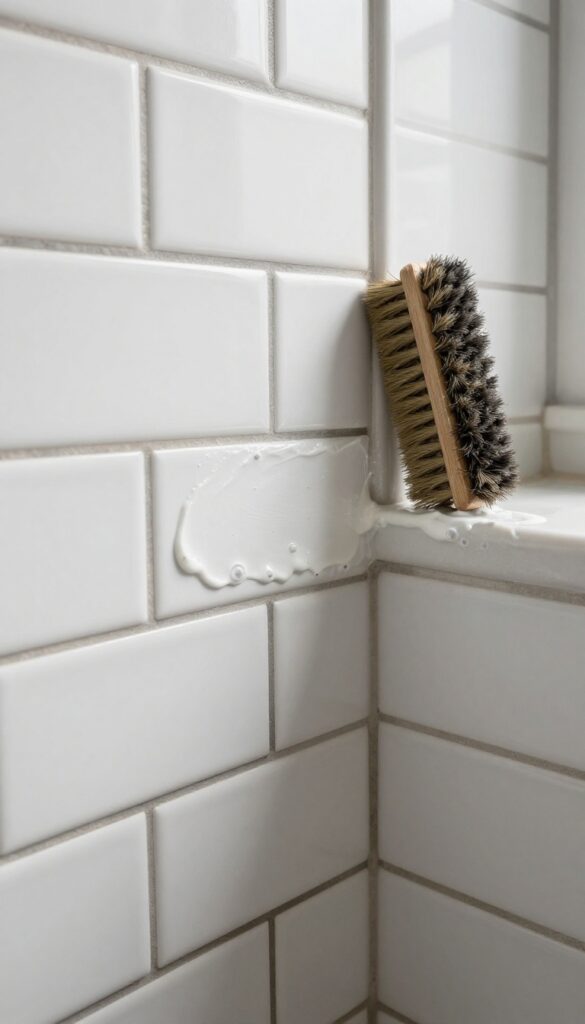
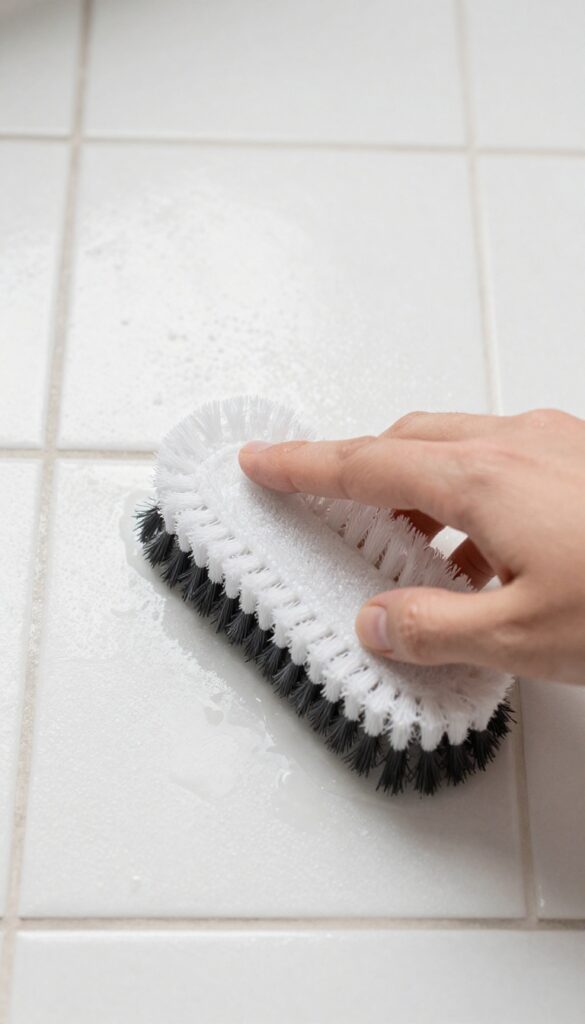
4. Use Baking Soda Paste for Grout Lines
Grout lines are often the first place to show dirt and discoloration. While commercial grout cleaners can be harsh, a simple baking soda paste offers a gentle yet effective alternative. It's cheap, non-toxic, and works wonders on those thin lines between tiles.
How To Make And Apply The Paste
Mix three parts baking soda with one part water in a small bowl until it forms a thick, spreadable paste. Using an old toothbrush or a grout brush, apply the paste directly onto the grout lines. Let it sit for 10–15 minutes to break down grime.
Then scrub in a circular motion—the mild abrasiveness lifts dirt without scratching the tile surface.
Boosting The Power With Vinegar
For tougher stains, spray a little white vinegar over the baking soda paste after it has set. The fizzing reaction helps dislodge embedded dirt. Be careful not to use vinegar on natural stone tiles, as the acid can etch them.
Rinse thoroughly with water afterward.
Preventing Future Grime Buildup
After cleaning, consider sealing the grout with a penetrating sealer. This creates a protective barrier that repels moisture and dirt, making future cleaning much easier. Reapply the sealer every six months to keep grout looking fresh.
5. Try Hydrogen Peroxide for Stubborn Grout
Grout stains that won't budge with vinegar or baking soda alone need a stronger ally. Hydrogen peroxide is a gentle bleach alternative that breaks down mold and mildew without the harsh fumes. When paired with baking soda, it forms a powerful paste that clings to vertical surfaces and penetrates deep into porous grout.
Mix equal parts hydrogen peroxide and baking soda to form a thick paste. Apply it directly to stained grout lines and let it sit for 10 minutes. The peroxide will bubble and lift organic stains while the baking soda provides gentle abrasion.
Scrub with a stiff brush, then rinse thoroughly. For extra stubborn spots, add a few drops of dish soap to the paste. This method is safe for most colored grout, but test on an inconspicuous area first.
Why It Works So Well
Hydrogen peroxide is an oxidizing agent that breaks down the chemical bonds in mold, mildew, and organic stains. Baking soda adds mild scrubbing power and helps the mixture stick to grout. Together, they create a fizzing action that lifts dirt from pores without damaging the grout.
Step-by-step Application
Start by sweeping or vacuuming loose debris from grout lines. Mix ¼ cup baking soda with 2 tablespoons hydrogen peroxide to form a paste. Apply with an old toothbrush or grout brush, pressing into the lines.
Let it sit for 10 minutes—don't let it dry completely. Scrub in circular motions, then rinse with warm water. Wipe away residue with a damp cloth.
Safety And Precautions
Wear gloves to protect your skin, as hydrogen peroxide can cause mild irritation. Avoid using on natural stone tiles like marble or travertine, as the acid can etch them. Always test in a hidden spot first.
Keep the area ventilated, and never mix hydrogen peroxide with bleach or ammonia.
6. Steam Clean for Deep Dirt
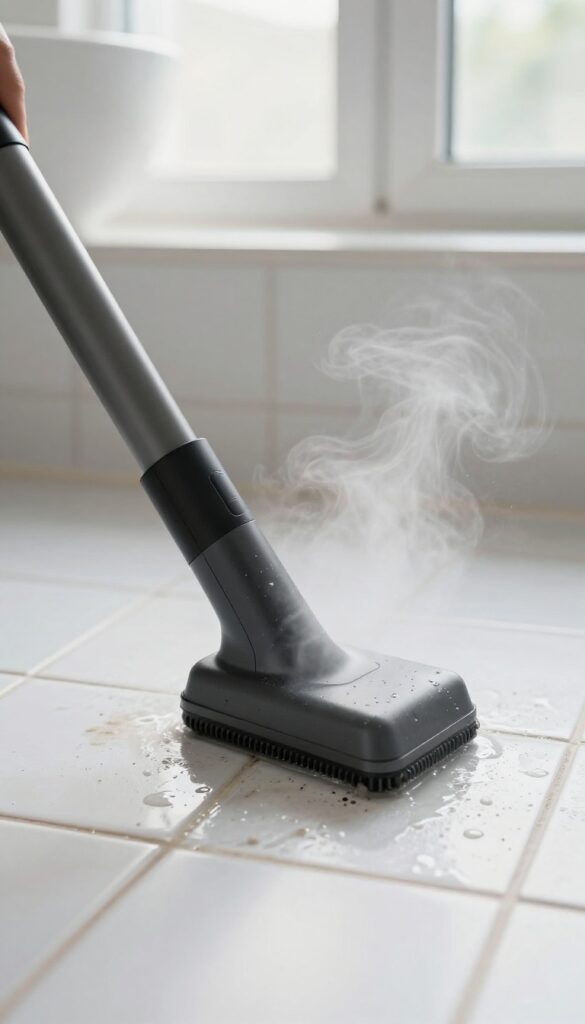
When scrubbing by hand isn't cutting it, steam cleaning can lift embedded grime from tile and grout without any chemicals. A handheld steam cleaner uses high-temperature vapor to loosen dirt, making it ideal for high-moisture areas like shower walls where buildup tends to be stubborn.
Steam cleaning is a game-changer for deep dirt. The heat kills mold and mildew spores while dissolving soap scum and hard water deposits. It's also safe for most tile types, including ceramic, porcelain, and natural stone (check manufacturer guidelines).
How To Use A Handheld Steamer
Fill the steamer with water and let it heat up. Attach a small brush nozzle for grout lines or a wider head for tiles. Work in small sections, holding the nozzle an inch away.
Move slowly to let the steam penetrate, then wipe away loosened grime with a microfiber cloth.
Best Areas For Steam Cleaning
Shower walls and floors benefit most from steam because they get constant moisture. Also hit corners around fixtures and behind the toilet. Avoid steam on unsealed natural stone or damaged grout, as moisture can seep in and cause issues.
When To Steam Clean
Use steam cleaning every few months for maintenance, or as a deep clean when you notice discoloration or musty smells. It's faster than manual scrubbing and leaves tiles looking refreshed with minimal effort.
7. Use a Magic Eraser on Scuff Marks
Scuff marks from shoes, rubber mats, or cleaning tools can make glossy tiles look worn and dirty. A magic eraser—made of melamine foam—acts like a super-fine sandpaper that lifts these marks without scratching the surface. It's a quick fix that requires almost no effort.
Dampen the eraser slightly and wring out excess water. Gently rub the scuffed area in small circles. The foam will crumble as it works, so use light pressure.
Rinse the tile afterward to remove any residue. This method works best on glazed ceramic, porcelain, or glass tiles. Avoid using it on unsealed natural stone or matte finishes, as it may dull the surface.
Where Scuff Marks Hide
Check the base of the shower door, corners near the toilet, and areas where bath mats or rugs slide. Kids' tubs often have scuffs from toys or rubber ducks. A quick pass with the eraser can restore the tile's original shine in seconds.
Do's And Don'ts For Best Results
Do use a fresh eraser for each cleaning session—old ones lose their abrasiveness. Don't scrub too hard or you may remove the tile's glaze. Test on an inconspicuous area first.
If the eraser leaves a white residue, wipe with a damp cloth.
8. Seal Grout After Cleaning
You’ve scrubbed, rinsed, and maybe even whitened your grout. Now comes the step that makes all that effort last: sealing. Grout is porous, so it soaks up moisture and dirt like a sponge.
A good sealer locks out stains and keeps mildew at bay, so your grout stays bright for months instead of days.
Sealing grout is a simple DIY task that pays off big time. Once your grout is completely dry—give it at least 24 hours—apply a penetrating sealer with a small brush or applicator. Let it soak in for a few minutes, then wipe off any excess.
One coat is usually enough, but high-traffic areas may benefit from a second coat. The sealer won’t change the look of your grout, but it will create an invisible shield against water and grime. Reapply every year or two, depending on wear.
Why Sealing Matters
Unsealed grout absorbs spills, soap scum, and humidity, leading to discoloration and mold. A sealer fills the tiny pores, making the surface non-absorbent. This means less scrubbing and fewer deep cleans.
It’s especially important in showers and around tubs where water is constant.
Choosing The Right Sealer
Look for a penetrating, water-based sealer designed for grout. Avoid film-forming sealers that can peel or yellow over time. For colored grout, use a color-enhancing sealer to deepen the shade.
Always test on a small hidden area first to make sure you like the finish.
Application Tips
Work in small sections. Apply sealer to the grout lines using a foam brush or a squeeze bottle with a needle tip. Let it sit for 3-5 minutes, then wipe away any sealer that got on the tiles with a clean cloth.
If the grout bubbles, you’ve applied too much—just blot it off. Keep the bathroom well-ventilated while sealing.
9. Prevent Mold with a Daily Spray
Mold and mildew love the damp environment of a bathroom. Instead of waiting for them to appear, a quick daily spray can keep them at bay. It takes just seconds and saves you from scrubbing later.
Mix one cup of water with 10-15 drops of tea tree oil or a tablespoon of white vinegar in a spray bottle. After each shower, mist the tiles and grout lightly. Let it air dry—no rinsing needed.
The antimicrobial properties of tea tree oil or the acidity of vinegar create an environment where mold can't easily grow.
Why It Works
Tea tree oil is a natural fungicide that kills mold spores on contact. White vinegar disrupts the pH balance that mold needs to thrive. Both are safe for most tile types and leave a fresh scent.
How To Make It A Habit
Keep the spray bottle in the shower or hang it from a hook. Make it part of your post-shower routine: a quick spritz while the tiles are still wet, then walk away. Consistency is key.
What To Avoid
Don't use bleach in your daily spray—it's too harsh for frequent use and can damage grout over time. Stick to gentle, natural ingredients for this maintenance step.
10. Use a Squeegee After Every Shower
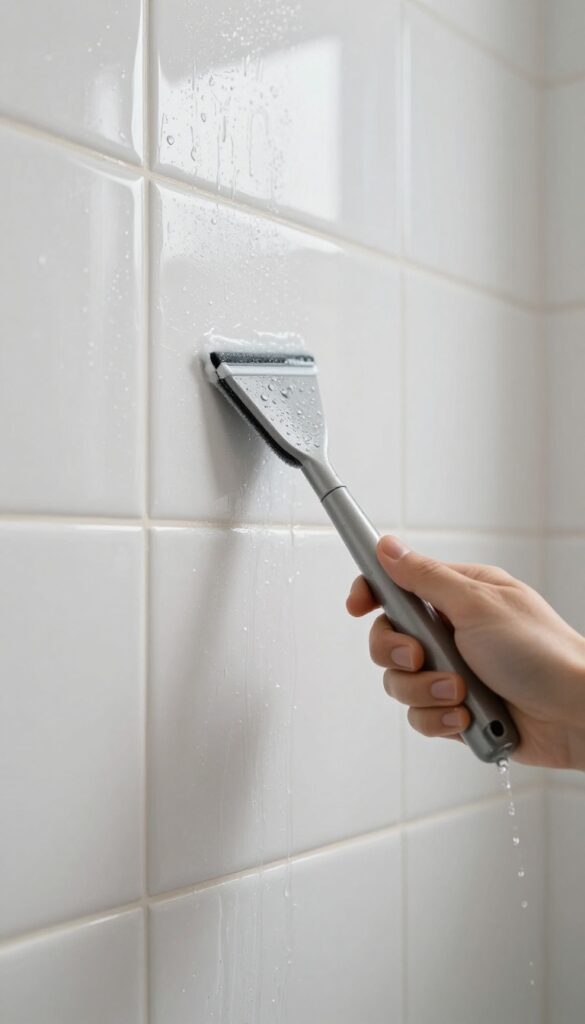
A squeegee is one of the simplest tools for keeping your tiles bright. After every shower, a quick swipe over tiles and glass doors removes water droplets before they dry into hard water spots and soap scum. This habit takes less than a minute and saves you from scrubbing later.
Why It Works So Well
Hard water contains minerals that leave white deposits when water evaporates. Soap scum forms from the reaction between soap and minerals. A squeegee wipes away the water before evaporation, preventing both issues.
It also reduces mold growth by eliminating moisture on surfaces.
Choosing The Right Squeegee
Look for a squeegee with a rubber blade that's soft and flexible. A 6- to 10-inch blade works well for tiles, while a larger one is better for glass doors. Avoid cheap plastic blades that leave streaks.
A small hook or suction cup near the shower keeps it handy.
How To Make It A Habit
Keep the squeegee within arm's reach of the shower. After rinsing, give the tiles and glass a few quick passes from top to bottom. Don't forget corners and edges.
If you have a shower door, wipe both sides. It becomes automatic after a week or two.
11. Brighten with Lemon Juice
Lemons aren't just for lemonade—they're a powerful, natural cleaner that can tackle tile stains and dingy grout. The citric acid cuts through mineral deposits and soap scum while leaving behind a fresh, clean scent. Best of all, it's gentle enough for regular use and costs pennies per application.
For a quick brightening treatment, cut a lemon in half and rub it directly onto stained tiles or grout lines. The natural acid lifts discoloration on contact. Let the juice sit for 5–10 minutes, then scrub gently with a soft brush and rinse thoroughly with water.
You'll see an immediate difference in brightness.
Why Lemon Juice Works
Lemon juice contains citric acid, a mild natural acid that dissolves alkaline buildup like hard water stains, soap scum, and lime deposits. It also has antibacterial properties that help kill mold and mildew spores on the surface. Unlike bleach, it won't yellow grout over time, and it smells far better.
Best Uses For Lemon On Tiles
Lemon juice is ideal for ceramic, porcelain, and glazed tiles. Use it on stubborn water spots, soap scum rings around faucets, and discolored grout lines. Avoid using it on natural stone like marble or granite—the acid can etch the surface.
Always test in an inconspicuous area first.
Lemon And Baking Soda Paste
For extra scrubbing power, mix lemon juice with baking soda to form a thick paste. Apply it to grout lines or tough stains, let it sit for 10 minutes, then scrub with an old toothbrush. The fizzing action helps lift grime, and the paste clings to vertical surfaces without dripping.
12. Try a Commercial Grout Pen for Touch-Ups
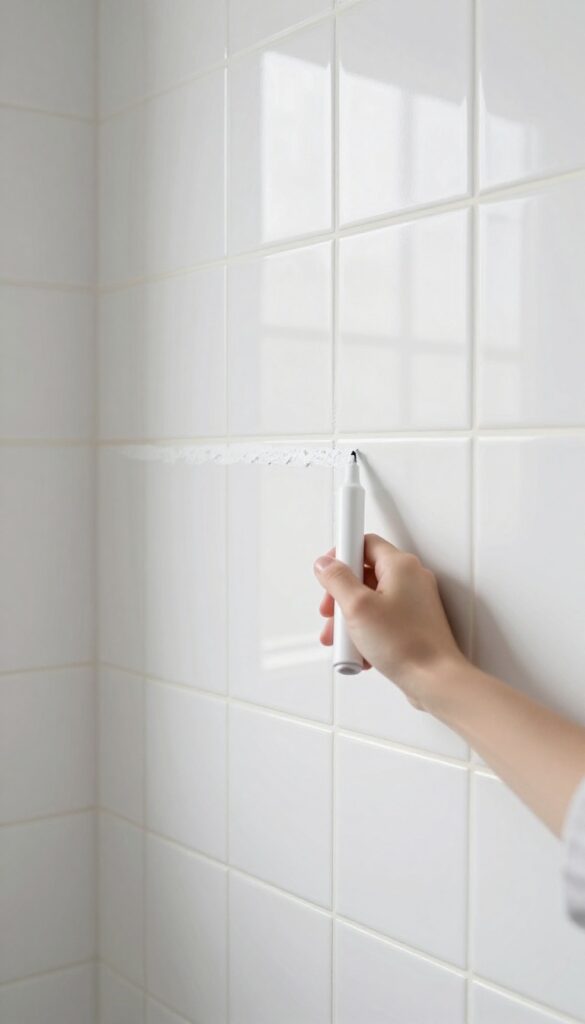
Grout lines are often the first thing to look dingy, even after a deep clean. A grout pen is a quick, no-mess solution that recolors faded or stained grout, making the entire tile surface look fresh and uniform. It's a cosmetic fix that takes minutes but delivers a surprisingly polished result.
Why Grout Pens Work So Well
Grout pens contain a water-based, semi-permanent colorant that bonds to porous grout. They cover light stains, yellowing, and uneven discoloration in one coat. Unlike regrouting, there's no mixing, no drying time, and no mess.
Plus, they come in a range of colors to match your existing grout.
How To Apply A Grout Pen
Start with clean, dry grout. Shake the pen well, then press the tip into the grout line and squeeze gently. Draw the pen along the line, applying even pressure.
Wipe away any excess that gets on the tile with a damp cloth. Let it dry for about an hour before exposing it to moisture.
When To Skip The Pen
Grout pens won't fix cracked, crumbling, or missing grout—that needs repair first. They also don't work well on glossy or sealed grout, as the color won't adhere. For heavily stained or moldy grout, clean thoroughly with a bleach-based cleaner before using the pen.
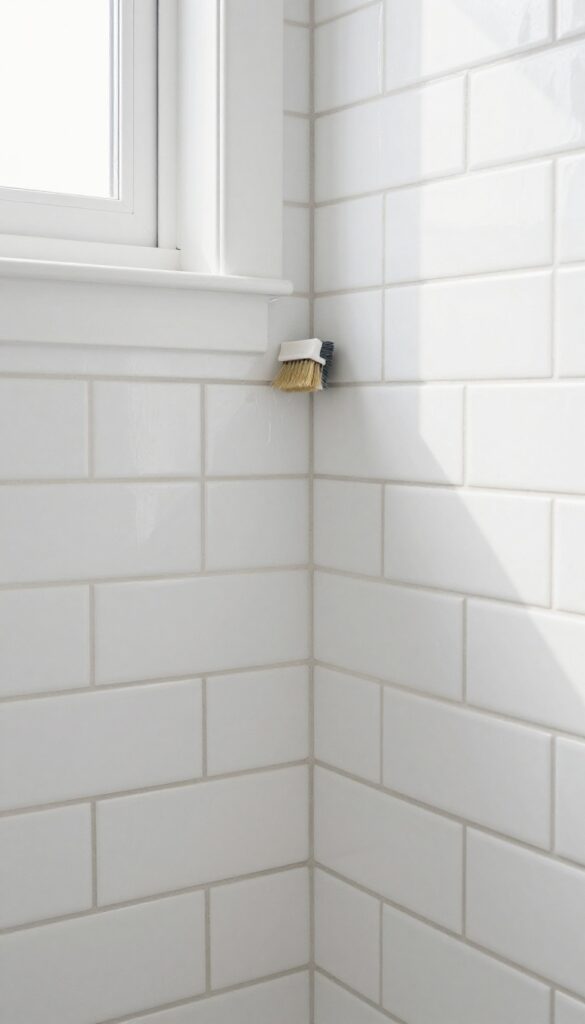
13. Use a Soft-Bristle Brush for Textured Tiles
Textured or matte tiles add character to a bathroom, but they also trap dirt in their nooks and crannies. A stiff brush or abrasive pad can scratch the surface and ruin the finish. That's where a soft-bristle brush comes in—it's gentle enough to protect the tile but tough enough to lift grime from every groove.
Reach for a nylon scrub brush with soft bristles. It's the perfect tool for dislodging dirt from textured tiles without leaving scratches. Work in small circles, applying light pressure, and rinse frequently to see your progress.
For stubborn spots, dip the brush in a mild cleaning solution—avoid anything acidic or abrasive. This method keeps your tiles looking new and prevents dulling over time.
Why Texture Needs A Soft Touch
Textured tiles rely on their surface pattern for grip and style. Scratching that pattern with a hard brush or scouring pad not only ruins the look but can also make the tile harder to clean in the future. Soft bristles glide over the surface, reaching into depressions without damaging the peaks.
It's a simple swap that pays off in long-term appearance.
Best Brush Options And Technique
Look for a brush labeled "non-scratch" or specifically for delicate surfaces. Nylon bristles are ideal—they're firm enough to scrub but flexible. Dip the brush in warm water mixed with a pH-neutral cleaner.
Scrub in a circular motion, focusing on one small area at a time. Rinse the brush often to avoid redepositing dirt. For large areas, a soft-bristle drill attachment can save time while still being gentle.
14. Rinse Thoroughly to Avoid Residue
You've scrubbed, sprayed, and wiped—but if you skip the final rinse, all that effort can backfire. Cleaning solutions, even natural ones, leave behind a thin film that attracts dirt and makes tiles look dull over time. A thorough rinse with clean water is the simple step that locks in your shine.
After any cleaning solution, rinse tiles with clean water and dry with a microfiber cloth. Leftover cleaner can attract dirt and dull the shine.
Why Residue Is The Enemy Of Shine
Soap-based cleaners and even vinegar solutions leave microscopic deposits on tile surfaces. These residues act like magnets for dust and grime, making tiles look hazy or streaky within days. Rinsing removes these particles, restoring the tile's natural reflectivity.
The Right Rinsing Technique
Use a clean bucket of warm water and a fresh sponge or cloth. Wipe each tile section with the damp sponge, then immediately follow up with a dry microfiber cloth to prevent water spots. For large wall tiles, a handheld showerhead on a gentle spray setting works wonders—just be sure to dry thoroughly afterward.
Don't Forget The Grout
Grout is porous and traps residue more easily than tile. After cleaning grout lines, rinse them with a damp cloth or a spray bottle filled with clean water. Blot excess moisture with a towel to prevent mildew growth.
15. Schedule a Monthly Deep Clean
Even with daily wipe-downs and weekly scrubs, your bathroom tiles need a dedicated deep clean once a month. That 30-minute session targets the hidden grime that regular cleaning misses, preventing buildup before it becomes a problem. Think of it as a reset button for your tile surfaces—keeping them bright without extra effort.
A monthly deep clean doesn't have to be a chore. Break it into simple steps: start by spraying a gentle cleaner (like a vinegar-water mix) over all tiles and grout, let it sit for 10 minutes, then scrub with a soft brush. Rinse thoroughly with warm water and dry with a microfiber cloth.
This routine keeps soap scum and hard water stains from settling in.
What A Deep Clean Actually Covers
Focus on areas that get overlooked: corners around the bathtub, behind the faucet handles, and the bottom edge of shower doors. Grout lines also need extra attention—use a small brush and a baking soda paste to lift discoloration. Don't forget tile edges where moisture collects.
How To Make It A Habit
Pick a consistent day, like the first Sunday of each month, and set a timer for 30 minutes. Keep your deep clean supplies in a caddy so you can grab them quickly. Over time, this monthly reset will make your daily cleaning faster and easier.
FAQ
Can I use bleach on bathroom tiles?
Yes, but sparingly. Bleach is effective for whitening grout and killing mold, but it can damage colored grout and some tile finishes. Always dilute and rinse thoroughly.
How do I clean tiles without harsh chemicals?
Use natural solutions like vinegar, baking soda, lemon juice, or hydrogen peroxide. These are effective for most tile types and safer for your family and the environment.
What's the best way to clean grout?
A baking soda and water paste scrubbed with a toothbrush works well. For deeper stains, add hydrogen peroxide or use a steam cleaner. Sealing grout afterward helps prevent future stains.
How often should I clean bathroom tiles?
Daily quick squeegeeing and weekly light cleaning keep tiles in good shape. A deep clean every month is recommended for grout and stubborn buildup.
Can I use a steam mop on bathroom tiles?
Yes, but avoid steam mops on unsealed grout or natural stone. For ceramic or porcelain tiles, a steam mop is safe and effective for sanitizing and removing dirt.
Conclusion
Your bathroom tiles can stay bright without a full-day scrub session. Just pick a few of these tips that fit your routine and stick with them—consistency matters more than intensity.
A quick daily wipe and a weekly targeted clean will keep grout from darkening and surfaces shining. You'll save time and still get that fresh, clean look every time you step into the bathroom.