How to Clean Soap Scum from Shower Tile in 13 Steps
That cloudy film on your shower tile isn't permanent—it's just soap scum waiting to be conquered. With the right technique, you can restore your tile's original shine without harsh chemicals or endless scrubbing.
This 13-step guide takes you from prep to prevention, using everyday ingredients like vinegar and baking soda. Each step targets a specific problem area, from grout lines to glass doors.
By the end, your shower will look like new, and you'll know exactly how to keep it that way.
1. Gather Your Supplies
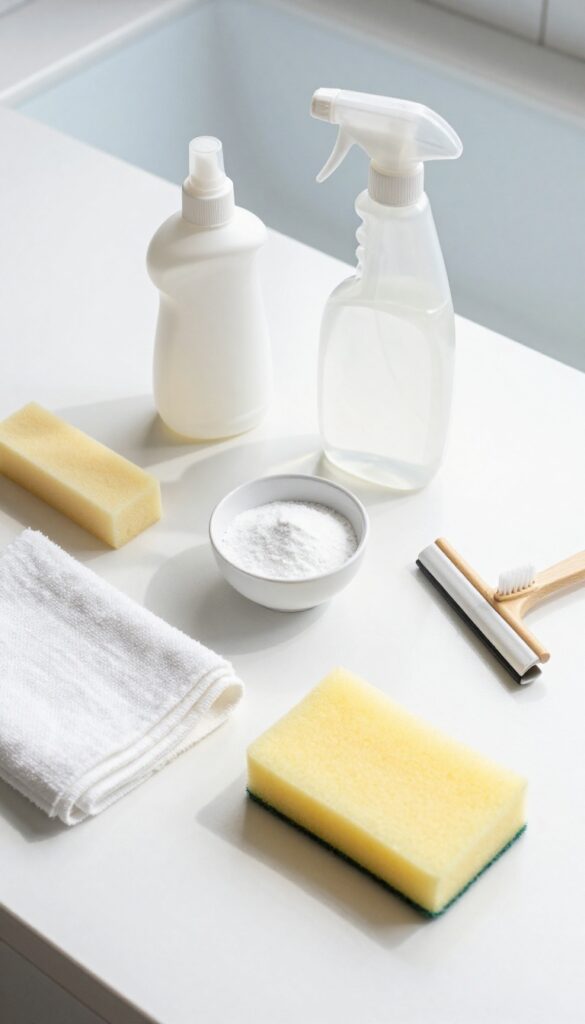
Before you start scrubbing, take a few minutes to gather everything you need. Having all your tools and cleaners within arm's reach makes the job go faster and keeps you from stopping mid-task to hunt for a missing sponge. You probably already have most of these items in your kitchen or laundry room.
For this project, you'll need white vinegar, baking soda, dish soap, a spray bottle, microfiber cloths, a soft sponge, a squeegee, and an old toothbrush. White vinegar cuts through soap scum naturally, while baking soda provides gentle abrasion for tough spots. Dish soap helps break down greasy residue, and microfiber cloths lift grime without scratching.
The squeegee is your best friend for prevention, and the toothbrush gets into grout lines and corners.
Why Vinegar And Baking Soda Work
Vinegar is acidic, so it dissolves the alkaline minerals in soap scum. Baking soda is a mild abrasive that scrubs without damaging tile. Together, they create a fizzing reaction that lifts stubborn deposits.
This combo is safe for most tile types, but avoid it on natural stone like marble or granite.
Tools That Make A Difference
A soft sponge prevents scratching, while microfiber cloths trap particles instead of pushing them around. An old toothbrush is perfect for detail work on grout or around fixtures. A squeegee isn't just for glass—it also works on tile to remove excess water after each shower, reducing future buildup.
Optional Add-ons
If your scum is especially thick, consider a plastic scraper or a pumice stone (for porcelain only). For heavy-duty jobs, a commercial cleaner like a foaming bathroom spray can be used alongside your homemade solution. Just test any new product on a hidden area first.
2. Ventilate the Bathroom
Before you mix any cleaning solution, get the air moving. Soap scum removers often contain strong ingredients like vinegar or ammonia, and the fumes can be intense in a small, enclosed shower. Opening a window or flipping on the exhaust fan clears the air and makes the whole process more comfortable.
Plus, good airflow helps surfaces dry faster after you rinse, which means less chance of new scum forming right away.
Ventilation is a simple but crucial step that many people skip. Without it, you're breathing in concentrated fumes while you scrub, and the moisture lingers longer, giving soap scum a head start. Take 30 seconds to crack a window or run the fan before you begin.
If your bathroom has no window or fan, prop the door open slightly to create crossflow. Your lungs and your shower will thank you.
Why Ventilation Matters
Cleaning products release volatile organic compounds (VOCs) that can irritate your eyes, nose, and throat. In a steamy bathroom, those VOCs concentrate even more. Ventilation dilutes them, making the environment safer.
It also reduces humidity, which helps your tile and grout dry completely after cleaning—preventing mold and mildew from taking hold.
How To Set It Up
Open the window at least a few inches, or turn on the exhaust fan 10 minutes before you start. If you're using a fan, make sure it vents outside, not just into the attic. For bathrooms without windows, leave the door open and point a small fan toward the hallway.
Keep the ventilation running for at least 30 minutes after you finish cleaning to fully clear the air.
3. Wet the Tile Surface
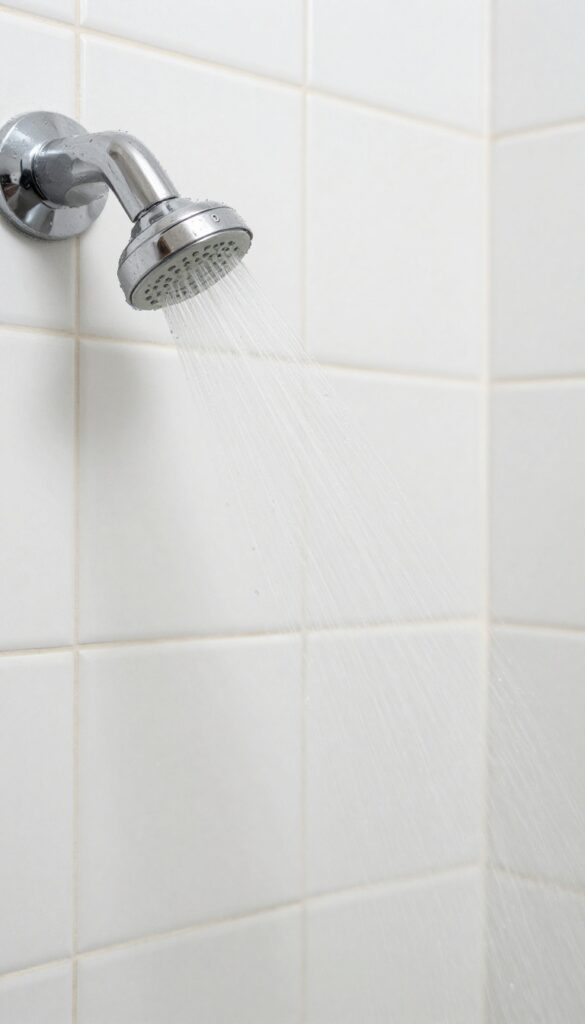
Now that you've got your supplies ready and the bathroom ventilated, it's time to prep the tile itself. A quick rinse with warm water does more than just wet things down—it loosens surface-level grime and helps your cleaning solution penetrate better. This small step makes a big difference in how effectively you remove soap scum.
Wetting the tile is a simple but crucial step that many people skip. Warm water helps dissolve fresh soap scum and softens dried-on residue, so your cleaner can work faster. It also prevents cleaning agents from evaporating too quickly, giving them more time to break down the buildup.
Why Warm Water Works Best
Hot water isn't necessary—warm water is ideal because it's gentle on grout and tile while still being effective. Cold water won't loosen scum as well, and hot water can cause certain cleaners to fume or evaporate too fast. Aim for a comfortable, bath-like temperature.
How To Wet The Surface Properly
Use a handheld showerhead or a large cup to splash water evenly across the tile. Focus on one section at a time so the surface stays wet while you work. Avoid soaking the floor to prevent slipping—just get the walls and glass doors damp.
What To Do If You Have Hard Water
If your home has hard water, you might notice white mineral deposits mixing with soap scum. Wetting the tile first can help dissolve some of those minerals, especially if you use a slightly acidic cleaner afterward. Just be sure to rinse thoroughly to avoid streaks.
4. Apply a Vinegar Solution
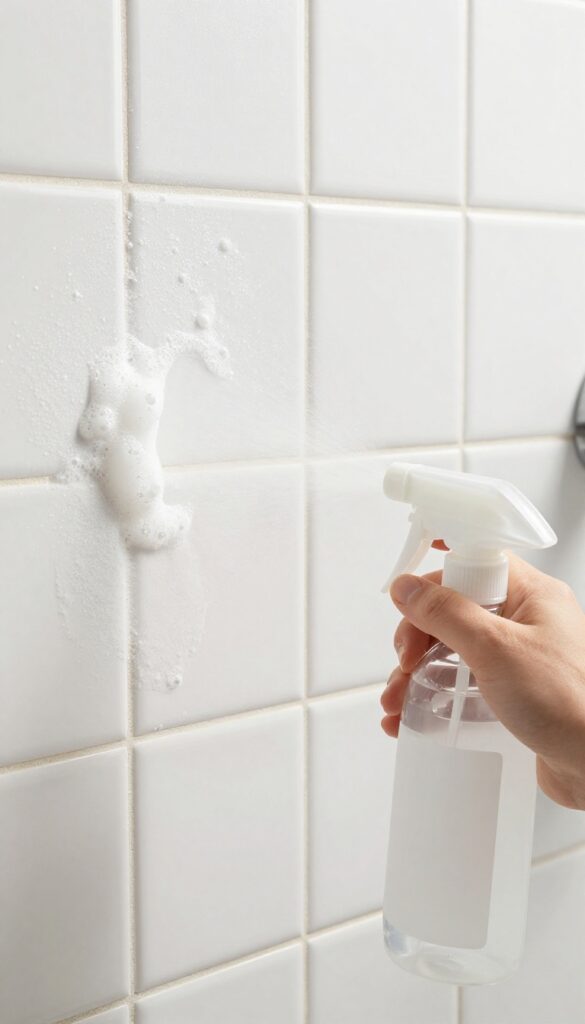
White vinegar is a powerhouse when it comes to dissolving soap scum. Its mild acidity breaks down the mineral deposits and fatty residues that make up that stubborn film. For this step, you'll need a simple 50/50 mix of white vinegar and warm water.
Warm water helps the vinegar work faster and more effectively.
Mix equal parts white vinegar and warm water in a spray bottle. Spray generously over the soap scum and let it sit for 10–15 minutes to dissolve mineral deposits.
Why Vinegar Works So Well
Soap scum is basically a mix of soap residue and hard water minerals. The acetic acid in vinegar reacts with the calcium and magnesium in hard water, turning them into soluble compounds that rinse away easily. It's a chemical reaction, not just a soak.
How To Apply It Right
Fill a spray bottle with your vinegar solution. Start at the top of the tile and work your way down, saturating the surface. Don't be shy—you want the solution to cling to the scum.
Let it sit for a full 10 to 15 minutes. If the scum is thick, you can go up to 20 minutes. The longer it sits, the less scrubbing you'll need.
What To Avoid
Never use vinegar on natural stone tiles like marble, granite, or travertine. The acid can etch the surface and cause permanent damage. Stick to ceramic, porcelain, or glass tiles.
Also, avoid mixing vinegar with bleach or other cleaning products—it can create toxic fumes.
5. Scrub with a Baking Soda Paste
Sometimes vinegar alone isn't enough to cut through thick, crusty soap scum. That's when you bring in baking soda—a gentle abrasive that lifts grime without scratching tile or glass. Mixed into a paste, it clings to vertical surfaces and breaks down stubborn deposits.
This step is especially satisfying because you can see the scum loosen and wipe away.
Baking soda's mild abrasiveness makes it ideal for tackling built-up soap scum without damaging your tile or grout. When combined with water, it forms a spreadable paste that can be applied precisely to problem areas. The paste works by physically scrubbing away the scum while also absorbing odors and neutralizing any remaining vinegar smell.
For extra cleaning power, you can add a few drops of liquid dish soap to the paste—the soap helps cut through grease and body oils that bind soap scum to surfaces.
How To Make The Paste
In a small bowl, mix three parts baking soda with one part water until it forms a thick, spreadable paste. If it's too runny, add more baking soda; if too dry, add a few more drops of water. For a boost, substitute white vinegar for water—but be ready for fizzing.
The paste should be thick enough to stay put on a vertical tile wall without dripping.
Applying And Scrubbing
Use a soft sponge, microfiber cloth, or an old toothbrush to apply the paste to the scummy areas. Focus on spots where the scum is thickest, like around the soap dish or along the bottom of the shower wall. Scrub gently in circular motions—let the baking soda do the work.
For grout lines, a toothbrush works best to get into the grooves. Rinse frequently to check your progress and avoid spreading loosened scum around.
Rinsing And Inspecting
Once you've scrubbed all the paste-covered areas, rinse thoroughly with warm water. Use a showerhead sprayer or a cup to wash away every trace of baking soda residue. Inspect the tile under good light; if you still see scum, repeat the process on those spots.
After rinsing, wipe the tile dry with a clean towel to prevent new water spots from forming.
6. Use Dish Soap for Greasy Buildup
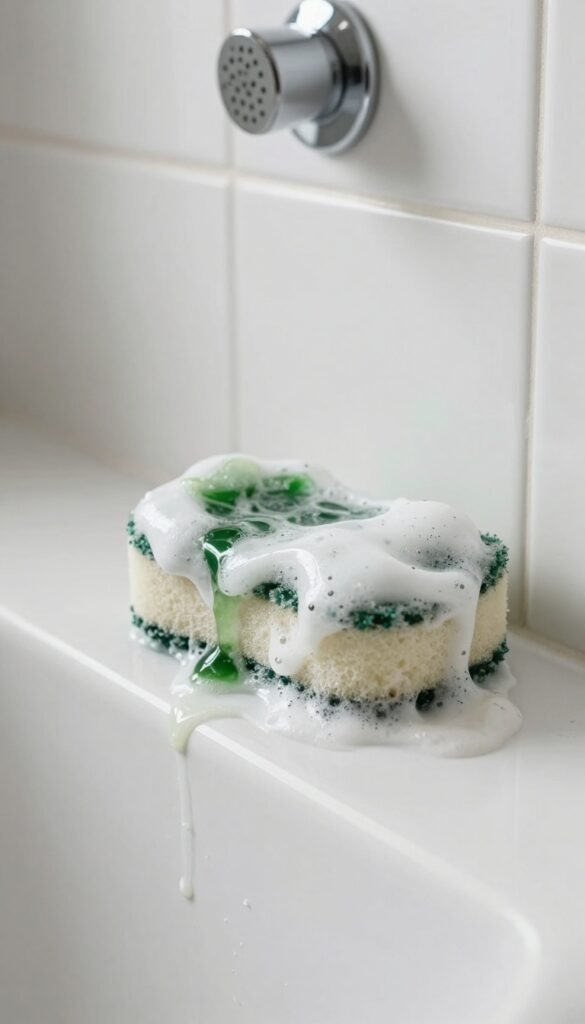
When soap scum has that extra greasy feel, it means body oils and lotions have mixed in. Plain baking soda and vinegar might not cut it. That's where a few drops of liquid dish soap come in handy.
Dish soap is designed to break down grease, making it perfect for tackling the oily component of soap scum. Adding it to your baking soda paste creates a powerful dual-action cleaner that lifts both the mineral deposits and the greasy film.
How To Make The Paste
Mix 1/2 cup baking soda with enough water to form a thick paste. Then add 1 tablespoon of liquid dish soap. Stir until combined.
The paste should be spreadable but not runny.
Application Tips
Apply the paste to the greasy areas using a sponge or your fingers (wear gloves). Let it sit for 5–10 minutes so the dish soap can break down the oils. Scrub with a soft brush or non-abrasive pad, then rinse thoroughly.
Why It Works So Well
Baking soda provides gentle abrasion to loosen mineral deposits, while dish soap emulsifies the greasy residue. Together, they tackle what each alone might miss, making your cleaning more efficient.
7. Focus on Grout Lines
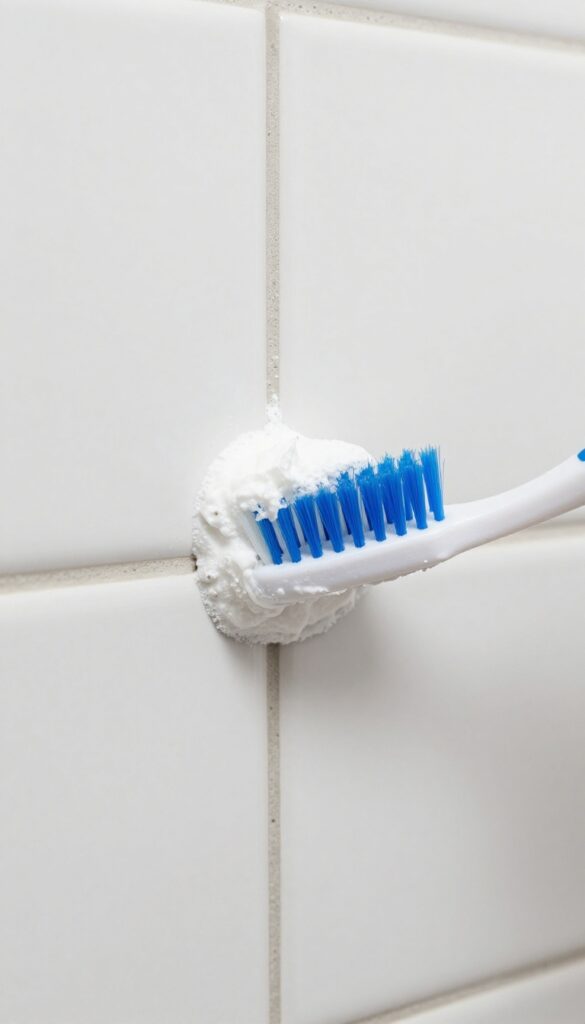
Grout lines are where soap scum and mildew love to hide. Their porous texture grabs onto residue, so they need more than a quick wipe. A dedicated scrub with the right tool makes all the difference.
Dip an old toothbrush into your baking soda paste and scrub grout lines thoroughly. Grout holds onto scum and mildew, so give it extra attention.
Why Grout Needs Special Treatment
Grout is porous, so it absorbs soap scum, body oils, and moisture. Over time, this leads to discoloration and mildew. A toothbrush reaches deep into the grooves where a sponge can't.
The Best Tool For The Job
An old toothbrush is perfect—it's small, firm, and maneuverable. For larger areas, a grout brush with stiff bristles works faster. Avoid wire brushes, which can scratch tile.
Scrubbing Technique
Apply baking soda paste to the grout lines, then scrub in a circular motion. Focus on dark or stained spots. Let the paste sit for a few minutes before rinsing to loosen stubborn scum.
8. Rinse Thoroughly with Warm Water
You've scrubbed, sprayed, and scrubbed some more. Now comes a step that's easy to rush, but skipping it can undo all your hard work. Rinsing removes every trace of cleaning solution, so residue doesn't dry into a dull film or attract new grime.
Use a handheld showerhead or a bucket of warm water to rinse all cleaning residues from tile and grout. Leftover cleaner can attract more dirt and leave streaks, so be generous with the water. Start at the top and work your way down, making sure each section gets a thorough flush.
Pay extra attention to grout lines and corners where suds love to hide. If you used a vinegar or baking soda paste, you might need a second rinse to get everything off. When the water runs clear and you don't see any suds, you're done.
A final wipe with a clean microfiber cloth can help prevent water spots, but a good rinse is the real key.
Why Warm Water Works Best
Warm water dissolves leftover soap and cleaner more effectively than cold water. It also helps open up the pores of the grout, releasing any trapped residue. Just avoid hot water—it can set some stains or damage caulking over time.
How To Rinse Without A Handheld Showerhead
No removable showerhead? No problem. Fill a large bucket with warm water and use a plastic cup or a clean sponge to pour or dab water over the tiles.
Work in small sections and change the water frequently so you're not just spreading dirty water around.
9. Dry with a Microfiber Cloth
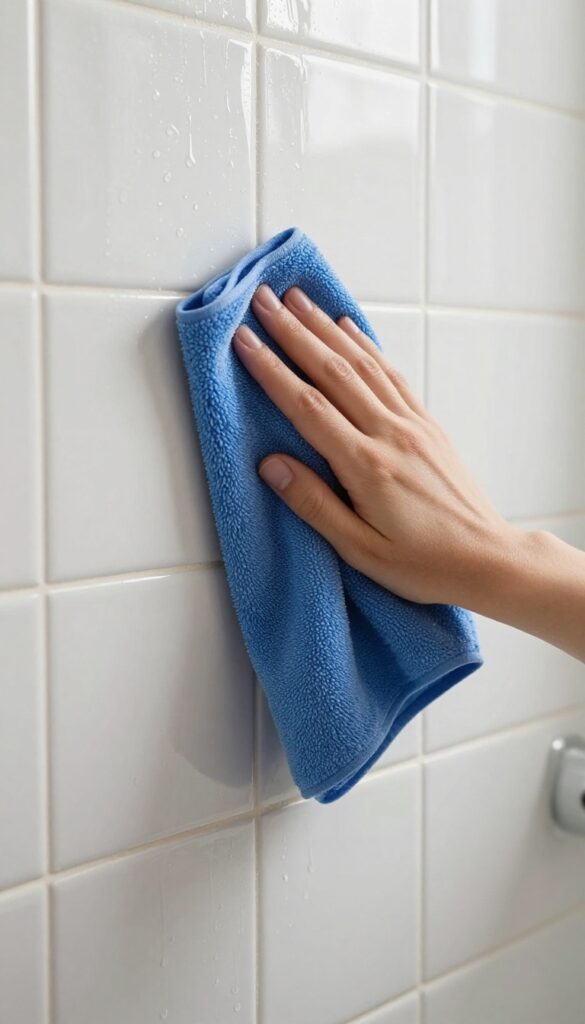
After all that scrubbing and rinsing, your tiles are clean but still wet. Drying them with the right cloth makes a surprising difference. A microfiber cloth lifts away leftover moisture without leaving lint or streaks behind.
This final touch does more than just dry the surface. It prevents water spots and mineral deposits from forming as the water evaporates. Plus, running a dry cloth over the tile reveals any patches of soap scum you might have missed—so you can hit them again while everything is still damp.
Why Microfiber Works Best
Microfiber is made of split fibers that create a static charge, which attracts dust and grime like a magnet. It absorbs several times its weight in water and won't shed lint like cotton or paper towels. That means a streak-free, spotless shine every time.
The Right Drying Technique
Start at the top of the tile and work your way down in overlapping strokes. Use a fresh, dry section of the cloth as it gets damp. For large areas, fold the cloth into quarters and flip to a clean side often.
Don't forget corners and edges where water pools.
What To Look For As You Dry
As you wipe, watch for any hazy or sticky spots. Those are remnants of soap scum that need another pass. If you find any, spray a little vinegar solution on the spot and wipe again.
This step ensures your shower is truly clean, not just rinsed.
10. Squeegee Glass Doors and Walls
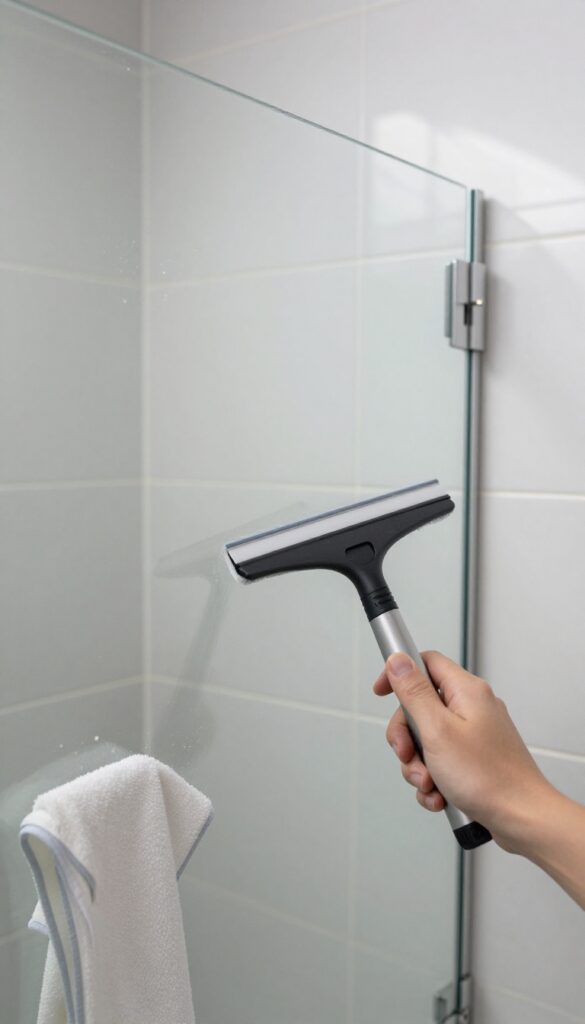
You've scrubbed, rinsed, and dried your shower tile, but the real secret to keeping it clean is stopping scum before it starts. A simple squeegee swipe after every shower can cut your deep-cleaning frequency in half. It's the single most effective habit for maintaining that just-scrubbed look.
Squeegeeing isn't just for glass doors—it works on smooth tile walls too. The idea is to remove water droplets before they evaporate and leave behind mineral deposits and soap residue. This takes less than 30 seconds and pays off in weeks of reduced scrubbing.
Why Squeegeeing Works
When water dries on glass or tile, it leaves behind dissolved minerals and leftover soap. Over time, these deposits build into stubborn scum. A squeegee physically removes the water, so there's nothing left to evaporate.
This prevents both hard water spots and soap film from forming.
Best Technique For Maximum Results
Start at the top corner of your glass door or tile wall. Pull the squeegee horizontally across the surface, overlapping each stroke slightly. After each pass, wipe the blade with a dry microfiber cloth to keep it streak-free.
Finish with a vertical stroke along the edges to catch drips.
Choosing The Right Squeegee
Look for a squeegee with a rubber blade that's at least 10 inches wide—narrow ones take too many passes. A stainless steel or plastic handle with a hook lets you hang it in the shower so it's always ready. Replace the blade every few months when it starts leaving streaks.
Don't Forget The Walls
If your shower has smooth ceramic or porcelain tile, squeegee those too. Skip textured or natural stone surfaces, as the blade can catch and damage them. For those, a microfiber cloth works better to blot water away without scratching.
11. Tackle Stubborn Stains with Lemon Juice
Some soap scum stains just won't budge, no matter how much you scrub. That's when you need a little extra help from nature's own acid. Lemon juice cuts through tough calcium deposits without the harsh fumes of chemical cleaners.
For those set-in spots that survived your earlier efforts, lemon juice is a gentle but effective weapon. Its citric acid breaks down the mineral bonds in soap scum, making it easier to wipe away. Plus, it leaves your bathroom smelling fresh and clean.
How To Apply Lemon Juice
Squeeze fresh lemon juice directly onto the stain, or use bottled lemon juice if that's what you have. Let it sit for 15 minutes so the acid can work. Then scrub with a soft brush or sponge—the scum should lift off easily.
When To Use Lemon Juice Vs. Vinegar
Both are acidic, but lemon juice is milder and less pungent. Use lemon juice on delicate tile or if you're sensitive to vinegar's smell. For heavy buildup, vinegar is stronger, but lemon juice is perfect for maintenance and spot treatments.
Rinsing And Finishing
After scrubbing, rinse the area thoroughly with water. Any leftover acid can dull the tile over time, so make sure it's all gone. Dry with a microfiber cloth to prevent new water spots.
12. Prevent Future Buildup with a Daily Spray
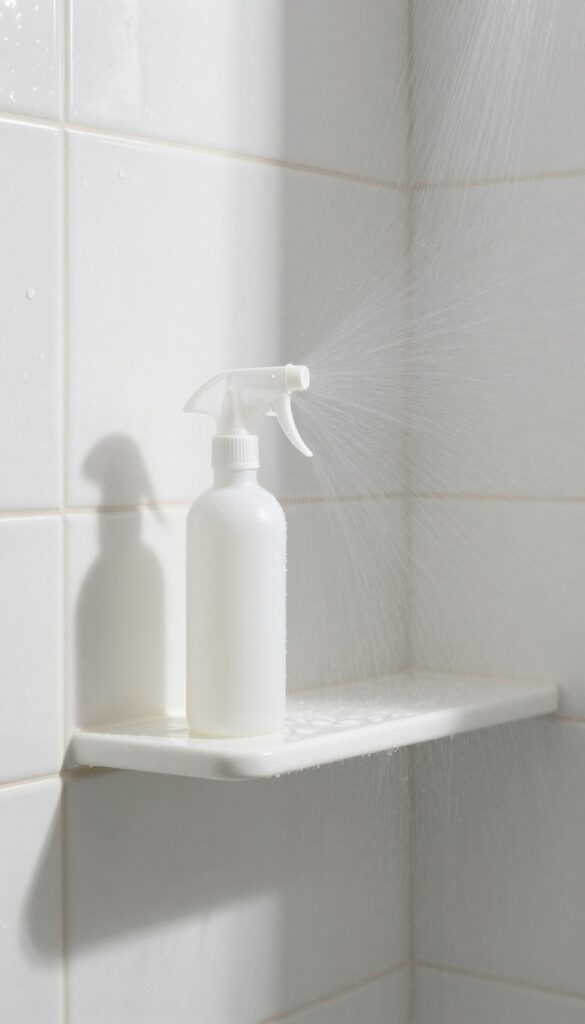
Keeping soap scum away is easier than scrubbing it off. A quick daily spray after your shower stops residue from sticking, so your deep cleans become fewer and farther between. You can make this spray in under a minute with ingredients you already have.
The secret to a low-maintenance shower is a simple post-shower habit. After you're done, grab your daily spray and mist the tiles, glass, and fixtures. Let it sit for a minute, then rinse with warm water.
No scrubbing needed—just a quick spritz and rinse keeps scum from building up.
The Diy Spray Recipe
Mix one part white vinegar or rubbing alcohol with four parts water in a spray bottle. Both options cut through soap residue and dry quickly, leaving less surface for scum to cling to. If you prefer a scent, add a few drops of essential oil like lemon or tea tree.
When To Spray
Spray right after your shower, while the surfaces are still wet. This helps the solution spread evenly and work faster. If you shower multiple times a day, one spray at the end of the day is enough to keep scum at bay.
Pro Tip: Keep It Handy
Store your spray bottle in the shower or hang it on a hook within arm's reach. That way, you won't forget to use it. Refill the bottle every couple of weeks—it's cheap and takes seconds to make.
13. Maintain with Weekly Wipe-Downs
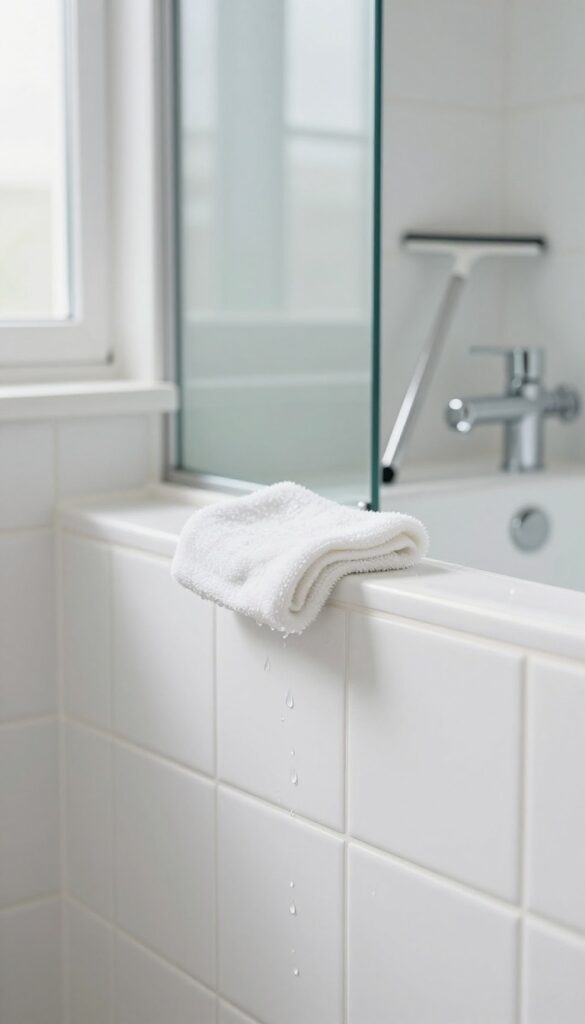
The final step isn't a deep clean—it's a quick habit that keeps your shower looking great between major scrubbing sessions. A weekly wipe-down takes just five minutes and stops soap scum from building up in the first place.
Grab a damp microfiber cloth and quickly wipe down all tile surfaces after your last shower of the week. Focus on areas where water and soap tend to linger, like corners and around the faucet. This simple routine removes residue before it hardens into scum, making your monthly deep clean much easier.
Plus, it helps prevent mildew and keeps grout looking fresh.
Why Microfiber Works Best
Microfiber cloths trap soap residue and minerals without scratching tile or glass. They're also reusable—just toss them in the wash. Avoid paper towels, which can leave lint and aren't as effective at grabbing fine particles.
When To Wipe
Right after your shower, when steam has loosened any fresh residue, is ideal. But if that's not possible, any consistent weekly time works. Set a reminder on your phone so it becomes automatic.
Bonus: Squeegee The Glass
If you have a glass shower door, a quick squeegee after each use takes 30 seconds and prevents water spots. Combine with the weekly wipe-down for a truly low-maintenance routine.
FAQ
Can I use bleach to clean soap scum?
Bleach can kill mold and mildew but isn't effective at dissolving soap scum. Stick to vinegar or baking soda for scum removal, and use bleach only for disinfecting if needed.
How often should I clean soap scum from shower tile?
For best results, do a deep clean every two to four weeks. Daily or weekly maintenance with a squeegee or spray can reduce the need for heavy scrubbing.
Will vinegar damage my tile or grout?
Vinegar is safe for ceramic and porcelain tile but can etch natural stone like marble or granite. Always test on an inconspicuous area first, and avoid vinegar on stone surfaces.
What if my soap scum is really thick?
For thick buildup, let the vinegar solution sit for 20–30 minutes or apply a baking soda paste and let it dry before scrubbing. You may need to repeat the process.
Can I use a magic eraser on shower tile?
Yes, a melamine sponge (magic eraser) can work on tough scum, but use it gently. It's mildly abrasive and can dull glossy tile finishes if scrubbed too hard.
Conclusion
Once you've worked through these 13 steps, your shower tile should be free of soap scum and looking noticeably brighter. The whole process takes less than an hour, and the difference is immediate. Make it a habit to give your tiles a quick maintenance clean every week or two, and you'll avoid heavy buildup in the future.
A clean shower makes your whole bathroom feel fresher, and you've earned that satisfaction. Now enjoy stepping into a sparkling, scum-free shower every day.