How to Clean Shower Glass in 15 Clear Shine Steps Fast
You step into the shower, and the glass door looks more foggy than clear. Hard water spots and soap scum have turned your once-pristine enclosure into a cloudy mess. It’s frustrating, but you don’t need expensive products or hours of scrubbing to fix it.
The secret is using the right techniques and a few everyday household items. With a little know-how, you can restore that crystal-clear shine in under an hour.
These 15 steps are designed to be fast, effective, and easy to follow. No fluff, just practical solutions that work on any glass shower door.
1. Start With a Dry Wipe to Remove Loose Dust
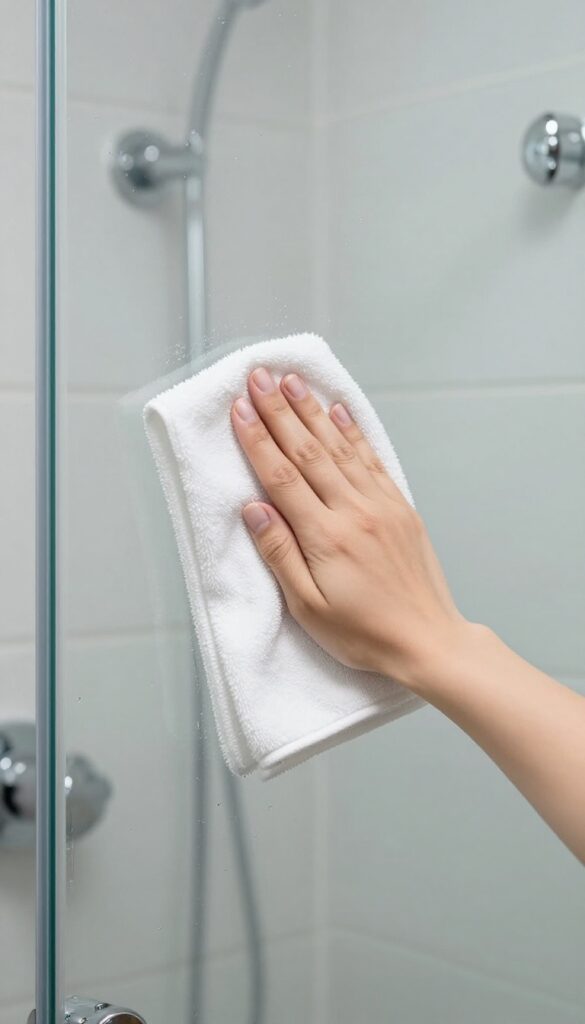
You might be tempted to grab a spray bottle and start scrubbing right away. But skipping the dry wipe is a common mistake that can leave your glass looking worse. Dust, hair, and tiny grit particles act like sandpaper when you add moisture, creating micro-scratches that dull the surface over time.
A quick dry wipe removes that loose debris and sets you up for a streak-free finish.
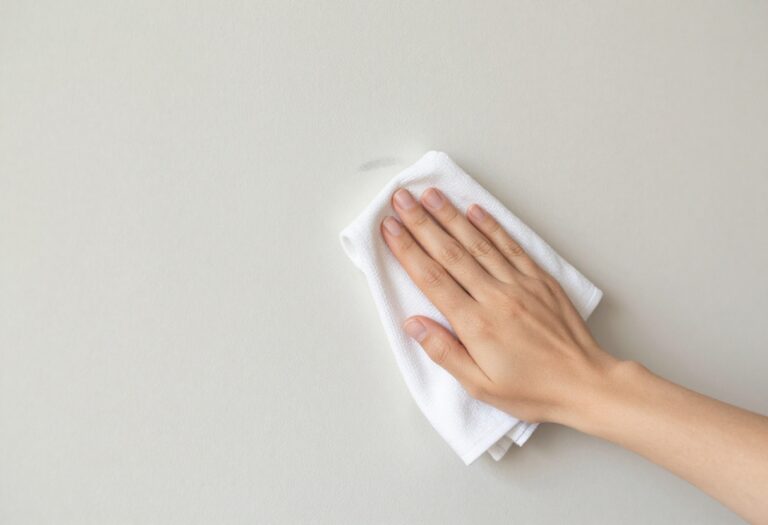
Grab a clean, lint-free microfiber cloth—the kind you use for eyeglasses or electronics works perfectly. Fold it into a manageable square and wipe the entire glass surface in a top-to-bottom motion. Pay extra attention to the bottom edge and corners where hair and dust tend to accumulate.
This step takes less than a minute but makes a huge difference in preventing scratches and ensuring your cleaning solution can actually reach the grime.
Why Microfiber Matters
Microfiber cloths trap dust and dirt in their fibers rather than pushing them around. Paper towels or old rags can leave lint behind or even scratch the glass. If you don't have a microfiber cloth, use a soft, clean cotton cloth that you've washed without fabric softener—that waxy coating can cause streaking.
The Right Technique
Start at the top and work your way down so dust falls onto areas you haven't cleaned yet. Use a light touch—you're not scrubbing, just lifting loose particles. For the frame and tracks, switch to a dry brush or an old toothbrush to dislodge any stubborn debris before wiping with the cloth.
2. Mix a Vinegar and Dish Soap Solution
Forget spending money on specialty glass cleaners. A simple mixture of white vinegar, warm water, and dish soap does the heavy lifting. This combo cuts through soap scum and hard water stains without the harsh fumes of commercial products.
It's safe for your glass and your lungs, and you probably have all the ingredients in your kitchen right now.
This solution works because vinegar's acidity dissolves mineral deposits while dish soap breaks down greasy soap scum. Together, they create a powerful, non-toxic cleaner. Use it as your go-to for regular maintenance or for tackling stubborn buildup.
Just mix, spray, and let it sit for a few minutes before wiping. You'll be amazed at the results.
Why This Combo Works So Well
White vinegar is a mild acid that dissolves hard water stains and mineral deposits. Dish soap, on the other hand, cuts through the oily residue left by soap and body products. When combined, they tackle both types of grime at once.
Plus, the soap helps the solution cling to vertical glass surfaces, giving it more time to work.
How To Mix It Right
Use a 1: 1 ratio of white vinegar and warm water. Add a few drops of dish soap—just enough to create a few suds when shaken. Pour everything into a spray bottle and give it a gentle swirl.
Don't shake too hard or you'll end up with too many bubbles. The mixture is ready to use immediately and stays effective for weeks.
Tips For Best Results
Always spray the solution onto a dry glass surface so it doesn't get diluted. Let it sit for 5–10 minutes to break down the grime. For extra-stubborn spots, scrub gently with a non-abrasive sponge or a microfiber cloth.
Rinse thoroughly with warm water and squeegee dry to prevent new spots from forming.
3. Spray the Glass Generously and Let It Sit
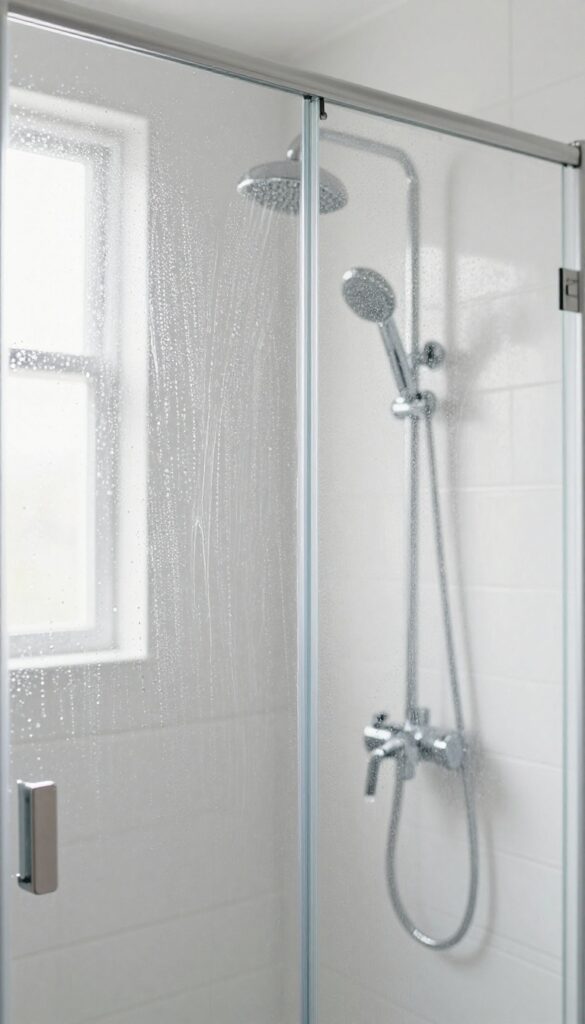
Once your cleaning solution is mixed, it's time to put it to work. Don't hold back—coat the entire glass surface thoroughly. The key here is dwell time: letting the solution sit for 5–10 minutes so it can break down mineral deposits and soap scum without you having to scrub hard.
This step saves you elbow grease and ensures a streak-free finish.
Grab your spray bottle and start from the top, working your way down. Make sure every inch is covered, especially corners and edges where buildup hides. A heavy mist is better than a light spritz; you want the solution to cling to the glass.
After spraying, walk away and let chemistry do its thing. Use this time to clean other parts of the shower or just take a short break.
Why Dwell Time Matters
Hard water stains and soap scum are stubborn because they bond to glass. A quick spray-and-wipe only removes surface dirt. Giving the solution 5–10 minutes allows acidic ingredients like vinegar or citric acid to dissolve those bonds.
The result: you can wipe away grime with minimal effort, and the glass stays cleaner longer.
Don't Let It Dry Completely
If the solution dries on the glass, it can leave new streaks or a hazy film. Set a timer for 8 minutes as a sweet spot. If your bathroom is warm or dry, you might need to respray a few spots to keep the surface wet.
A light misting halfway through is all it takes.
Work In Sections For Large Doors
For big shower enclosures, treat one panel at a time. Spray the first section, let it sit, then move to the next. This prevents the solution from drying out before you wipe.
It also keeps your workflow organized so you don't miss any spots.
4. Scrub With a Non-Abrasive Sponge or Pad
Now that your cleaning solution is on the glass, it’s time to work it in. The tool you choose matters more than you might think. A soft sponge or microfiber pad will lift grime without scratching, while the wrong scrubber can leave permanent damage.
Grab a soft sponge or a microfiber scrub pad—the kind you’d use on delicate cookware. Dip it into your cleaning solution or spray it directly onto the glass. Work in small circular motions, covering the entire surface.
Focus on areas with visible soap scum or hard water spots. Rinse the sponge frequently to avoid redepositing dirt. This gentle yet effective method breaks down buildup without harming the glass.
For stubborn spots, let the solution sit a minute before scrubbing again.
Why Avoid Abrasive Pads?
Steel wool, scouring pads, or any abrasive scrubber can etch the glass surface. Once etched, the glass becomes rougher, attracting even more soap scum and making future cleaning harder. Stick to non-abrasive options to keep your shower glass smooth and clear.
Best Tools For The Job
Microfiber scrub pads are ideal because they trap dirt in their fibers. Soft cellulose sponges work well too, especially when paired with a mild cleaner. Avoid sponges with a rough scrubby side—those can be too harsh.
If you prefer a brush, choose one with soft bristles.
Technique Tips For Best Results
Start at the top and work your way down to prevent drips on already-cleaned areas. Use consistent pressure—not too hard, not too light. Overlap your circular strokes to ensure full coverage.
Rinse the sponge often in warm water to keep it effective.
5. Rinse Thoroughly With Warm Water
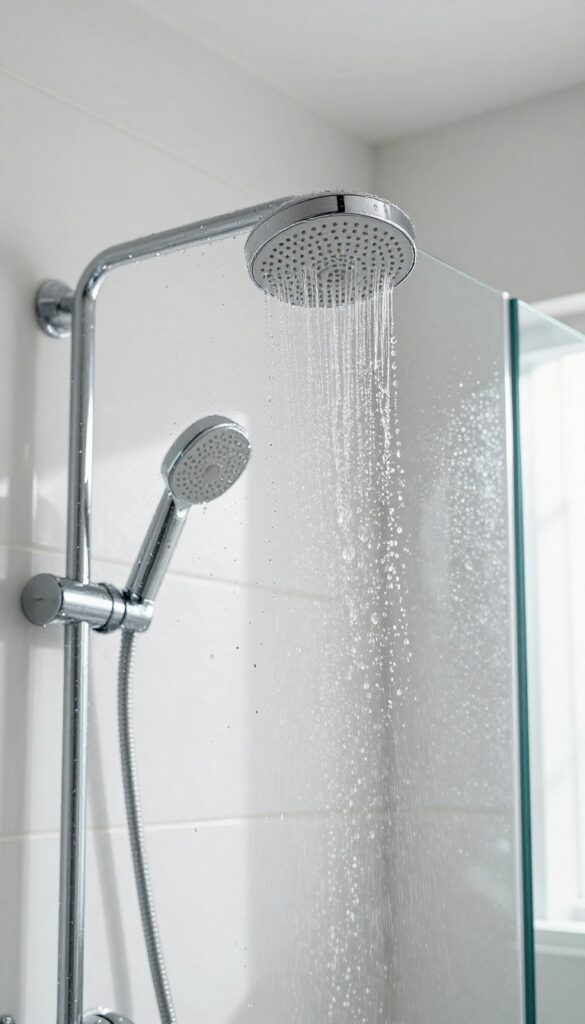
After all that scrubbing, rinsing is the step that makes or breaks your shine. If you leave any cleaning residue behind, it will dry into streaks or a hazy film that looks worse than the original grime. Warm water helps dissolve leftover soap and cleaner, so the glass dries spot-free.
Use your handheld showerhead or a large cup to pour warm water over the entire glass surface. Start at the top and work your way down, making sure every inch gets rinsed. Pay extra attention to corners and edges where suds tend to hide.
If you have a fixed showerhead, you can fill a bucket and splash the water on, but a handheld is easier and more thorough. Once you think you're done, do one more pass—this is the step where shortcuts cause streaks.
Why Warm Water Works Best
Warm water is more effective at dissolving leftover cleaner and soap scum than cold water. It helps break down any remaining chemical residue so it slides off the glass instead of sticking. Plus, warm water evaporates faster, which reduces the chance of water spots forming as the glass dries.
How To Rinse Without Missing Spots
Work in a systematic pattern: start at the top left, move side to side, then drop down and repeat. Keep the nozzle close to the glass to maximize water pressure. If you're using a cup, pour slowly and evenly.
For large panels, a squeegee after rinsing can help remove excess water and prevent drips.
The Final Check For Residue
After rinsing, look at the glass from an angle. If you see any soapy trails or cloudy patches, those areas need another rinse. Run your finger along the glass—if it feels slippery, there's still cleaner on it.
A quick second rinse usually fixes it.
6. Squeegee the Glass Immediately After Rinsing
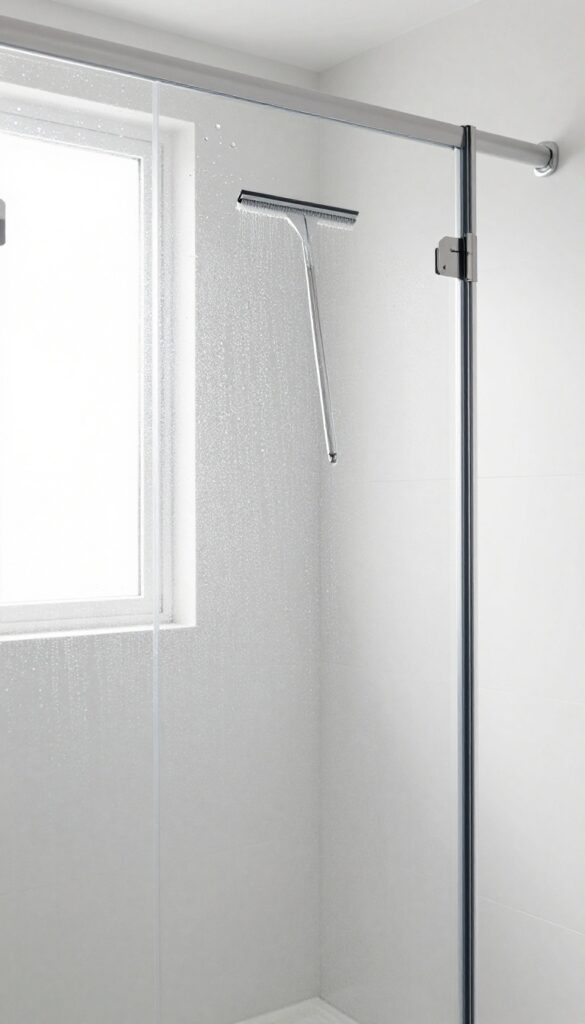
Rinsing away all that cleaner feels satisfying, but the real magic happens in the next sixty seconds. If you let the glass air-dry, those mineral-rich water droplets will leave fresh spots behind. That’s why grabbing a squeegee right now is the smartest move you can make.
A clean, dry squeegee is your best friend for streak-free glass. Start at the top corner and pull down in a straight, steady stroke. Overlap each pass by about an inch so you don’t skip any wet patches.
Wipe the blade with a microfiber cloth after every two or three pulls to keep it dry and lint-free. This one habit cuts your drying time to almost zero and locks in that just-cleaned sparkle.
Choose The Right Squeegee
Not all squeegees are created equal. Look for one with a rubber blade that’s at least six inches wide—narrow ones take too many passes. A stainless steel or sturdy plastic handle gives you better control.
If the blade feels stiff or has nicks, replace it. A fresh blade glides smoothly and won’t leave streaks.
Use Overlapping Strokes
Start at the very top of the glass and pull the squeegee straight down. Overlap each stroke by about an inch so you don’t miss any spots. Work your way across the entire panel.
For large doors, divide the glass into sections and tackle one at a time. This method ensures every inch gets cleared of water.
Dry The Blade Between Strokes
Wipe the squeegee blade with a dry microfiber cloth after every two or three pulls. If you skip this, the blade will drag leftover water back onto the glass, creating streaks. A quick wipe keeps the rubber clean and the glass spot-free.
It takes two seconds but makes a huge difference.
7. Buff Away Remaining Moisture With a Microfiber Cloth
You’ve squeegeed, but a few stray droplets are still clinging to the glass. That’s where a microfiber cloth comes in. It’s the final touch that takes your shower glass from clean to brilliant.
Grab a clean, dry microfiber cloth and give the entire glass surface a quick once-over. Microfiber is ideal because it lifts water without leaving lint or streaks. This step catches any moisture the squeegee missed and polishes the glass to a streak-free shine.
Why Microfiber Works Best
Microfiber cloths have ultra-fine fibers that trap water and particles instead of pushing them around. They absorb many times their weight in moisture, so one cloth can handle an entire shower door. Plus, they won’t scratch the glass like paper towels or rough sponges might.
Technique For A Flawless Finish
Start at the top and work your way down in overlapping strokes. Use a light touch—no need to press hard. For stubborn water spots, fold the cloth to a clean section and buff in small circles.
Flip or switch to a dry side as the cloth becomes damp.
Keep A Cloth Handy For Maintenance
Store a dedicated microfiber cloth near your shower. After each use, a quick 30-second buff can prevent water spots from forming. This habit keeps your glass looking pristine between deep cleans and reduces the need for harsh chemicals.
8. Tackle Stubborn Hard Water Stains With Lemon Juice
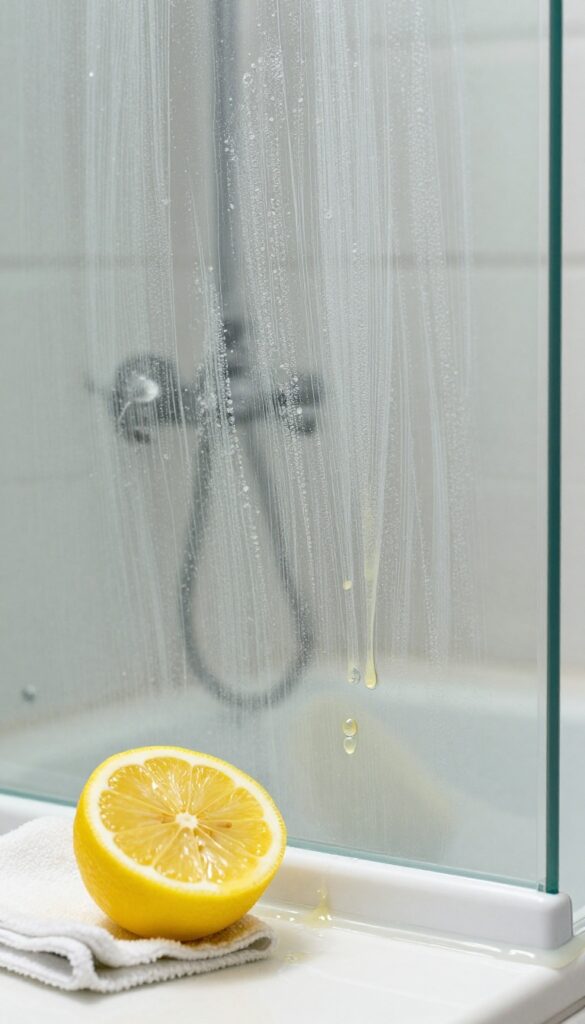
Hard water stains can be the toughest to remove, but you don't need harsh chemicals. Lemon juice is a natural acid that dissolves mineral deposits without damaging the glass. It's cheap, smells great, and works fast on those stubborn white spots.
For tough white deposits, apply lemon juice directly to the stains and let it sit for 10 minutes. The citric acid breaks down mineral buildup effectively. After soaking, scrub gently with a soft sponge or cloth, then rinse thoroughly.
Repeat if needed for older stains.
Why Lemon Juice Works So Well
Lemon juice contains citric acid, which reacts with calcium and magnesium deposits in hard water. This reaction loosens the mineral bonds, making them easy to wipe away. It's a gentle but powerful cleaner that won't scratch your glass.
How To Apply It Right
Cut a lemon in half and rub it directly on the stains, or squeeze fresh juice into a spray bottle. Apply generously, then let it sit for 10 to 15 minutes. For vertical surfaces, use a sponge soaked in lemon juice to prevent dripping.
Rinsing And Finishing Up
After the lemon juice has done its work, rinse the glass thoroughly with warm water. Any leftover acid can attract new dirt, so make sure it's all gone. Dry with a microfiber cloth to reveal a streak-free shine.
9. Use a Pumice Stone on Extra-Thick Deposits
Sometimes, even the best vinegar solutions can't dissolve those stubborn, crusty hard water rings that have built up over months. That's when you need a little extra muscle. A pumice stone—yes, the same kind you might use on your feet—can be a game-changer for thick mineral deposits on glass.
The key is using it correctly to avoid scratches.
When you have a ring of white, crusty buildup that won't budge with scrubbing, a pumice stone can gently abrade it away. The stone is softer than glass, so it won't scratch if used properly. Always wet the stone thoroughly before use, and keep it wet throughout the process.
Rub it lightly over the deposit in a circular motion, and rinse the area often to check your progress. The stone will slowly wear down the mineral layer without harming the glass.
Why Pumice Works On Glass
Pumice is a porous, volcanic rock that acts like a very fine abrasive. It's hard enough to break down calcium and lime deposits but soft enough to leave glass unharmed. The constant water flow helps lubricate the surface and flush away the grit, preventing scratches.
This makes it ideal for tackling those extra-thick rings that resist chemical cleaners.
Step-by-step: Using A Pumice Stone Safely
First, soak the pumice stone in water for a few minutes. Then, wet the glass surface as well. Gently rub the stone over the hard water ring using light pressure—let the stone do the work.
Rinse the area every 30 seconds to see how much deposit is left and to remove any stone particles. Continue until the glass feels smooth. Finally, wipe the glass clean with a microfiber cloth.
What To Avoid
Never use a dry pumice stone—it will scratch the glass. Also, avoid using it on tinted or coated glass, as it can damage the coating. If you're unsure, test on a small, inconspicuous area first.
And don't press too hard; a gentle touch is all you need.
10. Clean the Tracks and Hinges With a Toothbrush
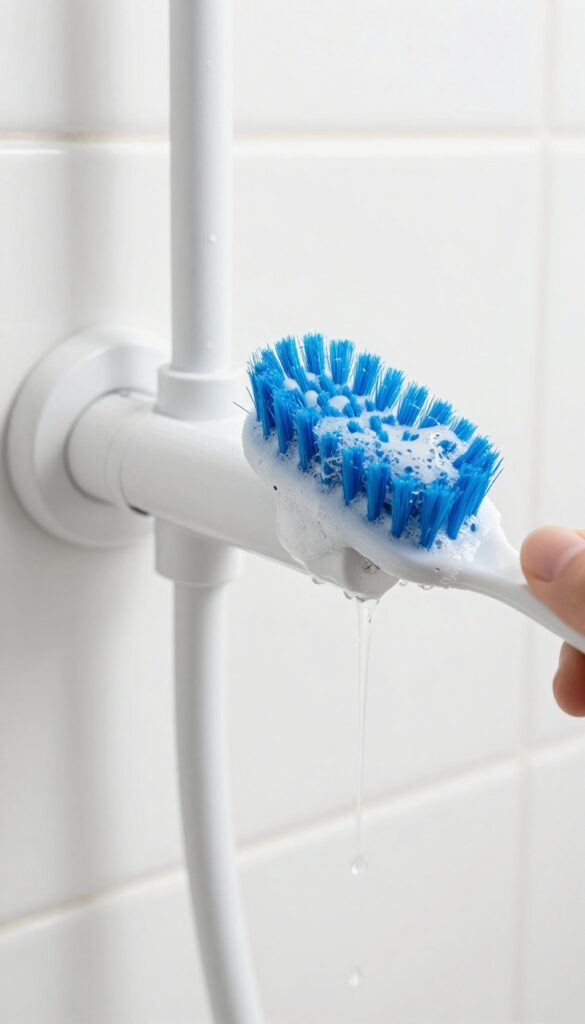
The glass might be sparkling, but if the tracks and hinges are grimy, the whole shower still looks dirty. Those narrow crevices are magnets for soap scum, mold, and hard water buildup. Luckily, a simple toothbrush and your vinegar solution can get into every nook and cranny.
Don't let hidden grime ruin your hard work. The tracks and hinges are often overlooked, but they're easy to clean once you know how.
Why Tracks Get So Gross
Shower tracks collect water, soap residue, and hair, creating a breeding ground for mold and mildew. Over time, this buildup can even cause the door to slide less smoothly. Hinges also trap gunk, which can lead to corrosion or stiffness.
The Toothbrush Technique
Dip an old toothbrush into your vinegar solution (equal parts white vinegar and water). Scrub the tracks thoroughly, paying extra attention to the corners and any visible grime. For hinges, open and close the door to access all sides, and scrub the pivot points.
The bristles will reach where cloths can't.
Wipe Away The Loosened Dirt
After scrubbing, use a damp microfiber cloth to wipe away the loosened debris. You may need to rinse the cloth and go over the tracks a few times. For stubborn residue, a second scrub might be necessary.
Finish by drying the tracks with a clean cloth to prevent new water spots.
11. Apply a Glass Protectant or Wax for Future Repellency
You've scrubbed, rinsed, and dried your shower glass until it sparkles. But if you stop there, you're missing out on a secret weapon that keeps it clean for weeks. A glass protectant or a thin layer of car wax creates a barrier that repels water and soap scum, making future cleaning a breeze.
This step is all about prevention. By applying a hydrophobic coating, you change the surface tension of the glass so water beads up and rolls off instead of leaving spots. It's like giving your shower glass a force field against grime.
Choose Your Protectant
You can buy a dedicated glass protectant spray from the hardware store, or use a high-quality carnauba car wax. Both work well. The spray is easier to apply, but wax often lasts longer.
Avoid products with abrasives or dyes.
Apply Evenly And Buff
Spray or dab a small amount onto a microfiber cloth, then wipe it onto the clean, dry glass in a circular motion. Let it haze for a minute, then buff with a clean cloth until the glass is clear. Don't skip the buffing – leftover residue can look streaky.
Reapply Every Few Months
The coating wears off over time, especially with daily use. Plan to reapply every two to three months, or when you notice water starting to spot again. It's a quick task that saves you hours of scrubbing later.
12. Install a Shower Squeegee Holder for Daily Use
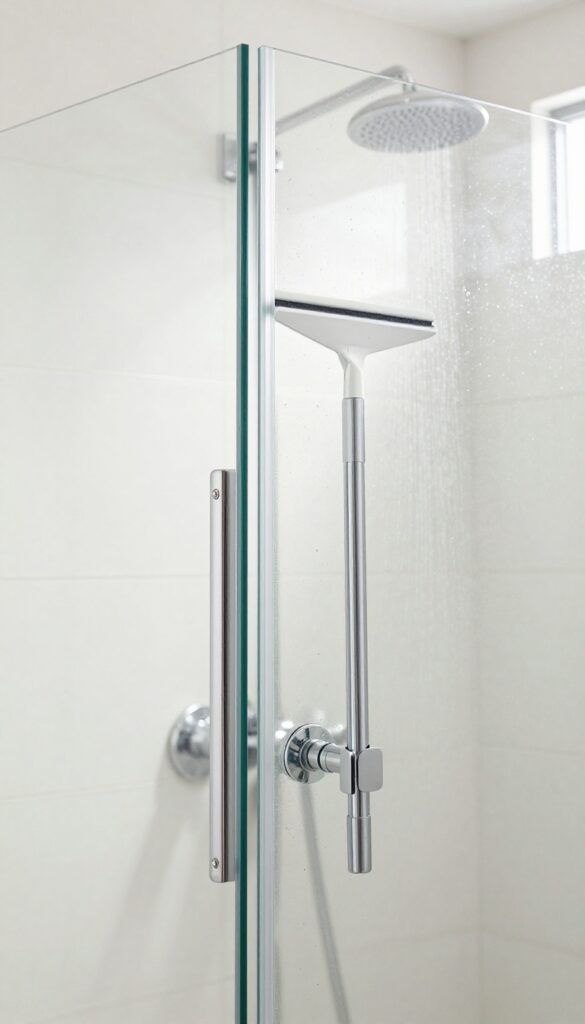
A squeegee is only effective if it's within arm's reach the moment you turn off the water. If you have to dig it out from under the sink or behind a bottle, you'll skip it more often than not. Mounting a dedicated holder inside your shower solves that problem instantly.
Choose a holder that matches your shower finish—stainless steel, chrome, or matte black—and install it at a height that's comfortable for you. Most holders use strong adhesive or suction cups, so no drilling is needed. Place it where you can grab the squeegee without stepping out of the shower.
Once it's there, make it a habit to swipe the glass after every use. This single routine can keep your shower glass spotless for weeks with minimal effort.
Pick The Right Squeegee And Holder
Not all squeegees are created equal. Look for one with a rubber blade that's soft enough to glide without scratching. A holder with a drip tray prevents water from pooling on your shelf or floor.
For a clean look, choose a finish that blends with your existing fixtures.
Install At The Perfect Spot
Mount the holder on the inside of the shower, ideally at eye level on the wall opposite the door or on the glass itself if it's a frameless door. Make sure it's easy to reach from the showerhead side. Follow the adhesive instructions carefully—clean the surface with rubbing alcohol first for a strong bond.
Build The Daily Squeegee Habit
After your last rinse, take five seconds to run the squeegee from top to bottom in overlapping strokes. Start at the top and work your way down, wiping the blade with a towel every few passes. This removes water before minerals can settle, keeping your glass clear without extra effort.
13. Use a Daily Spray Cleaner to Maintain Shine
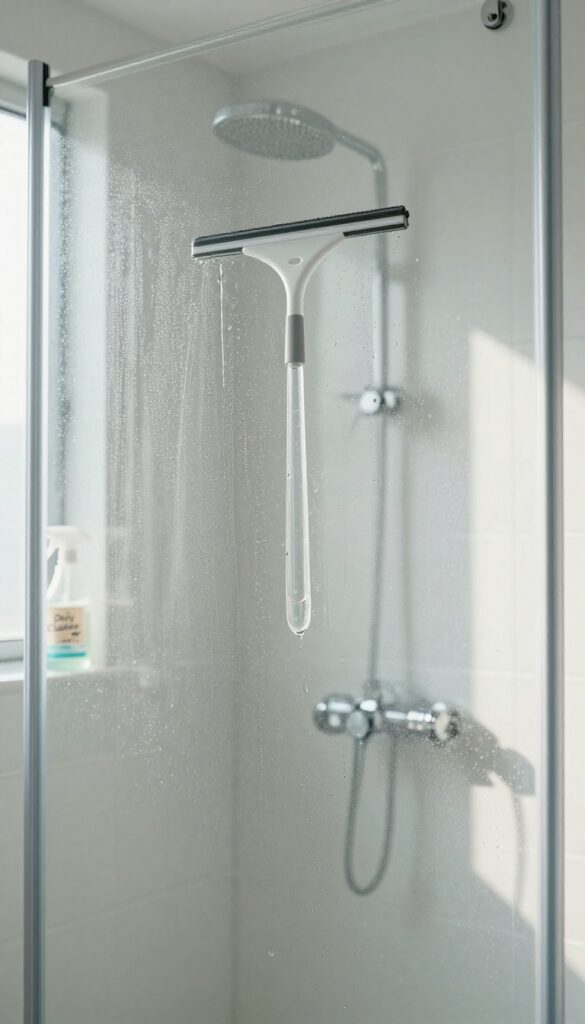
Keeping shower glass spotless between deep cleans is easier than you think. A quick daily spray and wipe routine stops soap scum and water spots before they set in. You'll spend less than a minute after each shower, and your glass will stay streak-free for weeks.
Mix one part white vinegar or rinse aid with four parts water in a spray bottle. After your last rinse, spritz the solution onto the glass and wipe with a squeegee or microfiber cloth. This simple habit prevents mineral buildup and keeps the glass looking freshly cleaned.
Why Daily Spraying Works
Hard water minerals and soap residue need time to bond with glass. A quick spray disrupts that process, leaving nothing for grime to cling to. It's like brushing your teeth—prevention beats scrubbing later.
Best Diy Spray Recipes
Vinegar is great but can smell strong. For a milder option, use a tablespoon of dishwasher rinse aid per cup of water. Both break down residue without harsh chemicals.
Add a few drops of essential oil if you want a fresh scent.
When To Spray And Wipe
Spray right after you turn off the water while the glass is still warm. Wipe from top to bottom to avoid drips. Keep the spray bottle in the shower or hang it on a hook so it's always handy.
14. Deep Clean Once a Month With Baking Soda Paste
Daily and weekly maintenance keeps the worst at bay, but even the most diligent routine can't prevent all buildup. That's where a monthly deep clean comes in. Baking soda, that humble kitchen staple, becomes a gentle abrasive that lifts stubborn residue without scratching the glass.
For monthly maintenance, make a paste of baking soda and water. Apply it to the glass, let it sit for 15 minutes, then scrub and rinse for a deep clean.
Why Baking Soda Works So Well
Baking soda is mildly alkaline, which helps break down acidic soap scum and hard water deposits. Its fine grit provides just enough abrasion to scrub away grime without damaging the glass surface. Plus, it's non-toxic and cheap.
How To Make The Perfect Paste
Mix three parts baking soda with one part water in a small bowl. Stir until it forms a thick, spreadable paste. For extra cleaning power, add a splash of white vinegar—but be ready for fizzing.
Apply the paste using a soft sponge or microfiber cloth.
Application And Waiting Time
Spread the paste evenly over the glass, focusing on areas with visible spots or film. Let it sit for 15 minutes. This dwell time allows the baking soda to soften tough deposits.
Don't let it dry completely; if it starts to dry, spritz lightly with water.
Scrubbing And Rinsing Tips
After 15 minutes, scrub the glass in circular motions with a non-abrasive pad or sponge. Rinse thoroughly with warm water. For best results, follow up with a vinegar rinse (1 part vinegar to 4 parts water) to remove any residue, then squeegee dry.
15. Replace Worn-Out Weather Stripping to Prevent Leaks
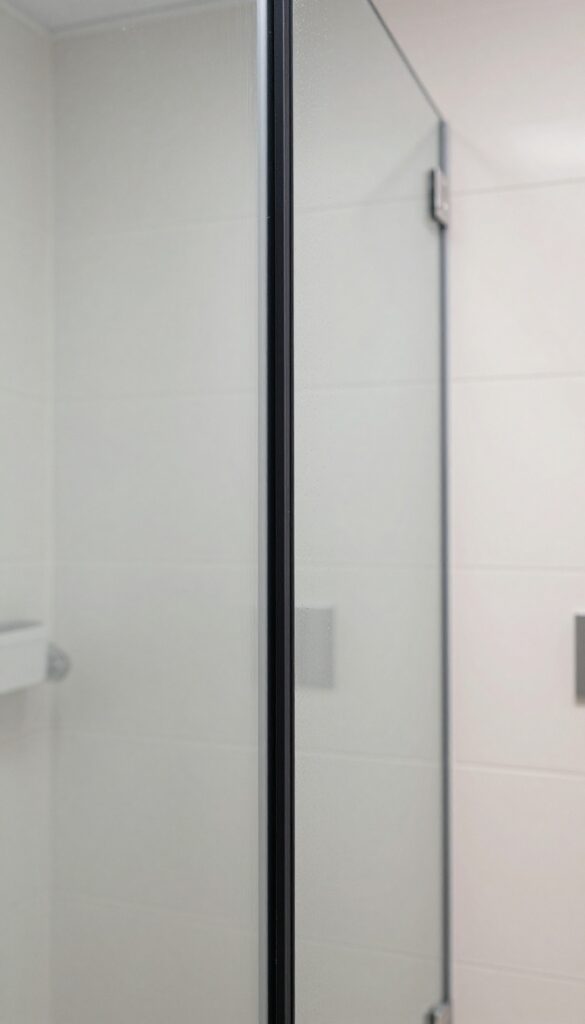
Even the best cleaning routine can't keep glass streak-free if water keeps leaking onto it. The rubber seals around your shower door are the first line of defense. When they crack or loosen, water escapes and leaves mineral deposits that dry into stubborn white streaks.
Fixing this one small part can make a huge difference.
Check For Signs Of Wear
Inspect the weather stripping along the bottom and sides of the door. Look for cracks, brittleness, or sections that have pulled away from the frame. A simple test: close the door and run water over the outside.
If you see drips forming on the glass, the seal is compromised.
Remove And Replace
Most weather stripping is held in place by a track or adhesive. Gently pry out the old strip with a flathead screwdriver. Clean the track with vinegar to remove soap residue.
Measure the length you need, cut the new strip to size, and press it firmly into place. For adhesive types, peel the backing and stick it on a clean, dry surface.
Prevent Future Leaks
Once installed, test the seal again. If it still leaks, the door alignment might be off. Adjust the hinges slightly so the door sits flush.
Replace weather stripping every year or two, or as soon as you notice wear. It's a cheap fix that keeps your glass clearer between deep cleans.
FAQ
Can I use Windex on shower glass?
Yes, but Windex works best on light smudges and fingerprints. For soap scum and hard water stains, a vinegar-based solution is more effective.
How often should I clean my shower glass?
For best results, squeegee after every shower and do a quick wipe-down weekly. A deep clean with vinegar or baking soda once a month keeps it sparkling.
What causes cloudy spots on shower glass?
Cloudy spots are usually hard water stains caused by mineral deposits (calcium and magnesium) from your water. Soap scum can also contribute to the haze.
Is it safe to use vinegar on all glass shower doors?
Yes, vinegar is safe for glass, but avoid using it on natural stone or unsealed grout nearby, as the acid can damage those surfaces.
Can I prevent water spots without using chemicals?
Absolutely. The best prevention is to squeegee the glass dry after every shower. This removes water before it can evaporate and leave mineral deposits.
Conclusion
Once you've worked through these 15 steps, your shower glass should be crystal clear and streak-free. The daily squeegee habit is the real game-changer—it takes just 30 seconds and keeps hard water stains from ever setting in. Stick with that one simple step, and you'll only need a deep clean every few weeks.
Don't be discouraged if the first deep clean takes a bit of elbow grease. Each subsequent session will be faster and easier. Now you've got a system that works, so go enjoy that sparkling shower door.