How to Clean Grout on Tile Floors in 15 Simple Ways
Grout lines can go from bright to grimy faster than you'd expect, and once they do, they drag down the whole floor's look. You don't need to scrub for hours or call in a pro—most stains surrender to simple pantry staples and a little patience.
These 15 methods tackle everything from mild discoloration to stubborn mold, using tools you probably already own. Each approach is tested, budget-friendly, and designed to save you effort while delivering visible results.
Start with the gentlest option and work your way up as needed.
1. Baking Soda and Vinegar Paste
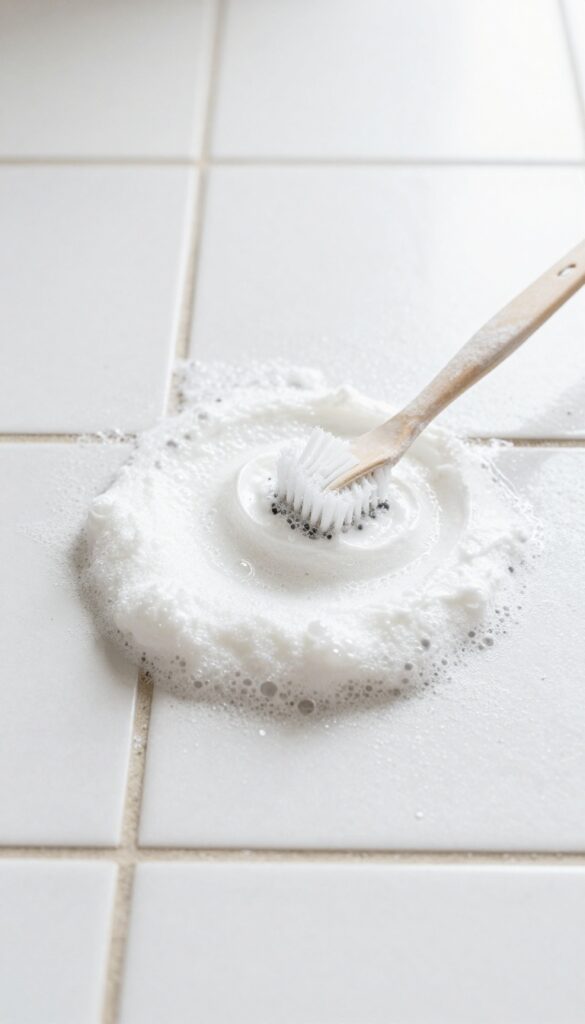
This classic combo works because the vinegar's acidity breaks down grime while the baking soda provides gentle abrasion. The fizzing action helps lift dirt from porous grout without harsh chemicals. It's a solid first step for light to moderate discoloration.
Mix three parts baking soda with one part white vinegar until you get a spreadable paste. Apply it directly to the grout lines using an old toothbrush or a small spatula. Let it sit for about 10 minutes—you'll see it bubble and fizz as it works.
Then scrub firmly with a stiff brush, focusing on stained areas. Rinse thoroughly with water and wipe dry with a clean cloth. For stubborn spots, repeat or let the paste sit longer before scrubbing.
Getting The Right Consistency
You want a paste that's thick enough to stay on vertical grout lines but not so dry that it crumbles. Add vinegar a teaspoon at a time until it reaches a peanut-butter-like texture. If it's too runny, add more baking soda.
Why Letting It Fizz Matters
The chemical reaction between baking soda and vinegar creates carbon dioxide bubbles. These bubbles help dislodge dirt deep inside the grout pores. Skipping the waiting time reduces effectiveness, so set a timer.
Best Brush For The Job
A stiff-bristled grout brush or an old toothbrush works best. Avoid metal brushes—they can scratch tile surfaces. For larger areas, a scrub brush with angled bristles can speed things up.
2. Hydrogen Peroxide and Baking Soda
When grout stains are stubborn but you'd rather avoid bleach, hydrogen peroxide steps in as a gentler whitening powerhouse. Paired with baking soda, it forms a paste that lifts dirt and brightens discolored lines without harsh fumes. This duo works especially well on light-colored grout that's lost its original crispness.
Mix baking soda with enough hydrogen peroxide to create a thick paste—think toothpaste consistency. Spread it over the grout lines using an old toothbrush or a small spatula, making sure to work it into the crevices. Let the paste sit for about 15 minutes; the peroxide will bubble and break down grime while the baking soda gently scrubs.
After the wait, scrub the area with a stiff brush, then rinse with water and wipe dry. For extra stubborn spots, add a drop of dish soap to the paste or let it sit a bit longer.
Why This Combo Works
Hydrogen peroxide is a natural bleaching agent that oxidizes stains, while baking soda provides mild abrasion without scratching tiles. Together, they create a chemical reaction that lifts dirt from porous grout. This method is safe for most tile types, including ceramic and porcelain, and leaves behind no toxic residue.
Best Practices For Application
Always test on a small, hidden area first to ensure the peroxide doesn't lighten your grout unevenly. Use a grout brush or an old toothbrush for best results, and avoid letting the paste dry completely—it can become hard to remove. Rinse thoroughly and dry the floor to prevent moisture from seeping back into the grout.
When To Skip This Method
If your grout is already light or white, this paste may not show dramatic results. Also, avoid using it on unsealed grout that's heavily stained with oil or grease—those require a degreaser first. For colored grout, test carefully to avoid fading.
3. Lemon Juice and Cream of Tartar
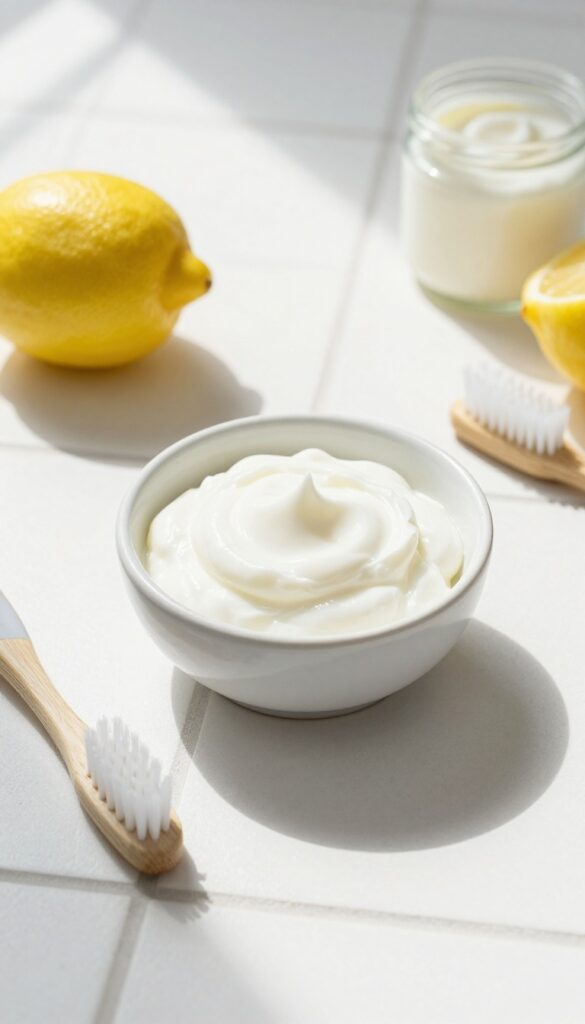
Another dynamic duo from the pantry works wonders on dingy grout. Lemon juice brings natural acidity to cut through grease and mineral deposits, while cream of tartar acts as a mild abrasive that polishes without scratching. Together, they form a paste that lifts stains and leaves a fresh citrus scent behind.
This method is especially good for light-colored grout that has yellowed over time. The citric acid in lemon juice gently bleaches the grout, while cream of tartar scrubs away embedded dirt. It's a safe alternative to harsh chemicals and works well on ceramic, porcelain, and stone tiles.
Mixing The Paste
In a small bowl, combine 2 tablespoons of cream of tartar with enough lemon juice to form a thick paste. Stir until smooth—it should be spreadable but not runny. Let it sit for a minute to activate.
Application And Waiting
Use an old toothbrush or a small brush to apply the paste directly onto the grout lines. Work it into the grooves, then let it sit for 10 minutes. The longer you leave it, the more time the acid has to break down stains.
Scrubbing And Rinsing
After the wait, scrub the grout with the brush using small circular motions. You'll see the grout lighten as you go. Rinse thoroughly with warm water and wipe away any residue with a damp cloth.
Repeat on stubborn spots if needed.
4. Steam Cleaner
If you want a chemical-free deep clean, a steam cleaner is your best friend. The high heat loosens embedded dirt and kills bacteria without scrubbing. It's especially effective for large tiled areas like bathrooms and kitchens.
Why Steam Works So Well
Steam penetrates porous grout and expands dirt particles, making them easy to wipe away. The heat also sanitizes, tackling mold and mildew at the root. No need for harsh chemicals—just water and heat.
How To Do It Right
Fill your handheld steamer with water and attach the grout brush nozzle. Work in small sections, holding the steamer over each grout line for a few seconds. Follow immediately with a microfiber cloth to lift the loosened grime.
Tips For Best Results
Pre-vacuum the floor to remove loose debris. For extra stubborn stains, let the steam sit for 10 seconds before wiping. Avoid using steam on unsealed grout—it can weaken the material over time.
5. Oxygen Bleach Soak
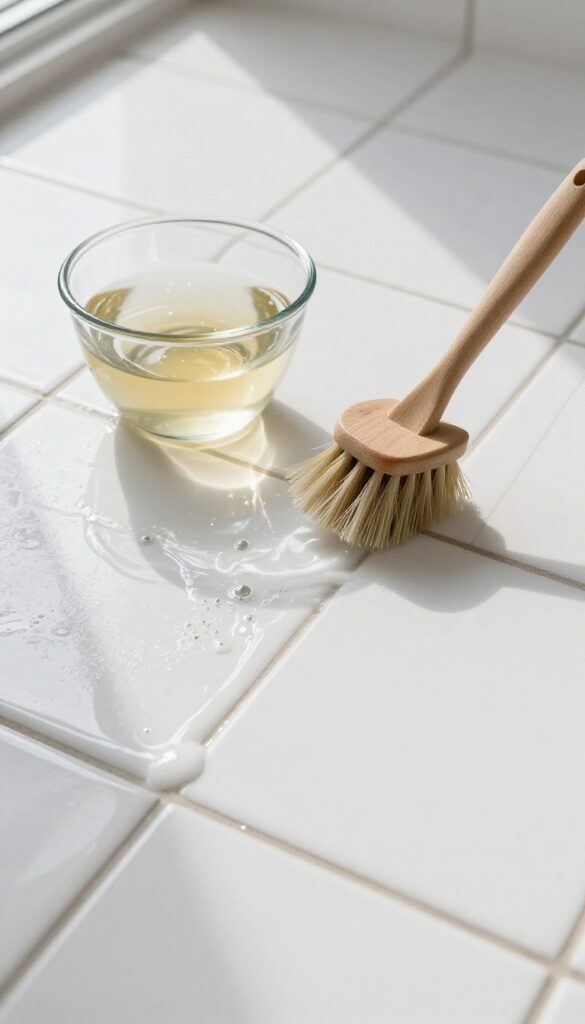
Oxygen bleach is a gentler alternative to chlorine bleach that still packs a serious stain-fighting punch. It works by releasing oxygen bubbles that lift dirt and organic stains from the grout without harsh fumes or discoloration. This method is especially effective for whitening dingy grout and tackling mold or mildew buildup.
Oxygen bleach is a gentler alternative to chlorine bleach that still packs a serious stain-fighting punch. It works by releasing oxygen bubbles that lift dirt and organic stains from the grout without harsh fumes or discoloration. This method is especially effective for whitening dingy grout and tackling mold or mildew buildup.
Mixing The Solution
Choose a powdered oxygen bleach like OxiClean or any generic brand. Follow the package instructions—usually about 1 scoop per gallon of warm water. Dissolve the powder completely to avoid residue.
Warm water activates the bleach best, so use hot tap water (not boiling) and stir until fully dissolved.
Applying And Soaking
Pour the solution directly onto the grout lines or use a spray bottle for vertical surfaces. Let it soak for 15–20 minutes—longer for tough stains. You'll see bubbles forming as the oxygen works.
Avoid letting it dry completely; if needed, reapply to keep the grout wet during the soak.
Scrubbing And Rinsing
After soaking, scrub the grout with a stiff-bristled brush or an old toothbrush. The stains should loosen easily. Rinse thoroughly with clean water to remove any bleach residue.
Wipe up excess water with a cloth or mop. Your grout will look noticeably brighter and cleaner.
6. Toothbrush and Dish Soap
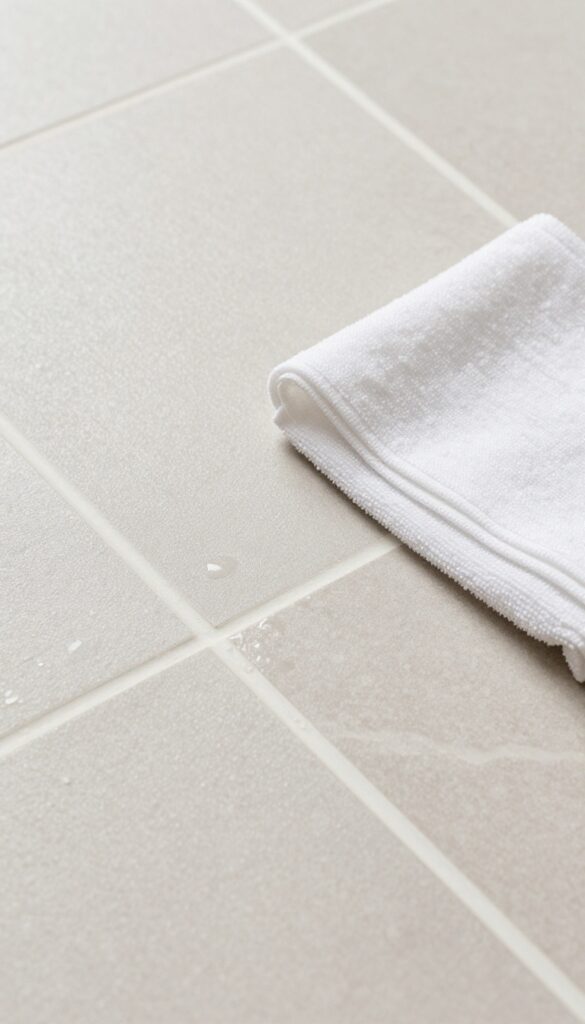
Sometimes the simplest tools are all you need. An old toothbrush and a drop of dish soap can handle light grime without any harsh chemicals. This method is gentle enough for daily or weekly maintenance, and it costs next to nothing.
For light grime, dip an old toothbrush in warm, soapy water (a few drops of dish soap). Scrub grout lines, then wipe with a damp cloth.
Why It Works
Dish soap is a degreaser that breaks down everyday dirt and oils. The toothbrush bristles reach deep into the grout lines, dislodging particles that a mop leaves behind.
Best For
This method is ideal for routine cleaning or for spots that are only lightly soiled. It won't tackle set-in stains or mold, but it keeps grout looking fresh between deeper cleans.
Pro Tips
Use a separate toothbrush just for cleaning. For extra scrubbing power, sprinkle a little baking soda on the brush after dipping it in soapy water. Rinse the area well to avoid any soapy residue.
7. Grout Pen or Stain
Grout pens and stains are the secret weapon for making old, dingy grout look brand new without the hassle of regrouting. After you've cleaned the grout as best you can, these products let you paint over any remaining discoloration and add a protective layer. They're especially handy for high-traffic areas where grout gets dirty fast.
Grout pens work like markers—you trace along the lines and the color dries to a durable finish. Stains come in a bottle with a brush or sponge applicator. Both options seal the grout, making future cleaning much easier.
Choose a color that matches your existing grout or go slightly darker to hide future stains.
Choosing The Right Product
Look for a grout pen or stain that's specifically designed for tile grout. Water-based formulas are easier to apply and clean up, while solvent-based ones last longer. Read reviews to find one that doesn't crack or peel over time.
Test a small hidden area first to make sure the color matches.
Application Tips
Clean the grout thoroughly and let it dry completely before applying. Use painter's tape to protect the tile edges if you're nervous about getting color on them. Apply the pen or stain in thin, even coats, and wipe off any excess immediately.
Let it cure for the time recommended on the package before walking on the floor.
Maintenance After Staining
Once the grout is sealed with the pen or stain, it will repel dirt and moisture better than before. Sweep or vacuum regularly and clean with a neutral pH cleaner. Avoid abrasive scrubbers that could wear away the new coating.
Reapply every year or two to keep the grout looking fresh.
8. Magic Eraser
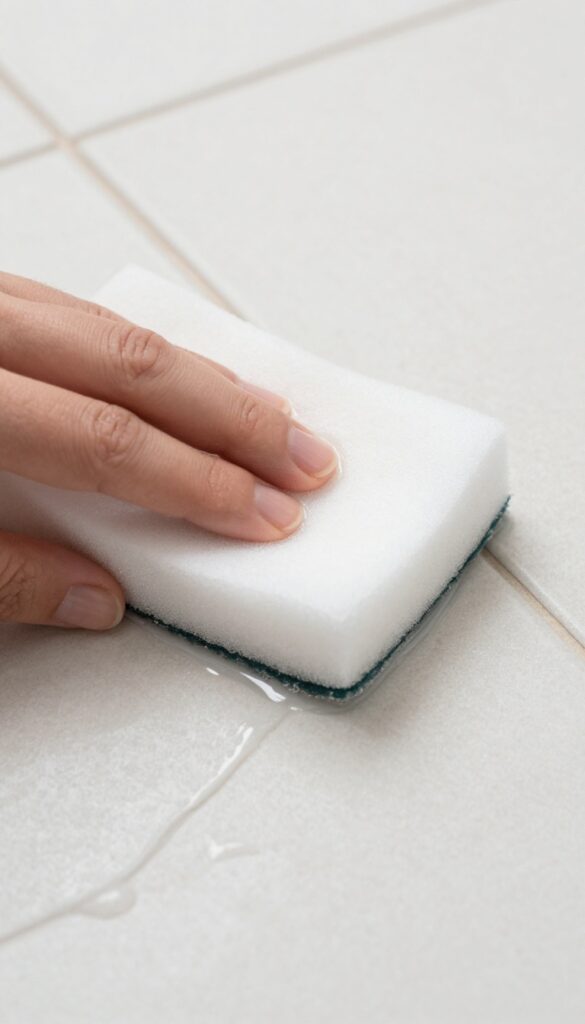
Melamine foam erasers, often sold under the Magic Eraser brand, are another surprisingly effective tool for cleaning grout. These sponges work through a micro-abrasive action that lifts surface stains without harsh chemicals. They're especially good for tackling marks that appear on the surface of the grout rather than deep-set discoloration.
To use a magic eraser on grout, dampen the sponge with water and wring out excess moisture. Gently rub along the grout lines using light to moderate pressure. You'll notice the sponge picking up dirt and stains almost immediately.
Rinse the sponge frequently under running water to avoid redepositing dirt onto the grout. This method works best for surface-level stains like scuffs, dirt, and light mildew. For deeper stains, you may need to follow up with a stronger cleaning solution.
How To Use A Magic Eraser On Grout
Start by cutting the magic eraser into smaller pieces to avoid waste. Dampen one piece with water and squeeze out excess. Rub along the grout lines in a back-and-forth motion.
Rinse the sponge as soon as it gets dirty to prevent spreading grime. Repeat until the grout looks clean.
When To Choose Magic Eraser Over Other Methods
Magic erasers are ideal for quick touch-ups on lightly soiled grout. They're also great for removing stubborn marks that don't respond to gentle cleaners. However, they are not effective for deep-set stains or mold that has penetrated the grout.
For those cases, consider using a stronger cleaner or a steam cleaner.
Tips For Best Results
Always test the magic eraser on an inconspicuous area first to ensure it doesn't damage the tile or grout. Use light pressure to avoid wearing down the grout. For extra cleaning power, you can dip the eraser in a mild cleaning solution instead of water.
Replace the eraser once it becomes too dirty to clean effectively.
9. Commercial Grout Cleaner
When DIY mixtures aren't cutting it, a dedicated commercial grout cleaner can save the day. These products are formulated specifically for grout's porous surface, cutting through grease, soap scum, and mildew faster than homemade solutions. The key is choosing the right one and using it correctly to avoid damaging your tiles.
Look for a pH-neutral cleaner that's safe for your tile type—acidic cleaners can etch natural stone. Spray the product directly onto the grout lines, let it sit for the time specified on the label (usually 5–10 minutes), then scrub with a stiff-bristled brush. Rinse thoroughly with water and wipe dry.
Always wear gloves and ensure good ventilation, as some commercial cleaners have strong fumes.
Choosing The Right Cleaner
Not all commercial grout cleaners are created equal. For ceramic or porcelain tiles, a mild alkaline cleaner works well. For natural stone like marble or travertine, stick with a pH-neutral formula to avoid etching.
Read labels carefully and test on an inconspicuous area first.
Application Tips For Best Results
Apply the cleaner with a spray bottle or sponge, covering the grout lines evenly. Don't let it dry on the surface—if it does, it can leave residue. Use a grout brush or an old toothbrush to work the cleaner into the pores.
For tough stains, let the product sit a few extra minutes, but never exceed the maximum dwell time.
Safety First
Most commercial cleaners contain chemicals that can irritate skin and eyes. Wear rubber gloves and safety goggles, and open windows or use a fan to circulate air. Keep children and pets away until the area is dry.
Rinse the floor thoroughly to remove all chemical residue.
10. Bleach Pen for Spot Cleaning
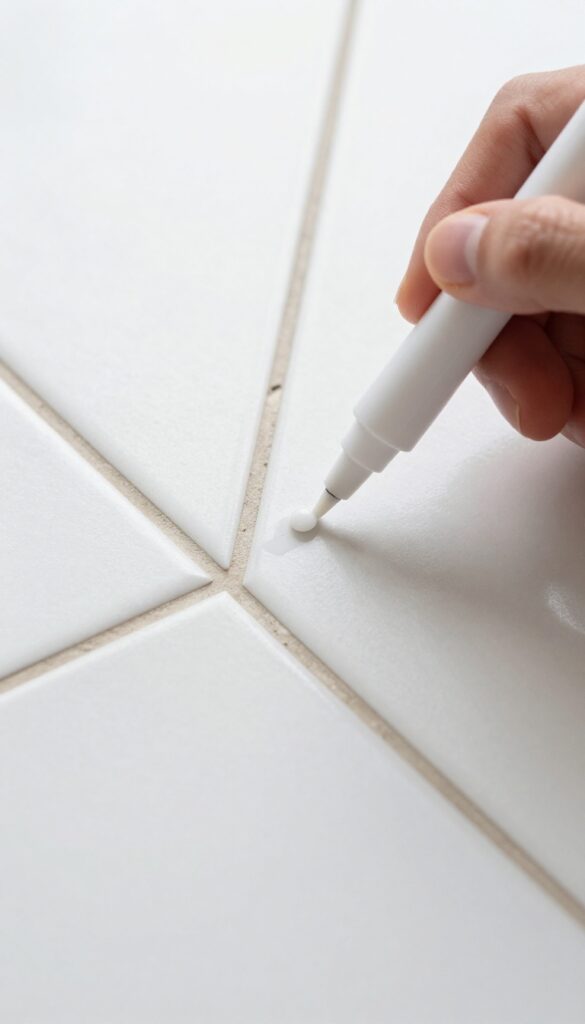
When a few grout lines look worse than the rest, you don't need to break out the heavy artillery. A bleach pen lets you target those stubborn spots with surgical precision, saving time and avoiding unnecessary work. It's a quick fix that works wonders on white or light-colored grout.
How It Works
A bleach pen looks like a marker but contains a thick bleach gel. You squeeze the tip to release the gel, then draw it directly along the grout line. The gel clings to vertical and horizontal surfaces without dripping, so you can treat just the stained areas.
Application Tips
Apply a continuous bead of gel over the dirty grout. Let it sit for about 10 minutes—don't let it dry completely. Then scrub with a stiff brush or old toothbrush, and rinse with water.
Wear gloves and open a window for ventilation.
What To Watch Out For
Bleach can discolor or damage colored grout, so test on an inconspicuous spot first. Avoid using on unsealed grout, as bleach can seep in and cause long-term damage. For safety, keep the pen away from kids and pets.
11. Vinegar and Water Spray
White vinegar is a powerhouse for light grout cleaning because its mild acidity breaks down dirt and soap scum without harsh chemicals. This simple spray works best as a weekly maintenance tool or for freshening up grout that isn't heavily stained. It's cheap, safe, and ready in seconds.
Mix equal parts white vinegar and water in a spray bottle. Spray the solution directly onto the grout lines, making sure they're fully saturated but not dripping. Let it sit for about five minutes—this gives the vinegar time to loosen grime.
Then scrub with a stiff-bristled brush or an old toothbrush. Rinse with clean water and wipe dry with a cloth. For best results, use this method regularly to prevent buildup.
Avoid using vinegar on unsealed grout or natural stone tiles, as the acid can cause damage over time.
Why Vinegar Works
Vinegar is acidic enough to dissolve alkaline deposits like soap scum and hard water stains, but gentle enough for routine use. It also deodorizes and kills some bacteria, making it a solid all-purpose cleaner. Just don't let it sit too long, or the acid might start eating away at the grout's surface.
When To Use This Method
This spray is ideal for light maintenance—think weekly or biweekly cleaning. It's perfect for grout that's just starting to look dull or has a thin layer of dirt. If you're dealing with dark stains or mold, you'll need a stronger solution like baking soda paste or oxygen bleach.
Tips For Best Results
Always test the spray on a small, hidden area first, especially if you're unsure about your grout's seal. Use a spray bottle with a fine mist to avoid over-saturating the floor. For extra scrubbing power, dip your brush in baking soda before scrubbing.
Rinse thoroughly to prevent any vinegar residue from attracting more dirt.
12. Pumice Stone
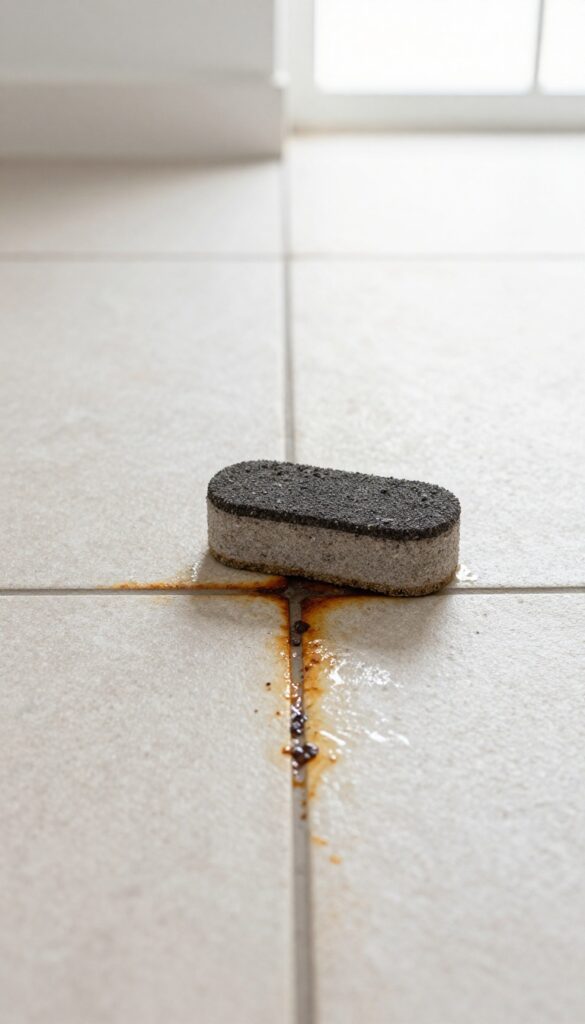
For those stubborn stains that laugh at baking soda and vinegar, a pumice stone is your heavy lifter. This volcanic rock is abrasive enough to scrape away mineral deposits, rust, and deep-set grime without damaging the grout itself. The trick is using it wet and with a light hand—think gentle buffing, not aggressive scrubbing.
A pumice stone is ideal for ceramic or porcelain tiles but avoid it on softer surfaces like marble or travertine. Always test in an inconspicuous area first. The stone wears down as you use it, exposing fresh abrasive surface, so it stays effective for multiple cleanings.
Rinse the area thoroughly after use to remove any grit.
How To Use A Pumice Stone On Grout
Start by soaking the pumice stone in water for a few minutes—a wet stone glides more smoothly and reduces the risk of scratching. Gently rub the stone along the grout line using short, back-and-forth motions. Apply only light pressure; let the stone's abrasiveness do the work.
Wipe away residue with a damp cloth and check your progress. Repeat if needed, but avoid over-scrubbing in one spot.
When To Choose A Pumice Stone Over Other Methods
Reach for a pumice stone when you're dealing with hard water rings, rust stains, or thick calcium deposits that won't budge with chemical cleaners. It's also great for cleaning grout in showers or around sinks where mineral buildup is common. If your grout is already crumbling or cracked, skip the stone—it can worsen damage.
Tips For Avoiding Tile Scratches
Keep the stone wet throughout the process—dry pumice is more likely to scratch. Work slowly and lift the stone frequently to check for any scratching. If you're worried about your tile, you can mask off the edges with painter's tape.
For glazed tiles, a pumice stone is generally safe, but unglazed or polished tiles require extra caution.
13. Baking Soda and Water Scrub
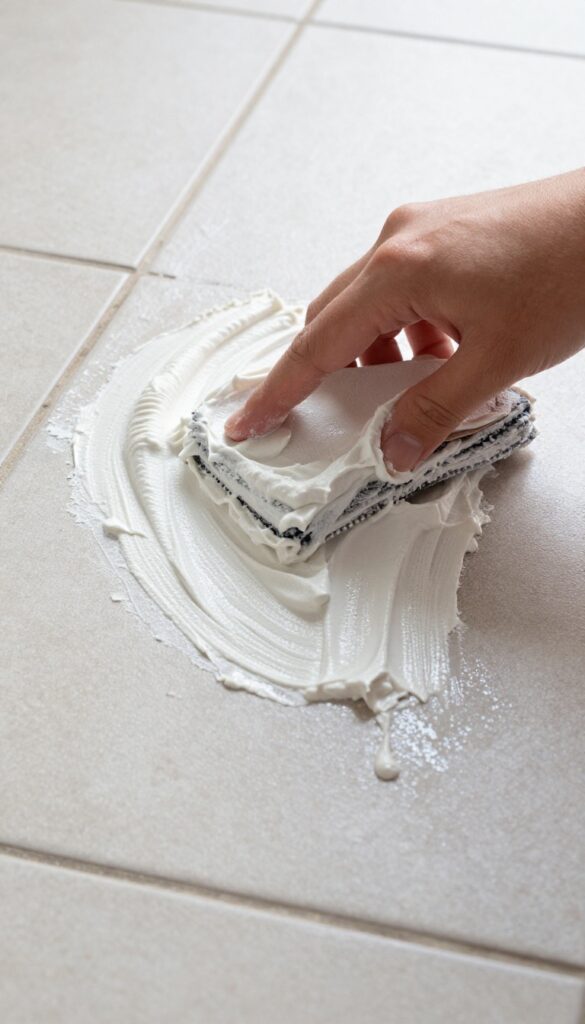
Sometimes the simplest solution is the best one, and baking soda is a prime example. When mixed with water, it forms a gentle paste that can lift dirt and grime without scratching your tiles or introducing harsh chemicals. This method is especially great for light to moderate discoloration and for households that prefer non-toxic cleaning options.
Baking soda's mild abrasiveness makes it ideal for scrubbing grout without damaging the surface. The paste clings to vertical grout lines, giving it time to break down dirt. Plus, it's safe for all tile types and won't irritate skin or lungs like some commercial cleaners can.
How To Mix The Perfect Paste
Start with about ½ cup of baking soda and add water one tablespoon at a time until you get a spreadable consistency—think thick pancake batter. You want it thick enough to stay on the grout but not so dry that it crumbles. Stir well to remove any lumps.
Application And Scrubbing Technique
Use an old toothbrush or a grout brush to apply the paste directly onto the grout lines. Work in small sections, scrubbing in circular motions with moderate pressure. Let the paste sit for 5–10 minutes on tougher stains to give it more time to work.
Rinsing And Final Touches
After scrubbing, rinse the area thoroughly with clean water. A damp microfiber cloth works well to wipe away the residue, followed by a dry towel to prevent moisture from seeping back into the grout. Repeat if needed for deeper stains.
14. Hydrogen Peroxide Direct Application
For grout that's looking dingy but not deeply stained, hydrogen peroxide offers a gentle bleaching effect without the harshness of chlorine bleach. It's especially good for light-colored grout that has yellowed over time. The fizzing action helps lift dirt from porous surfaces, making it easier to rinse away.
Hydrogen peroxide is a mild antiseptic that whitens and disinfects grout lines. It works best on light-colored grout that has lost its brightness. The 3% solution is safe for most tile types, including ceramic and porcelain, but avoid using it on natural stone like marble or travertine, as it can etch the surface.
Always test in an inconspicuous area first.
How To Apply
Pour 3% hydrogen peroxide directly onto the grout lines from a bottle with a narrow tip, or use a spray bottle for larger areas. Let it sit for 10 minutes—you'll see bubbles forming as it breaks down dirt and organic matter. Scrub gently with a stiff-bristled brush, then rinse with water and wipe dry.
When To Use This Method
This method is ideal for light-colored grout that has yellowed from age or mild mildew. It's also a good choice for maintenance cleaning between deeper scrubs. Because it's less aggressive than bleach, you can use it more frequently without worrying about damaging the grout or tile.
Tips For Best Results
For stubborn spots, make a paste by mixing hydrogen peroxide with baking soda. Apply the paste, let it sit for 15 minutes, then scrub and rinse. Keep the area well-ventilated during use.
After cleaning, seal the grout to help prevent future stains.
15. Sealing After Cleaning
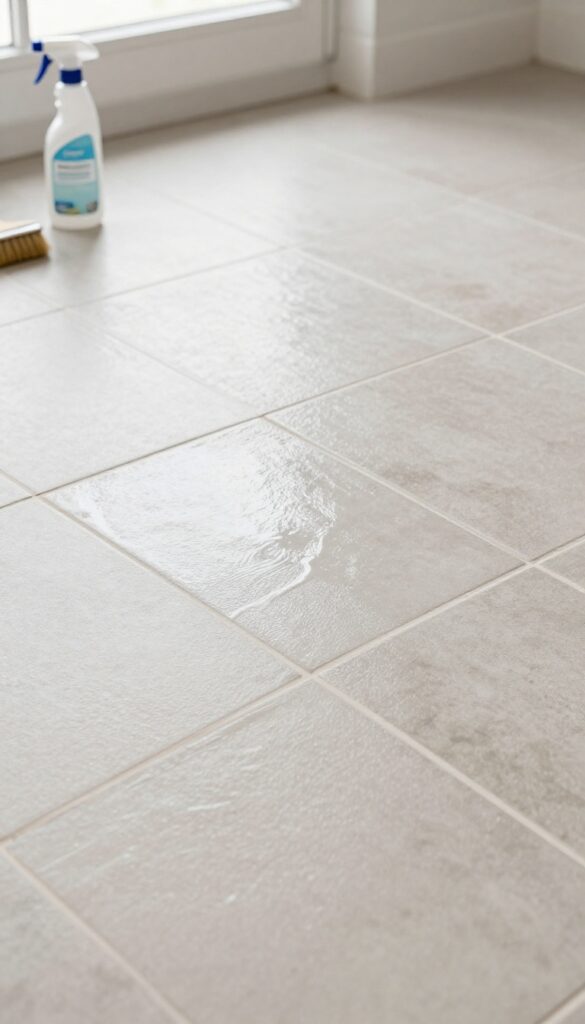
You've put in the work to get your grout looking fresh again. Now it's time to lock in that clean and make future maintenance a breeze. Sealing is the final step that protects your grout from absorbing spills, dirt, and moisture.
Once the grout is completely clean and dry, apply a penetrating sealer. This creates an invisible barrier that repels liquids and stains. It's a simple process: brush or spray the sealer onto the grout lines, let it soak in, and wipe away any excess from the tile surface.
The sealer won't change the appearance of your grout, but it will make a huge difference in how easy it is to keep clean. Reapplication every 6–12 months keeps the protection strong. Don't skip this step—it's the best way to extend the life of your clean grout.
Choosing The Right Sealer
Not all sealers are the same. For most tile floors, a penetrating sealer is ideal because it soaks into the porous grout rather than sitting on top. Avoid film-forming sealers that can peel or discolor over time.
Look for a sealer labeled for grout and your specific tile type. If you have natural stone tiles, check compatibility to avoid damaging the stone.
How To Apply Sealer Correctly
Start with thoroughly cleaned and dried grout—wait at least 24 hours after cleaning. Apply the sealer with a small brush, foam applicator, or spray bottle, focusing only on the grout lines. Work in small sections to avoid the sealer drying on the tile.
Let it absorb for the time specified on the product (usually 5–15 minutes), then wipe off any residue with a clean cloth. Buff the tile surface to a shine if needed.
Maintaining Sealed Grout
Sealed grout still needs regular cleaning, but it's much easier. Sweep or vacuum frequently to remove grit that can scratch the sealer. Use a pH-neutral cleaner for mopping—avoid harsh chemicals that can break down the sealer.
Check the sealer's effectiveness every few months by dropping water on the grout; if it darkens, it's time to reapply. With proper care, your grout will stay clean and bright longer.
FAQ
How often should I clean grout?
For light maintenance, clean grout every 2–4 weeks. Deep clean every 3–6 months, or when you notice discoloration.
Can I use bleach on colored grout?
Bleach can discolor or lighten colored grout. Use a pH-neutral cleaner or test in an inconspicuous area first.
What's the best homemade grout cleaner?
A paste of baking soda and hydrogen peroxide is highly effective for whitening. For general cleaning, baking soda and vinegar work well.
How do I prevent grout from getting dirty?
Seal grout after cleaning and reapply sealer annually. Wipe up spills quickly and use a daily cleaner designed for tile and grout.
Is steam cleaning safe for all tile floors?
Steam cleaning is safe for ceramic, porcelain, and natural stone tiles, but avoid on unsealed or damaged grout. Test in a small area first.
Conclusion
Cleaning grout doesn't have to be a dreaded chore. With these 15 methods, you can tackle any level of grime using items you likely already have at home. Start with the gentlest option and work your way up for stubborn stains.
Regular maintenance and sealing will keep your grout looking fresh longer, saving you time and effort in the long run. Pick the method that fits your schedule and budget, and enjoy your revitalized tile floors.