11 How to Deep Clean a Couch from Cushions to Crevices
Your couch takes a beating—spills, crumbs, pet hair, and everyday grime all settle deep into the fabric. Over time, that buildup turns a cozy centerpiece into a source of odors and stains you just can't ignore.
The good news? A thorough deep clean doesn't require professional help or expensive equipment.
With a few simple tools and a step-by-step approach, you can refresh every layer, from the cushions to the tightest crevices. This guide walks you through the entire process, so your couch looks and smells as good as new.
1. Clear the Couch and Prep the Area
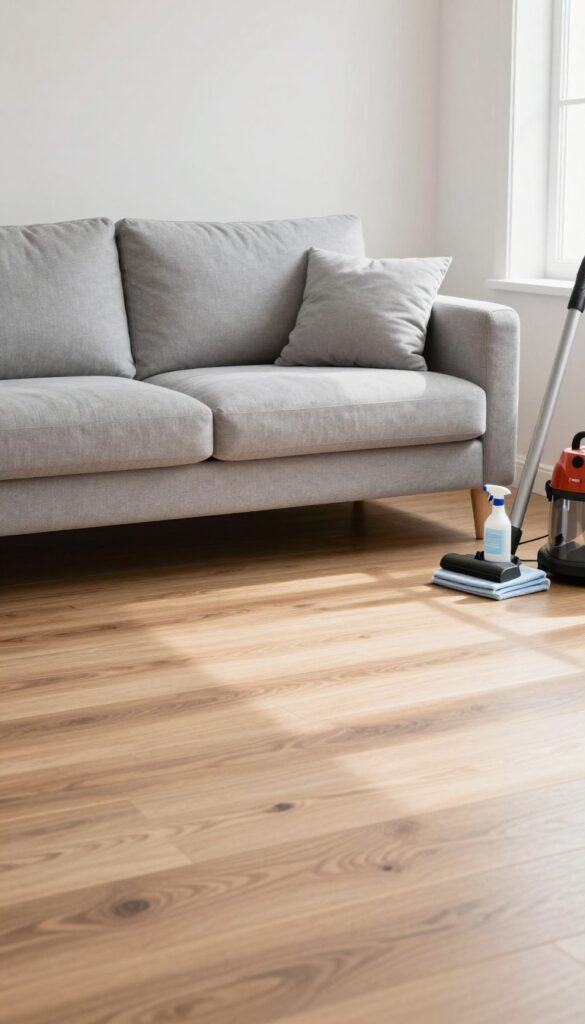
Before you can tackle the grime, you need a clear workspace. Every pillow, throw, and stray remote has to go. This step isn't just about tidiness—it's about making sure you can reach every inch of the couch without knocking things over or missing spots.
Start by stripping the couch down to its bare frame. Remove all cushions, pillows, and any removable covers. Check the crevices for loose change, crumbs, and other surprises that have accumulated over time.
Give the surrounding floor a quick vacuum or sweep so dust and dirt don't get tracked back onto the freshly cleaned fabric. This prep work saves you from double-cleaning and makes the whole process smoother.
Strip The Couch
Take off every removable piece—cushions, backrests, armrest covers, and any decorative pillows. If your couch has a washable cover, unzip it and set it aside for later. This gives you full access to the frame and crevices where dirt hides.
Vacuum The Surrounding Area
Sweep or vacuum the floor around the couch. This prevents loose dirt and pet hair from being kicked up while you work. It also gives you a clean surface to place cushions and tools as you go.
Clear The Space
Move coffee tables, ottomans, or any furniture that blocks your access. You want enough room to move around freely and reach all sides of the couch. A clear area also helps you avoid knocking over cleaning supplies or spilling water.
2. Vacuum Every Surface, Including Under the Cushions
Vacuuming might seem like the obvious first step, but most people only hit the top of the cushions and call it a day. That leaves a surprising amount of dirt lurking in the layers below. To really deep clean your couch, you need to vacuum every inch—top, bottom, sides, and everything in between.
Think of this step as the groundwork. It lifts loose debris so your cleaning solutions can actually reach the fabric instead of just pushing dirt around. Plus, it’s quick and satisfying when you see what comes out.
Start by removing all removable cushions and set them aside. Use the upholstery attachment on your vacuum to go over the entire frame, including the back, arms, and base. Then, flip the cushions and vacuum both sides, paying extra attention to seams and piping where crumbs like to hide.
Don’t forget the space under the cushions—it’s a magnet for crumbs, pet hair, and lost change. Vacuum that area thoroughly, and use a crevice tool to reach into the corners and along the edges. This step alone can make a huge difference in how fresh your couch feels.
Start With The Right Attachments
Your vacuum’s upholstery tool is your best friend here. It’s designed to be gentle on fabric while still pulling up dirt. If you have a crevice tool, keep it handy for tight spots.
Avoid using a beater bar if your vacuum has one—it can be too harsh on delicate upholstery.
Don’t Skip The Crevices
The crevice tool isn’t just for the edges of the couch. Run it along the seams, under the arms, and around any tufted areas. These are the spots where dust and debris accumulate the most, and they’re easy to overlook.
A few extra minutes here will pay off.
Vacuum The Cushions Separately
Once you’ve removed the cushions, vacuum each one on both sides. Pay special attention to the side that faces down—it often collects the most dust and pet hair. If your cushions have zippers, vacuum the zipper line too, since crumbs can get trapped there.
3. Check the Care Tag for Cleaning Codes
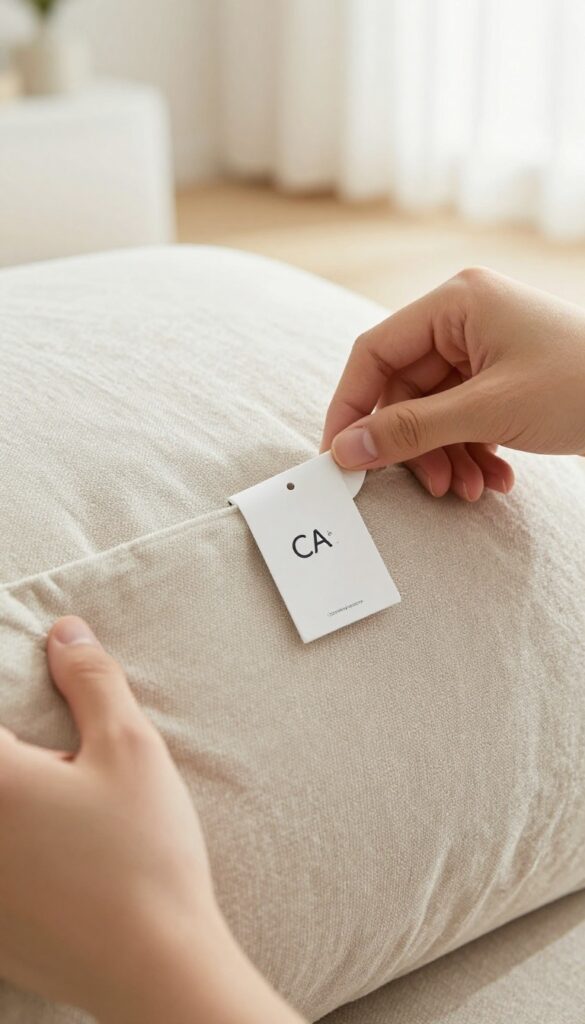
Before you grab any cleaner, flip over your cushions and look for the manufacturer's tag. That little label holds the secret to what your couch's fabric can handle. Ignoring it is the fastest way to ruin a finish or set a stain permanently.
The care tag usually shows a letter code that tells you exactly how to clean the fabric. These codes are standardized, so once you know what they mean, you can choose the right products with confidence. It takes less than a minute to check, and it saves you from costly mistakes.
Decoding The W, S, Ws, And X Labels
The letters on the tag stand for the cleaning method that's safe for that fabric. W means water-based cleaners are okay, S means you should use solvent-based products only, WS allows both water and solvent, and X means only vacuuming or professional cleaning—no liquids at all. If you see X, skip the DIY sprays and stick to dry methods.
What To Do If The Tag Is Missing
Sometimes the tag is cut off or faded beyond readability. In that case, test any cleaner on a hidden spot, like under a cushion or on the back of the couch, before using it on a visible area. Dab a small amount, wait a few minutes, and check for color bleeding or fabric damage.
This quick test can save you from a big regret.
Matching Your Cleaning Method To The Code
Once you know the code, tailor your approach. For W fabrics, use a gentle water-based upholstery shampoo. For S, pick a solvent-based cleaner and work in a well-ventilated room.
For WS, you have more freedom, but still test first. And for X, keep it to vacuuming, brushing, and maybe a professional service. Matching the code keeps your couch looking its best.
4. Spot-Test Your Cleaning Solution
You might be tempted to spray your favorite cleaner directly onto the stain and start scrubbing. But that can lead to a bigger problem: discoloration or fabric damage that's way worse than the original spot. A quick spot test takes less than five minutes and can save you from a costly mistake.
Before you commit to any cleaning product, test it in a hidden area. This simple step ensures the cleaner won't fade, shrink, or otherwise ruin your couch's fabric. It's especially important if your couch is made of delicate materials like velvet, linen, or silk blends.
Find The Right Test Spot
Look for an area that's out of sight but still representative of the fabric. The back of the couch, the underside of a cushion, or the bottom edge near the floor are all good choices. Avoid spots that are already stained or faded, as they won't give you an accurate result.
Apply And Wait
Dampen a clean white cloth with your cleaning solution, then blot it onto the test area. Don't soak the fabric—just enough to get it slightly wet. Wait for it to dry completely, which can take anywhere from 10 to 30 minutes.
If the color stays true and the fabric feels fine, you're good to go.
Check For Colorfastness
After the area dries, inspect it closely. Look for any color bleeding, fading, or a ring left behind. Also, run your fingers over the fabric to check for stiffness or texture changes.
If anything looks off, switch to a gentler cleaner or dilute the solution further.
5. Remove and Wash Cushion Covers (If Possible)
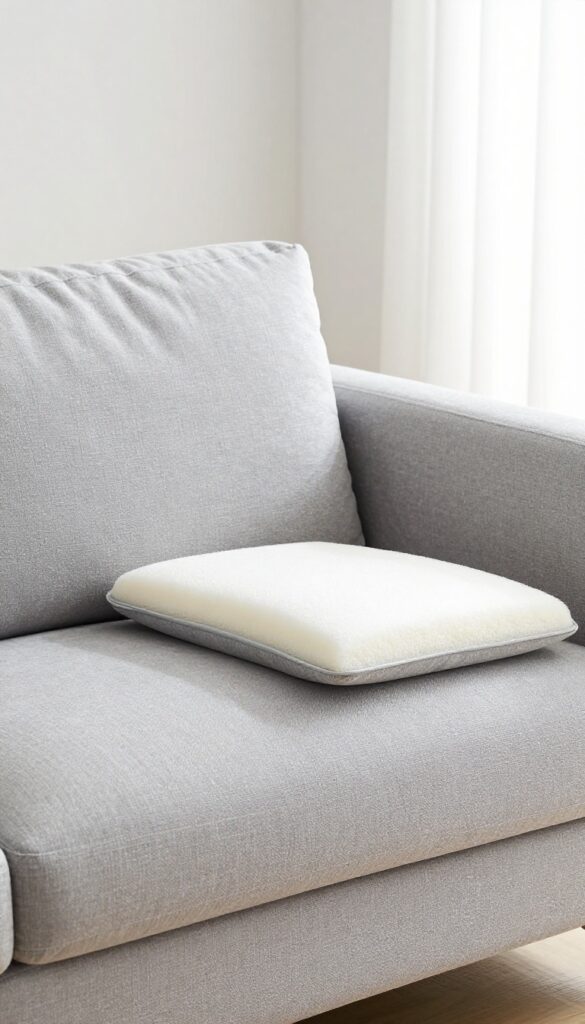
Some couch cushions come with removable, machine-washable covers—a total game-changer for deep cleaning. If yours have zippers, you're in luck. This step can lift out set-in odors and stains that vacuuming and spot cleaning just can't reach.
Just check the care tag first to make sure the fabric can handle a spin in the washer.
Check The Care Tag First
Before you unzip anything, flip the cushion over and look for the manufacturer's tag. It'll tell you if the cover is machine-washable, dry-clean only, or spot-clean only. If it's machine-washable, note the water temperature and any special instructions.
If the tag says 'dry clean only, ' skip this step and move on to the next cleaning method—washing it anyway can ruin the fabric.
Unzip And Remove The Covers
Carefully unzip each cushion cover and pull it off the foam or stuffing. Keep the zippers closed while washing to prevent snagging, but open them slightly to allow water to flow through. If the covers have any loose threads or delicate trim, consider placing them in a mesh laundry bag for extra protection.
Wash On A Gentle Cycle
Use cold or warm water (depending on the care tag) and a mild detergent. Avoid bleach or fabric softeners—they can break down the fibers or leave a residue that attracts dirt. Wash the covers on a gentle or delicate cycle to minimize wear and tear.
If you're worried about colors bleeding, test a small hidden area first or wash similar colors together.
Air Dry To Avoid Shrinking
Never toss cushion covers in the dryer unless the tag explicitly says it's safe. Heat can shrink or warp the fabric, leaving you with a cover that no longer fits. Instead, lay them flat or hang them to air dry in a well-ventilated area.
Once they're completely dry, put them back on the cushions and fluff them up. Your couch will look and smell refreshed.
6. Tackle Stains with a Targeted Cleaner
Stains are the most visible reminder that your couch has seen better days. Whether it's a fresh spill or a stubborn mark that's been sitting for weeks, the right approach makes all the difference. Here's how to handle both without damaging your fabric.
Start by identifying the type of stain you're dealing with. Food and drink spills usually respond well to a mild soap solution, while oil-based stains like grease or makeup need a degreaser. Always test any cleaner on a hidden spot first to ensure it won't discolor or damage the fabric.
Blot Fresh Stains Immediately
When a spill happens, act fast. Grab a clean, white cloth and blot—don't rub—to soak up as much liquid as possible. Rubbing pushes the stain deeper into the fibers.
Mix a few drops of mild dish soap with warm water, dip a cloth in the solution, and gently dab the stain. Work from the outside in to prevent spreading. Rinse with a damp cloth and blot dry.
Use Enzyme Cleaners For Set-in Stains
For stains that have had time to set, a simple soapy water solution often isn't enough. Enzyme-based cleaners break down the proteins and organic matter in stains like blood, wine, or pet accidents. Apply the cleaner according to the label instructions, usually letting it sit for 10-15 minutes.
Then blot and rinse. These cleaners are especially effective on fabric sofas but check your manufacturer's guidelines first.
Match The Cleaner To Your Fabric Type
Not all couch fabrics react the same to cleaning products. Microfiber and synthetic blends are generally more forgiving, while natural fibers like cotton or linen can be more delicate. Check the care tag for the cleaning code—W for water-based, S for solvent-based, or WS for either.
Use a cleaner that aligns with that code to avoid shrinking, fading, or leaving rings.
7. Deep-Clean the Cushions with a Steam Cleaner
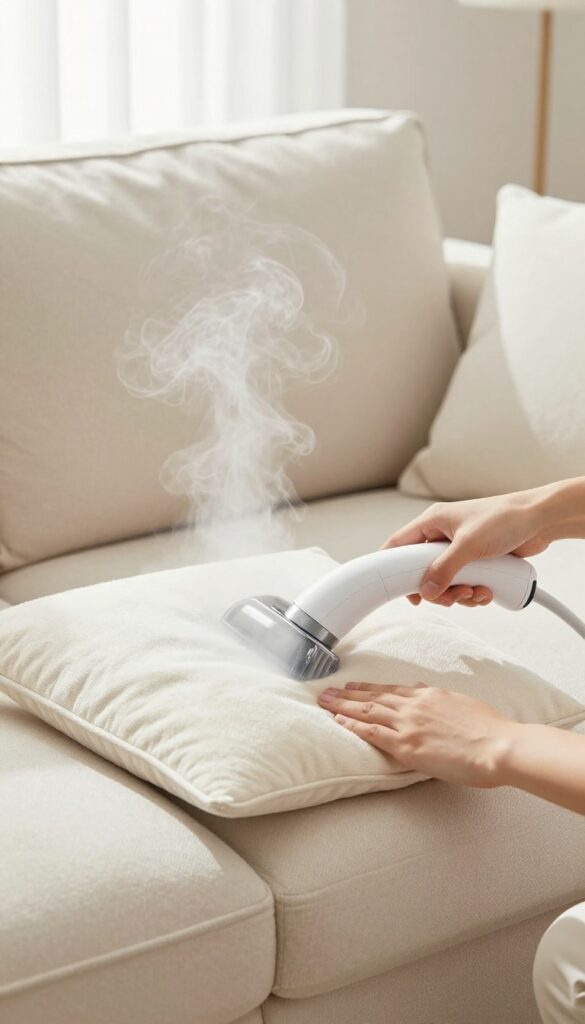
Once you've tackled stains and spot-cleaned, it's time to bring out the big guns. Steam cleaning is one of the most effective ways to lift embedded dirt, kill bacteria, and refresh the fabric without harsh chemicals. It's especially great for cushions that see a lot of use—think your favorite spot on the couch.
With a handheld steamer or a rental machine, you can give those cushions a professional-grade clean right at home.
Steam cleaning works by using high-temperature vapor to loosen dirt and grime, which is then extracted with the machine's suction. It's a deep clean that reaches below the surface, leaving your cushions fresher and free of allergens. The key is to move slowly and evenly, letting the steam do its work without soaking the fabric.
Over-wetting can cause mold or mildew, so it's crucial to control the moisture and allow proper drying time.
Choose The Right Steamer
You don't need a heavy-duty industrial machine to get good results. Handheld steam cleaners are perfect for small jobs and are easy to maneuver around cushions. If you're cleaning the whole couch, consider renting a larger upright steam cleaner from a hardware store—they're more powerful and cover more area quickly.
Just make sure the machine has a fabric attachment to avoid damaging the upholstery.
Prep The Cushions
Before you start steaming, vacuum the cushions thoroughly to remove loose dirt and debris. Check the manufacturer's tag to confirm your fabric is safe for steam cleaning—some delicate materials like silk or velvet may not be suitable. If the cushions have removable covers, you might want to clean them separately, but for this step, focus on the foam and inner fabric.
Steam In Sections
Work on one cushion at a time, starting from the top and moving side to side. Keep the steamer moving in slow, overlapping strokes to ensure even coverage. Don't linger too long in one spot—a few seconds per area is enough to lift dirt without over-wetting.
After each pass, use the suction feature to extract the moisture and dirt. You'll see the water turn brown, which is oddly satisfying.
Dry Thoroughly
After steaming, let the cushions air dry completely before putting them back on the couch. This can take anywhere from a few hours to overnight, depending on the fabric and humidity. To speed things up, place a fan nearby or open a window.
Never use a hairdryer or heater, as that can shrink or damage the fabric. Once dry, fluff the cushions and enjoy your refreshed couch.
8. Don't Forget the Crevices and Seams
After you've cleaned the cushions and tackled stains, it's easy to overlook the nooks and crannies where dirt loves to hide. The crevices and seams of your couch collect crumbs, pet hair, and dust that a regular vacuum can't reach. Ignoring these spots can leave your couch feeling gritty and looking dingy, even after a deep clean.
Start by grabbing a crevice tool—the narrow attachment that comes with most vacuums. Run it along every seam, under the cushions, and along the edges where the back meets the seat. For stubborn debris, use a stiff brush to loosen the dirt before vacuuming.
This two-step process ensures you get everything out, not just the surface dust.
Use The Right Tools
A crevice tool is your best friend for this job, but if you don't have one, a stiff-bristled brush or even a butter knife wrapped in a cloth can work. The goal is to reach deep into the tight spaces without damaging the fabric. For extra stubborn buildup, a soft-bristled toothbrush can help scrub away grime from seams without being too harsh.
Work In Sections
Don't try to do the whole couch at once. Break it down into sections—start with the back, then the seat, then the arms. This way, you can focus on each area and make sure you don't miss any spots.
It also prevents you from feeling overwhelmed, especially if your couch is large or has lots of crevices.
Finish With A Vacuum Pass
After you've loosened the dirt with a brush or crevice tool, go over the same areas with the vacuum to suck up everything you've dislodged. Use the crevice tool again for the tightest spots, and switch to the brush attachment for wider seams. This final pass ensures your couch is not only clean but also free of any loose particles that could cause irritation or odors.
9. Deodorize with Baking Soda
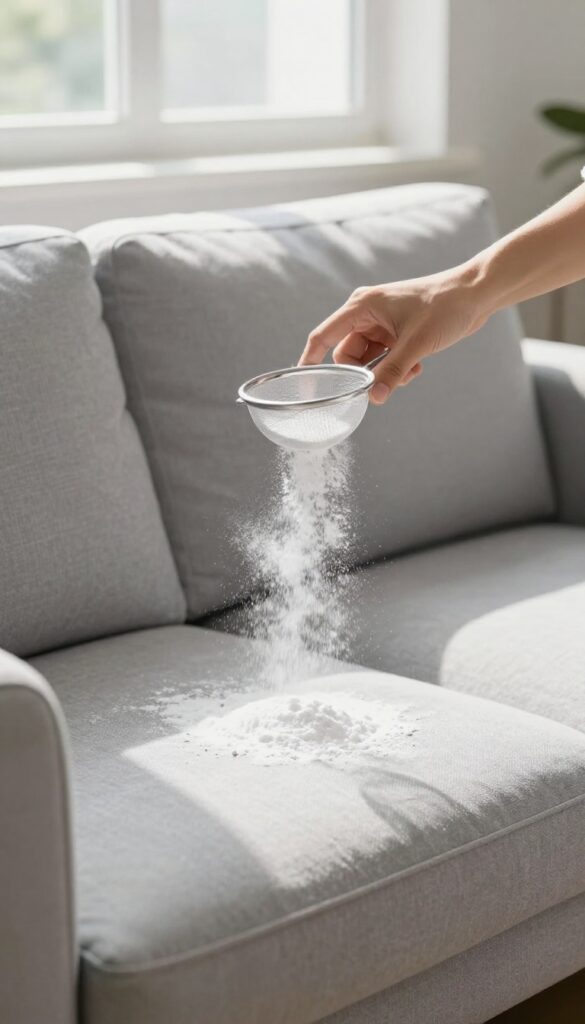
After you've tackled stains and deep-cleaned the fabric, odors can still linger in the fibers. Baking soda is a natural, gentle deodorizer that works wonders on couches. It absorbs smells without leaving any harsh chemical residue, making it a safe choice for homes with kids or pets.
Sprinkle a generous layer of baking soda over the entire couch, paying extra attention to crevices, seams, and areas where pets like to nap. Let it sit for 15 to 30 minutes—longer for stubborn odors—then vacuum thoroughly using the upholstery attachment. The baking soda will lift and neutralize odors, leaving your couch smelling fresh and clean.
Why Baking Soda Works
Baking soda is alkaline, which helps neutralize acidic odor molecules. It also absorbs moisture, which is often the root cause of musty smells. Unlike sprays that just mask odors, baking soda actually pulls them out of the fabric.
How To Apply It Right
Use a fine-mesh strainer or a spice shaker to distribute the baking soda evenly. Focus on high-traffic areas and spots where odors are strongest. For extra freshness, mix a few drops of your favorite essential oil into the baking soda before sprinkling—just make sure it's fully incorporated to avoid staining.
Vacuuming Tips For Best Results
Wait the full 15 to 30 minutes before vacuuming. Use slow, overlapping strokes to pick up all the powder. If you have a crevice tool, use it to reach deep between cushions and along the base.
A thorough vacuum pass will leave your couch looking and smelling refreshed.
10. Dry the Couch Properly to Prevent Mold
You've put in the elbow grease, and your couch is finally clean. But the job isn't done until it's completely dry. Rushing this step can undo all your hard work, leaving you with mildew, musty smells, and even structural damage to the cushions.
Why Drying Matters
Moisture left in the cushions or fabric creates the perfect breeding ground for mold and mildew. Not only do they cause unpleasant odors, but they can also trigger allergies and respiratory issues. Plus, dampness can weaken the fibers and make your couch feel limp and soggy.
Speed Up The Process
Open windows and doors to create cross-ventilation, and point fans directly at the couch to circulate air. If you have a dehumidifier, run it nearby to pull excess moisture from the air. For faster drying on cushions, stand them upright or prop them against a wall so air can reach all sides.
Patience Is Key
Wait until the couch is completely dry before sitting on it or putting the cushions back in place. Depending on the fabric and humidity, this can take anywhere from a few hours to a full day. To check, press a dry paper towel against the fabric—if it feels damp, give it more time.
Your patience will pay off with a fresh, mold-free couch.
11. Protect Your Freshly Cleaned Couch
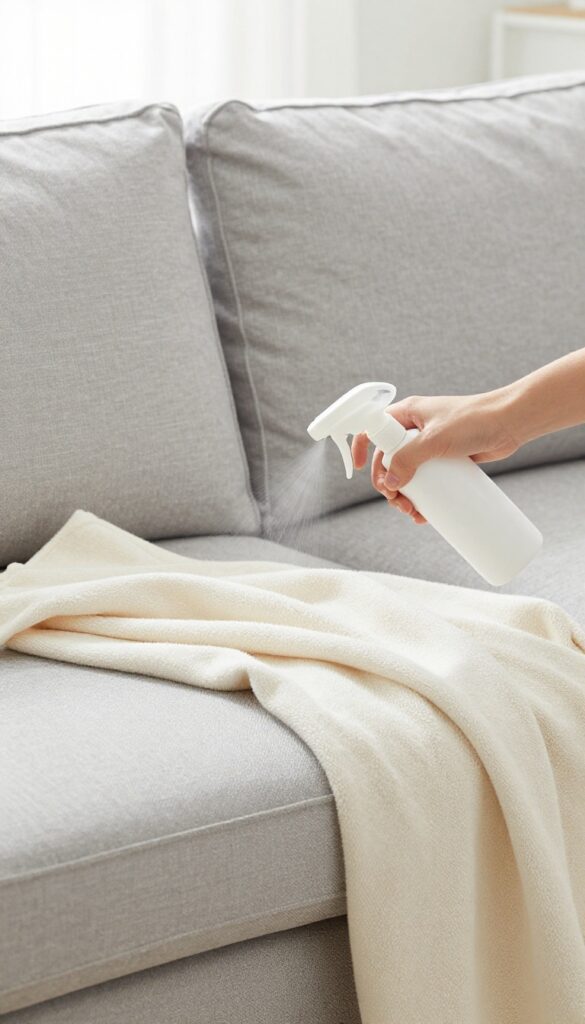
You've put in the elbow grease, and your couch is finally clean. Now, the last thing you want is for it to get dirty again in a week. A little upfront protection goes a long way in keeping your hard work intact.
After all that cleaning, it's tempting to just flop down and enjoy the fresh feel. But taking a few extra minutes to protect the fabric can save you from repeating the whole process soon. Think of it as a shield for your newly refreshed couch.
Apply A Fabric Protector Spray
Fabric protector sprays create an invisible barrier that repels liquids and prevents stains from setting in. They're especially useful if you have kids, pets, or enjoy snacking on the couch. Just follow the instructions on the can—usually, you'll spray evenly from about six inches away and let it dry completely before using the couch.
Reapply every few months or after a deep clean for ongoing protection.
Add Throw Blankets Or Arm Covers
Throw blankets aren't just for cozy vibes—they're practical. Drape one over the back or seat to catch spills, pet hair, and everyday wear. Arm covers are another simple solution, especially for high-traffic areas where oils from your skin and dirt from your hands tend to build up.
They're easy to remove and toss in the wash, which is way simpler than cleaning the whole couch again.
Set Simple Ground Rules
A little prevention goes a long way. Consider making your couch a no-shoe zone, and keep drinks in spill-proof cups. If you have pets, a washable pet blanket in their favorite spot can save the fabric.
These small habits help your freshly cleaned couch stay that way longer.
FAQ
How often should I deep clean my couch?
Aim to deep clean your couch every 3-6 months, depending on usage. If you have pets or kids, you might need to do it more frequently.
Can I use a steam cleaner on any fabric?
Not all fabrics are safe for steam cleaning. Check the care tag first. Fabrics labeled 'W' or 'WS' can tolerate water, but 'S' (solvent-only) fabrics should be cleaned with dry-cleaning products.
What's the best way to remove pet hair from a couch?
Use a rubber glove or a damp sponge to wipe the surface—pet hair clings to the rubber. Alternatively, a vacuum with a pet hair attachment works well.
How do I get rid of stubborn odors from my couch?
Baking soda is your best friend. Sprinkle it generously, let it sit for a few hours or overnight, then vacuum. For stronger odors, try a mixture of white vinegar and water in a spray bottle.
Is it safe to machine-wash cushion covers?
Only if the care tag says they're machine-washable. Use cold water and a gentle cycle, then air dry to prevent shrinkage. If in doubt, hand wash or dry clean.
Conclusion
Once you’ve worked through these steps, your couch should look and feel noticeably fresher. The key is to make deep cleaning a regular habit—even a quick monthly vacuum and spot check will keep the grime from building up again.
Start with the areas that bother you most, whether that’s the cushions or those tricky crevices. A little effort now means a cleaner, more inviting spot to relax for years to come.