How to Clean Fiberglass Shower Stall in 15 Gentle Tips
Fiberglass shower stalls are popular for their affordability and easy installation, but they can be tricky to clean. Harsh scrubbing or abrasive cleaners can scratch the surface, making it look dull over time.
The good news is you don't need harsh chemicals or a lot of elbow grease to keep yours looking like new. With the right techniques and a few common household items, you can tackle soap scum, hard water stains, and mildew gently.
These 15 tips focus on being effective while protecting your shower stall's finish. Best of all, most of them are budget-friendly and use stuff you probably already have.
1. Start with a Quick Daily Rinse
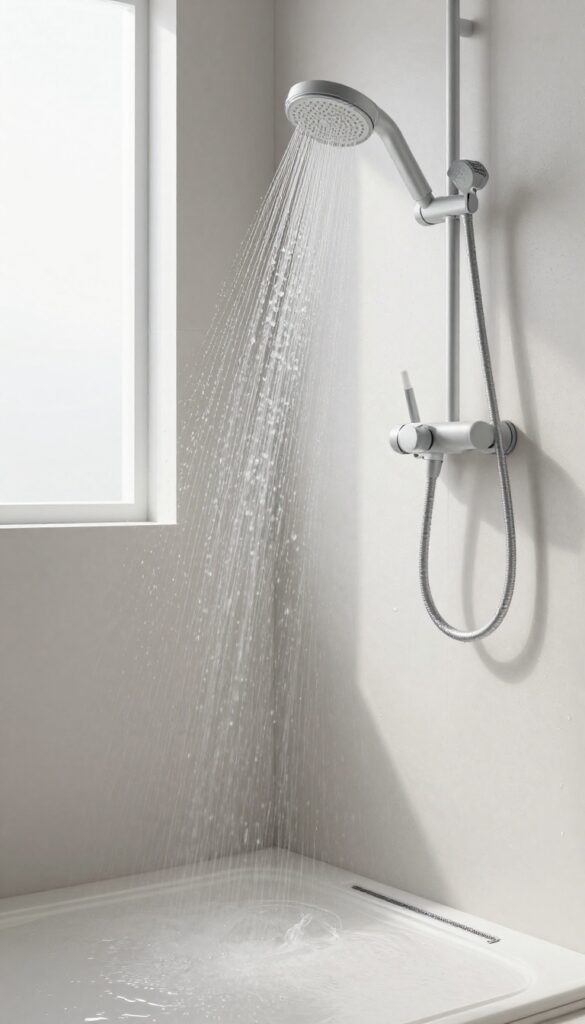
A few seconds of rinsing after each shower can save you hours of scrubbing later. Warm water washes away the fresh soap residue and minerals before they have a chance to bond with the fiberglass surface. This simple habit is the easiest way to keep your stall looking clean day after day.
Make it a routine to grab the handheld showerhead or use the overhead spray to rinse down the walls and floor. Pay extra attention to corners and the area around the soap dish where suds tend to collect. This takes less than a minute and dramatically reduces the buildup that leads to stubborn stains.
Why Rinsing Works
Soap scum and hard water deposits form when residue dries onto the surface. By rinsing while the stall is still wet, you prevent that drying process. Think of it as hitting the reset button on your shower's cleanliness.
Best Time To Rinse
Do it immediately after you step out, while the walls are still warm. Warm water helps dissolve any lingering soap better than cold. If you wait too long, the residue starts to set, making the rinse less effective.
What About The Floor?
Don't forget the floor – it's where most of the soapy water ends up. A quick rinse of the entire base prevents slippery film from building up. It also helps keep the drain clear of hair and debris.
2. Use a Squeegee After Every Shower
A rubber squeegee is one of the simplest tools to keep your fiberglass shower stall spotless. It removes water droplets that cause hard water spots and create a breeding ground for mildew. The best part?
It takes less than a minute after each shower.
Why It Works So Well
Fiberglass is non-porous, so water beads up on the surface. When those beads dry, they leave behind mineral deposits that look like cloudy spots. A squeegee wipes away the water before it has a chance to evaporate, preventing those stains from forming in the first place.
The Right Technique
Start at the top corner and pull the squeegee across in straight, overlapping strokes. Work your way down, then do the same on the walls. Don't forget the door if you have one.
For curved surfaces, use short, firm strokes. A quick final wipe with a microfiber cloth on the edges removes any leftover drips.
Make It A Habit
Keep a squeegee hanging inside the shower on a hook. That way, you can grab it right after turning off the water. It takes only 30–60 seconds.
If you do this after every shower, you'll drastically cut down on scrubbing sessions. Your shower stall will stay clearer and require less deep cleaning.
3. Mix a Gentle DIY Cleaner with Dish Soap and Vinegar
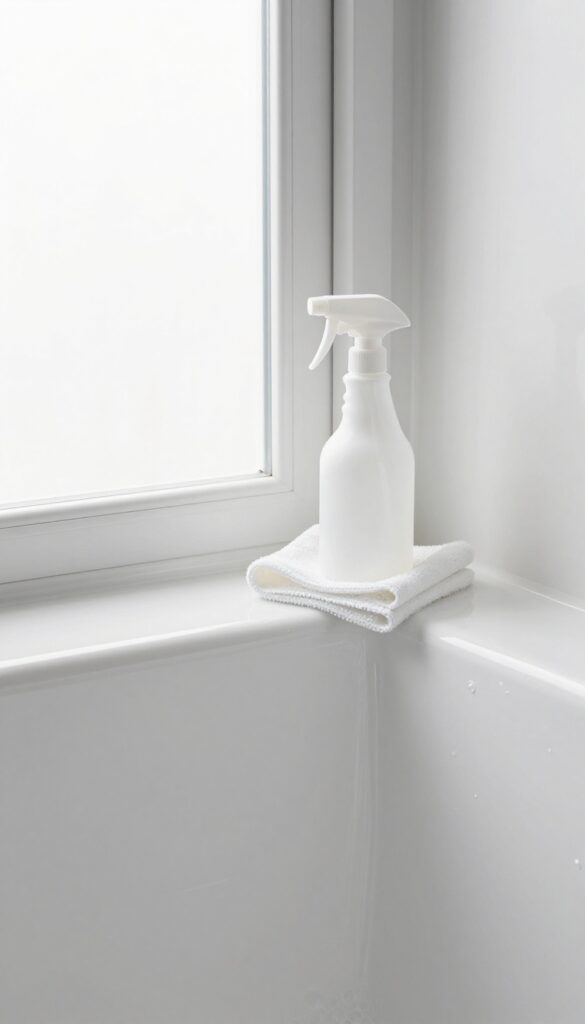
Store-bought cleaners can be pricey and loaded with chemicals that may dull your fiberglass over time. A simple homemade spray works just as well and costs pennies. All you need is white vinegar, warm water, and a squirt of dish soap.
Why This Combo Works
Vinegar is a mild acid that breaks down soap scum and hard water minerals without etching fiberglass. Dish soap cuts through grease and helps the solution spread evenly. Together they create a non-abrasive cleaner that’s tough on grime but gentle on surfaces.
How To Mix And Use It
Fill a spray bottle with equal parts white vinegar and warm water. Add a few drops of dish soap, then swirl gently to combine. Spray the solution onto the shower walls and floor, let it sit for 5–10 minutes, then wipe with a soft sponge or microfiber cloth.
Rinse thoroughly with warm water.
Tips For Best Results
Use distilled white vinegar to avoid staining. Warm water helps the vinegar work faster. Avoid using too much soap—just a few drops is enough.
For tough stains, let the solution sit longer or scrub gently with a soft-bristled brush.
4. Apply the Cleaner with a Soft Sponge or Microfiber Cloth
The tool you use to apply the cleaner matters just as much as the cleaner itself. Harsh scrubbers can leave micro-scratches on fiberglass that trap dirt and make the surface look dull. A soft sponge or microfiber cloth is all you need to lift grime without damaging the finish.
Why Abrasive Pads Are A No-go
Steel wool, scouring pads, and stiff brushes may seem effective, but they're too harsh for fiberglass. Even a single pass can create fine scratches that become permanent. Over time, those scratches collect soap scum and mildew, making your shower look dingy no matter how often you clean.
The Right Way To Wipe
Use a soft sponge or microfiber cloth dampened with your cleaner. Work in circular motions, starting from the top and moving down. This technique helps loosen soap scum and distributes the cleaner evenly.
For stubborn spots, let the cleaner sit for a minute before wiping.
Don't Forget The Corners And Creases
Corners and seams are prone to buildup. Use a soft toothbrush or a microfiber cloth wrapped around your finger to get into tight spots. Gentle pressure is enough—no need to scrub hard.
Rinse thoroughly to remove all cleaner residue.
5. Let the Cleaner Sit for a Few Minutes
Patience pays off when cleaning a fiberglass shower stall. After spraying your chosen cleaner, give it time to work—usually 5 to 10 minutes. This dwell time lets the solution penetrate and loosen soap scum, hard water deposits, and mildew, so you don't have to scrub as hard.
Less scrubbing means less risk of scratching the delicate fiberglass surface.
Why Dwell Time Matters
Fiberglass is softer than tile or porcelain, so aggressive scrubbing can leave permanent dull spots or scratches. When you let the cleaner sit, it chemically breaks down grime, making it easy to wipe away with minimal effort. This is especially important for stubborn stains like calcium buildup or embedded mildew.
How Long Is Long Enough?
For everyday cleaning, 5 minutes is usually sufficient. For tougher deposits or if you haven't cleaned in a while, extend the time to 10 minutes. Avoid letting the cleaner dry on the surface—if it starts to dry, mist it lightly with water to keep it wet.
Never leave it on longer than 15 minutes, as some cleaners can damage the finish if left too long.
What To Do While You Wait
Use the waiting time productively: clean the shower fixtures, scrub the showerhead, or wipe down the door tracks. Just don't rinse the walls yet. Let the cleaner do the heavy lifting so you can finish faster and with less effort.
6. Rinse Thoroughly with Warm Water
You might think once you've scrubbed and wiped, the job is done. But leftover cleaner residue can actually attract more dirt and leave a dull film. That's why a thorough rinse is a non-negotiable step.
Warm water helps dissolve any lingering soap or cleaning solution, so your shower stall dries clean and streak-free.
Why Warm Water Works Best
Hot water can sometimes warp or damage fiberglass over time, while cold water doesn't dissolve residue as effectively. Warm water hits the sweet spot—it's gentle on the surface but effective at lifting leftover cleaner. Plus, it helps the final wipe-down go faster because the surface dries more evenly.
How To Rinse Properly
Use a handheld showerhead or a large cup to pour warm water over every surface. Start at the top and work your way down, making sure to hit corners, edges, and the door track. Don't just spray—let the water run for a few seconds to carry away any residue.
If you see suds or bubbles, you haven't rinsed enough.
The Final Squeegee Pass
After rinsing, give the stall one last pass with a squeegee to remove standing water. This prevents water spots and mineral deposits from forming. It also speeds up drying, which reduces the chance of mildew.
A quick squeegee after rinsing is the secret to a spotless, shiny finish.
7. Tackle Hard Water Stains with Lemon Juice
Hard water stains can make a fiberglass shower look dingy and neglected. Instead of reaching for harsh chemicals, try a natural solution that's likely already in your kitchen. Lemon juice contains citric acid, which breaks down the mineral deposits without damaging the surface.
Lemon juice is a gentle yet effective cleaner for hard water stains on fiberglass. The acidity dissolves calcium and lime buildup, making it easy to wipe away. For best results, use fresh lemon juice or a cut lemon half directly on the stain.
Let it sit for about 10 minutes to allow the acid to work, then rinse thoroughly with water. Avoid letting it dry on the surface, as prolonged exposure could dull the finish. This method is safe for regular use and leaves a fresh, clean scent.
Why Lemon Juice Works
The citric acid in lemon juice is a natural chelating agent, meaning it binds to minerals like calcium and magnesium in hard water stains. This loosens the deposits so they can be rinsed away easily. Unlike abrasive cleaners, lemon juice won't scratch or dull the fiberglass surface.
How To Apply It
Cut a lemon in half and squeeze a little juice onto the stain, or rub the cut side directly over the area. Let it sit for 10 minutes—no longer, as extended contact might affect the gel coat. Then rinse with warm water and wipe dry with a soft cloth.
For stubborn spots, repeat the process or make a paste with baking soda and lemon juice for gentle scrubbing.
When To Avoid Lemon Juice
Avoid using lemon juice on unsealed or damaged fiberglass, as the acid could penetrate and cause discoloration. Test on a small, inconspicuous area first. Also, don't mix lemon juice with bleach or ammonia, as this can create harmful fumes.
8. Remove Mildew with Hydrogen Peroxide
Mildew loves the damp corners of a fiberglass shower stall, but you don't need bleach to fight it. Hydrogen peroxide is a gentle yet effective alternative that kills mold and mildew without releasing harsh fumes. It's also safe for fiberglass when used correctly, making it a go-to for regular maintenance.
Spray 3% hydrogen peroxide directly onto mildew spots and let it sit for 15 minutes. The peroxide will bubble as it works, breaking down the mildew. After the wait, simply rinse the area with warm water.
For stubborn spots, you can scrub lightly with a soft sponge before rinsing. Always test on a small, hidden area first to ensure your fiberglass finish remains unharmed.
Why Hydrogen Peroxide Works
Hydrogen peroxide is a natural disinfectant that releases oxygen when it comes into contact with organic matter. This oxidation process destroys mildew cell walls without leaving toxic residue. Unlike bleach, it won't yellow or dull fiberglass over time.
How To Apply For Best Results
Use a spray bottle to apply a fine mist on the affected areas. Avoid diluting it further—3% is already the right strength. Let it sit undisturbed for 15 minutes; don't rush this step.
If the mildew is heavy, you can repeat the process after rinsing.
Safety And Precautions
Hydrogen peroxide is non-toxic but can bleach fabrics, so wear old clothes or rinse spills quickly. Keep the bathroom ventilated while it sits. Test on a hidden spot first, as some older or damaged fiberglass may react differently.
9. Use Baking Soda Paste for Stubborn Grime
When a quick spray and wipe just won't cut it, baking soda steps in as your gentle heavy lifter. It's mildly abrasive, so it can break down grime without scratching the fiberglass. All you need is a box of baking soda and a little water to make a paste that tackles tough spots safely.
Baking soda is a classic non-toxic cleaner that works wonders on fiberglass. Its fine particles provide just enough friction to lift soap scum and hard water deposits without damaging the surface. This method is especially good for spots that have built up over time, like the corners where the wall meets the floor or around the drain.
How To Make The Paste
Mix three parts baking soda with one part water in a small bowl. Stir until it forms a thick, spreadable paste. If it's too runny, add more baking soda; if too dry, add a few more drops of water.
The consistency should be similar to toothpaste.
Application And Wait Time
Use a soft cloth or sponge to apply the paste directly onto the grimy areas. Spread it evenly, then let it sit for about 10 minutes. This gives the baking soda time to loosen the dirt.
Avoid letting it dry completely, as that can make removal harder.
Gentle Scrubbing And Rinsing
After the wait, gently rub the paste in a circular motion using the same soft cloth. You don't need to press hard—the baking soda does the work. Rinse thoroughly with warm water to remove all residue.
If any paste remains, it can leave a white film, so make sure to rinse well.
10. Avoid Bleach and Ammonia-Based Cleaners
It might be tempting to reach for bleach when you see mildew, or ammonia for tough grime, but these common cleaners can do more harm than good on fiberglass. Bleach can cause yellowing over time, while ammonia may eat away at the protective gel coat, leaving the surface vulnerable to scratches and dullness. Stick to mild, pH-neutral cleaners or the DIY solutions mentioned in this article to keep your shower stall looking its best.
Why Bleach Is A Bad Idea
Bleach is a strong oxidizer that can react with the resin in fiberglass, causing it to yellow or become brittle. Even diluted bleach can gradually strip the shine from your shower stall. Instead of bleach, use a hydrogen peroxide-based cleaner or a paste of baking soda and water for mildew spots.
Ammonia: A Gel Coat Enemy
Ammonia is alkaline and can break down the gel coat that protects fiberglass. Over time, this leads to a cloudy, worn appearance. Avoid any cleaner with ammonia, including many glass cleaners.
Opt for a vinegar-and-water solution or a dedicated fiberglass cleaner instead.
Safer Alternatives That Work
For daily cleaning, a mix of dish soap and warm water is plenty effective. For tougher stains, try a paste of baking soda and vinegar (use sparingly to avoid abrasion). There are also commercial fiberglass-safe cleaners labeled pH-neutral.
Always test a small hidden area first.
11. Clean the Shower Floor with a Soft Brush
The shower floor takes the brunt of daily use, and it's easy to overlook until soap scum and mildew build up in the corners. But scrubbing too hard with a stiff brush can scratch the fiberglass, leaving permanent marks. A soft-bristled brush or a non-abrasive sponge is all you need to get the floor clean without damaging the surface.
Focus on the corners and edges where grime tends to hide. Use a gentle circular motion with your soft brush and a mild cleaner, like a mix of dish soap and warm water. Rinse thoroughly afterward to remove any residue that could attract more dirt.
Choose The Right Tool
A soft-bristled brush (like a nylon scrub brush) or a soft sponge is ideal. Avoid anything with abrasive pads or stiff bristles. For tight corners, an old toothbrush works wonders.
Target Problem Areas
Pay special attention to corners, the drain area, and along the edges where the floor meets the walls. These spots trap soap scum and moisture, leading to mildew. A little extra scrubbing here prevents buildup.
Rinse And Dry
After scrubbing, rinse the floor thoroughly with warm water to remove all cleaner. Use a squeegee or a soft towel to dry the floor, which helps prevent water spots and mildew growth.
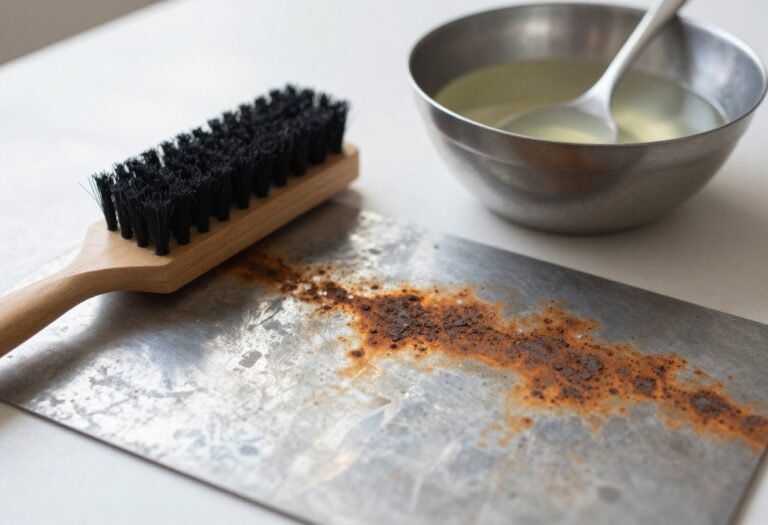
12. Wipe Down Metal Fixtures to Prevent Rust Stains
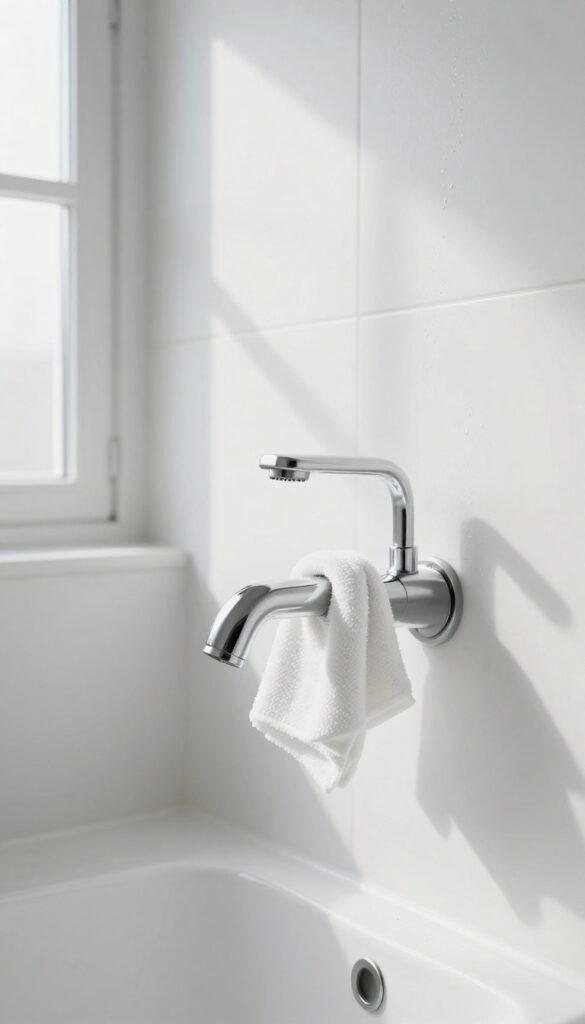
Rust stains from faucets, showerheads, or metal fittings can sneak up on your fiberglass shower stall. These orange or brown marks are not only unsightly but can also be tough to remove once they set in. The key is prevention—keeping metal fixtures dry and addressing any rust spots immediately.
Rust forms when moisture sits on metal surfaces for too long, especially in humid bathroom environments. Over time, the rust can transfer to the surrounding fiberglass, leaving stubborn stains. A simple daily habit of wiping down fixtures after each shower can stop this problem before it starts.
If you do spot rust, act fast with a mild cleaner to prevent permanent damage.
Daily Wipe-down Routine
After your shower, take a soft microfiber cloth and dry all metal fixtures—faucet handles, showerhead, and any metal trim. This takes less than a minute and removes the moisture that causes rust. Make sure to also wipe the area where the fixture meets the fiberglass, as water can pool there.
Immediate Rust Spot Treatment
If you notice a rust stain forming, don't wait. Mix a small amount of mild dish soap with warm water and gently scrub the spot with a soft sponge. For tougher stains, a paste of baking soda and water can be applied and left for 15 minutes before rinsing.
Avoid abrasive pads or acidic cleaners like vinegar, which can damage the fiberglass finish.
Preventive Measures For Lasting Protection
Consider applying a thin layer of car wax or a fiberglass-safe sealant to the metal fixtures. This creates a barrier that repels water and slows rust formation. Also, ensure your bathroom has good ventilation to reduce overall humidity, which speeds up rusting.
A simple exhaust fan or open window after showers makes a big difference.
13. Deep Clean Monthly with a Fiberglass-Safe Polish
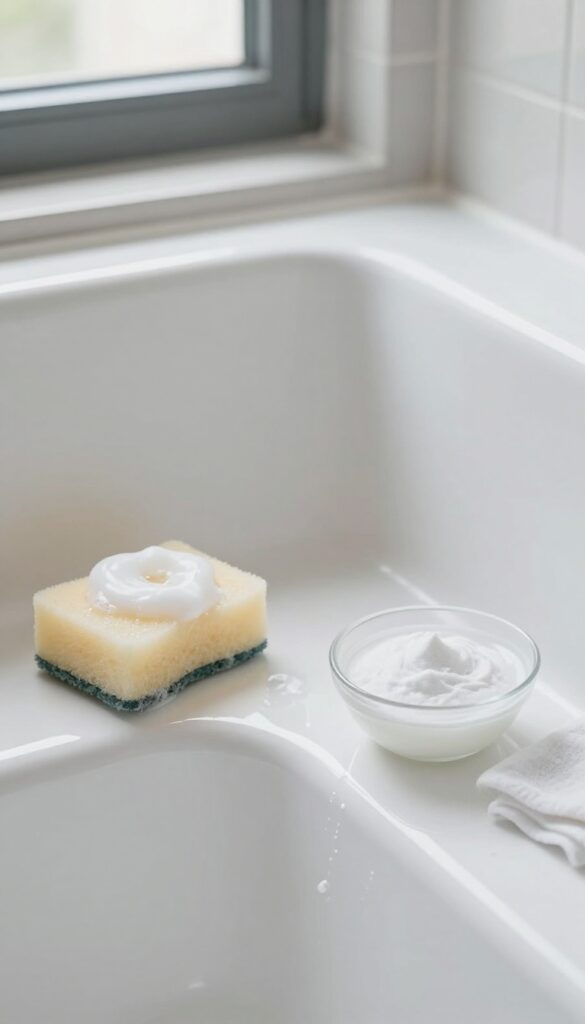
Even with regular gentle cleaning, your fiberglass shower stall can start to look a bit tired after a few weeks. That's when a monthly deep clean with a dedicated fiberglass polish or a simple DIY mixture can bring back the shine. It's not about scrubbing harder—it's about using the right product to dissolve buildup and restore the surface.
A monthly deep clean prevents the dull film that forms from soap scum and hard water minerals. You can buy a fiberglass-specific polish at most hardware stores, or make your own with white vinegar and baking soda. Apply the paste, let it sit for a few minutes, then rinse thoroughly.
The result is a glossy, like-new finish that also makes future cleaning easier.
Why A Monthly Deep Clean Matters
Soap scum and mineral deposits build up slowly, but they eventually create a hazy layer that regular sprays can't remove. A monthly deep clean tackles that buildup before it becomes stubborn. It also helps maintain the protective gel coat on fiberglass, preventing it from becoming porous and more prone to staining.
Diy Polish Vs. Store-bought
A paste of baking soda and vinegar works well for most fiberglass stalls—it's gentle enough not to scratch, yet effective at lifting grime. For tougher stains or to restore high gloss, a commercial fiberglass polish often contains mild abrasives and waxes that add a protective layer. Whichever you choose, always test on a small hidden area first.
How To Apply For Best Results
Start by wetting the stall with warm water. Apply the polish or paste with a soft sponge or microfiber cloth, using circular motions. Let it sit for about five minutes (follow product instructions if using a commercial polish).
Rinse thoroughly with warm water, then dry with a clean microfiber towel to prevent water spots.
14. Seal the Surface with a Protective Wax
Once you've got your fiberglass shower stall sparkling clean, you might wonder how to keep it that way longer. A simple trick is to apply a protective wax or sealant. This step adds a barrier that repels water and prevents soap scum from sticking, making future cleanings much faster.
After deep cleaning and drying your shower stall thoroughly, apply a thin layer of car wax or a dedicated fiberglass sealant. Use a soft cloth and work in small circular motions. Let it dry to a haze, then buff it off with a clean microfiber cloth.
The result is a glossy, water-repellent surface that stays cleaner for weeks.
Why Wax Works
Fiberglass is porous, so microscopic dirt and minerals can embed themselves in the surface. Wax fills those tiny pores and creates a smooth, hydrophobic layer. Water beads up and rolls off, carrying soap residue with it rather than drying into stubborn spots.
Choosing The Right Product
Car wax (like turtle wax or meguiar's) works great and is affordable. Avoid waxes with harsh abrasives or colored tints. Alternatively, use a marine-grade fiberglass sealant or a product specifically for shower stalls.
Test a small area first to ensure compatibility.
Application Tips
Make sure the surface is completely clean and dry before waxing. Apply in a well-ventilated area. Use a foam applicator pad or a soft cloth, and don't overload it—a little goes a long way.
Buff thoroughly to avoid a greasy residue. Reapply every few months or when water stops beading.
15. Address Scratches with a Fiberglass Repair Kit
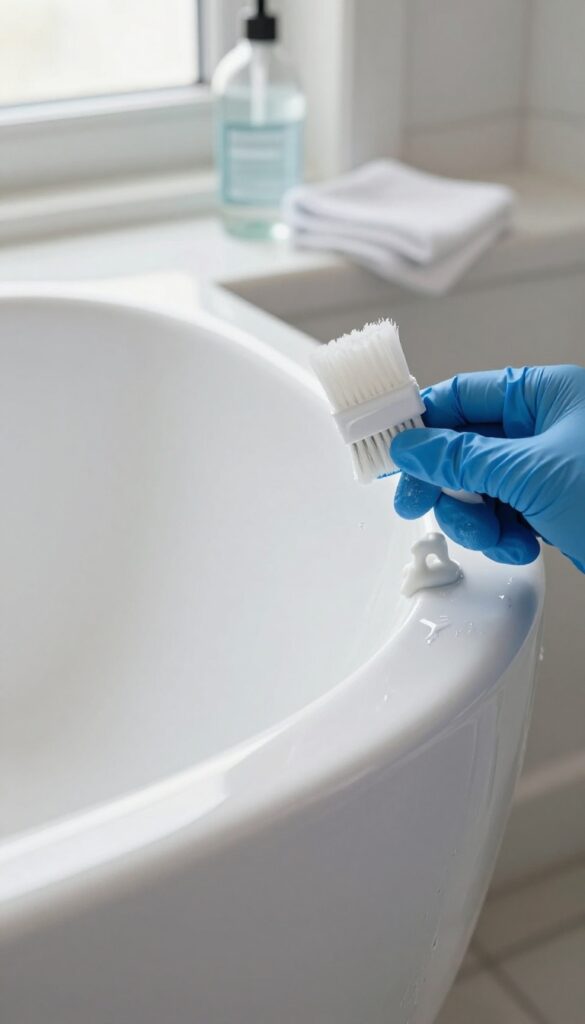
Scratches on a fiberglass shower stall can be an eyesore and may worsen over time if left untreated. A dedicated fiberglass repair kit is a simple solution that restores the surface and prevents deeper damage. These kits are available at most hardware stores and are designed specifically for this material.
Minor scratches don't have to mean replacing your shower stall. With a fiberglass repair kit, you can buff out light scratches and even fill in slightly deeper ones. The process is straightforward and takes less than an hour.
Just follow the kit's instructions carefully to avoid making the problem worse.
Choosing The Right Kit
Look for a kit that matches your shower stall's color and finish. Most kits include a resin, hardener, and applicator. Some also come with sandpaper and polishing compound.
Read the label to ensure it's meant for fiberglass showers, not just boats or automotive use.
Step-by-step Application
Clean the scratched area thoroughly and let it dry. Mix the resin and hardener as directed, then apply a thin layer over the scratch using the included tool. Allow it to cure fully—usually 15 to 30 minutes.
Lightly sand the area with fine-grit sandpaper if needed, then buff with a soft cloth to blend the repair.
When To Call A Pro
Deep scratches or cracks that go through the gel coat may need professional attention. If the fiberglass feels soft or you see signs of water damage, a repair kit won't be enough. In those cases, consult a contractor to assess whether patching or replacement is needed.
FAQ
Can I use magic erasers on fiberglass showers?
It's best to avoid magic erasers on fiberglass because they are mildly abrasive and can dull the surface over time. Stick to soft sponges or microfiber cloths.
How often should I deep clean a fiberglass shower stall?
Deep clean once a month if you do daily rinses and squeegee. If you notice buildup, increase frequency to every two weeks.
What is the best homemade cleaner for fiberglass?
A mix of equal parts white vinegar and warm water with a few drops of dish soap is effective and gentle. For mildew, use hydrogen peroxide.
Why does my fiberglass shower look dull?
Dullness often comes from soap scum residue or hard water deposits. A vinegar rinse followed by a protective wax can restore shine.
Can I use a pressure washer on a fiberglass shower?
No, pressure washers can damage the fiberglass surface and cause cracks. Stick to gentle hand cleaning methods.
Conclusion
Keeping your fiberglass shower stall clean doesn't have to be a chore. With these 15 gentle tips, you can maintain a sparkling surface without harsh chemicals or expensive products. The key is consistency—daily rinses and a quick squeegee go a long way.
Remember to always use soft tools and mild cleaners to protect the finish. A little effort each day means less scrubbing later. Your shower will look great and last longer with this simple routine.