How to Clean a Tub in 10 Fast and Fresh Steps Today
A grimy bathtub can make your bathroom feel less inviting, but you don't need harsh chemicals or hours of scrubbing to get it sparkling. These 10 fast and fresh steps use everyday items like baking soda and vinegar to cut through soap scum and grime efficiently.
Follow this sequence, and your tub will look clean and refreshed in no time. Start by clearing the area, then let the natural cleaning power do the heavy lifting.
Each step builds on the last, so you get maximum results with minimal effort. Ready to transform your tub today?
1. Clear the Deck: Remove Everything from the Tub Area
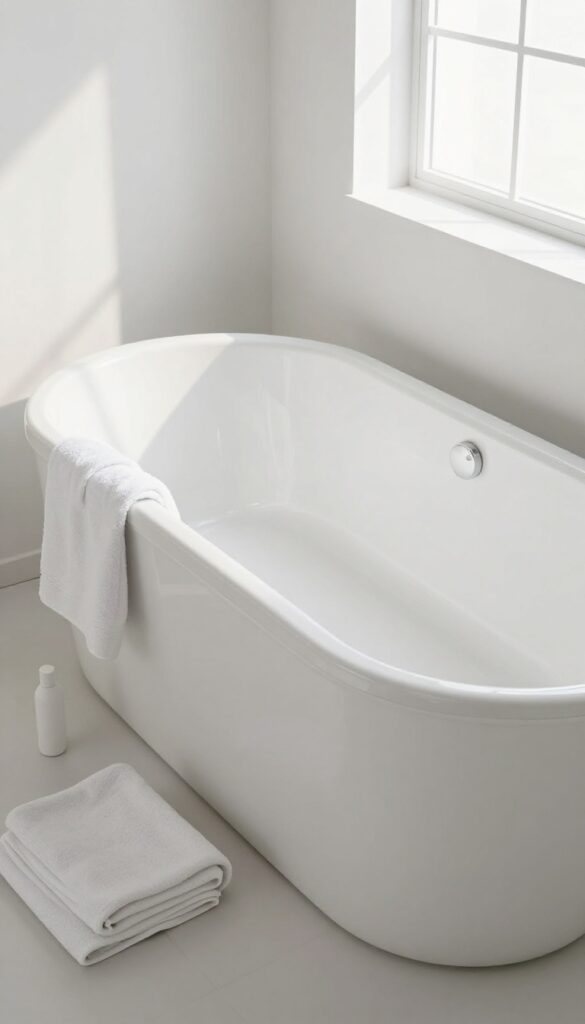
Before you can clean effectively, you need a blank canvas. Grab a laundry basket or a towel and pull out every bottle, toy, sponge, and accessory from the tub and its ledges. This step isn't just about getting things out of the way—it also prevents cleaning products from splashing onto your favorite shampoo or leaving residue on bath toys.
Once everything is cleared, you'll have unobstructed access to every corner, edge, and drain, making the rest of the process much faster.
Taking everything out might seem like an extra chore, but it's the secret to a thorough clean. When bottles and toys are left in place, you end up cleaning around them, missing hidden soap scum and mildew. Plus, you can use this opportunity to give those items a quick rinse or wipe down before putting them back.
A clear tub also lets you see exactly where the grime is worst, so you can focus your effort where it matters most.
Why Clearing Matters
A cluttered tub hides dirt and makes scrubbing awkward. By removing everything, you expose all surfaces, including the often-neglected back ledge and drain area. This also prevents cleaning agents from accidentally mixing with your bath products, which could cause unwanted reactions or leave a film.
What To Do With The Stuff
Place items on a towel or in a bin outside the tub. For bottles, wipe off any residue before setting them aside. If you have bath mats or caddies, take those out too.
This is also a great time to check expiration dates and toss anything you no longer use.
A Quick Bonus Step
While the tub is empty, give the drain a quick visual check. Remove any hair or debris you can see—this will help your cleaning solution work better and prevent clogs later.
2. Dry Scrub to Lift Loose Dirt and Hair
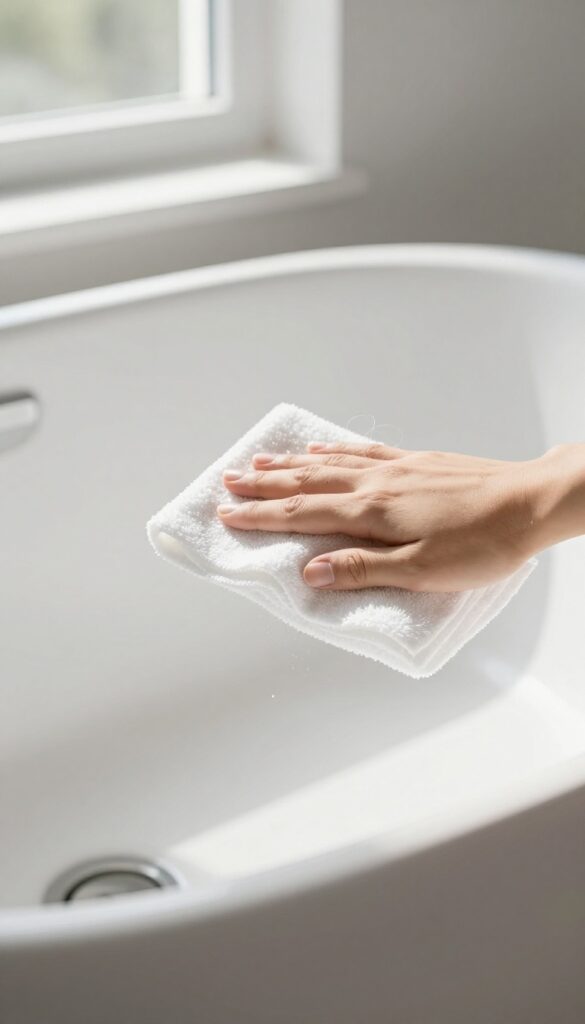
Before you introduce any water or cleaner, take a moment to remove the loose stuff. Hair, dust, and debris that sit on the surface can turn into a slimy mess once wet. A quick dry scrub saves you from scrubbing twice and keeps your drain happy.
Grab a dry microfiber cloth or a squeegee and wipe down the entire tub surface, including the walls and corners. Pay special attention to the drain area where hair tends to collect. This simple step lifts away dirt without pushing it into the drain, reducing clogs.
It also exposes the real grime underneath, so your wet cleaning step can work directly on soap scum and stains.
Why Dry Scrubbing Matters
When you wet a dirty tub first, loose particles can get ground into the surface or washed down the drain, potentially causing blockages. Dry scrubbing removes those particles entirely, making your cleaning solution more effective. It's like dusting before mopping—you get a deeper clean with less effort.
Best Tools For The Job
A microfiber cloth is ideal because its fibers trap dust and hair without scratching the tub. A squeegee works great for glass shower doors or smooth acrylic surfaces. Avoid using paper towels, which can leave lint behind.
For stubborn hair clumps around the drain, use an old toothbrush or a drain snake to pull them out before wiping.
Quick Routine For Busy Days
If you're short on time, a 30-second dry wipe after each shower can keep your tub cleaner longer. Just run a squeegee over the walls and a cloth along the bottom to prevent buildup. This habit cuts down on deep cleaning frequency and keeps your bathroom feeling fresher daily.
3. Sprinkle Baking Soda Over the Entire Tub Surface
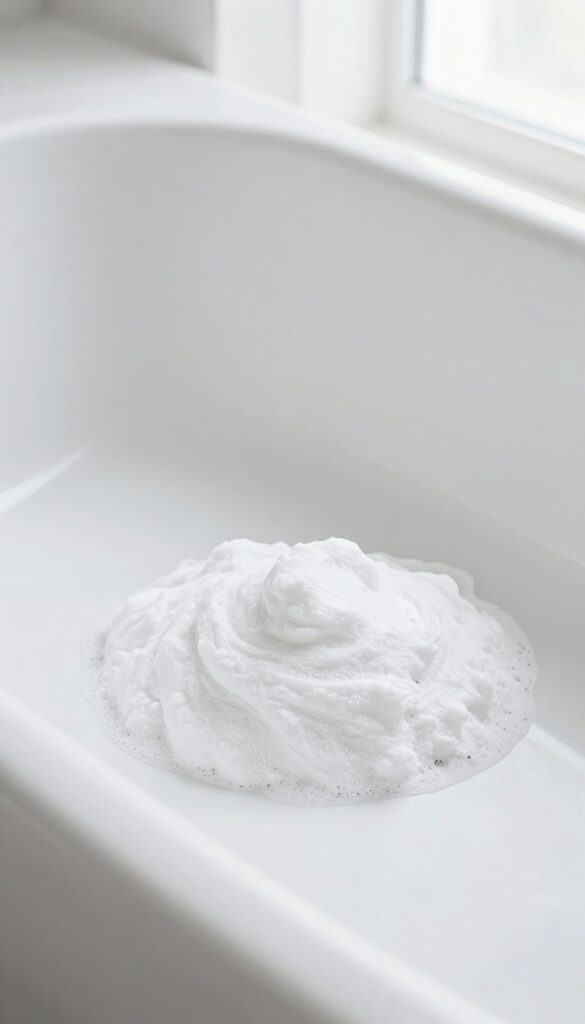
Baking soda is a cleaning powerhouse that works wonders on bathtub grime. It's mildly abrasive, so it scrubs away soap scum and stains without scratching your tub's finish. Plus, it's cheap and non-toxic, making it a safe choice for any household.
Once the tub is damp from the vinegar spray, it's time for baking soda. Sprinkle a generous, even layer over the entire surface—bottom, sides, and edges. Don't be shy; a thick coating helps the chemical reaction and scrubbing action work better.
Let it sit for about 5 minutes to start breaking down grime.
Why Baking Soda Works So Well
Baking soda is alkaline, which helps dissolve acidic dirt and soap scum. Its fine, gritty texture provides gentle friction that lifts stains without damaging acrylic, porcelain, or fiberglass. It also deodorizes, leaving your tub smelling fresh.
How Much To Use
For a standard tub, you'll need about half a cup to a full cup of baking soda. Start with a thin dusting and add more in heavily soiled areas. You want a visible white layer that covers all surfaces, but not so thick that it clumps and slides off.
Let It Sit For Best Results
After sprinkling, let the baking soda sit for 5 to 10 minutes. This gives it time to react with any leftover vinegar and start breaking down stubborn grime. You might hear a slight fizzing sound—that's the cleaning action at work.
4. Spray with White Vinegar for a Fizzing Reaction
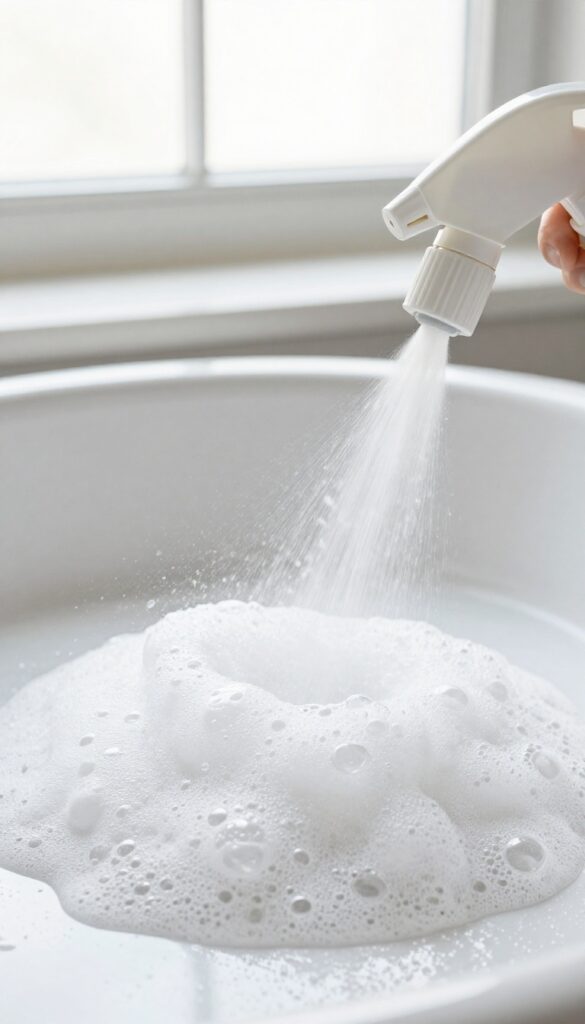
Once the baking soda is evenly coating your tub, it's time for the magic. White vinegar reacts with baking soda to create a fizzy foam that lifts dirt and soap scum right off the surface. This natural reaction is not only satisfying to watch but also highly effective at breaking down grime without harsh chemicals.
Why The Fizz Works So Well
The chemical reaction between the acidic vinegar and alkaline baking soda produces carbon dioxide bubbles. These bubbles burrow into stuck-on grime and help loosen it from the tub's surface. The fizzing also helps distribute the cleaning action into crevices and corners you might miss with a sponge.
How To Apply The Vinegar
Fill a clean spray bottle with undiluted white vinegar. Mist a generous layer over the baking soda-covered tub, focusing on areas with visible buildup. You'll see immediate fizzing, especially where grime is thickest.
Let the mixture sit for 5 to 10 minutes so the bubbles can do their work.
Tips For Best Results
Use a spray bottle with a wide mist setting for even coverage. If your tub has stubborn hard water stains, add a few drops of lemon essential oil to the vinegar for extra acidity. Avoid letting the mixture dry completely, as it can leave a residue.
If you notice the fizzing stopping early, re-spray the dry spots.
5. Let the Mixture Sit for 10 Minutes
This short pause is where the real cleaning happens. The baking soda and vinegar react to create a fizzing action that lifts dirt and grime right off the surface. Letting it sit gives the solution time to break down tough deposits, so you won't have to scrub as hard later.
Patience pays off here. The chemical reaction between the baking soda and vinegar produces carbon dioxide bubbles that help dislodge soap scum and hard water stains. Giving it a full 10 minutes ensures even stubborn spots get softened.
Use this time to wipe down other bathroom surfaces or just take a quick break.
Why 10 Minutes Matters
Ten minutes is the sweet spot. Any less and the mixture won't penetrate deeply enough; any more and it may dry out, reducing effectiveness. The fizzing action peaks in the first few minutes, then continues working as it settles.
This window maximizes cleaning power without wasting time.
What To Do While You Wait
Don't just stand there. Use the downtime to tidy up the bathroom counter, wipe the mirror, or organize toiletries. You can also check other areas of the tub that might need extra attention, like the corners or drain cover.
Staying productive keeps the whole process efficient.
Signs The Mixture Is Working
You'll notice the paste starting to bubble and foam gently. That's a good sign. If you see the mixture drying out or cracking, it's still working underneath.
A slight vinegar smell is normal and will rinse away. Trust the process—your tub will be noticeably easier to clean after this step.
6. Scrub with a Soft Sponge or Brush
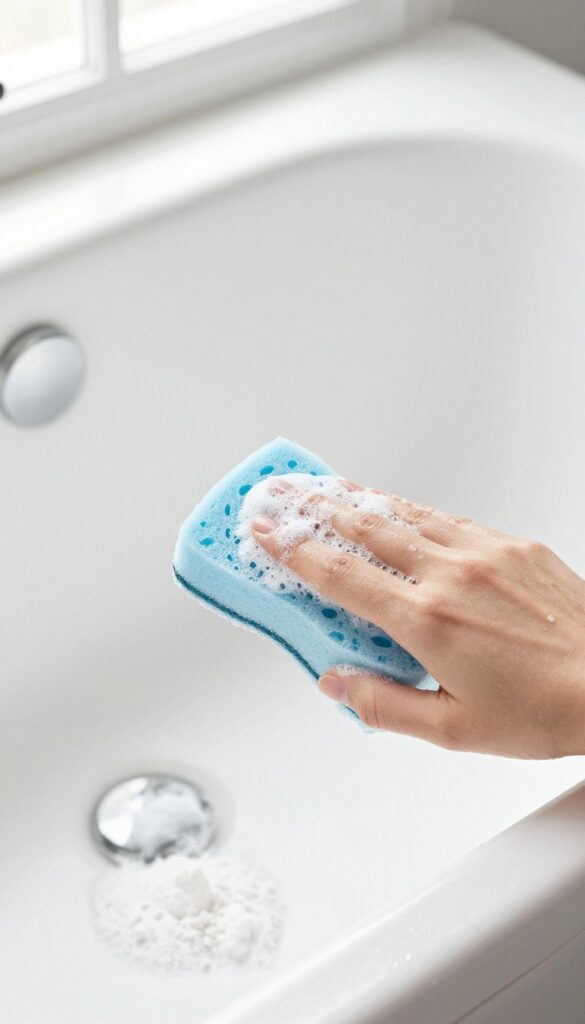
Now that the baking soda and vinegar have had time to work, it's time to scrub away the loosened grime. The right tool makes all the difference—too abrasive, and you risk scratching your tub's finish. A soft sponge or a brush with gentle bristles will lift dirt without damage.
Choose a non-abrasive sponge, like a cellulose or microfiber one, or a soft-bristled brush. Avoid steel wool or scrub pads with harsh grit. Dip your tool in warm water and start scrubbing in circular motions.
Work from the top of the tub down, so dirty water flows toward the drain. Pay extra attention to corners, edges, and around the drain—these spots collect the most soap scum and grime. For stubborn rings, apply a bit more baking soda paste and scrub gently.
Rinse your sponge frequently to avoid spreading dirt back onto clean areas.
Focus On High-traffic Areas
The areas around the drain, faucet, and soap dish see the most buildup. Spend a little extra time scrubbing these spots. Use the tip of your sponge or a small brush to get into crevices.
Don't forget the tub's rim and any tile edges nearby.
Use Circular Motions For Even Coverage
Scrubbing in circles helps dislodge grime evenly and prevents streaks. Apply moderate pressure—not too hard, not too light. Let the cleaner do the work, not your elbow grease.
If you encounter tough spots, let the baking soda and vinegar sit for a few more minutes before scrubbing again.
7. Rinse Thoroughly with Warm Water
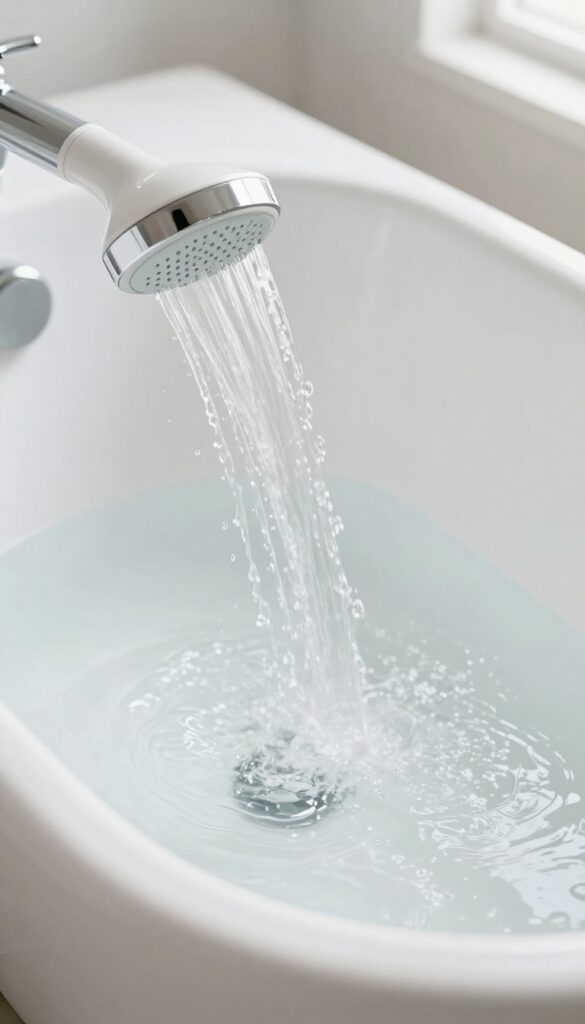
After all that scrubbing, you might be tempted to call it done. But skipping a proper rinse can leave a dull, chalky film on your tub. Warm water is your best friend here—it helps dissolve any leftover baking soda or vinegar residue so your tub dries streak-free.
Grab your handheld showerhead or a large bucket of warm water. Start at the top of the tub and work your way down, making sure to hit every corner, edge, and crevice. Pay extra attention to areas where cleaning solution might have pooled, like the drain cover or the rim.
Continue rinsing until the water runs clear and you no longer see any suds or white residue.
Why Warm Water Works Best
Cold water can leave behind a thin film of baking soda or vinegar, especially if the residue has dried. Warm water helps dissolve these particles more effectively, ensuring a spotless finish. Plus, it feels nicer on your hands and helps the tub dry faster.
Don’t Forget The Drain And Overflow
Residue loves to hide in the drain and overflow plate. Use a damp cloth or a small brush to wipe these areas after rinsing. If you notice any lingering white powder, give them an extra splash of warm water to flush it away.
8. Tackle Stubborn Stains with a Paste
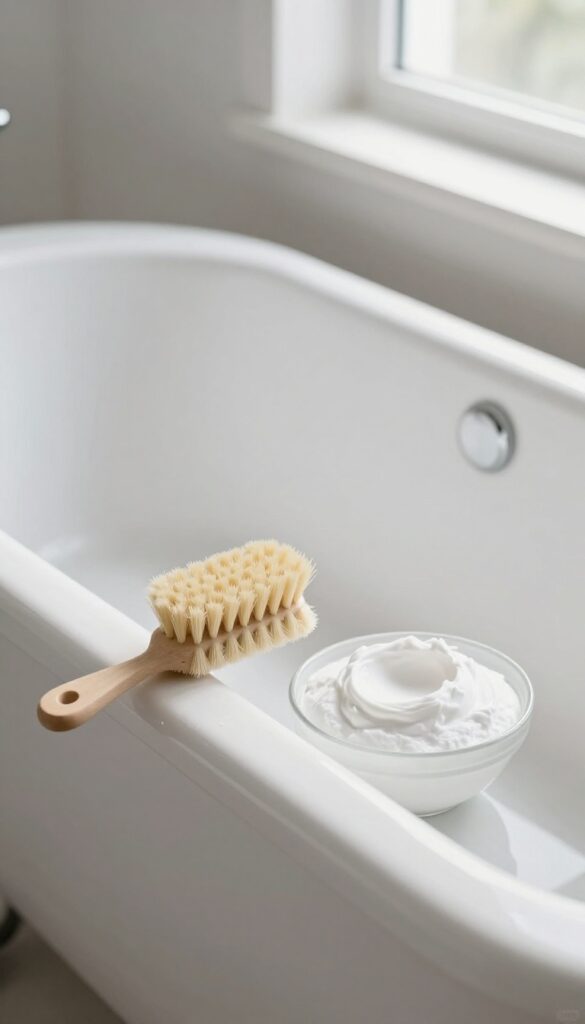
Some stains just won't budge with a simple spray and wipe. Hard water rings, rust spots, or dried-on grime need a little extra muscle. That's where a simple baking soda paste comes in—it's gentle enough for most surfaces but tough on set-in dirt.
For tough stains, mix baking soda with a little water to form a paste. Apply it directly to stains, let it sit for 15 minutes, then scrub and rinse.
Make The Paste Just Right
Start with 3 parts baking soda and 1 part water. Stir until it forms a spreadable paste—not too runny, not too thick. Add a drop of dish soap for extra grease-cutting power if you like.
Apply And Wait
Use an old toothbrush or a small spatula to dab the paste onto each stain. Spread it evenly so it covers the entire mark. Let it sit for at least 15 minutes—longer for really stubborn spots.
Scrub Gently But Firmly
After the wait, scrub the area with a soft-bristled brush or sponge. Use circular motions and a bit of elbow grease. Rinse with warm water and check the results—repeat if needed.
9. Wipe Down and Dry with a Microfiber Cloth
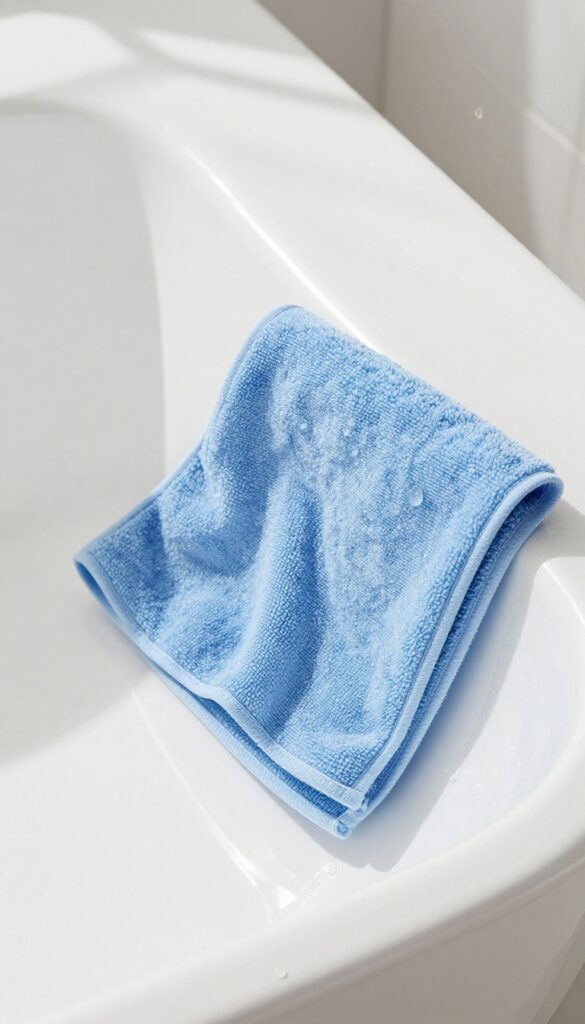
Drying the tub might seem like an extra step, but it's the secret to keeping that just-cleaned look. Water left to air-dry leaves behind mineral deposits and spots that dull the finish. A quick wipe with a microfiber cloth removes all moisture and gives the surface a polished, streak-free shine.
Grab a clean, dry microfiber cloth and start at one end of the tub. Work your way around, wiping all surfaces including the sides, bottom, and rim. Pay extra attention to corners and around the drain where water tends to pool.
Microfiber is ideal because it absorbs several times its weight in water and traps tiny particles without scratching the finish.
Why Microfiber Works Best
Microfiber cloths have split fibers that create a static charge, attracting dust and grime like a magnet. They're also lint-free, so you won't leave fuzzy bits behind. Unlike cotton towels, microfiber won't shed or leave streaks, making it perfect for a spotless tub.
How To Get Every Drop
Start with the upper edges and work downward. Use a fresh side of the cloth for each section to avoid spreading water. For stubborn drips, press the cloth firmly and let it absorb.
Don't forget the overflow drain cover and the rim around the tub—these hidden spots often hold moisture.
Final Polish For Extra Shine
Once the tub is dry, take a second clean microfiber cloth and buff the surface in circular motions. This step removes any remaining smudges and brings out a brilliant shine. It only takes a minute but makes a huge difference in the finished look.
10. Maintain with a Quick Daily Spray
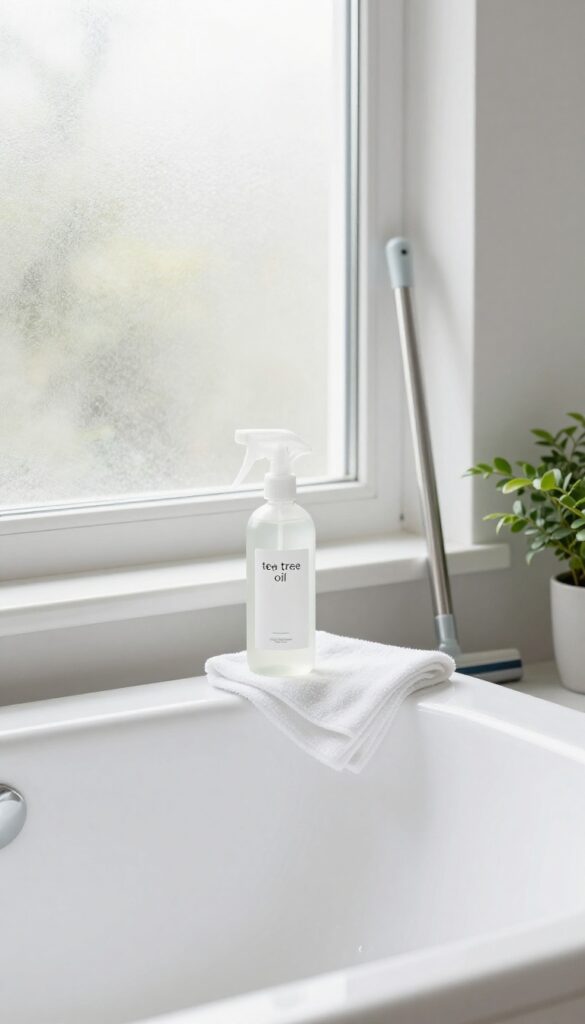
You've put in the work to get your tub sparkling clean. Now keep it that way with a simple habit that takes less than a minute. A quick daily spray after each shower or bath prevents soap scum and mildew from building up, so your next deep clean will be much easier.
Mix a cup of water with about 10 drops of tea tree essential oil in a spray bottle. Tea tree oil has natural antifungal and antibacterial properties that fight mold and mildew. After your last rinse, give the tub walls and floor a light mist, then wipe down with a squeegee or microfiber cloth.
This removes standing water and residue before they have a chance to settle.
Why Tea Tree Oil Works
Tea tree oil is a powerhouse against bathroom grime. It kills mold spores on contact and leaves a fresh, clean scent without harsh fumes. Plus, it's gentle on most tub surfaces—just avoid using it on unsealed natural stone.
Make It A Family Habit
Keep the spray bottle within easy reach and encourage everyone in the household to give the tub a quick spritz and wipe after use. A small sign or a simple reminder can help until it becomes second nature. This tiny effort saves you from big scrubbing sessions later.
FAQ
Can I use bleach to clean my tub?
Yes, but use it sparingly and in a well-ventilated area. Bleach can damage some tub finishes over time, so it's best for occasional deep cleaning or mold removal.
How often should I deep clean my tub?
A deep clean every one to two weeks is ideal for most households. If you use the tub daily, a quick wipe-down after each use helps maintain cleanliness.
What's the best cleaner for a fiberglass tub?
Avoid abrasive cleaners. Use a mild dish soap and water solution or a mixture of baking soda and vinegar. Always test a small area first.
How do I remove yellow stains from a white tub?
Make a paste of baking soda and hydrogen peroxide. Apply to stains, let sit for 30 minutes, then scrub and rinse. Repeat if necessary.
Can I use a magic eraser on my tub?
Yes, but use it gently. Magic erasers are mildly abrasive and can dull glossy finishes if scrubbed too hard. Test on an inconspicuous area first.
Conclusion
A sparkling tub doesn't require harsh chemicals or hours of scrubbing. By following these ten steps, you can tackle grime fast and keep your bathroom looking fresh with minimal effort. Pick the methods that fit your routine, and stick with them.
Your tub will stay clean longer, and you'll save time on future cleanings. Now grab your supplies and enjoy that just-cleaned feeling.