17 Sink Cleaning Tips for Faucets Drains and Fresh Shine
Sinks take a beating. Between coffee stains, toothpaste splatters, and mystery gunk in the drain, they can look tired fast. But you don't need harsh chemicals or expensive products to bring back that fresh shine.
These 17 sink cleaning tips are realistic and budget-aware. They focus on what actually works without wasting your time or money. From the faucet head to the drain opening, every part of your sink gets attention.
Let's walk through simple, effective ways to keep your sink looking and smelling clean. No fluff, just practical steps you can start today.
1. Start with a Dry Sink for Better Results
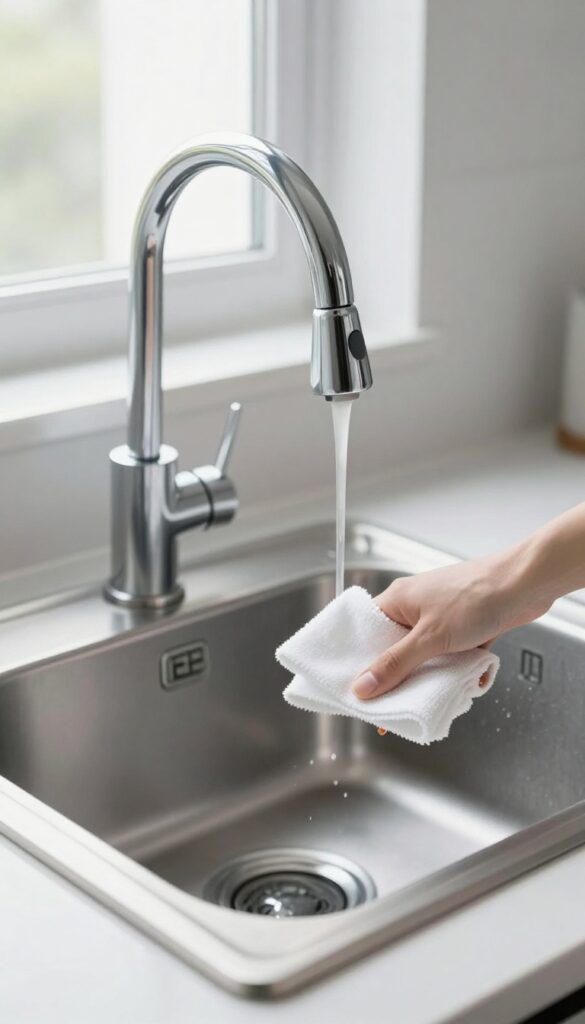
You might be tempted to spray cleaner onto a wet sink and wipe it down. That approach often just moves grime around rather than lifting it. Starting with a dry surface lets your cleaning products work directly on stains and mineral deposits.
A dry sink means less dilution and better grip for your cloth. It also prevents water spots from forming as you clean. This small step makes a big difference in how much effort you need to put in later.
Why Dry Matters
When you apply cleaner to a wet sink, the water dilutes the active ingredients. That means you need more product or more scrubbing to get the same result. A dry surface allows the cleaner to sit and break down grime without interference.
The Right Way To Dry
Use a clean microfiber cloth to wipe down the entire sink basin, faucet, and drain area. Microfiber picks up water and fine particles without leaving lint. Pay extra attention to corners and around the drain where moisture tends to pool.
When To Skip This Step
If you're using a steam cleaner or a very diluted vinegar solution, a damp surface might be fine. But for most standard cleaners, starting dry is the way to go. It saves time and effort in the long run.
2. Use Baking Soda and Vinegar for a Deep Clean
Baking soda and vinegar are a powerhouse duo for sink cleaning. The fizzy reaction helps lift grime and deodorize without harsh chemicals. This method is especially good for stainless steel or porcelain sinks that need a gentle but effective scrub.
Sprinkle a generous amount of baking soda across the sink basin and around the drain. Spray white vinegar over the baking soda until it forms a thick paste. Let the mixture fizz for about 5 minutes to break down grease and loosen debris.
Then scrub with a soft sponge or brush, working in circular motions. Rinse thoroughly with warm water and dry with a microfiber cloth for a streak-free shine.
Why This Combo Works
Baking soda is mildly abrasive, so it scrubs without scratching. Vinegar is acidic, which cuts through soap scum and mineral deposits. Together, they create carbon dioxide bubbles that help lift dirt from crevices.
Plus, vinegar neutralizes odors naturally.
Best Sink Types For This Method
This method is safe for stainless steel, porcelain, ceramic, and enamel sinks. Avoid using it on natural stone like marble or granite, as the acid can etch the surface. For stone sinks, stick to a pH-neutral cleaner instead.
Extra Tips For Stubborn Stains
For tough stains, let the paste sit for 10-15 minutes before scrubbing. You can also add a few drops of lemon essential oil for extra degreasing power. Rinse well to avoid any residue that could dull the finish.
3. Clean Faucet Aerators to Restore Water Pressure
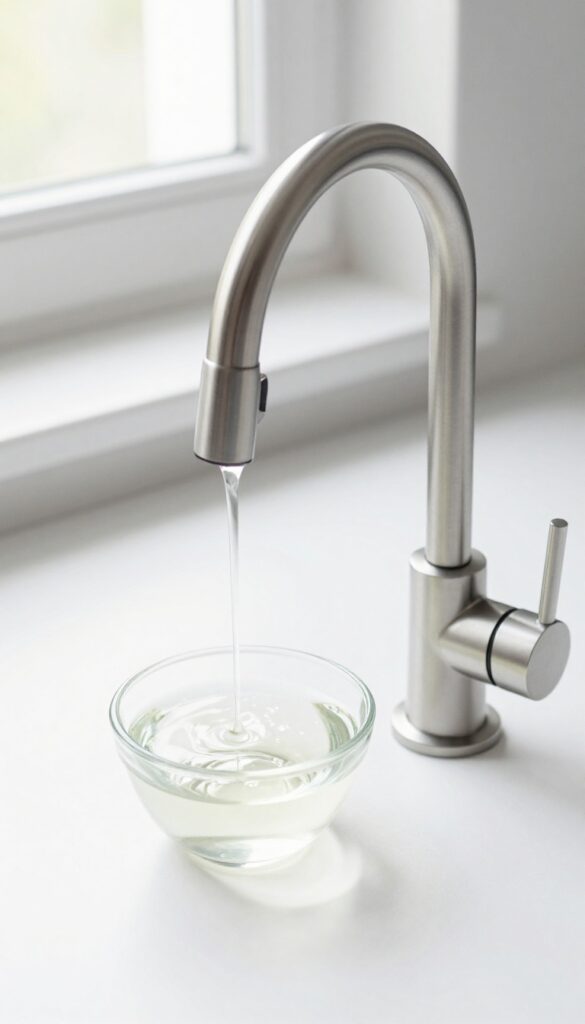
If your sink's water stream has gone from a steady flow to a weak dribble, the aerator is likely the culprit. That small mesh screen at the tip of your faucet traps sediment and mineral deposits over time. Cleaning it is a five-minute fix that makes a huge difference.
A clogged aerator doesn't just reduce water pressure—it can also cause splashing and uneven spray. Removing and cleaning it regularly keeps your faucet performing like new. Here's how to do it right.
How To Remove The Aerator
Most aerators unscrew by hand. If it's stuck, wrap a cloth around it for grip or use pliers gently. Turn counterclockwise.
If you see a set screw, loosen it with a small Allen wrench first. Keep track of any rubber washers or O-rings—they can fall out easily.
Soak And Scrub Away Buildup
Drop the aerator into a bowl of white vinegar and let it soak for 30 minutes. Vinegar dissolves hard water deposits and mineral scale. After soaking, use an old toothbrush to scrub away any remaining debris.
Rinse thoroughly with water.
Reassemble And Test
Put the aerator back together in the correct order—usually the rubber washer goes against the faucet. Screw it back on by hand until snug. Turn on the water and check for leaks.
You should notice a stronger, more consistent stream with less splashing.
4. Tackle Hard Water Stains with Lemon Juice
Hard water stains are those stubborn white or cloudy spots that refuse to budge with regular soap. They come from mineral deposits left behind when water evaporates. Lemon juice is a natural acid that breaks down those minerals effortlessly.
No scrubbing required, just a little patience.
Grab a fresh lemon and cut it in half. Rub the cut side directly over the faucet and any stained areas. Let the juice sit for about 10 minutes.
Rinse with warm water and dry with a soft cloth. The citric acid dissolves the buildup, leaving a streak-free shine. For extra tough spots, dip the lemon half in a bit of salt before rubbing.
The salt acts as a gentle abrasive without scratching.
Why Lemon Juice Works So Well
The citric acid in lemons reacts with calcium and lime deposits, turning them into soluble compounds that rinse away easily. Unlike vinegar, lemon leaves a fresh scent and is less harsh on metal finishes. It's also safe for most faucet materials, including chrome, stainless steel, and brass.
When To Avoid This Method
Do not use lemon juice on unsealed natural stone like marble or granite, as the acid can etch the surface. Also avoid it on antique or lacquered brass, as it may strip the finish. For these surfaces, use a pH-neutral cleaner instead.
Pro Tip: Prevent Future Stains
After cleaning, wipe the faucet dry after each use. A simple microfiber cloth swipe prevents water spots from forming. If you have hard water, consider installing a water softener or a faucet filter to reduce mineral content.
5. Deodorize Drains with Baking Soda and Hot Water
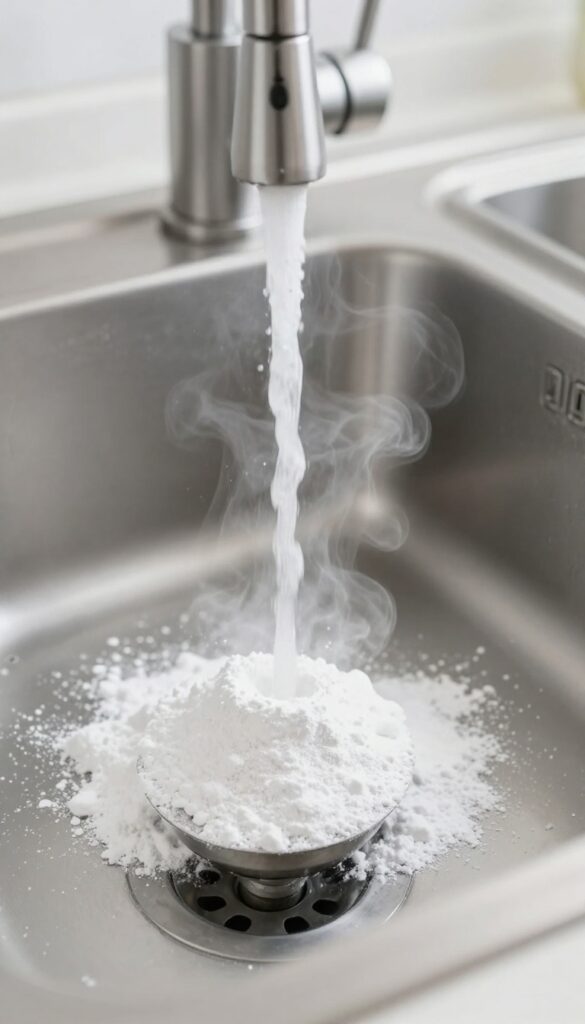
Drains can trap food particles, soap scum, and bacteria, leading to unpleasant smells that linger even after you scrub the sink. Instead of masking odors with chemical sprays, try a simple, natural deodorizer that works fast. Baking soda and hot water combine to neutralize acids and break down residue, leaving your drain fresh without harsh fumes.
Pour 1/2 cup baking soda directly down the drain. Follow immediately with a pot of boiling water (about 4 cups). Let it sit for 5 minutes—you'll hear fizzing as the baking soda reacts with gunk.
Finally, flush with cold water for 30 seconds. This method is safe for metal and PVC pipes and works best when done weekly.
Why This Combo Works
Baking soda is a mild alkali that reacts with acids in organic debris, creating carbon dioxide bubbles that help dislodge stuck particles. Hot water melts grease and flushes away loosened grime. Together, they tackle odors at the source without the harshness of bleach or drain cleaners.
When To Use This Method
Use this treatment as soon as you notice a musty or sour smell from the drain. It's also great as a weekly maintenance step to prevent odors from building up. Avoid using it after chemical drain cleaners—wait at least 24 hours to avoid reactions.
Pro Tip: Boost With Lemon
For extra freshness, add the juice of half a lemon to the boiling water. The citric acid enhances cleaning power and leaves a clean citrus scent. Just be careful not to use lemon if you have natural stone sinks, as acid can etch the surface.
6. Polish Stainless Steel Sinks with Olive Oil
Stainless steel sinks look great when new, but over time they can develop water spots and a dull film. A simple kitchen staple—olive oil—can restore that factory shine without any harsh chemicals. Just a few drops rubbed on a clean, dry sink will make a noticeable difference.
Olive oil works because it fills in microscopic scratches and creates a thin protective barrier. This repels water and prevents new spots from forming. The result is a smooth, glossy finish that lasts for days.
It's a quick trick that costs pennies and takes only a minute.
How To Apply Olive Oil For Best Results
Start with a thoroughly clean and dry sink—any leftover grime will get sealed in. Put a few drops of olive oil on a soft, lint-free cloth. Rub it into the stainless steel in the direction of the grain.
Buff gently until the oil is evenly spread and the surface looks shiny. Let it sit for a few minutes, then buff again with a clean part of the cloth to remove any excess.
Why Olive Oil Beats Commercial Polishes
Many store-bought stainless steel polishes contain silicones or petroleum distillates that can leave a residue or cause streaks. Olive oil is natural, non-toxic, and safe around food. It also costs a fraction of the price.
Plus, you probably already have it in your pantry, so there's no special trip to the store.
Tips To Avoid A Greasy Mess
Use oil sparingly—too much will leave a sticky film. Always buff thoroughly after applying. Avoid getting oil on non-stainless parts like the rim or drain cover, as it can attract dust.
If the sink feels greasy, wipe it down with a drop of dish soap and water, then reapply a lighter coat.
7. Remove Rust Stains with Cream of Tartar
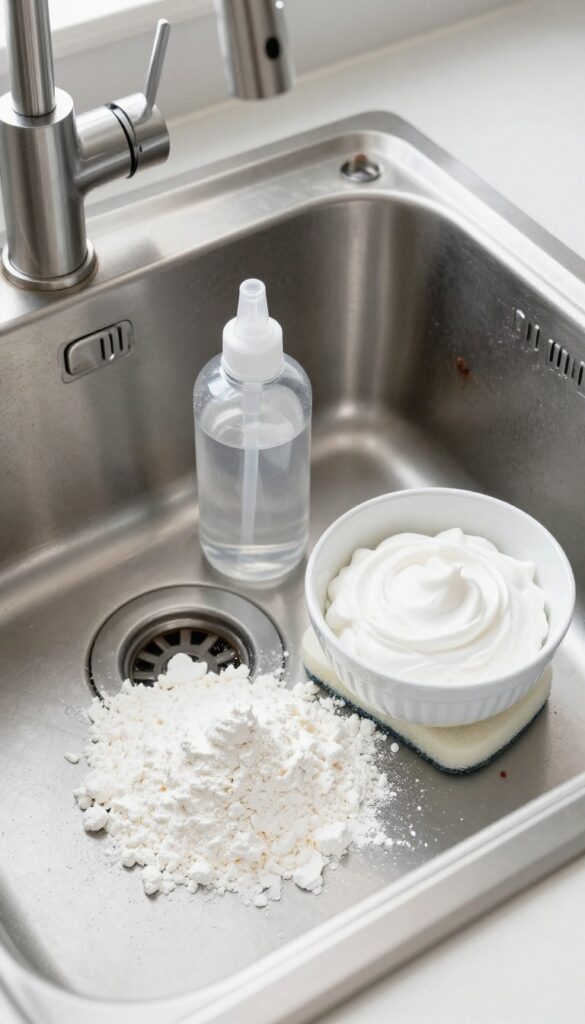
Rust stains on your sink or faucet can make even the cleanest kitchen look neglected. They often come from old pipes, hard water, or a forgotten metal can left in the basin. Instead of scrubbing endlessly with harsh chemicals, reach for cream of tartar—a mild acid that breaks down rust without damaging the surface.
Cream of tartar is a pantry staple that doubles as a gentle yet effective cleaner. When mixed with hydrogen peroxide, it creates a fizzing paste that lifts rust stains from porcelain, stainless steel, and even ceramic sinks. The paste works by dissolving the iron oxide particles that cause discoloration, leaving the surface smooth and stain-free.
This method is safe for most sink materials, but always test on a small hidden area first.
Make The Paste
Combine two tablespoons of cream of tartar with enough hydrogen peroxide to form a thick paste—similar to toothpaste. Stir until smooth, then apply a generous layer over the rust spots. Let it sit for about 15 minutes; you may see it start to bubble slightly, which is normal.
For stubborn stains, let it rest up to 30 minutes.
Scrub And Rinse
After the paste has sat, use a soft sponge or microfiber cloth to gently scrub the area in circular motions. Avoid abrasive pads that could scratch the finish. Rinse thoroughly with warm water and dry with a clean towel.
The rust should be gone or significantly faded. Repeat if needed, but most stains lift on the first try.
Works On Porcelain Too
This method is especially effective on porcelain sinks, which are prone to rust rings from cans or metal fixtures. The cream of tartar paste won't etch or dull the glossy finish like bleach or commercial rust removers can. Just be sure to wipe away any residue completely to avoid a powdery film.
8. Clean the Sink Strainer Regularly
That little metal or plastic strainer sitting in your sink drain works hard every day catching food scraps and debris. But when it gets clogged with grease and grime, it can start to smell and slow down drainage. A quick clean keeps things fresh.
Pop out the strainer and give it a good scrub with an old toothbrush and dish soap. For stubborn grease, soak it in vinegar for 15 minutes before scrubbing. Rinse well and pop it back in.
This simple habit prevents clogs and odors from building up.
How Often To Clean
Aim to clean the strainer at least once a week. If you cook a lot or have a garbage disposal, twice a week might be better. It only takes a minute and makes a big difference in drain health.
Deep Clean For Stubborn Grime
If the strainer looks greasy or has stuck-on bits, soak it in a 50/50 mix of white vinegar and hot water for 30 minutes. Then scrub with a brush. For metal strainers, a baking soda paste works great too.
Check For Damage
While cleaning, inspect the strainer for cracks or bent edges. A damaged strainer won't seal properly and can let debris slip into the drain. Replace it if needed—they're cheap and easy to find.
9. Use a Magic Eraser on Scuff Marks
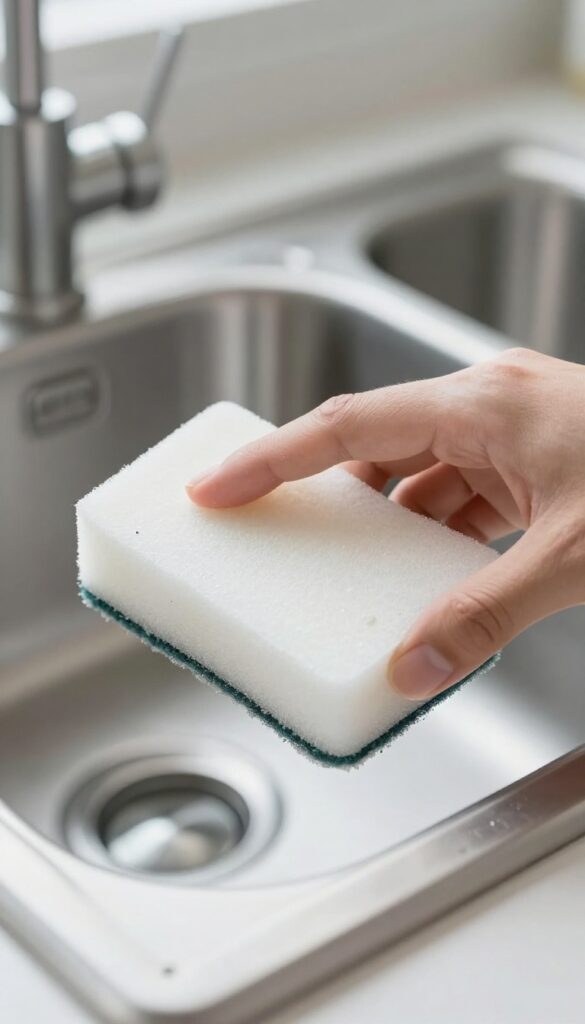
Scuff marks and dried-on gunk can make an otherwise clean sink look dingy. A melamine sponge—often sold as a Magic Eraser—is a gentle abrasive that lifts these marks without scratching most surfaces. It's a quick fix that requires almost no effort.
How It Works
Melamine foam acts like ultra-fine sandpaper. When dampened, it creates a mild abrasive action that breaks down scuffs, dried toothpaste, and hard water residue. It's safe for porcelain, stainless steel, and enamel sinks, but always test on an inconspicuous spot first.
Step-by-step Application
Wet the sponge until it's damp but not dripping. Gently rub the scuffed area with light pressure—no need to scrub hard. You'll see the marks lift away within seconds.
Rinse the sink thoroughly afterward to remove any foam residue.
When To Avoid
Skip the magic eraser on glossy or lacquered finishes, as it can dull the shine. Also avoid it on natural stone sinks like granite or marble—the abrasion can etch the surface. Stick to a soft cloth and mild cleaner for those materials.
10. Descale Faucet Heads with a Vinegar Bag
Hard water buildup can turn a perfectly good faucet into a weak, spluttering mess. That white crust isn't just ugly—it's choking your water flow. Luckily, you don't need to take anything apart to fix it.
A simple vinegar soak does the trick with almost no effort.
Mineral deposits from hard water collect inside the faucet head, blocking the aerator and reducing water pressure. The vinegar bag method is a classic, hands-off solution that dissolves those deposits without scrubbing. It works on kitchen and bathroom faucets alike, and it costs pennies.
What You Need
Grab a small plastic bag (sandwich or snack size works), white vinegar, and a rubber band or twist tie. That's it. No special tools, no harsh chemicals.
If your faucet is especially crusty, you can warm the vinegar slightly for extra dissolving power, but room temperature works fine for most jobs.
Step-by-step
Fill the bag about halfway with vinegar. Slip it over the faucet head so the head is fully submerged in the vinegar. Secure the bag with a rubber band or twist tie just below the head—tight enough to hold the bag in place but not so tight it damages the finish.
Leave it for 30 minutes to an hour. For heavy buildup, let it sit overnight. Remove the bag and run hot water for a minute to flush away any loosened debris.
Aftercare Tips
Wipe the faucet head dry with a soft cloth to prevent water spots. If the flow is still weak, repeat the soak or use a toothpick to gently dislodge any remaining grit from the aerator holes. Doing this every few months keeps your faucet running strong and looking clean.
11. Brighten Porcelain Sinks with Hydrogen Peroxide
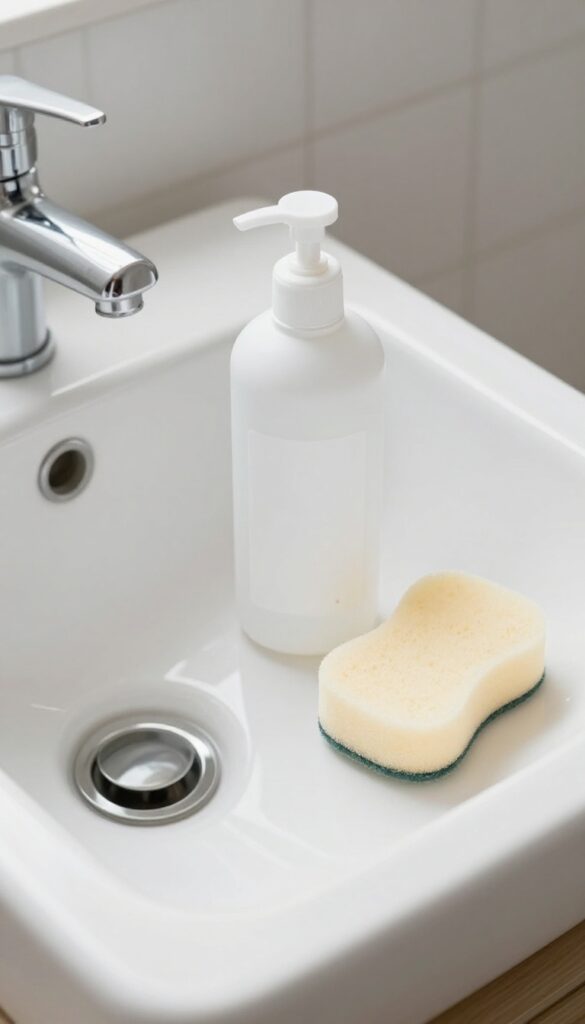
Porcelain sinks are classic, but they show every stain. Coffee rings, tea marks, and rust spots can make them look older than they are. Hydrogen peroxide is a gentle bleach alternative that lifts stains without damaging the glossy finish.
It’s cheap, easy to find, and works fast.
Why Hydrogen Peroxide Works So Well
Hydrogen peroxide is a mild oxidizing agent. It breaks down stain molecules without the harsh fumes of chlorine bleach. It’s safe for porcelain and won’t yellow or etch the surface.
Plus, it disinfects as it cleans, so you get a fresh, sanitary sink.
How To Apply It Correctly
Start with a dry sink. Pour 3% hydrogen peroxide directly onto the stained area. Let it sit for 10 minutes – don’t let it dry out.
Use a soft sponge or cloth to gently scrub the stain. Rinse thoroughly with water. For stubborn spots, repeat or make a paste with baking soda.
Safety Tips And Things To Avoid
Never mix hydrogen peroxide with vinegar or bleach – it creates harmful gases. Test on a hidden spot first, especially if your sink has an antique finish. Wear gloves to protect your skin.
Keep it away from colored grout or metal fixtures, as it can cause slight lightening.
12. Prevent Soap Scum with a Daily Squeegee
Soap scum is one of those things that sneaks up on you. One day your sink looks fine, the next there’s a cloudy film on the faucet and a ring around the basin. The secret to beating it is stopping it before it forms.
A simple squeegee does the job in seconds.
Keep a small squeegee by the sink and quickly wipe down the basin and faucet after each use. Stops buildup before it starts.
Why It Works
Soap scum is basically the residue from soap reacting with minerals in hard water. When you wipe it away while it’s still wet, there’s no chance for it to dry and harden. The squeegee removes both water and soap film in one pass, leaving surfaces clean and streak-free.
Choosing The Right Squeegee
You don’t need anything fancy. A small handheld squeegee with a rubber blade works best. Look for one with a hook or suction cup so you can keep it right next to the sink.
Avoid metal blades that could scratch your faucet or basin.
Making It A Habit
The hardest part is remembering to do it. Keep the squeegee in plain sight and make it part of your routine. After you rinse a dish or wash your hands, give the sink a quick pass.
It takes less than ten seconds and saves you from scrubbing later.
13. Clean Under the Sink Rim with a Toothbrush
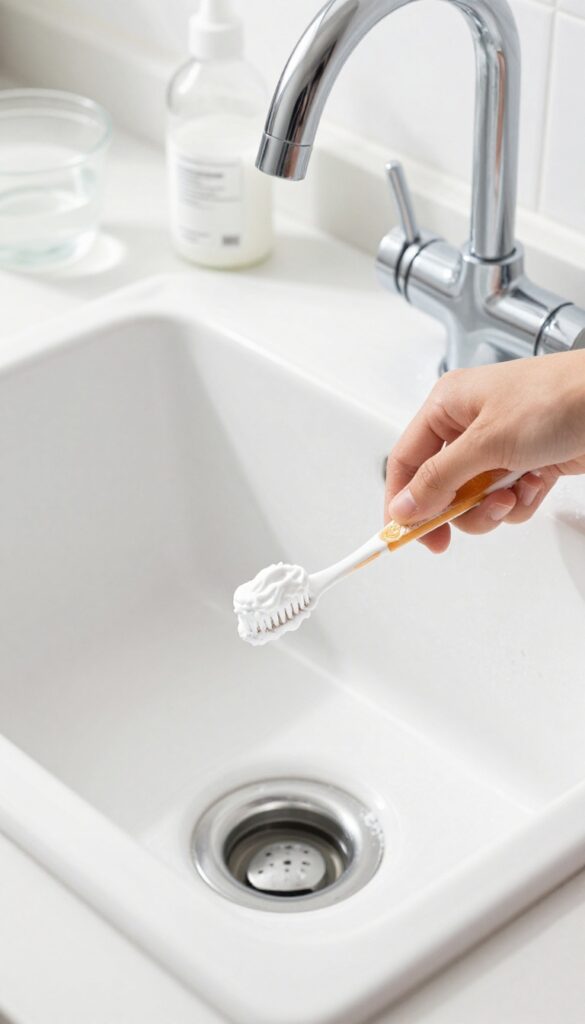
That narrow gap under the rim of your sink is a prime hiding spot for grime, soap scum, and even mold. Most people wipe the basin and forget about this hidden ledge. But a quick scrub with an old toothbrush can make a big difference in both appearance and hygiene.
Mix a paste of baking soda and water—just enough to form a thick, spreadable consistency. Dip an old toothbrush into the paste and scrub along the underside of the rim, focusing on areas where you see buildup. The bristles will reach into the crevice where sponges can't.
After scrubbing, wipe away the residue with a damp cloth. For stubborn spots, let the paste sit for a few minutes before scrubbing.
Why The Rim Gets Neglected
The sink rim is out of direct sight, so it's easy to overlook during regular cleaning. But it collects splashes, toothpaste drips, and soap residue every time you use the sink. Over time, that buildup hardens and can even start to smell.
A toothbrush is the perfect tool to get into that tight space without scratching the surface.
Baking Soda Paste Vs. Commercial Cleaners
Baking soda is gentle yet abrasive enough to lift grime without damaging most sink materials—porcelain, stainless steel, or composite. It's also non-toxic and cheap. Commercial cleaners can be harsh and may leave a chemical residue.
Stick with baking soda paste for a safe, effective clean.
How Often To Clean Under The Rim
Aim to clean under the sink rim once every two weeks. If you notice visible buildup or a musty smell, do it more often. Regular attention prevents grime from becoming stubborn and keeps your sink looking fresh from every angle.
14. Fix Cloudy Glass Faucet Handles with Rubbing Alcohol
Glass or crystal faucet handles look elegant, but they also show every fingerprint and water spot. Hard water haze can make them look permanently cloudy, even after a regular wipe-down. The good news: you don't need special glass cleaners to restore their sparkle.
Rubbing alcohol cuts through mineral deposits and oils without leaving streaks. It evaporates quickly, so there's no residue to attract more dust. This method works on any clear or colored glass handle, including crystal knobs on vintage faucets.
Why Rubbing Alcohol Works Best
Hard water haze is mostly calcium and magnesium deposits. Rubbing alcohol (isopropyl) dissolves these minerals while also breaking down grease from hand oils. Unlike vinegar, it won't etch or dull the glass surface over time.
Plus, it dries fast, so you won't have drip marks.
Step-by-step: How To Wipe Away Cloudiness
Dampen a soft, lint-free cloth with 70% or higher rubbing alcohol. Gently rub the glass handle in a circular motion, focusing on cloudy areas. Let the alcohol sit for about 30 seconds on stubborn spots, then wipe clean.
For intricate cuts or ridges, use a cotton swab dipped in alcohol. Finish with a dry part of the cloth to buff the handle to a streak-free shine.
When To Avoid This Method
Avoid rubbing alcohol on painted, lacquered, or plastic handles—it can strip the finish. Also, if your handles have gold or silver plating, test a small hidden area first. Alcohol is safe for solid glass or crystal, but plated surfaces may react.
When in doubt, check the manufacturer's care instructions.
15. Use a Plunger for Slow Drains Before Calling a Pro
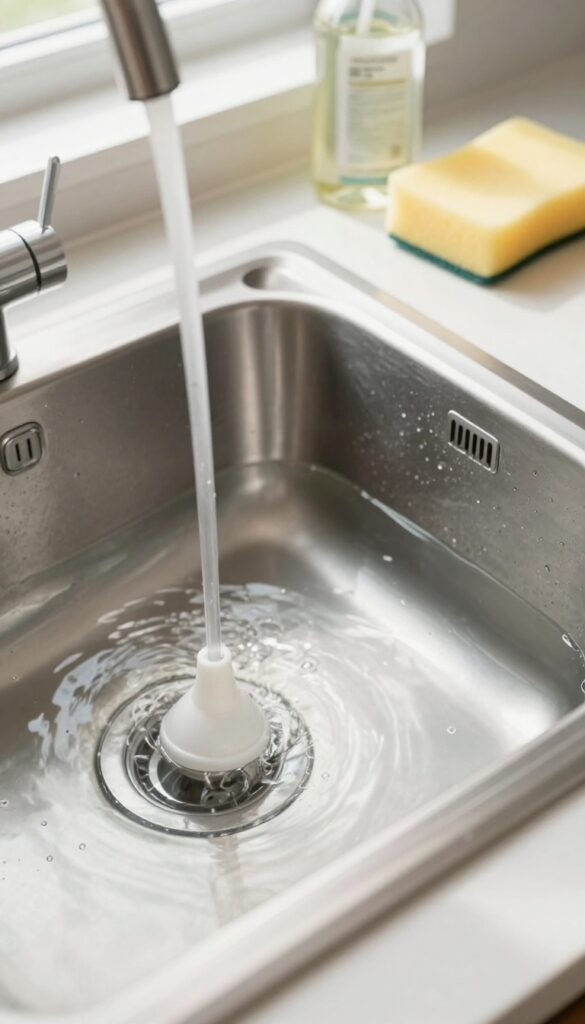
A slow-draining sink is annoying, but it doesn't always mean a serious clog. Before you reach for harsh chemicals or call a plumber, try the tool you probably already have under your bathroom sink: a plunger. It's quick, cheap, and surprisingly effective for clearing minor blockages caused by soap scum, hair, or food particles.
Using a plunger on a sink drain is a little different than using one on a toilet. The key is creating a good seal and enough pressure to dislodge the clog without damaging the pipes. Here's how to do it right and when to know it's time to move on to other methods.
Prep The Sink For Plunging
First, remove any standing water from the sink. If there's already water in the basin, that's fine—it helps create suction. If the sink is empty, add a few inches of hot water.
Then, cover the overflow opening (the small hole near the rim) with a wet cloth or duct tape. This seals the system so all your plunging force goes into the drain.
Plunge With Purpose
Place the plunger over the drain, making sure the cup is fully covered. Use a sink plunger (the one with a flat rim) if you have it, but a toilet plunger can work in a pinch. Push down firmly and pull up sharply, maintaining the seal.
Repeat this motion 10 to 15 times. You'll feel the resistance change when the clog starts to break up.
Flush And Repeat If Needed
After plunging, run hot water for a minute to flush away loosened debris. If the drain is still slow, try plunging again. If it's still not draining after two or three attempts, the clog may be deeper or more stubborn.
That's when you might need a drain snake or a professional—but often, a good plunge is all it takes.
16. Disinfect with Rubbing Alcohol for a Quick Shine
Rubbing alcohol is a surprisingly effective sink cleaner that often gets overlooked. It cuts through grease, kills germs, and evaporates quickly without leaving streaks or residue. All you need is a spray bottle and a microfiber cloth to give your faucets and handles a fast, professional-looking finish.
This method is especially handy when you want to sanitize after handling raw meat or just need a quick touch-up before guests arrive. It's gentle enough for most finishes, including stainless steel and chrome, but always spot-test on a hidden area first if you're unsure.
Why Rubbing Alcohol Works So Well
Rubbing alcohol (isopropyl alcohol) is a solvent that dissolves grime, oils, and hard water deposits on contact. It also kills bacteria and viruses on surfaces, making it a genuine disinfectant. Unlike many commercial cleaners, it leaves no soapy film or chemical residue behind, so your faucets and handles stay shiny longer.
How To Apply It The Right Way
Pour a small amount of rubbing alcohol into a spray bottle. Mist it lightly onto a clean microfiber cloth—never spray directly onto the faucet to avoid overspray on surrounding surfaces. Wipe down the faucet, handles, and any metal trim.
The alcohol evaporates within seconds, so you don't need to rinse or dry afterward. For extra stubborn spots, let the cloth sit on the area for a few seconds before wiping.
Safety And Surface Tips
Rubbing alcohol is safe for most sink materials, but avoid using it on painted, lacquered, or antique finishes, as it can strip the coating. Always test in an inconspicuous spot first. Keep the bottle away from open flames or heat sources, and never mix alcohol with bleach or ammonia.
Store it out of reach of children and pets.
17. Schedule a Monthly Deep Drain Clean with Baking Soda and Vinegar
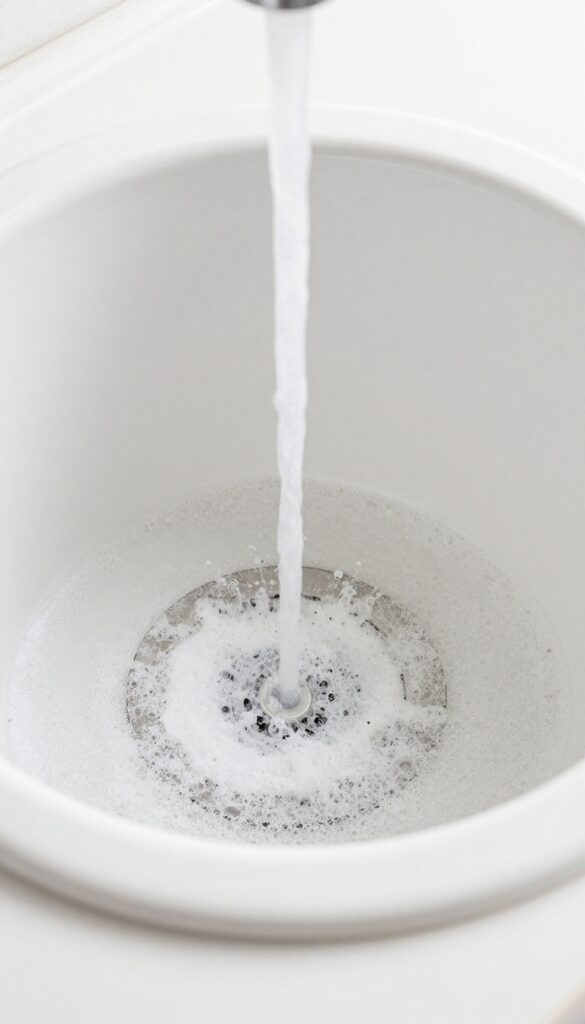
Drains collect all kinds of gunk over time—soap residue, food particles, hair, and grease. A quick rinse won't cut it. That's why a monthly deep clean with baking soda and vinegar is a game-changer.
It's cheap, natural, and surprisingly effective at keeping drains fresh and flowing.
Once a month, pour 1/2 cup baking soda down the drain, followed by 1 cup of white vinegar. The mixture will fizz and bubble, loosening buildup. Wait 10 minutes, then flush with boiling water.
This simple routine prevents odors and minor clogs without harsh chemicals.
Why This Combo Works
Baking soda is a mild abrasive that scrubs away residue, while vinegar's acidity dissolves grease and soap scum. The fizzy reaction creates pressure that helps dislodge debris. Boiling water then flushes everything out, leaving your drain clean and deodorized.
Step-by-step Monthly Routine
Start by removing any visible debris from the drain. Pour the baking soda directly into the opening, then add the vinegar. Cover the drain with a plug or cloth to contain the fizz.
After 10 minutes, boil a kettle of water and pour it down the drain in two stages, allowing it to work between pours.
When To Skip This Method
If you have a garbage disposal, avoid pouring boiling water—it can damage the blades. Instead, use hot tap water. Also, skip this if you've recently used a chemical drain cleaner, as mixing can cause harmful fumes.
Stick to natural methods for the safest results.
FAQ
How often should I clean my sink?
For daily maintenance, wipe the sink and faucet after each use. A deeper clean with baking soda and vinegar once a week keeps it fresh. Monthly drain cleaning prevents odors.
Can I use bleach on my stainless steel sink?
It's best to avoid bleach on stainless steel because it can damage the protective layer and cause discoloration. Stick to mild cleaners like dish soap, baking soda, or vinegar.
What's the best way to remove hard water stains from faucets?
Lemon juice or white vinegar works well. Apply with a cloth or soak a paper towel on the stain for 10-15 minutes, then rinse and dry. For stubborn spots, use a baking soda paste.
How do I get rid of a bad smell coming from the drain?
Pour 1/2 cup baking soda down the drain, followed by 1 cup white vinegar. Let it fizz for 10 minutes, then flush with boiling water. Repeat weekly if needed.
Is it safe to use a Magic Eraser on all sink surfaces?
Magic Erasers are abrasive and can dull glossy finishes on porcelain, enamel, or stainless steel. Use them sparingly and test on an inconspicuous area first.
Conclusion
A clean sink isn't just about looks—it's about hygiene and keeping your kitchen or bathroom feeling fresh. These 17 tips are designed to be practical and easy to fit into your routine, whether you're dealing with hard water stains or a smelly drain. Start with one or two tips that address your biggest sink annoyance.
Over time, you'll build a simple system that keeps your faucets, drains, and basin sparkling with minimal effort. Your sink will thank you.