23 Cleaning an Oven Steps for a Fresh Kitchen Reset
A clean oven doesn't just look better—it cooks better and smells fresher. Yet most of us put off scrubbing it because the task feels overwhelming.
That's where this step-by-step guide comes in, breaking the process into 23 manageable actions. From soaking racks to tackling the ceiling, each step is designed to be straightforward and effective.
No complicated chemicals or endless scrubbing required. Whether you're dealing with baked-on grease or just want a fresh start, these instructions will help you reset your oven without the stress.
1. Clear the Area Around the Oven
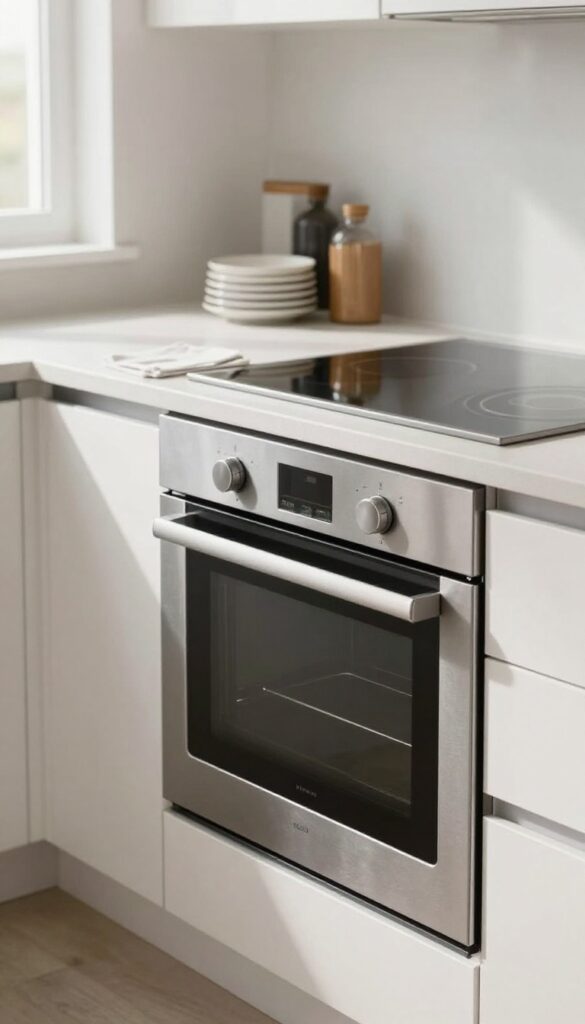
Before you even touch the oven door, take a few minutes to clear the surrounding space. This simple step makes the whole job easier and safer. You'll have room to move, and you won't risk knocking over a spice jar or burning yourself on a hot pan.
Why Bother?
A cluttered countertop or stovetop is an accident waiting to happen. You might bump a hot baking sheet or spill cleaner on something you'd rather keep clean. Clearing the area also gives you a clear view of what you're working on, so you don't miss any greasy spots.
What To Move
Start by removing everything from the stovetop—pots, pans, kettles, and any small appliances like toasters or coffee makers. Then clear the counter directly in front of the oven. Set these items on a nearby table or another counter where they won't be in the way.
A Quick Wipe-down
Once the area is clear, give the stovetop and counter a quick wipe with a damp cloth. This removes loose crumbs and dust so they don't get mixed into your oven cleaner later. It also gives you a clean surface to rest oven parts on as you remove them.
2. Remove Oven Racks and Soak Them
Your oven racks are probably the grimiest part of the whole appliance. They collect baked-on spills and grease that can smoke and smell every time you preheat. Instead of scrubbing them by hand, let hot water and dish soap do the heavy lifting.
Pull them out and give them a long soak while you move on to cleaning the oven interior.
Start by sliding out all the racks carefully. If they're stuck, wiggle them gently to avoid scratching the oven walls. Fill your bathtub or a large utility sink with hot water—the hottest your tap can deliver.
Add a generous squirt of dish soap or a scoop of dishwasher detergent. Submerge the racks completely. If they don't fit all at once, soak them in shifts.
Let them sit for at least 30 minutes, or up to a few hours for really stubborn grime. The heat and soap will loosen crusted food, making the final scrub a breeze.
Why Soaking Works Better Than Scrubbing
Hot water breaks down grease and food particles at a molecular level. Adding dish soap speeds up the process by emulsifying oils. Scrubbing dry racks just pushes grime around and wears out your sponges.
Soaking lifts the mess away with minimal effort. You'll save time and elbow grease.
What To Do If You Don't Have A Tub
No bathtub or deep sink? Use a large plastic storage bin or a heavy-duty trash bag. Place the racks inside, pour in hot soapy water, and seal the bag.
Let them sit on your driveway or in the shower. The bag traps heat and keeps the water hot longer. Just make sure it's leak-proof.
After The Soak: Rinse And Scrub Lightly
Once the water has cooled, drain it and rinse the racks with fresh water. Use a non-abrasive sponge or a nylon brush to remove any remaining bits. For stuck-on spots, sprinkle baking soda on the wet sponge for extra grit.
Rinse again and dry with a clean towel before sliding them back in.
3. Scrape Off Loose Debris
Before any cleaning solution can work its magic, you need to clear the way. Loose crumbs and burnt-on food chunks will only get in the way and can even clog up your sponge or cloth. Taking a few minutes to scrape off the big stuff makes the rest of the process much smoother.
Grab a plastic scraper or an old spatula—something rigid but not metal, since metal can scratch the oven's surface. Work methodically across the oven floor, walls, and ceiling, collecting the debris as you go. This step is quick but saves you from having to rinse your cleaning tools constantly.
Why Scraping Matters
When you skip scraping, you end up pushing burnt bits around with your sponge, which spreads grease and makes the job messier. Worse, those chunks can absorb your cleaning solution, reducing its effectiveness. By removing them first, you let the cleaner attack the baked-on grime directly.
The Right Tool For The Job
Plastic scrapers are ideal because they're tough enough to dislodge food but gentle on enamel. If you don't have one, a silicone spatula or even an old credit card works in a pinch. Avoid metal scrapers, steel wool, or abrasive pads—they'll leave scratches that trap dirt later.
Where To Focus First
Start with the oven floor—that's where most spills land. Then move to the back wall, which often has hidden splatters. Finally, check the ceiling; grease rises and can form a stubborn layer.
Work from top to bottom so debris falls onto areas you'll clean next.
Disposing Of Debris Properly
Scoop the loose bits into a trash bag or compost bin. For greasy clumps, wipe them with a paper towel first to avoid smearing. Don't let debris sit in the oven overnight—it can attract pests or harden further.
A quick vacuum with a brush attachment also works if you have one.
4. Make a Baking Soda Paste
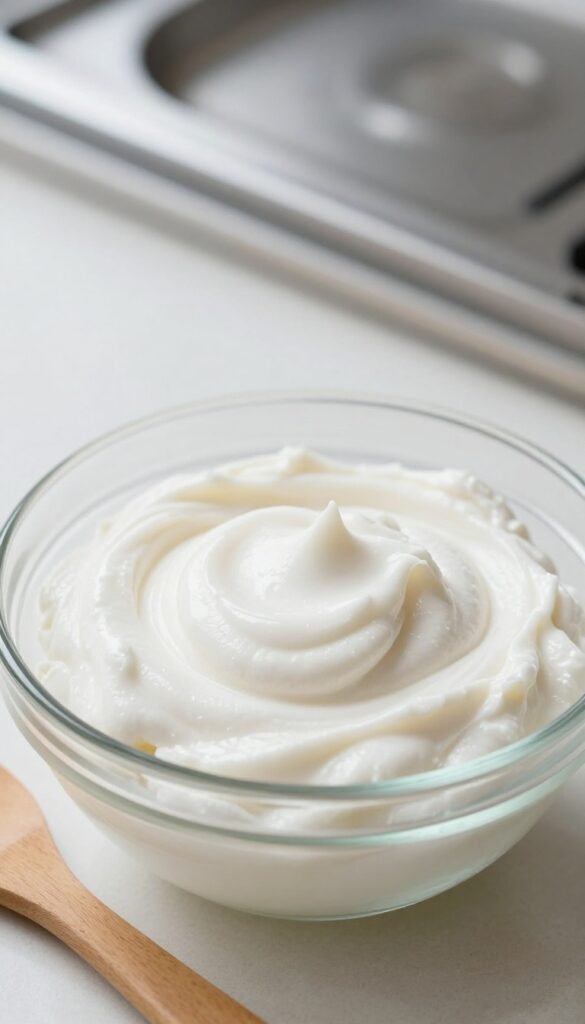
Baking soda is a powerhouse when it comes to cutting through grease and grime without harsh chemicals. It's gentle enough for enamel surfaces but tough on baked-on messes. Mixing it into a paste gives you a spreadable cleaner that clings to vertical surfaces and crevices.
To make the paste, combine 1/2 cup of baking soda with a few tablespoons of water in a small bowl. Stir until it forms a thick, spreadable consistency—think peanut butter. Add water a teaspoon at a time if it's too dry, or more baking soda if it's too runny.
This paste will be your main cleaner for the oven interior.
Why Baking Soda Works
Baking soda is mildly alkaline, which helps break down acidic grease and food residues. Its fine grit provides gentle abrasion to lift stains without scratching. Plus, it's non-toxic and safe to use around food, making it ideal for oven cleaning.
How To Apply The Paste
Use a spatula or your fingers (wearing gloves) to spread the paste evenly over the interior surfaces of the oven. Focus on areas with heavy buildup, but cover the entire inside except the heating elements. Let it sit overnight or for at least 12 hours to allow the baking soda to work.
Tips For Best Results
For extra stubborn spots, add a few drops of dish soap to the paste. If your oven has a self-cleaning cycle, avoid using this paste on the door gasket or any parts that might be damaged by moisture. Always test a small hidden area first if you're unsure about your oven's finish.
5. Apply the Paste to Interior Surfaces
Now that your baking soda paste is ready, it's time to put it to work. Grab a spatula or a gloved hand and start spreading the paste over the oven's interior surfaces. Focus on the walls, floor, and ceiling, but avoid the heating elements—they don't need cleaning and could be damaged.
Pay extra attention to greasy spots and baked-on spills, giving them a thicker coat. The paste should be about 1/8 inch thick for best results.
Where To Focus
The back wall and floor often collect the most grime from bubbling over dishes. The ceiling can have hidden grease splatters from roasting. Use a flashlight to spot any stubborn areas.
Don't forget the door interior, but skip the gasket—baking soda can dry it out.
How Thick To Apply
Aim for a consistent layer about 1/8 inch thick. Thicker on heavy buildup, thinner on light stains. If the paste starts to dry out while you work, spritz it with a little water to keep it spreadable.
Avoid These Areas
Keep paste off the heating elements (both top and bottom), the oven light, and any vents. These parts are sensitive and don't need cleaning. If paste accidentally gets on them, wipe it off gently with a damp cloth.
6. Let the Paste Sit Overnight
Patience is your secret weapon here. Once you've coated every greasy surface with baking soda paste, resist the urge to scrub right away. Give the paste at least 12 hours to work its magic—ideally overnight.
This long contact time lets the baking soda penetrate and soften even the most stubborn baked-on grime, so you barely have to scrub later.
The science is simple: baking soda is mildly alkaline, which helps break down acidic grease and food residues. But it needs time to react. A short wait might only loosen surface dirt, leaving you with extra elbow grease.
Overnight, the paste dries slightly and clings to vertical surfaces, continuously working on the gunk. You'll wake up to a crust that wipes away easily.
Why Overnight Makes A Difference
Think of it like a marinade—the longer it sits, the more flavor (or in this case, cleaning power) penetrates. For ovens with years of buildup, a few hours won't cut it. The extended soak time ensures the paste reaches deep into carbonized layers, softening them from the inside out.
You'll save time and effort on the scrubbing step.
Tips For A Mess-free Overnight Wait
To avoid drips on your floor, place a baking sheet or aluminum foil under the oven door and on the bottom rack. If your paste is too runny, add a little more baking soda until it's spreadable. Also, keep the oven off and the door closed to prevent the paste from drying out too fast.
A slightly damp environment helps it stay active.
What To Do If You're Short On Time
If overnight isn't possible, aim for at least 4–6 hours. You can speed things up by turning the oven on warm (no more than 150°F) for 15 minutes, then turning it off before applying the paste. The gentle heat helps the baking soda work faster.
But for best results, let it sit while you sleep.
7. Wipe Down the Paste with Vinegar
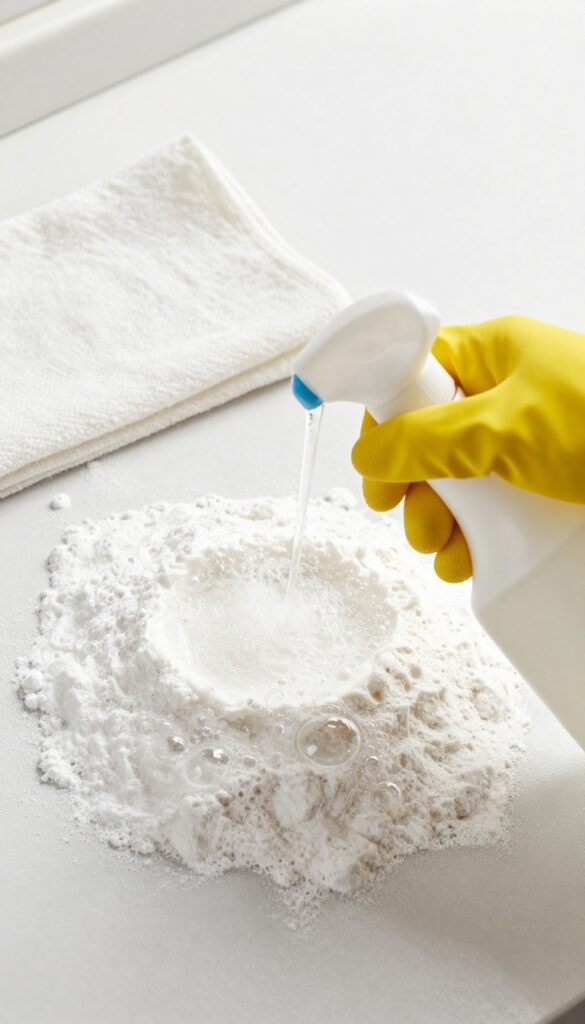
After letting the baking soda paste sit for at least 12 hours, it's time for the fun part—watching the vinegar fizz. This reaction is what breaks down the last bits of grime and makes wiping effortless. Grab a spray bottle filled with white vinegar and give the dried paste a generous spritz.
You'll see it bubble up almost immediately. Let it sit for a minute or two, then use a damp cloth to wipe everything away. The paste and loosened dirt should come off easily.
The vinegar not only neutralizes the baking soda but also helps dissolve any remaining grease. It's a natural disinfectant too, so your oven gets a double benefit. Work in sections if your oven is large, and rinse your cloth often to avoid spreading residue.
For stubborn spots, spray a little extra vinegar and scrub gently with a non-abrasive sponge.
Why Vinegar Works So Well
Vinegar's acidity reacts with the alkaline baking soda to create carbon dioxide gas—those bubbles you see. This effervescence physically lifts dirt from surfaces, making it easy to wipe away. Plus, vinegar cuts through grease naturally, so you don't need harsh chemicals.
How To Apply For Best Results
Fill a clean spray bottle with undiluted white vinegar. Spray generously over all the dried paste, focusing on areas with heavy buildup. Let it fizz for 1–2 minutes.
Then, use a damp microfiber cloth to wipe in a circular motion. Rinse the cloth frequently in warm water to avoid smearing.
Dealing With Stubborn Residue
If some paste or grime remains after the first wipe, don't scrub hard. Instead, spray more vinegar directly on the spot and let it sit for another minute. Then wipe again.
For baked-on corners, a plastic scraper or old toothbrush can help gently dislodge the residue without scratching.
8. Clean the Oven Door Glass
The oven door glass is a magnet for grease splatters and baked-on residue. A clear window not only looks better but lets you check on your food without opening the door and losing heat. This step is quick and uses simple pantry staples.
Start by mixing a paste of baking soda and water—about three parts baking soda to one part water. Spread it generously over the glass, avoiding the edges where it might seep under the seal. Let it sit for 15 minutes so the baking soda can break down the grime.
Then spray white vinegar over the paste and watch it fizz. Wipe clean with a damp microfiber cloth. For stubborn spots, gently scrub with a non-abrasive sponge.
Never use steel wool or harsh scrubbers, as they can scratch the glass permanently.
Why Baking Soda And Vinegar Work
Baking soda is a mild abrasive that lifts grease without scratching. Vinegar reacts with the baking soda to create carbon dioxide bubbles, which help dislodge stuck-on food. Together, they cut through grease naturally and safely.
Avoiding Damage To The Glass
The oven door glass is tempered but still vulnerable to scratches. Skip abrasive pads, razor blades, and harsh chemical cleaners. A soft sponge or cloth is all you need.
Also, be careful not to let liquid seep into the door's edges, as it can damage the insulation or electronics.
Dealing With Stubborn Buildup
If the paste doesn't fully remove the grime on the first try, apply a second layer and let it sit longer—up to 30 minutes. For burnt-on spots, use a plastic scraper gently. Rinse with a damp cloth and buff dry for a streak-free shine.
9. Scrub the Oven Racks
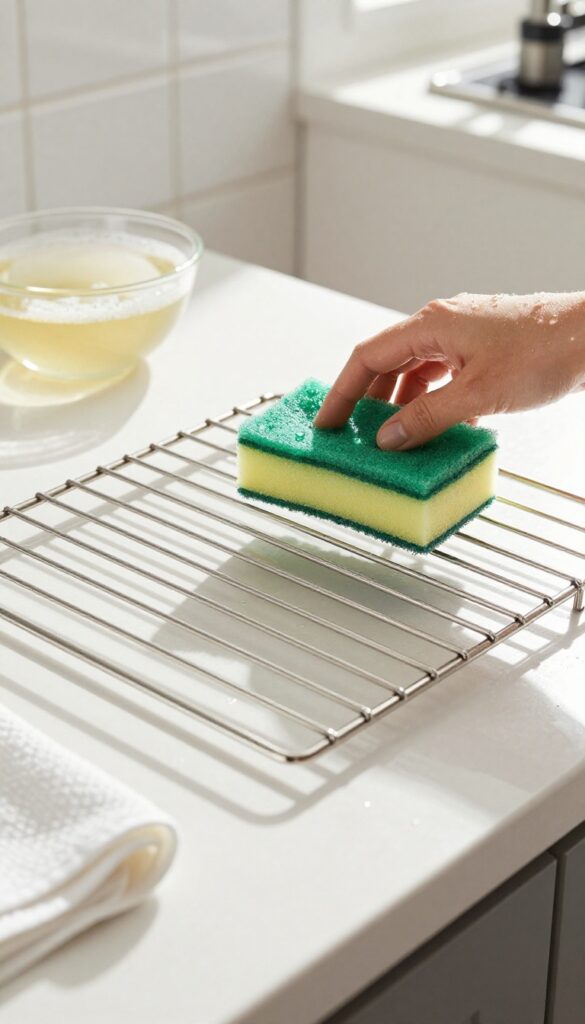
Those racks have been soaking long enough to loosen the grime. Now it's time to give them a proper scrub. Don't worry—this step is easier than it sounds, and you'll see dramatic results quickly.
Grab a non-abrasive sponge or a ball of steel wool for any stubborn spots. Scrub each rack thoroughly, focusing on areas where grease has built up. Rinse with warm water and dry completely before sliding them back into the oven.
Choose Your Scrubber Wisely
A non-abrasive sponge works for most racks, but if you have baked-on gunk, steel wool is your friend. Just avoid using it on porcelain-coated racks—it can scratch the finish. Test a small area first if you're unsure.
Work In Sections
Tackle one rack at a time. Start at one end and scrub in straight lines, then rinse. This keeps the task manageable and ensures you don't miss any spots.
For extra tough areas, let a bit of dish soap sit on the spot for a minute before scrubbing.
Rinse And Dry Thoroughly
After scrubbing, rinse each rack with warm water to remove any soap residue. Shake off excess water and pat dry with a clean towel. Let them air dry completely before putting them back—moisture can cause rust or interfere with oven performance.
10. Tackle the Oven Gasket
The rubber gasket that seals your oven door is often overlooked, but it plays a big role in keeping heat inside and smoke out. Over time, it collects grease and food particles, which can cause odors or prevent a tight seal. Cleaning it is simple, but you have to be gentle to avoid damage.
Why The Gasket Matters
A dirty or damaged gasket lets heat escape, making your oven work harder and cook unevenly. It can also allow smoke to leak out during self-cleaning cycles. Keeping it clean ensures your oven operates efficiently and lasts longer.
What You'll Need
Grab a soft cloth or sponge, mild dish soap, and warm water. Avoid harsh chemicals, bleach, or abrasive scrubbers—they can crack or deteriorate the rubber. A toothbrush can help with stubborn spots, but use it gently.
Step-by-step Cleaning
First, unplug the oven or turn off the circuit breaker for safety. Dampen your cloth with soapy water and wring it out well—you want it moist, not dripping. Wipe the gasket along its entire length, paying attention to crevices where grime hides.
For tough buildup, dip a toothbrush in soapy water and scrub lightly. Finally, go over it with a clean, damp cloth to remove any soap residue, then let it air dry completely before closing the door.
11. Clean the Oven Ceiling
The oven ceiling is easy to forget, but it collects grease and smoke residue over time. Reaching it can be awkward, but it's totally doable with the right approach. A clean ceiling means no more drips landing on your food and better heat circulation.
Start by removing the lower racks and any obstacles. Use a sponge or soft brush attached to a long handle to reach the top interior. Apply a thick layer of baking soda paste and let it sit for 15-20 minutes to break down grime.
Then wipe away with a damp cloth, rinsing frequently. For stubborn spots, use a plastic scraper gently.
Why The Ceiling Matters
Grease and food particles on the ceiling can burn during preheating, creating smoke and unpleasant odors. A clean ceiling also prevents residue from falling onto your dishes. It's a small step that makes a big difference in oven performance.
Tools That Help
A microfiber cloth wrapped around a spatula or a long-handled sponge works wonders. Avoid metal brushes that can scratch the enamel. A soft-bristled toothbrush is great for corners and vents.
Pro Tips For Tough Spots
For baked-on grease, make a paste with baking soda and hydrogen peroxide instead of water. Apply, let sit for 30 minutes, then scrub gently. Wipe with a vinegar-dampened cloth to remove residue and neutralize odors.
12. Remove and Clean the Oven Bottom Panel
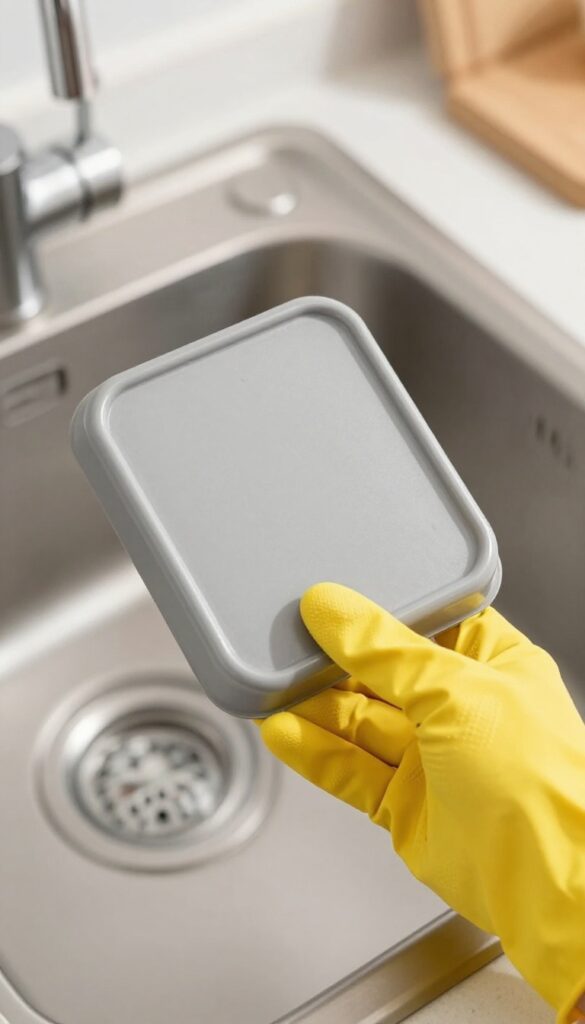
The bottom panel of your oven takes a beating. Spills, crumbs, and grease all collect there, and over time they can burn and create smoke or bad smells. Many modern ovens have a removable bottom panel that lifts out easily, making this one of the most satisfying parts of a deep clean.
Taking out the panel is usually straightforward. Open the oven door, find the edges of the panel, and lift it straight up. It might be held in place by clips or just resting on the floor.
Once it's out, carry it to the sink or a large tub. Wash it with hot water, dish soap, and a non-abrasive sponge. For stubborn baked-on spots, let it soak for 15 minutes.
Rinse well and dry completely before putting it back. This one step can dramatically reduce smoke and odors the next time you roast.
Check Your Model First
Not every oven has a removable bottom panel. Some have a fixed floor, and others use a self-cleaning coating that shouldn't be scrubbed. Look in your manual or search online for your oven model.
If the panel doesn't lift out easily, don't force it.
Soak For Stubborn Grime
If the panel has layers of burnt-on residue, a quick wash won't cut it. Fill your sink or a large container with hot water and a generous squirt of dish soap. Submerge the panel and let it sit for 30 minutes to an hour.
The heat and soap will loosen the grime so you can wipe it away with minimal scrubbing.
Dry And Reinstall
After cleaning, dry the panel thoroughly with a clean towel. Any moisture left can cause rust or steam inside the oven. Slide it back into place, making sure it sits flat and the clips or edges align properly.
Now you're ready for the next step.
13. Use a Steam Clean for Stubborn Spots
Sometimes scrubbing just doesn't cut it. For those baked-on, crusty spots that refuse to budge, steam is your secret weapon. It softens the grime so you can wipe it away with minimal effort.
How It Works
Place a heat-safe bowl or baking dish filled with water on the oven rack. Set the oven to 250°F and let it run for 20 minutes. The steam will loosen dried-on food and grease.
Wipe Down Immediately
After steaming, turn off the oven and let it cool slightly. Use a sponge or microfiber cloth to wipe the interior. Most residue will come off easily.
For tough spots, a gentle scrub with a non-abrasive pad works.
Safety Tips
Never use this method on a self-cleaning oven's lock mechanism or near electrical elements. Keep the bowl stable to avoid spills. And always let the oven cool before reaching inside.
14. Clean the Oven Fan and Vents
Your oven's fan and vents work hard to circulate heat and keep temperatures steady. But over time, they collect dust, grease, and food particles that can block airflow and make your oven work less efficiently. Cleaning them is quick and makes a noticeable difference in how your oven performs.
Why It Matters
A clogged fan can cause hot spots, uneven baking, and longer cooking times. Vents that are blocked can trap smoke and odors inside the oven, making your kitchen smell stale. Regular cleaning keeps everything running smoothly and extends the life of your appliance.
What You'll Need
Grab a soft-bristled brush (like a pastry brush or a clean paintbrush), a vacuum with a brush attachment, and a microfiber cloth. No harsh chemicals needed—just gentle tools to avoid damaging the fan blades or vent covers.
Step-by-step Cleaning
First, make sure the oven is completely cool and unplugged or the circuit breaker is off. Use the brush to gently sweep dust and debris off the fan blades and vent openings. Then, use the vacuum attachment to suck up the loosened particles.
Finally, wipe the area with a dry microfiber cloth to catch any remaining dust.
When To Do It
Aim to clean the fan and vents every three to six months, or more often if you use your oven heavily. If you notice your oven taking longer to preheat or food cooking unevenly, it might be time for a quick cleaning.
15. Wipe Down the Oven Exterior
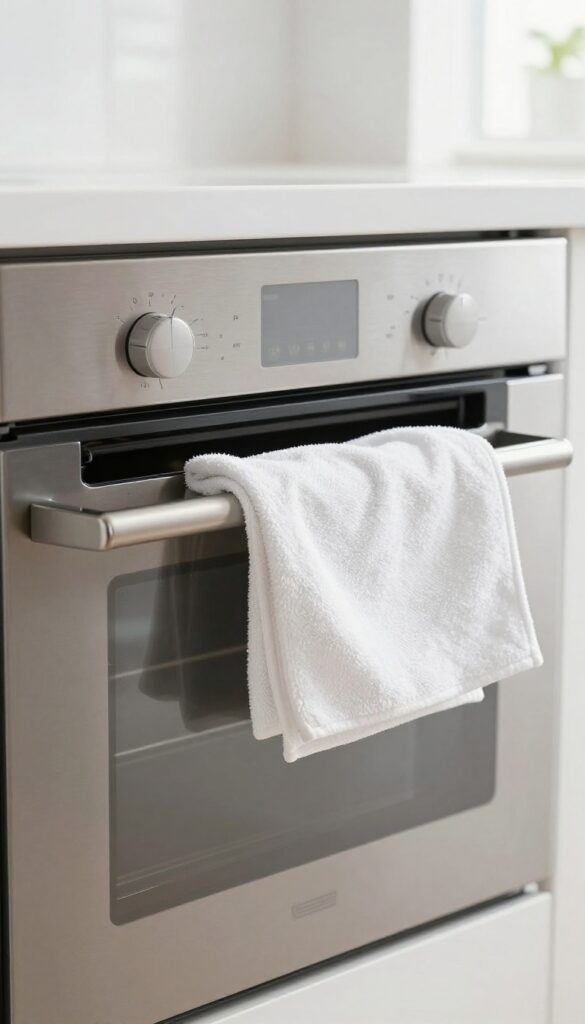
After tackling the inside, don't forget the outside. The oven's front, sides, and top collect fingerprints, grease splatters, and dust, which can make the whole kitchen look grimy. A quick wipe-down not only improves appearance but also prevents buildup from becoming stubborn stains.
Choose The Right Cleaner
For most ovens, a mild dish soap and warm water solution works wonders. Avoid harsh abrasives or bleach, which can damage the finish. For stainless steel models, use a dedicated stainless steel cleaner or a vinegar-water mix to avoid streaks.
Wipe With The Grain
Stainless steel has a directional grain – fine lines that run in one direction. Always wipe along these lines, not against them. This prevents swirl marks and keeps the surface looking uniform.
Use a soft microfiber cloth for best results.
Don't Forget The Top And Sides
Grease can splatter onto the top and sides during cooking. Wipe these areas with the same mild cleaner. For stubborn spots, let the cleaner sit for a minute before wiping.
Pay attention to the area around the control panel and knobs, but avoid getting moisture into openings.
16. Clean the Control Knobs and Display
Control knobs and the digital display are touchpoints you interact with every time you use the oven. They collect fingerprints, grease splatters, and cooking residue that can make them sticky or hard to read. Giving them a proper wipe-down not only improves hygiene but also keeps your oven looking like new.
Start by checking if your knobs are removable. Most pull straight off, but some may have a small release button or screw. If they come off, soak them in warm, soapy water for about 10 minutes, then scrub gently with a soft sponge.
Rinse and dry thoroughly before reattaching. For the display, use a microfiber cloth slightly dampened with water or a mild glass cleaner. Spray the cloth, not the display, to avoid moisture seeping into electronics.
Wipe gently in circular motions to remove smudges without scratching the surface.
Removable Knobs: Soak And Scrub
If your knobs pop off, take advantage of that. Fill a bowl with warm water and a few drops of dish soap. Let the knobs soak for about 10 minutes to loosen baked-on grime.
Use a soft sponge or an old toothbrush to clean any crevices. Rinse with clean water and dry with a lint-free cloth before snapping them back on. This simple step makes a big difference in how fresh your oven feels.
Fixed Knobs: Wipe In Place
For knobs that don't come off, you'll need to clean them right where they are. Dampen a microfiber cloth with soapy water and wring it out well—you don't want drips running behind the panel. Gently wipe each knob, using a cotton swab dipped in soapy water to reach the gaps between the knob and the control panel.
Follow up with a dry cloth to remove any moisture.
Display Care: Gentle And Dry
The digital display is sensitive, so avoid harsh cleaners or abrasive cloths. A microfiber cloth is your best friend here. Lightly mist it with water or a screen-safe cleaner, then wipe the display in slow, even strokes.
For stubborn spots, a little diluted vinegar works well. Never spray liquid directly onto the screen—always onto the cloth first. This prevents damage and keeps the display clear and readable.
17. Deodorize with Lemon or Vinegar
Even after a thorough scrub, your oven can hold onto lingering smells from burnt food or cleaning agents. A simple natural deodorizing step makes a huge difference in how fresh your kitchen feels. Using lemon or vinegar is an easy, chemical-free way to neutralize odors without extra effort.
Place lemon slices or a bowl of white vinegar in the oven and heat at low temperature (around 250°F) for 15 minutes. The steam and acidic vapors absorb and neutralize stubborn smells. After cooling, wipe down any moisture with a clean cloth.
This step leaves your oven smelling clean and fresh, ready for your next bake.
Why Lemon And Vinegar Work
Lemon and vinegar are both acidic, which helps break down odor-causing compounds and neutralize alkaline residues from cleaning products. The heat creates steam that carries the acidic particles throughout the oven, reaching every corner. Plus, they're natural and safe to use around food.
How To Do It Right
For lemon: Slice two lemons into thick rounds and place them on a baking sheet or directly on the oven rack. For vinegar: Pour one cup of white vinegar into an oven-safe bowl. Heat at 250°F for 15 minutes, then let it sit for another 10 minutes with the oven off.
Open the door to let out the steam, then wipe any condensation with a microfiber cloth.
When To Deodorize
Do this step after you've finished all cleaning and the oven is fully dry. It's also great as a quick refresh between deep cleans—just run the lemon or vinegar cycle whenever you notice funky smells. Avoid using this method right before cooking a delicate dish, as the scent may linger slightly.
18. Check and Clean the Oven Light
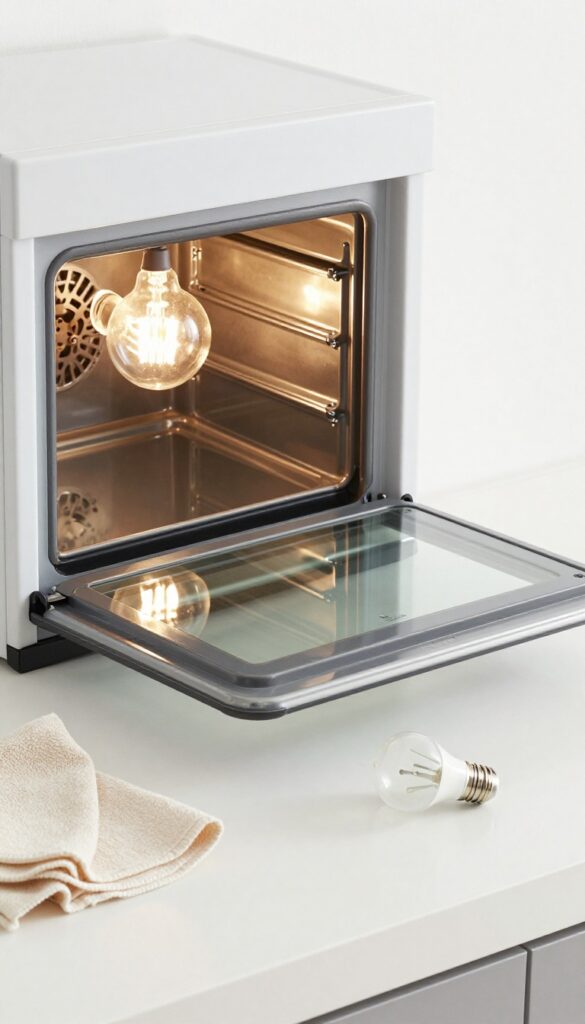
That little bulb inside your oven does more than you think. It helps you monitor cooking progress without opening the door and losing heat. But over time, grease and grime can dim the light or block it entirely.
Cleaning the oven light is a quick win that makes a big difference. Plus, if the bulb is burnt out, replacing it is simple and can save you from squinting at your food.
Remove The Cover Carefully
Most ovens have a glass or plastic cover over the bulb. Check your manual to see if it twists off or snaps out. If it's stuck, gently wiggle it rather than forcing it.
A soft cloth can help you grip without slipping. Once off, set the cover aside for cleaning.
Clean The Cover And Bulb Area
Wash the cover with warm soapy water and a non-abrasive sponge. Rinse and dry thoroughly. Use a damp cloth to wipe away any residue around the bulb socket.
Avoid spraying cleaner directly into the socket—dampen your cloth first.
Replace The Bulb If Needed
If the bulb is dead, check your manual for the correct replacement type. Most ovens use a standard appliance bulb. Screw in the new bulb gently—don't overtighten.
If the bulb works but is dim, a quick wipe might restore brightness.
19. Reassemble the Oven
You've scrubbed, rinsed, and dried every removable part. Now comes the satisfying part—putting it all back together. Reassembling the oven correctly ensures everything fits snugly and functions safely.
Before you slide racks in or twist knobs on, double-check that every piece is completely dry. Moisture trapped behind panels or under knobs can lead to rust or electrical issues. Take a soft, dry cloth and wipe down each component one last time.
Start With The Door
If you removed the oven door, reattach it carefully. Align the hinges with their slots and lower the door until it clicks. Open and close it a few times to confirm smooth movement and a tight seal.
Replace Interior Panels And Racks
Slide the side racks back into their grooves, making sure they lock into place. For the bottom panel or any removable liners, position them flat and press down to secure. Finally, insert the oven racks at their desired heights.
Reattach Knobs And Trim
Push control knobs straight onto their stems—don't force them; they should slide on easily. For any decorative trim or handles, tighten screws gently to avoid stripping. Wipe the exterior with a microfiber cloth to remove fingerprints.
20. Run a Short Self-Clean Cycle (If Safe)
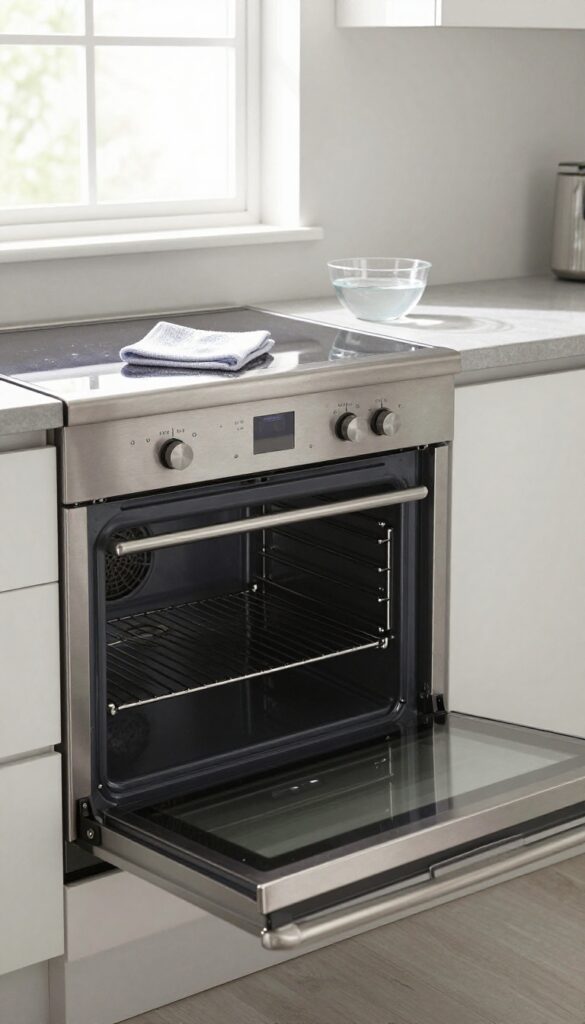
If your oven has a self-cleaning feature, now is the moment to put it to work. A short cycle can burn off any remaining grease or food particles that stubbornly stuck around after your manual scrub. Just make sure your oven is completely empty—no racks, no thermometers, no forgotten baking sheets.
Before you press start, double-check your manufacturer's instructions. Some newer ovens have eco or steam-clean options that run at lower temperatures and are safer for your appliance. If you're unsure, a quick look at the manual or a search for your model number can save you from a costly mistake.
Choose The Right Cycle
Most self-cleaning ovens offer a 2-hour, 3-hour, or 4-hour option. For a light cleanup after a thorough hand scrub, the shortest cycle is usually enough. Longer cycles generate more heat and can stress oven components, so stick with the minimum unless you have heavy baked-on residue.
Ventilate Your Kitchen
Self-cleaning cycles produce smoke and odors as they incinerate debris. Open a window, turn on your range hood, and consider leaving the room if you're sensitive to smells. It's also a good idea to remove any pets or small children from the kitchen during the cycle.
Let It Cool Down Completely
Once the cycle finishes, your oven will be extremely hot. The door usually stays locked until the interior cools to a safe temperature. Resist the urge to open it early—wait until the lock disengages, then give it another 30 minutes before wiping out the ash residue with a damp cloth.
21. Wipe Down After the Cycle
The self-cleaning cycle does the heavy lifting, but it leaves behind a layer of ash and residue. Once the oven cools completely, a quick wipe is all you need to reveal a spotless interior. Don't skip this step—ash can cake on if left too long, and it may release odors the next time you bake.
A damp cloth or sponge is usually enough, but for stubborn spots, a little vinegar water works wonders.
After the self-cleaning cycle finishes and the oven cools, open the door and assess the interior. You'll see a fine gray ash coating the walls, floor, and door. This is normal and means the cycle did its job.
Use a damp microfiber cloth or sponge to gently wipe all surfaces. Rinse the cloth frequently to avoid spreading ash. For any baked-on residue, spray a 50/50 mix of water and white vinegar and let it sit for a minute before wiping.
Avoid using harsh cleaners or abrasive pads—they can damage the oven's enamel. A soft cloth and mild solution are plenty. Finish by drying with a clean towel to prevent water spots.
Let It Cool Completely
Never attempt to wipe down the oven right after the cycle ends. The interior can remain hot for hours, and opening the door too soon releases a blast of heat and steam. Wait until the oven is fully cool to the touch—usually 1–2 hours.
Patience here prevents burns and ensures the ash doesn't turn into a sticky mess.
Use The Right Tools
A soft microfiber cloth is ideal because it traps ash without scratching. Avoid paper towels—they can leave lint and are less effective. For corners and crevices, a sponge with a soft scrubby side can help, but test an inconspicuous area first.
If you use a spray, mist the cloth, not the oven directly, to avoid pooling liquid in the bottom.
Tackle Stubborn Spots
If you see baked-on residue that the cycle didn't fully remove, don't scrub aggressively. Instead, dampen a cloth with white vinegar and lay it over the spot for a few minutes to soften it. Then wipe gently.
For the oven door glass, a paste of baking soda and water can lift any haze without scratching.
22. Maintain with Regular Quick Wipes
You've put in the work to get your oven sparkling clean. The last thing you want is for grime to build up again quickly. The secret to keeping it fresh is simple: a quick wipe after each use.
This habit takes less than a minute but saves you hours of deep cleaning down the road. It's the easiest way to maintain that just-cleaned feeling and prevent baked-on messes from forming.
Wipe While It's Warm
Right after you take out your food, the oven is still warm. That warmth makes spills and splatters easier to wipe away before they harden. Use a damp microfiber cloth or sponge to gently clean the interior surfaces.
Avoid using cold water on hot glass to prevent cracking, but a slightly warm, damp cloth works perfectly.
Focus On The Spills That Matter
Not every spot needs immediate attention. Prioritize sticky, sugary spills that can burn and smoke during the next use. Grease splatters on the door or walls also benefit from a quick wipe.
For dried-on bits, let a damp cloth sit on the spot for a minute to soften it before wiping.
Keep Supplies Handy
Make it easy to do a quick wipe by storing a microfiber cloth and a small spray bottle of water or mild cleaner near the oven. Having them within reach removes the excuse to skip the step. A dedicated oven-cleaning caddy under the sink or in a nearby cabinet can include a scraper for stubborn spots.
23. Schedule a Deep Clean Every 3 Months
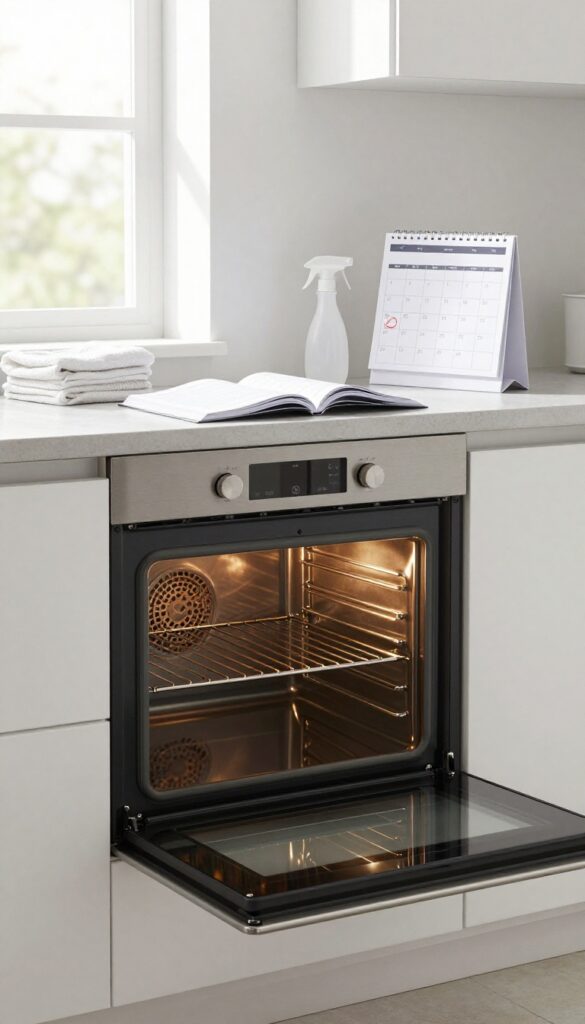
A clean oven is a happy oven, but that sparkle doesn't last forever. Grease and grime build up slowly, and before you know it, you're dealing with smoke and smells during baking. The secret to avoiding that?
A regular deep clean every three months. Marking your calendar for seasonal oven maintenance keeps your kitchen fresh and your appliance running efficiently. It's a small habit that saves you from marathon scrubbing sessions later.
Plus, a well-maintained oven heats more evenly and lasts longer.
Think of it as a seasonal reset—just like changing your air filters or flipping your mattress. Every three months, set aside an hour or two to give your oven some TLC. This frequency strikes the perfect balance: often enough to prevent stubborn buildup, but not so often that it feels like a chore.
If you cook heavily (think weekly roasts or frequent baking), you might want to bump it to every two months. For lighter use, every four months is fine. The key is consistency.
Pick a date—first Saturday of the season, for example—and stick to it. Your future self will thank you.
Why Three Months Works
Three months is the sweet spot because it catches buildup before it becomes baked-on and stubborn. Most ovens accumulate enough grease and food particles in that time to warrant a thorough clean. Waiting longer means more elbow grease and stronger cleaners.
Staying on schedule makes each cleaning session quicker and easier.
How To Build The Habit
Set a recurring reminder on your phone or calendar. Pair it with another seasonal task like changing the clock or flipping your mattress. You can also tie it to a holiday—clean the oven before Thanksgiving, before spring baking, before summer BBQs, and before the holiday cookie marathon.
That way, it feels natural and timely.
What A Seasonal Clean Includes
A deep clean every three months goes beyond a quick wipe. Remove racks and soak them, scrub the interior with a baking soda paste, tackle the door glass, and clean the gasket. Also vacuum out any crumbs from the bottom and check for grease buildup on the fan.
It's a full reset that keeps your oven performing at its best.
FAQ
How often should I clean my oven?
For light use, a deep clean every 3-6 months is enough. If you cook often or have spills, clean more frequently.
Can I use bleach to clean my oven?
No, bleach can damage the oven’s interior and produce harmful fumes. Stick to baking soda, vinegar, or commercial oven cleaners.
Is it safe to use self-cleaning mode?
Yes, but follow the manual. Remove racks first, ensure good ventilation, and be aware that high heat can cause smoke or odors.
How do I clean oven racks without scratching?
Soak them in hot soapy water, then scrub with a non-abrasive sponge. For tough spots, use a paste of baking soda and water.
What if my oven has a continuous cleaning lining?
Avoid abrasive cleaners or self-cleaning cycles. Wipe gently with a damp cloth and mild soap to preserve the coating.
Conclusion
A sparkling oven isn't just about appearances—it makes cooking more enjoyable and your kitchen smell fresh. By working through these 23 steps, you've turned a dreaded chore into a manageable routine that actually delivers results.
Pick the methods that fit your schedule and grime level, then stick with them. A little regular maintenance will keep your oven looking great and performing its best, so you can focus on what really matters: the delicious meals waiting to be made.