How to Clean a Bathroom Step by Step in 13 Easy Tips
A clean bathroom feels like a fresh start, but getting there can feel overwhelming. Between soap scum, hard water stains, and the general grime that builds up, it's easy to put off the task.
But with a simple step-by-step plan, you can tackle the mess without the stress. These 13 tips break down the process into manageable chunks, so you know exactly where to start and what to do next.
No more guessing or wasting time on products that don't work. Whether you're a cleaning novice or just looking for a more efficient routine, this guide will help you get your bathroom spotless with less effort.
1. Clear the Clutter First
Before you grab a sponge or spray anything, take a few minutes to clear out the bathroom. Removing everything from counters, shelves, and the shower exposes every surface so you can clean thoroughly without missing spots. It also keeps your products from getting wet or dusty while you work.
Start by gathering up all the items that usually live on your bathroom surfaces. That means toothbrush holders, soap dispensers, shampoo bottles, makeup bags, and any decorative items. Place them in a laundry basket or a box outside the bathroom to keep them out of the way.
This simple step makes the rest of the cleaning process smoother and faster.
Why It Matters
When you clean around clutter, you inevitably miss spots. Bottles and jars create hidden areas where grime builds up over time. By clearing everything off, you can wipe down every inch of the counter, shelf, and shower floor without obstruction.
You'll also avoid accidentally knocking things over or getting them wet.
What To Do With The Clutter
As you remove items, take a moment to check for anything that's empty or expired. Toss old products and wipe down bottles that feel sticky or dusty. This is also a good time to reorganize—group similar items together so they're easier to put back later.
If you have a lot of stuff, consider using a caddy or tray to keep things tidy.
A Quick Tip
Keep a small trash bag or bin nearby while you declutter. You'll be surprised how many half-empty bottles or expired medications you find. Getting rid of them now means less clutter to clean around next time.
2. Apply Toilet Bowl Cleaner Early
Getting the toilet clean is often the least favorite part of bathroom cleaning, but it doesn't have to be a struggle. The secret is to let the cleaner do the hard work for you. By applying the cleaner early and letting it sit, you cut down on scrubbing time and get better results.
Squirting cleaner inside the toilet bowl and letting it sit while you clean other areas gives the chemicals time to break down stains and mineral deposits. This simple step makes a huge difference, especially for stubborn rings or hard water buildup.
Choose The Right Cleaner
Not all toilet bowl cleaners are created equal. For tough stains, look for a product with bleach or hydrochloric acid. If you prefer a gentler option, a baking soda and vinegar paste can work, but it may need more soaking time.
Always read the label and follow safety instructions.
Apply Generously Around The Rim
Squeeze the cleaner under the rim, making sure it coats the upper part of the bowl. Give an extra squirt or two near the waterline where stains tend to form. The goal is to cover as much surface area as possible so the cleaner can work its magic.
Let It Sit For At Least 10 Minutes
Once applied, leave the cleaner to dwell. Ten minutes is a good minimum, but if your toilet has heavy buildup, let it sit for 20 to 30 minutes. While you wait, move on to cleaning the sink, mirror, or countertops.
By the time you come back, the stains will be much easier to remove.
3. Dust from Top to Bottom
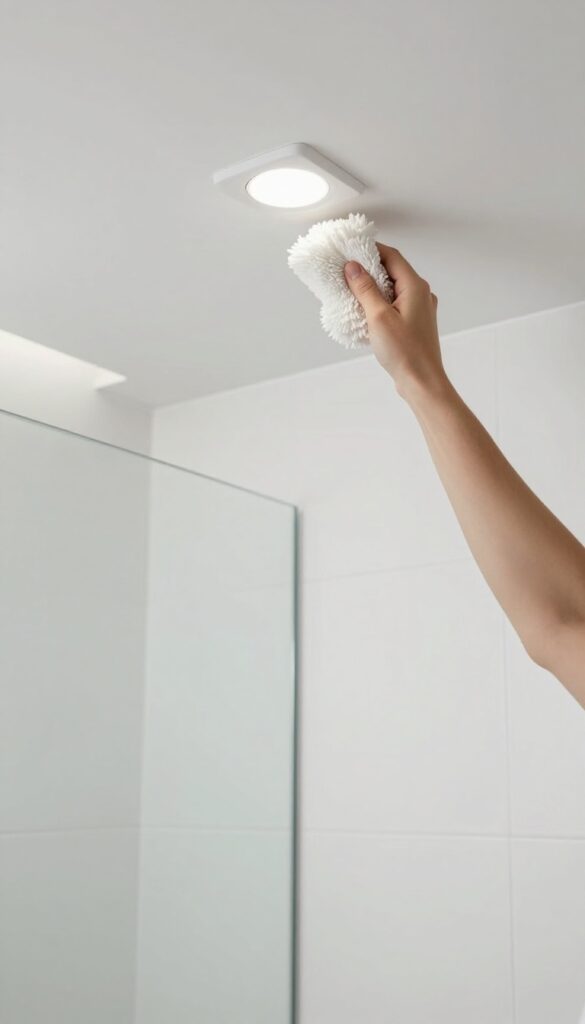
Gravity is your friend when cleaning a bathroom—if you work with it. Dust and loose debris naturally fall downward, so starting at the top saves you from having to re-clean lower surfaces. Hit the ceiling corners, light fixtures, and exhaust vents first, then work your way down to shelves, counters, and finally the floor.
This simple order cuts your work time and keeps you from spreading dust around.
Start With Ceiling And Light Fixtures
Use a microfiber duster or an extendable duster to wipe down ceiling corners, cobwebs, and the exhaust fan grille. For light fixtures, turn off the power and gently dust bulbs and shades. If they're greasy, wipe with a slightly damp cloth.
This prevents dust from falling onto already-cleaned areas later.
Work Down To Shelves And Countertops
Next, dust any shelves, towel racks, and the top of the toilet tank. Move everything off shelves, wipe them down, and replace items only after dusting. For countertops, remove toiletries and wipe the surface with an all-purpose cleaner or a damp microfiber cloth.
Don't forget the backsplash and mirror edges.
Finish With Baseboards And Floor
Finally, vacuum or sweep the floor to collect all the dust that has fallen. Use a brush attachment to get along baseboards and under the vanity. Then mop or wipe the floor with a suitable cleaner.
By saving the floor for last, you avoid kicking dust back onto clean surfaces.
4. Spray and Soak the Shower
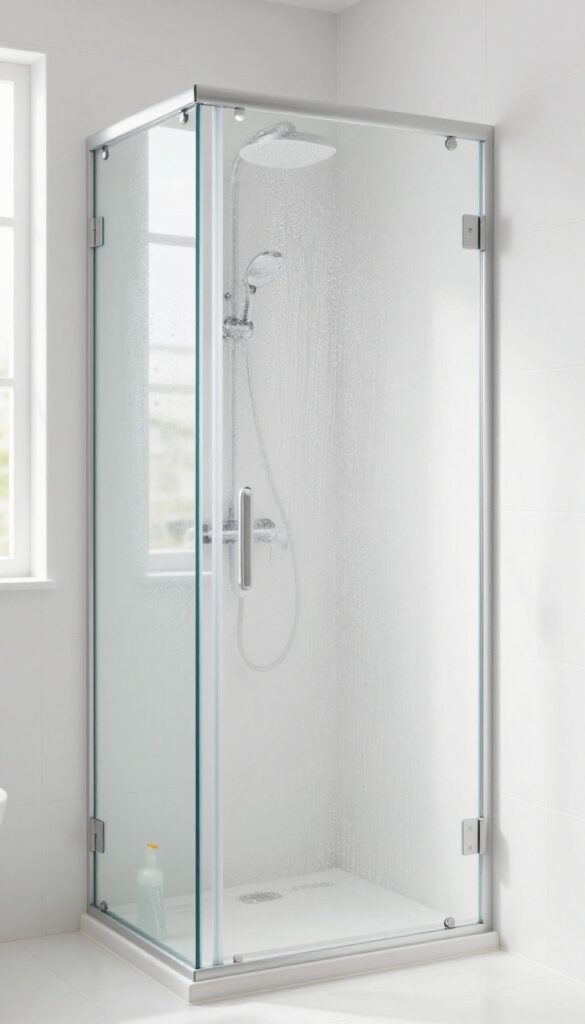
Once the toilet is scrubbed and flushed, shift your focus to the shower. This is where soap scum and hard water stains love to hide. Giving the surfaces a good soak before you scrub makes all the difference.
Choose Your Cleaner
You can use a store-bought bathroom cleaner or make your own with equal parts white vinegar and water. Vinegar is great for cutting through mineral deposits, but avoid it on natural stone. For stubborn soap scum, a dedicated shower spray works best.
Coat Every Surface
Spray the cleaner generously on shower walls, doors, and fixtures. Don't forget the corners and the showerhead. Make sure everything is wet, but not dripping.
A foam spray clings better and won't run off as quickly.
Let It Sit
Set a timer for 5 to 10 minutes. This dwell time lets the cleaner break down the grime so you don't have to scrub as hard. Use this time to move on to the next task, like wiping down the sink.
5. Scrub the Tub and Shower
Now that the surfaces have had time to soak, it's time to put in a little elbow grease. The tub and shower are where soap scum and mildew love to build up, so a thorough scrub makes a huge difference. Grab your non-abrasive sponge or a dedicated scrub brush and get ready to make those surfaces shine.
Work in small sections, applying gentle pressure to avoid scratching acrylic or fiberglass. For tile and grout, a stiff-bristled brush works best to dig into the pores where mold hides. Rinse your sponge frequently in clean water to avoid redepositing grime.
Focus On Corners And Crevices
Mold and mildew tend to settle in the corners of the tub and along the edges of the shower door. Use an old toothbrush or a small grout brush to really get into those tight spots. Pay extra attention to the area where the tub meets the tile—this is a common trouble zone.
Don't Forget The Shower Head And Fixtures
While you're scrubbing, give the shower head and faucet handles a quick wipe. Hard water deposits can build up here, making them look dull. A quick scrub with a sponge or a dedicated cleaner will restore their shine.
Rinse Thoroughly
After scrubbing, rinse the entire tub and shower with warm water. Make sure all cleaning product residue is gone, as leftover soap can actually attract more dirt. Use a handheld shower head if you have one, or a large cup to splash water over the surfaces.
6. Wipe Down Countertops and Sinks
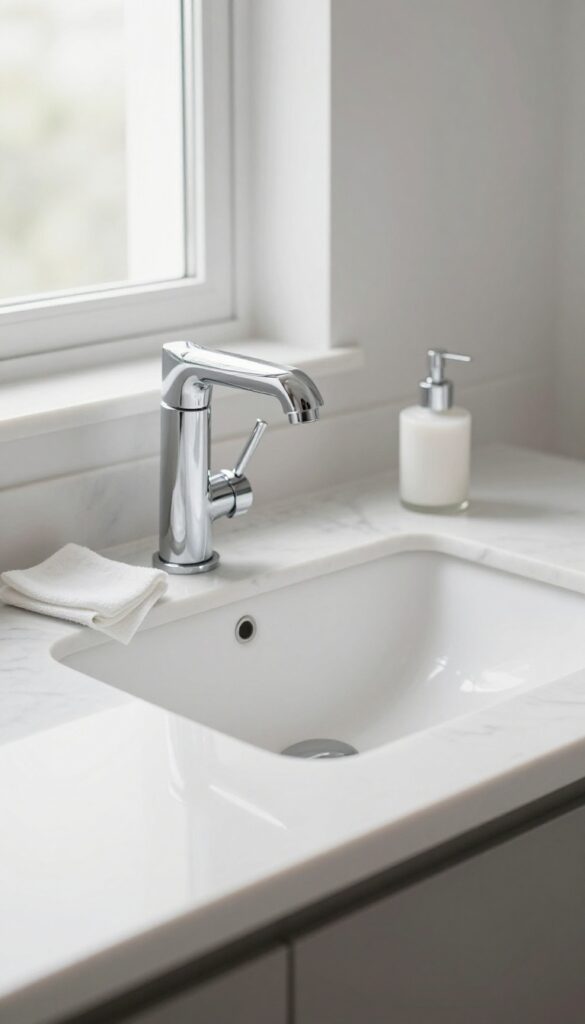
Countertops and sinks collect toothpaste splatters, hair product residue, and everyday grime. A quick wipe-down not only makes them shine but also keeps germs at bay. This step is simple but makes a big visual difference.
Choose Your Cleaner
An all-purpose cleaner works for most countertops, but if you want to disinfect, use a product labeled as a disinfectant. Spray generously on the countertop and sink surface, including the faucet and handles.
Let It Sit
Don't wipe immediately. Give the cleaner a minute or two to break down grime and kill germs. This dwell time is crucial for disinfectants to work effectively.
Wipe In One Direction
Use a microfiber cloth or paper towel and wipe from clean areas toward dirty ones. For sinks, start at the rim and work inward. This prevents spreading grime back onto clean surfaces.
Don't Forget The Details
Pay attention to the base of the faucet, the drain area, and any crevices. A cotton swab can help reach tight spots around handles or soap dispensers. Rinse the sink with warm water after wiping to remove any cleaner residue.
7. Clean the Mirror and Glass
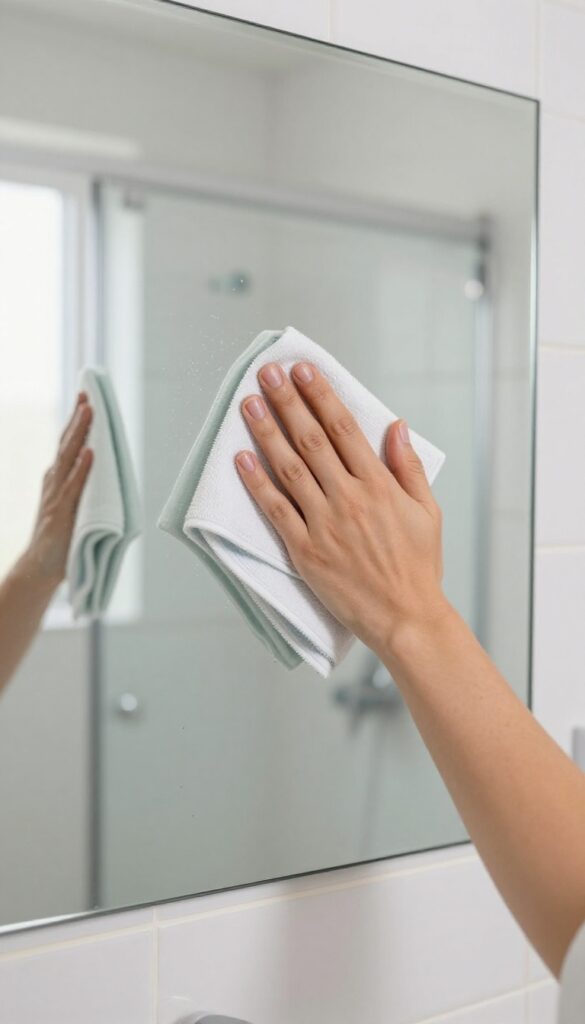
Mirrors and glass shower doors are the finishing touch that makes a bathroom feel truly clean. Nothing ruins the fresh look of a scrubbed sink or shiny countertop like a smudged mirror or streaky glass. Getting them spotless is easier than you think, and you probably already have what you need.
Choose Your Cleaner
You can go with a store-bought glass cleaner or make your own with equal parts white vinegar and water in a spray bottle. Vinegar cuts through hard water spots and soap residue naturally. For extra shine, add a drop of dish soap to the mix.
Avoid using ammonia-based cleaners on mirrors with a tinted backing, as it can damage the reflective coating over time.
The Right Tool For Streak-free Results
Microfiber cloths are the gold standard for glass cleaning. They trap dust and lint without leaving fibers behind. Avoid paper towels—they often leave lint and streaks.
If your mirror is large, a squeegee works even faster. Wipe in an S-pattern from top to bottom to prevent streaks from forming as you go.
Tackle Tough Spots
For stubborn water spots on shower doors, spray the vinegar solution and let it sit for a minute before wiping. A magic eraser can remove dried-on soap scum without scratching glass. For mirrors, a dab of rubbing alcohol on a cloth removes hairspray or toothpaste splatters instantly.
8. Scrub the Toilet Exterior
The outside of the toilet gets touched just as often as the inside—if not more. Handles, lids, and bases collect germs and grime that you might not notice at first glance. Giving the exterior a thorough wipe-down is a quick win that makes the whole bathroom feel fresher.
Start by spraying a disinfectant cleaner all over the tank, lid, and base. Let it sit for a minute to break down any sticky residue. Then, use a microfiber cloth or disinfectant wipe to scrub every surface, including the hinges and the area behind the seat.
Don't forget the flush handle—it's one of the germiest spots in the bathroom. Finally, wipe down the base of the toilet where it meets the floor; dust and hair love to hide there. For a streak-free shine, go over the porcelain with a dry cloth.
Tackle The Tank And Lid
The top of the toilet tank often collects dust and fingerprints. Spray your cleaner onto a cloth (not directly onto the tank) to avoid drips running down the sides. Wipe the lid, then the sides of the tank, paying attention to the back where it meets the wall.
If you have a decorative toilet lid, check the care instructions—some materials need a gentler cleaner.
Don't Skip The Flush Handle
The flush handle gets touched by every family member and guest, making it a hotspot for bacteria. Give it a good scrub with a disinfectant wipe or a cloth sprayed with cleaner. For hard-to-reach areas around the handle, use an old toothbrush to dislodge any buildup.
Rinse and dry it to prevent water spots.
Clean Behind And Around The Base
The area where the toilet meets the floor is a magnet for dust, hair, and splashes. Use a long-handled duster or a cloth wrapped around a ruler to reach behind the toilet. Then, wipe the base all the way around.
If there's any yellowing or buildup, a mild abrasive cleaner can help. Finish by wiping the floor around the toilet to catch any drips.
9. Brush the Toilet Bowl
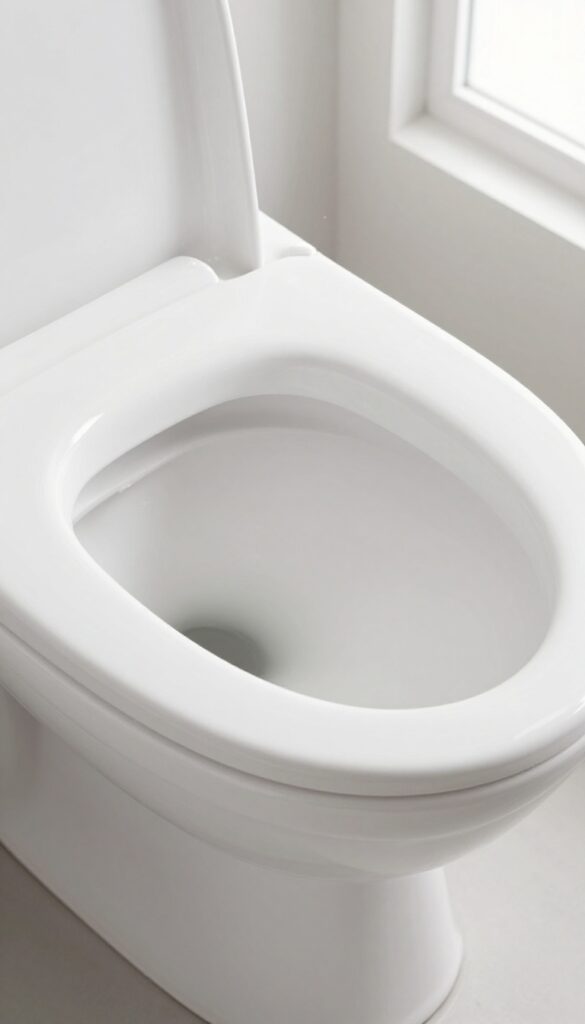
The toilet bowl is often the most dreaded part of bathroom cleaning, but it doesn't have to be a hassle. With the right approach, you can get it sparkling in just a couple of minutes. The key is using a good toilet brush and letting the cleaner do the heavy lifting.
Start by applying a toilet bowl cleaner under the rim and letting it sit for a few minutes to break down stains and mineral deposits. Then, scrub vigorously with a toilet brush, focusing on the rim, the waterline, and the bowl's interior. Flush to rinse, and if any residue remains, give it a quick wipe with a clean cloth or a disinfecting wipe.
Choose The Right Cleaner
Not all toilet bowl cleaners are created equal. For tough stains, look for a gel or liquid that contains bleach or citric acid. If you prefer a natural option, baking soda and vinegar can work, but they may require more elbow grease.
Apply the cleaner under the rim so it drips down and coats the bowl.
Scrub Effectively
Use a dedicated toilet brush with stiff bristles to reach under the rim and into the trap. Scrub in a circular motion, paying extra attention to any rings or stains. Don't forget the area around the water jet holes.
For stubborn spots, let the cleaner sit longer or use a pumice stone gently.
Rinse And Finish
Flush the toilet to rinse away the cleaner and loosened grime. If you see any leftover residue, wipe the inside of the bowl with a clean cloth or a flushable wipe. This final step ensures no streaks remain and leaves the bowl looking fresh.
10. Tackle Grout and Tile
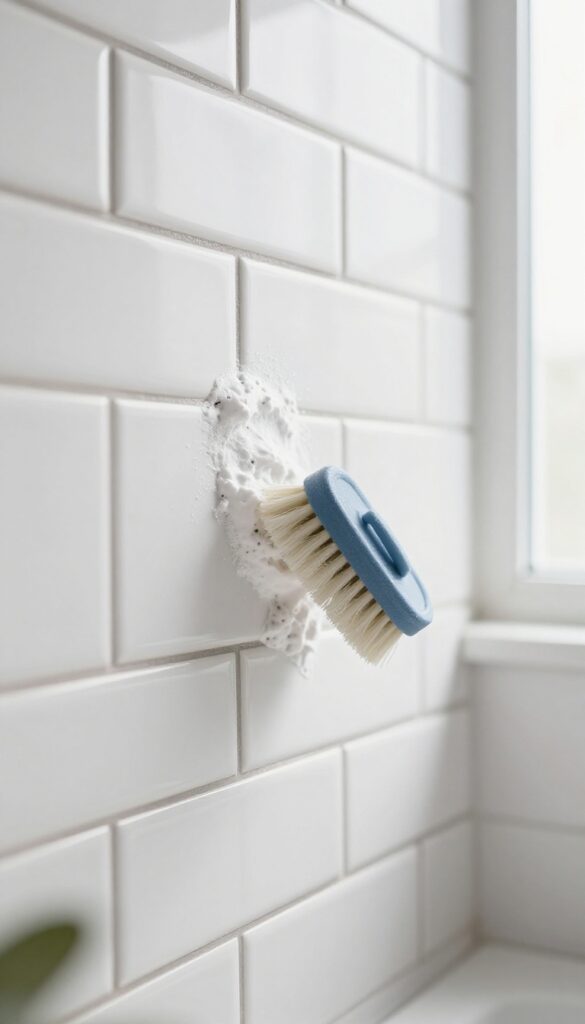
Grout lines can quickly become the eyesore of an otherwise clean bathroom. They trap soap residue, hard water minerals, and mildew, making them look darker than they should. But with the right approach, you can restore them without spending hours scrubbing.
For stubborn grout stains, apply a baking soda paste or a dedicated grout cleaner. Let it sit for 10–15 minutes to break down the grime, then scrub with a small brush—an old toothbrush works great. Rinse thoroughly with warm water and wipe dry with a microfiber cloth.
For extra tough stains, try a mixture of hydrogen peroxide and baking soda.
Choose Your Cleaner
Baking soda paste is gentle and effective for most grout. For heavy-duty stains, use a commercial grout cleaner or a bleach-based solution. Always test a small area first to avoid discoloration.
Scrub With The Right Tool
A stiff-bristled grout brush or an old toothbrush gives you the precision needed for narrow grout lines. Scrub in a circular motion to lift dirt from the pores. For large areas, a scrub brush attachment on a drill can save time.
Rinse And Seal
After scrubbing, rinse the area with clean water and dry it completely. Once dry, consider applying a grout sealer to protect against future stains. Sealing every six months keeps grout looking fresh longer.
11. Wipe Down Fixtures and Hardware
Faucets, handles, and towel bars get touched constantly, so they collect fingerprints, water spots, and grime. Giving them a quick wipe makes the whole bathroom look cleaner without much effort. You don't need fancy products—just a damp cloth and a little know-how.
Start by spraying your fixtures with a mild cleaner or a 50/50 vinegar-water solution. Let it sit for a minute to break down mineral deposits, then wipe with a soft microfiber cloth. For stubborn water spots, buff with a dry cloth after cleaning.
Avoid abrasive sponges that can scratch chrome or brushed nickel finishes.
Best Cloths For Fixtures
Microfiber cloths are ideal because they trap dirt without scratching. Use a separate cloth for fixtures to avoid transferring grime from other surfaces. For a streak-free shine, buff with a dry microfiber cloth after wiping.
Dealing With Hard Water Stains
If you have hard water, white vinegar is your best friend. Soak a cloth in vinegar and wrap it around the faucet base for 10–15 minutes, then wipe clean. For tough stains, use a dedicated metal polish or a commercial lime remover.
Don't Forget The Little Details
Wipe down the base of the faucet where it meets the counter, as grime often hides there. Also clean the handles and any pull-out sprayer heads. A quick polish on towel bars and robe hooks completes the job.
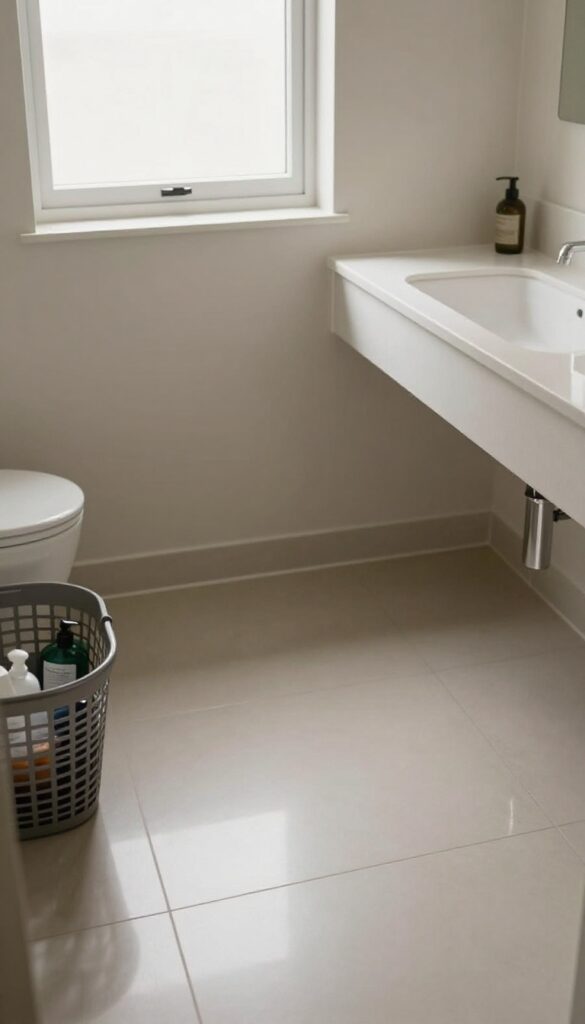
12. Sweep and Mop the Floor
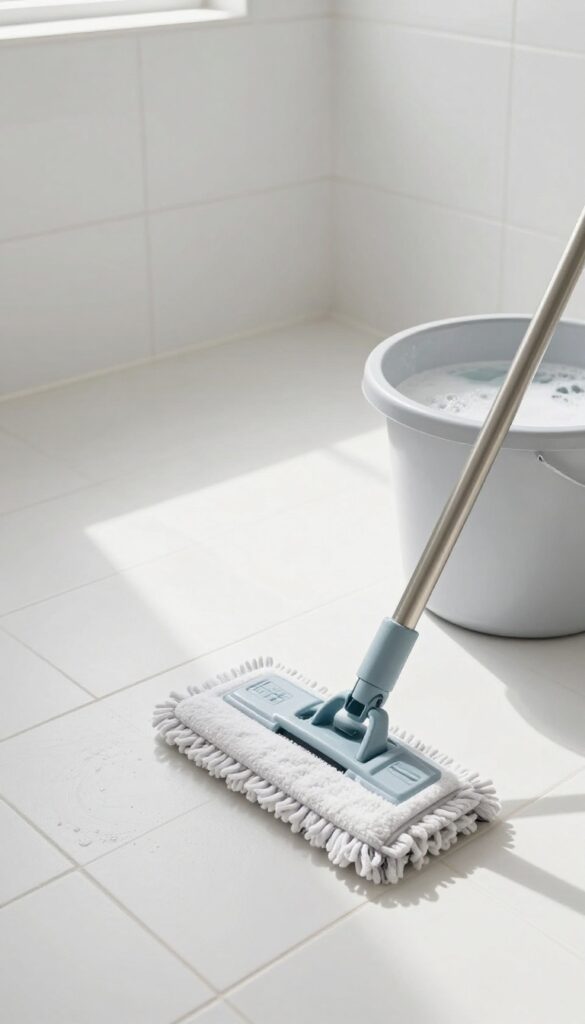
After all the surfaces, fixtures, and toilet are clean, the floor is the final frontier. It collects everything that fell or splashed during your cleaning spree, so leaving it for last makes sense. A thorough sweep and mop will pull the whole room together and leave it feeling fresh from top to bottom.
Start With A Good Sweep Or Vacuum
Before you bring water or cleaner anywhere near the floor, remove all loose debris. Use a broom or a vacuum with a hard floor attachment to get hair, dust, and crumbs out of corners, along baseboards, and under the toilet. Pay special attention to the area behind the toilet and around the vanity—these spots tend to collect the most grime.
If you vacuum, empty the canister afterward to avoid spreading dust back into the room.
Choose The Right Mop And Cleaner
Not all mops are created equal for bathroom floors. A microfiber flat mop is ideal because it traps dirt without leaving streaks or soaking the grout. For tile or vinyl, use a pH-neutral floor cleaner or a diluted vinegar solution (unless you have natural stone, which vinegar can damage).
Avoid using too much water—damp is better than wet. Wring out your mop thoroughly before each pass to prevent puddles.
Mop In Sections, Rinse Frequently
Start at the far corner of the room and work your way toward the door so you don't trap yourself. Mop in overlapping figure-eight strokes to cover the floor evenly. Rinse your mop head in clean water after every few passes, especially if you're using a reusable mop.
For stubborn spots or sticky residue, spray a little cleaner directly on the spot and scrub with a soft brush before mopping.
Don't Forget The Baseboards And Corners
Baseboards and corners are magnets for dust and grime. After mopping the main floor area, go back with a damp cloth or a small sponge to wipe down the baseboards and any tight corners the mop couldn't reach. If you have a grout brush, use it to scrub along the edges where the floor meets the wall.
This extra step makes the whole room look cleaner.
13. Finish with Fresh Touches
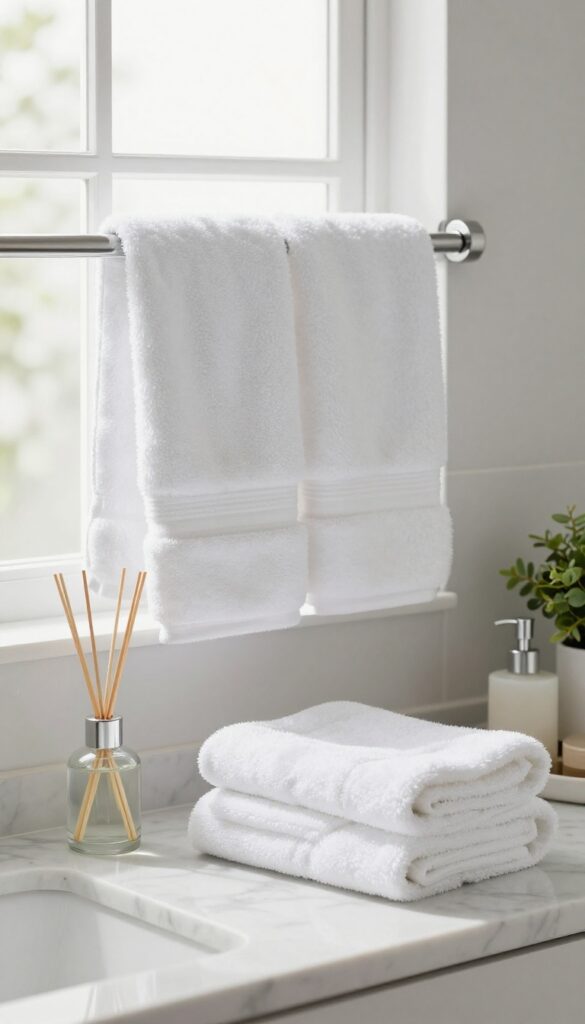
You've scrubbed, rinsed, and dried every surface. Now it's time for the reward—making the bathroom feel like a spa. These final touches are quick but make a huge difference in how the room looks and smells.
Swap In Clean Linens
Replace used towels, washcloths, and the bath mat with fresh ones. Nothing says "clean bathroom" like a fluffy towel that smells like laundry. Fold them neatly or roll them for a hotel-like presentation.
Add A Subtle Scent
A small air freshener, reed diffuser, or essential oil mister can transform the atmosphere. Go with light, clean scents like eucalyptus, lavender, or citrus. Avoid anything too strong—you want the room to smell fresh, not like a candle shop.
Tidy The Countertops
Put away your cleaning supplies, wipe down the counter, and arrange toiletries neatly. A clear counter looks more spacious and welcoming. Consider a small tray or caddy to corral everyday items.
FAQ
How often should I deep clean my bathroom?
Aim for a deep clean every one to two weeks, depending on usage. High-traffic bathrooms may need weekly attention, while guest bathrooms can go longer.
What's the best way to remove hard water stains?
White vinegar is very effective. Spray it on the stain, let it sit for 10-15 minutes, then scrub with a non-abrasive sponge. For tough stains, use a pumice stone on porcelain.
Can I use bleach on all bathroom surfaces?
Bleach is great for disinfecting and whitening grout, but it can damage certain materials like marble, granite, or colored grout. Always test in an inconspicuous area first.
How do I prevent mold in the shower?
Keep the bathroom well-ventilated by using an exhaust fan or opening a window after showers. Squeegee the walls and doors to remove excess moisture, and clean regularly.
What's the best order to clean a bathroom?
Start from the top (lights, vents) and work down to the floor. Clean dry areas first, then wet areas. Apply toilet cleaner early, and save mopping for last.
Conclusion
Cleaning your bathroom doesn't have to be a marathon. By following these 13 steps, you can work through the mess systematically and avoid backtracking. The key is to let cleaners sit, work from top to bottom, and use the right tools for each surface.
With a little practice, this routine becomes second nature. Your bathroom will stay fresher longer, and you'll spend less time scrubbing and more time enjoying a clean space.