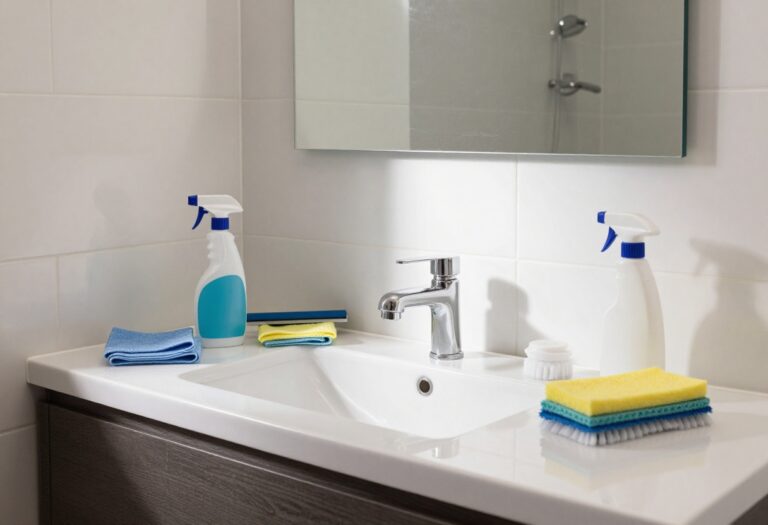
17 Cleaning Toilet Stains Tips for a Fresher Bowl Fast
Nobody likes looking down at a stained toilet bowl. Those rings and marks can make even a clean bathroom feel dirty. The good news is you don't need harsh chemicals or expensive products to get rid of them.
Most toilet stains come from hard water minerals, bacteria, or neglect. But with the right approach, you can have a sparkling bowl in minutes. These 17 tips focus on what actually works, using everyday items you probably already have.
Whether you're dealing with limescale, rust, or stubborn grime, there's a solution here for you. Let's dive into the methods that deliver real results without the hassle.
1. Baking Soda and Vinegar Fizz
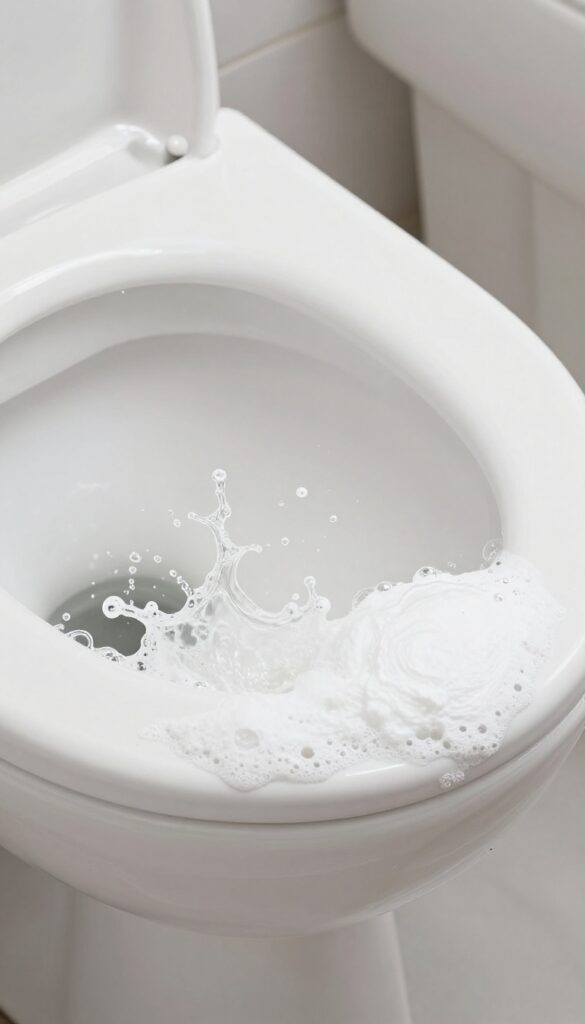
This classic combo is a powerhouse for light stains and odors. Baking soda gently scrubs while vinegar reacts to lift grime. It's cheap, non-toxic, and works fast.
Start by sprinkling a generous amount of baking soda around the bowl, focusing on stained areas. Pour white vinegar over it—the fizzing action helps break down deposits. Let it sit for 10 minutes, then scrub with a toilet brush and flush.
Repeat if needed for stubborn spots.
Why It Works
Baking soda is mildly abrasive, so it scrubs without scratching porcelain. Vinegar's acidity dissolves mineral buildup and kills bacteria. The fizzing helps lift debris from crevices.
Best For
Light to moderate limescale rings, surface stains, and general freshening. Not ideal for heavy rust or long-neglected grime.
Pro Tips
Use white vinegar only—colored vinegars can stain. For extra fizz, add a splash of hydrogen peroxide. Let the mixture sit longer (up to 30 minutes) for tougher stains.
2. Pumice Stone for Tough Rings
Hard water rings can feel impossible to scrub away. But a pumice stone tackles them with surprising ease. It's like a gentle sandpaper that wears down mineral deposits without harming the porcelain.
A pumice stone is a lightweight volcanic rock that works as a mild abrasive. When wet, it glides over stains, lifting limescale and rust rings. The key is to keep it wet to avoid scratching.
For extra stubborn spots, use it dry—just go easy. Always test on a hidden area first.
How To Use It Right
Soak the pumice stone in water for a few minutes. Then gently rub the stain in a circular motion. Rinse and check progress.
Don't press hard—let the stone do the work. Stop once the stain is gone to avoid dulling the surface.
When To Go Dry
If a wet stone isn't cutting it, try using it dry. The extra abrasion can break down thicker rings. But this method is riskier for scratches, so limit it to tough spots.
Wet the bowl first to reduce friction.
Pro Tips For Best Results
Use a pumice stone specifically made for toilets (some are shaped for easy grip). After each use, rinse the stone and let it dry. It'll last for many cleanings.
Pair with a toilet brush for everyday maintenance.
3. Coca-Cola Soak Overnight
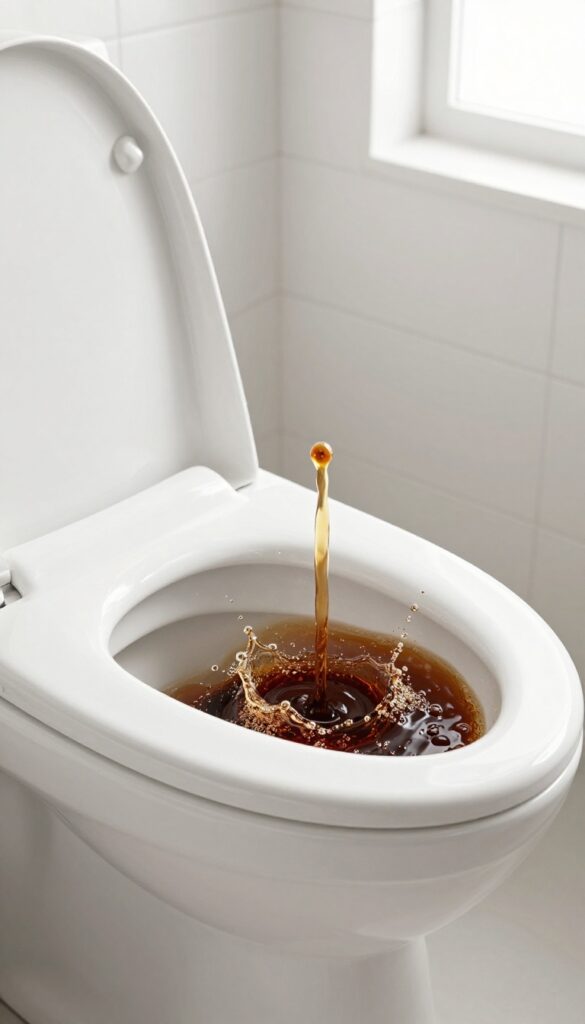
You might have heard that Coca-Cola can clean a toilet, and it's not just a myth. The phosphoric acid in the soda is surprisingly effective at breaking down limescale and rust stains. All it takes is a can and a little patience.
Why It Works
Coca-Cola contains phosphoric acid, which dissolves mineral deposits like calcium and rust. The carbonation also helps lift grime, making it easier to scrub away. It's a gentle but effective alternative to harsh chemicals.
How To Do It Right
Pour a full can of Coke around the toilet bowl, making sure to coat the stained areas. Let it sit overnight—at least 8 hours. In the morning, scrub with a toilet brush and flush.
For stubborn stains, repeat or use a pumice stone afterward.
What To Expect
This method works best on limescale and light to moderate rust stains. It may not remove heavy, long-set stains completely, but it will significantly lighten them. Plus, it's cheap and non-toxic, so there's no harm in trying.
4. Borax and Lemon Juice Paste
When you need a little extra scrubbing power, borax and lemon juice make a surprisingly effective team. Borax is a natural mineral that whitens and deodorizes, while lemon juice cuts through grease and grime with its acidity. Together, they form a paste that tackles stubborn stains without the harsh fumes of bleach.
Mix equal parts borax and lemon juice to create a thick paste. Apply it directly to the stained areas, especially around the waterline and under the rim. Let it sit for about 30 minutes so the borax can work its magic and the lemon juice can break down mineral deposits.
Then scrub with a toilet brush and flush. For extra tough stains, let the paste sit longer or give it a second application.
Why This Combo Works
Borax is a mild abrasive that physically scrubs away stains without scratching porcelain. It also has a high pH, which helps dissolve acidic grime. Lemon juice, on the other hand, is acidic and targets alkaline mineral deposits like limescale.
The two balance each other out, making the paste effective on a wide range of stains.
Best Uses For This Paste
This paste is ideal for hard water rings, rust stains, and yellowing around the bowl. It's also great for deodorizing, leaving a fresh citrus scent behind. Avoid using it on colored or antique toilets, as the acidity might affect the finish over time.
Tips For Maximum Effectiveness
For the best results, scrub the paste into the stains with a pumice stone or stiff brush before letting it sit. If the paste dries out, spritz a little water or lemon juice on it to keep it active. Always flush thoroughly after scrubbing to remove any residue.
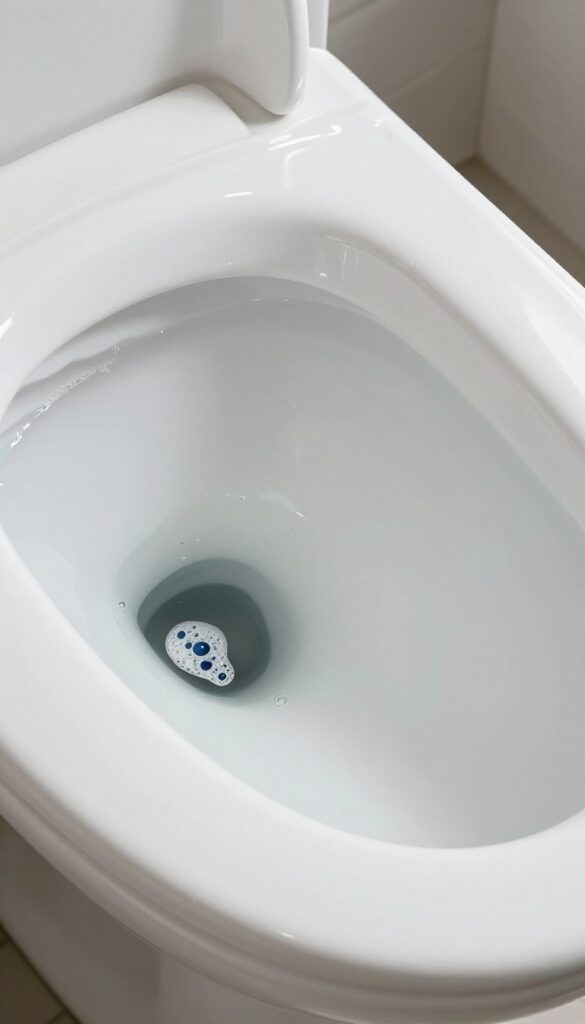
5. Denture Tablets for Deep Clean
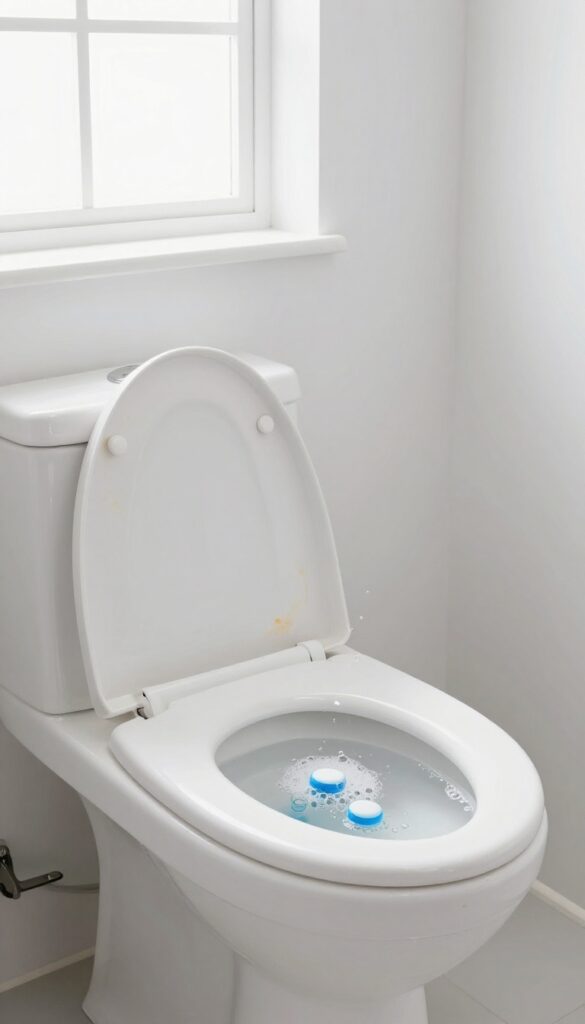
Denture tablets aren't just for false teeth—they're surprisingly effective at lifting toilet stains. The effervescent action helps break down mineral deposits and grime without any harsh scrubbing or fumes. It's a gentle yet powerful method that leaves the bowl looking refreshed.
Drop two denture tablets into the toilet bowl and let them fizz and dissolve completely. Wait about 20 minutes to give them time to work on stains. Then, lightly scrub with a toilet brush and flush.
The tablets disinfect and remove stubborn rings without the strong smell of bleach.
Why Denture Tablets Work
Denture tablets contain sodium bicarbonate, citric acid, and oxidizing agents. When dropped in water, they create a fizzy reaction that loosens dirt and kills bacteria. The mild abrasives help polish the porcelain without scratching.
Best For Light To Moderate Stains
This method works great for everyday stains and light mineral rings. For heavy limescale or rust, you might need a stronger cleaner. But for regular maintenance, denture tablets are a convenient and odor-free option.
How To Use Effectively
For best results, drop the tablets in before bed or when you won't need the toilet for a while. Let them soak overnight for tougher stains. Always flush afterward to avoid leaving residue.
Keep tablets out of reach of children and pets.
6. Hydrogen Peroxide and Cream of Tartar
If you have old, set-in stains that won't budge, hydrogen peroxide and cream of tartar make a powerful whitening team. Hydrogen peroxide is a mild bleach that breaks down organic matter, while cream of tartar is a gentle abrasive that helps scrub away mineral deposits. Together, they form a paste that tackles stubborn marks without harsh fumes.
How To Make The Paste
Mix two tablespoons of cream of tartar with enough hydrogen peroxide to form a thick, spreadable paste. Start with a tablespoon of peroxide and add more if needed. The consistency should be like toothpaste—not too runny or it will slide off the bowl walls.
Application And Wait Time
Apply the paste directly onto the stains using a toilet brush or an old toothbrush. Focus on the waterline and any discolored areas. Let it sit for 15 minutes—don't rush this step.
The peroxide needs time to penetrate and lift the stain.
Scrubbing And Rinsing
After 15 minutes, scrub the area firmly with your toilet brush. The cream of tartar provides gentle abrasion without scratching porcelain. Flush to rinse, then check for remaining marks.
For tough stains, repeat the process or let it sit longer.
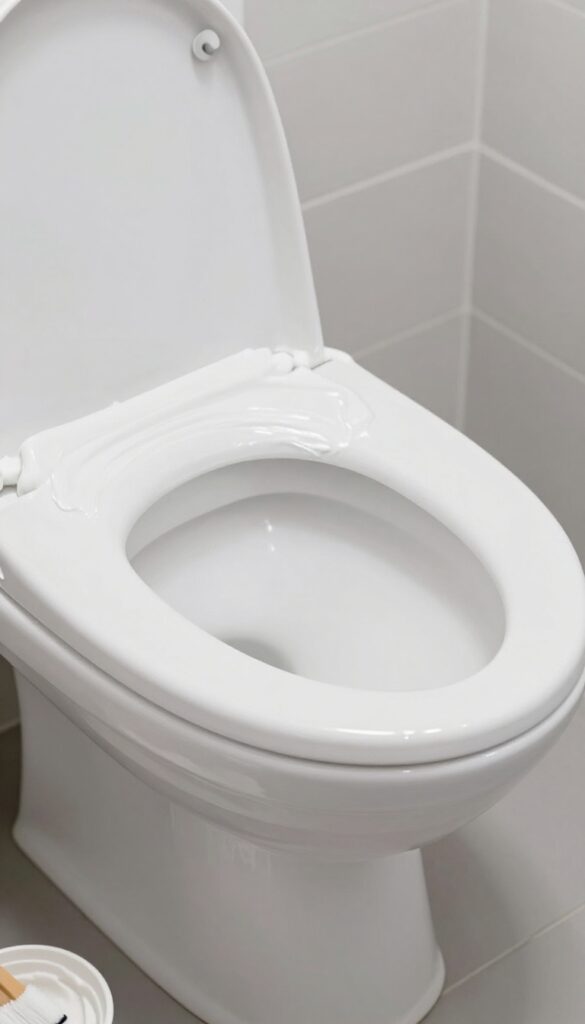
7. Toilet Bowl Cleaner with Bleach
Bleach is a heavy hitter when it comes to whitening and sanitizing a stained toilet bowl. A gel bleach cleaner clings to the porcelain better than liquid, giving it time to break down grime and kill bacteria. This method is simple, fast, and delivers noticeable results in minutes.
Apply a generous amount of gel bleach cleaner under the rim and around the bowl, making sure to coat any stained areas. Let it sit for 10 minutes—don't rush this step. Then scrub thoroughly with a toilet brush, paying extra attention to rings and spots.
Flush and admire the difference. Bleach not only whitens but also eliminates odors and germs, leaving your bowl fresh.
Why Gel Works Best
Gel formulas are thicker than liquid bleach, so they stick to the bowl instead of sliding right down. This means more contact time with stains, which is key for breaking down mineral deposits and discoloration. Look for a gel that contains at least 5% sodium hypochlorite for maximum effectiveness.
Safety Tips For Bleach Use
Always ensure the bathroom is well-ventilated when using bleach. Never mix bleach with ammonia or other cleaners—it creates toxic fumes. Wear gloves to protect your skin, and avoid splashing.
After scrubbing, flush twice to rinse thoroughly.
How Often To Bleach
For maintenance, once a week is enough to keep stains at bay. If you're tackling heavy buildup, you can use bleach every few days until the bowl is clean. Overuse can wear down the porcelain glaze over time, so stick to a moderate schedule.
8. Vinegar and Baking Soda Scrub
This classic combo is a powerhouse for tackling fresh stains and everyday grime. The fizzy reaction helps lift dirt without harsh scrubbing, and both ingredients are gentle on your toilet's finish. You probably have them in your kitchen right now.
Start by pouring about a cup of white vinegar into the toilet bowl. Let it sit for a minute, then add a generous sprinkle of baking soda. The mixture will foam up instantly.
Grab your toilet brush and scrub the entire bowl, focusing on the waterline and any visible stains. The bubbles help break down residue and deodorize at the same time. Once you're done, just flush to rinse.
For extra stubborn spots, repeat the process or let the vinegar sit longer before adding baking soda.
Why It Works So Well
Vinegar is acidic, which dissolves mineral deposits and soap scum. Baking soda is a mild abrasive that provides gentle scrubbing power. Together, their chemical reaction creates carbon dioxide bubbles that physically lift dirt from surfaces.
It's a safe, non-toxic way to clean without damaging porcelain.
Best For Light To Moderate Stains
This method works best on stains that haven't had time to set in. If you clean your toilet weekly, this scrub will keep it sparkling. For older, stubborn rings, you may need to let the vinegar soak for 15-30 minutes before scrubbing, or combine with a pumice stone for extra help.
Pro Tips For Maximum Effect
Use white vinegar, not apple cider or other varieties, to avoid staining. Add the baking soda after the vinegar so the fizz happens in the bowl, not on your counter. For a fresh scent, add a few drops of essential oil like lemon or tea tree to the baking soda before sprinkling.
9. Lemon Juice and Salt Scrub

If you prefer a natural, kitchen-friendly solution, lemon juice and salt make a surprisingly effective scrub. The acid in lemon juice breaks down mineral deposits and limescale, while the salt provides gentle abrasion to lift stains without scratching porcelain. This combo works best on fresh to moderate stains and leaves a fresh citrus scent behind.
Sprinkle salt directly onto the stains, then squeeze fresh lemon juice over it. Let it sit for 5–10 minutes so the acid can work. Scrub with a toilet brush or a sponge, paying extra attention to the waterline and under the rim.
Flush to rinse. For tough spots, repeat or let the mixture sit longer.
Why This Combo Works
Lemon juice contains citric acid, which dissolves calcium and lime deposits that cause white or brown rings. Salt acts as a mild abrasive that scrubs away grime without scratching the bowl's surface. Together, they create a chemical and physical cleaning action that's safe for daily use.
Best For Light To Moderate Stains
This method shines on recent stains or light buildup. For example, if you notice a ring forming after a week of hard water use, a lemon-salt scrub can remove it before it sets. It's also great for routine maintenance between deeper cleans.
Tips For Best Results
Use coarse salt like kosher or sea salt for better abrasion. Avoid using this scrub too often on enameled bowls, as the acid could dull the finish over time. Rinse thoroughly after scrubbing to prevent residue.
If stains are stubborn, add a splash of white vinegar to boost the acidity.
10. Commercial Limescale Remover
Sometimes the toughest stains call for the heavy artillery. Commercial limescale removers are specifically formulated to dissolve mineral deposits that regular cleaners can't touch. They work fast and require minimal scrubbing, making them a lifesaver for stubborn rings.
These products usually contain acids like hydrochloric or sulfamic acid that break down calcium and lime buildup. The key is following the instructions precisely—apply the gel, let it sit for the recommended time, then scrub lightly if needed and rinse thoroughly. Always wear gloves and ensure ventilation.
Choose The Right Product
Look for a gel or liquid limescale remover designed for toilets. Avoid products meant for sinks or showers as they may be too harsh or not thick enough to cling to vertical surfaces. Brands like CLR, Lime-A-Way, or HG are popular choices.
Application Tips For Best Results
Flush the toilet first to lower the water level, then apply the gel directly onto the stains. Let it sit for the time stated on the label—usually 5 to 15 minutes. For thick rings, apply a generous layer and let it dwell longer.
Scrub with a toilet brush, then flush.
Safety Precautions
Always wear rubber gloves and work in a well-ventilated area. Avoid mixing with bleach or other cleaners, as toxic fumes can result. Rinse the bowl thoroughly after use to prevent damage to plumbing or septic systems.
11. Dish Soap and Hot Water Soak
Sometimes the simplest solutions work best. Dish soap and hot water create a powerful soaking combo that breaks down grime without harsh chemicals. This method is perfect for when you want to avoid bleach but still get a deep clean.
The heat helps dissolve mineral deposits and soap scum, while the dish soap cuts through grease and organic matter. Together, they soften stubborn stains so you can scrub them away with minimal effort. It's a gentle yet effective approach that's safe for all toilet types.
Why This Combo Works
Hot water increases the solubility of many stain compounds, and dish soap contains surfactants that lift dirt from surfaces. The long soak gives the mixture time to penetrate and loosen buildup, making your scrubbing session much easier.
How To Do It Right
Start by squirting a generous amount of dish soap around the inside of the bowl. Then pour in a bucket of hot water (not boiling, to avoid cracking the porcelain) until the water level rises above the stains. Let it sit for at least an hour, preferably overnight.
After soaking, scrub with a toilet brush and flush.
When To Use This Method
This technique is ideal for light to moderate stains, especially those caused by hard water or everyday use. It's also a great maintenance step to prevent stains from setting in. For heavy limescale or rust, you may need a stronger acid-based cleaner.
12. Magic Eraser for Surface Marks
Sometimes all you need is a gentle abrasive that won't scratch the porcelain. A magic eraser—made of melamine foam—works like a super-fine sandpaper to lift scuffs, light stains, and even some hard water rings without harsh chemicals. It's especially useful for those mysterious marks that appear near the waterline or on the outside of the bowl.
How To Use It
Wet the magic eraser until it's damp but not dripping. Gently rub the stained area in small circles. You don't need to press hard—the foam does the work.
Rinse the bowl thoroughly after scrubbing to remove any residue. For tough marks, let the eraser sit on the stain for a minute before wiping.
Where It Works Best
Magic erasers excel on scuff marks from shoes or cleaning tools, light rust stains, and the thin ring of grime that forms just above the waterline. They're also safe for the exterior of the toilet, including the lid and tank, as long as the surface isn't painted or delicate.
What To Avoid
Don't use a magic eraser on textured or coated surfaces—it can wear away the finish. Avoid scrubbing inside the siphon jets or any rubber parts, as the abrasive foam can damage seals over time. Stick to smooth porcelain only.
13. White Vinegar and Borax Soak
When stains have settled in deep, a simple scrub might not cut it. That's where a soak comes into play. White vinegar and borax team up to break down mineral deposits and organic grime without harsh fumes.
This method is especially good for those stubborn rings that refuse to budge with regular brushing.
Making The Paste
Mix equal parts white vinegar and borax in a small bowl until you get a thick, spreadable paste. The vinegar activates the borax, creating a gentle but effective cleaning agent. Adjust the consistency by adding more borax if it's too runny, or a splash of vinegar if it's too thick.
Applying And Soaking
Apply the paste directly onto the stains, making sure to cover them completely. Use an old toothbrush or a sponge to spread it evenly. Let it sit for at least 30 minutes—longer for tougher stains.
The longer soak allows the mixture to penetrate and loosen the buildup.
Scrubbing And Finishing
After the soak, scrub the area with a toilet brush or a non-abrasive pad. You should see the stains lifting away easily. Flush the toilet to rinse everything down.
For any remaining residue, a quick wipe with a damp cloth will do the trick. Your bowl will look noticeably brighter.
14. Essential Oils for Fresh Scent
Essential oils aren't just for aromatherapy—they can be powerful allies in your toilet cleaning routine. A few drops of tea tree or lemon oil add antibacterial power and a clean, natural fragrance. They work with your regular cleaner to boost effectiveness without harsh fumes.
Why Tea Tree Oil Works
Tea tree oil is a natural disinfectant that fights bacteria and mold. Add 5–10 drops to your toilet bowl cleaner, let it sit for a few minutes, then scrub. It helps break down organic stains and leaves a crisp, medicinal scent that signals cleanliness.
Lemon Oil For Brightening
Lemon essential oil cuts through grease and mineral deposits while whitening porcelain. Mix 10 drops with a cup of baking soda to form a paste. Apply to stains, wait 10 minutes, then scrub.
The citrus smell is refreshing and lingers pleasantly.
How To Use Them Safely
Always dilute essential oils before use—never pour them directly into the bowl undiluted. Combine with water, vinegar, or baking soda. Avoid mixing with bleach, as this can create harmful fumes.
Store oils away from heat and direct sunlight.
15. Toilet Brush with Built-in Cleaner
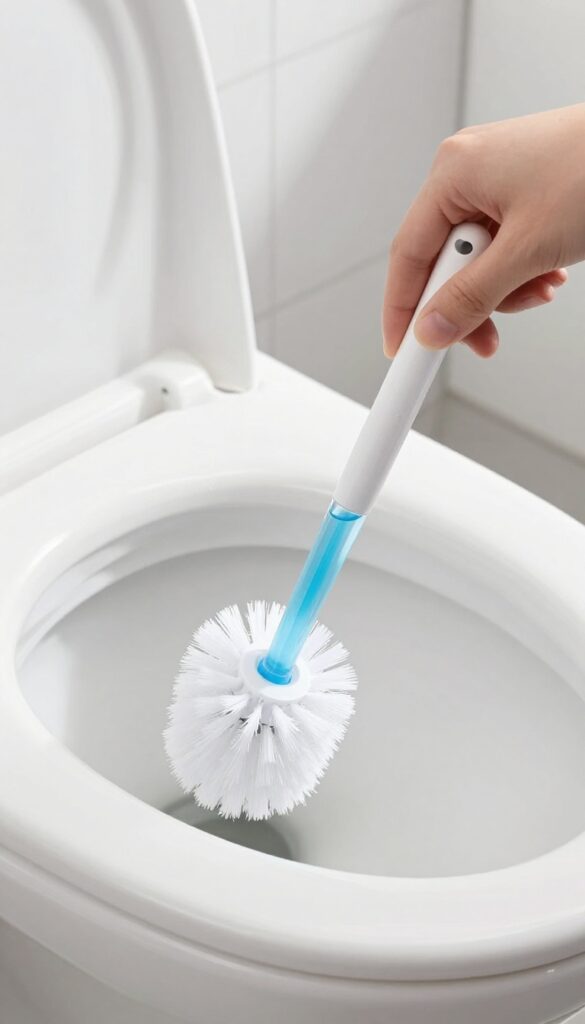
A standard toilet brush can only do so much when you have to dip it into a separate cleaner. That extra step often leads to uneven coverage and missed spots. A brush with a built-in cleaner changes the game by combining scrubbing power with direct product delivery.
These brushes have a hollow handle that holds liquid cleaner. When you squeeze the handle, the cleaner flows through the brush head directly onto the stain. This ensures every scrub delivers fresh product exactly where you need it.
The result is a more effective clean with less effort and waste.
How It Works
The handle acts as a reservoir for your favorite toilet cleaner. A simple pump or squeeze mechanism releases the liquid through the bristles. This design keeps the cleaner concentrated on the stain rather than diluting into the bowl water.
Why It's Better
You get consistent coverage without having to pour cleaner separately. The brush head stays saturated, so each pass is as effective as the first. Plus, you use less product overall because it's applied directly to the stain.
Maintenance Tips
Rinse the brush thoroughly after each use to prevent cleaner residue from clogging the handle. Replace the brush head every three months or when bristles start to fray. Store it in a holder that allows air circulation to keep it dry.
16. Regular Maintenance Schedule
Staying ahead of toilet stains is way easier than fighting them after they've set. A little routine goes a long way. By committing to a simple weekly schedule, you keep your bowl fresh without ever needing a deep scrub session.
Consistency is the secret weapon against stubborn toilet stains. A quick weekly clean prevents minerals and bacteria from building up, so you rarely face those tough rings. Plus, it makes your bathroom smell clean all the time.
Set A Weekly Reminder
Pick one day each week—say, Sunday morning—and make toilet cleaning part of your routine. Just five minutes with a brush and a daily cleaner keeps the bowl sparkling. Over time, it becomes a habit that pays off.
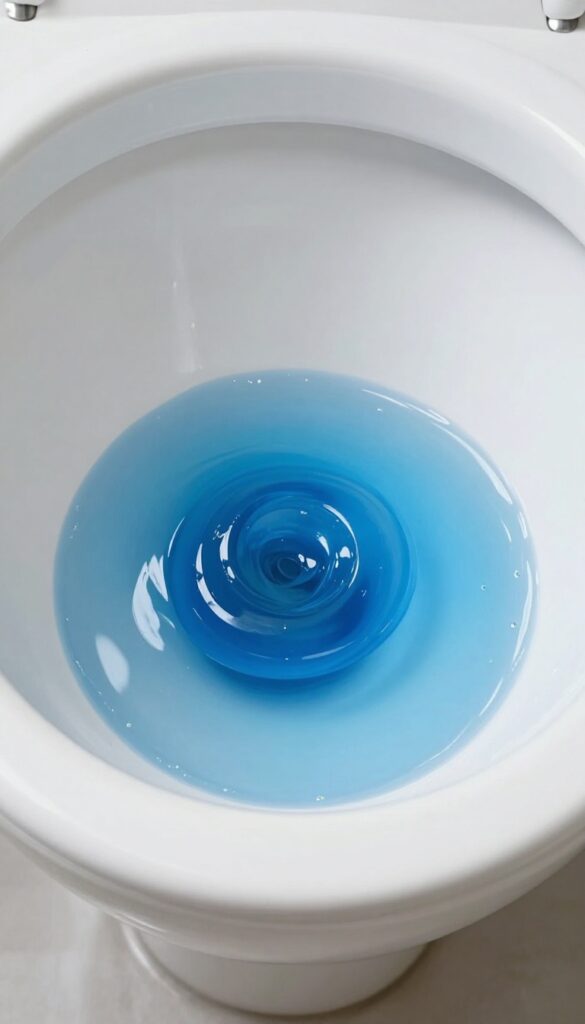
Use A Daily Cleaner
Drop a tablet or squirt a gel-based cleaner into the bowl after each flush. These products release cleaning agents with every flush, preventing stain formation. They're especially helpful in hard water areas.
Quick Wipe-downs
Keep a disinfectant wipe or spray near the toilet. A quick swipe around the rim and seat after use cuts down on grime. It takes seconds but makes a big difference in freshness.
17. Water Softener for Hard Water
If you live in an area with hard water, you've probably noticed those stubborn white or brown stains that keep coming back no matter how often you scrub. That's limescale, and it's a direct result of high mineral content in your water supply. Instead of fighting the same stains over and over, why not tackle the root cause?
Installing a water softener can dramatically reduce mineral buildup, making your toilet cleaning routine much easier and less frequent.
A water softener works by removing calcium and magnesium ions from your water through a process called ion exchange. This not only prevents limescale from forming on your toilet bowl but also protects your pipes and appliances. While it's an upfront investment, the long-term savings on cleaning products, plumbing repairs, and your own time make it worthwhile.
Plus, you'll notice softer skin and brighter laundry as a bonus.
How Water Softeners Prevent Stains
Hard water minerals bond with soap and detergents to create a sticky residue that traps dirt and bacteria. A water softener eliminates these minerals, so soap lathers better and rinses away cleanly. Without the mineral film, stains have nothing to cling to, and your toilet stays cleaner for longer.
Installation And Maintenance Tips
You can choose between whole-house softeners or smaller point-of-use units for just your bathroom. Whole-house systems are more effective but require professional installation. Maintenance involves refilling salt pellets every few months and periodic cleaning of the brine tank.
Many modern units have digital controls that make this easy.
Cost Vs. Benefit Analysis
A good water softener costs between $400 and $2, 000 installed. But consider the savings: fewer cleaning products, less time scrubbing, and reduced wear on your water heater and plumbing. For homes with very hard water (over 10 grains per gallon), the system often pays for itself within a few years.
FAQ
What causes toilet bowl stains?
Toilet stains are usually caused by hard water minerals like calcium and magnesium, rust from old pipes, or bacteria buildup. Regular cleaning can prevent them.
Can I use bleach to clean toilet stains?
Yes, bleach is effective for whitening and disinfecting. Use a gel bleach cleaner and let it sit for 10 minutes before scrubbing. Avoid mixing with other cleaners.
How do I remove rust stains from a toilet bowl?
Rust stains can be removed with a pumice stone, commercial rust remover, or a paste of lemon juice and borax. Let the solution sit before scrubbing.
Is it safe to use a pumice stone on porcelain?
Yes, if you wet the stone first and rub gently. A dry pumice stone can scratch, so always keep it damp. Test on a small area first.
How often should I clean my toilet to prevent stains?
Clean your toilet at least once a week. For hard water areas, more frequent cleaning may be needed. A daily quick wipe helps maintain freshness.
Conclusion
A clean toilet bowl doesn't have to be a chore. With these 17 tips, you can tackle stains quickly and keep your bathroom feeling fresh. Pick the methods that work best for your situation and stick with a regular routine.
Remember, prevention is easier than deep cleaning. A little effort each week saves you from scrubbing stubborn stains later. Try a few of these ideas and see which ones make the biggest difference in your home.