23 Bathroom Cleaning Hacks for Busy Homes and Rentals
Between work, kids, and actually relaxing, the last thing you want is to spend your weekend scrubbing a bathroom. But grime builds fast, especially in rentals where you’re fighting hard water and previous tenant residue. The good news?
You don’t need harsh chemicals or hours of elbow grease. These 23 hacks are designed for busy people who want a clean bathroom without the hassle.
From shower squeegees to dishwasher tablets, each tip saves time and cuts through the toughest messes. Let’s get your bathroom sparkling with less effort.
1. Use a Dish Wand for Quick Grout Scrubbing
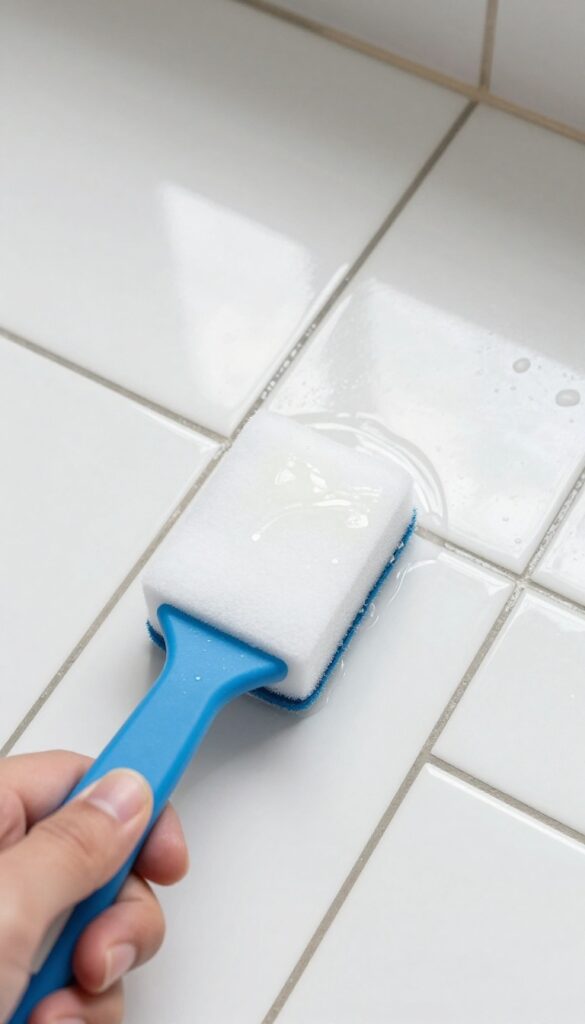
Grout lines collect grime fast, especially in high-moisture bathrooms. Scrubbing them by hand with a tiny brush is tedious and slow. A dish wand—yes, the same one you use for plates—can make this job almost effortless.
Fill the handle with a bleach-and-water mix (or vinegar and water for a gentler option), squeeze the trigger to dispense cleaner directly onto the grout, and scrub with the attached sponge. Rinse with a damp cloth or shower sprayer, and you’re done. It’s fast, mess-free, and perfect for weekly touch-ups.
This hack turns a mundane chore into a quick win. The wand’s angled head reaches tight corners and vertical grout lines easily, and the built-in soap dispenser means you don’t have to keep dipping into a bucket. For best results, use a wand with a replaceable sponge head and rinse it thoroughly after each use to avoid bleach damage.
If you’re renting, the vinegar option is safer for older grout and won’t void any deposits.
Why Dish Wands Work Better Than Brushes
Traditional grout brushes have short bristles that wear out quickly and require constant dipping in cleaner. Dish wands have a larger scrubbing surface and a built-in reservoir, so you cover more area per swipe. The sponge is also gentler on grout than stiff bristles, reducing the risk of crumbling or discoloration over time.
Best Cleaner Mixes For Different Grout Types
For white or light grout, use a 50/50 bleach-water mix to kill mold and brighten. For colored or older grout, swap bleach for white vinegar to avoid fading—but never mix bleach and vinegar. If you have epoxy grout, stick to mild dish soap and water to prevent etching.
How To Maintain Grout Between Deep Cleans
Keep a dedicated dish wand in your shower caddy. After every few showers, give the grout a quick once-over while the walls are already wet. This prevents buildup and makes your monthly deep clean much faster.
Replace the sponge head every 2–3 months to avoid bacteria growth.
2. Shower Squeegee After Every Use

Hard water stains and soap scum are the enemies of a clean-looking shower. They build up fast, especially if you have glass doors or tile walls. The fix is almost too simple: keep a squeegee in the shower and use it for 10 seconds after each rinse.
This habit alone can cut your deep-cleaning frequency in half. Water beads off smooth surfaces, so wiping them down prevents minerals from drying and bonding to the glass or tile. No more scrubbing with vinegar every week.
Why It Works So Well
When water dries naturally, it leaves behind calcium and magnesium deposits. A squeegee removes the water before it evaporates, so those minerals never get a chance to stick. Plus, it stops soap scum from forming a film.
Pick The Right Squeegee
Look for a squeegee with a rubber blade and a hook for hanging. A 10- to 12-inch blade covers most shower doors in a few strokes. Avoid cheap plastic blades that leave streaks—replace the rubber when it gets worn.
Make It A Family Habit
Get everyone in the house on board. Hang the squeegee at eye level and keep a small sign as a reminder. After a week, it becomes automatic.
For rentals, this habit also protects the glass from permanent etching, so you get your deposit back.
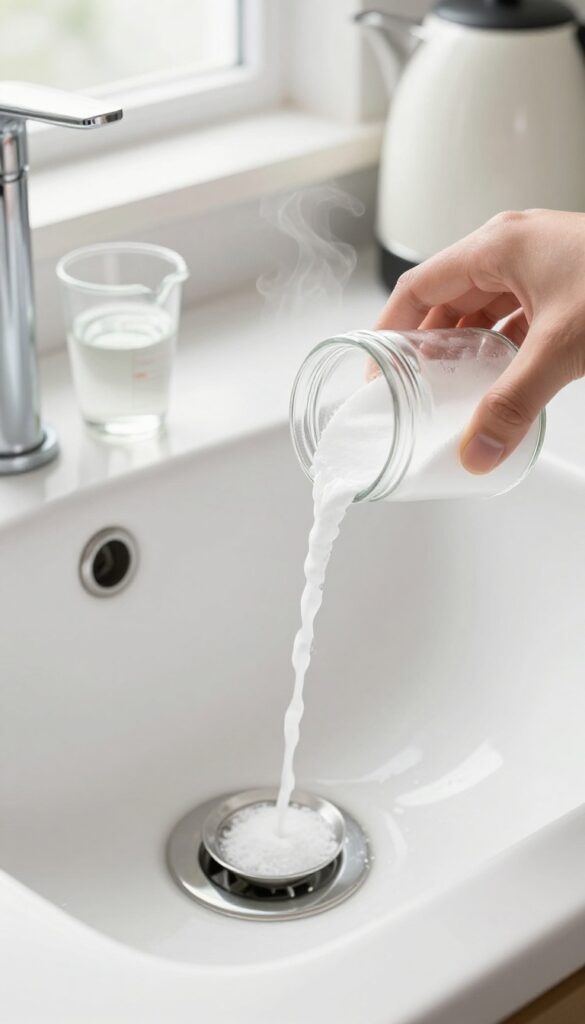
3. Vinegar and Baking Soda for Clogged Drains
A slow drain can ruin your morning routine fast. Before you reach for a chemical drain cleaner, try this kitchen staple combo that’s safer for your pipes and the planet. It works on minor clogs caused by hair and soap scum, and it leaves your drain smelling fresh.
Why This Combo Works
Baking soda is a mild alkali that reacts with the acid in vinegar to create carbon dioxide gas. This fizzing action helps break down organic matter like hair and grease. The boiling water flushes everything away, leaving your drain clear.
Step-by-step Instructions
Start by pouring 1/2 cup of baking soda directly down the drain. Follow with 1/2 cup of white vinegar. Immediately cover the drain with a plug or a damp cloth to trap the fizz inside.
Wait 15 minutes, then flush with a full kettle of boiling water. Repeat if needed.
When To Call A Pro
This hack works best for slow drains, not fully blocked ones. If water won’t drain at all after two tries, you may have a deeper clog that requires a plumber’s snake or professional help. Also avoid this method if you’ve recently used a chemical drain cleaner, as the reaction can be dangerous.
4. Dryer Sheets to Remove Soap Scum
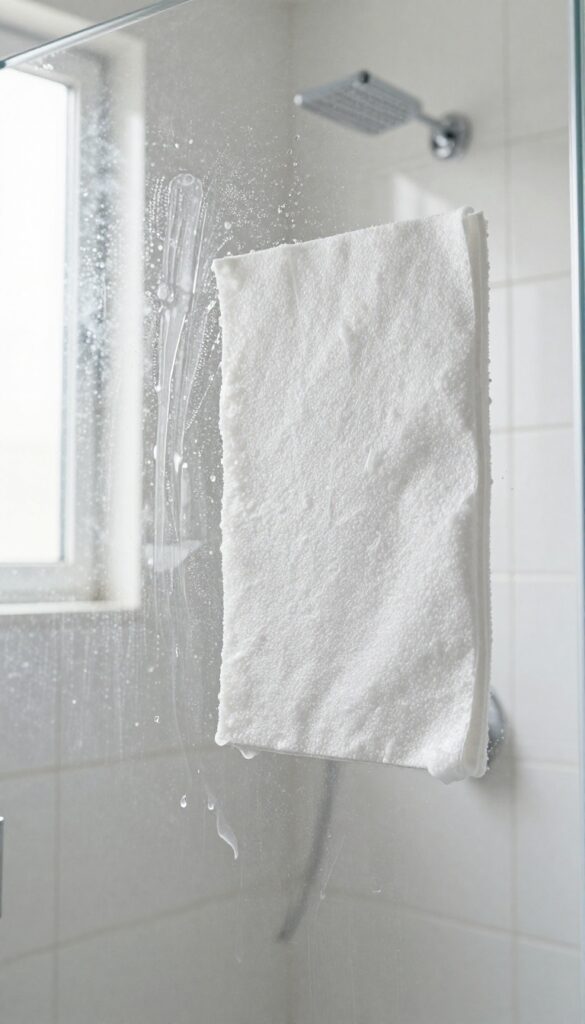
Soap scum builds up fast on shower doors and tiles, especially in rentals where hard water is common. But you don’t need a specialty cleaner to tackle it. Grab a used dryer sheet from the laundry room instead.
Why It Works
Dryer sheets are coated with fabric softener, which contains mild surfactants that break down soap scum and mineral deposits. The soft texture also makes them non-abrasive, so they won’t scratch glass or acrylic surfaces.
How To Use It
Wet a used dryer sheet and scrub the soap scum directly. Focus on shower doors, tiles, and fixtures. The sheet will start to break down the residue almost immediately.
Rinse the area with water and wipe dry with a clean cloth for a streak-free finish.
Bonus For Rentals
This hack is gentle enough for rental surfaces like fiberglass tubs and chrome fixtures. It’s also cheap and uses something you’d otherwise throw away. Just avoid using it on natural stone, as the softener can dull the finish over time.
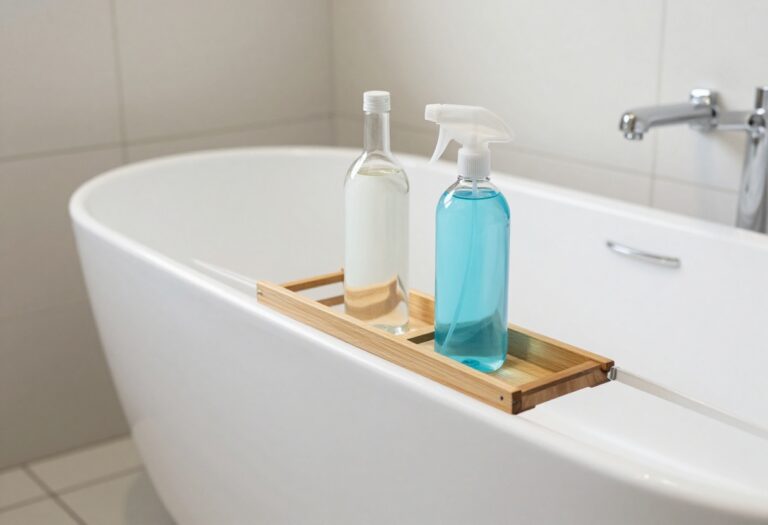
5. Dawn Dish Soap and Vinegar for Shower Heads
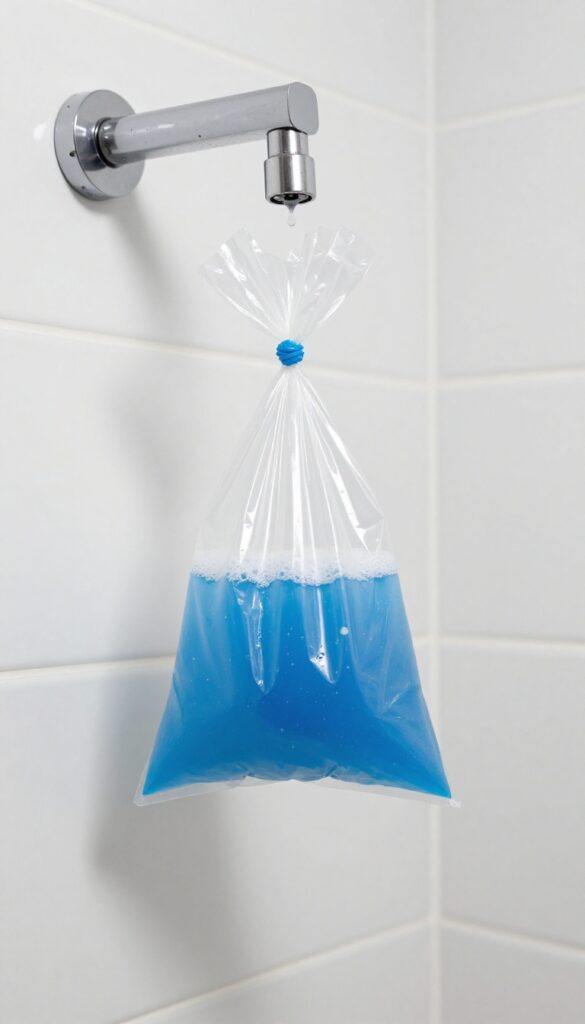
Mineral deposits can clog shower heads and reduce water pressure, but a simple soak with Dawn and vinegar dissolves buildup without scrubbing. This hack works on any shower head, including those in rentals where you can’t replace fixtures. All you need is a plastic bag and a rubber band.
Why This Combo Works
Dawn dish soap cuts through grease and grime, while white vinegar’s acidity breaks down hard water minerals like calcium and lime scale. Together, they create a powerful cleaning solution that loosens deposits without damaging metal or plastic finishes.
Step-by-step Soak
Fill a plastic bag with equal parts Dawn and white vinegar, enough to fully submerge the shower head. Secure the bag over the shower head with a rubber band or twist tie, making sure it’s tight to prevent leaks. Let it soak for 30 minutes, then remove the bag and run the water for a minute to flush out loosened deposits.
When To Use This Hack
Use this method every few months or when you notice water flow slowing down. It’s especially effective in areas with hard water and works on both fixed and handheld shower heads. For stubborn buildup, let it soak for up to an hour.
6. Magic Eraser for Stubborn Stains
Some stains just refuse to budge with regular cleaners. Hard water rings, scuff marks from shoes, and crayon art from little ones can make a bathroom look worn out. That’s where a magic eraser comes in—it’s basically a sponge on steroids that lifts stains without harsh scrubbing.
A damp magic eraser works wonders on tough spots. For hard water stains around the faucet base or on the tub, gently rub in circles—the stain lifts off in seconds. Scuff marks on baseboards or walls disappear with a few swipes.
And if you have kids, crayon marks on tile or the bathtub are no match for this sponge. Just remember to test an inconspicuous area first, especially on painted walls, as it can dull the finish if rubbed too hard.
Where To Use It Safely
Magic erasers are great on glazed tile, fiberglass tubs, sinks, and most sealed surfaces. Avoid using them on unsealed grout, natural stone, or matte paint—they can scratch or remove the finish. For rentals, stick to glossy bathroom tiles and metal fixtures.
Pro Tip For Renters
If you’re moving out and need to erase years of wear, a magic eraser can remove stubborn soap scum and hard water rings from the toilet and sink. It’s also perfect for wiping down baseboards and doors to get your security deposit back. Just go easy on painted surfaces to avoid removing the paint itself.
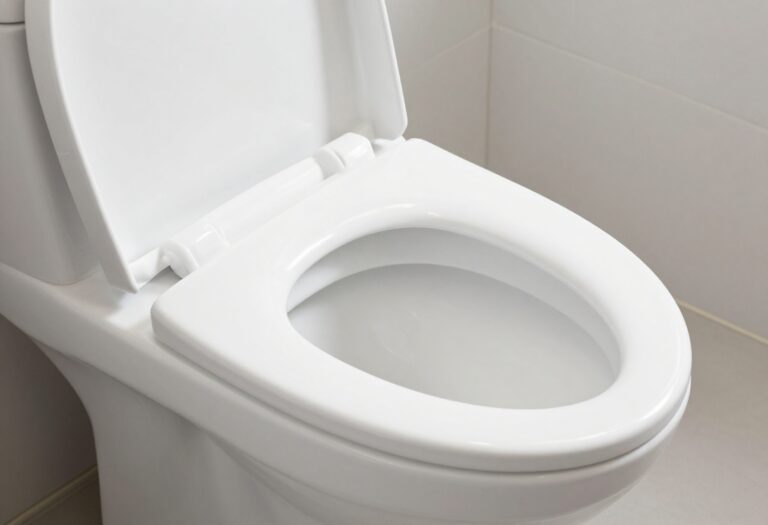
7. Use a Pumice Stone on Toilet Rings

Toilet rings from hard water and mineral deposits can make even a clean toilet look dirty. Scrubbing with harsh cleaners often does little, and bleach tablets can damage internal parts. A pumice stone offers a simple, chemical-free solution that works like magic on stubborn rings.
Wet the pumice stone and gently rub the mineral ring inside the toilet bowl. The stone’s abrasive texture erodes the deposit without scratching porcelain. It’s a lifesaver for hard water areas and leaves the bowl gleaming with minimal effort.
Why Pumice Works Without Scratching
Pumice is a volcanic rock with a porous, abrasive surface. When wet, it’s softer than porcelain but hard enough to grind away mineral buildup. The key is keeping the stone wet and using light pressure—let the stone do the work, not your arm.
Step-by-step: How To Use It
First, flush the toilet to lower the water level below the ring. Wet the pumice stone thoroughly, then gently rub the ring in a circular motion. Rinse the stone often to remove residue.
Once the ring is gone, flush again and wipe the bowl clean.
Pro Tips For Best Results
Always use a dedicated pumice stone for toilet cleaning—don’t reuse one from the shower. Store it dry between uses to prevent bacteria growth. If the ring is extra stubborn, let the stone soak in water for a few minutes before starting.
8. Shaving Cream for Mirror Defogging
Stepping out of a hot shower only to find a completely fogged mirror is frustrating, especially when you’re in a rush. You wipe it with a towel, but the fog returns seconds later. There’s an easy fix using something you probably already have in your bathroom: shaving cream.
Shaving cream contains surfactants that leave a microscopic film on glass, which stops water droplets from condensing and fogging up the surface. The application takes just a minute, and the effect lasts for days, meaning fewer frantic towel swipes and more time getting ready.
How To Apply It
Start with a clean, dry mirror. Squeeze a dollop of shaving cream—about the size of a quarter—onto a microfiber cloth. Rub it evenly over the entire mirror surface, then let it sit for 30 seconds.
Buff it off with a clean, dry cloth until the mirror is clear. That’s it.
Why It Works So Well
The key ingredients in shaving cream—stearic acid and triethanolamine—create a thin, invisible barrier that repels moisture. Unlike commercial anti-fog sprays, shaving cream is cheap, non-toxic, and leaves no streaks. It’s safe for all mirror types and even works on glass shower doors.
Pro Tips For Best Results
Use a plain, white shaving cream without added moisturizers or gels for the best film. Avoid wiping the mirror with a damp cloth afterward, as that can remove the barrier. Reapply every three to four days, or after you deep-clean the mirror.
For extra fog resistance, apply a second thin coat.
9. Baby Oil for Stainless Steel Fixtures
Stainless steel faucets and handles look great when they’re clean, but water spots and fingerprints show up almost instantly. Store-bought polishes work, but they’re often expensive and full of chemicals you might not want around. Baby oil is a surprisingly effective alternative that leaves fixtures gleaming with minimal effort.
Just a drop of baby oil on a soft, dry cloth is all you need. Buff it onto faucets, handles, and shower heads in a circular motion, then wipe away any excess. The oil fills in microscopic scratches and repels water, so spots don’t form as quickly.
It’s also safe for rental fixtures—no harsh acids or abrasives that could strip finishes. Plus, baby oil is cheap and lasts forever since you use so little each time.
Why Baby Oil Works So Well
Baby oil is mostly mineral oil, which is non-reactive and gentle on metal surfaces. It creates a thin protective layer that makes water bead up and roll off instead of leaving hard water stains. It also dissolves light grime and restores shine without any scrubbing.
Unlike some commercial polishes, it won’t damage chrome, brushed nickel, or stainless steel finishes.
How To Apply It For Best Results
Start with a clean, dry surface—wipe away any dust or loose dirt first. Put a single drop of baby oil on a microfiber cloth. Rub it onto the fixture in small circles, covering the entire area.
Let it sit for about 30 seconds, then buff with a clean part of the cloth until the surface looks shiny and feels smooth. Use a dry section of the cloth to remove any oily residue so nothing feels slippery.
Tips For Rental Safety
Baby oil is mild, but always test it on an inconspicuous spot first, especially on older or painted fixtures. Avoid getting it on caulking or grout, as it can break down sealants over time. If you’re worried about buildup, use a tiny amount—less is more.
A single application can last a week or more, so you don’t need to redo it every cleaning session.
10. Toothbrush for Tight Spots
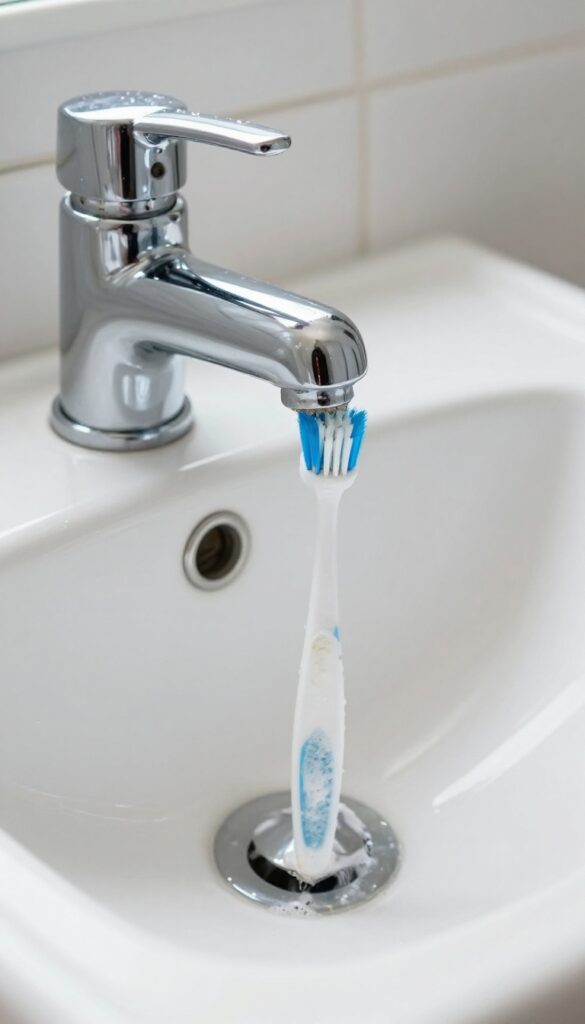
An old toothbrush isn’t just for scrubbing your teeth—it’s a precision tool for cleaning the nooks and crannies that sponges and cloths can’t reach. Faucet bases, toilet rims, and tile grout lines collect grime and soap scum over time, but a dedicated toothbrush makes quick work of these tight spots. Keep one in your caddy, and you’ll be amazed at how much cleaner your bathroom looks with minimal effort.
For faucet bases, dip the toothbrush in a mild cleaner like diluted dish soap or a vinegar-water mix. Scrub around the base where the faucet meets the counter, paying extra attention to the back where gunk tends to hide. Under the toilet rim, use the brush to dislodge mineral deposits and bacteria that accumulate in the crevices.
Along tile edges and grout lines, a toothbrush can get into the narrow gaps that sponges miss, lifting dirt without damaging the surface. Rinse the brush after each use and let it air dry to prevent bacteria growth.
Faucet Bases
Faucet bases are notorious for trapping toothpaste splatters and hard water stains. Dip your toothbrush in a mild cleaner and scrub in a circular motion around the base. Focus on the back where the faucet meets the counter—this area often gets overlooked.
A quick scrub once a week keeps buildup at bay.
Under Toilet Rims
The underside of the toilet rim is a prime spot for mold and mineral deposits. Use the toothbrush to reach into the small holes and along the rim’s edge. A mixture of baking soda and vinegar works well for tough stains.
Scrub gently to avoid scratching the porcelain.
Tile Edges And Grout
Grout lines and tile edges collect soap scum and mildew. Dip the brush in a bleach-free cleaner or a paste of baking soda and water. Scrub along the lines, applying light pressure to avoid damaging the grout.
Rinse with a damp cloth afterward for a fresh look.
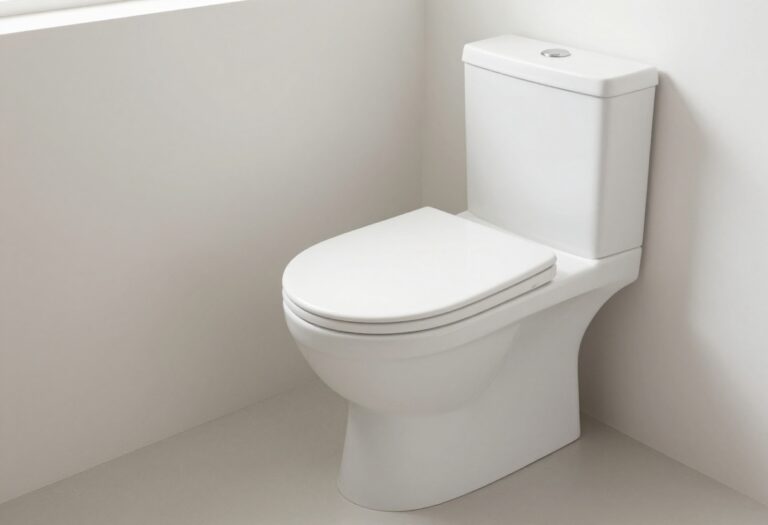
11. Use a Dishwasher Tablet for the Toilet
Who knew that little tablet sitting in your dishwasher cabinet could double as a toilet cleaner? Dishwasher tablets are packed with enzymes and surfactants that break down grease, stains, and odors—perfect for tackling toilet grime without the bleach fumes. Just drop one in, let it fizz, and flush your way to a cleaner bowl.
This hack works because dishwasher tablets are designed to dissolve tough food residue and grease, which translates surprisingly well to toilet stains. The fizzing action helps lift mineral deposits and rings, while the enzymes eat away at organic buildup. Plus, it leaves a fresh, clean scent without the harsh chemical smell of traditional toilet cleaners.
It’s a quick, low-effort solution that’s especially handy when you’re out of your usual toilet cleaner.
How To Use A Dishwasher Tablet In The Toilet
Start by dropping one dishwasher tablet into the toilet bowl. Let it sit and fizz for about 15 minutes—don’t close the lid if you can help it, so the fumes can dissipate. After the fizzing stops, take your toilet brush and give the bowl a good scrub, especially around the rim and the waterline.
Then just flush. The tablet will have loosened most stains, so scrubbing is quick and easy.
Why This Works Better Than You’d Think
Dishwasher tablets contain powerful degreasers and enzymes that target protein-based stains, which are common in toilets. They also have surfactants that help lift and suspend dirt so it flushes away. Unlike bleach-based cleaners, they don’t create harsh fumes, making the process more pleasant.
And since you’re using a product you already have, it saves a trip to the store.
A Few Things To Keep In Mind
Avoid using this method if you have a septic system, as the enzymes and chemicals could disrupt the bacterial balance. Also, don’t use it too often—once a month is plenty. For heavily stained toilets, you might need to repeat the process or follow up with a pumice stone.
And always keep dishwasher tablets out of reach of kids and pets, as they can be harmful if ingested.
12. Microfiber Cloths for Dust-Free Surfaces

Dust and grime love to settle on bathroom surfaces, but a dry paper towel just moves it around. Microfiber cloths change the game by trapping particles instead of pushing them. A quick damp wipe leaves counters, shelves, and light fixtures streak-free and truly clean.
Why Microfiber Works Better
Microfiber is made of ultra-fine synthetic fibers that split and create a static charge. This charge attracts dust and dirt like a magnet, holding it in the cloth rather than scattering it. Plus, the fibers are gentle enough for delicate surfaces like mirrors and chrome fixtures.
Best Practices For Bathroom Use
Use a slightly damp cloth for dusting—too much water reduces the static effect. Wash your microfiber cloths separately with mild detergent and no fabric softener, which clogs the fibers. Replace them when they start to feel greasy or lose their grip.
Where To Use Microfiber In The Bathroom
Wipe down vanity tops, shelves, light fixtures, and even the top of the toilet tank. For glass shower doors, a dry microfiber cloth buffs away water spots without streaks. Keep one cloth dedicated to dusting and another for wet cleaning to avoid cross-contamination.
13. Hydrogen Peroxide for Mold and Mildew
Mold and mildew love damp, dark corners, and bathrooms are their favorite hangout. Instead of reaching for bleach or harsh chemical sprays, grab a bottle of 3% hydrogen peroxide from your medicine cabinet. It’s a gentle but effective way to kill mold spores without filling your small, stuffy bathroom with toxic fumes.
Hydrogen peroxide works by releasing oxygen bubbles that break down mold at the cellular level. It’s safe on most surfaces, including grout, caulk, and tile, and it won’t bleach colored fabrics or discolor surfaces like bleach can. Plus, it’s cheap and readily available.
How To Apply It
Pour 3% hydrogen peroxide into a spray bottle (no need to dilute). Spray it directly onto the moldy grout or caulk until it’s saturated. Let it sit for 10 minutes—you’ll see it start to fizz as it works.
Then scrub with a stiff brush (an old toothbrush works great) and wipe clean with a damp cloth. For stubborn spots, repeat or let it sit longer.
Why It’s Better Than Bleach
Bleach is harsh, smells strong, and can irritate your lungs—especially in a small bathroom with no window. Hydrogen peroxide breaks down into water and oxygen, so no harmful residue or fumes. It’s also less likely to damage grout or caulk over time, which is a big plus in rentals where you want to avoid repairs.
When To Use It (and When Not To)
Use hydrogen peroxide on hard, non-porous surfaces like tile, grout, and caulk. Avoid it on natural stone (like marble or granite) because the acid can etch the surface. Also test it on a small hidden area first—some colored grout might fade.
For porous surfaces like wood, stick with a vinegar solution instead.
14. Use a Lint Roller for Hair and Dust

Hair and dust seem to magically appear in bathrooms, clinging to rugs, towels, and even the toilet seat. Instead of dragging out the vacuum for a quick fix, grab a lint roller. It’s a surprisingly effective tool for snagging stray hairs and dust bunnies in seconds.
A lint roller is your secret weapon for quick bathroom touch-ups. It picks up hair, lint, and dust from fabric surfaces faster than a vacuum and without the noise. Keep one in the bathroom cabinet for daily maintenance between deep cleans.
Bathroom Rugs And Towels
Run the lint roller over bathroom rugs to collect hair and dust that vacuum cleaners often miss. It’s especially effective on looped or shag rugs. For towels, roll lightly to remove lint and stray hairs without damaging the fabric.
Toilet Seat And Lid
Dust and hair settle on the toilet seat and lid, but a lint roller picks them up effortlessly. It’s gentler than a cloth and doesn’t push debris into crevices. A quick roll leaves the surface spotless.
Baseboards And Corners
Use a lint roller along baseboards and in corners where dust accumulates. It’s faster than wiping with a cloth and catches fine particles. For tight spaces, try a mini lint roller or trim the roller to size.
15. Baking Soda Paste for Stained Sinks
Stubborn stains in sinks and tubs can make even a clean bathroom look dingy. Instead of reaching for harsh bleach or abrasive powders that can scratch surfaces, try a simple paste made from baking soda and water. It’s cheap, non-toxic, and surprisingly effective on everything from coffee rings to rust spots.
How To Make And Apply The Paste
Mix three parts baking soda with one part water in a small bowl. Stir until it forms a thick, spreadable paste. Using a sponge or your fingers, apply the paste directly to the stain, covering it completely.
Let it sit for 10 minutes to break down the grime. Then scrub gently with a soft sponge or cloth and rinse with warm water.
Why It Works So Well
Baking soda is mildly abrasive, so it lifts stains without scratching porcelain, fiberglass, or enamel. Its alkaline nature helps dissolve acidic stains like coffee, tea, or hard water deposits. Plus, it’s safe for septic systems and won’t release harsh fumes.
Tips For Tough Stains
For older or set-in stains, add a splash of white vinegar to the paste to create a fizzy reaction that helps lift grime. You can also let the paste sit longer—up to 30 minutes—for extra stubborn spots. Avoid using metal scrubbers, as they can damage the finish.
When Not To Use This Method
While baking soda is gentle, it’s not recommended for natural stone surfaces like marble or granite, as it can dull the finish. Stick to porcelain, fiberglass, acrylic, and enamel sinks and tubs. Always test on a small, hidden area first if you’re unsure.
16. Use a Spray Bottle with Rubbing Alcohol for Glass
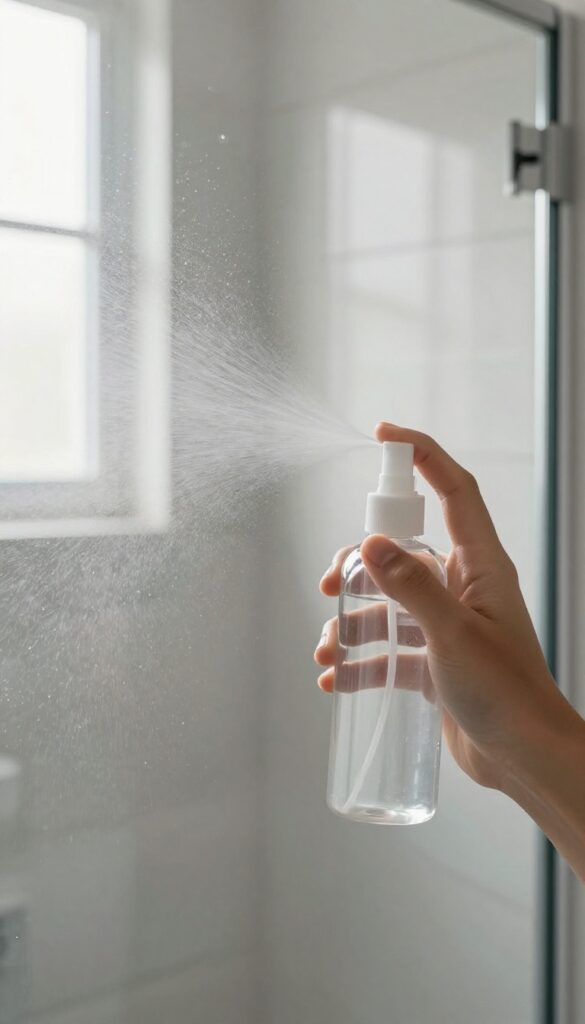
Mirrors and glass shower doors are notorious for streaks, especially when you use store-bought glass cleaners that leave a hazy film. Rubbing alcohol cuts through grease and grime without the residue, making it a perfect base for a DIY glass cleaner. Plus, it evaporates almost instantly, so you won’t be waiting around for a streak-free shine.
Mix equal parts rubbing alcohol and water in a spray bottle. Spritz onto mirrors or glass doors, then wipe with a microfiber cloth or a lint-free paper towel. The alcohol dissolves fingerprints, toothpaste splatters, and soap scum, while the water helps dilute it for safe use.
No ammonia means it’s safer for pets and kids, and it won’t damage mirror backing. Keep a bottle under the sink for quick touch-ups between deep cleans.
Why It Works So Well
Rubbing alcohol is a solvent that breaks down oils and residues quickly. Unlike vinegar, it doesn’t leave a smell that lingers, and it dries faster, preventing water spots. The 1: 1 ratio balances effectiveness with safety for most glass surfaces.
Pro Tips For Best Results
Use a clean microfiber cloth to avoid lint. Wipe in a zigzag or S-pattern to prevent streaks. If you have hard water stains, add a tablespoon of lemon juice to the mixture for extra cutting power.
Test on a small area first if your mirror has any special coating.
When To Avoid This Hack
Don’t use rubbing alcohol on acrylic or plastic shower doors—it can cause cloudiness. Stick to glass only. Also, avoid using on tinted mirrors, as alcohol might damage the tint layer.
17. Keep a Trash Can with a Lid
A bathroom trash can without a lid is basically an open invitation for smells to wander into your hallway. Even if you take out the trash regularly, lingering odors from used cotton rounds, floss, or wrappers can make the room feel stale. A lidded can traps those odors and keeps the space looking neat.
Choose a small, slim can that fits beside the toilet or under the sink. Metal or plastic with a step pedal or swing lid works best—you don’t want to touch the lid with dirty hands. Empty it weekly, and give it a quick wipe with a disinfectant wipe each time you change the bag.
This prevents grime and bacteria from building up inside.
Why A Lid Matters
Open trash cans let odors escape freely, especially in a small bathroom with poor ventilation. A lid traps smells inside until you take out the bag. It also keeps the contents out of sight, making the bathroom look instantly cleaner.
Maintenance Made Simple
Once a week, pull the bag and spray the inside of the can with a disinfectant spray or wipe it down. Let it dry before inserting a new bag. This takes two minutes and prevents that funky trash-can smell from taking hold.
Best Types For Rentals
If you’re renting, go for a lightweight, easy-to-clean can that won’t damage floors or walls. A stainless steel or sturdy plastic step can is durable and looks polished. Avoid anything too large—it’ll crowd a small bathroom and encourage you to let trash pile up.
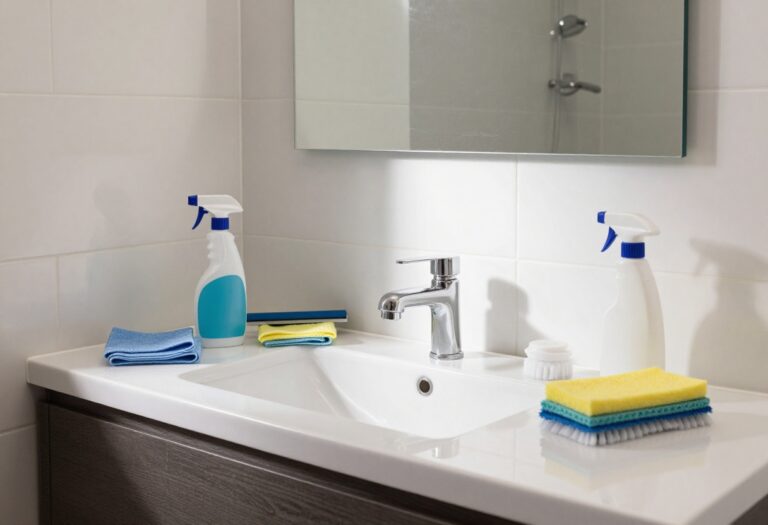
18. Use a Dish Soap and Vinegar Spray for Daily Clean
A quick daily spritz can save you from a deep scrub later. This DIY spray cuts through soap scum, toothpaste splatters, and hard water spots without harsh fumes. Keep a bottle under the sink and grab it for a 30-second wipe-down after your morning routine.
Mix 1 part Dawn dish soap, 1 part white vinegar, and 4 parts water in a spray bottle. Use it as a daily all-purpose cleaner for counters, sinks, and toilets. It’s safe, cheap, and effective.
Why This Combo Works
Dawn breaks down grease and grime, while vinegar dissolves mineral deposits and kills bacteria. Together they tackle the two biggest bathroom messes: oily residue and hard water stains.
How To Use It Daily
After brushing your teeth or washing your face, give the sink and counter a quick spritz and wipe with a microfiber cloth. For the toilet, spray the bowl rim and seat, let sit 30 seconds, then wipe. No rinsing needed.
Pro Tips For Rentals
Test on a small hidden area first to ensure it won’t damage finishes. Avoid using on natural stone like marble or granite—vinegar can etch them. Label your bottle clearly so roommates don’t mistake it for something else.
19. Use a Toilet Brush with a Built-in Dispenser
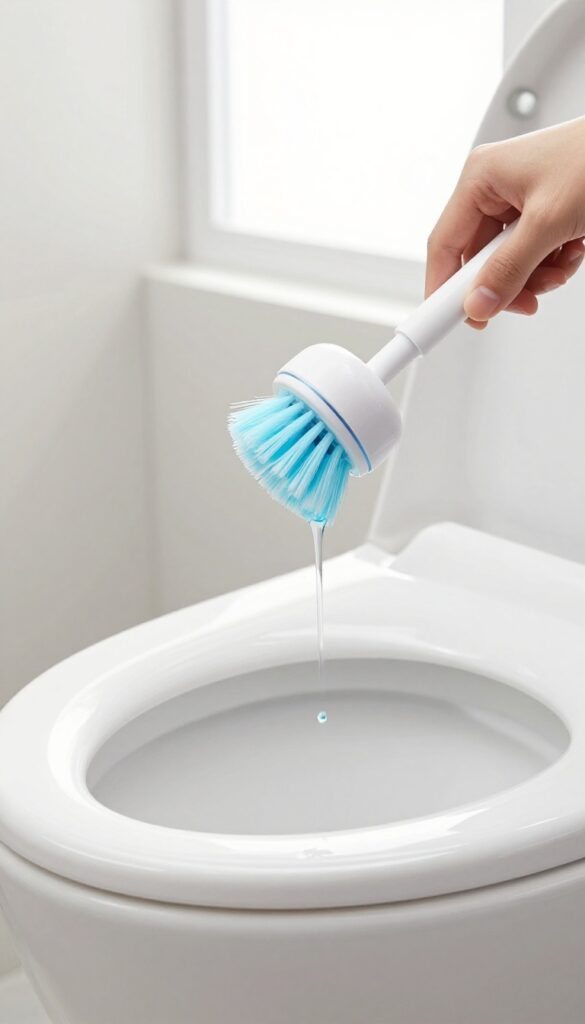
Pouring cleaner into the bowl every time you scrub gets old fast. It’s an extra step that often gets skipped, leaving the brush dry and the bowl less clean. A toilet brush with a built-in dispenser solves that problem in one simple upgrade.
These brushes have a hollow handle that you fill with liquid toilet cleaner. When you press the brush against the bowl, it releases a fresh dose of cleaner right where you need it. No more bending over to pour, no more wasted product.
Just scrub and go.
How It Works
The handle holds up to several ounces of cleaner. A valve at the brush head releases fluid when you apply pressure. Most models are refillable and use standard toilet bowl cleaner, so you’re not locked into expensive cartridges.
Why It Saves Time
You eliminate the pour-and-wait step. The cleaner is applied exactly where you’re scrubbing, so it works faster. One quick scrub per day keeps the bowl fresh without a deep clean every week.
What To Look For
Choose a brush with a sturdy, angled head to reach under the rim. Make sure the handle is leak-proof and easy to refill. A caddy or holder that stores the brush upright is a plus, so drips don’t make a mess.
20. Use a Hairdryer to Loosen Stickers and Decals
Rentals often come with a collection of adhesive hooks, decals, and stickers left by previous tenants. Peeling them off dry can rip paint or leave sticky residue that takes forever to scrub. A hairdryer changes the game entirely.
The heat softens the adhesive, letting you remove decals cleanly without damaging the surface underneath.
This trick works on tile, painted walls, glass, and even mirrors. It’s a lifesaver when you’re trying to make a rental feel like yours without losing your security deposit.
How It Works
Set your hairdryer to low or medium heat and hold it a few inches away from the sticker. Move it back and forth for about 30 seconds to a minute. You’ll feel the adhesive start to loosen.
Then, gently lift a corner with a fingernail or plastic scraper and peel slowly. If it resists, apply more heat.
Best Surfaces To Try
This method is safe for most bathroom surfaces: ceramic tile, glass shower doors, painted drywall, and metal fixtures. Avoid using high heat on laminate or vinyl, as it can warp them. Test a small hidden area first if you’re unsure.
Removing Leftover Residue
Even with heat, some sticky residue may remain. Wipe it off with a bit of rubbing alcohol or cooking oil on a soft cloth. Both break down adhesive without scratching.
Rinse with water and dry the area.
21. Use a Vacuum with a Crevice Tool for Dust Bunnies
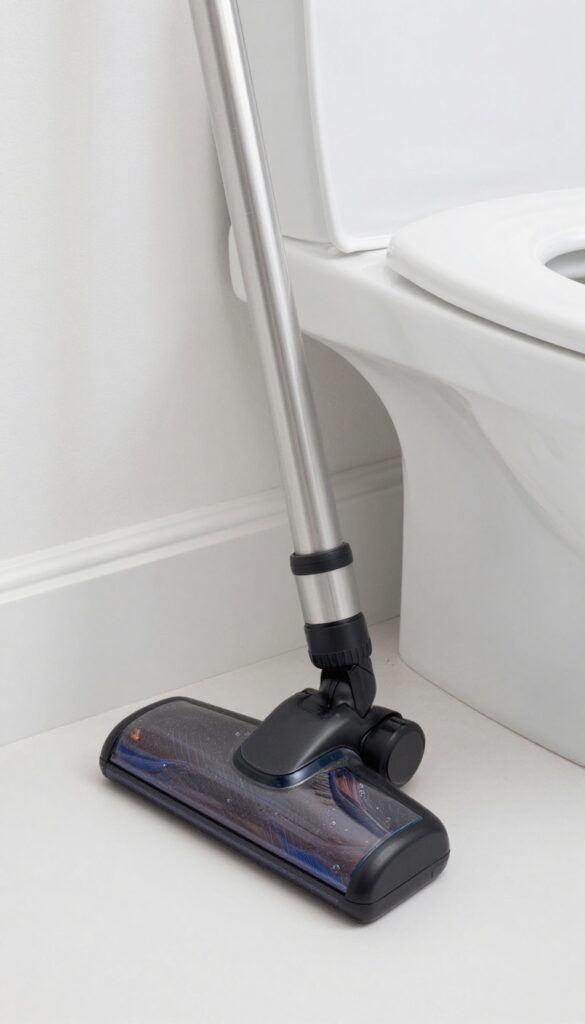
Dust bunnies love hiding in bathroom corners, under the sink, and behind the toilet. If you mop first, you just push wet clumps of hair and lint into a soggy mess. A quick vacuum with a crevice tool changes everything.
Before you break out the mop, grab your vacuum and attach the crevice tool. Run it along baseboards, inside cabinet gaps, and around the toilet base. This sucks up dry debris that would otherwise turn into sludge when wet.
Vacuuming first means your mop water stays cleaner and you’re not smearing dirt around.
Where To Focus
Hit the corners where the floor meets the wall, under the sink cabinet lip, and behind the toilet tank. Don’t forget the gap between the vanity and the wall—dust loves gathering there. A crevice tool reaches spots a broom never can.
Why It Works Better Than Sweeping
Sweeping just pushes dust into the air or deeper into corners. A vacuum with a crevice tool lifts it directly into the bin. This is especially helpful in rentals where old carpet edges or uneven flooring trap debris.
Pro Tip For Renters
If your vacuum doesn’t have a crevice tool, use a microfiber cloth wrapped around a butter knife to scoop out dust. Then vacuum the cloth itself to keep the dust contained.
22. Use a Squeegee on the Floor After Showering
You probably already use a squeegee on your shower walls, but have you tried it on the floor? It’s a game-changer for keeping your bathroom dry and mold-free. After your shower, a quick pass with a floor squeegee pushes water toward the drain, cutting down drying time and preventing standing water from seeping into grout lines.
Why It Works
Standing water is mold’s best friend. By removing excess moisture immediately, you starve mold and mildew before they can take hold. Plus, a dry floor means fewer slip hazards and less grime buildup.
Best Squeegee Types
Look for a squeegee with a wide rubber blade (18–24 inches) and a comfortable handle. Floor squeegees often have a curved blade to channel water better. Avoid cheap ones that leave streaks or fall apart quickly.
Quick Routine
Keep the squeegee hanging in your shower or on a hook near the door. After your last rinse, spend 30 seconds pushing water to the drain. If your floor is tiled, work from the corners inward.
Rinse the blade with hot water every few uses to keep it effective.
23. Use a Lazy Susan for Under-Sink Organization
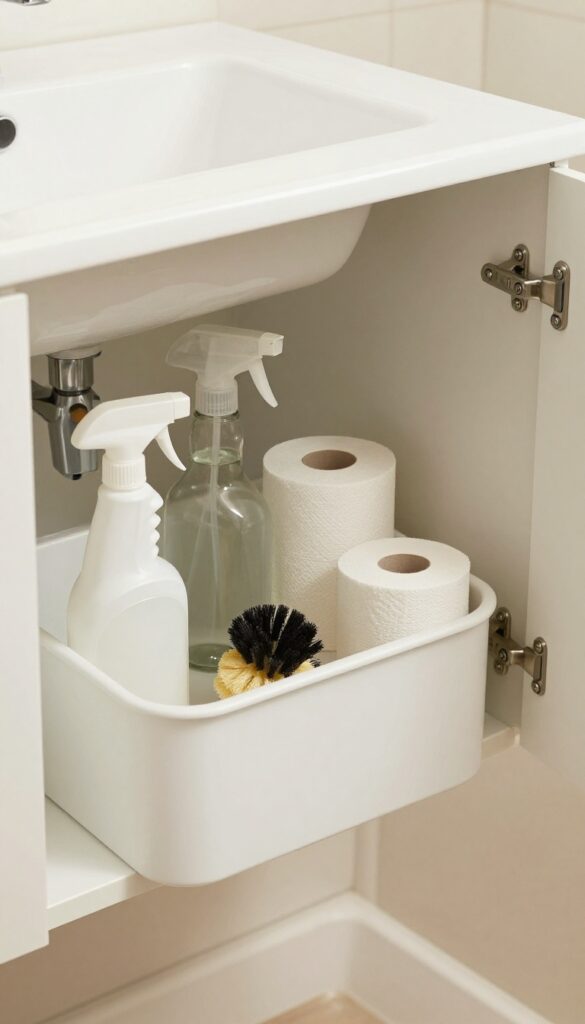
The space under your bathroom sink is prime real estate, but it’s often a black hole of bottles, rags, and random toiletries. A lazy Susan turns that chaos into a tidy, spin-accessible system. You’ll never have to dig around or knock over a bottle again.
Grab a sturdy lazy Susan (the ones with raised edges work best to prevent spills) and load it with your most-used cleaning sprays, sponges, and toilet paper rolls. Place it front and center under the sink. When you need something, just spin it around.
No more reaching into dark corners or pulling everything out to find the glass cleaner. For extra organization, use a second lazy Susan for backup toiletries like shampoo, soap, and toothpaste. This simple trick keeps everything visible and within arm’s reach, making quick cleanups even quicker.
What To Put On The Lazy Susan
Keep daily essentials on the turntable: all-purpose cleaner, glass spray, disinfecting wipes, a scrub brush, and a roll of paper towels. Store less frequently used items like extra toilet paper or cleaning tablets in bins next to it.
Choosing The Right Size
Measure your under-sink cabinet before buying. A 12-inch lazy Susan fits most standard cabinets, but if you have plumbing pipes in the way, opt for a smaller one or a two-tier version that works around obstacles.
Maintenance Tip
Wipe down the lazy Susan every couple of months with a damp cloth to catch any drips or dust. If you notice sticky residue from spilled cleaner, a quick spray of vinegar and water will keep it spinning smoothly.
FAQ
How often should I deep clean my bathroom?
For busy homes and rentals, aim for a deep clean every two weeks. Daily quick wipes and weekly spot cleaning can help maintain it between deep cleans.
Are these hacks safe for rental properties?
Yes, most hacks use gentle, non-abrasive methods and common household items. Avoid harsh chemicals that could damage surfaces or void your lease.
What’s the best way to prevent mold in a bathroom?
Improve ventilation by running the fan during and after showers, wipe down wet surfaces, and use a squeegee on walls and floors. Hydrogen peroxide spray can treat existing mold.
Can I use vinegar on natural stone surfaces?
No, vinegar is acidic and can etch natural stone like marble or granite. Use a pH-neutral cleaner instead for stone countertops or tiles.
How do I remove hard water stains from glass shower doors?
Use a mixture of equal parts white vinegar and water in a spray bottle, let it sit for 10 minutes, then scrub with a non-abrasive sponge. Rinse and squeegee dry.
Conclusion
Keeping a bathroom clean doesn’t have to eat up your whole weekend. These hacks are designed to fit into your real life, whether you’re juggling kids, roommates, or a quick turnover between guests. Pick the ones that feel doable right now.
Start small, stay consistent, and you’ll find that a fresh bathroom is totally achievable without the stress. Your future self will thank you when cleaning day rolls around and you’ve already got a head start.