15 Toilet Cleaning Tips for a Fresher Bathroom Bowl
Nobody loves scrubbing the toilet, but a dingy bowl can make the whole bathroom feel off. The good news? You don't need expensive products or hours of elbow grease to get it sparkling.
A few smart tricks can cut your cleaning time in half and keep things fresher longer. Most of these tips use items you already have at home—like vinegar, baking soda, or a pumice stone. They're budget-friendly and actually work.
No gimmicks, just practical solutions that tackle stains, odors, and buildup. Whether you're dealing with hard water rings, stubborn limescale, or just want a quicker routine, these 15 tips will help you get a cleaner toilet with less effort. Let's dive in.
1. Use a Pumice Stone for Hard Water Rings
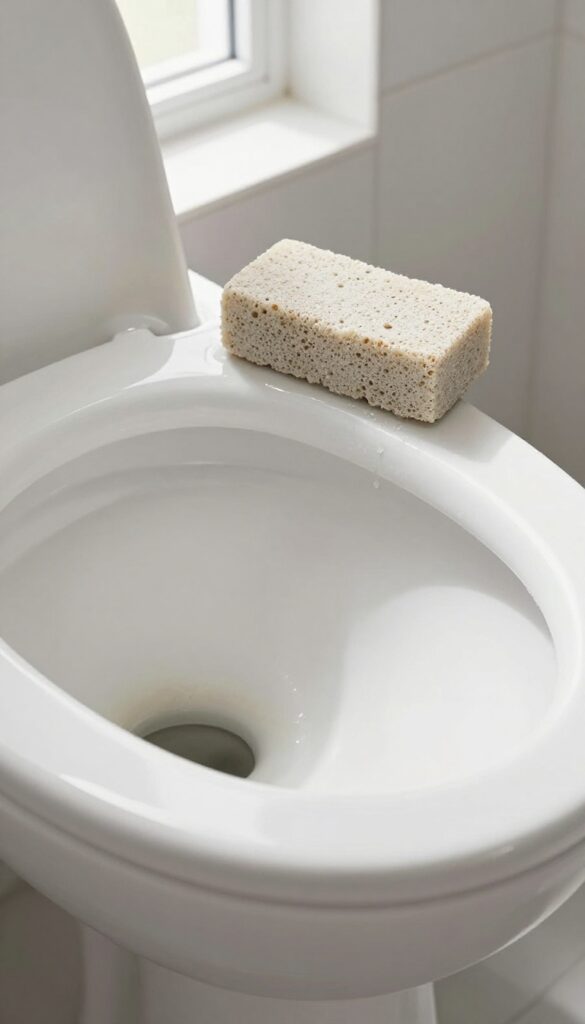
Hard water rings are one of the most stubborn toilet stains, but a pumice stone makes quick work of them. This porous volcanic rock is gentle enough for porcelain yet abrasive enough to lift mineral deposits without scratching—as long as you use it correctly. Here's how to get the best results without damaging your bowl.
Why A Pumice Stone Works
Pumice stones are naturally abrasive, so they physically scrub away calcium and lime buildup that regular brushes leave behind. Because the stone is softer than porcelain, it won't scratch the surface when used wet. That makes it perfect for tackling those crusty rings that form at the waterline.
How To Use It Safely
Always wet the pumice stone thoroughly before use—never use it dry. Gently rub the stone on the stain using light pressure, letting the stone do the work. Keep the area wet by dipping the stone in water frequently.
Rinse the bowl and check your progress. Repeat if needed, but avoid aggressive scrubbing.
What To Avoid
Never use a pumice stone on a dry toilet bowl or on surfaces like fiberglass, acrylic, or enameled steel—it will scratch those. Also, don't use it on colored porcelain, as it may dull the finish. Stick to white porcelain bowls for best results.
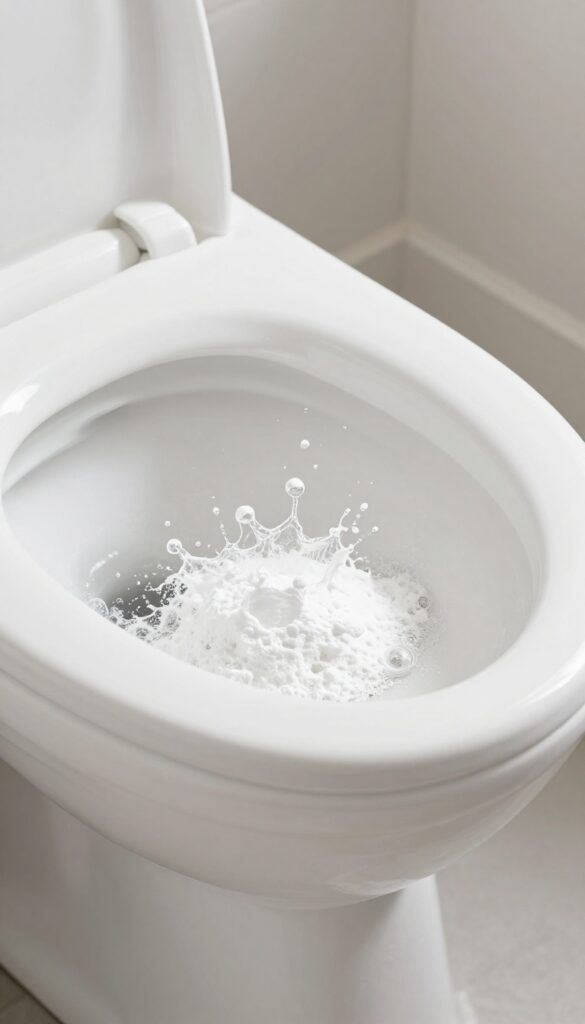
2. Drop a Denture Tablet for an Overnight Soak
Denture tablets aren't just for false teeth—they're surprisingly effective at cleaning toilet bowls. The fizzing action helps lift stains and deodorize, especially in hard-to-reach areas. It's a set-it-and-forget-it method that requires almost no effort on your part.
Drop one or two denture cleaning tablets into the bowl before bed. Let them fizz and soak overnight. In the morning, just flush.
The effervescent action breaks down stains and leaves the bowl smelling fresh. It's especially good for tackling light discoloration and general grime.
How It Works
Denture tablets contain sodium bicarbonate, citric acid, and other cleaning agents. When dropped in water, they create a fizzy reaction that helps loosen dirt and stains. The overnight soak gives them time to work on tough spots without any scrubbing.
When To Use This Method
This trick works best for maintenance cleaning or light stains. If you have heavy limescale or rust rings, you might need a stronger approach first. Use it once a week to keep the bowl bright and odor-free between deeper cleanings.
Pro Tips For Best Results
For extra cleaning power, drop two tablets instead of one. Make sure the water level is high enough to cover the stained areas—if needed, add a bucket of water to raise the level. Avoid using this method if you have a septic system, as the chemicals may disrupt the bacterial balance.
3. Vinegar and Baking Soda Combo for Tough Stains
When you're dealing with stubborn stains that won't budge with a regular scrub, it's time to bring out the classic duo: vinegar and baking soda. This fizzy combination creates a chemical reaction that helps break down grime and mineral deposits, making it easier to scrub away even the toughest buildup. It's cheap, non-toxic, and something you likely already have in your pantry.
Start by pouring about a cup of baking soda directly into the toilet bowl. Make sure it covers the stained areas, especially around the waterline and any rings. Then, slowly add a cup of white vinegar—you'll see it start to fizz immediately.
Let the mixture sit for about 15 minutes to allow the fizzing action to loosen the grime. After that, scrub the bowl thoroughly with a toilet brush, focusing on any remaining stains. Finally, flush to rinse everything away.
For extra stubborn spots, you can repeat the process or let it sit longer.
Why This Combo Works So Well
The science is simple: baking soda is a mild alkali, and vinegar is a weak acid. When they mix, they create carbon dioxide gas (the fizzing), which helps lift dirt and stains from the surface. The bubbling action also reaches into tiny crevices that a brush might miss.
Plus, both ingredients are gentle enough to use regularly without damaging your toilet's porcelain or plumbing.
When To Use This Method
This technique is ideal for tackling hard water stains, limescale rings, and yellowing buildup that has settled over time. It's also great for maintenance cleaning—doing it once a month can prevent stains from forming in the first place. Avoid using it if you've just used a harsh chemical cleaner, as mixing could create harmful fumes.
Always rinse the bowl first if you're switching methods.
Pro Tips For Best Results
For maximum effectiveness, use the hottest water you can get from the tap to dissolve the baking soda before adding vinegar. If the stains are really stubborn, make a paste with baking soda and a little water, apply it directly to the stains, and let it sit for 10 minutes before adding vinegar. You can also add a few drops of essential oil to the vinegar for a fresh scent.
And remember, never use this combo with bleach—it creates toxic chlorine gas.
4. Clean Under the Rim with a Toilet Brush and Vinegar
The area under the rim is a prime spot for buildup, but it's easy to ignore because you can't see it. That hidden grime can cause odors and stains that keep coming back. A simple mix of vinegar and your toilet brush can tackle it without any special tools.
Dip your toilet brush in white vinegar and scrub vigorously under the rim, making sure to reach all the way around. Let the vinegar sit for 5–10 minutes to break down mineral deposits and bacteria. Then flush to rinse.
For extra stubborn buildup, repeat or use a vinegar-soaked cloth to wipe the rim directly.
Why Vinegar Works
White vinegar is mildly acidic, which dissolves limescale, hard water deposits, and soap scum. It's also a natural deodorizer, so it helps neutralize smells without harsh chemicals.
Getting The Best Reach
Angle your toilet brush upward to get under the rim. Some brushes have a curved neck designed for this. If yours doesn't, bend it slightly or use a small scrub pad on a handle.
How Often To Do This
Aim to clean under the rim at least once a week. If you have hard water, you may need to do it more often to prevent stubborn ring buildup.
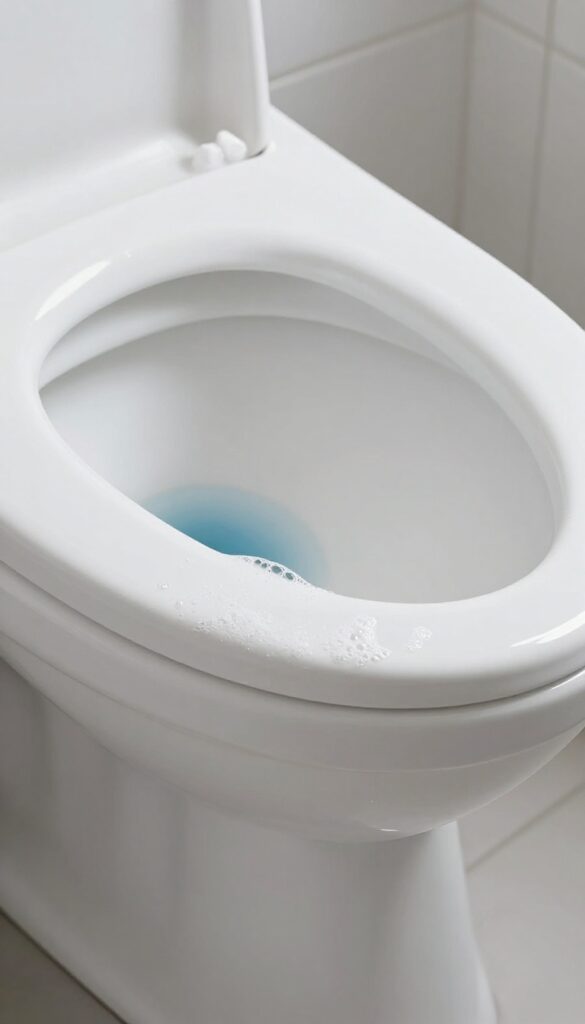
5. Use a Toilet Gel or Bleach Tablet for Maintenance

Consistency beats intensity when it comes to keeping a toilet bowl fresh. Instead of waiting for stains to form, a simple maintenance product can do the work for you between deep cleans. Toilet gels and bleach tablets are designed to release cleaning agents with every flush.
They target the waterline and bowl surface continuously, preventing buildup before it starts. It's a set-it-and-forget-it approach that saves time and effort.
These products are especially useful for households with multiple people or for guest bathrooms that see frequent use. They keep the bowl looking clean and reduce the frequency of scrubbing sessions.
How They Work
Most toilet gels come in a bottle with a curved nozzle that lets you stamp a gel ring under the rim. The gel adheres to the porcelain and slowly dissolves with each flush, releasing bleach or other cleaning agents. Bleach tablets are placed in the tank or in a hanging basket inside the bowl.
Both methods provide continuous cleaning action.
Choosing The Right Product
Look for products that are compatible with your toilet type. Some tablets can damage older plumbing or septic systems, so check the label. Gel stamps are generally safer and more targeted.
For heavy-duty maintenance, a bleach tablet might be more effective, but it can also wear down rubber parts over time if placed in the tank.
Application Tips
For gel stamps, make sure the bowl is dry before applying so the gel sticks properly. Apply the stamp under the rim, not directly into the water. For tank tablets, drop one into the tank away from the flush valve.
Replace as directed, usually every one to three months. Always keep these products out of reach of children and pets.
6. Try a DIY Foaming Cleaner with Dish Soap and Hydrogen Peroxide
Store-bought foaming cleaners work well, but they can be pricey and full of chemicals. You can make your own with just two ingredients you probably already have under the sink. It's cheap, effective, and surprisingly satisfying to watch it foam up.
Mix equal parts dish soap and hydrogen peroxide in a spray bottle. Swirl gently to combine, then spray the mixture generously inside the toilet bowl, making sure to coat the sides and under the rim. Let it sit for 10–15 minutes—the foam will cling to stains and break down grime.
Then scrub with a toilet brush and flush. The hydrogen peroxide disinfects and whitens, while the dish soap cuts through grease and residue. For extra tough stains, let it foam overnight before scrubbing.
Why This Combo Works
Hydrogen peroxide is a natural bleaching agent that kills bacteria and lifts stains without the harsh smell of bleach. Dish soap helps the mixture foam and cling to vertical surfaces, giving it more contact time with stains. Together, they create a powerful cleaner that's gentle on your toilet and safe for septic systems.
How To Use It Right
Spray the mixture evenly around the bowl, focusing on waterline rings and under the rim. Let it foam for at least 10 minutes—longer for stubborn stains. Scrub with a toilet brush, then flush.
For best results, use a brush with stiff bristles and give the sides a good scrub before flushing.
Safety And Storage Tips
Store the mixture in a dark spray bottle, since light can break down hydrogen peroxide. Label it clearly and keep it out of reach of kids and pets. Don't mix with other cleaners, especially bleach or ammonia, as that can create harmful fumes.
7. Scrub with a Magic Eraser for Stubborn Marks
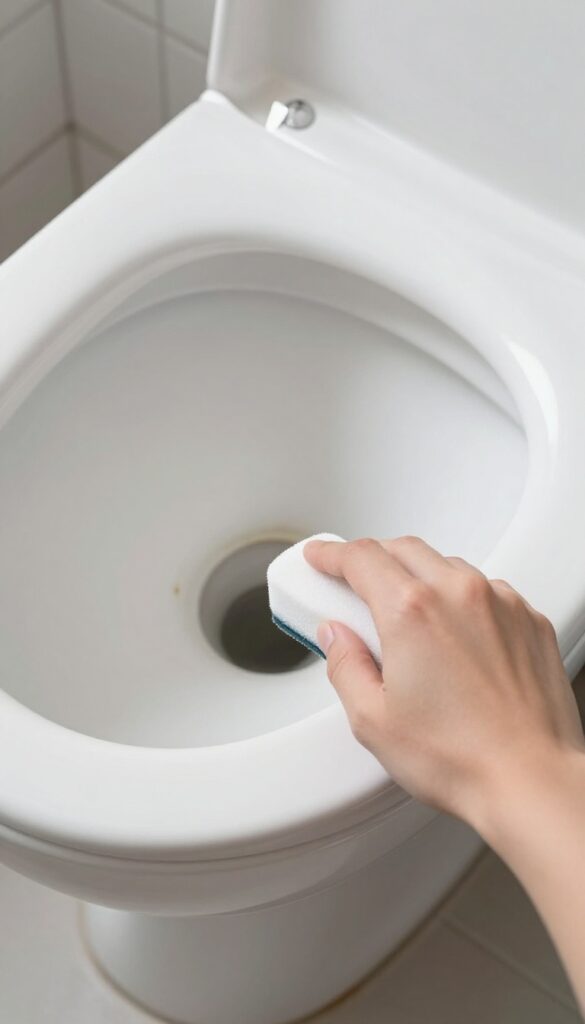
Some toilet stains just don't want to leave. Scuff marks from shoes, mysterious rings, or that dark line where the water sits—these can survive a regular scrub. That's where a magic eraser comes in.
It's like a gentle sandpaper that lifts marks without scratching porcelain.
Wet the magic eraser slightly and squeeze out excess water. Gently rub the stained area in small circles. You'll see the mark fade almost immediately.
Rinse the eraser as it picks up grime, and keep going until the bowl looks clean. No need for extra chemicals—the eraser's micro-abrasive texture does the work. This method is especially good for hard water rings and scuffs near the base.
Just don't use it on colored or delicate fixtures, as it can remove finish.
Best For Stubborn Stains
Magic erasers excel at removing marks that resist scrubbing. Hard water rings, rust stains, and black mold spots often disappear with a few passes. They're also great for cleaning the outside of the toilet, like scuff marks on the porcelain or plastic seat.
How To Use Without Damaging
Always wet the eraser first—using it dry can be too abrasive. Test on a small hidden area if you're unsure. Apply light pressure; let the eraser do the work.
Rinse the bowl after scrubbing to remove any residue. Never use a magic eraser on acrylic or fiberglass toilets, as it can scratch the surface.
A Quick, Chemical-free Option
If you prefer to avoid harsh cleaners, a magic eraser is a great alternative. It cleans with just water, so there's no fume or residue. Keep one under the sink for quick touch-ups.
It's also handy for cleaning the toilet seat hinges and the area around the flush button.
8. Pour a Cup of White Vinegar into the Overflow Tube
The overflow tube is that vertical pipe inside your toilet tank. It's designed to prevent water from spilling over, but it also feeds water to the rim jets. Over time, mineral deposits can clog those jets, causing weak flushes and a grimy bowl.
Pouring vinegar into the tube is an easy way to clean them from the inside out.
This trick targets the hidden pathways that direct water into the bowl. By cleaning the rim jets, you restore a strong, even flush and reduce stain buildup. It's a low-effort maintenance step that pays off in better performance and a fresher bowl.
Why The Overflow Tube Matters
The overflow tube isn't just a safety feature—it's the gateway to your toilet's rim jets. When you flush, water travels from the tank, through the tube, and out the jets under the rim. Hard water minerals and sediment can collect here, narrowing the passage and weakening the spray.
A cup of vinegar dissolves those deposits, clearing the path for a powerful flush.
How To Do It Right
First, remove the tank lid and set it aside safely. Slowly pour one cup of white vinegar directly into the overflow tube—go slow to avoid splashing. Let it sit for at least 30 minutes (overnight is even better for heavy buildup).
Then flush the toilet a few times to rinse everything through. That's it. No scrubbing, no mess.
When To Repeat This
If your water is hard, aim to do this once a month. For softer water, every three months is enough. You'll know it's working when you notice a stronger flush and fewer ring stains.
It's a simple habit that keeps your toilet running smoothly without harsh chemicals.
9. Use a Toilet Bowl Cleaner with Bleach for Deep Whitening
Bleach is a powerhouse when it comes to whitening and disinfecting. A dedicated bleach-based toilet bowl cleaner can tackle tough stains and leave the porcelain looking like new. The key is letting it sit long enough to work its magic.
For best results, apply the cleaner around the rim and under the rim, then let it dwell for at least 10 minutes. This gives the bleach time to break down mineral deposits and kill bacteria. After that, scrub with a toilet brush, paying extra attention to stained areas, and flush.
The bowl will come out noticeably brighter.
Why Bleach Works So Well
Bleach is a strong oxidizing agent that breaks down organic stains and whitens surfaces. It's especially effective against yellowing and hard water rings. Plus, it kills germs on contact, giving you a deeper clean than many non-bleach cleaners.
Safety Tips When Using Bleach
Never mix bleach with ammonia or acidic cleaners like vinegar—this creates toxic fumes. Always use bleach in a well-ventilated bathroom. Wear gloves to protect your skin, and avoid splashing on clothes or surfaces.
Alternatives If You Prefer Less Harsh Chemicals
If bleach feels too strong, look for oxygen bleach or hydrogen peroxide-based cleaners. They offer whitening power with less odor and are safer for septic systems. For a DIY option, a paste of baking soda and hydrogen peroxide can work on light stains.
10. Clean the Exterior with a Microfiber Cloth and All-Purpose Cleaner
The toilet bowl gets all the attention, but the exterior—the lid, seat, and base—collects just as much grime. Dust, fingerprints, and even urine splashes can build up quickly, making the whole bathroom feel less fresh. A quick wipe-down with the right tools keeps things looking clean and prevents stubborn residue from forming.
Grab a microfiber cloth and your go-to all-purpose cleaner. Microfiber traps dirt and bacteria without scratching surfaces, and it doesn't leave lint behind. Spray the cleaner onto the cloth, not directly onto the toilet, to avoid overspray.
Wipe down the lid, both sides of the seat, the hinge area, and the base. Pay extra attention to the rim where the seat attaches—it's a hidden spot for grime. For a streak-free shine, follow up with a dry microfiber cloth.
Do this once a week, and you'll cut down on deep cleaning time significantly.
Why Microfiber Works Best
Microfiber cloths have tiny fibers that grab dust and bacteria rather than pushing them around. They're also absorbent and dry quickly, which prevents mold growth. Avoid using paper towels—they can leave lint and are less effective at trapping particles.
Plus, microfiber is reusable; just toss it in the wash after each use.
Choosing The Right Cleaner
Any gentle all-purpose cleaner works, but avoid harsh abrasives that could scratch the porcelain or plastic seat. If you prefer natural options, a mix of equal parts water and white vinegar is effective and safe. Just test on an inconspicuous spot first, especially on colored or coated seats.
Don't Forget The Flush Handle
The flush handle is one of the most touched surfaces in any bathroom. Give it a quick spray and wipe every time you clean the exterior. It's a small step that makes a big difference in overall hygiene.
11. Deodorize with a Few Drops of Essential Oil in the Cardboard Tube
If you love a fresh-smelling bathroom but hate the overpowering scent of aerosol sprays, this trick is for you. It takes seconds to set up and keeps working every time someone reaches for toilet paper.
The cardboard tube inside your toilet paper roll is the perfect diffuser. Each time the roll spins, it releases a gentle burst of fragrance into the air. It's subtle enough not to be cloying but effective enough to keep the bathroom smelling clean between deep cleans.
How To Do It
Remove the empty cardboard tube from the toilet paper roll. Add 3–5 drops of your favorite essential oil directly onto the inside of the tube. Let it absorb for a minute, then slide the tube back onto the roll.
That's it.
Best Essential Oils To Use
Lemon, lavender, tea tree, and eucalyptus all work well. Tea tree even has mild antimicrobial properties. Avoid oils with strong synthetic fragrances, and never use more than a few drops—you want a light scent, not a soaked tube.
How Long Does It Last?
Depending on the oil and how often the roll is spun, the scent usually lasts for several days. Refresh the drops when you replace the roll or whenever the fragrance starts to fade.
12. Prevent Stains with a Weekly Quick Scrub Routine
A quick daily swish of the toilet brush might seem too simple to make a difference, but it's one of the most effective ways to keep stains from ever forming. Hard water minerals and organic matter need time to bond with the porcelain—deny them that time, and you'll rarely need a deep scrub. This isn't about heavy cleaning.
It's about a 30-second habit that stops buildup before it starts. Think of it like brushing your teeth: a little daily effort prevents bigger problems later.
Spending just 30 seconds each day swishing the brush around the bowl can prevent stains from setting in. When you make this a daily habit, you're constantly disrupting the film of bacteria, minerals, and debris that would otherwise harden into rings or spots. It's especially effective if you have hard water—calcium and magnesium deposits need time to crystallize, and a quick scrub breaks that process.
Use a dedicated toilet brush (keep it clean and replace it every few months) and give the bowl a brisk swirl after each use or at the end of the day. No cleaner needed, though a splash of water helps. This routine pairs perfectly with a weekly deeper clean using your favorite toilet cleaner.
Why Daily Swishing Works
Stains form when debris sits on porcelain for hours or days. A quick scrub lifts that material before it bonds. For hard water stains, the mineral crystals need time to grow—daily disruption stops them from ever getting a foothold.
It's simple chemistry: prevention is easier than removal.
The Right Technique
No need to scrub vigorously. Just a few firm swirls around the rim, under the waterline, and down into the trapway. Focus on the waterline where rings usually form.
If you have a curved brush, angle it to reach under the rim. The whole thing takes less than a minute.
When To Do It
Right after flushing is ideal because the bowl is wet and debris hasn't settled. If you forget, do it at the end of the day. Consistency matters more than timing.
If you miss a day, don't stress—just get back to it. Over time, you'll notice you need harsh cleaners far less often.
13. Use a Toilet Brush with a Built-in Cleaner Dispenser
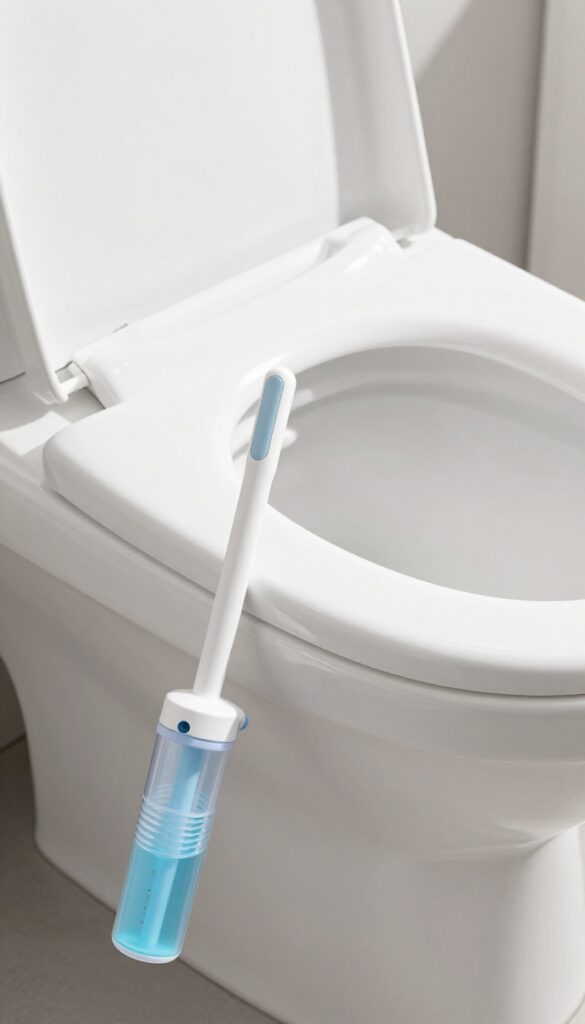
Let's be honest—reaching for a separate bottle of cleaner every time you scrub the toilet can be a hassle. You either have to balance the bottle on the tank or make multiple trips to the cabinet. A toilet brush with a built-in cleaner dispenser solves that problem in one simple design.
The handle holds concentrated cleaning solution, and a small valve releases it into the brush head as you scrub. No extra steps, no drips, no forgotten bottles. It's a small upgrade that makes a big difference in your cleaning routine.
A brush with a built-in dispenser isn't just convenient—it also helps you use cleaner more efficiently. You control how much comes out, so you're not wasting product. Plus, the solution is applied directly where you need it, under the rim and on stains, instead of getting diluted in the bowl water.
Most models use refillable cartridges or let you pour your own cleaner into the handle. That means you can use your favorite bleach-based or eco-friendly solution. Just make sure to rinse the brush head after each use and replace the cartridge when empty.
How The Dispenser Works
The brush handle has a reservoir that holds liquid cleaner. When you squeeze the handle or press a button, a small amount of cleaner flows through the hollow shaft and into the brush head. Some models have a one-way valve to prevent drips when you set the brush down.
This design keeps the cleaner inside until you're ready to use it.
Choosing The Right Brush
Look for a brush with a sturdy handle and a head that reaches under the rim easily. Silicone brush heads are non-porous and resist bacteria buildup better than nylon. Also check that the reservoir is easy to fill and clean.
Some brushes come with a caddy that holds the brush upright, which helps the dispenser dry out between uses.
Maintenance Tips
Empty the reservoir if you won't use the brush for a week or more—stagnant cleaner can dry out and clog the valve. Rinse the brush head thoroughly after each use and let it air dry. If you notice reduced flow, run warm water through the handle to clear any residue.
Replace the brush head every few months for best results.
14. Remove Limescale with a Citric Acid Soak
Limescale can build up fast, especially if you have hard water. That crusty white or brown ring around the bowl isn't just unsightly—it can trap bacteria and make odors worse. Scrubbing alone often won't budge it, but a citric acid soak dissolves the mineral deposits without harsh fumes.
Citric acid is a natural descaler that works better than vinegar for heavy buildup. It's cheap, safe for plumbing, and leaves the bowl looking like new. Just be sure not to mix it with bleach or other cleaners, as that can create harmful gases.
Always use it on its own for best results.
How To Do The Soak
Start by flushing the toilet to lower the water level. Sprinkle 2–3 tablespoons of citric acid powder into the bowl, then pour in about a cup of warm water to help it dissolve. Use a toilet brush to stir the mixture so it coats the stains.
Let it sit for at least an hour—overnight is even better for stubborn rings. After soaking, scrub the bowl with your brush and flush. The limescale should wipe away easily.
Why Citric Acid Works So Well
Citric acid is a weak organic acid that reacts with calcium carbonate—the main component of limescale—turning it into a soluble salt that rinses away. Unlike harsh chemical descalers, it's non-toxic and biodegradable. It also leaves a clean, faint citrus scent behind.
For extra tough spots, you can make a paste with a little water and apply it directly to the stain.
Where To Find Citric Acid
You can buy citric acid at most grocery stores in the canning section, at big-box retailers, or online. It's usually sold as a white powder in small containers. A single bag lasts for many cleanings.
If you can't find it, you can substitute with lemon juice or vinegar, but those are weaker and may require longer soaking or multiple treatments.
15. Keep a Small Spray Bottle of Diluted Bleach Nearby
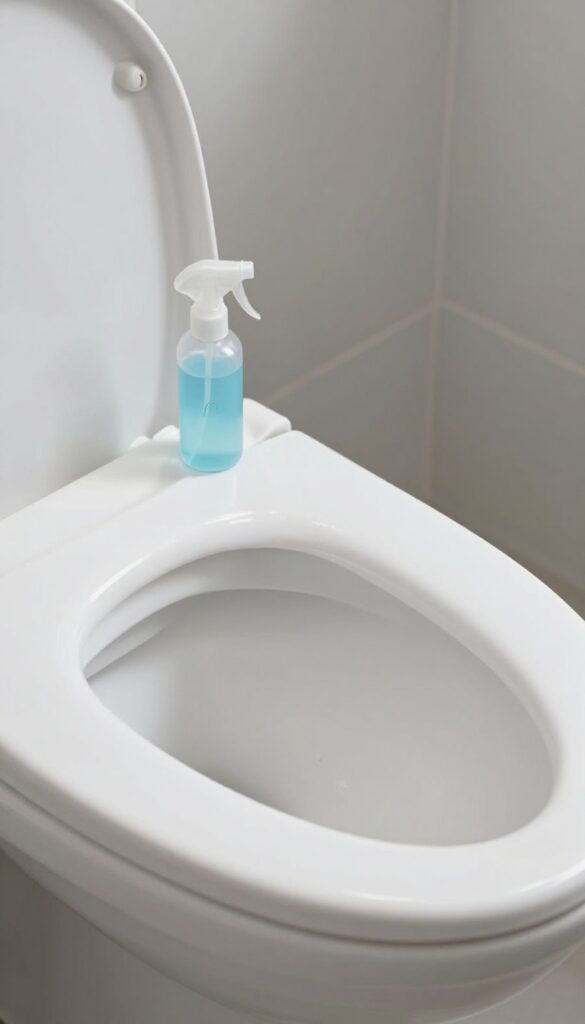
This trick is all about convenience. Instead of reaching for a big bottle of cleaner every time, keep a small spray bottle of diluted bleach within arm's reach of the toilet. A quick spritz after each use helps prevent stains and odors from building up, so your bowl stays fresher between deep cleans.
The Right Dilution
Mix one part bleach with ten parts water in a spray bottle. That's about 1/3 cup bleach to 3 cups water. This ratio is strong enough to kill germs and whiten the bowl but gentle enough not to damage toilet components or create harsh fumes.
When And How To Spritz
Give the bowl a quick spritz after each use, focusing on the waterline and any visible stains. Let it sit for a minute or two, then flush. The bleach will break down organic matter and keep the bowl looking bright.
Just don't mix it with other cleaners—especially ammonia or vinegar—or you'll create toxic fumes.
Safety And Storage Tips
Label the bottle clearly and store it out of reach of kids and pets. Bleach can degrade plastic over time, so use a dark or opaque spray bottle to prevent UV damage. Replace the mixture every few weeks to maintain effectiveness.
FAQ
How often should I clean my toilet?
For best results, give the bowl a quick scrub once a week and do a deeper clean (including the exterior and under the rim) every two weeks.
Can I use bleach and vinegar together?
No, never mix bleach and vinegar—they create toxic chlorine gas. Stick to using them separately.
What's the best way to remove hard water stains?
A pumice stone (wet) or a soak with vinegar or citric acid works well. For stubborn stains, try a commercial limescale remover.
How do I clean the toilet brush?
After scrubbing, rinse the brush under hot water and spray it with a disinfectant. Let it dry in a holder that allows airflow.
Are toilet cleaning tablets safe for septic systems?
Some tablets contain chemicals that can harm septic systems. Look for septic-safe labels or use natural alternatives like vinegar.
Conclusion
A fresher toilet bowl doesn't demand expensive products or harsh chemicals. Just a few consistent habits—like weekly vinegar soaks and a pumice stone for stubborn rings—can keep things sparkling without the elbow grease.
Pick two or three tips that fit your routine and stick with them. Your bathroom will smell cleaner, look brighter, and feel less like a chore to maintain.