How to Clean Floor Grout in 13 Stain Lifting Tips Fast
Grout lines don't have to stay dingy. With the right technique, you can lift stains fast using items you already have at home. These 13 methods target everything from everyday grime to stubborn mold, saving you time and effort.
Start with the gentlest approach and work your way up as needed. Baking soda and vinegar handle most light stains, while hydrogen peroxide or a steam cleaner tackle deeper dirt. Each tip is designed to be practical and effective.
No need for harsh chemicals or expensive pros—just a little know-how and some elbow grease. Your floors will look refreshed in no time.
1. Start with a Baking Soda Paste for General Grime
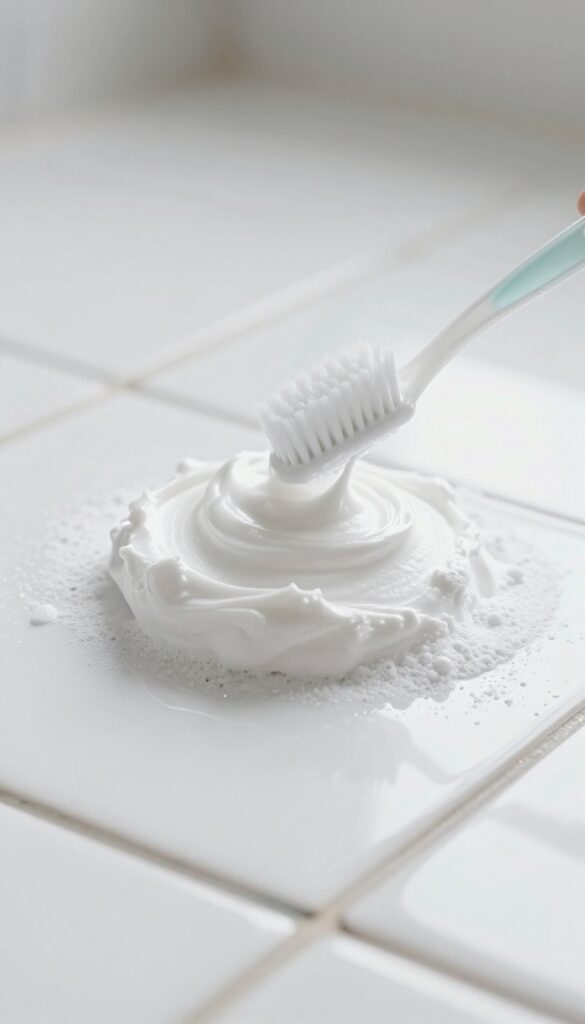
Baking soda is a gentle abrasive that lifts everyday dirt without damaging grout. Mixed with water, it forms a paste that clings to vertical surfaces and penetrates porous lines. This method is safe for all grout types and works as a first line of defense against light stains.
How To Make The Paste
In a small bowl, combine three parts baking soda with one part water. Stir until it forms a thick, spreadable paste. Adjust the ratio if needed—too runny won't stick, too dry won't spread.
For extra cleaning power, add a splash of white vinegar after applying (it will fizz, so mix carefully).
Application And Dwell Time
Use an old toothbrush or a grout brush to apply the paste directly onto the grout lines. Work it in with circular motions to ensure it fills the grooves. Let it sit for 10 minutes—this gives the baking soda time to break down grime.
Don't let it dry completely, or it will be harder to scrub off.
Scrubbing And Rinsing
After the wait, scrub the grout lines firmly with a stiff-bristled brush. Focus on one small section at a time. Rinse with a damp microfiber cloth or sponge, wiping away the paste and loosened dirt.
Repeat if necessary. For best results, dry the area with a clean towel to prevent water spots.
2. Use White Vinegar for Soap Scum and Hard Water Deposits
White vinegar is a powerhouse against soap scum and hard water stains. Its mild acidity cuts through mineral buildup and residue that regular cleaners leave behind. Best of all, it's cheap and already in your pantry.
For best results, spray undiluted white vinegar directly onto the grout lines. Let it fizz and sit for about 5 minutes to break down deposits. Scrub with a stiff brush, then rinse with water.
The vinegar smell dissipates quickly.
Why It Works
The acetic acid in vinegar dissolves calcium and lime deposits, which are common in hard water. It also emulsifies soap scum, making it easy to wipe away. This makes it ideal for bathrooms and kitchens where these stains build up.
When To Skip This Method
Avoid vinegar on unsealed or natural stone grout. The acid can etch the surface, causing permanent damage. Test on a small hidden area first.
If the grout is unsealed, use a pH-neutral cleaner instead.
Pro Tip For Stubborn Stains
For extra tough spots, make a paste with baking soda and vinegar. Apply it to the grout, let it bubble, then scrub. The fizzing action helps lift deep-seated dirt.
Rinse thoroughly afterward.
3. Try Hydrogen Peroxide for Organic Stains and Mold
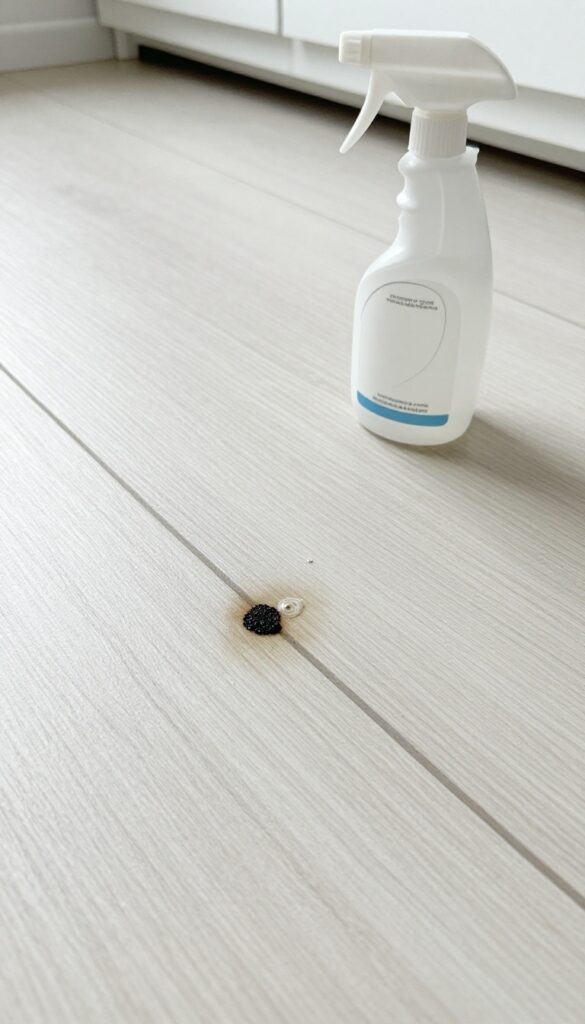
Hydrogen peroxide is a bleach alternative that works wonders on organic stains like coffee, wine, or pet accidents. It also kills mold and mildew without the strong smell or fumes of chlorine bleach. This makes it a safer choice for indoor use, especially in kitchens and bathrooms.
For best results, use 3% hydrogen peroxide straight from the bottle. Pour it directly onto the stained grout or moldy area, letting it soak for 15 minutes. The peroxide will bubble as it breaks down the stain.
After the wait, scrub with a stiff brush and rinse with water. Repeat if needed for stubborn spots.
Why Hydrogen Peroxide Works
Hydrogen peroxide is a mild antiseptic that releases oxygen when it contacts organic matter. This oxidation process lifts stains and kills mold spores on contact. Unlike bleach, it breaks down into water and oxygen, leaving no toxic residue.
How To Apply It Safely
Test a small, hidden area first to ensure it doesn't lighten the grout color. Apply with a spray bottle or a cotton ball for precision. Avoid mixing with vinegar or ammonia, as that can create harmful fumes.
Keep the room ventilated during application.
When To Use It
Reach for hydrogen peroxide when you see dark, organic stains or black mold spots. It's especially effective on light-colored grout where bleach might yellow the surface. For heavy mold, let it sit longer or apply a paste with baking soda for extra scrubbing power.
4. Make a Lemon Juice and Cream of Tartar Paste for Tough Stains
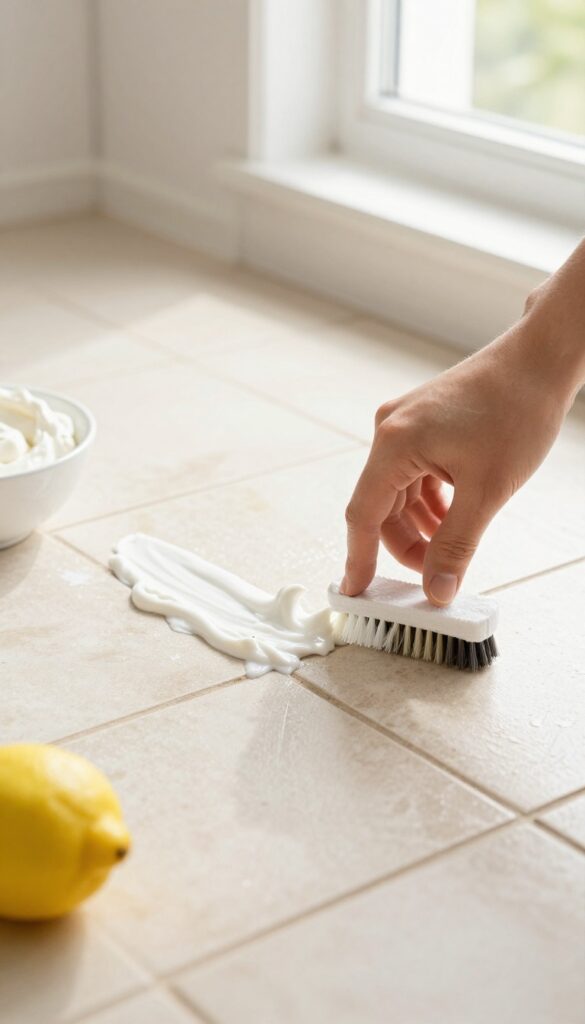
When baking soda and vinegar aren't cutting it, it's time to call in reinforcements. Lemon juice and cream of tartar team up to form a paste that tackles stubborn grout stains. The citric acid breaks down grime, while the cream of tartar acts as a gentle abrasive.
Mix equal parts lemon juice and cream of tartar to form a thick paste. Apply it directly to stained grout lines, let it sit for 10–15 minutes, then scrub with a toothbrush. Rinse with water and dry with a cloth.
This combo works especially well on coffee, tea, and rust stains.
Why This Paste Works So Well
Lemon juice contains citric acid, a natural cleaner that dissolves mineral deposits and organic stains. Cream of tartar is a mild abrasive that helps scrub away stuck-on grime without scratching tile. Together, they create a powerful yet gentle cleaning paste.
How To Apply For Best Results
Start by sweeping or vacuuming the floor to remove loose dirt. Mix 2 tablespoons of lemon juice with 2 tablespoons of cream of tartar. Stir until it forms a spreadable paste.
Use an old toothbrush or a small brush to work the paste into the grout lines. Let it dry completely—this usually takes about 15 minutes. Once dry, scrub the area again with a damp brush, then rinse with clean water and wipe dry.
Tips For Stubborn Or Old Stains
For really set-in stains, let the paste sit for up to 30 minutes. You can also cover the paste with plastic wrap to keep it from drying out too fast. If the stain remains, repeat the process or add a few drops of hydrogen peroxide to the paste for extra bleaching power.
5. Use a Steam Cleaner for Deep, Embedded Dirt
Sometimes scrubbing just doesn't cut it. If your grout has years of embedded dirt that refuses to budge, a steam cleaner can be your best friend. It uses high-temperature steam to penetrate deep into the porous grout, loosening grime without any chemicals.
This method is especially effective for large tiled areas or as part of a regular maintenance routine.
A handheld steam cleaner is ideal for grout lines. Fill it with water, let it heat up, and direct the steam nozzle along the grout lines. The steam will lift dirt and kill mold spores.
After steaming, wipe away the residue with a clean microfiber cloth. For best results, work in small sections and avoid lingering too long on one spot to prevent moisture damage.
Why Steam Works So Well
Steam reaches temperatures over 200°F, which breaks down grease, soap scum, and organic stains without scrubbing. It also sanitizes the grout, killing bacteria and mold. Because no chemicals are involved, it's safe for households with kids or pets.
How To Steam Clean Grout Properly
Start by sweeping or vacuuming the floor to remove loose debris. Fill the steam cleaner according to the manufacturer's instructions. Hold the nozzle about an inch from the grout and move it slowly along the lines.
Wipe away the loosened dirt with a cloth immediately. Repeat if necessary for stubborn spots.
Maintenance Tips For Long-lasting Results
Steam cleaning once a month can keep grout looking fresh. After cleaning, allow the floor to dry completely. You can also apply a grout sealer after steaming to protect against future stains.
Always test a small hidden area first to ensure your grout can withstand the heat.
6. Apply a Bleach Pen for Precision Whitening
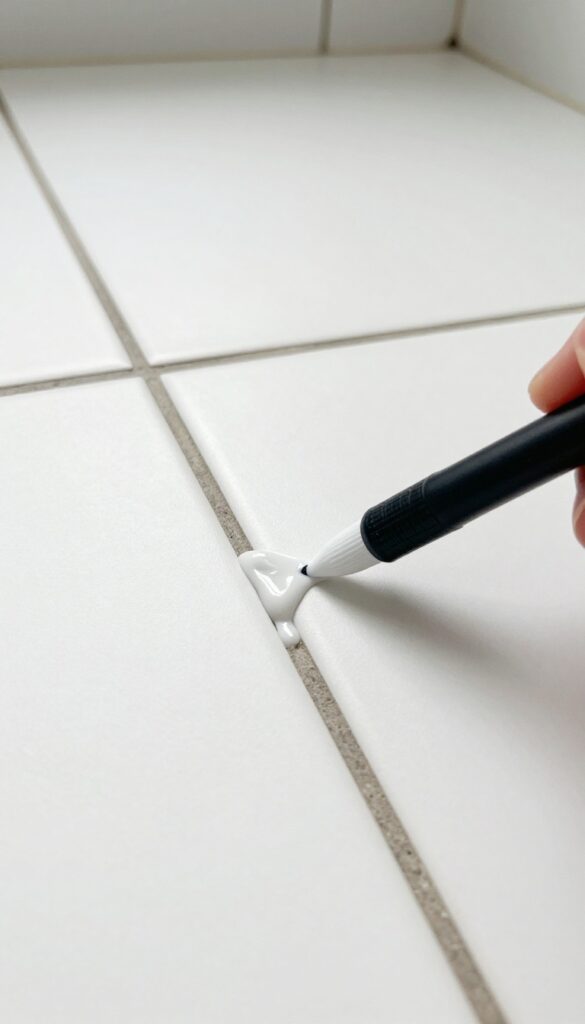
When only a few grout lines are looking dingy, you don't need to treat the whole floor. A bleach pen lets you apply gel bleach exactly where it's needed, whitening those stubborn spots without bleaching your tile. It's a quick fix that works wonders on isolated stains.
A bleach pen is a handy tool for targeting discolored grout lines with precision. The thick gel clings to vertical and horizontal lines, so you can treat just the problem areas. After applying, let it sit for about 10 minutes to break down stains, then scrub with a stiff brush and rinse thoroughly.
This method is ideal for spot-treating around sinks, tubs, or entryways where dirt accumulates.
Why A Bleach Pen Works
The gel formula is thicker than liquid bleach, so it stays put on grout lines instead of running onto tile. This means you can whiten grout without risking damage to surrounding surfaces. It's also easy to control the amount you apply, reducing waste and mess.
Steps For Best Results
First, clean the area with a mild cleaner to remove loose dirt. Dry the grout with a cloth. Then, draw the bleach pen along the grout lines, making sure to cover the stain completely.
Let it sit for 10 minutes—don't let it dry out. Scrub with a grout brush or old toothbrush, then rinse with water. Repeat if needed.
Safety Tips
Always work in a well-ventilated area and wear gloves to protect your skin. Test the bleach pen on an inconspicuous spot first to ensure it doesn't discolor your tile. Avoid using on unsealed grout, as bleach can penetrate and cause damage over time.
7. Use a Grout Brush or Old Toothbrush for Detail Work
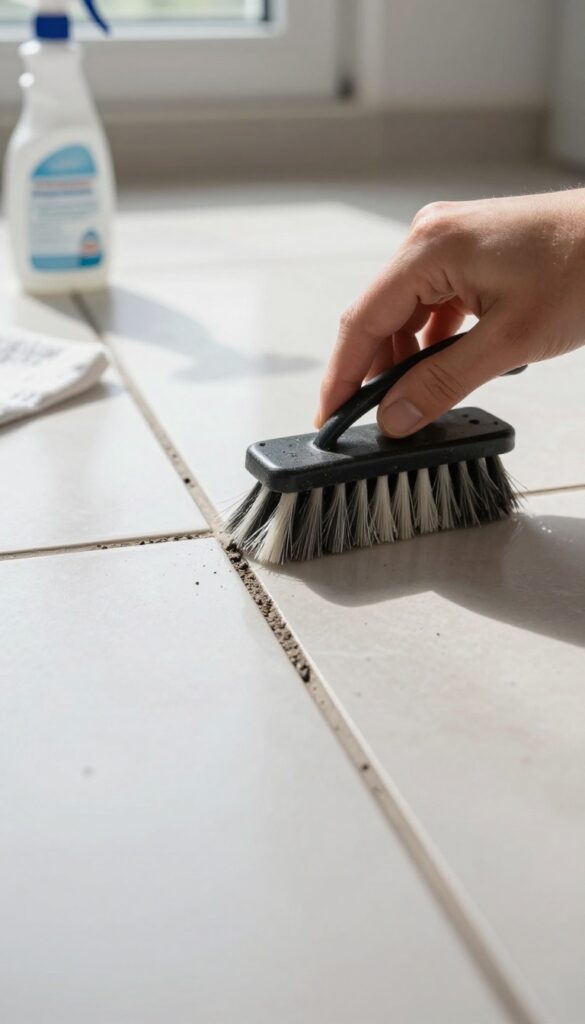
A stiff-bristled grout brush or an old toothbrush reaches deep into narrow lines. Pair with your chosen cleaner and scrub in circular motions for maximum stain removal. This targeted approach is perfect for spot-treating stubborn marks without affecting the surrounding tile.
When you need to tackle a few particularly stubborn spots, a dedicated grout brush or an old toothbrush gives you the precision you need. The stiff bristles dig into the porous surface of the grout, loosening embedded dirt and stains. Use it with your preferred cleaner—whether it's baking soda paste, hydrogen peroxide, or a commercial grout cleaner—and scrub in small circles.
The mechanical action combined with the chemical cleaner breaks down grime that a sponge or mop can't touch. Rinse with water and wipe dry to reveal clean, bright lines.
Choose The Right Brush
Not all brushes are created equal. A grout brush has a narrow head and stiff, angled bristles that fit perfectly into grout lines. If you don't have one, an old toothbrush works just as well—just make sure it's firm, not soft.
For extra reach, look for a brush with a long handle to save your knees and back.
Scrub In Circular Motions
Straight back-and-forth scrubbing can miss spots. Circular motions work the cleaner into every crevice and lift dirt from all angles. Apply gentle pressure—too much force can damage the grout.
Let the cleaner sit for a few minutes before scrubbing to give it time to break down the stain.
Rinse And Repeat If Needed
After scrubbing, rinse the area with clean water and wipe with a microfiber cloth. Check the grout in good light. If stains remain, reapply the cleaner and scrub again.
Stubborn stains may need a few rounds, but the brush will eventually lift them without harsh chemicals.
8. Try Oxygen Bleach (OxiClean) for a Non-Chlorine Boost
If you want a powerful but gentler alternative to chlorine bleach, oxygen bleach is your answer. Products like OxiClean use hydrogen peroxide to lift organic stains and brighten grout without harsh fumes or discoloration. It's especially good for food spills, pet messes, or general dinginess.
Oxygen bleach works by releasing oxygen bubbles that break down dirt and stain molecules. It's safe for most grout types and won't yellow over time like chlorine can. Plus, it's odorless, so you don't have to air out the room.
How To Mix And Apply
Mix a scoop of oxygen bleach powder with warm water according to package directions—usually a 1: 1 ratio for a paste or a bit more water for a liquid. Stir until dissolved, then apply to the grout lines with a sponge or spray bottle. Let it sit for 15–20 minutes so the bubbles can penetrate and lift stains.
Don't let it dry out; if it does, mist with a little water.
Scrubbing And Rinsing
After the dwell time, scrub the grout with a stiff brush or old toothbrush. You'll see the dirt release as foam. Rinse thoroughly with clean water and wipe away residue with a damp cloth.
Repeat on stubborn spots if needed.
9. Use Rubbing Alcohol for Grease and Oil Stains
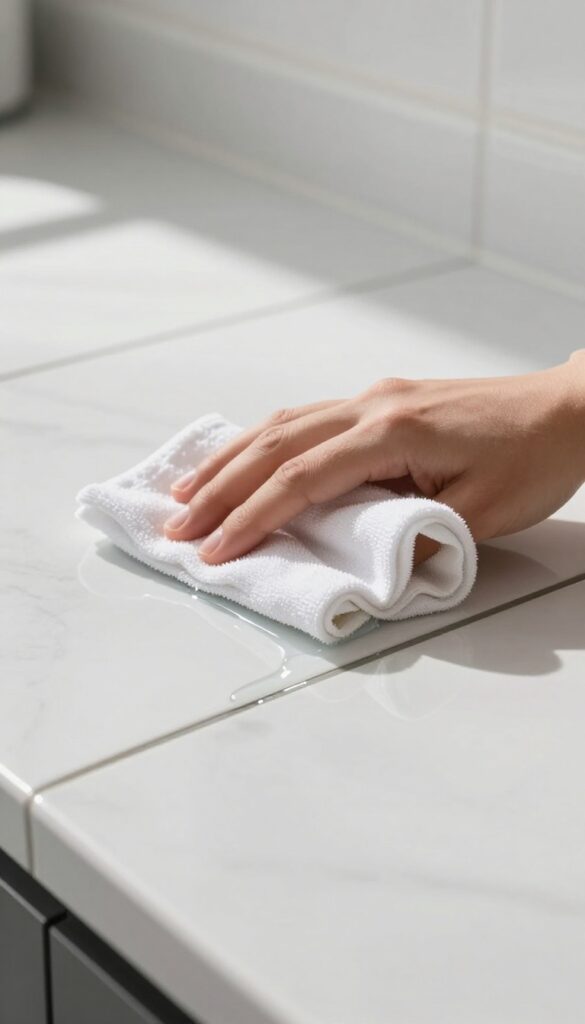
Grease and oil stains from cooking spills or tracked-in garage grime can make grout look dark and sticky. Rubbing alcohol is a simple, effective solution that dissolves these stubborn stains without harsh scrubbing. It works fast, evaporates quickly, and leaves no residue.
Rubbing alcohol (isopropyl alcohol) breaks down the molecular structure of oils, making them easy to lift away. It's especially useful for kitchen floors or entryways where grease tends to accumulate. The alcohol also disinfects the area, giving you a cleaner surface overall.
How To Apply
Dampen a clean cloth or sponge with rubbing alcohol—no need to soak it. Blot or gently wipe the greasy grout lines. You'll see the stain start to dissolve almost immediately.
For tougher spots, let the alcohol sit for a minute before wiping. Rinse with water afterward to remove any remaining residue.
Test First
Always test rubbing alcohol on an inconspicuous grout area first. Some colored grouts may react to the alcohol and fade or change color. Wait a few minutes after testing to check for any discoloration.
If the test spot looks fine, you're good to go.
When To Use This Method
This technique works best for fresh or set-in grease and oil stains. It's not ideal for mold or mildew, which require different treatments. Use it as a spot treatment rather than for whole-floor cleaning, as it can be drying to grout over large areas.
10. Try a Commercial Grout Cleaner for Heavy-Duty Jobs
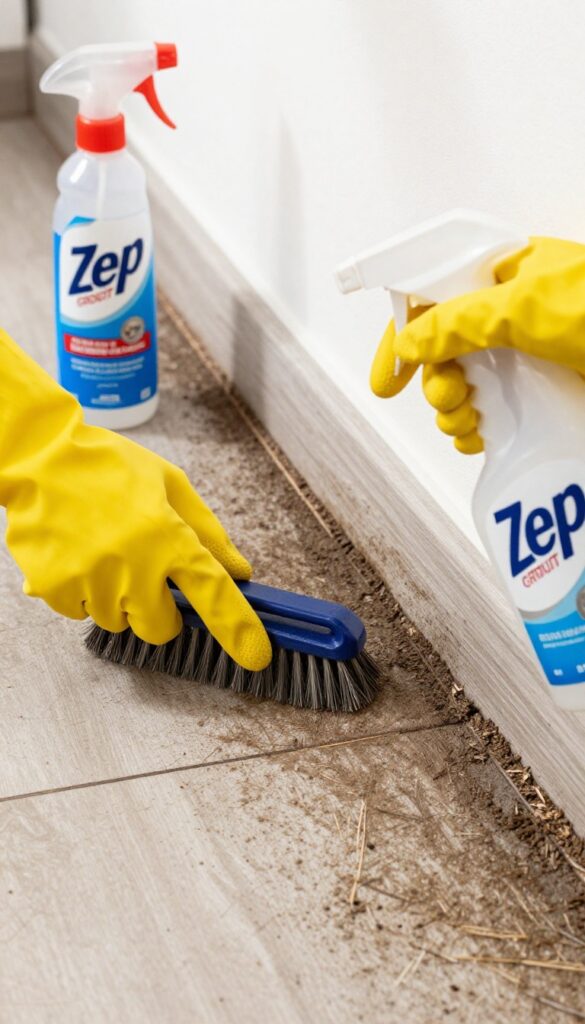
When home remedies fall short, a commercial grout cleaner can save the day. Products like Zep or Grout-Eez are formulated to break down tough stains that baking soda and vinegar can't touch. They're a go-to for heavily soiled grout in high-traffic areas or after a long neglect.
Using a commercial cleaner is straightforward but requires care. Always read the label first—most products involve spraying the cleaner, letting it sit for a few minutes, scrubbing with a brush, and rinsing thoroughly. Work in a well-ventilated space and wear gloves to protect your skin.
These cleaners are strong, so test on a small hidden area first to ensure they don't discolor your grout.
Choosing The Right Product
Look for a cleaner specifically labeled for grout. Zep Grout Cleaner is a popular choice for general stains, while Grout-Eez targets mold and mildew. For oil-based stains, a degreasing formula works better.
Avoid products with bleach if you have colored grout, as they can fade it.
Application Tips For Best Results
Apply the cleaner generously and let it dwell for the recommended time—usually 5 to 15 minutes. Use a stiff-bristled brush to agitate the grout lines. For stubborn spots, repeat the process.
Rinse with clean water and dry the area to prevent residue buildup.
Safety Precautions
Always wear rubber gloves and safety glasses. Open windows or use a fan to keep air moving. Keep children and pets away until the area is dry.
If you have respiratory issues, consider wearing a mask. Store cleaners out of reach.
11. Use a Magic Eraser for Surface Marks and Scuffs
Not all grout stains are deep-seated. Sometimes it's just a scuff from a shoe or a light mark from furniture. A melamine foam eraser—often sold as a Magic Eraser—can wipe those away in seconds.
No extra chemicals needed, just a little water and gentle pressure.
Melamine foam works like ultra-fine sandpaper, lifting surface-level dirt without scratching tile. It's perfect for quick touch-ups between deeper cleans. Just dampen the eraser, wring out excess water, and rub along the grout line.
Rinse the area with a damp cloth afterward to remove any foam residue that could attract more dirt.
When To Use This Method
Best for scuff marks, light dirt, and surface stains that haven't set in. Avoid using on unsealed grout or if you've recently sealed it, as the eraser can wear down the sealant. Test on an inconspicuous spot first.
How To Get The Best Results
Cut the eraser into small pieces to get into tight corners. Work in short, gentle strokes—don't press too hard or you might damage the grout. For stubborn marks, let the damp eraser sit on the spot for a minute before rubbing.
Aftercare Tips
Always rinse the area with clean water after using a melamine eraser. Leftover foam particles can leave a white residue that looks like dust. Dry the grout with a microfiber cloth to prevent new dirt from sticking.
12. Seal Grout After Cleaning to Prevent Future Stains
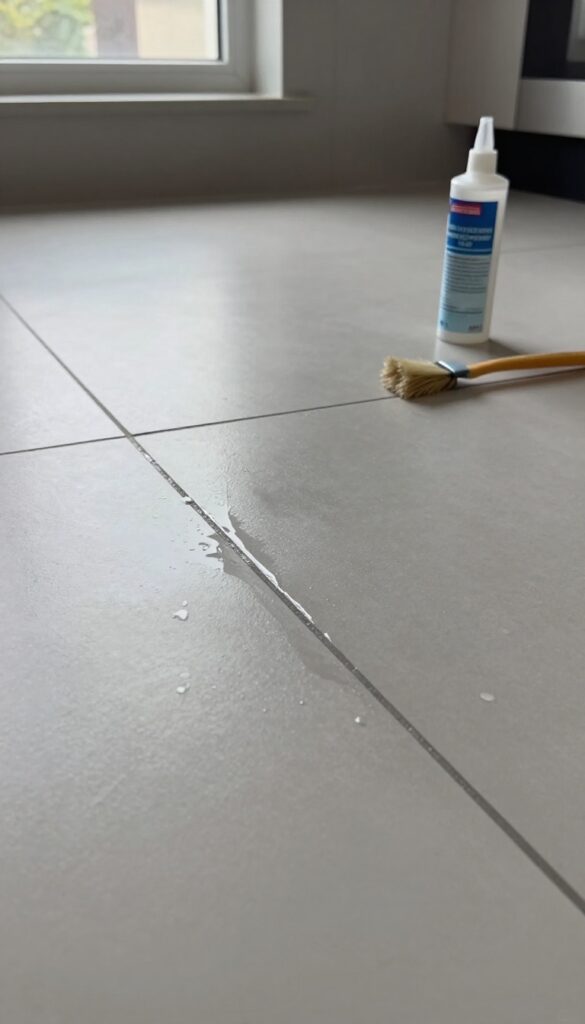
You've put in the work to get grout sparkling clean—now keep it that way. Sealing is like giving your grout a raincoat that repels spills and dirt. It's a simple step that saves hours of scrubbing down the road.
Once grout is fully clean and dry, apply a penetrating sealer. This creates an invisible barrier that stops liquids and grime from soaking in. Reapply every 6 to 12 months for ongoing protection.
Choosing The Right Sealer
Look for a penetrating sealer designed for grout. Avoid surface sealers that can peel or yellow. Water-based sealers are low-odor and easy to apply, while solvent-based ones offer extra durability for high-traffic areas.
Application Tips For Best Results
Apply sealer with a small brush or applicator bottle, working it into the grout lines. Wipe off any excess from tile surfaces immediately to avoid haze. Let it cure for the recommended time before exposing to moisture.
When To Reapply
Test sealant effectiveness by dropping water on the grout. If it beads up, the seal is still good. If it darkens or absorbs, it's time to reseal.
In busy kitchens or bathrooms, check every 6 months.
13. Maintain with Regular Sweeping and Damp Mopping
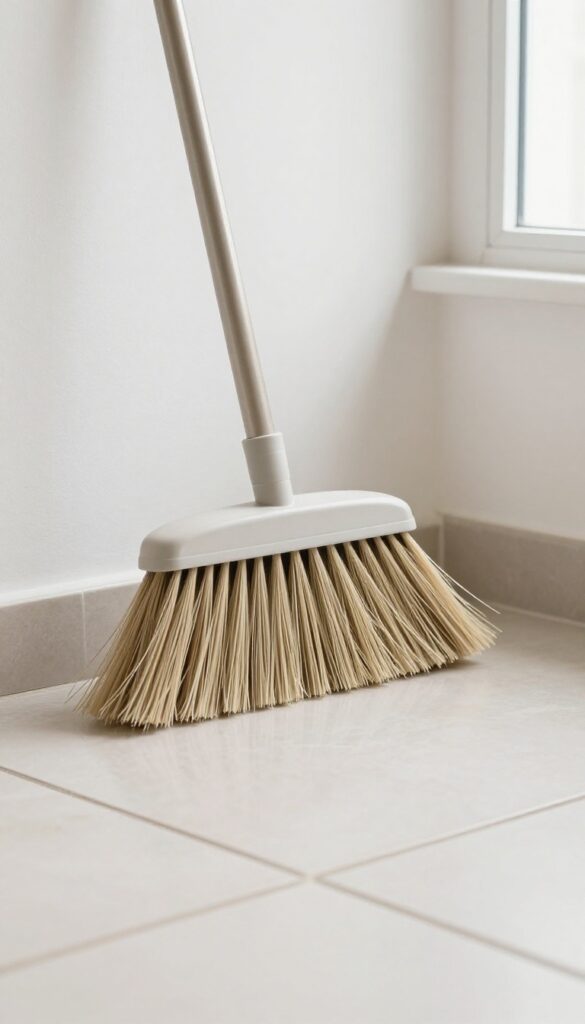
Cleaning grout is satisfying, but keeping it clean is the real win. A simple daily and weekly routine can stop dirt from settling into the pores of your grout. It takes just a few minutes and saves you from deep scrubbing later.
Sweep or vacuum your floors daily to remove abrasive dirt and grit that can scratch grout and make it look dull. Use a soft-bristle broom or a vacuum with a hard floor attachment to avoid pushing debris into the grout lines. For damp mopping, choose a pH-neutral cleaner—avoid vinegar or bleach as they can damage grout over time.
Mop weekly, wringing the mop well so you don't leave excess water sitting in the grout. This simple habit prevents grime from building up and keeps your grout looking fresh longer.
Daily Sweeping: Your First Line Of Defense
A quick sweep every day removes loose dirt before it gets ground into the grout. Focus on high-traffic areas like entryways and kitchen floors. Use a dust mop or a vacuum with a hard floor setting—just avoid beater bars that can scatter debris.
Weekly Damp Mopping: Gentle And Effective
Once a week, damp mop with a pH-neutral cleaner. Dip a microfiber mop into the solution, wring it until barely damp, and mop in sections. Rinse the mop head frequently to avoid spreading dirty water.
This lifts everyday grime without saturating the grout.
What To Avoid: Common Mistakes
Steer clear of acidic cleaners like vinegar or lemon juice—they can etch grout over time. Also avoid excessive water; standing water seeps into grout and can cause mold or discoloration. Stick to a well-wrung mop and a gentle cleaner.
FAQ
Can I use bleach on colored grout?
Bleach can discolor or lighten colored grout. Test on a hidden area first or use a color-safe cleaner like oxygen bleach instead.
How often should I clean floor grout?
For maintenance, clean grout every 1-2 months. Deep clean every 6 months or when stains become visible.
Is vinegar safe for all grout types?
Vinegar is acidic and can damage unsealed or natural stone grout. Use it only on sealed, ceramic, or porcelain tile grout.
What's the best tool for scrubbing grout?
A stiff-bristled grout brush or an old toothbrush works best for detail. For large areas, a scrub brush with a handle saves effort.
Can I use a steam mop on grout?
Yes, a steam mop can clean grout, but it may not be as effective as a handheld steamer with a brush attachment for deep cleaning.
Conclusion
Grout doesn't have to stay stained and dingy. With these 13 tips, you can tackle everything from light grime to stubborn set-in stains using items you probably already own. Pick the method that matches your stain type and give your floor a fresh start.
Regular maintenance and sealing will keep your grout looking clean for months to come. No need for expensive services—just a little time and the right approach.