17 Cleaning Shower Tiles Tips for Grime and Soap Scum
Shower tiles take a daily beating from soap scum, hard water, and mildew, but you don't need harsh chemicals or expensive services to keep them spotless. A few simple habits—like a quick squeegee after each shower—can cut your cleaning time in half.
These 17 tips target every stubborn stain, from cloudy grout to glass door streaks, using tools you probably already own. Each method is practical, tested, and designed to make your bathroom shine without back-breaking scrubbing.
Ready to tackle that grime? Let's get into the first tip.
1. Start with a Daily Squeegee Routine

A squeegee is your first line of defense against soap scum and hard water stains. Spending 30 seconds after each shower removes standing water from tiles and glass, which stops mineral deposits from bonding to the surface. Over time, this simple habit dramatically reduces the need for deep scrubbing.
Keeping a squeegee in your shower makes it easy to build the habit. Hang it on a hook or suction cup within arm's reach so you don't have to hunt for it. Start at the top corner of each tile or glass panel and pull down in overlapping strokes, wiping the blade dry between passes to avoid redepositing water.
Focus on corners and edges where water tends to pool. For best results, use a microfiber cloth to buff away any remaining moisture after squeegeeing—this eliminates streaks and keeps glass crystal clear.
Choose The Right Squeegee
Not all squeegees are created equal. Look for one with a stainless steel or brass handle and a replaceable rubber blade—these last longer and glide smoothly. A blade width of 8 to 12 inches works well for most shower surfaces.
Avoid cheap plastic models that warp or leave streaks.
Make It A Family Habit
Get everyone in the household on board by keeping the squeegee visible and easy to grab. Set a one-minute timer after each shower and make it a quick team effort. Kids especially enjoy the water-blasting action, so turn it into a game.
Consistency is key—after a week, it'll feel automatic.
Don't Forget The Walls And Floor
While glass doors get most of the attention, tile walls and the shower floor also benefit from a quick squeegee. Run the blade down vertical surfaces and then across the floor toward the drain. This pushes excess water away, reducing mildew growth in grout lines and corners.
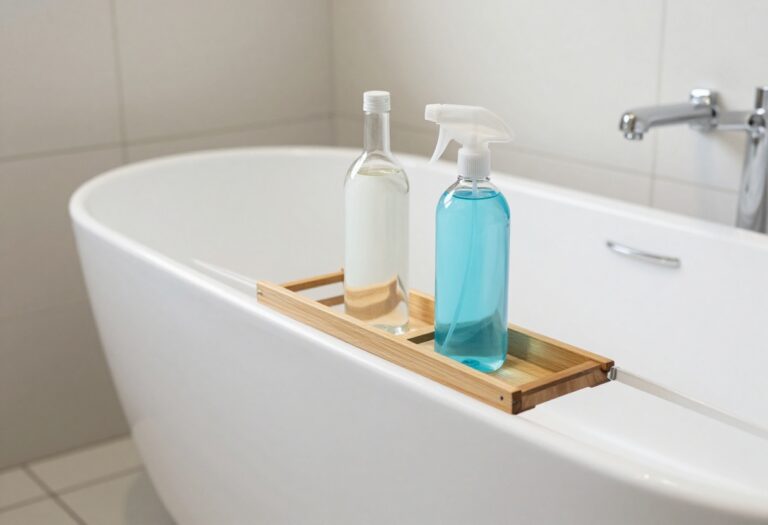
2. Use a DIY Vinegar and Dish Soap Spray
Store-bought cleaners can get pricey, and many are loaded with fumes you'd rather not breathe in a small bathroom. Luckily, a simple two-ingredient spray works just as well on soap scum and grime. White vinegar cuts through mineral deposits, while blue Dawn dish soap breaks down grease and leaves a streak-free shine.
This combo is gentle enough for daily use but tough on buildup. It's also cheap, non-toxic, and safe for most tile surfaces—just avoid it on natural stone like marble or travertine, which can etch from the acid. For best results, use it as a maintenance spray between deeper cleanings.
Mix It Right
Fill a 16-ounce spray bottle with equal parts white vinegar and blue Dawn dish soap. Swirl gently to combine—don't shake, or you'll create too many suds. The mixture will be slightly thicker than water but still sprayable.
Label the bottle so you don't confuse it with other cleaners.
Apply And Let It Sit
Spray the solution generously on your shower tiles, focusing on areas with visible soap scum or hard water spots. Let it sit for 10 minutes to break down the grime. For heavy buildup, give it up to 15 minutes.
The longer it sits, the less scrubbing you'll need.
Scrub And Rinse
Use a soft-bristle brush or a non-abrasive sponge to scrub the tiles in circular motions. Pay extra attention to grout lines where scum hides. Rinse thoroughly with warm water, then wipe dry with a microfiber cloth or squeegee to prevent new spots from forming.
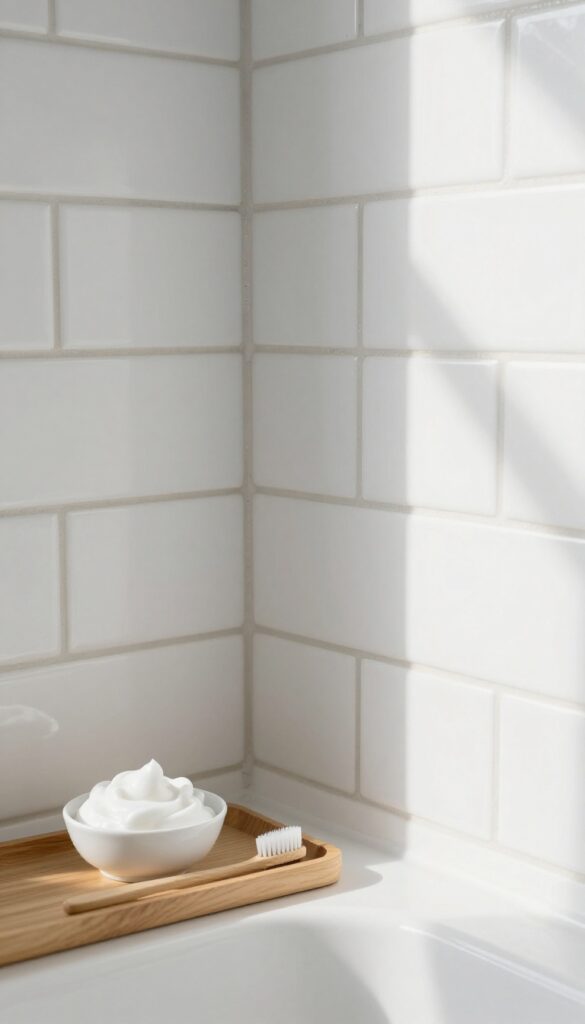
3. Try a Baking Soda Paste for Stubborn Grime
When soap scum and grime have had weeks to build up, a simple spray might not cut it. That's where a thick baking soda paste comes in—it's abrasive enough to lift dirt but gentle on tile and grout. Plus, it costs pennies to make and won't fill your bathroom with chemical fumes.
Baking soda is a mild alkali that reacts with acids in soap scum, helping to break it down. When mixed with water, it forms a spreadable paste that clings to vertical surfaces and stays put while it works. This gives the baking soda time to penetrate the grime before you start scrubbing.
For extra cleaning power, you can add a splash of white vinegar—but be ready for fizzing, and never mix vinegar with bleach-based cleaners.
How To Make And Apply The Paste
In a small bowl, combine three parts baking soda with one part water. Stir until you get a thick, spreadable consistency—like toothpaste. Use an old spoon or a spatula to apply the paste directly onto the grimy areas.
Focus on spots where soap scum is heaviest, like the corners of the shower floor or around the soap dish. Let the paste sit for 15 minutes so it can start breaking down the buildup.
Scrubbing Without Damage
After the wait, grab a soft-bristled brush—an old toothbrush works great for grout lines, while a larger scrub brush covers tiles faster. Dip the brush in water to activate the paste, then scrub in small circular motions. The gentle abrasion of the baking soda will loosen the grime without scratching glazed tiles.
Rinse thoroughly with warm water and wipe dry with a microfiber cloth to prevent new spots.
When To Use A Stronger Mix
If the paste alone doesn't fully remove stubborn scum, add a few drops of liquid dish soap to the mixture. The soap helps cut through grease and oil from body washes and shampoos. For hard water stains, substitute lemon juice for water to boost acidity.
Test any stronger mixture on a small, hidden area first to make sure your tiles can handle it.
4. Use a Magic Eraser on Glass Shower Doors
Glass shower doors look great when they're clean, but soap scum and hard water stains can turn them foggy fast. A magic eraser is a surprisingly effective tool for this job, cutting through grime without the need for harsh chemicals. Just dampen it slightly and wipe—no extra cleaner required.
Magic erasers work by micro-abrasion, gently lifting soap scum and mineral deposits from the glass surface. They're especially good on stubborn spots that regular sprays miss. After wiping, rinse the door thoroughly with water to remove any residue, then dry with a microfiber cloth for a streak-free shine.
This method is quick, cheap, and leaves your glass doors crystal clear.
Why It Works So Well
The melamine foam in magic erasers acts like fine sandpaper, buffing away grime without scratching glass. It's also slightly absorbent, so it holds onto the dirt rather than just pushing it around. That's why you see immediate results—the foam grabs and lifts the scum away.
How To Use It Right
Start with a dry magic eraser and dampen it with water until it's just wet, not dripping. Gently scrub the glass in circular motions, focusing on cloudy areas. Rinse the eraser frequently as it picks up grime.
Once done, rinse the door with water and wipe dry to prevent water spots.
When To Avoid It
Don't use magic erasers on frosted or etched glass, as the abrasion can damage the finish. Also avoid them on glass with decorative coatings or tints. Stick to clear, smooth glass doors for best results.
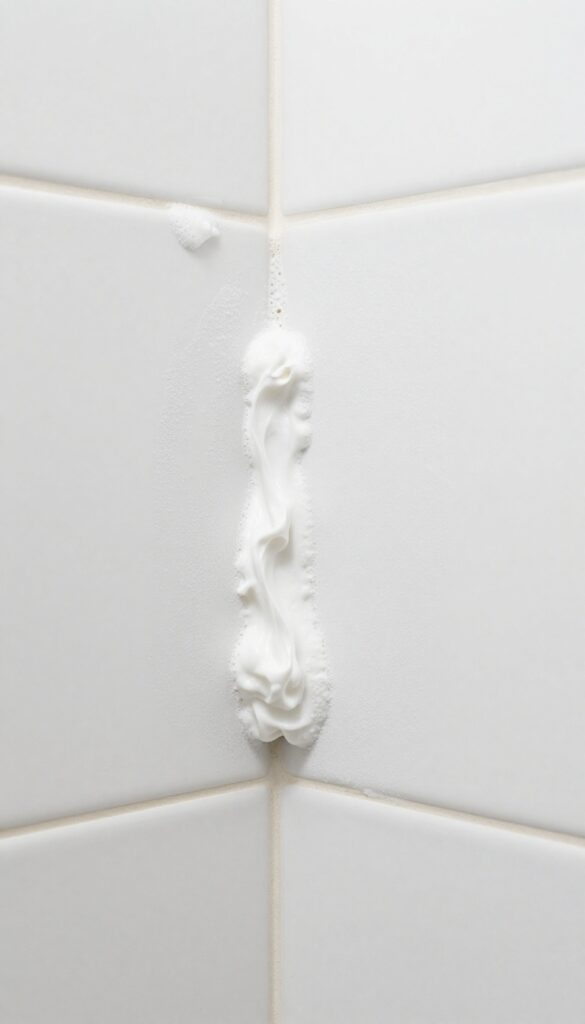
5. Clean Grout with a Hydrogen Peroxide and Baking Soda Mix
Grout lines are often the first place grime and mildew set up camp. Because grout is porous, it soaks up soap scum and moisture, turning dingy fast. A simple paste of hydrogen peroxide and baking soda can lift that discoloration without harsh bleach fumes.
Mix baking soda and hydrogen peroxide until you get a thick paste—about two parts baking soda to one part peroxide works well. Apply it directly to the grout lines using an old toothbrush or a small brush. Let it sit for 10 minutes so the peroxide can bubble away grime.
Then scrub gently in circular motions and rinse with warm water. For extra stubborn stains, add a drop of dish soap to the paste.
Why This Combo Works
Hydrogen peroxide is a natural bleaching agent that breaks down organic stains and kills mildew. Baking soda is a mild abrasive that scrubs without scratching tiles. Together, they create a fizzy reaction that lifts dirt from deep within the grout pores.
Application Tips For Best Results
Work in small sections so the paste doesn't dry out. Use a grout brush or an old toothbrush—avoid wire brushes that can scratch tiles. Rinse thoroughly after scrubbing; leftover residue can attract more dirt.
For vertical grout lines, hold a small mirror to check for missed spots.
When To Repeat Or Upgrade
If grout is still stained after one treatment, repeat the process. For deeply embedded grime, let the paste sit for 20 minutes. For maintenance, use this method once a month to keep grout bright.
Avoid using this paste on natural stone tiles, as peroxide can etch them.
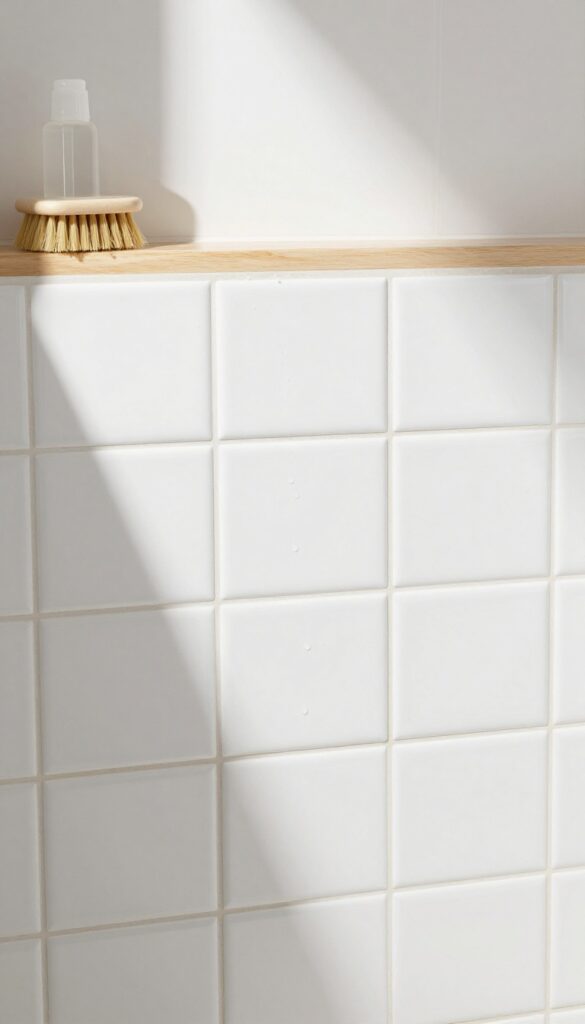
6. Invest in a Good Grout Brush
Grout is porous and textured, so wiping it with a sponge just pushes dirt around. A dedicated grout brush with stiff bristles digs into those grooves and lifts grime that a cloth can't reach. It's a small tool that makes a huge difference.
Look for a brush with an angled head—it helps you get into corners and along edges without straining your wrist. You can find them at most hardware stores or online for under ten bucks. Think of it as a tiny power tool for your tile.
Choose The Right Bristle Stiffness
Not all grout brushes are created equal. Soft bristles are fine for light maintenance, but for caked-on soap scum and mildew, you want something stiffer. A brush with nylon or polypropylene bristles that are firm but not scratchy will handle the job without damaging your grout.
Test it on an inconspicuous spot first to be safe.
Pair It With A Good Cleaner
A grout brush works best when you use it with the right cleaning solution. A paste of baking soda and water or a 50/50 vinegar and water spray can soften grime before you scrub. Apply the cleaner, let it sit for a few minutes, then go to town with the brush.
The bristles will agitate the dirt loose while the cleaner breaks it down chemically.
Don't Forget The Handle
A long-handled grout brush saves your knees and back. You can scrub while standing, which makes the job less of a chore. Some brushes even come with a built-in scraper on the end for stubborn spots.
If you're tackling a whole shower, the extra reach is worth it.
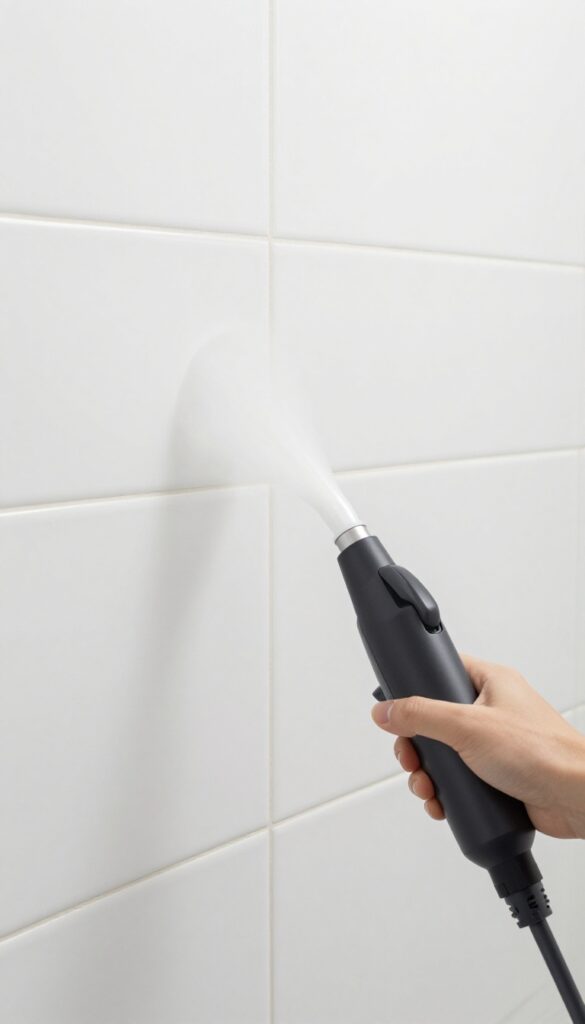
7. Steam Clean for Deep Disinfection
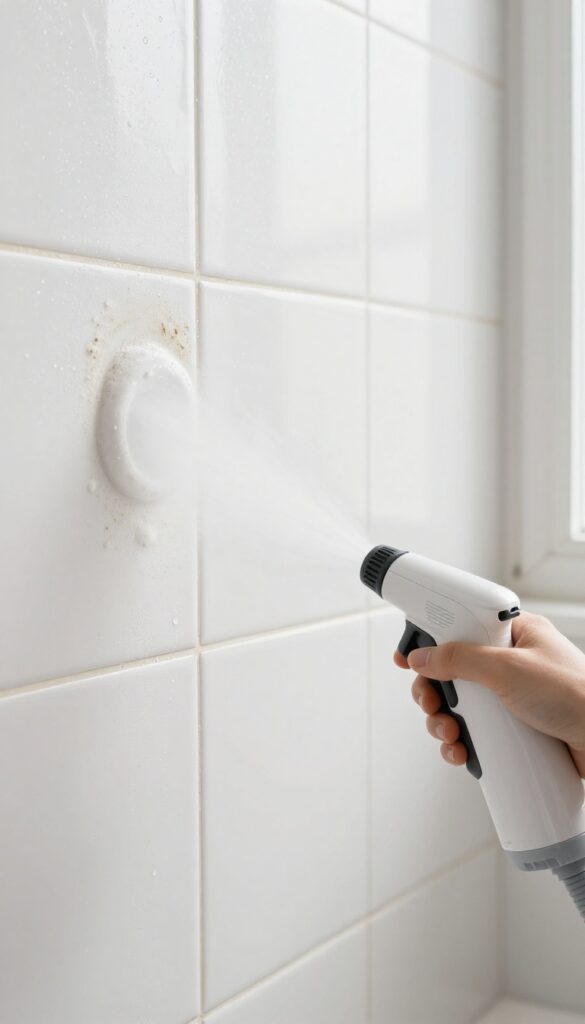
If you want to nuke grime without scrubbing or using chemicals, a handheld steam cleaner is your best friend. The high heat—usually over 200°F—melts soap scum on contact and kills mold, mildew, and bacteria hiding in grout. It's especially effective on textured surfaces where brushes can't reach.
Steam cleaning works because it combines heat and pressure to break down sticky residues. You don't need any special solutions—just water. The steam penetrates porous grout, lifting dirt from deep within.
It also sanitizes without leaving chemical residue, making it a great choice for households with kids or pets.
Best Steamers For Tiles
Look for a handheld model with a brush attachment and a triangle head for grout lines. Brands like McCulloch, Bissell, and Dupray offer affordable options. Avoid super cheap units that don't produce consistent steam.
A good steamer will pay for itself after a few uses.
How To Steam Clean Shower Tiles
Start at the top of the wall and work your way down. Hold the nozzle about an inch from the surface and move slowly. For tough spots, pause for a few seconds to let the heat work.
After steaming, wipe away the loosened grime with a microfiber cloth. Open a window or run the fan to clear steam.
Safety And Maintenance Tips
Always let the steamer cool before refilling. Use distilled water to prevent mineral buildup inside the machine. Wear gloves to protect your hands from the hot steam.
Never use steam on loose or cracked tiles—the moisture can seep behind them and cause damage.
8. Use a Pumice Stone on Hard Water Stains
Hard water stains can be some of the toughest to remove, especially on ceramic tiles. A pumice stone offers a simple, chemical-free solution that gently erodes mineral deposits without scratching the tile surface. Just wet the stone and rub it over the stain—it's that easy.
Pumice stones are porous volcanic rocks that act like a gentle abrasive. When wet, they soften and can lift hard water deposits without damaging glazed ceramic tiles. Always test on a hidden spot first to ensure compatibility.
Use light pressure and keep the stone wet to avoid scratching. After removing the stain, rinse the area thoroughly and dry it to prevent new buildup.
How To Use A Pumice Stone Safely
Start by soaking the pumice stone in water for a few minutes. Wet the stained tile as well. Gently rub the stone over the hard water deposit using circular motions.
Let the stone do the work—don't press hard. Rinse frequently to check progress. Once the stain is gone, wipe the area clean with a damp cloth.
Where Pumice Works Best
Pumice stones are ideal for glazed ceramic tiles, porcelain, and some glass surfaces. Avoid using them on unglazed tiles, natural stone, or acrylic surfaces, as they can cause scratches. They're perfect for stubborn rings around toilet bowls or sinks, too.
Pro Tips For Best Results
Always use a separate pumice stone for bathroom cleaning—don't use one from your skincare routine. Keep the stone wet while working, and replace it when it becomes too smooth or worn down. For extra stubborn stains, you can apply a bit of baking soda paste to the stone for added abrasion.
9. Apply a Tile and Grout Sealer Annually
You scrub grout lines until your arms ache, only to watch them darken again within weeks. That's because unsealed grout acts like a sponge, soaking up soap scum, moisture, and mildew. A simple annual sealing creates an invisible shield that keeps grime from digging in.
Sealing isn't complicated, but it makes a huge difference. You'll spend less time scrubbing and more time enjoying a clean shower. Plus, sealed tiles resist staining and stay brighter longer.
Why Sealing Matters
Grout is porous by nature. Without a sealer, it absorbs water and soap residue, creating a perfect home for mold and mildew. A good sealer fills those tiny pores, so dirt and moisture sit on the surface instead of soaking in.
That means you can wipe them away easily during your regular cleaning routine.
How To Choose The Right Sealer
Not all sealers are created equal. For ceramic or porcelain tiles, a penetrating sealer works well. For natural stone like marble or travertine, use a sealer designed specifically for that material.
Always test a small hidden area first to make sure the sealer doesn't darken the grout or tile.
Simple Application Steps
Clean the grout thoroughly and let it dry for at least 24 hours. Apply the sealer with a small brush or applicator bottle, working it into the grout lines. Wipe off any excess from the tile surface before it dries.
Let it cure according to the manufacturer's instructions—usually 24 to 48 hours—before exposing it to water.
When To Reapply
Most sealers last about a year. To check if it's time to reseal, sprinkle a few drops of water on the grout. If the water beads up, the sealer is still working.
If it soaks in and darkens the grout, it's time to reapply. Mark your calendar so you don't forget.
10. Try a Commercial Cleaner with Bleach for Mildew
Mildew can be stubborn, especially in the corners and grout lines where moisture lingers. When natural solutions aren't cutting it, a commercial bleach-based cleaner specifically designed for bathroom tiles can deliver fast results. These products are formulated to kill mildew spores and brighten surfaces without damaging the tile finish.
Choose a spray that says "mildew remover" or "bleach cleaner" on the label. Apply it generously to the affected areas, let it sit for 5–10 minutes to penetrate the grime, then scrub with a stiff brush. Always wear gloves and open a window or turn on the exhaust fan to avoid breathing in fumes.
Rinse thoroughly with water afterward to remove any residue.
Why Bleach Works On Mildew
Bleach is a powerful disinfectant that kills mildew at the root, preventing it from coming back quickly. It also whitens grout and removes dark stains that other cleaners leave behind. Just be careful not to use it on colored grout or natural stone, as it can cause discoloration or etching.
Application Tips For Best Results
For heavy mildew, apply the cleaner and let it sit for up to 15 minutes. Use a toothbrush or grout brush to work it into the lines. Avoid mixing bleach with other cleaners, especially ammonia, as that creates toxic fumes.
After scrubbing, rinse the area with warm water and dry it with a microfiber cloth to prevent new mildew from forming.
Safety Precautions To Follow
Always wear rubber gloves and eye protection when handling bleach-based products. Make sure the bathroom is well-ventilated—keep the door open and run the fan. If you have respiratory issues, consider wearing a mask.
Never pour bleach down the drain if you've used other drain cleaners recently.
11. Use a Toothbrush for Detail Work
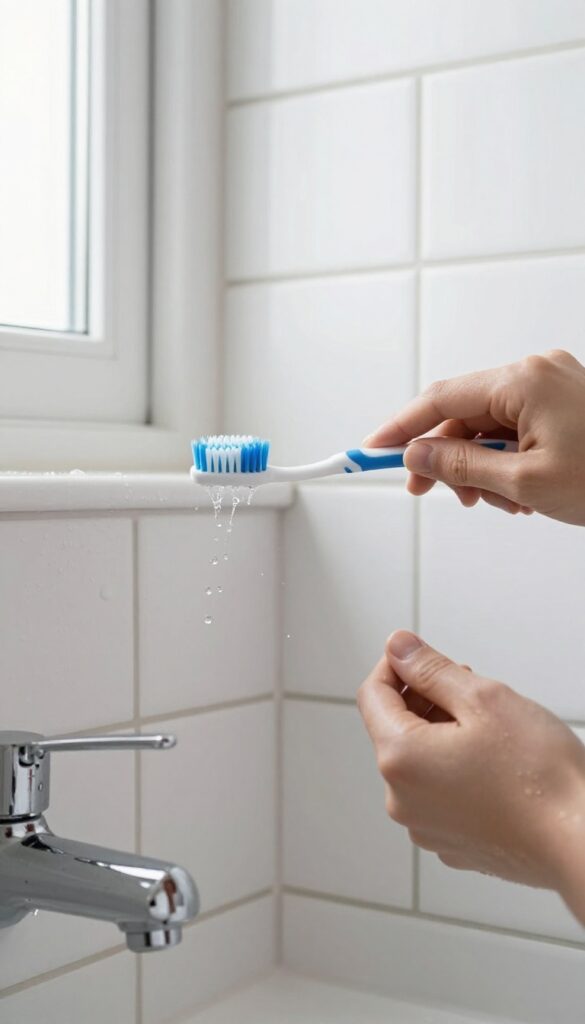
An old toothbrush is perfect for cleaning around faucets, corners, and grout lines. Dip it in your cleaner of choice and scrub small areas that a sponge can't reach. This simple tool gives you precision control for those tight spots where grime loves to hide.
A toothbrush is a detailer's best friend when it comes to shower tile cleaning. Its small head and stiff bristles can dig into crevices that larger tools miss. Here's how to make the most of it.
Target Grout Lines
Grout lines are porous and tend to trap soap scum and mildew. Apply a paste of baking soda and water or a commercial grout cleaner, then scrub with a toothbrush in a circular motion. Rinse thoroughly and watch the grout brighten.
Clean Around Fixtures
Faucets, showerheads, and handles often have small gaps where grime accumulates. Dip the toothbrush in white vinegar or a mild cleaner and gently scrub around the base and edges. This prevents hard water stains from building up.
Reach Corners And Edges
The corners where tiles meet walls or the shower floor are prime spots for mold. Use a toothbrush with a bit of bleach solution (1 part bleach to 10 parts water) to scrub these areas. Let it sit for a few minutes, then rinse.
12. Wipe Down Tiles with a Microfiber Cloth After Each Shower
You might think a quick wipe after showering is overkill, but it's one of the most effective ways to prevent soap scum and hard water spots. A dry microfiber cloth absorbs moisture that would otherwise dry into cloudy residue. This simple habit takes just 30 seconds and can dramatically reduce how often you need to deep-clean.
Microfiber cloths are ideal because they trap water and minerals rather than pushing them around. Keep a dedicated cloth hanging near the shower, and give the tiles a quick once-over after you step out. Focus on areas that stay wet longest—corners, grout lines, and glass doors.
Over time, you'll notice less buildup and fewer streaks.
Why Microfiber Works Best
Microfiber has split fibers that create a static charge, attracting dust and mineral particles. Unlike cotton towels, which can leave lint and smear water around, microfiber absorbs moisture without leaving residue. It's also gentle on tile and grout, so you won't damage the surface.
How To Build The Habit
Make it easy: store the cloth within arm's reach of the shower door. After your last rinse, grab the cloth and wipe from top to bottom. Don't forget the corners where water pools.
If you have multiple people showering, assign a cloth per person or keep a fresh one ready each day.
Caring For Your Microfiber Cloths
Wash microfiber cloths separately from cotton items to avoid lint transfer. Use a gentle detergent without fabric softener, which can clog the fibers. Air dry or tumble on low heat.
Replace cloths when they start to lose absorbency or leave streaks—usually after 30–50 washes.
13. Make a Lemon and Salt Scrub for Natural Stone
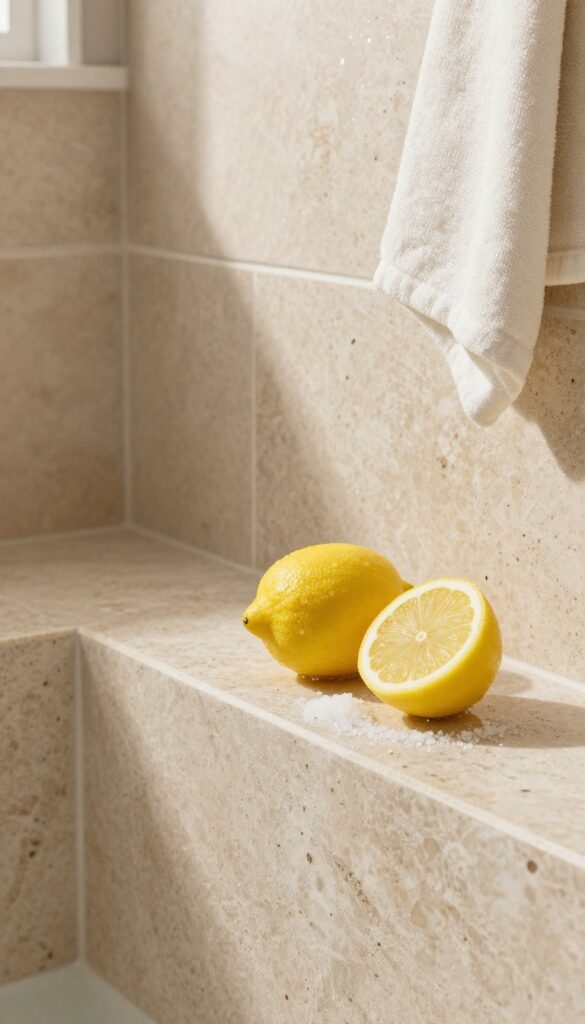
Natural stone tiles like marble, travertine, and slate demand a gentler touch than ceramic or porcelain. Harsh acidic cleaners—especially vinegar—can etch and dull their polished surface. That's where a simple lemon and salt scrub comes in.
It's mild enough for stone but tough on soap scum and grime.
When your natural stone shower tiles start looking dingy, reach for a lemon and some fine salt instead of a bottle of harsh cleaner. The citric acid in lemon helps break down soap scum and mineral deposits, while the salt acts as a gentle abrasive to lift grime without scratching. This combo is especially effective on honed or tumbled stone that's more porous and prone to staining.
To make the scrub, cut a lemon in half and dip the cut side into a small dish of fine salt. You can also mix lemon juice with salt to form a paste if you prefer using a sponge. Apply the scrub directly to the tiles, focusing on areas with visible soap scum or water spots.
Let it sit for about two to three minutes—no longer, as the acid can affect the stone if left too long. Then rinse thoroughly with warm water and wipe dry with a soft cloth. Avoid using this scrub on polished marble or limestone, as the acid can dull the finish.
Always test on an inconspicuous area first. For routine maintenance, a weekly wipe-down with a pH-neutral stone cleaner is best. But when you need a deeper clean, this lemon-salt scrub is a safe, effective option that won't damage your investment.
Why Vinegar Is A No-go On Stone
Vinegar is a popular natural cleaner, but it's too acidic for natural stone. The acetic acid can etch the surface, leaving permanent dull spots or even pits. Even diluted vinegar can cause damage over time.
Stick with lemon juice, which is milder, or use a dedicated stone cleaner for routine upkeep.
Best Stone Types For This Scrub
This scrub works best on honed marble, travertine, slate, and granite tiles. These stones have a matte or textured finish that can handle gentle abrasion. Avoid using it on polished marble, limestone, or onyx, as the acid and salt can scratch or dull the glossy surface.
How Often To Use It
Use this scrub every two to four weeks, depending on how much soap scum builds up. Overusing it can wear down the stone's sealant, so stick to monthly treatments. Between deep cleans, a daily squeegee and weekly wipe with a stone-safe cleaner will keep your tiles looking fresh.
14. Use a Shower Spray with Rinse Aid
A daily spray can be the difference between a sparkling shower and one coated in film. The trick is using a rinse aid—like the kind you put in your dishwasher—to help water sheet off surfaces instead of beading up and drying into spots.
After your last shower of the day, give the tiles and glass a quick mist with a spray bottle filled with water and a few drops of rinse aid. No wiping or rinsing needed. The rinse aid breaks the surface tension of water, so it runs off in sheets, carrying soap residue and minerals with it.
Over time, this reduces the buildup of soap scum and hard water stains dramatically.
How Rinse Aid Works On Tiles
Rinse aids contain surfactants that lower the surface tension of water. Instead of forming droplets that leave spots when they evaporate, the water spreads into a thin film and slides off. This same principle works on ceramic, porcelain, and glass shower surfaces.
Making Your Own Spray
Mix 1 cup of water with 1 tablespoon of a commercial rinse aid like Jet-Dry in a spray bottle. Shake gently. You can also add a drop of dish soap for extra cleaning power, but keep it minimal to avoid excess suds.
When And How To Apply
Use the spray after your final shower of the day when the walls are already wet. Mist evenly over tiles and glass doors. No need to rinse or wipe—just let it air dry.
For best results, do this daily. It takes less than a minute and cuts down on deep cleaning frequency.
15. Replace Old Caulk Around Tile Edges
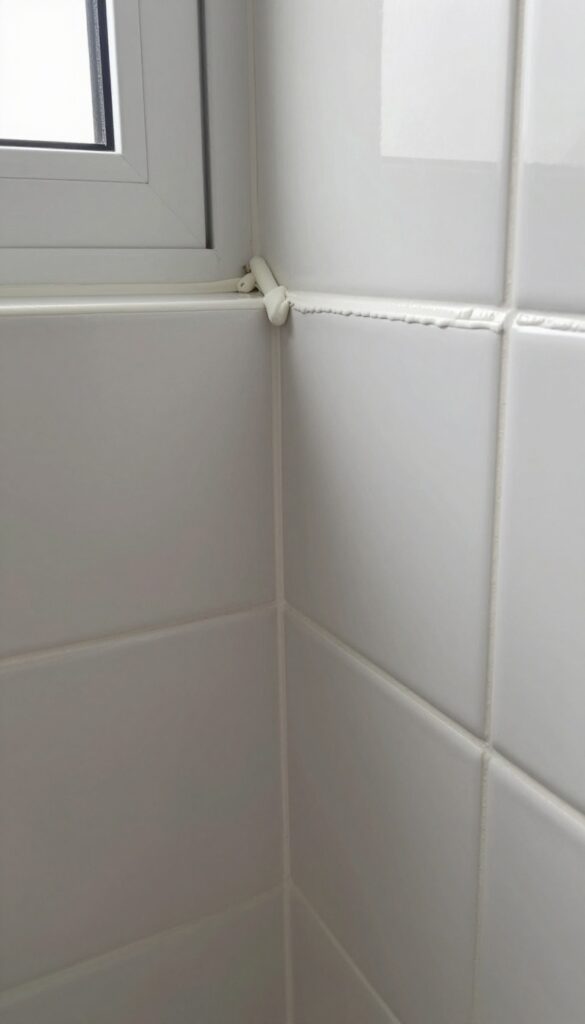
That cracked or discolored caulk around your shower tiles isn't just an eyesore—it's a gateway for moisture to sneak behind the walls. Over time, water intrusion can lead to mold growth and even structural damage. Replacing old caulk is a straightforward fix that seals out moisture and gives your shower a clean, finished look.
Start by removing the old caulk with a utility knife or a caulk removal tool. Scrape away all residue, then clean the area with rubbing alcohol to ensure the new caulk adheres properly. Let it dry completely.
Apply a bead of mildew-resistant silicone caulk along the seam, smoothing it with a wet finger or a caulk smoothing tool. Allow it to cure for 24 hours before exposing it to water.
Why Silicone Caulk Wins
Silicone caulk is flexible, waterproof, and naturally resistant to mildew—perfect for the wet environment of a shower. Unlike acrylic caulk, it won't shrink or crack over time. Look for a brand labeled "mildew-resistant" or "bathroom-rated" for the best results.
The Removal Trick
Old caulk can be stubborn. Soften it with a heat gun or hair dryer on low for a few seconds before cutting. This makes it easier to peel away in one piece.
Be careful not to overheat the surface or damage the tile.
When To Call A Pro
If you notice water damage behind the caulk—like soft drywall or black mold—you might have a bigger problem. In that case, it's wise to have a contractor inspect the area before sealing it back up.
16. Try a Dishwasher Tablet for Glass Doors
If you've got a box of dishwasher tablets under the sink, you're already holding a surprisingly effective glass shower door cleaner. The enzymes and surfactants in these tablets are designed to break down tough food residue—and they work just as well on soap scum and hard water film. It's a quick, low-effort hack that can restore clarity to foggy glass in minutes.
Grab a single dishwasher tablet and wet it slightly under the faucet—just enough to activate the outer coating. Rub the tablet directly over the glass door in a circular motion, covering the entire surface. You'll see suds forming as the enzymes go to work on the grime.
Let it sit for about two minutes, then rinse thoroughly with warm water. Follow up with a squeegee to prevent streaks. The result is a streak-free shine without the need for specialized glass cleaners.
Why It Works
Dishwasher tablets contain powerful cleaning agents like sodium carbonate, enzymes, and surfactants. These ingredients are formulated to dissolve baked-on food and grease, but they're equally effective at breaking down the fatty acids and minerals in soap scum. The tablet's abrasive texture also provides gentle scrubbing action without scratching glass.
Best Practices
Use this method only on glass doors—avoid applying it to tile, grout, or metal frames, as the chemicals may cause damage. Always wear gloves to protect your skin, and work in a well-ventilated bathroom. For heavy buildup, let the tablet sit for up to five minutes before rinsing.
If you notice residue after rinsing, wipe the glass with a microfiber cloth.
When To Skip This Hack
Don't use dishwasher tablets on frosted, etched, or tinted glass, as the abrasives can scratch or dull the finish. Also avoid this method if your shower door has a protective coating, like a water-repellent layer, since the enzymes might strip it over time. Stick to mild soap and water for those surfaces.
17. Schedule a Monthly Deep Clean
Even with daily maintenance, shower tiles need a reset every few weeks. A monthly deep clean targets buildup that regular cleaning misses, especially in grout lines and corners. Blocking out 30 minutes keeps the job manageable and prevents grime from becoming stubborn.
Once a month, commit to a thorough cleaning session. Rotate between methods like a vinegar spray, a baking soda paste, or a steam cleaner to tackle different types of residue. This variety ensures every surface gets the attention it needs without overusing any one product.
The Vinegar Spray Method
Mix equal parts white vinegar and water in a spray bottle. Mist the tiles and grout thoroughly, let it sit for 10 minutes, then scrub with a soft brush. Rinse well.
This is great for soap scum and mild mildew, but avoid it on natural stone.
Baking Soda Paste For Stubborn Spots
Make a paste with baking soda and a little water. Apply it to grout lines or stained areas, let it sit for 15 minutes, then scrub with an old toothbrush. For extra power, add a splash of vinegar after applying the paste to create a fizzing action.
Steam Cleaning For Deep Grime
If you have a handheld steam cleaner, use it monthly on grout and tile surfaces. The high heat loosens dirt and kills mold without chemicals. Focus on corners and along the bottom edge where water pools.
Wipe away loosened grime with a microfiber cloth.
FAQ
What is the best homemade cleaner for shower tiles?
A mixture of equal parts white vinegar and Dawn dish soap is highly effective for cutting soap scum and grime. For grout, a paste of baking soda and hydrogen peroxide works well.
How do I prevent soap scum from building up?
Use a squeegee or microfiber cloth to dry tiles after each shower. Also, consider a daily shower spray with rinse aid to help water sheet off surfaces.
Can I use bleach on colored grout?
Bleach can discolor colored grout. Instead, use oxygen bleach (like OxiClean) or a hydrogen peroxide-based cleaner to brighten without fading.
How often should I clean shower tiles?
Daily quick drying and weekly light cleaning are ideal. A deep clean using stronger methods should be done monthly or as needed.
What is the safest cleaner for natural stone tiles?
Use a pH-neutral stone cleaner or a mild mixture of lemon juice and salt. Avoid vinegar, bleach, and acidic cleaners that can etch or damage stone.
Conclusion
Keeping shower tiles clean doesn't have to be a chore. With the right tools and a few simple habits, you can prevent grime and soap scum from taking over. Try a couple of these tips and see what works best for your shower.
Remember, consistency is key. A minute of prevention each day saves you an hour of scrubbing later. Your shower will look better, and you'll feel good stepping into a clean space every morning.