How to Clean Grout in Shower Tile in 13 Easy Steps
Grout in shower tile can quickly turn from bright white to dingy gray, thanks to soap scum, hard water, and mildew. Scrubbing it clean often feels like a losing battle, but the right approach makes all the difference. These 13 steps break down the process into manageable tasks, using common household supplies and a few specialized tools.
Each step targets a specific layer of grime, from a simple baking soda paste to steam cleaning for deep-set dirt. No harsh chemicals or endless scrubbing required—just a systematic method that restores your grout without wearing you out.
Ready to see your shower look fresh again? Let's get started.
1. Gather Your Cleaning Supplies
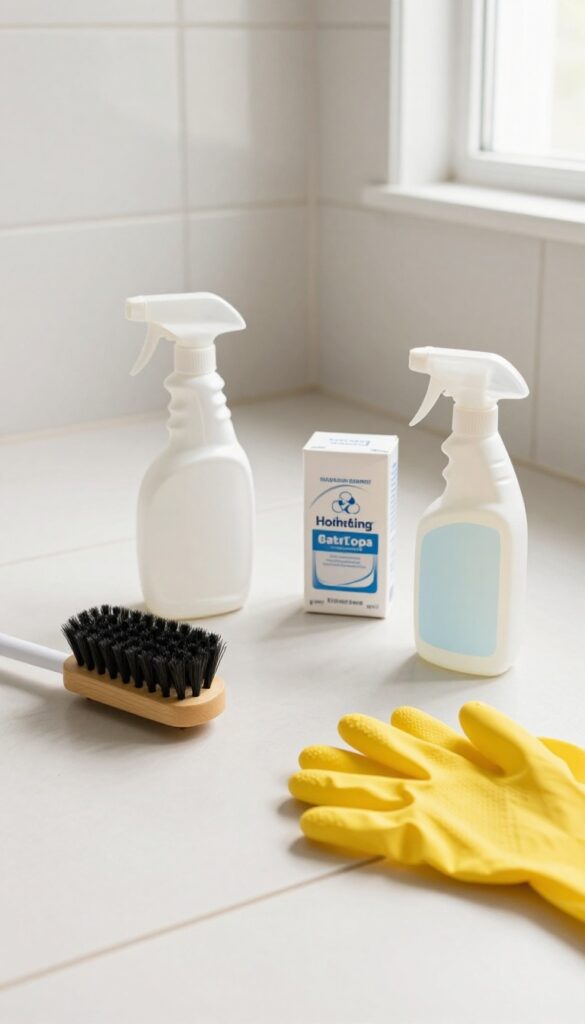
Before you start scrubbing, it helps to have everything within arm’s reach. The right tools and cleaners make the job faster and way less frustrating. Most of these items are probably already in your pantry or cleaning closet.
The Basics: Brush, Spray Bottle, And Gloves
A stiff-bristled brush is your main weapon—look for one with nylon bristles that won't scratch tile. You'll also need a spray bottle for mixing solutions and a pair of rubber gloves to protect your hands from grime and any mild acids.
Household Heroes: Baking Soda And Vinegar
Baking soda acts as a gentle abrasive that lifts dirt without damaging grout. White vinegar cuts through soap scum and hard water deposits. Just don't mix them together in the same container—they'll fizz and lose effectiveness.
Use them separately for different steps.
Optional But Handy: Hydrogen Peroxide And Steam Cleaner
For tougher stains, hydrogen peroxide works as a natural bleach alternative. A steam cleaner can blast away deep-set grime without chemicals. If you don't have one, a toothbrush and elbow grease will do the trick.
2. Ventilate the Bathroom
Cleaning grout often involves strong cleaners, even if you're using natural options like vinegar or baking soda. Fumes can build up fast in a small, enclosed shower space, and lingering moisture makes it harder for surfaces to dry. That's why ventilation is a key step before you even pick up a scrub brush.
Good airflow does two things: it clears out chemical vapors so you're not breathing them in, and it helps the grout dry faster after cleaning. Damp grout is a breeding ground for mold and mildew, so speeding up the drying process is a win. Open a window if your bathroom has one, or switch on the exhaust fan and leave it running throughout the job.
If neither is an option, prop the bathroom door open and aim a small fan toward the shower to keep air moving.
Why Ventilation Matters
Many grout cleaners contain bleach, ammonia, or other harsh chemicals. Even natural solutions like hydrogen peroxide can irritate your lungs in an unventilated space. Proper airflow reduces your exposure and keeps the room comfortable to work in.
Setting Up Airflow
Start by opening any windows wide. Turn on the exhaust fan at least five minutes before you begin cleaning, and let it run for 30 minutes after you finish. If your fan is weak, use a portable fan placed on the floor or counter to circulate air directly toward the shower.
Safety First
If you're using commercial cleaners, wear gloves and a mask for extra protection. Ventilation alone might not be enough for strong fumes, especially in a small bathroom. Pair airflow with protective gear to stay safe.
3. Pre‑Rinse the Shower Tile
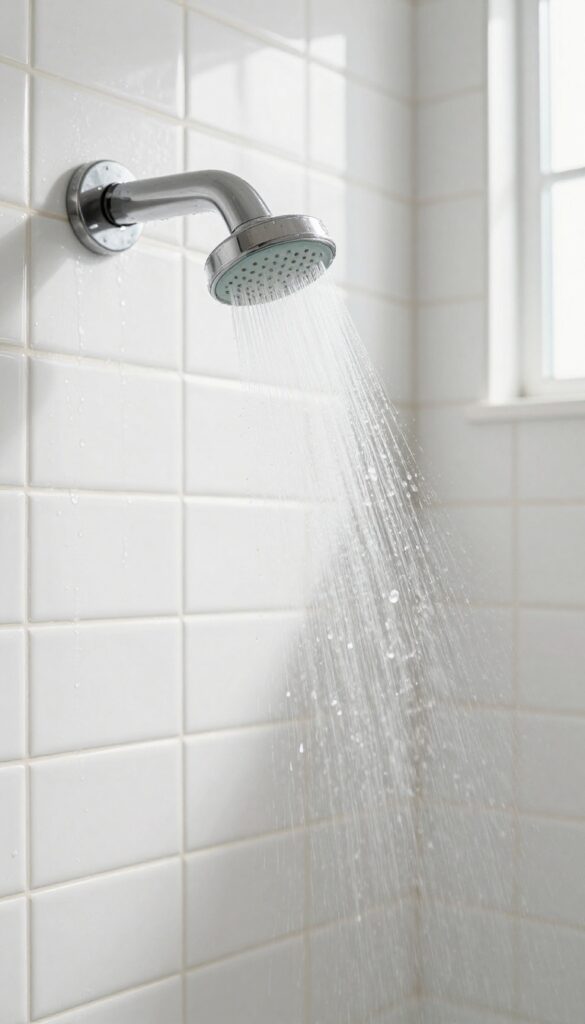
Before you bring out any cleaners, give the grout a good rinse with warm water. This simple step wets the surface and loosens loose dirt, dust, and soap scum that's just sitting there. It also helps the cleaning solution penetrate deeper later on.
Why Warm Water Works Best
Warm water is more effective than cold at breaking down greasy residues and softening dried-on grime. It also opens up the pores of the grout slightly, making it easier for whatever cleaner you use next to do its job. Just make sure the water isn't too hot—you don't want to risk damaging the tile or grout.
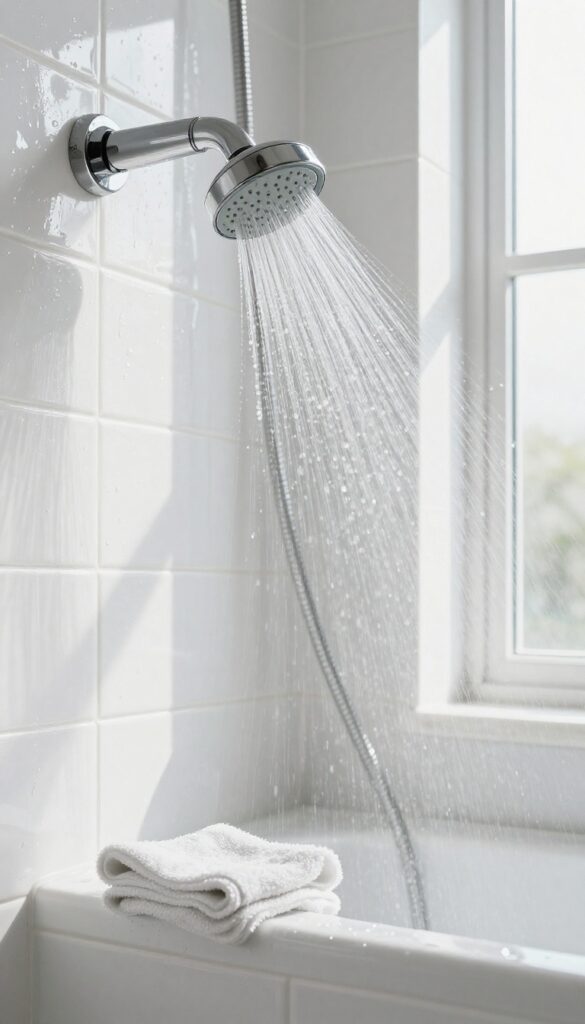
How To Rinse Properly
Use a handheld showerhead or a spray bottle to apply warm water directly to the grout lines. Work from top to bottom so the runoff carries dirt downward. Let the water sit for a minute or two, then give it a quick scrub with a soft brush to knock off any loose particles.
This pre-rinse step takes only a few minutes but sets you up for a much more effective clean.
4. Apply a Baking Soda Paste
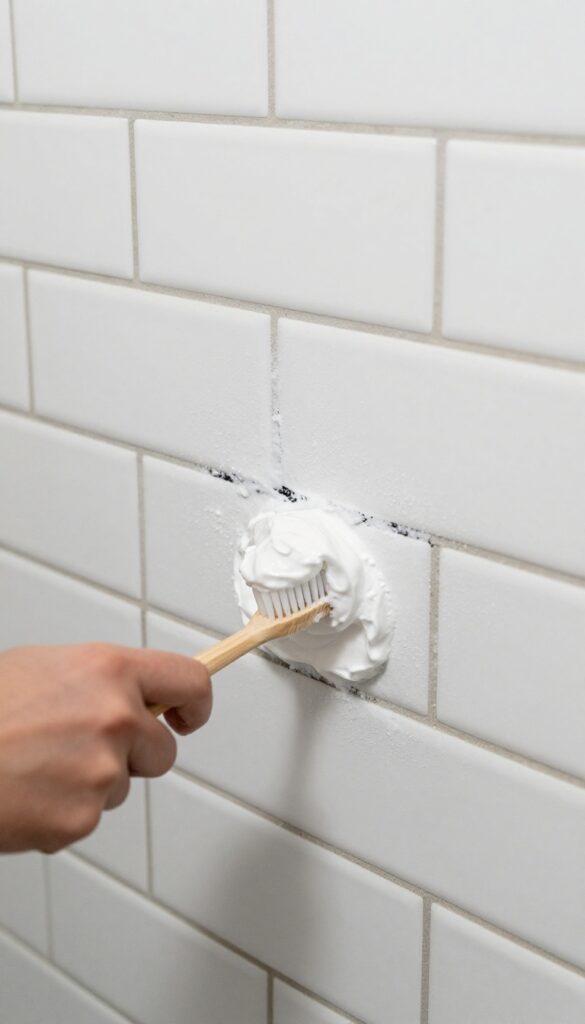
Baking soda is a gentle abrasive that lifts grime without scratching tile or damaging grout. When mixed into a thick paste, it clings to vertical surfaces and seeps into porous grout lines, loosening embedded dirt. This step is simple but effective, especially when combined with a little elbow grease.
Mixing The Right Consistency
Start with about ½ cup of baking soda in a small bowl. Add water one tablespoon at a time, stirring until you get a spreadable paste—thick enough to stay put on the grout, but not so dry that it crumbles. If it's too runny, add more baking soda; too stiff, add a drop more water.
Applying The Paste
Use an old toothbrush, a grout brush, or even your finger (with a glove) to press the paste firmly into the grout lines. Cover all the areas you want to clean, working in small sections so the paste doesn't dry out before you scrub. Let it sit for 5–10 minutes to break down the grime.
Why This Works
Baking soda's mild alkalinity helps dissolve acidic soils like soap scum, while its fine particles provide gentle scrubbing action. Unlike harsh chemical cleaners, it won't etch tile surfaces or produce fumes, making it safe for regular use.
5. Spray with White Vinegar
Once the baking soda paste has had a few minutes to work, it's time for the next natural cleaner: white vinegar. The vinegar reacts with the baking soda to create a fizzy action that helps lift grime from deep within the grout lines. This simple chemical reaction is surprisingly effective at breaking down soap scum and mineral deposits.
Lightly spray white vinegar over the baking soda paste. You don't need to soak it—just a fine mist will trigger the fizzing reaction. Let it sit for about 10 minutes.
During this time, the bubbling action works to loosen dirt and debris. You might hear a gentle sizzle, which is a good sign that the cleaning is underway.
Why Vinegar Works
White vinegar is acidic, which makes it great at dissolving alkaline substances like soap scum and hard water stains. When it meets baking soda (a base), the fizzing reaction physically agitates the grout, helping to dislodge particles that scrubbing alone might miss. It's a gentle but powerful combo.
How To Apply It Right
Use a spray bottle set to a fine mist. Hold it about 6 inches from the tile and give the grout a light, even coating. Avoid oversaturating, as too much liquid can run down the wall and make a mess.
Focus on one section at a time so the fizzing stays active where you need it.
Let It Work, Don't Rush
The 10-minute wait is crucial. If you scrub too soon, you'll interrupt the reaction. Use this time to prepare your scrubbing tools or take a quick break.
You'll know it's ready when the fizzing has mostly subsided and the paste looks slightly drier.
6. Scrub with a Grout Brush
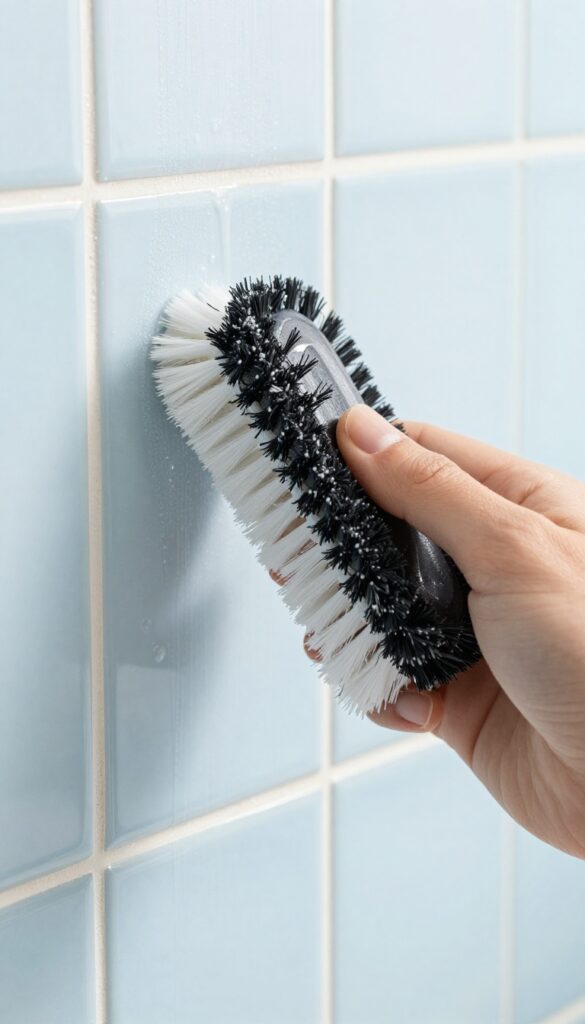
Now it's time to put some muscle into it. A grout brush or an old toothbrush is your best friend here. The stiff bristles dig into the porous grout lines, dislodging the grime that's been loosened by your cleaning solution.
Work in small sections to keep the cleaner from drying out before you've scrubbed.
Use a stiff-bristled brush or an old toothbrush to scrub the grout lines in a circular motion. This mechanical action is what actually lifts the dirt out of the pores. Focus on one small area at a time, and apply steady pressure.
You'll see the grout start to brighten as you go.
Pick The Right Brush
Not all brushes are created equal. A dedicated grout brush has angled bristles that reach deep into the lines. An old toothbrush works fine for tight corners.
Avoid wire brushes—they can scratch the tile surface.
Use Circular Motions
Scrubbing in circles helps work the cleaner into every crevice. Back-and-forth motions can miss spots. Keep your wrist loose and let the bristles do the work.
You'll feel when the grout is clean—it will be smoother and lighter.
Rinse And Repeat If Needed
After scrubbing a section, rinse with warm water and check your progress. Stubborn stains might need a second pass. Don't rush; it's better to do a thorough job now than to have to redo it later.
7. Rinse Thoroughly with Water
After all that scrubbing and chemical action, the final step is to remove every trace of the cleaning mixture. Leaving residue behind can attract new dirt or cause discoloration over time. A thorough rinse ensures your grout looks clean and stays that way longer.
Use a damp microfiber cloth to wipe down the tiles, switching to a fresh section of cloth as needed. Alternatively, if your shower has a handheld showerhead, spray the walls with warm water to wash away the loosened grime. Work from top to bottom so dirty water doesn't run over already-cleaned areas.
For stubborn residue, a wet sponge with a gentle squeeze works well. Once rinsed, use a dry cloth or squeegee to remove excess water and prevent water spots on glass or metal fixtures.
Why Rinsing Matters
Cleaning agents like vinegar and baking soda can leave a film if not fully removed. This film can trap soap scum and bacteria, undoing your hard work. A complete rinse also prevents any acidic residue from dulling tile surfaces over time.
Best Rinsing Methods
For small areas, a damp cloth is quick and controlled. For larger showers, a handheld showerhead with a spray setting provides even coverage. Avoid high-pressure jets that could force water behind tiles.
Always use warm water—hot water can set stains, and cold water may not dissolve residue as effectively.
Drying After Rinsing
After rinsing, open the shower door or window to promote airflow. Use a clean towel to blot excess moisture from grout lines. This step helps prevent mold from forming in the damp environment.
For best results, leave the shower fan on for 30 minutes.
8. Tackle Stubborn Stains with Hydrogen Peroxide
Some stains just won't budge, even after a good scrubbing. That's where hydrogen peroxide comes in. It's a mild bleach that breaks down organic gunk without the harsh fumes of chlorine bleach.
Perfect for those dark spots that seem to have taken up permanent residence in your grout lines.
Why Hydrogen Peroxide Works
Hydrogen peroxide releases oxygen bubbles that lift dirt and kill mold spores. It's safe for most grout colors, but test on a hidden spot first. Unlike vinegar, it won't etch natural stone tiles, so it's a gentler option for stubborn stains.
How To Apply It
Pour 3% hydrogen peroxide directly onto the stained grout. Let it fizz and sit for 10–15 minutes. For vertical surfaces, soak a paper towel in peroxide and press it against the grout.
Then scrub with a stiff brush and rinse with water. Repeat if needed.
When To Use A Paste
For extra-thick stains, mix hydrogen peroxide with baking soda to form a paste. Spread it over the grout, let it sit for 15 minutes, then scrub. This combo gives you both chemical and abrasive action.
Rinse thoroughly afterward.
9. Use a Steam Cleaner for Tough Grime
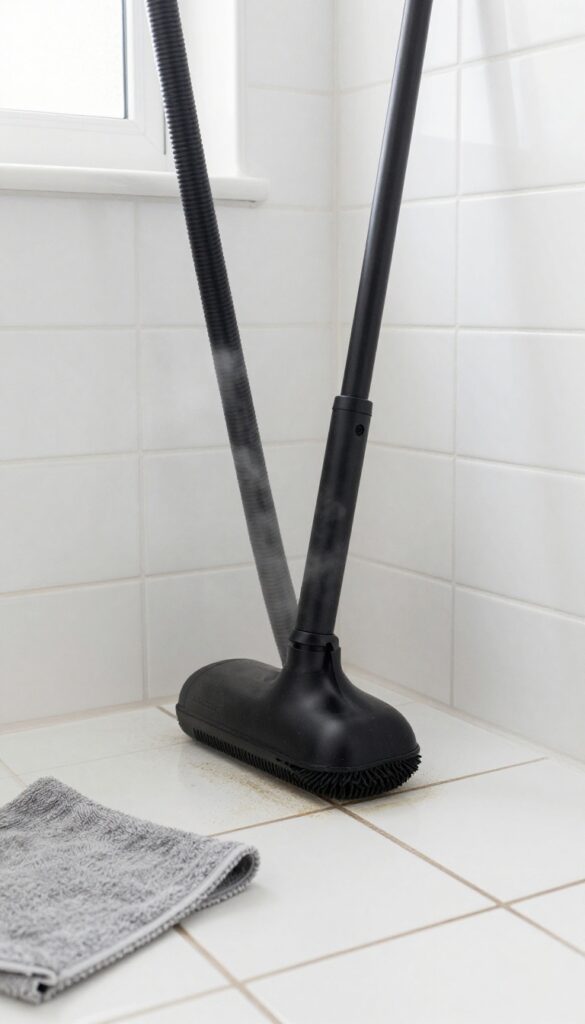
When elbow grease and natural cleaners fail, it's time to bring in the big guns. A steam cleaner uses high-temperature steam to loosen and blast away deeply embedded dirt, soap scum, and mildew without any chemicals. It's especially effective on porous grout that has absorbed years of grime.
How Steam Cleaning Works
Steam cleaners heat water to over 200°F, producing pressurized steam that penetrates grout pores. The heat kills mold and mildew spores, while the pressure dislodges dirt particles. Most handheld steam cleaners come with a brush attachment perfect for grout lines.
You don't need to scrub—just glide the nozzle along the grout.
Best Practices For Shower Grout
Before steaming, sweep or vacuum loose debris. Work in small sections, holding the nozzle about an inch from the grout. Move slowly to allow steam to penetrate.
Wipe away loosened grime with a microfiber cloth immediately. For extra-stubborn spots, let steam sit for 5–10 seconds before wiping. Always ventilate the bathroom to avoid excess humidity.
Safety And Maintenance Tips
Never use a steam cleaner on damaged or loose grout—steam can worsen cracks. Test on an inconspicuous area first. Avoid directing steam at caulking or seals, as heat can weaken them.
After cleaning, let grout dry completely to prevent mold regrowth. Regular steaming every few months keeps grout looking fresh.
10. Dry the Grout Completely

After all that scrubbing and rinsing, your grout is clean but soaking wet. Sealing damp grout is a recipe for disaster—it traps moisture and leads to mildew under the sealant. Drying thoroughly is a simple step that makes a huge difference in how long your clean grout lasts.
Drying might seem like the easiest part, but it's often rushed. Grout is porous and holds water deep in its pores, so a quick towel wipe won't cut it. You need to remove surface moisture and then give the grout time to air-dry completely before sealing.
Use A Clean, Absorbent Towel
Start by blotting the grout lines with a dry, lint-free towel. Press firmly to soak up as much water as possible. Avoid rubbing, which can push moisture back into the grout.
Switch to a dry section of the towel as it gets wet.
Speed Up Drying With A Fan
Position a fan to blow directly across the shower walls and floor. This circulates air and helps moisture evaporate faster. Leave the fan running for at least an hour—or longer if the room is humid.
For stubborn dampness, a hairdryer on a cool setting can target specific areas.
Check For Hidden Moisture
Even when the surface feels dry, grout can still be damp underneath. Press a piece of toilet paper against a grout line and hold for a few seconds. If it feels damp or sticks, the grout isn't ready.
Wait another 30 minutes and test again.
11. Apply a Grout Sealer
You've put in the work to get your grout looking fresh again. Now it's time to lock in that clean look and make future maintenance a breeze. A good grout sealer acts like a raincoat for your grout, repelling moisture and blocking stains before they set in.
This step is crucial if you want to avoid repeating the whole cleaning process next month.
Once your grout is completely dry—typically after 24 to 48 hours—it's ready for sealing. Choose a penetrating sealer designed for unglazed tile and grout. These sealers soak into the porous grout and create a protective barrier without changing the appearance.
Apply it carefully with a small brush or applicator bottle, working it into the grout lines and wiping off any excess from the tile surface before it dries.
Why Sealing Matters
Unsealed grout is like a sponge. It absorbs water, soap scum, and mildew, which leads to discoloration and mold growth. A sealer fills the tiny pores, making the grout water-resistant and much easier to clean.
It also extends the life of your grout by preventing cracks and crumbling caused by moisture damage.
Choosing The Right Sealer
Look for a penetrating sealer that's specifically labeled for grout. Avoid topical sealers that can leave a sticky film on the tile. For showers, a water-based sealer is safer indoors because it has low fumes.
If you have natural stone tiles, make sure the sealer is safe for stone as well.
Application Tips
Start in a corner and work your way out so you don't step on wet sealer. Use a small brush to dab the sealer directly into the grout lines, or use a squeeze bottle with a narrow tip. Let it sit for a few minutes as directed on the bottle, then wipe away any excess from the tile surface with a clean, dry cloth.
Work in small sections to prevent the sealer from drying on the tile.
Drying And Curing
After applying the sealer, let it dry completely according to the manufacturer's instructions—usually about 2 to 4 hours. Avoid getting the shower wet during this time. For best results, wait 24 hours before using the shower.
The sealer continues to cure over the next few days, so keep the area dry as long as possible.
12. Let the Sealer Cure
You've put in the work to get your grout looking fresh again. Now comes the part that's easy to overlook but absolutely critical: giving the sealer enough time to cure. Rushing this step can undo all your hard work.
Sealer needs time to bond with the grout and form a protective barrier. If you use the shower too soon, water can push the sealer out before it sets, leaving your grout vulnerable to stains and mildew. Patience here pays off.
Why 24 Hours?
Most grout sealers recommend a minimum 24-hour cure time. This allows the chemicals to fully penetrate and harden. Humidity and temperature can affect drying, so check the manufacturer's instructions.
If your bathroom is humid, you might need to wait longer.
What Happens If You Don't Wait?
Using the shower too soon can wash away the sealer or cause it to form a weak film. You might notice the grout darkening unevenly or water beading inconsistently. In worst cases, you'll have to reapply the sealer from scratch.
How To Test If It's Cured
After 24 hours, sprinkle a few drops of water on the grout. If they bead up and roll off, the sealer has cured. If the water absorbs into the grout, it needs more time.
Wait another 12 hours and test again.
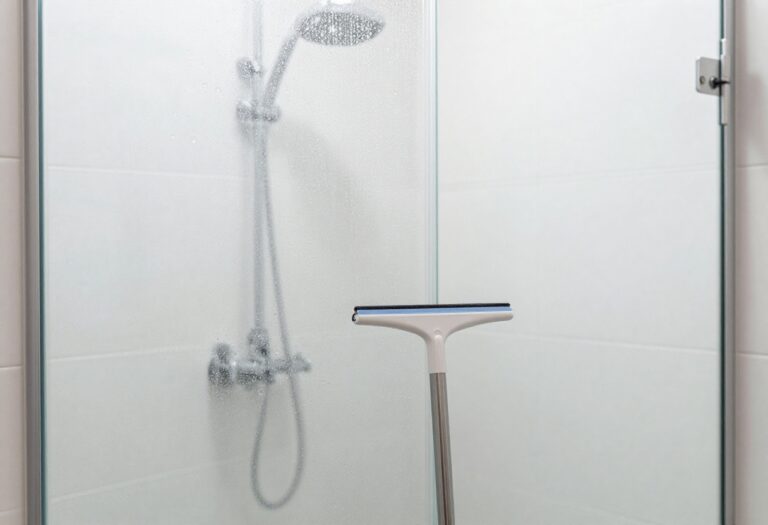
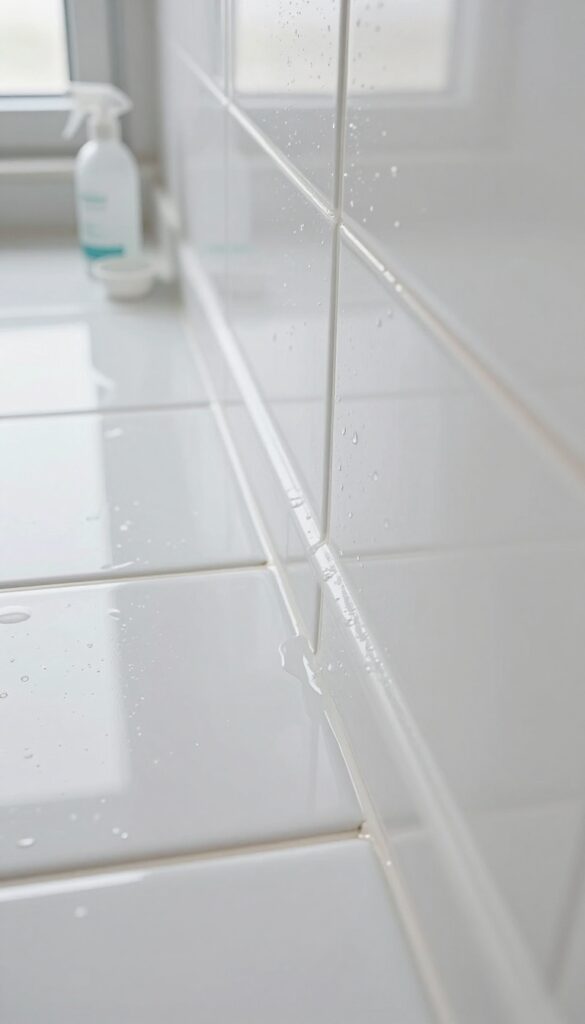
13. Maintain with Weekly Wipes
You've put in the work to get your grout looking fresh again. Now the trick is keeping it that way without another deep-clean marathon. A simple weekly wipe-down routine stops grime before it sets, so your shower stays bright with minimal effort.
Daily Squeegee Habit
After every shower, run a squeegee over the tiles and grout lines. This removes standing water that feeds mildew and hard water stains. It takes 30 seconds and cuts your cleaning frequency in half.
Weekly Spray And Wipe
Once a week, mist the shower walls with a 50/50 mix of white vinegar and water. Let it sit for 5 minutes, then wipe with a microfiber cloth. The mild acid dissolves soap scum and prevents buildup before it becomes stubborn.
Ventilation Is Key
Keep the bathroom fan running during and for 20 minutes after showers. If you don't have a fan, crack a window. Less humidity means less mold and mildew, so your grout stays cleaner longer.
FAQ
Can I use bleach to clean shower grout?
Yes, but bleach can be harsh and may discolor colored grout. It's better to use gentler options like baking soda and vinegar for regular cleaning.
How often should I clean shower grout?
A deep clean every 3-6 months is ideal, but wiping down the shower after each use helps prevent buildup.
Does vinegar damage grout?
Vinegar is mildly acidic and can erode unsealed grout over time. Use it sparingly and always rinse thoroughly.
What's the best way to whiten grout?
A baking soda and hydrogen peroxide paste works well. For severe discoloration, a grout pen or whitening product can help.
Do I need to seal grout after cleaning?
Yes, sealing makes future cleaning much easier and prevents mold growth. Reapply sealer every year or as needed.
Conclusion
Cleaning shower grout doesn't have to be a dreaded chore. With these 13 steps, you can tackle even the toughest stains and keep your tile looking fresh year-round. The key is picking the right method for your grout type and sticking to a simple maintenance routine.
Start with the easiest solutions first, then work your way up to stronger cleaners if needed. A quick weekly wipe-down and monthly deep clean will prevent buildup from taking hold. Your shower will stay cleaner longer with less effort over time.