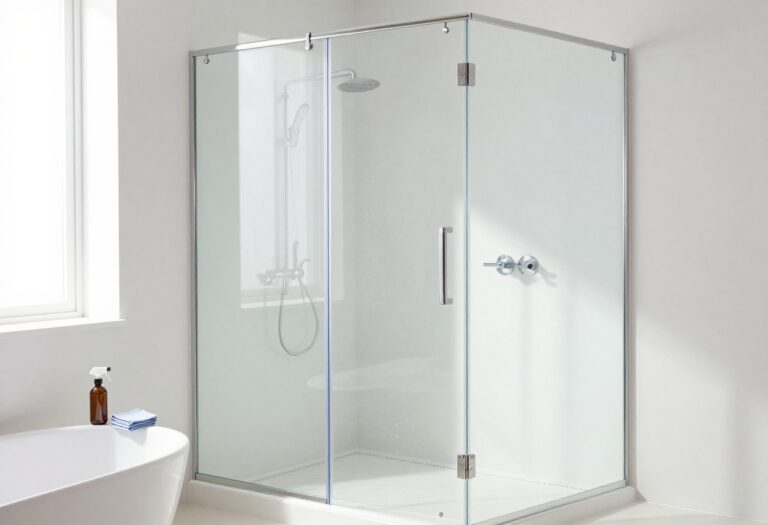
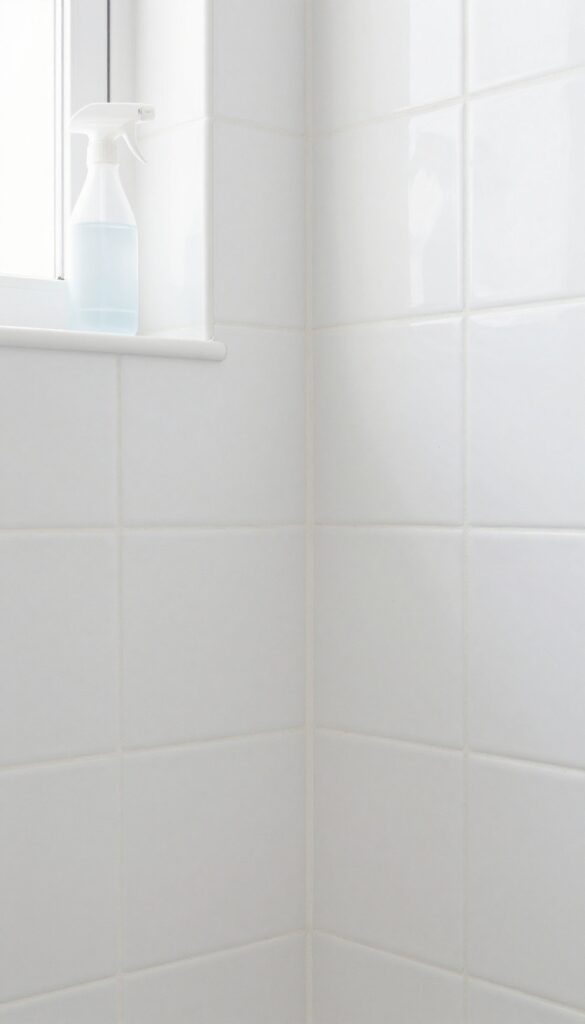
How to Clean Tile Shower Walls in 13 Easy Wash Ways
Tile shower walls look great when they're clean, but soap scum and hard water stains can build up fast. You don't need expensive cleaners or harsh chemicals to get them sparkling again.
Most of these methods use stuff you already have in your pantry. A little elbow grease goes a long way, but the right technique makes all the difference.
Whether you're dealing with daily grime or stubborn buildup, there's a solution here that fits your budget and effort level. Let's walk through 13 easy, practical ways to wash your tile shower walls without breaking a sweat or your wallet.
1. White Vinegar and Water Solution
White vinegar is a powerhouse cleaner that cuts through soap scum and hard water stains without harsh chemicals. Mixed with water, it creates a gentle but effective solution for most tile surfaces. Just be careful with natural stone—vinegar's acidity can etch and dull the finish.
This simple DIY cleaner works wonders on ceramic, porcelain, and glass tile. The acetic acid in vinegar breaks down mineral deposits and soap residue, leaving your shower walls shiny and clean. It's also budget-friendly and safe for daily use.
How To Mix And Apply
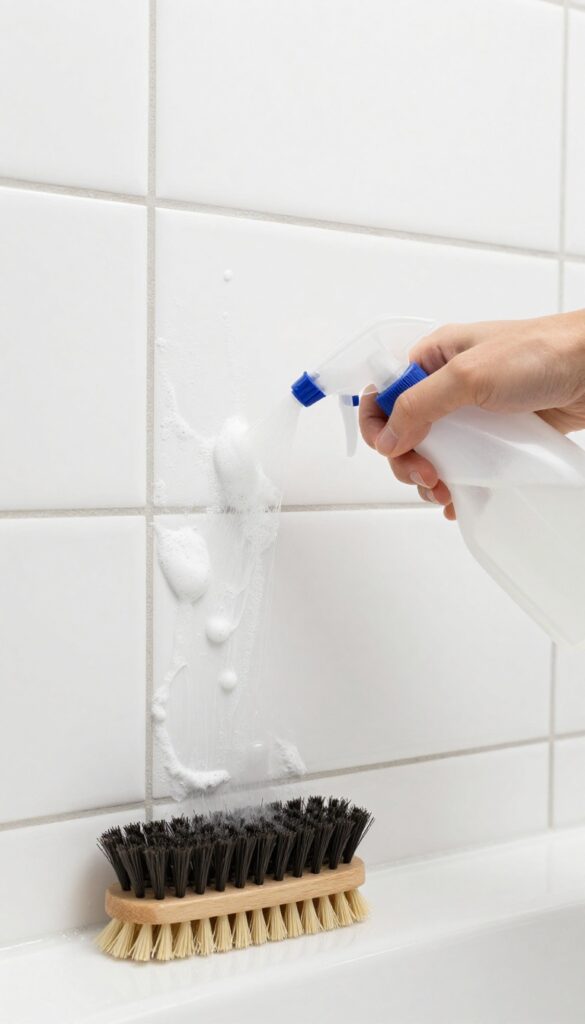
Combine equal parts white vinegar and warm water in a spray bottle. Shake gently to mix. Spray the solution generously onto the tile walls, covering all soap scum and stain areas.
Let it sit for 5–10 minutes to break down buildup. For tough spots, let it dwell longer or reapply.
Scrubbing And Rinsing
Use a soft-bristle brush or a non-abrasive sponge to scrub the tiles in circular motions. Pay extra attention to grout lines where grime hides. Rinse thoroughly with warm water to remove all vinegar residue.
Leaving vinegar on can dry out grout over time.
When To Avoid This Method
Do not use vinegar on natural stone tiles like marble, granite, limestone, or travertine. The acid can etch the surface, causing permanent dull spots. Also avoid if you have unsealed grout, as vinegar can weaken it.
For stone, use a pH-neutral cleaner instead.
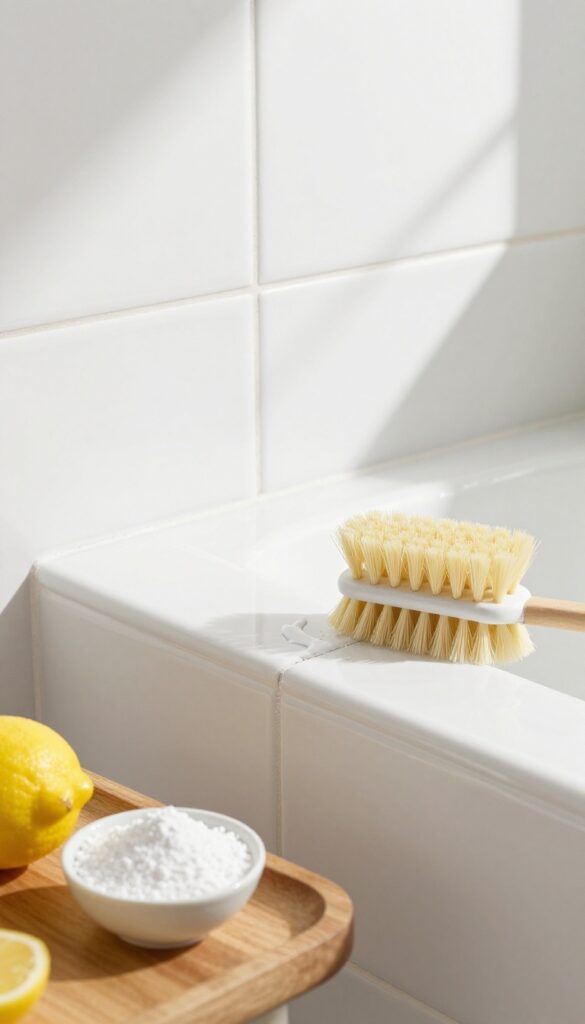
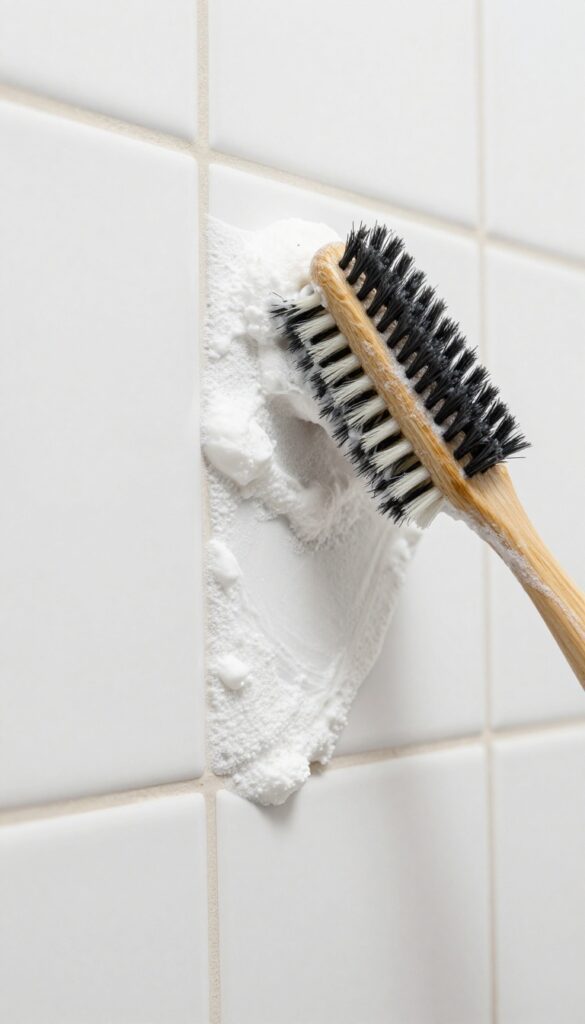
2. Baking Soda Paste for Tough Stains
When plain soap and water won't cut it, baking soda steps in. This gentle abrasive lifts stubborn spots without scratching your tile. Mixed into a thick paste, it clings to vertical surfaces long enough to break down grime.
Baking soda paste is perfect for tackling soap scum rings, hard water deposits, and mildew stains on grout. It's non-toxic, cheap, and works on most tile types including ceramic, porcelain, and stone. Just avoid using it on unsealed natural stone like marble or travertine, as the abrasiveness can dull the finish.
For best results, test on a small hidden area first.
How To Make The Paste
Mix three parts baking soda with one part water in a small bowl. Stir until it forms a spreadable paste, similar to toothpaste. Add more water if it's too thick or more baking soda if it's too runny.
The consistency should be thick enough to stay put when applied to a vertical wall.
Application Tips
Use an old toothbrush or a small sponge to apply the paste directly onto stains and grout lines. Spread it in a thin, even layer. Let it sit for 15 minutes to loosen the buildup.
For extra stubborn spots, let it sit up to 30 minutes or spritz with a little white vinegar after 10 minutes to boost the fizzing action.
Scrubbing And Rinsing
After the wait, scrub the area with a damp sponge or a soft-bristle brush. Use circular motions to work the paste into grout lines. Rinse thoroughly with warm water to remove all residue.
Any leftover paste can dry into a white powder, so double-check corners and crevices. Wipe dry with a microfiber cloth to prevent water spots.
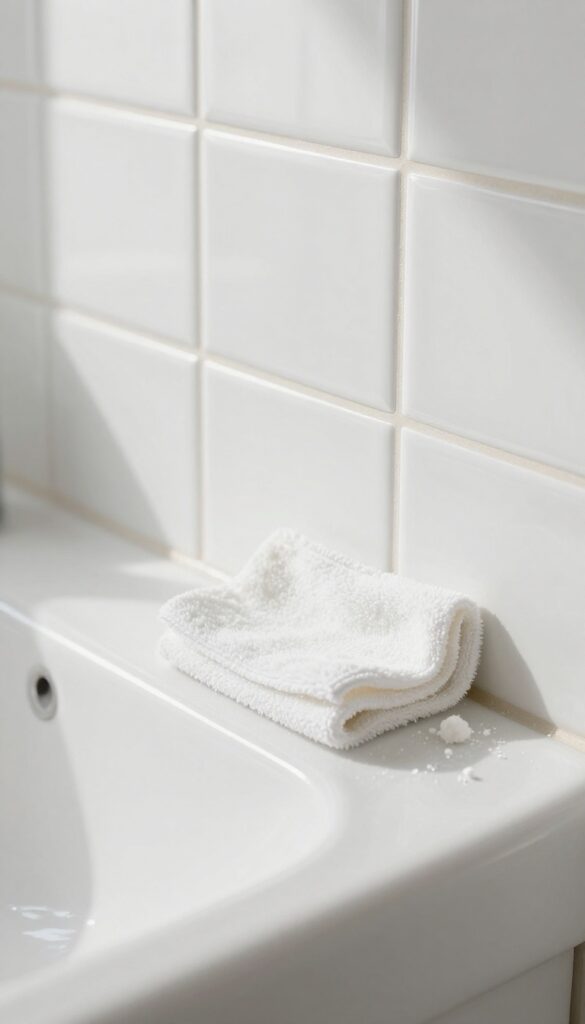
3. Dish Soap and Warm Water Daily Cleaner
Sometimes the simplest solution is the best one. A few drops of dish soap in warm water create a gentle but effective daily cleaner that tackles fresh soap scum before it hardens. This method is perfect for maintaining clean tiles without any harsh fumes or expensive products.
Dish soap is designed to cut through grease, and soap scum is essentially a greasy residue. By wiping down your shower walls after each use, you prevent buildup from taking hold. This routine takes less than two minutes and keeps your tiles looking shiny day after day.
Why Dish Soap Works So Well
Liquid dish soap contains surfactants that break down oils and grime. When mixed with warm water, it creates a cleaning solution that's tough on dirt but gentle on tile and grout. Unlike some commercial cleaners, it won't strip sealants or leave a sticky residue.
How To Make And Use The Cleaner
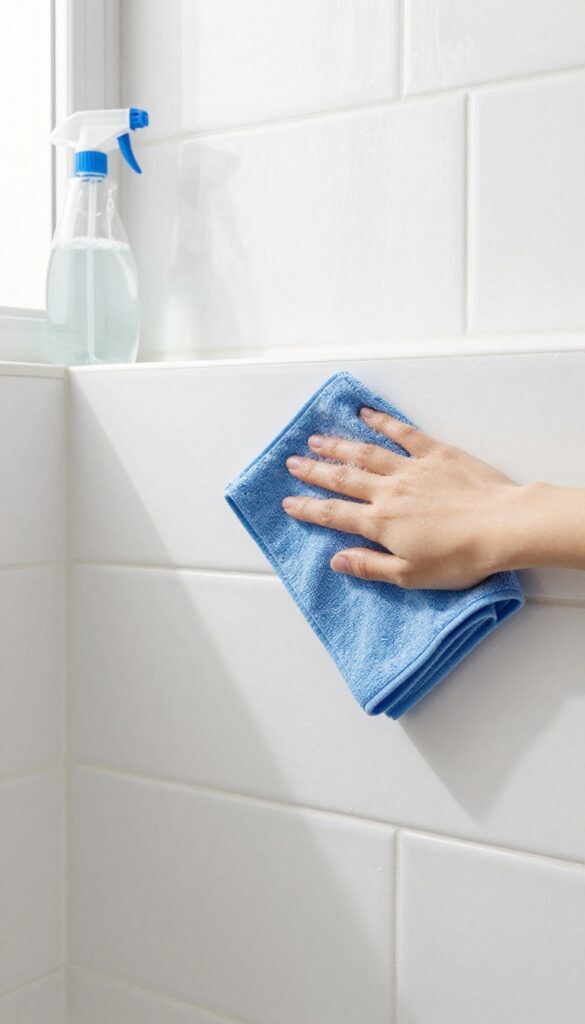
Fill a bucket with warm water and add 1 to 2 tablespoons of liquid dish soap. Swish to mix. Dip a soft sponge or microfiber cloth into the solution, wring it out slightly, and wipe down the tile walls from top to bottom.
Rinse the sponge often to avoid spreading dirty water.
Best Practices For Daily Use
Keep a dedicated spray bottle filled with the soapy water mixture in your shower for easy access. After your shower, give the walls a quick spritz and wipe with a squeegee or cloth. This habit prevents water spots and soap scum from forming, so you deep clean less often.
What To Avoid
Don't use too much soap, or you'll leave a film that attracts dirt. Avoid abrasive scrubbers like steel wool or scouring pads, which can scratch tile surfaces. Stick with soft cloths or non-abrasive sponges for the best results.
4. Hydrogen Peroxide for Mildew and Mold
Mold and mildew love the damp corners of your shower. If you spot dark spots on grout or caulk, hydrogen peroxide is a gentle but effective fix. It kills spores on contact without the strong fumes of bleach.
Hydrogen peroxide is a natural bleaching agent that breaks down mold and mildew at the source. It's safe for most tile surfaces, including ceramic and porcelain, and won't damage grout when used correctly. The fizzing action helps lift debris from porous areas, making scrubbing easier.
Always use 3% hydrogen peroxide straight from the bottle—no dilution needed. Test on a hidden spot first if you have natural stone tiles, as peroxide can etch them.
How To Apply Hydrogen Peroxide
Pour or spray 3% hydrogen peroxide directly onto the moldy grout or tile. Let it sit for 10 minutes—you'll see it fizz as it works. Scrub with a soft toothbrush or grout brush, focusing on stained lines.
Rinse thoroughly with warm water. Repeat if needed for stubborn spots.
Why It Works Better Than Bleach
Hydrogen peroxide kills mold and mildew without releasing toxic fumes. It breaks down into water and oxygen, so it's safer for you and the environment. Bleach can actually damage grout over time and may not penetrate porous surfaces as deeply.
Peroxide is also less likely to discolor colored grout.
Best Practices For Safety
Wear gloves to protect your skin from prolonged contact. Keep the bathroom ventilated by opening a window or turning on the fan. Never mix hydrogen peroxide with vinegar or bleach—this creates harmful gases.
Store the bottle in a dark cabinet, as light breaks it down.
5. Magic Eraser for Stubborn Marks
Sometimes a gentle scrub just doesn't cut it. For those tough spots that seem to laugh at your regular cleaner, a melamine foam eraser is your secret weapon. These little sponges work like magic on glossy tiles, lifting soap scum, hard water spots, and scuff marks with minimal effort.
Just dampen, rub gently, and watch the grime disappear. But there's a catch: they can be too abrasive for textured or matte surfaces. Use them wisely, and they'll become your go-to for stubborn shower stains.
Melamine foam erasers, commonly known as Magic Erasers, are made of a micro‑abrasive material that acts like super‑fine sandpaper. When dampened, they create a mild scrubbing action that breaks down stubborn residues without requiring harsh chemicals. To use one on your tile shower walls, wet the eraser until it's just damp—not soaking wet.
Gently rub the stained area in small circles. You'll see the mark lift away almost immediately. Rinse the area thoroughly with water afterward to remove any residue.
These erasers work best on smooth, glossy tiles. They can dull or scratch textured, matte, or natural stone surfaces. Always test on an inconspicuous spot first.
And remember, they dissolve as you use them, so don't be surprised when they start to crumble.
When To Use A Magic Eraser
Reach for a Magic Eraser when you have visible soap scum rings, hard water spots that won't budge with vinegar, or dark scuff marks from shoes or bath toys. It's also great for removing residue from hair products or body oils that have built up over time. Avoid using it on delicate surfaces like marble, limestone, or any tile with a matte finish.
It's also not recommended for painted or glazed tiles that might scratch easily.
How To Get The Best Results
For optimal cleaning, cut the eraser into smaller pieces—they last longer and you can use a fresh piece for each section. Work in small areas, rinsing the eraser frequently to avoid spreading dirt around. After scrubbing, rinse the tile with plain water to remove any foam residue.
Dry with a microfiber cloth to prevent water spots. For extra stubborn marks, let the damp eraser sit on the spot for a minute before scrubbing.
Safety And Storage Tips
Always wear gloves when using Magic Erasers, as the abrasion can be harsh on your skin. Keep them out of reach of children and pets. Store the erasers in a dry place—they can grow mold if left damp.
Never use them on non‑stick surfaces, stainless steel, or unsealed grout, as they can cause damage. Stick to glossy tile and porcelain for the best, safest results.
6. Steam Cleaner for Deep Grout Cleaning

Grout lines can be a magnet for dirt and mildew, and sometimes scrubbing just doesn't cut it. A steam cleaner uses high-temperature vapor to loosen grime without any chemicals. It's a game-changer for deep cleaning tile and grout, especially if you have porous or textured surfaces.
A handheld steam cleaner with a brush attachment is ideal for targeting grout lines and corners. The heat kills mold spores and dissolves soap scum on contact. After steaming, wipe the surface with a microfiber cloth to remove loosened debris.
This method is fast, effective, and leaves your shower sanitized without harsh fumes.
Why Steam Works So Well
Steam penetrates porous grout and lifts embedded dirt that scrubbing can't reach. The high temperature also kills bacteria and mold without bleach or chemicals. It's especially useful for textured tiles where brushes might miss spots.
How To Steam Clean Your Shower Walls
Fill the steam cleaner with water and let it heat up. Attach the small brush nozzle and work in sections, starting from the top. Hold the nozzle against grout lines for a few seconds, then move on.
Wipe away the residue immediately with a dry microfiber cloth to prevent streaks.
Tips For Best Results
Ventilate the bathroom to reduce humidity. Test on a small hidden area first if your tiles are delicate. For heavy buildup, pre-treat with a little baking soda paste before steaming.
Always follow the manufacturer's instructions for your specific steam cleaner.
7. Lemon Juice and Borax Scrub
If you're dealing with greasy soap scum or stubborn hard water stains, this dynamic duo is worth trying. Lemon juice cuts through grease naturally, while Borax boosts cleaning power without being harsh. Together, they form a paste that tackles even the toughest buildup on tiles and grout.
Mix 1/4 cup lemon juice with 1/2 cup Borax to form a paste. Apply to tiles and grout, let sit for 15 minutes, then scrub and rinse. The acidity cuts through grease and hard water deposits.
Why This Combo Works
Lemon juice is a mild acid that dissolves soap scum and mineral deposits. Borax is a natural mineral that lifts dirt and deodorizes. Together, they create a gentle but effective scrub that's safe for most tile surfaces.
How To Apply It Right
Start by wetting the shower walls slightly. Spread the paste evenly with a sponge or your hands, focusing on grout lines and stained areas. Let it sit for 15 minutes—don't let it dry completely.
Scrub with a soft brush or sponge, then rinse thoroughly with warm water.
Tips For Best Results
Test on a small hidden area first, especially if you have natural stone tiles. Avoid using on unsealed grout too often, as acidity can wear it down. For extra stubborn spots, let the paste sit longer or apply a second round.
8. Rubbing Alcohol for Streak-Free Shine
After scrubbing away grime, you want your tile shower walls to look clean and brilliant, not dull or streaky. Rubbing alcohol is a surprisingly effective final step that cuts through any leftover residue and evaporates fast. It leaves behind a mirror-like shine without the need for harsh chemicals or endless buffing.
This simple three-ingredient solution works wonders on glass, ceramic, and porcelain tiles. The alcohol dissolves soap scum and hard water spots, while the vinegar adds extra cleaning power. The microfiber cloth is key—it lifts the solution away without leaving lint or streaks.
Just mix, spray, and wipe in overlapping strokes for a flawless finish.
Why It Works So Well
Rubbing alcohol is a solvent that breaks down the oily film left by soaps and body washes. It also kills mold spores on contact, making it a great maintenance cleaner between deep scrubs. Because it dries in seconds, there's no time for new water spots to form.
How To Apply For Best Results
Use a clean, dry microfiber cloth—not a paper towel or sponge. Spray the solution onto one section of tile, then wipe in a horizontal or vertical pattern, overlapping each stroke. Flip the cloth frequently to avoid redepositing dirt.
Work in small areas so the solution doesn't dry before you wipe.
When To Use This Method
This is perfect for a weekly maintenance clean or after a deeper scrub to restore shine. It's also excellent for glass shower doors where streaks are most noticeable. Avoid using it on natural stone tiles like marble or travertine, as the acid in vinegar can etch the surface.
9. Toothbrush and Baking Soda for Grout Lines
Grout lines are the hardest part of tile shower walls to keep clean. They trap soap scum, hard water minerals, and mildew deep in the porous surface. A standard sponge or cloth just can't reach into those narrow grooves.
That's where an old toothbrush and baking soda come in. This simple combination targets the dirtiest areas without harsh scrubbing or expensive tools. Baking soda is a gentle abrasive that lifts grime, while the toothbrush bristles work deep into the grout lines.
For extra cleaning power, add a splash of hydrogen peroxide. It fizzes on contact with baking soda, helping to break down stubborn stains and kill mildew spores. This method is cheap, effective, and uses items you probably already have under your sink.
Why Grout Gets So Dirty
Grout is porous by nature. It's made of cement, sand, and water, which means it soaks up moisture and whatever is in that water. Soap residue, body oils, and minerals from hard water all settle into the grout over time.
If you don't clean it regularly, it turns dark and dingy. Mildew also loves grout because it stays damp long after you shower. That's why the bottom rows of grout often look worse than the top.
A toothbrush can reach deep into those pores better than any sponge.
How To Use The Toothbrush Method
Start by wetting the grout lines with a spray bottle of water. Then dip an old toothbrush into a small bowl of baking soda. Scrub the grout in small circular motions, pressing the bristles into the grooves.
Work in sections about a foot wide so the baking soda doesn't dry out. For tougher stains, mix baking soda with a few drops of hydrogen peroxide to form a paste. Apply the paste to the grout lines and let it sit for five minutes before scrubbing.
The fizzing action helps lift embedded dirt. Rinse thoroughly with water after scrubbing.
Tips For Best Results
Use a toothbrush with firm bristles for maximum scrubbing power. An electric toothbrush works even better because it does the hard work for you. Just attach an old brush head and let it vibrate along the grout lines.
Avoid using too much water, which can make the baking soda run off before it does its job. Work in small sections and rinse as you go. If your grout is sealed, this method is safe and won't damage the sealant.
For unsealed grout, it's still gentle enough to use regularly without wearing it down.
10. Commercial Tile Cleaner for Quick Results
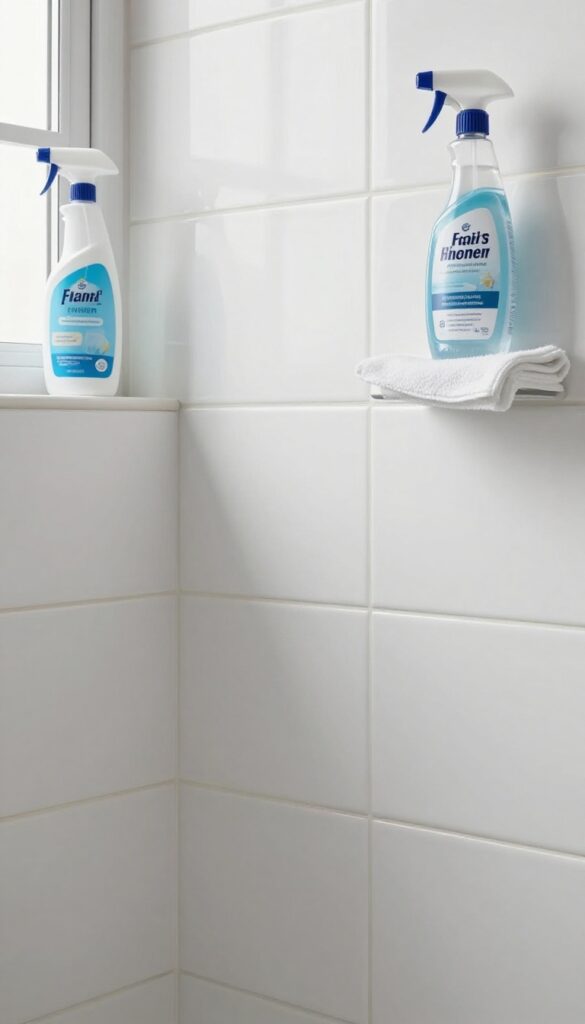
When you want a no-fuss solution that just works, a good commercial tile cleaner can be your best friend. The key is picking the right one—pH-neutral formulas are safe for most tiles, including natural stone, while acidic cleaners can etch or dull the surface. Always check the label to make sure it's compatible with your tile type.
Choosing The Right Cleaner
Look for a cleaner labeled pH-neutral or specifically designed for your tile material. For ceramic or porcelain, most general-purpose tile cleaners work fine. For natural stone like marble or travertine, avoid anything with vinegar, lemon, or harsh acids.
A quick read of the label can save you from costly damage.
How To Apply For Best Results
Spray the cleaner directly onto the tile walls, covering the surface evenly. Let it sit for the time recommended on the bottle—usually 3 to 5 minutes—to break down soap scum and grime. Then scrub with a soft sponge or brush, focusing on any stubborn spots.
Rinse thoroughly with warm water and wipe dry with a microfiber cloth to prevent streaks.
Safety First
Always wear gloves and ensure the bathroom is well-ventilated when using commercial cleaners. Some products have strong fumes, so open a window or turn on the exhaust fan. Keep the cleaner away from children and pets, and never mix different cleaners together.
11. Dishwasher Rinse Aid for Water Spots
Hard water spots and soap residue can leave your tile shower walls looking dull and streaky, even after a thorough cleaning. That's where dishwasher rinse aid comes in handy. A few drops on a damp cloth can make a big difference in preventing those stubborn deposits from forming.
Dishwasher rinse aid, like Jet-Dry, contains surfactants that reduce the surface tension of water, causing it to sheet off rather than bead up. This helps prevent mineral deposits and soap scum from clinging to tile and glass. It's a simple trick that works especially well on ceramic tile and glass shower doors.
How To Apply It
After cleaning your shower walls, dampen a soft cloth with water and add a small squirt of rinse aid. Wipe down the tiles and glass surfaces, then let them air dry. No rinsing is needed.
The rinse aid leaves a thin, invisible film that repels water and minerals.
Where It Works Best
This method is ideal for glazed ceramic or porcelain tiles, as well as glass shower doors. Avoid using it on natural stone like marble or travertine, as the chemicals can damage the sealant. Test on a small hidden area first if you're unsure.
How Often To Use It
For best results, apply the rinse aid after every thorough cleaning, or once a week if you shower daily. It's a quick extra step that keeps your shower looking fresh and reduces the need for heavy scrubbing later on.
12. Cornstarch for Polishing Ceramic Tile
After you've scrubbed away all the grime, your ceramic tile might still look a little dull. That's where cornstarch comes in. This pantry staple works as a gentle polishing agent that brings back shine without scratching the surface.
Cornstarch is a mild abrasive that buffs away tiny imperfections and leaves a smooth, glossy finish. It also creates a thin barrier that helps repel soap scum and water spots, keeping your tiles cleaner for longer. The key is using it sparingly—too much can leave a powdery residue that attracts dirt.
How To Apply Cornstarch
Start with clean, dry tiles. Sprinkle a small amount of cornstarch onto a soft, dry microfiber cloth. Gently buff the tiles in circular motions, focusing on one small area at a time.
You'll notice the shine returning almost immediately. Wipe away any excess with a clean part of the cloth.
Tips For Best Results
Use cornstarch only on glazed ceramic tiles—unglazed or textured tiles might trap the powder. Test a small hidden spot first to make sure it doesn't leave a film. For extra shine, follow up with a dry buff using a separate cloth.
Avoid using cornstarch on floors, as it can become slippery when wet.
13. Preventative Daily Spray with Essential Oils
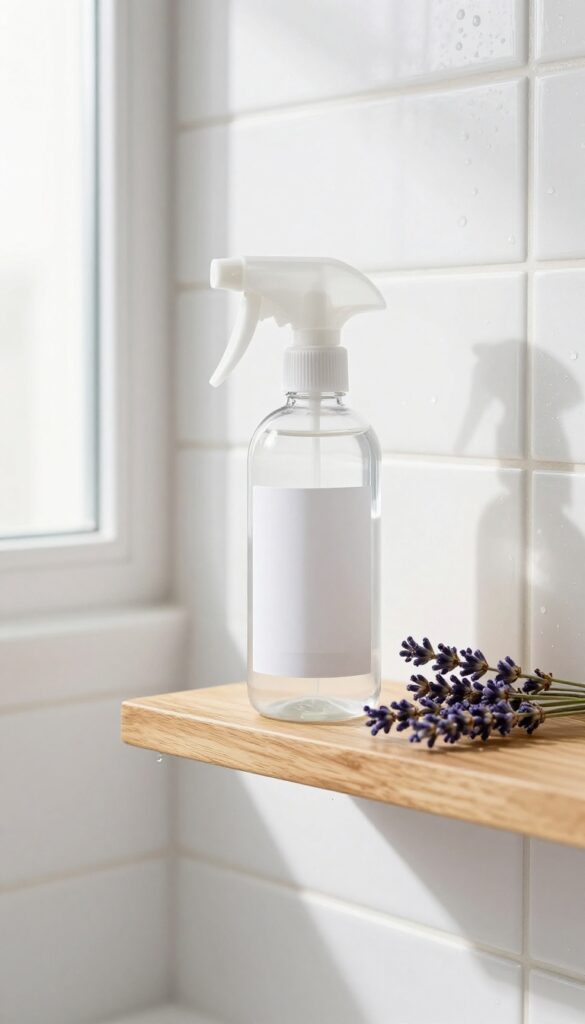
A quick daily mist can stop soap scum and mildew before they even start. This simple spray uses natural ingredients that are gentle on tile but tough on buildup, and the essential oils leave your bathroom smelling fresh. It's the easiest way to cut down on deep cleaning sessions.
Mix 1 cup water, 1/2 cup vinegar, and 10 drops tea tree or lavender oil in a spray bottle. Mist walls after each shower to reduce soap scum and mildew growth. Smells great and cuts down on deep cleans.
Why It Works
Vinegar breaks down alkaline soap scum and hard water deposits, while tea tree oil is a natural antifungal and antibacterial. Lavender oil adds a pleasant scent and also has mild antimicrobial properties. Together, they create a surface that's less hospitable to mildew.
How To Use It Right
After your shower, give the walls a quick spray—no need to soak them. Let it sit for a minute, then rinse with warm water or just leave it if you have good ventilation. Avoid using on natural stone tiles, as vinegar can etch them.
For best results, do this daily.
Customize Your Scent
Tea tree and lavender are classics, but you can swap in eucalyptus, peppermint, or lemon essential oil. Each has its own antimicrobial benefits and aroma. Just stick with 10 drops total to keep the solution effective without being overpowering.
FAQ
Can I use vinegar on all types of tile?
No, avoid vinegar on natural stone tiles like marble, travertine, or slate because the acid can etch the surface. Stick to pH-neutral cleaners for those materials.
How often should I clean tile shower walls?
For best results, do a quick wipe-down after each shower and a deeper clean once a week. This prevents soap scum and mold from building up.
What's the best way to clean grout without scrubbing?
A steam cleaner is very effective for grout without heavy scrubbing. Alternatively, apply a baking soda and hydrogen peroxide paste, let it sit, then rinse.
How do I remove hard water stains from tile?
White vinegar or lemon juice works well on hard water stains. Let it sit for 10–15 minutes, scrub gently, and rinse. For stubborn stains, try a commercial calcium remover.
Is it safe to mix bleach with other cleaners?
Never mix bleach with ammonia, vinegar, or alcohol—it creates toxic fumes. Use bleach alone or in a well-ventilated area, and rinse thoroughly.
Conclusion
Keeping tile shower walls clean doesn't have to be a chore. With these 13 methods, you can choose what fits your schedule, budget, and cleaning style. Most use simple ingredients you already have at home.
Start with the daily spray to cut down on buildup, and tackle tougher stains with baking soda or steam when needed. Your shower will look fresh and stay that way with minimal effort. Happy cleaning!