20 Cleaning Wood Kitchen Cabinets Ideas for Warm Shine
Your kitchen cabinets take a beating—grease splatters, sticky fingerprints, and daily dust can dull their natural warmth. But restoring that rich, welcoming shine doesn't require expensive products or elbow grease.
With simple ingredients like olive oil, vinegar, and microfiber cloths, you can bring your wood cabinets back to life. These 20 practical methods target everything from light dusting to stubborn grime, keeping your cabinets looking freshly polished without harsh chemicals.
Ready to make your kitchen glow? Let's dive into the best ways to clean and protect your wood cabinets.
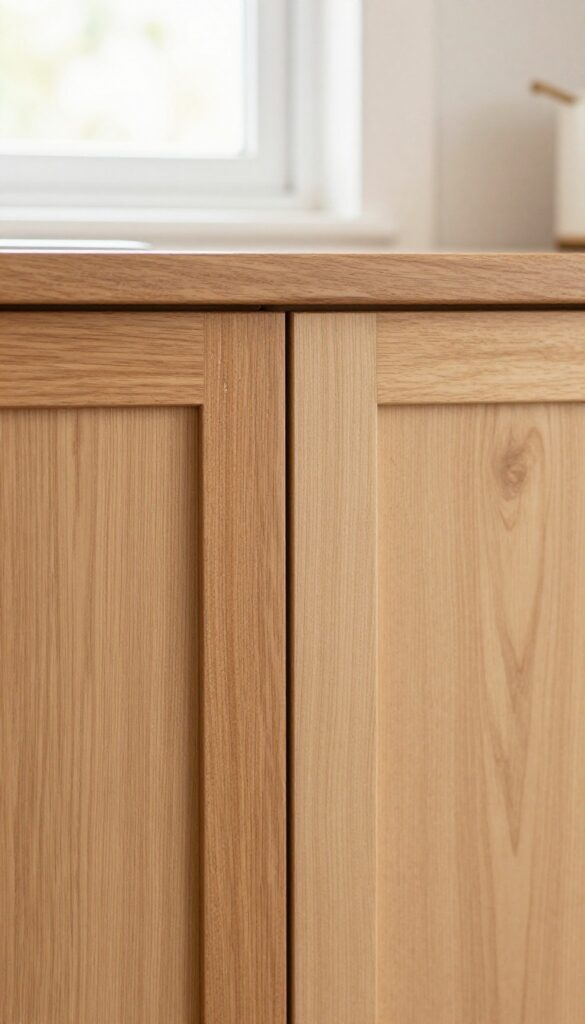
1. Microfiber Dusting for Daily Care
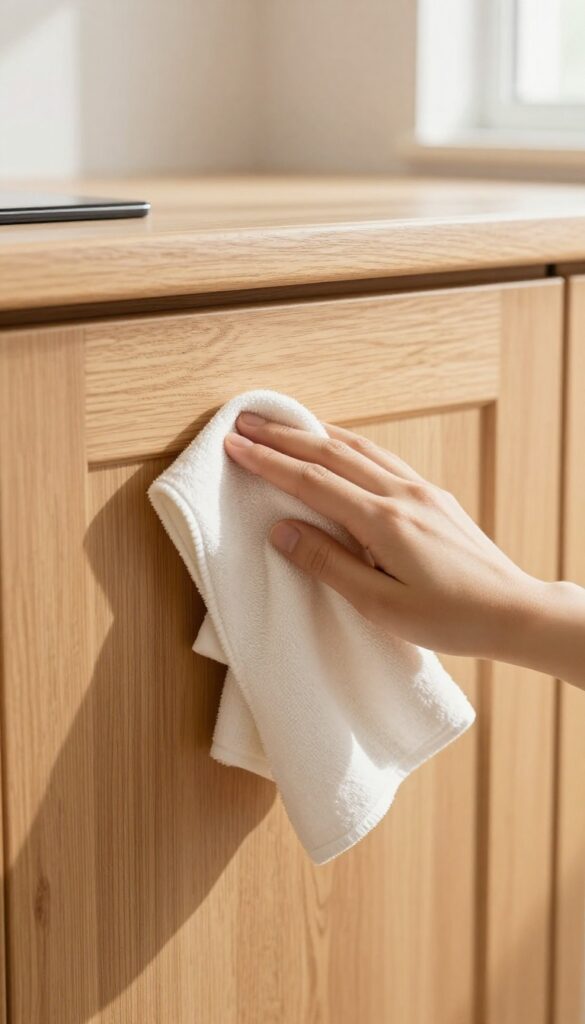
A quick daily dusting with a dry microfiber cloth prevents buildup and keeps cabinets looking fresh. Microfiber traps dust without scratching the wood, making it a safe choice for daily maintenance. This simple habit can extend the time between deeper cleanings and preserve the natural luster of your cabinets.
Dusting your wood cabinets daily might sound like a chore, but it takes less than a minute per door. A dry microfiber cloth is all you need—no sprays, no chemicals. The fine fibers grab dust particles instead of pushing them around, which means you're actually removing the grit that can dull the finish over time.
Make it part of your kitchen routine: after you wipe down counters, give the cabinet fronts a quick once-over. Your cabinets will reward you with a consistent, warm shine that looks effortless.
Why Microfiber Works Best
Microfiber cloths have split fibers that create a static charge, attracting dust like a magnet. Unlike cotton rags that can leave lint or scratches, microfiber lifts dirt without abrasive contact. For best results, use a clean, dry cloth and fold it into quarters so you can rotate to a fresh side as you work.
When To Dust Vs. When To Deep Clean
Daily dusting handles loose particles, but greasy areas near the stove or sink may need a damp cloth. If you notice sticky spots, switch to a slightly dampened microfiber with a drop of mild dish soap. Always dry immediately with a separate dry cloth to prevent water marks.
Quick Tips For Efficiency
Keep a dedicated microfiber cloth in a kitchen drawer for easy access. Dust from top to bottom so you don't knock debris onto already-cleaned surfaces. And remember: never use fabric softener on microfiber—it clogs the fibers and reduces effectiveness.
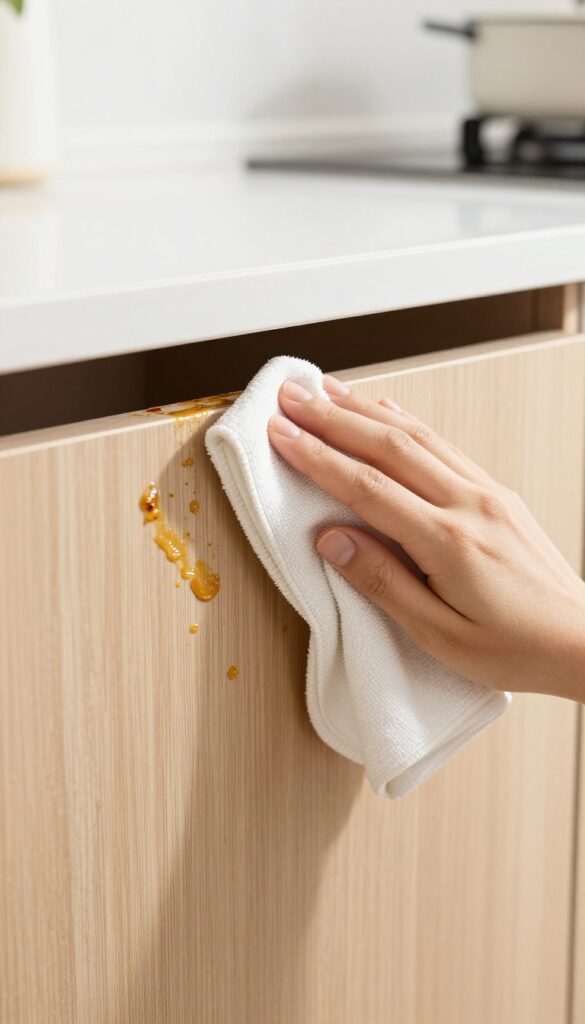
2. Gentle Dish Soap Solution for Grease
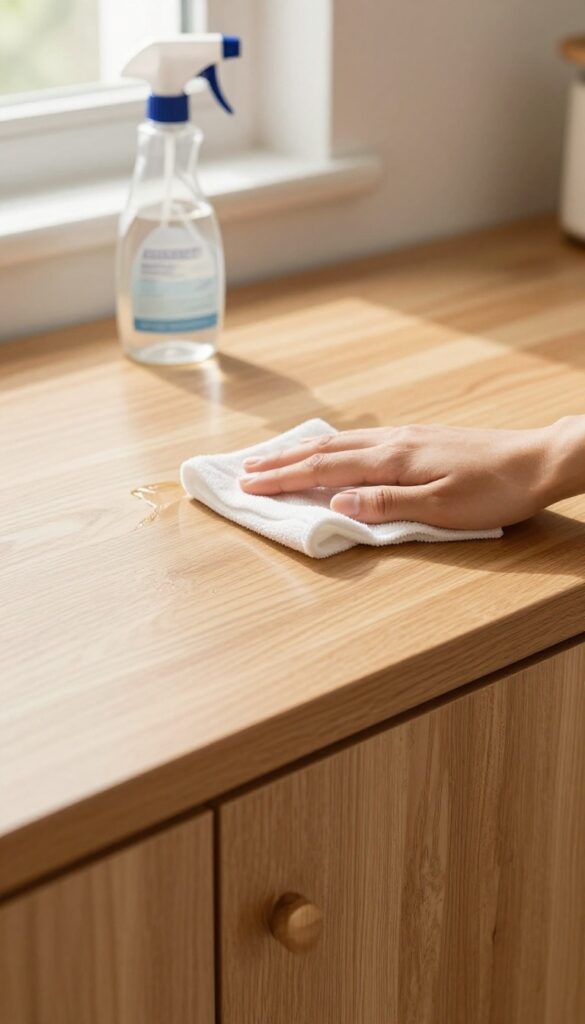
When grease builds up on cabinet surfaces, a mild dish soap solution is your best friend. It's gentle enough for daily use yet effective at cutting through cooking residue without stripping the wood's finish. All you need is a few drops of liquid soap and warm water.
Mix a few drops of mild dish soap with warm water. Dampen a cloth, wipe cabinets, then dry immediately. This cuts through everyday grease without harming the finish.
Why Dish Soap Works
Dish soap is designed to break down oils and fats, making it ideal for kitchen grease. Its mild formula won't damage the wood's protective coating, unlike harsh degreasers that can cause cloudiness or peeling. Stick to a gentle brand without added bleach or citrus.
Step-by-step Application
Fill a bowl with warm water and add 2-3 drops of dish soap. Dip a soft microfiber cloth, wring it out until damp (not wet), and wipe cabinet doors in the direction of the wood grain. Rinse the cloth frequently and use a separate dry cloth to buff the surface immediately.
Avoid soaking the wood.
When To Use This Method
This solution is perfect for light to moderate grease buildup from everyday cooking. Use it weekly or after heavy meal prep. For stubborn, baked-on grease, let the damp cloth sit on the spot for a minute before wiping.
Always test on an inconspicuous area first.
3. Vinegar and Water for Streak-Free Shine
White vinegar is a powerhouse when it comes to cutting through grease and leaving a natural shine. Mixed with water, it creates a gentle yet effective cleaner that won't harm your wood finish. Best of all, it's cheap and already in your pantry.
To use, combine equal parts white vinegar and warm water in a spray bottle. Mist a soft microfiber cloth—never spray directly on cabinets to avoid moisture seeping into seams. Wipe down the surfaces following the wood grain, then immediately buff dry with a clean cloth.
This method removes residue, neutralizes odors, and leaves a streak-free glow.
Why Vinegar Works So Well
Vinegar's mild acidity breaks down grease and grime without stripping the wood's protective finish. It also dissolves dried-on cooking residue that plain water can't touch. Plus, it evaporates quickly, reducing the risk of water damage.
The Right Way To Buff
Buffing is key to avoiding streaks. Use a dry, lint-free cloth and apply light pressure in circular motions after wiping. This polishes the surface and distributes any leftover moisture evenly.
For extra shine, follow up with a second buff using a fresh cloth.
When To Skip This Method
Avoid vinegar on unsealed or waxed wood, as the acid can dull the finish. If you're unsure, test on a hidden spot first. Also, never use vinegar on stone countertops nearby—it can etch the surface.
4. Olive Oil and Vinegar Polish
Sometimes the best cabinet polish is hiding in your pantry. Olive oil and vinegar team up to clean, condition, and add a warm glow. This simple DIY mix is gentle on wood and leaves a natural, streak-free shine.
Mix one part olive oil with two parts white vinegar in a small bowl. Dip a soft cloth into the mixture, wring it out well, and wipe down your cabinets in the direction of the wood grain. The vinegar cuts through grease while the oil moisturizes the wood.
Buff with a dry microfiber cloth to remove any excess and bring out the luster. Use sparingly—too much oil can attract dust. This polish works best on unfinished or sealed wood cabinets.
Why This Combo Works
Vinegar is a natural degreaser that dissolves sticky residue without harsh chemicals. Olive oil penetrates the wood to restore moisture and enhance the grain. Together, they create a polish that cleans and conditions in one step.
Application Tips
Always test on a hidden area first. Apply the mixture lightly—a little goes a long way. Work in small sections and buff immediately for a smooth, even finish.
Avoid using on unsealed or raw wood, as oil can cause dark spots.
How Often To Use It
This polish is ideal for monthly maintenance. Overuse can lead to buildup, so stick to once every four to six weeks. Between applications, simply dust with a dry cloth to keep cabinets looking fresh.
5. Baking Soda Paste for Stubborn Spots
Sticky spots and dried-on food can make your cabinets look grimy even after a general wipe-down. Baking soda steps in as a gentle abrasive that lifts gunk without scratching the wood. Mixed with a little water, it forms a paste that targets trouble areas with ease.
Making The Paste
Combine three parts baking soda with one part water in a small bowl. Stir until it forms a thick, spreadable paste. Adjust the ratio if needed—add more baking soda for a thicker consistency or a few extra drops of water if it's too dry.
Applying And Rinsing
Dip a soft cloth or sponge into the paste and gently rub it onto the sticky or stained areas. Work in small circles for about 30 seconds. Let it sit for a minute, then wipe off with a damp microfiber cloth.
Follow with a dry cloth to remove any residue.
When To Avoid Baking Soda
Baking soda is safe for most sealed wood, but avoid it on unsealed or waxed finishes—it can dull the surface. Test on an inconspicuous spot first. If the paste leaves a cloudy mark, switch to a milder cleaner like dish soap.
6. Mineral Oil for Hydrating Wood
Wood cabinets can dry out over time, especially in kitchens with fluctuating humidity. A simple application of food-grade mineral oil works wonders to rehydrate the wood and bring back its natural luster. Unlike some polishes that sit on the surface, mineral oil penetrates deep, nourishing the grain from within.
To get started, pour a small amount of food-grade mineral oil onto a soft, lint-free cloth. Rub it into the cabinet surfaces in the direction of the wood grain, applying a thin, even layer. Let the oil soak in for about 15–20 minutes—you'll see the wood darken slightly as it absorbs.
Then, buff away any excess with a clean cloth. The result is a warm, hydrated glow that makes the grain pop.
Why Mineral Oil Works
Mineral oil is odorless, colorless, and non-toxic, making it safe for kitchen use. It doesn't go rancid like vegetable oils, so your cabinets won't develop a sticky or sour residue over time. The oil fills microscopic gaps in the wood, reducing dryness and preventing cracks.
Application Tips For Best Results
Always test on a hidden spot first to confirm the color change is acceptable. Work in small sections to keep the oil from drying before you can buff it. For heavily dried cabinets, you may need a second coat.
Use a microfiber cloth for buffing to avoid leaving lint behind.
How Often To Apply
For cabinets that see regular use, once every three to six months is plenty. If your kitchen gets a lot of sunlight or is near a stove, you might need to oil more frequently. A good rule of thumb: if the wood looks dull or feels rough to the touch, it's time for a drink.
7. Lemon Juice for Degreasing
Grease buildup on kitchen cabinets can feel impossible to remove, but lemon juice makes it surprisingly easy. The natural acidity cuts through sticky residue without damaging the wood finish. Plus, it leaves a bright, fresh scent that lingers long after you're done cleaning.
Mix fresh lemon juice with water in a 1: 2 ratio (one part lemon juice to two parts water). Dip a soft cloth into the solution, wring it out well, and wipe down the greasy areas. The acid breaks down the grime quickly, so you don't need to scrub hard.
Once the cabinets are clean, rinse with a damp cloth and dry immediately with a microfiber towel to prevent moisture damage.
Why Lemon Juice Works
Lemon juice contains citric acid, which acts as a natural degreaser. It dissolves the bonds in grease molecules, making them easy to wipe away. Unlike harsh chemical cleaners, it's gentle on wood finishes and won't strip the protective layer.
The fresh scent also helps neutralize kitchen odors.
Best Practices For Application
Always test the lemon juice solution on a small, hidden section of your cabinet first. Avoid letting the liquid pool on the surface, as excess moisture can warp wood. Work in small sections, wiping with the grain to avoid streaks.
For stubborn spots, let the solution sit for a minute before wiping.
Rinsing And Drying Tips
After cleaning, it's crucial to rinse off any leftover lemon juice. Use a clean cloth dampened with plain water to wipe down the cabinets. Then dry thoroughly with a soft, lint-free cloth.
Leaving moisture on the wood can lead to swelling or cloudiness, so take your time to get every surface dry.
8. Commercial Wood Cleaner for Tough Jobs
When your cabinets have layers of baked-on grease or grime that homemade solutions can't touch, it's time to bring out the big guns. Commercial wood cleaners are formulated to cut through tough buildup while being gentle on the wood's finish. They're a reliable option for deep cleaning without risking damage to the cabinet surface.
Choosing the right commercial wood cleaner is key. Look for products labeled specifically for wood cabinets or wood furniture—avoid all-purpose cleaners that may contain harsh chemicals. Spray the cleaner onto a microfiber cloth, not directly onto the cabinets, to prevent excess moisture from seeping into seams or wood grain.
Wipe in the direction of the grain, then follow up with a dry cloth to remove any residue. Always test on an inconspicuous area first and follow the label instructions for best results.
What To Look For
Check the label for pH-neutral formulas or those with wood conditioners. Avoid products with ammonia, bleach, or silicones that can build up over time. Brands like Murphy’s Oil Soap or Howard’s are popular choices that clean and condition in one step.
How To Apply Properly
Never spray directly on cabinets. Mist the cloth lightly, then wipe a small section at a time. Work from top to bottom to avoid drips.
For stubborn spots, let the cleaner sit for a minute before wiping. Finish with a dry microfiber cloth to buff and remove any streaks.
When To Use It
Use commercial cleaners for deep cleaning sessions every few months, or when you notice sticky residue that won't come off with gentle methods. They're also great for cleaning cabinet doors before refinishing or painting.
9. Steam Cleaning for Deep Grime
When grease has baked on so thick that scrubbing feels futile, steam cleaning offers a powerful solution. A handheld steamer with a soft attachment can loosen years of grime without harsh chemicals. The heat and moisture break down sticky residues, making them easy to wipe away with a microfiber cloth.
Just be careful not to saturate the wood, especially around seams and edges where moisture can cause swelling or damage.
Steam cleaning is ideal for cabinet doors and drawer fronts that have accumulated stubborn grease near the stove or sink. It’s a deep-cleaning method that should be used sparingly—perhaps once or twice a year—to avoid overexposing the wood to moisture. Always test on an inconspicuous area first.
Choosing The Right Steamer
A handheld garment steamer or a dedicated steam cleaner with a soft brush attachment works best. Avoid high-pressure steamers that could damage the finish. Look for a model with adjustable steam settings so you can control the moisture level.
Technique For Best Results
Hold the steamer a few inches from the cabinet surface and move it slowly across the greasy area. Let the steam sit for a few seconds, then wipe with a dry microfiber cloth. For heavy buildup, repeat the process.
Work in small sections to prevent the wood from getting too wet.
Drying And Aftercare
After steam cleaning, immediately dry the cabinets with a clean, soft cloth. Open cabinet doors to allow air circulation. Follow up with a light application of wood polish or mineral oil to restore moisture and shine.
This step is crucial to prevent the wood from drying out.
10. Rubbing Alcohol for Sticky Residue
Sticky residue from labels, tape, or spilled syrup can cling to your cabinets and ruin their warm finish. Rubbing alcohol cuts through that tackiness without damaging the wood, as long as you use it carefully. It evaporates quickly and leaves no greasy film behind.
Rubbing alcohol is a simple, effective solution for removing sticker residue and sticky spots from wood cabinets. It works by dissolving the adhesive, making it easy to wipe away. Always test on an inconspicuous area first, as some finishes may react.
Apply a small amount to a cotton ball or soft cloth, dab onto the residue, let it sit for a few seconds, then wipe clean. Follow up with a damp cloth to remove any remaining alcohol, then dry immediately. Avoid soaking the wood or using on bare, unsealed wood.
Why It Works So Well
Rubbing alcohol is a solvent that breaks down the sticky components in adhesives. Unlike oil-based removers, it evaporates fast, so it won't seep into the wood grain or leave a residue. It's also gentle enough for most sealed wood surfaces.
How To Use It Safely
Start by testing on a hidden area, like inside a cabinet door. If the finish stays intact, dip a cotton ball or microfiber cloth in 70% isopropyl alcohol. Gently rub the sticky spot until it lifts.
For stubborn residue, let the alcohol sit for 30 seconds before wiping. Rinse with a damp cloth and dry thoroughly.
When To Avoid This Method
Do not use rubbing alcohol on unsealed, waxed, or antique finishes—it can strip the protective coating. If your cabinets have a matte or oil-rubbed finish, test carefully first. For heavily soiled areas, combine with a mild soap solution afterward.
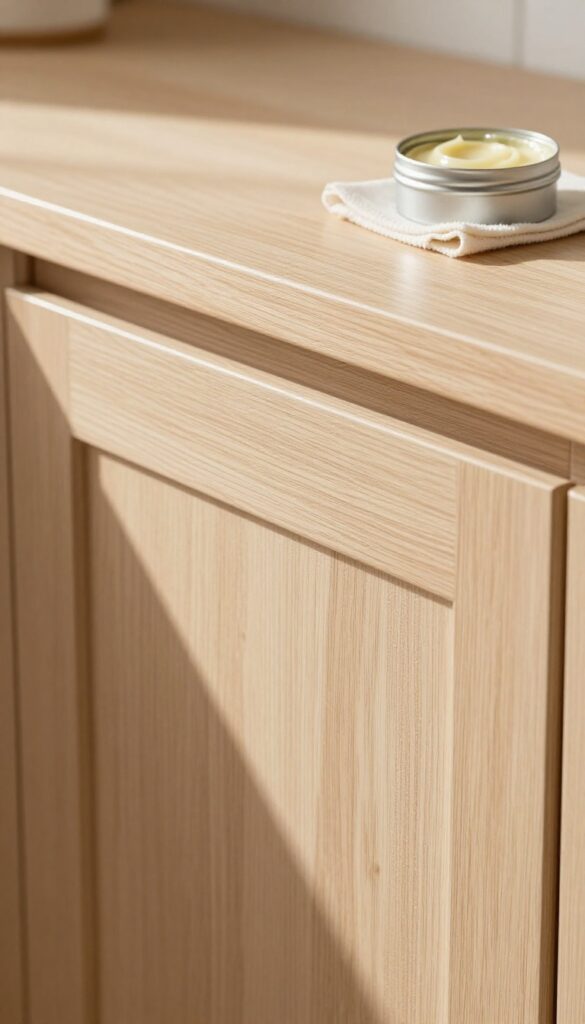
11. Beeswax Polish for Protection
Beeswax polish is a natural way to give your wood cabinets a protective coat that also enhances their warmth. Unlike some commercial polishes that leave a sticky residue, beeswax creates a breathable barrier that repels moisture and light grime. It's especially good for cabinets that see moderate use and need a gentle, lasting shine.
Applying beeswax polish is straightforward. Start with clean, dry cabinets. Take a small amount of polish on a soft cloth and rub it into the wood in a thin, even layer, following the grain.
Let it sit for about 10–15 minutes until it looks hazy, then buff with a clean cloth until the surface feels smooth and looks softly glossy. The result is a warm, natural sheen that doesn't look artificial.
Why Beeswax Works So Well
Beeswax is a natural humectant, meaning it helps wood retain moisture without feeling greasy. It fills tiny pores and scratches, creating a smooth surface that resists dust and fingerprints. Unlike oil-based finishes, beeswax dries to a hard, non-sticky finish that won't attract dirt.
It also has a subtle honey scent that fades quickly, leaving your kitchen smelling clean.
How Often To Apply
For most kitchens, once every three to four months is enough to maintain the protective layer. If your cabinets get heavy use or are near a stove, you might want to apply it every two months. Always test a small, hidden area first to make sure the wax doesn't darken the wood more than you'd like.
Tips For Best Results
Use a high-quality, pure beeswax polish without added silicones or synthetic fillers. Apply sparingly—a little goes a long way. Buff thoroughly to avoid any cloudy residue.
For an even deeper shine, you can apply a second thin coat after the first has been buffed. Keep cabinets dry for at least 24 hours after treatment to let the wax fully cure.
12. Toothbrush for Detailed Corners
Even after wiping down the main surfaces, grime loves to hide in the tiny crevices around your cabinet doors. The corners, trim, and hardware often get overlooked, leaving a dull ring of dirt. A simple soft toothbrush is the perfect tool to reach those tight spots without scratching the wood.
Dip a soft toothbrush into a bowl of warm, soapy water—just a few drops of mild dish soap will do. Gently scrub along the grooves, around the knobs or pulls, and into the corners where dust and grease collect. The bristles work their way into the grain without damaging the finish.
After scrubbing, wipe away the loosened dirt with a damp microfiber cloth, then dry the area thoroughly with a clean towel to prevent moisture from soaking into the wood.
Why A Toothbrush Works Best
A toothbrush's small head and soft bristles let you target precise areas that sponges and cloths can't reach. The bristles are firm enough to dislodge baked-on grease but gentle enough to avoid scratching the wood's protective coating. Plus, it's cheap and easy to replace.
Step-by-step Technique
Start by dipping the brush in soapy water and shaking off excess. Scrub in small circular motions, focusing on one section at a time. For stubborn spots, let the soap sit for a minute before scrubbing.
Rinse the brush frequently to avoid spreading dirt. Follow up with a damp cloth to remove residue, then dry immediately.
Bonus: Cleaning Hardware
Don't forget the hardware itself—knobs and pulls collect grime too. Use the same toothbrush to scrub around the base and underneath. For metal hardware, you can add a little baking soda to the soapy water for extra polishing power.
Rinse and dry thoroughly to prevent water spots.
13. Mayonnaise for Water Rings
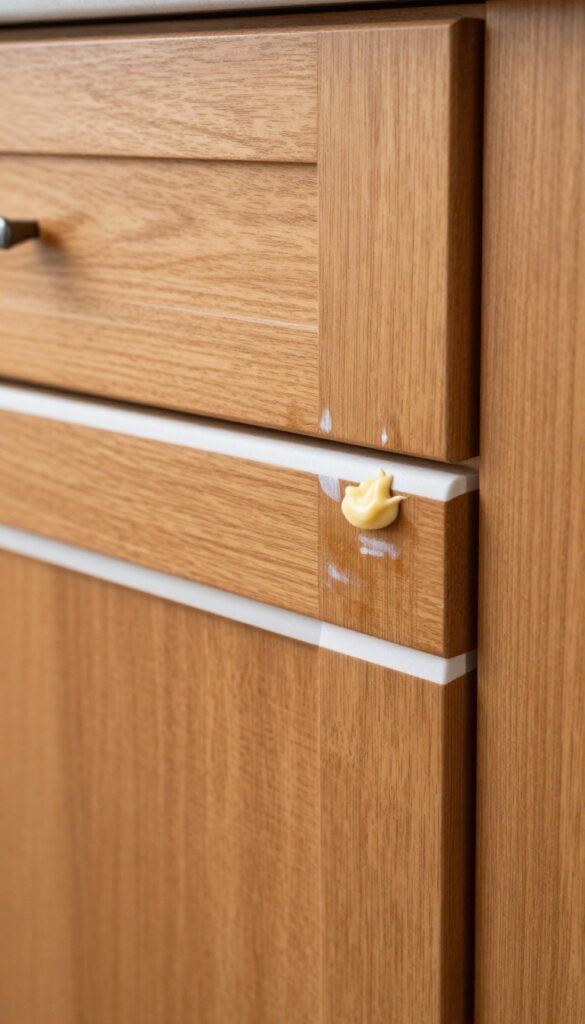
White rings from cold glasses or hot mugs can make even the most well-maintained cabinets look neglected. Before you reach for sandpaper or refinishing products, check your fridge. Mayonnaise works surprisingly well at lifting those cloudy marks because its oil content penetrates the wood and displaces trapped moisture.
This trick is best for fresh or light water rings. For deeper stains, you may need to repeat the process or combine it with gentle heat. Always test on an inconspicuous area first, especially if your cabinets have a delicate finish.
How It Works
Mayonnaise is mostly oil and egg yolks. The oil seeps into the wood's pores and replaces the moisture that caused the white ring, while the slight acidity helps break down the stain. It's gentle enough for most sealed wood surfaces.
Step-by-step Application
Apply a small dab of full-fat mayonnaise directly onto the water ring. Use your finger or a soft cloth to spread it in a thin layer covering the stain. Let it sit for at least an hour—overnight for stubborn marks.
Wipe off with a clean, damp cloth and buff dry.
When To Try An Alternative
If the ring is very old or the finish is compromised, mayonnaise may not fully remove it. In that case, consider using a mixture of equal parts baking soda and non-gel toothpaste, or gently rub the area with a very fine steel wool pad (0000 grade) dipped in mineral oil.
14. Baking Soda and Oil for Scratches
Light scratches on wood cabinets can make the surface look worn and tired, even when it's clean. Instead of calling in a professional or reaching for a harsh filler, you can try a simple paste made from baking soda and olive oil. This gentle abrasive helps buff out minor marks while the oil conditions the wood, restoring a more uniform appearance.
To make the paste, mix two parts baking soda with one part olive oil until it forms a thick, spreadable consistency. Apply a small amount to a soft cloth and rub it gently into the scratch, moving in the direction of the wood grain. Work in small circles for about 30 seconds, then wipe away any excess with a clean, damp cloth.
The baking soda gently abrades the finish, while the oil penetrates and darkens the scratch to blend with the surrounding wood. For deeper scratches, you may need to repeat the process a few times, but avoid pressing too hard to prevent further damage. After treatment, buff the area with a dry microfiber cloth to bring back the shine.
When To Use This Method
This technique works best on light surface scratches that haven't penetrated the wood stain. If the scratch is deep enough to expose raw wood, you might need a touch-up marker or filler instead. Always test the paste on a hidden area first to ensure it doesn't lighten or discolor the finish.
Choosing The Right Oil
Olive oil is a safe choice because it's food-grade and won't go rancid quickly on wood. You can also use mineral oil or walnut oil, but avoid vegetable oils that can turn sticky over time. A few drops of lemon essential oil added to the paste can help cut any greasy residue and leave a fresh scent.
Aftercare Tips
Once the scratches are less noticeable, give the entire cabinet door a gentle wipe with a wood-safe cleaner to remove any oily residue. Follow up with a dry cloth to restore the natural luster. To prevent future scratches, use felt pads on cabinet interiors and avoid dragging heavy items across the surface.
15. Vacuum with Brush Attachment for Dust
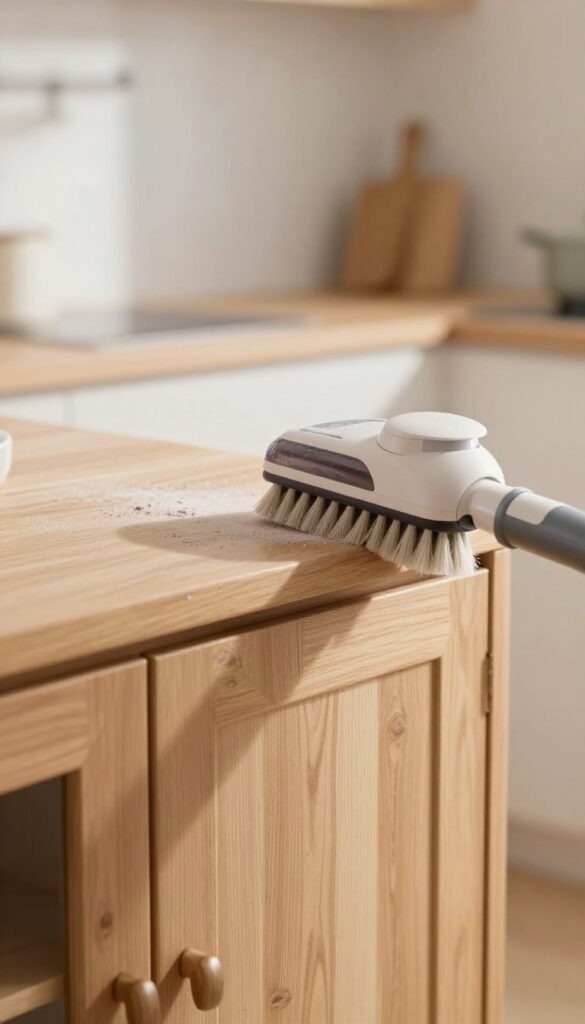
Dust might seem harmless, but it can scratch your cabinet finish when you wipe it with a dry cloth. A vacuum with a soft brush attachment lifts dust away without rubbing it into the wood, especially from corners and crevices where it hides. This simple step prevents micro-scratches and keeps your cabinets looking warm and smooth.
Before you reach for a spray or cloth, take a few minutes to vacuum your cabinets. The brush attachment gently loosens dust from flat panels, edges, and hardware without the friction that causes swirl marks. It also reaches into tight spots—like the gap between cabinet doors and the frame—that a cloth can't easily clean.
This pre-cleaning step is especially helpful if you have carved or raised-panel doors where dust collects in the grooves.
Choose The Right Brush
Always use a soft-bristle brush attachment meant for delicate surfaces. Avoid stiff brushes or the bare vacuum hose, which can scratch the wood. A brush with natural or soft synthetic bristles works best—test it on an inconspicuous spot first to be sure it doesn't leave marks.
Work Top To Bottom
Start with the upper cabinets and work your way down. This way, any dust that falls lands on surfaces you haven't cleaned yet. Use slow, overlapping strokes, especially along the edges and near the handles where dust tends to cling.
Don't Forget The Hardware
Cabinet knobs and pulls collect dust and grime too. Run the brush over each piece of hardware, and if they're removable, take them off for a more thorough cleaning. This keeps the whole cabinet looking uniform and polished.
16. Dryer Sheets for Static Dust Removal
If you've ever noticed dust clinging stubbornly to your cabinets right after dusting, static electricity is likely the culprit. A simple used dryer sheet can solve that problem in seconds. It's a zero-cost trick that leaves your cabinets dust-resistant and lightly scented.
How It Works
Dryer sheets contain antistatic agents that neutralize the electric charge on wood surfaces. This prevents dust from being attracted back to the cabinets immediately after cleaning. Just grab a sheet that's already been through the dryer—it still has enough power for this job.
Application Tips
Lightly wipe the entire cabinet front with the dryer sheet, focusing on flat panels and edges. No need to press hard—a gentle pass is enough. The sheet will leave a thin, invisible layer that repels dust for days.
For best results, do this after your regular cleaning routine.
Important Cautions
Never use dryer sheets on unfinished or raw wood. The chemicals can seep into the grain and cause discoloration or residue buildup. Stick to sealed, varnished, or painted cabinets only.
Also, test on a hidden spot first to make sure the fragrance doesn't interact oddly with your cabinet's finish.
17. Coconut Oil for Natural Shine
Coconut oil isn't just for cooking—it's a fantastic natural polish for wood cabinets. A tiny amount buffed into the surface brings out a warm, subtle shine while conditioning the wood. The key is using it sparingly; too much can leave a greasy film that attracts dust.
Coconut oil works because it penetrates the wood grain, nourishing it from within. This helps revive tired-looking cabinets without the need for harsh chemicals. Plus, it's food-safe, so it's perfectly fine to use in a kitchen where you prepare meals.
How To Apply
Start with a clean cabinet surface. Scoop a pea-sized amount of solid coconut oil onto a soft, lint-free cloth. Rub it into the wood using circular motions, covering a small section at a time.
Let it sit for about five minutes, then buff off any excess with a clean part of the cloth. The result is a soft, natural sheen.
When To Use It
This method is best for cabinets that are looking a bit dull or dry. It's not ideal for high-gloss finishes because it can make them look cloudy. Stick to matte or satin finishes for the best results.
Use it every few months to maintain that warm glow without buildup.
Avoiding Greasiness
Less is definitely more with coconut oil. If you apply too much, the cabinets will feel oily and attract dust. If that happens, wipe down the area with a mild soap and water solution, then reapply a much smaller amount.
Always do a spot test in an inconspicuous area first.
18. Furniture Wax for Long-Lasting Glow
Furniture wax is the secret weapon for cabinets that need more than just a quick clean. It builds a protective layer that repels dust, hides light scratches, and gives wood a warm, hand-rubbed sheen. Unlike liquid polishes that evaporate fast, wax stays put for months.
Choose a high-quality paste wax made for wood furniture—avoid car wax or silicone-based products. Apply a thin, even coat with a soft cloth, working in the direction of the grain. Let it haze for about 10–15 minutes, then buff with a clean cloth until the surface feels smooth and looks glossy.
For best results, apply two thin coats, buffing between each. Use paste wax every 4–6 months to maintain that glow and keep your cabinets protected from everyday wear.
Choosing The Right Wax
Not all waxes are cabinet-friendly. Look for natural wax blends containing carnauba or beeswax—they harden to a durable finish without sticky residue. Avoid spray waxes with added silicones, which can build up and attract more dust.
A good paste wax will feel firm in the jar and soften slightly as you rub it on.
Application Tips For A Streak-free Finish
Work in small sections, about one door panel at a time. Use a lint-free cloth and apply wax in thin, even strokes. Too much wax will look cloudy and take forever to buff.
Let the wax haze until it feels dry to the touch—if it's still tacky, it's not ready. Buff with a clean, dry cloth using circular motions, then finish with straight strokes along the grain for a professional look.
How Often To Wax For Best Results
In a busy kitchen, wax twice a year—once in spring and once before the holidays. If your cabinets see heavy use or are near the stove, check them every three months. A simple test: sprinkle a few drops of water on the surface.
If they bead up, the wax is still working. If they soak in, it's time to rewax.
19. Avoid Ammonia and Abrasives
Not all cleaners are cabinet-friendly. Ammonia-based products and abrasive scrubbers might seem effective, but they can strip the protective finish and scratch the wood surface. Once damaged, restoring that warm shine becomes much harder.
Why Ammonia Is A No-go
Ammonia is harsh on wood finishes. It can dull the surface, cause discoloration, and even break down the sealant over time. Many glass cleaners and all-purpose sprays contain ammonia, so check labels before using them near your cabinets.
Abrasive Tools Damage Wood
Steel wool, scouring pads, and stiff brushes can leave micro-scratches that collect dirt and make cabinets look worn. Even rough sponges can be too aggressive. Stick to soft microfiber cloths or non-abrasive sponges for safe cleaning.
Safe Alternatives That Work
Instead of ammonia, use a mild dish soap and water solution or a vinegar-water mix (1: 4 ratio). For stubborn spots, a paste of baking soda and water works without scratching. Always test on an inconspicuous area first.
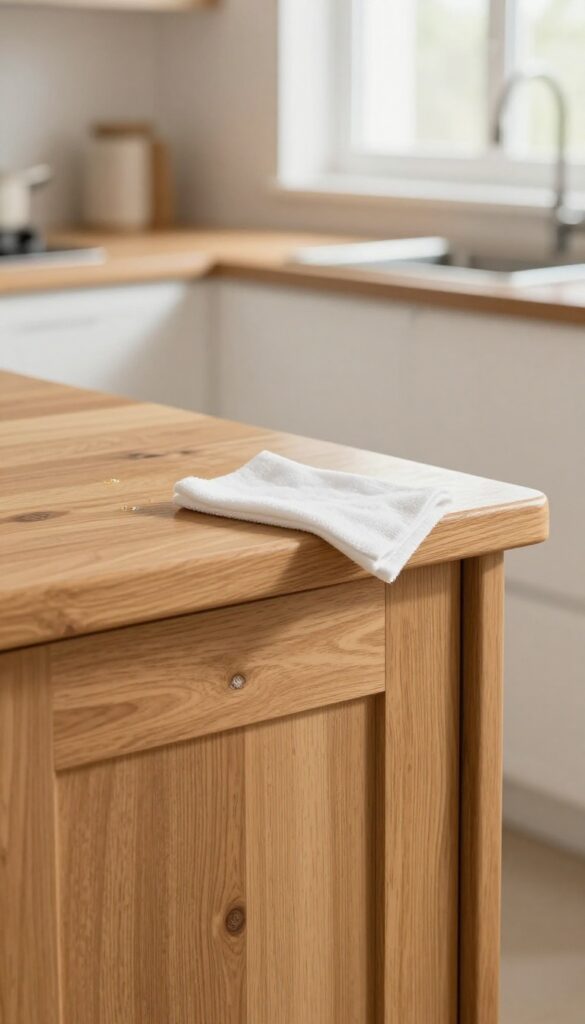
20. Regular Maintenance Routine

Keeping wood cabinets looking warm and shiny doesn't have to be a big project. The secret is a simple, consistent routine that prevents grime buildup and keeps the finish glowing. A little regular care goes a long way toward avoiding deep cleans and harsh scrubbing.
Weekly Quick Dusting
Once a week, run a microfiber cloth over your cabinet fronts and tops. This removes loose dust and prevents it from turning into a greasy film. For upper cabinets, use a step stool to reach the top edges where dust collects.
A soft brush attachment on a vacuum works well for crevices.
Monthly Deep Clean
Once a month, mix a few drops of mild dish soap with warm water. Dip a soft cloth, wring it out well, and wipe down each door. Avoid soaking the wood.
Rinse with a damp cloth and dry immediately with a clean towel. This keeps grease from building up without stripping the finish.
Seasonal Conditioning
Every three months, apply a light coat of mineral oil or beeswax polish to nourish the wood. Rub it in with a soft cloth, let it sit for a few minutes, then buff to a warm shine. This helps maintain the wood's natural luster and protects against drying and cracking.
FAQ
Can I use vinegar on all wood cabinets?
Vinegar is safe for sealed wood cabinets but should be diluted with water. Avoid it on unfinished or waxed wood, as it can damage the surface.
How often should I clean my wood kitchen cabinets?
Dust them weekly and do a deeper clean every month. If you cook frequently, you may need to wipe down grease more often.
What is the best way to remove grease from cabinets?
A mild dish soap and water solution works well for most grease. For tough buildup, try a vinegar-water mix or a commercial degreaser safe for wood.
Can I use olive oil to polish my cabinets?
Yes, but use it sparingly and mix with vinegar to avoid a greasy residue. Olive oil can nourish the wood but may attract dust if overused.
How do I restore shine to dull cabinets?
Start with a thorough cleaning, then apply a wood polish or wax. For deeper restoration, consider using mineral oil or a commercial wood rejuvenator.
Conclusion
Your kitchen cabinets can look warm and inviting without a ton of effort. These 20 ideas give you simple, effective ways to clean and restore their natural shine using everyday ingredients.
Pick a few that fit your routine and stick with them. Your cabinets will stay beautiful longer, and you'll enjoy the fresh, clean feel every time you walk into the kitchen.