13 Space-Saving Kitchen Arrangement Ideas That Make the Space Feel Finished
A cramped kitchen can make even the simplest meal feel like a chore. But you don't need a full remodel to create a more open, organized space.
Sometimes, it's just about rearranging what you already have and using the nooks you've been ignoring. These 13 ideas focus on smart layouts and clever storage hacks that free up counter space and make your kitchen feel more polished.
Whether you're dealing with a tiny galley or a modest L-shape, these tweaks can make a big difference. Let's walk through them one by one—each one is simple to implement and won't break the bank.
1. Use Vertical Space with Open Shelving
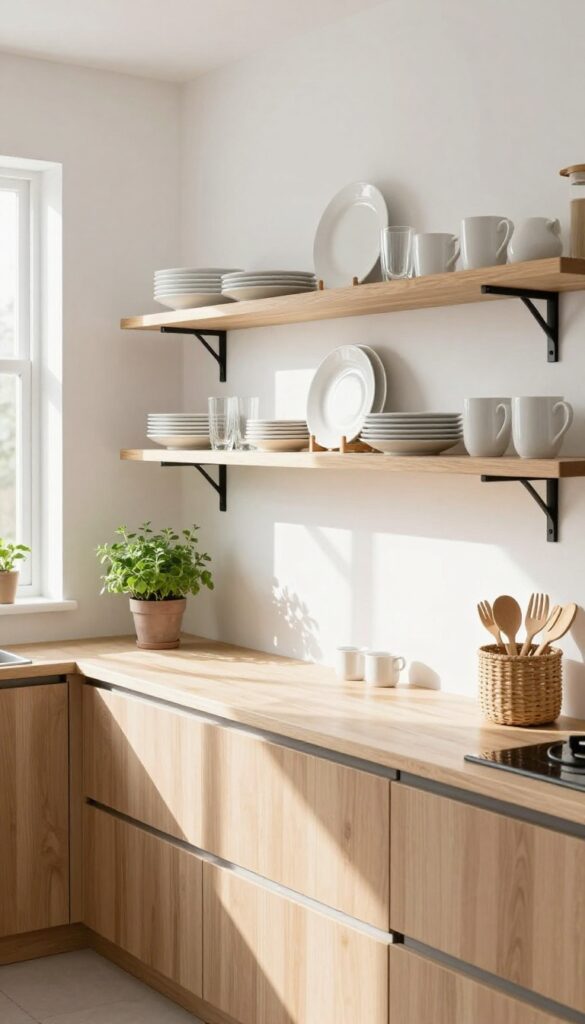
Walls often go unused in a kitchen, especially above counters or beside cabinets. Open shelving turns that dead space into a functional display area for everyday items. It also removes the visual bulk of upper cabinets, which instantly makes the room feel larger and airier.
Open shelves are a simple swap that pays off in both storage and style. By keeping dishes, glasses, and mugs within reach, you cut down on cabinet digging and free up lower storage for less-used appliances. The key is to style them with purpose—group similar items, use baskets for loose goods, and leave a little breathing room so it doesn’t look cluttered.
Start with one wall or a single section above your counter, and you’ll see how much lighter the space feels.
Pick The Right Shelf Depth And Height
Go for shelves that are 10 to 12 inches deep—deep enough for standard dinner plates but not so deep that they eat into the room. Mount them about 18 inches above the counter so you can still use the surface below. If you’re tall, adjust the height so you don’t have to stretch too much.
Style In Zones To Keep It Tidy
Group items by function: everyday mugs near the coffee maker, glasses by the sink, and spices or oils near the stove. Use matching baskets or bins for snacks and packets so the shelf looks intentional, not chaotic. Leave a few empty spots to avoid a stuffed look.
Mix Materials For A Finished Look
Combine wood shelves with metal brackets for a warm, industrial feel, or go with floating shelves for a sleek, modern vibe. If you’re worried about dust, add glass-fronted cabinets above and open shelves below—best of both worlds.
2. Add a Pegboard for Pots and Pans
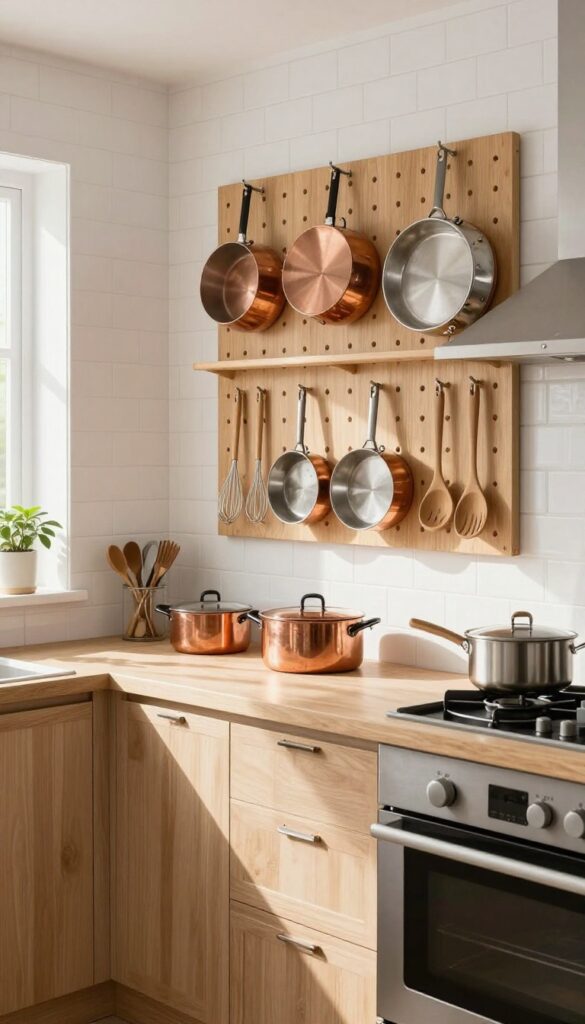
Pots and pans are the bulkiest items in any kitchen, and they always seem to eat up cabinet space. A pegboard gives them a dedicated home on the wall, so they’re out of the way but still easy to grab. It’s a simple DIY that can be customized to fit your exact cookware collection.
Mounting a pegboard is a weekend project that pays off every day. You can hang it on an empty wall, the side of a cabinet, or even inside a cabinet door for a hidden solution. The key is to place it near the stove or prep area so you can reach your most-used pans without taking a step.
Choose The Right Pegboard
Not all pegboards are created equal. For heavy cast iron, you’ll want a metal or thick wooden board with sturdy hooks. Plastic pegboards work for lighter utensils but might bend under a heavy Dutch oven.
Measure your space and pick a board that fits, leaving a few inches of clearance around it for easy access.
Arrange By Frequency Of Use
Think about which pots and pans you reach for daily. Place those at eye level, within arm’s reach. Reserve higher or lower spots for seasonal items like a turkey roaster or a large stockpot.
Group similar items—frying pans together, saucepans together—so you can grab what you need without hunting.
Add Hooks And Accessories
A basic pegboard comes with hooks, but you can upgrade with different lengths and shapes. Use long hooks for ladles and spatulas, and short ones for measuring cups. Add a small shelf or basket to hold lids or spices.
This turns your pegboard into a multi-purpose station, not just a pot rack.
3. Install a Magnetic Knife Strip
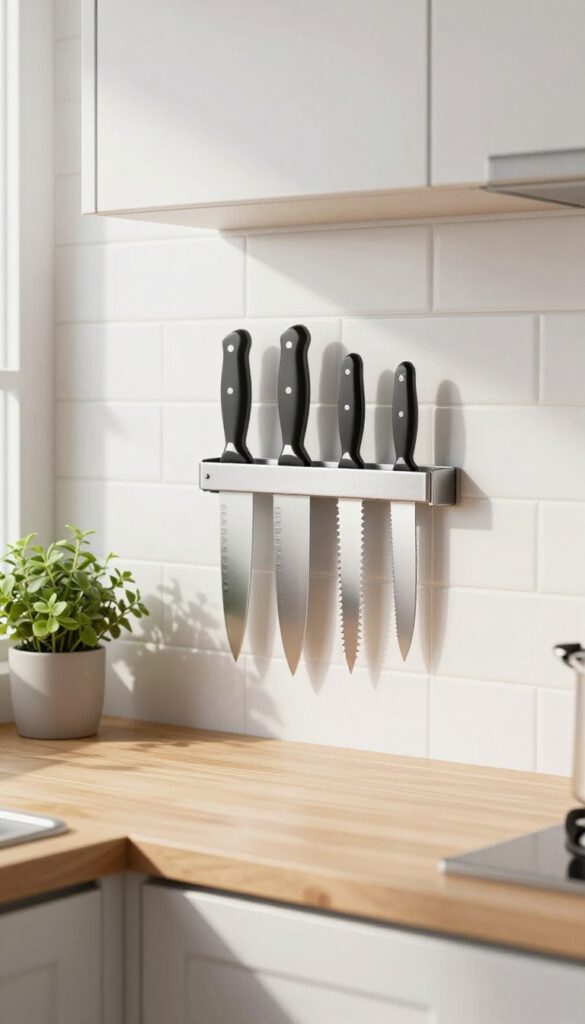
Knives are one of the most-used tools in the kitchen, yet they often hog precious counter space in a block or get lost in a drawer. A magnetic strip changes that by putting your blades right where you need them—within arm's reach but out of the way. It's a simple swap that instantly clears counter space and adds a sleek, professional touch to your walls.
Mounting a magnetic knife strip is one of those upgrades that feels both practical and stylish. Instead of reaching into a drawer or pulling out a bulky block, you just grab the knife you need and put it back in seconds. Plus, having your knives on display encourages you to keep them sharp and clean, which is a win for any home cook.
Where To Place It
The best spot is usually on the backsplash between the counter and upper cabinets, within easy reach of your main prep area. If your backsplash is tile, make sure the strip is rated for that surface—many come with strong adhesive or screws. Another good option is the side of a cabinet or even inside a cabinet door if you want to keep things hidden.
Just avoid placing it over the stove or near a sink where grease and water can cause issues.
Choosing The Right Strip
Look for a strip that's long enough to hold your most-used knives without overcrowding. Most are around 12 to 18 inches, but you can find longer ones if you have a big collection. Check the magnetic strength—you want something that holds a chef's knife securely but isn't so strong that it's hard to pull off.
Also, consider the finish: stainless steel is classic, but there are wooden and rubber-coated options that match different kitchen styles.
Installation Tips
If you're using adhesive, clean the wall with rubbing alcohol and let it dry completely before sticking. Press firmly for about 30 seconds and wait 24 hours before hanging any knives. For a more permanent hold, use screws and anchors, especially if you're mounting into tile.
Always double-check that the strip is level—use a bubble level to avoid a crooked look.
4. Use a Rolling Cart for Extra Prep Space
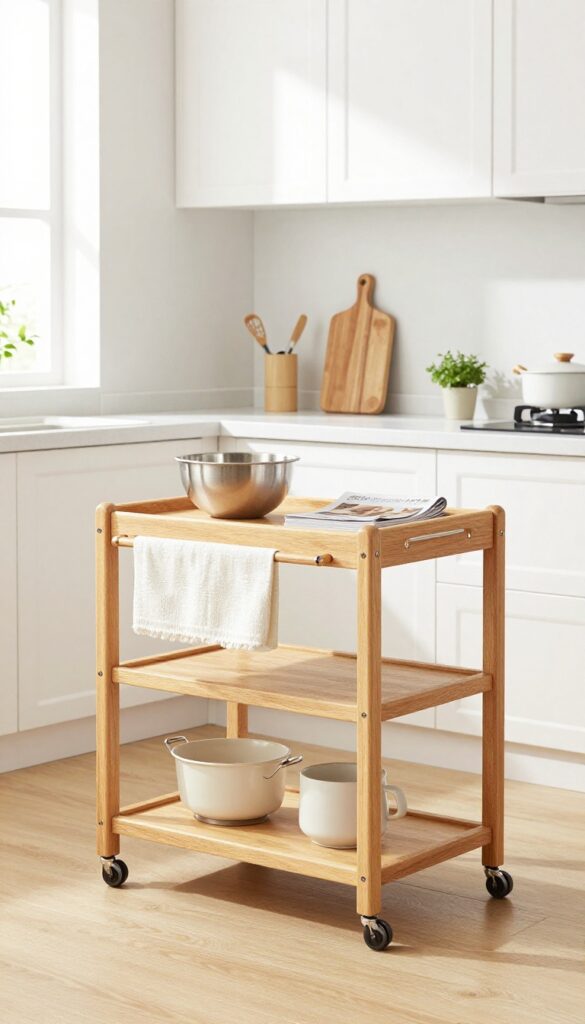
Counter space is prime real estate, and if you're short on it, a rolling cart can be a game-changer. It's like having a movable island that goes wherever you need it. When dinner prep gets intense, roll it next to the stove.
When you're baking, slide it over to the counter. And when you're done, tuck it into a corner or against a wall.
A rolling cart isn't just for extra counter space—it also adds storage. Many models come with shelves, drawers, or hooks for towels and utensils. You can keep your most-used tools right on the cart, so they're within arm's reach during cooking.
Plus, it's easy to clean and can even double as a serving station when you have guests.
Pick The Right Size And Style
Before you buy, measure the spots where you plan to use the cart. Make sure it can fit through doorways and under counters if you want to stash it away. Look for a cart with sturdy wheels that lock, so it stays put when you're chopping or kneading.
Wooden carts add warmth, while stainless steel gives a modern, industrial look. Choose one that matches your kitchen's vibe.
Make It Work As A Prep Station
Use the top surface for a cutting board and your mixing bowls. The lower shelves can hold heavy items like a stand mixer or a stack of baking sheets. You can even hang a towel bar on the side for easy cleanup.
If you're short on pantry space, use the cart to store onions, potatoes, or other produce that doesn't need refrigeration.
Move It Where You Need It
The beauty of a rolling cart is its flexibility. Roll it next to the sink for washing veggies, then move it to the counter for chopping. If you're hosting a party, use it as a drink station or a buffet.
When you're done, simply roll it back to its home—no heavy lifting required.
5. Maximize Corner Space with a Lazy Susan
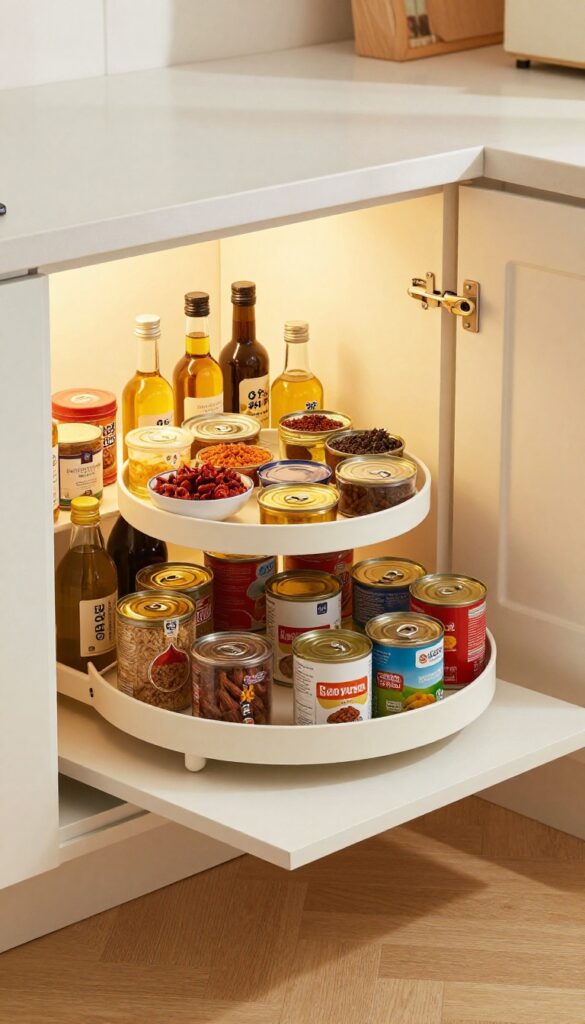
Corners are the Bermuda Triangle of kitchen storage—things go in and never come out. A lazy Susan turns that dead zone into a spinning carousel of easy access. It’s a simple fix that makes a huge difference in how functional your cabinets feel.
Installing a lazy Susan is one of the smartest moves you can make for a corner cabinet. Instead of digging through a dark abyss to find that one spice jar, you just give the tray a spin. It’s perfect for storing canned goods, spices, oils, and even small appliances like a blender or mixer.
The key is to choose the right size and style for your cabinet, and then organize it with purpose.
Choose The Right Lazy Susan For Your Cabinet
Not all lazy Susans are created equal. You’ll find full-circle trays that rotate completely, and half-moon designs that fit neatly into corner cabinets with a pie-cut shape. Measure your cabinet’s interior width and depth before buying.
A full-circle model works best for larger, deeper cabinets, while a half-moon is ideal for standard corner units. Also, consider the material—wood or bamboo is sturdy, while plastic is lightweight and easy to clean.
Organize By Frequency Of Use
Once your lazy Susan is in place, think about what you reach for most often. Keep everyday items like cooking oils, salt, pepper, and frequently used spices on the outer edge for quick grabs. Reserve the center for less-used items like specialty sauces or baking extracts.
Group similar items together—canned goods in one section, spices in another—so you always know where to look.
Make The Spin Work For You
The real magic of a lazy Susan is that it brings everything to you. No more crouching and craning your neck. When you’re cooking, just spin the tray to find what you need without missing a beat.
For small appliances, place them on the lazy Susan and plug them in nearby—you can rotate them to the front when in use and tuck them back when done. This keeps your counters clear and your workflow smooth.
6. Hang a Pot Rack from the Ceiling
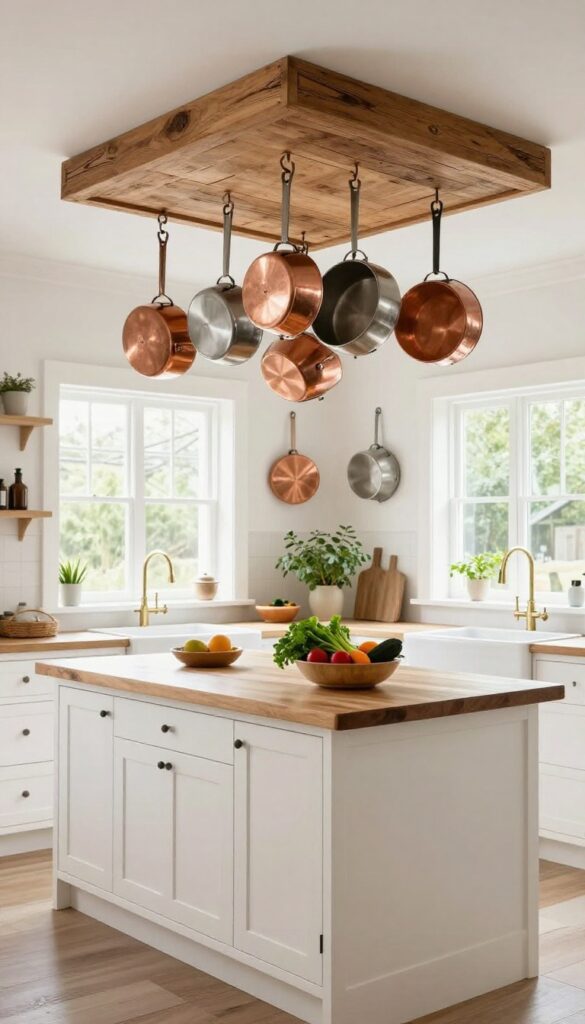
If your cabinets are bursting with cookware, look up. The ceiling is one of the most underused surfaces in a kitchen, and a pot rack turns it into a practical storage spot. It keeps heavy pots and pans within easy reach, so you don't have to dig through a pile of lids or stack them precariously.
Plus, it adds a warm, rustic touch that makes the space feel finished.
A ceiling-mounted pot rack is a classic solution that works in almost any kitchen, especially if you have high ceilings or an island. It frees up cabinet space for other essentials and keeps your most-used cookware visible and accessible. The key is choosing the right rack and installing it securely, so it's both functional and safe.
Choose The Right Style
Pot racks come in a few basic styles: ceiling-mounted, wall-mounted, and hanging from a shelf or island. For this idea, focus on ceiling-mounted options. You can find simple wrought-iron racks with hooks, wooden ladder-style racks, or sleek stainless steel bars.
Pick one that matches your kitchen's vibe—rustic, modern, or industrial. Also, consider the size: measure the space where you'll hang it and make sure it's large enough to hold your most-used pots without overcrowding.
Install It Securely
Safety comes first. A pot rack filled with heavy cookware can be surprisingly heavy, so it's crucial to anchor it into a ceiling joist, not just drywall. Use a stud finder to locate a joist, and if you're not comfortable with the installation, hire a professional.
The rack should be hung low enough to reach easily but high enough to avoid bumping your head—usually about 18 to 24 inches above the counter or island. Make sure the hooks are sturdy and spaced well to avoid clanging.
Organize By Frequency
Once your rack is up, think about what to hang. Put your most-used pots and pans front and center, and save the back for less frequently used items like a Dutch oven or stockpot. Hang lids on separate hooks if you have room, or use a lid rack that attaches to the side.
This keeps everything visible and within arm's reach, so you'll actually use it more. Plus, it adds a cozy, lived-in feel to your kitchen.
7. Use Tension Rods for Vertical Storage
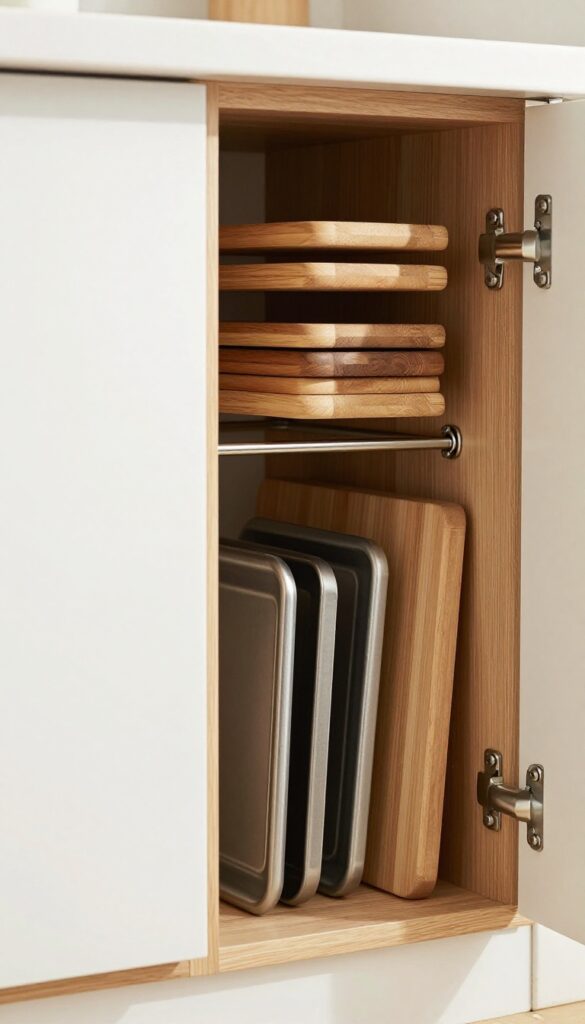
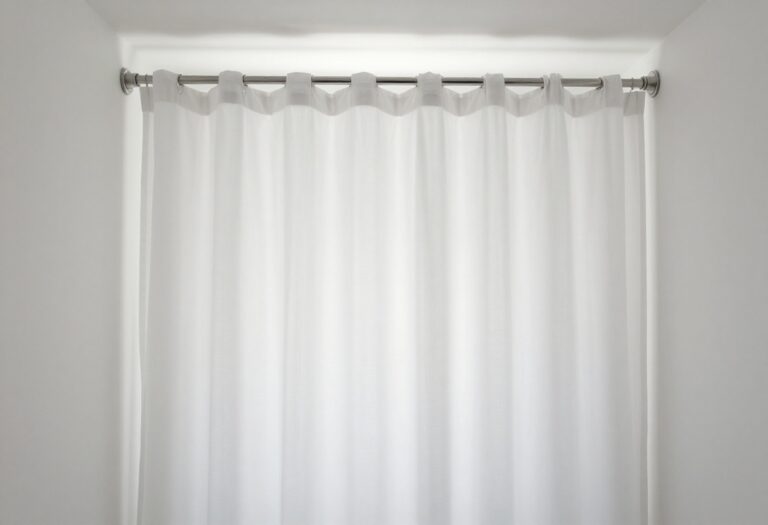
Tension rods aren't just for shower curtains—they're a budget-friendly way to create instant vertical storage in your kitchen. Pop one inside a cabinet to hold cutting boards vertically, or under the sink to keep spray bottles from toppling over. It's a simple trick that makes use of dead air space and keeps everyday items within easy reach.
Tension rods are a versatile and inexpensive tool for maximizing vertical space in your kitchen. By installing them in strategic spots, you can transform awkward gaps into organized storage areas. Here are a few ways to put them to work.
In Cabinets For Cutting Boards And Baking Sheets
If your cutting boards and baking sheets are stacked flat and hard to pull out, a tension rod can be a game-changer. Install a rod vertically inside a cabinet, then slide your boards and sheets between the rod and the cabinet wall. This keeps them upright, visible, and easy to grab without digging through a pile.
Under The Sink For Spray Bottles
Under-sink areas are often a jumble of cleaning supplies. Place a tension rod horizontally near the back of the cabinet, and hook spray bottles over it by their triggers. This frees up floor space and keeps bottles from rolling around, making it easier to find what you need.
In Pantry For Foil And Wrap
Tension rods can also corral rolls of foil, plastic wrap, and parchment paper. Install a rod vertically in a pantry cabinet, and slide the rolls onto it. This keeps them neatly stacked and accessible, and you can even stack multiple rolls on one rod if space allows.
8. Add Under-Cabinet Lighting and Storage
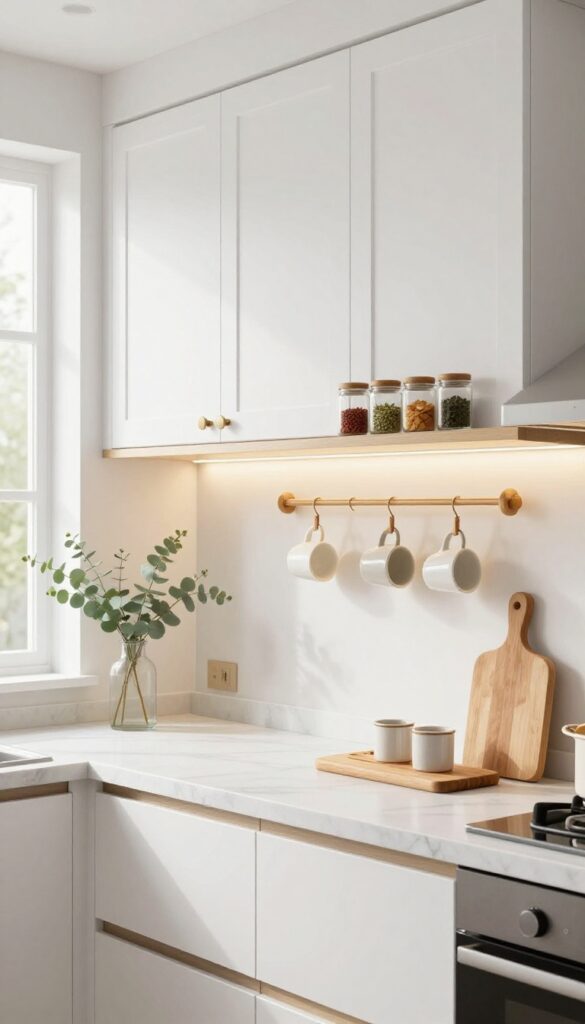
The space right under your upper cabinets is often wasted real estate. By adding under-cabinet lighting, you not only brighten your countertops for safer, more efficient prep work, but you also make the whole kitchen feel more open and airy. Pair that with clever storage solutions like hanging mugs or slim shelves, and you’ll turn a dead zone into a functional hub.
Under-cabinet lighting is a game-changer for both form and function. It eliminates shadows, making it easier to chop, measure, and read recipes. Plus, the soft glow adds a layer of warmth that makes the kitchen feel more inviting.
When you combine this with smart storage, you free up valuable counter space and keep everyday items within arm’s reach.
Choose The Right Lighting
There are plenty of options, from battery-operated puck lights to hardwired LED strips. For a quick, renter-friendly fix, stick with rechargeable or plug-in lights that stick under the cabinet. LED strips are great because they’re slim, bright, and energy-efficient.
Think about the color temperature, too—warm white feels cozy, while cool white is better for task lighting.
Hang Mugs And Utensils
Install a small rail or hooks under the cabinet to hang your favorite mugs, measuring cups, or even utensils. This keeps them off the counter and adds a touch of personality. You can find adhesive hooks that don’t require drilling, or go with a simple tension rod if you have a gap between the cabinet and the wall.
Add Slim Shelves For Spices And Jars
If you have a few inches of clearance, mount a narrow shelf right under the cabinet. This is perfect for storing spice jars, oils, or small containers that you use daily. It keeps everything visible and easy to grab, so you’re not digging through crowded cabinets.
Just make sure the shelf is sturdy and doesn’t block the light.
9. Utilize the Side of the Refrigerator
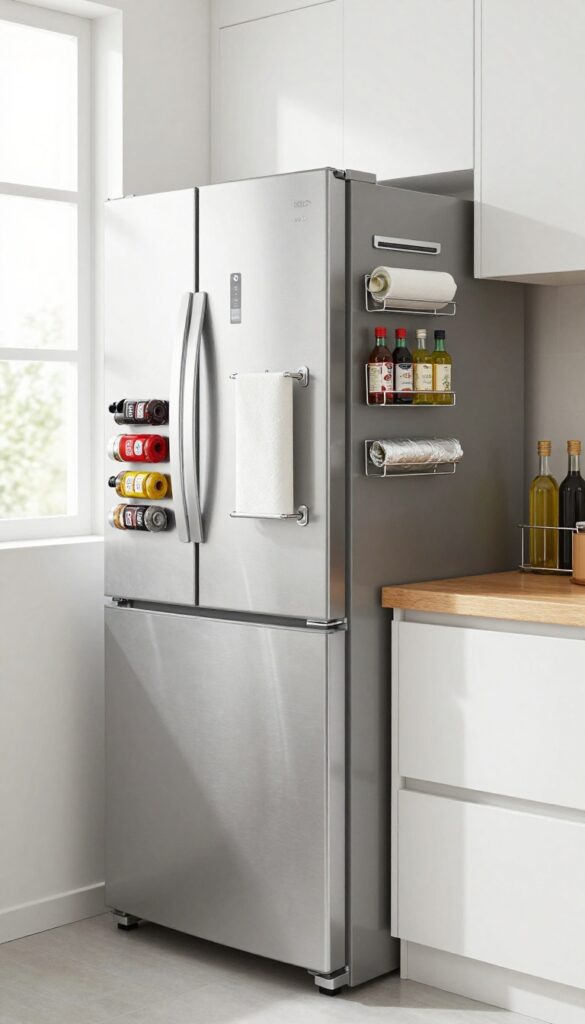
That tall, blank slab of metal beside your fridge is prime real estate just waiting to be used. Instead of letting it collect dust, turn it into a functional storage zone. With a few magnetic accessories or a slim rack, you can keep frequently used items within arm's reach without cluttering your counters.
The side of your refrigerator is a natural spot for storing things you grab often. Magnetic spice tins, a paper towel holder, or a slim wire rack can hold everything from cooking oils to foil and plastic wrap. This trick works especially well in small kitchens where every inch counts.
Plus, it keeps those items off your countertops and out of your cabinets, freeing up space for prep work.
What To Store On The Fridge Side
Think about what you reach for while cooking: spices, oils, foil, plastic wrap, or even a small knife holder. Magnetic spice tins are a classic choice—they stick right on and save you from digging through a cabinet. A slim over-the-door rack (the kind meant for pantry doors) can also hang on the side of the fridge if it's magnetic.
Just make sure the items are lightweight and won't block the fridge door from opening fully.
Magnetic Holders Vs. Adhesive Racks
Magnetic holders are the safest bet because they don't leave any marks and are easy to move. Adhesive racks can work too, but they might leave a sticky residue if you ever want to remove them. If your fridge has a textured or stainless steel surface, check that magnets will actually stick—some finishes are not magnetic.
In that case, a freestanding slim cart next to the fridge can serve a similar purpose.
Keep It Neat: Avoid Overloading
The key to making this look intentional is moderation. Don't turn the side of your fridge into a chaotic jumble. Pick two or three items that you use daily, like paper towels and a spice rack, and leave the rest in cabinets.
This keeps the area looking tidy and prevents the fridge from becoming a visual eyesore. Also, regularly wipe down the surface so it doesn't get greasy.
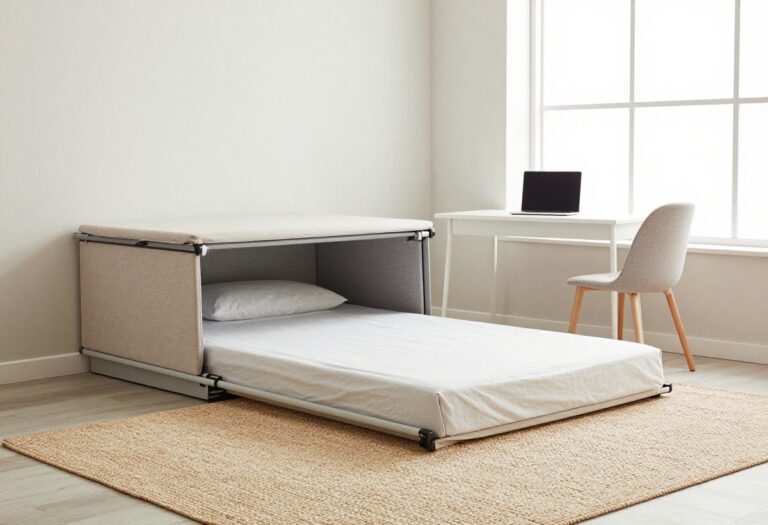
10. Install a Fold-Down Table or Counter
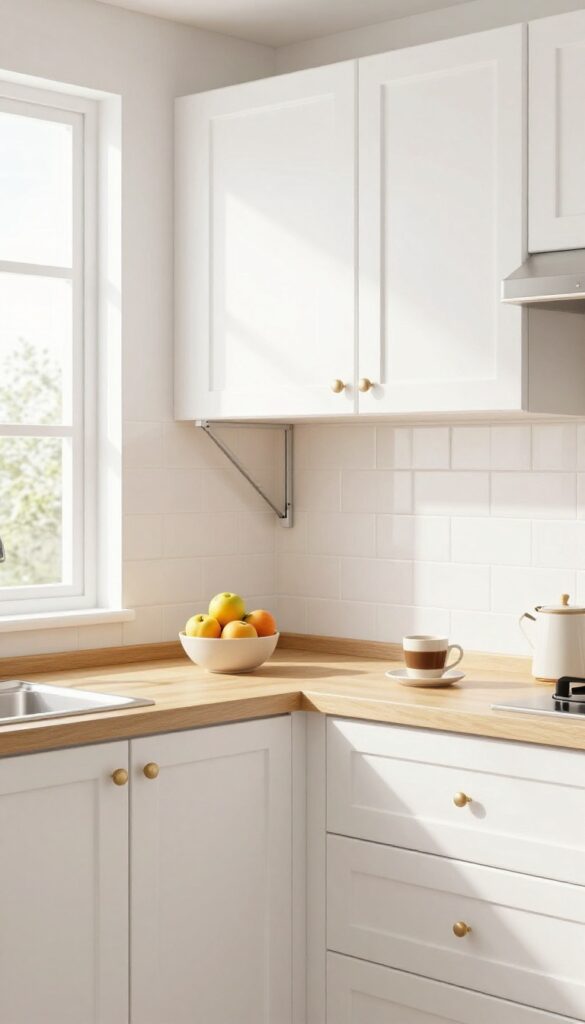
When every inch of floor space counts, a permanent table or island can feel like a luxury you can't afford. A fold-down table attached to the wall gives you that extra prep or dining area exactly when you need it, then tucks away to reclaim the room. It's a simple, practical solution that makes a small kitchen feel far more flexible.
Fold-down tables are a classic space-saving trick, and for good reason. They mount flush against the wall, so they take up zero floor space when not in use. When you flip them down, you instantly have a sturdy surface for chopping veggies, enjoying a quick meal, or letting the kids do homework while you cook.
The key is choosing the right location and hardware to make it work seamlessly in your kitchen.
Pick The Perfect Spot
Look for a stretch of wall that's currently underused—maybe beside the fridge, near a window, or at the end of a counter run. Make sure there's enough clearance for chairs or stools when the table is down, and that it won't block traffic or cabinet doors. A spot near an outlet is handy if you want to plug in a laptop or small appliance.
Choose The Right Hardware
You don't need a custom carpenter to install a fold-down table. Ready-made folding brackets, like the popular drop-leaf supports, can hold a surprising amount of weight. For a more built-in look, consider a hinged tabletop that folds up against the wall with a latch.
Just make sure the hinges and brackets are rated for the size and weight of the table you plan to use.
Style It To Fit Your Kitchen
The tabletop can be anything from a simple butcher block to a sleek piece of quartz or a salvaged wood slab. Match it to your existing countertops or cabinets for a seamless look. Add a couple of slim stools that can slide underneath when not in use, and you've got a charming breakfast nook that disappears when you need the floor space.
11. Use Drawer Dividers and Organizers
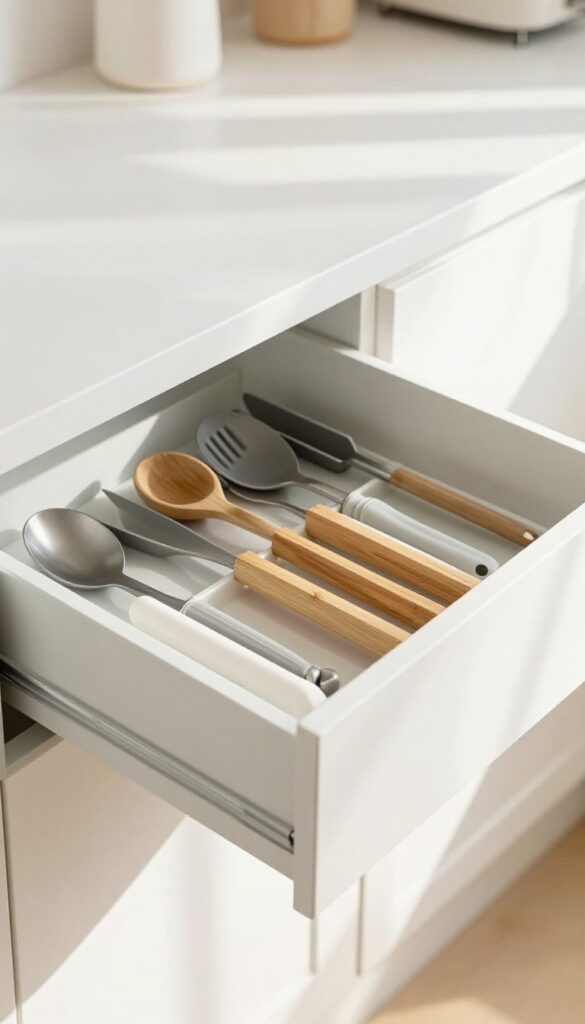
Drawers are often the most underutilized storage in a kitchen. Without a system, they turn into a jumble of mismatched utensils, random gadgets, and lost measuring spoons. Adding dividers or organizers is a quick, low-cost fix that instantly brings order to the chaos.
When every drawer has a designated spot for each tool, you'll spend less time digging and more time cooking. Plus, an organized drawer makes your kitchen feel more finished and intentional—even if the rest of the room is still a work in progress.
Start With A Drawer Audit
Before you buy anything, pull everything out of your drawers and sort it into piles: keep, relocate, and toss. You'll likely find duplicates or items you forgot you owned. This step helps you see what actually needs a home and what can be donated or thrown away.
Choose The Right Dividers
Not all dividers are created equal. For shallow drawers, bamboo or plastic expandable dividers work well. For deeper drawers, consider stackable trays or modular inserts that you can customize.
Measure your drawers first, and think about the items you use most—those should get prime placement.
Group By Function
Keep similar items together: baking tools in one drawer, cooking utensils in another, and measuring cups in a third. Within each drawer, use smaller containers for things like skewers, pastry tips, or chopsticks. This way, you always know exactly where to reach.
Maintain The System
The best organizer is one you actually stick with. After you finish cooking, take an extra minute to put things back in their designated spots. A quick weekly reset can prevent the drawer from turning into a catch-all again.
12. Add a Slim Pull-Out Pantry
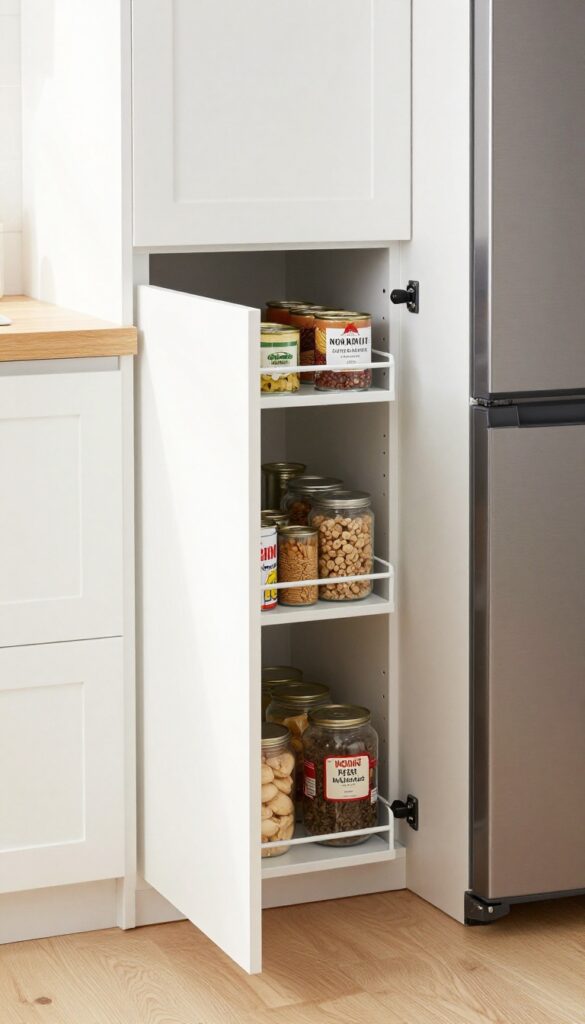
That awkward gap between your fridge and the wall, or the unused space beside a cabinet, can become one of the most functional spots in your kitchen. A slim pull-out pantry slides right into these narrow openings, giving you deep storage without taking up any floor space. It’s like adding a secret pantry that’s always within reach.
A pull-out pantry is essentially a tall, narrow cabinet on wheels that fits into gaps as small as 6 inches wide. You can install it between appliances, next to the fridge, or even in an unused corner. The shelves slide out smoothly, so you can see everything at a glance and grab what you need without digging around.
This is perfect for canned goods, spices, baking supplies, or dry staples like pasta and rice. It turns wasted space into a highly organized storage solution that makes your kitchen feel more complete and efficient.
Why It’s A Game-changer For Small Kitchens
In a small kitchen, every inch matters. A slim pull-out pantry uses vertical space that would otherwise be empty, giving you extra storage without making the room feel cramped. It’s especially handy for keeping everyday items accessible while freeing up your main cabinets for bigger pots and pans.
Plus, because it’s on wheels, you can roll it out for easy cleaning or even move it to another spot if your layout changes.
Where To Install It
The most common spot is beside the refrigerator, but you can also fit one between the stove and a wall, or next to a base cabinet. Measure the gap carefully—most units come in widths from 6 to 12 inches. You can buy a ready-made pull-out pantry or build a simple DIY version with plywood and casters.
If you’re handy, this is a weekend project that adds serious function.
What To Store In It
Think of it as your mini pantry for frequently used items. Canned soups, jars of sauce, spices, baking mixes, and snack bags all fit nicely. Use clear containers or baskets to keep things visible and grouped.
Adjustable shelves let you customize the height for tall bottles or cereal boxes. The key is to keep it organized so you can find what you need quickly.
13. Hang a Wall-Mounted Folding Table
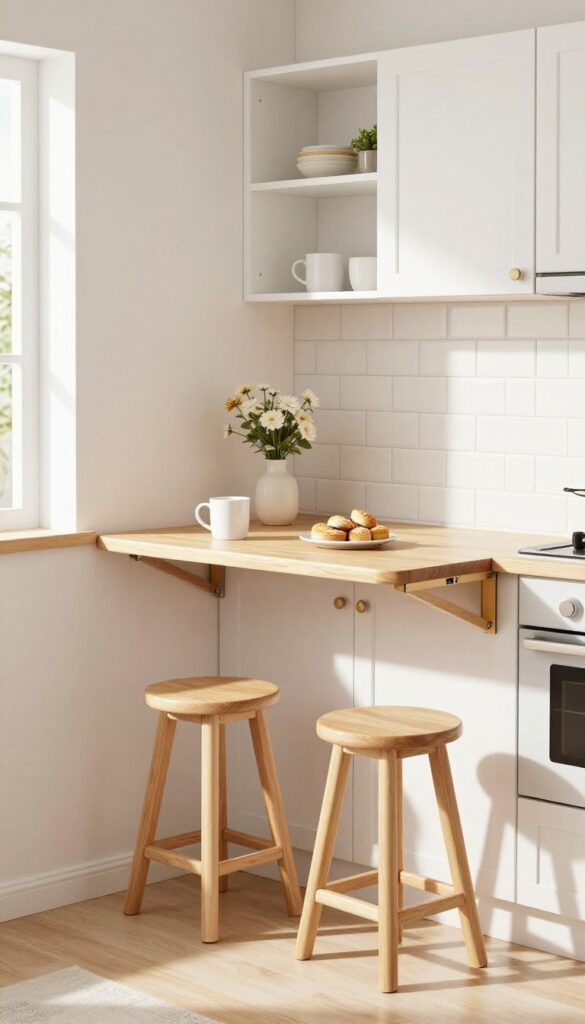
If you're short on floor space but still want a spot for quick meals or extra prep, a wall-mounted folding table is a clever solution. It attaches to the wall and folds down when you need it, then tucks away flat when you don't. This gives you a functional surface without permanently eating into your kitchen's footprint.
A wall-mounted folding table is like a secret weapon for small kitchens. It can serve as a breakfast bar for two, a coffee station, or a temporary prep area when you're cooking a big meal. The best part?
When it's folded up, it's completely out of the way, leaving your kitchen feeling more open and less cluttered. You can install it in a narrow hallway, an unused wall, or even beside a cabinet. With the right hinges and a sturdy bracket, it'll hold up to daily use.
Plus, you can customize the size and finish to match your kitchen's style, so it looks like it was meant to be there.
Pick The Right Spot
Choose a wall that's clear of obstacles and has enough room for the table when it's down. Ideally, you want it at a height that's comfortable for standing or sitting, depending on how you'll use it. A spot near an outlet is handy if you want to plug in a small appliance, and make sure there's enough clearance for chairs or stools when it's open.
Choose A Sturdy Design
Look for a table with a solid hinge mechanism and a locking brace that supports the weight when it's down. Some models come with fold-away legs for extra stability, while others rely on a heavy-duty wall bracket. Test the weight capacity before you buy—make sure it can hold what you'll typically put on it, like plates, a laptop, or a few groceries.
Style It To Match
You don't have to settle for a plain slab. Choose a wood finish that complements your cabinets, or paint it to match your walls for a seamless look. Add a couple of hooks underneath to hang lightweight items like dish towels or measuring cups.
When it's folded up, it becomes a subtle part of the wall rather than an eyesore.
FAQ
What is the best way to maximize space in a small kitchen?
Use vertical space with shelves and pegboards, add multi-functional furniture like rolling carts, and declutter countertops to make the most of every inch.
How can I make my kitchen feel more open without renovating?
Lighten the color scheme, add mirrors or reflective surfaces, improve lighting, and keep counters clear. Open shelving also creates a sense of airiness.
Are open shelves practical for everyday use?
Yes, if you store items you use regularly and keep them organized. They make things easy to grab and can be styled attractively.
What are some budget-friendly space-saving ideas?
Use tension rods, magnetic strips, and drawer dividers. Repurpose items like pegboards or install a simple fold-down table. These are low-cost and effective.
How do I choose between a rolling cart and a fixed island?
A rolling cart is flexible and can be moved or tucked away, making it ideal for small spaces. A fixed island offers more storage but takes up permanent floor space.
Conclusion
These 13 ideas show that a small kitchen doesn't have to feel cramped or unfinished. By using vertical space, smart storage, and flexible furniture, you can create a kitchen that's both functional and inviting. Start with one or two changes that fit your space and budget.
You'll be surprised how much of a difference a few thoughtful tweaks can make. Your kitchen will feel more open, organized, and truly finished.